Online store on Steemit blockchain| Step three | Create an application in a project
Hello, friends!
Today we will create our first application in our project. And we will also change the project settings a little so that we can work on our computer. If this is not done, then we will not be able to work with static data and media.
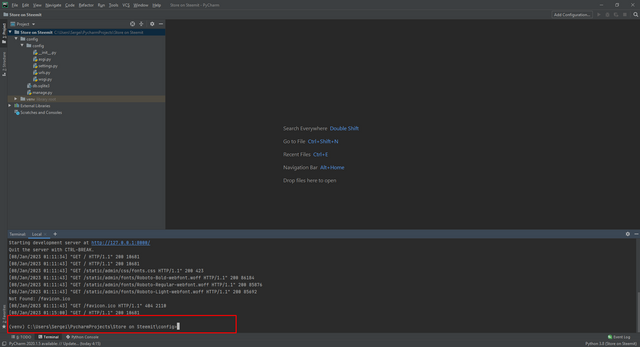
We go to our project and click on the terminal and stop the server. Combination key Ctrl + C.
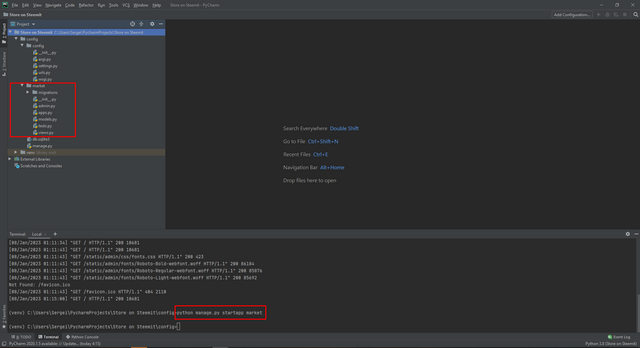
In the terminal, we then write a command to create our application:
python manage.py startapp market
where market is the name of our application.
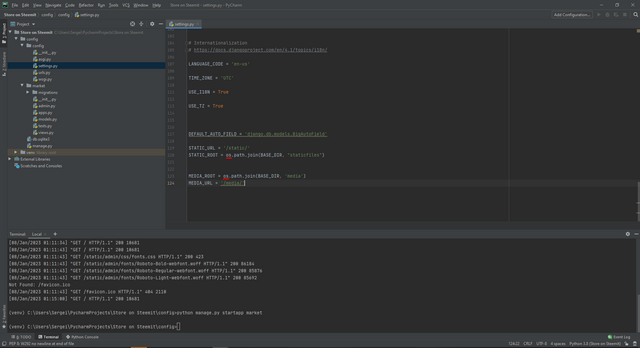
In the config folder we find the settings file and add our application.
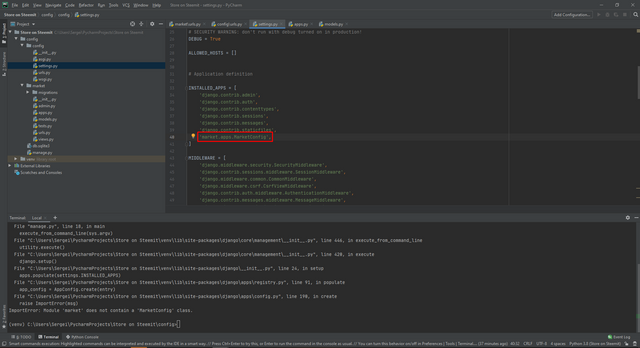
And we also immediately add certain settings so that we can work with the local server.
Here is the code to add. In the next post, I will add everything to git and you can easily follow the project.
STATIC_URL = '/static/'
STATIC_ROOT = os.path.join(BASE_DIR, "staticfiles")

MEDIA_ROOT = os.path.join(BASE_DIR, 'media')
MEDIA_URL = '/media/'

Also, os will be highlighted in red. You just need to click on os and import it.
Now we have to create a universal path to our application. This is pretty easy to do. We open a file called urls and add the path to our application there, as well as import the include function. The code looks like this:
from django.urls import path, includepath('', include('market.urls')),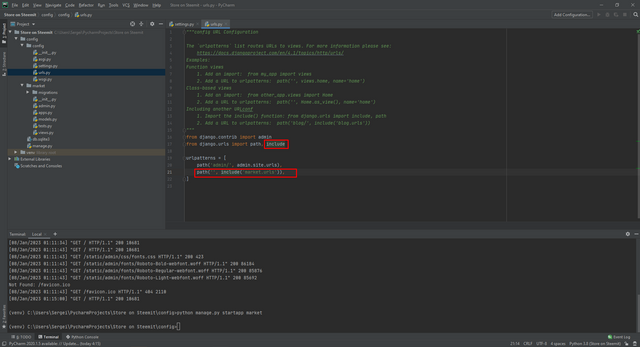
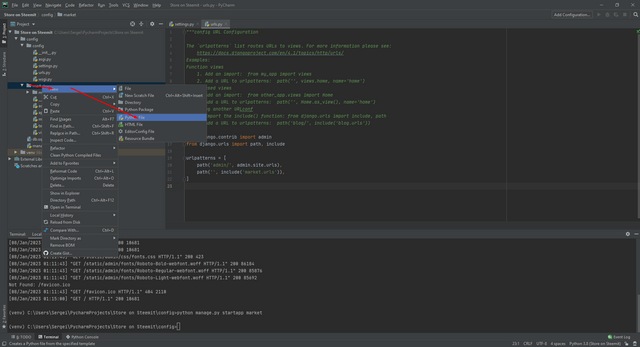
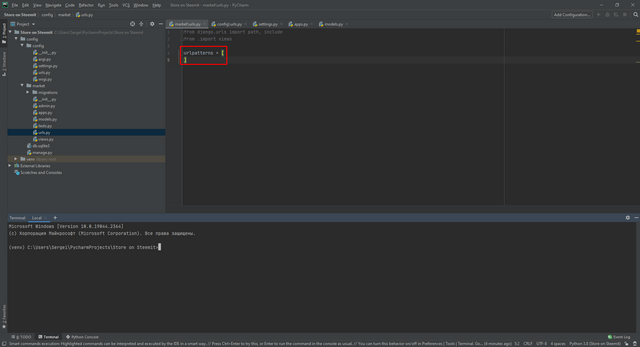
In our market application, we create a python file called urls. In order to further prescribe our paths to different pages of our site.
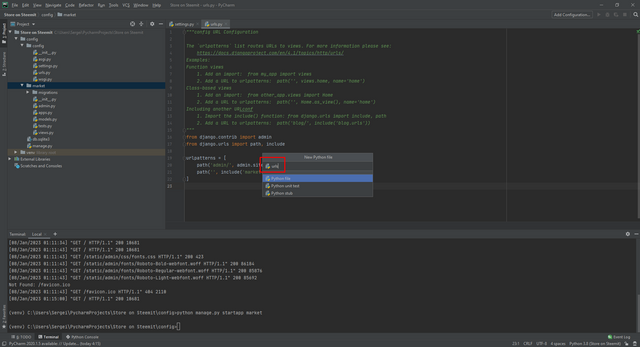
After the urls file has been created, we prescribe urlpatterns and in the future it will prescribe the paths to our site pages.
from django.urls import path, include
from .import views

urlpatterns = [
]
Now we need to create a model of our product in order to carry out migrations and create a database. We write the model in the model file.
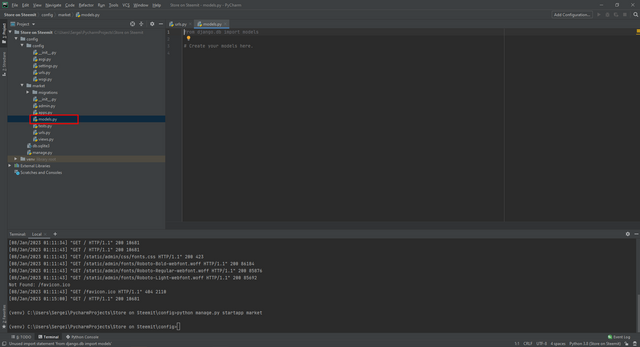
The model functions have already been imported, and we will work with it.
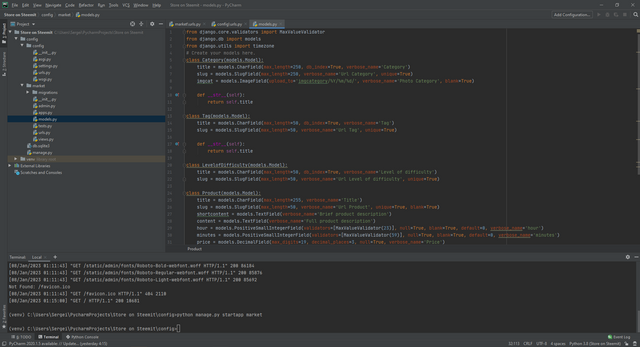
We need them in order to properly create a database.
You can read more about each Django feature on the site.
We carry out migrations and create a database.
Let's go to our project config.
Team:
cd config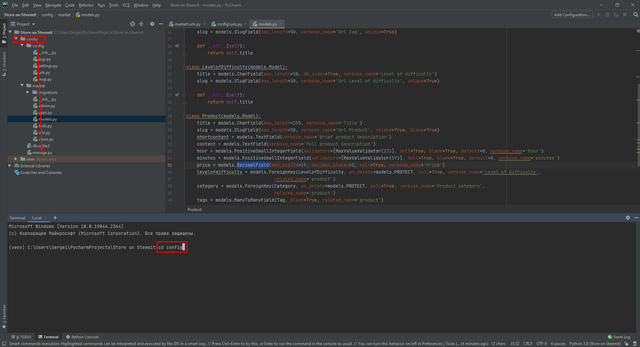
Create a migration:
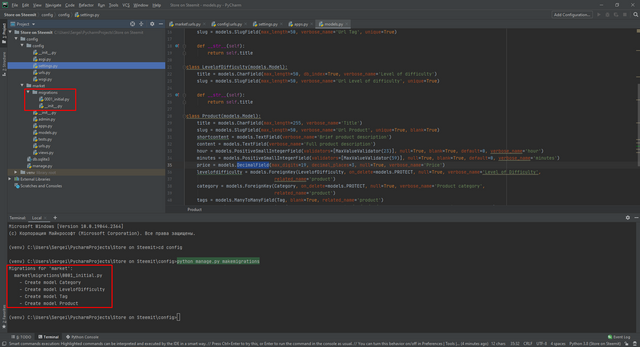
python manage.py makemigrations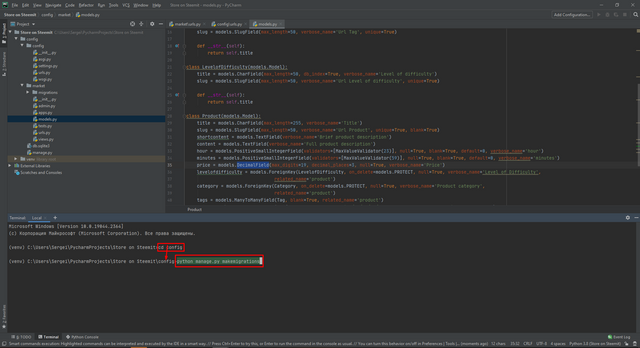
The migration was successful. And the migration file was created. And also in the terminal, we saw which migrations were created for the database.
Now we create a database through migration.
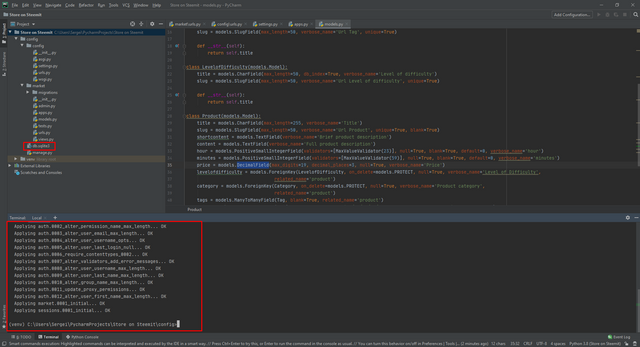
Team: python manage.py migrate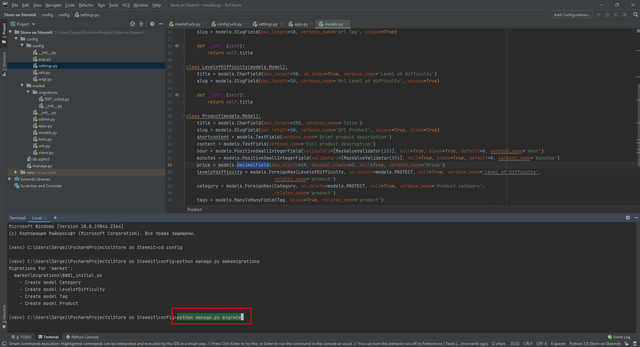
We can see that the database has been created and everything is OK in the terminal.
In this post, we created our first application in our project and set the path to it. Also added settings in our project. So that you can work with static files and media. We also created a model of our product and made migrations. Then the database was created.
You can get acquainted with the project here.
This is the first part: Step one
This is the second part: Step two
To be continued...
What do you think about the project? Will it be of interest to the community?
@rme , @rex-sumon , @shy-fox , @hungry-griffin, @pennsif
Sincerely, your @HardPhotographer
Thank you, friend!


I'm @steem.history, who is steem witness.
Thank you for witnessvoting for me.
please click it!
(Go to https://steemit.com/~witnesses and type fbslo at the bottom of the page)
The weight is reduced because of the lack of Voting Power. If you vote for me as a witness, you can get my little vote.
Upvoted! Thank you for supporting witness @jswit.