Devil Gundam: Trimming Bottom Leg [Leg Modification - Part 88]
Hi guys!
Today, I will trim the bottom leg to make some space where the connector can slide in later. So here are updates on Project Devil Gundam!
Today, I will trim the bottom leg to make some space where the connector can slide in later. So here are updates on Project Devil Gundam!
Markings
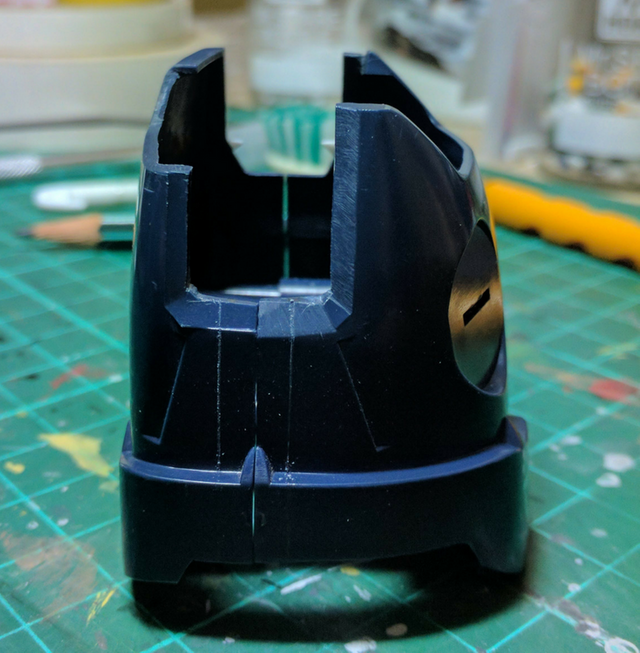
I have marked the bottom leg using scribing pen and metal ruler on how much should I trim.
I make the markings as symmetrical as possible so later the piston casing will be right at the center of the bottom leg.
This will also make sure the whole leg mechanism is align properly with the bottom leg.
Once the connector for the piston casing is cemented in place, adjusting it will be difficult.
Trimming the Bottom Leg
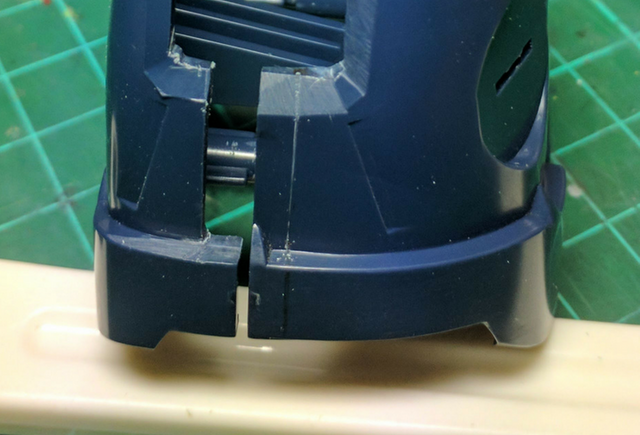
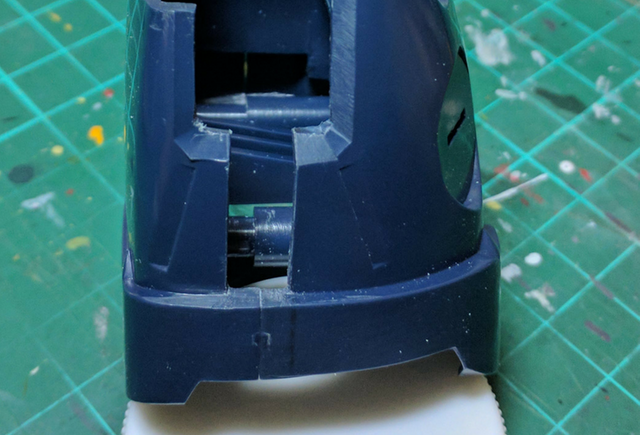
I remove most of the plastic using handsaw since it is the faster way but keep in mind that I left a few millimetres to adjust later. Handsaw is quite tricky to use since they will remove quite a lot of extra millimetres when used.
So keeping that in mind, I switch to hobby knife and file for more control on trimming the bottom leg.
So keeping that in mind, I switch to hobby knife and file for more control on trimming the bottom leg.
Progress Test Fit

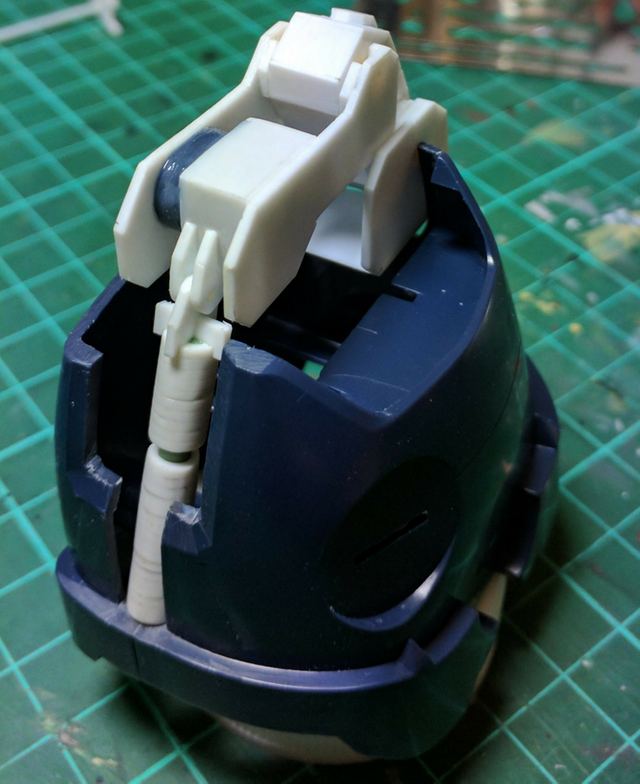
Next I test fit the new mechanism to see if I need to make any adjustments. I think so far the mechanism looks good and properly align. So these are my update on Project Devil Gundam for today.
Tomorrow, I finish the connector between the piston casing and the bottom leg then trim the other bottom leg. Keep on building! Keep on steeming! Have a nice day!
Tomorrow, I finish the connector between the piston casing and the bottom leg then trim the other bottom leg. Keep on building! Keep on steeming! Have a nice day!
Quick access tutorial:
- Fixing broken peg using gunpla runer and several tools.
- Fixing holes using cement and plastic scraps.
- Making C-Joints using pla plates.