Devil Gundam: Connecting Arms and Hands [Arm Modification - Part 21]
Hi guys!
I will share several things today from cleaning yesterday's cement on pla rods, copy pasting the modification. And as a bonus I will include some tricks if you ever broke a peg in your gunpla. So here are my updates for today.
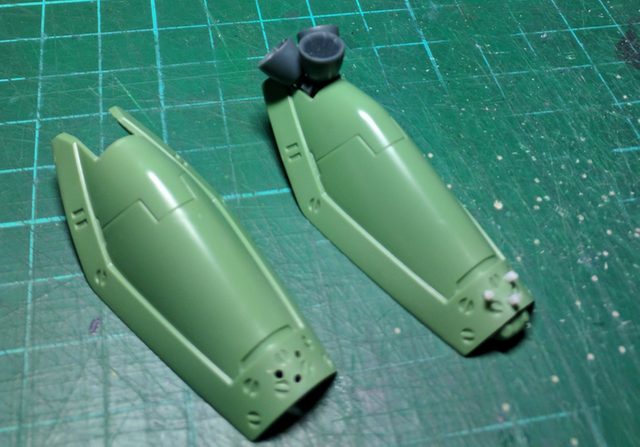
Before and after modification
It's a bit blurry but you get the idea. Now the cement has cured properly on the right arm. I can trim the excess pla rod then clean it using file. I think once it's been cleaned up the connectors will look somewhat natural. I guess will see on test fit later.
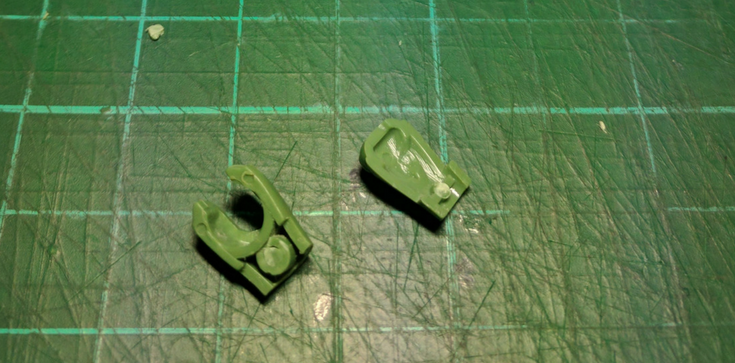
Broken peg
If you ever broken a peg, I will share a trick to fix it. This is by no means the best way. Personally, I think it's quite tricky to pull off and you will need a few tools for this one.
So I would say this is a bit intermediate quick tutorial. What you will need are hand drill, file, gundam runner and a little bit of patients combined with confidence.
So I would say this is a bit intermediate quick tutorial. What you will need are hand drill, file, gundam runner and a little bit of patients combined with confidence.
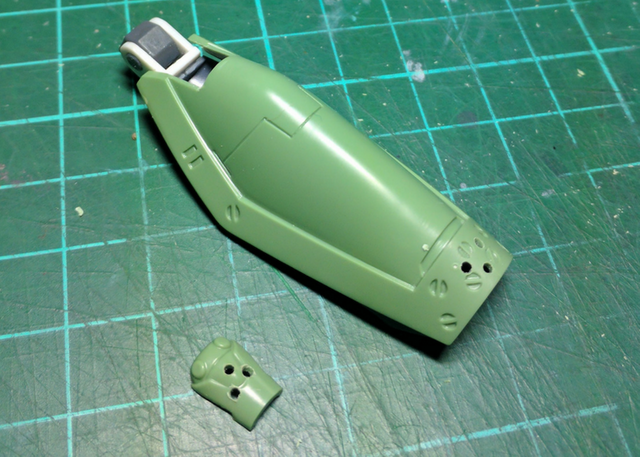
Copy pasting modification from yesterday
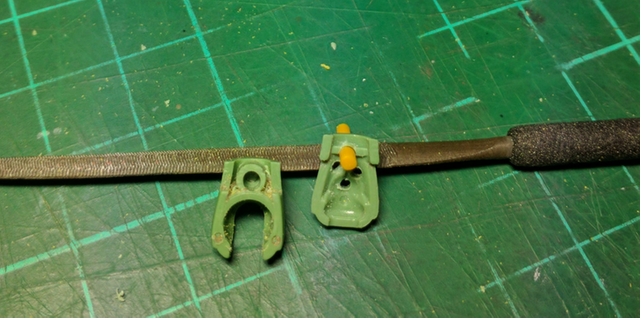
I kept going with the modification up to this point and I will start fixing the broken peg. Also, I did some test fits to make sure the pla rods align properly. So later when I cement them together, I won't come across any problem.
Fixing Broken Peg
#1 Gunpla Runer
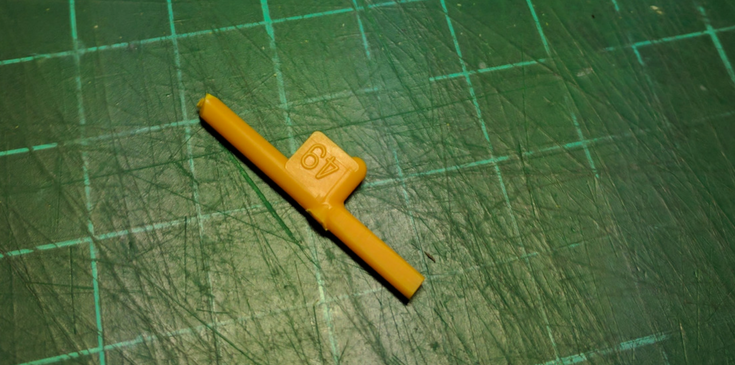
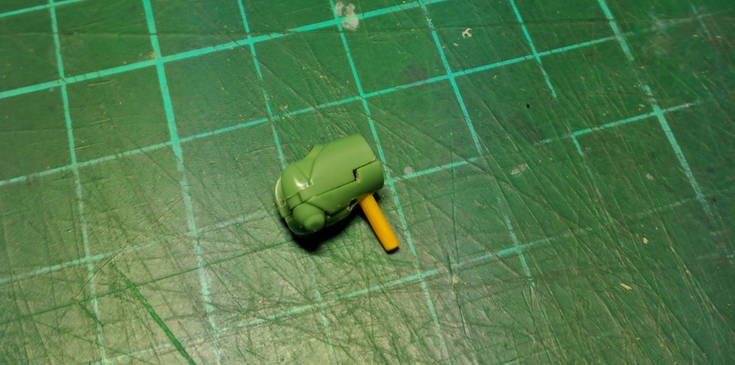
First you will need gunpla runer. This could be from anything and since this the smallest I could find I had to trim it down a little bit more.
Using a hobby knife slowly I scrapped the surface little by little until it fits the original hole. Basically this will be the new peg. Don't forget to sand it down using sanding sponge to keep the circular shape. Doesn't have to be perfect. As long as the runer fits the hole later.
Using a hobby knife slowly I scrapped the surface little by little until it fits the original hole. Basically this will be the new peg. Don't forget to sand it down using sanding sponge to keep the circular shape. Doesn't have to be perfect. As long as the runer fits the hole later.
#2 Removing the Broken Peg
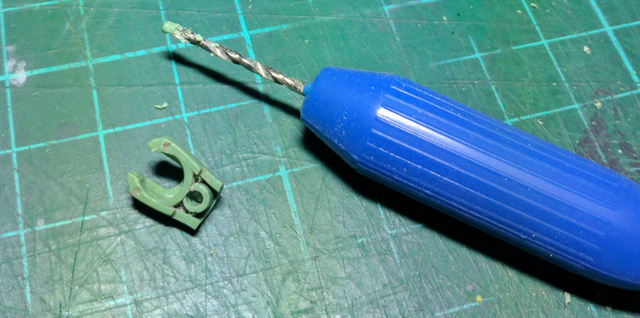
Now since the broken peg was stuck inside the hole. I will need to drill through it and clean it up. If this doesn't happen to you just skip this step.
This one is simple routine. Just marked the middle of the hole you are drill to make sure the drill have grip on a spot. Then carefully drill with the closest size with the hole as possible.
It's better to have a little bit smaller size drill for this one. You can always make them bigger but not smaller. Note that I didn't drill through the piece. I only drill enough to get the stuck peg out.
#3 Making a Hole for New Peg
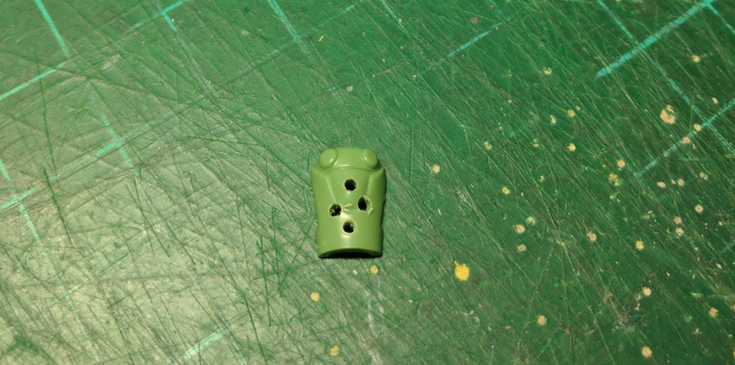
My best advice is always start small with these holes since you can increase the size later if necessary.
Also make sure the hole is straight because sometimes if you drill at a slight angle it won't align properly when test fitting.
Also make sure the hole is straight because sometimes if you drill at a slight angle it won't align properly when test fitting.
#4 Increasing the Size
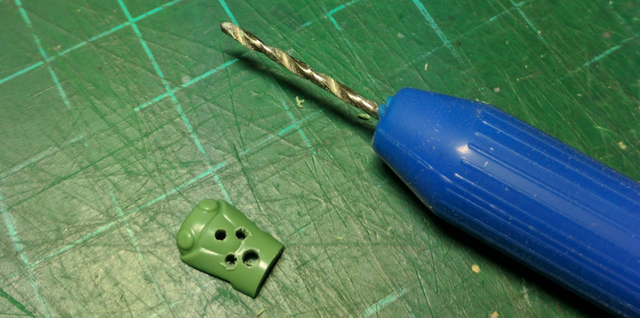
Now since the hole is not big enough. I need to increase the hole using bigger size hand drill.
For this step also make sure you hold down the piece properly so you drill exactly on the middle. Since if you don't do that, the center of the hole might shift by a couple of millimetres.
For this step also make sure you hold down the piece properly so you drill exactly on the middle. Since if you don't do that, the center of the hole might shift by a couple of millimetres.
#5 Getting the Pieces Ready for Test Fitting
Honest this tutorials is turning to be not so quick after all. Regards, let continue!
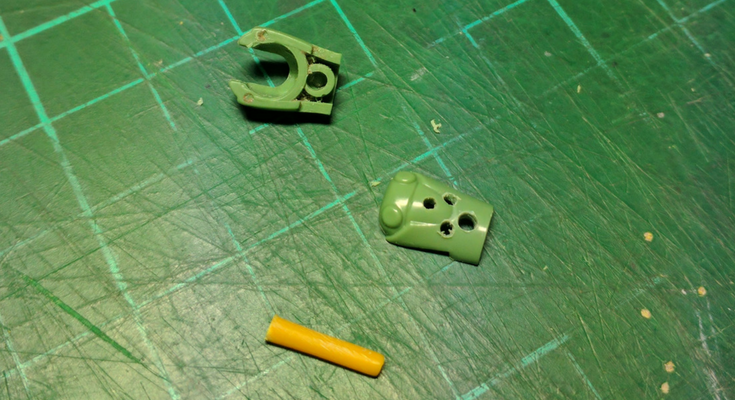
I've cut the new peg. Cleaned it up using sanding sponge. Get it into circular shape as good as I can. Now all I have to go is test fitting these pieces together.
I've cut the new peg. Cleaned it up using sanding sponge. Get it into circular shape as good as I can. Now all I have to go is test fitting these pieces together.
#6 Test Fit
Since the new peg does not quite fit nicely with both holes I need to adjust it a little using file.
While doing so I clean up the surface as well so when I cement them together there won't be any gaps.
While doing so I clean up the surface as well so when I cement them together there won't be any gaps.
#7 Final Test Fit
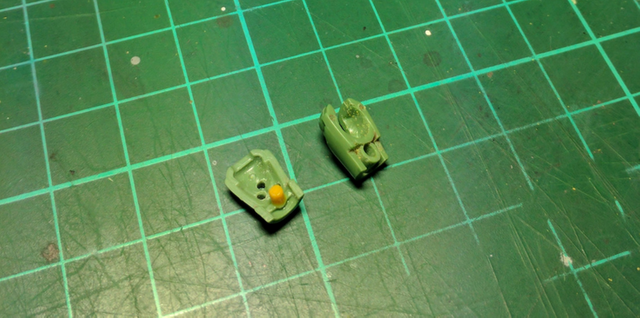
After several adjustments finally it look good to go. Now all I have to do is cement the peg in place. Let it cure overnight then clean up the excess.
Although, nobody will ever see this modification, cleaning up a little would hurt.
Although, nobody will ever see this modification, cleaning up a little would hurt.
#8 Cementing the Peg
The final step is cementing the peg in place. I used a combination of tamiya cement and thin cement.
If I could I don't want to leave any gaps open so I used tamiya cement first. Then tamiya thin cement to kind of clean up the mess left behind a little bit. While making the cement dry faster.
So those are my update and a tutorial for fixing broken pegs. As you can see it's quite a long way to fix broken peg. And I'm sure there is better ways to do this. But for now this is what I can think of right on the spot.
Keep on building! Keep on steeming! Have a nice day!
You just planted 0.39 tree(s)!
Thanks to @devytan
We have planted already 6162.86 trees
out of 1,000,000
Let's save and restore Abongphen Highland Forest
in Cameroonian village Kedjom-Keku!
Plant trees with @treeplanter and get paid for it!
My Steem Power = 18697.29
Thanks a lot!
@martin.mikes coordinator of @kedjom-keku