Devil Gundam: Connecting Arms and Hands [Arm Modification - Part 23]
Hi guys!
Today I will finish the other arm on my Project Devil Gundam and then I will do a few test fits. So here are my updates for today.
Trimmed off the excess pla rod
I mentioned this yesterday but I will mention it again on this post just in case this is your first time seeing this modification.
Be aware how close can you trim these pla rods is depending on your nipper type or brand. As the cheaper they are usually they will leave a stress mark (white stress marks).
First, these stress marks doesn't look good but if you are going to paint it, this should be a problem. Second, stress marks will make the plastic more fragile than it is.
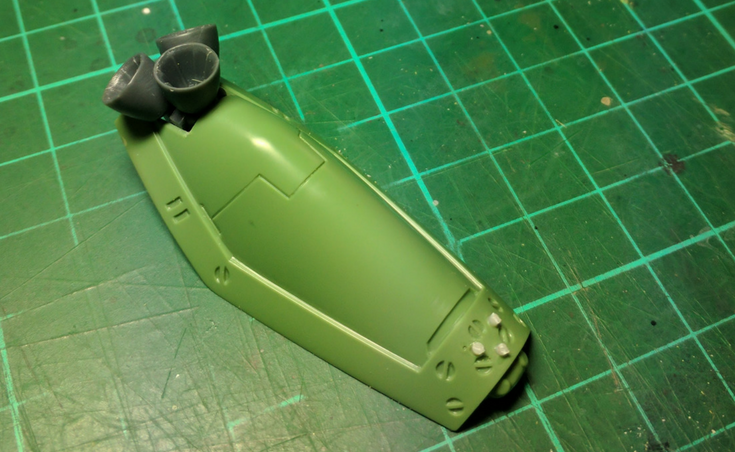
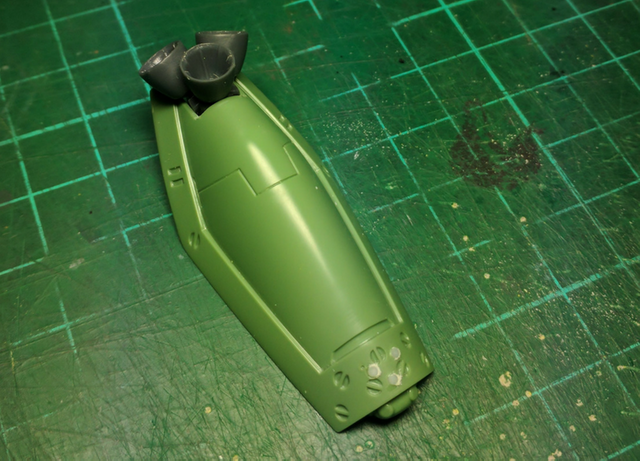
File the Excess Pla Rods
Using file slowly trim the excess pla rods. Be careful not to scratch the surface of the plastic.
File can be your best friend and worst nightmare at the same time! Yes you will need a steady hand for this step but I believe eventually you will get there with practice and experience.
Also, the surface is curvy so this step is quite tricky to pull off since I had to file while following the curvy surface.
Fixing Small Hole
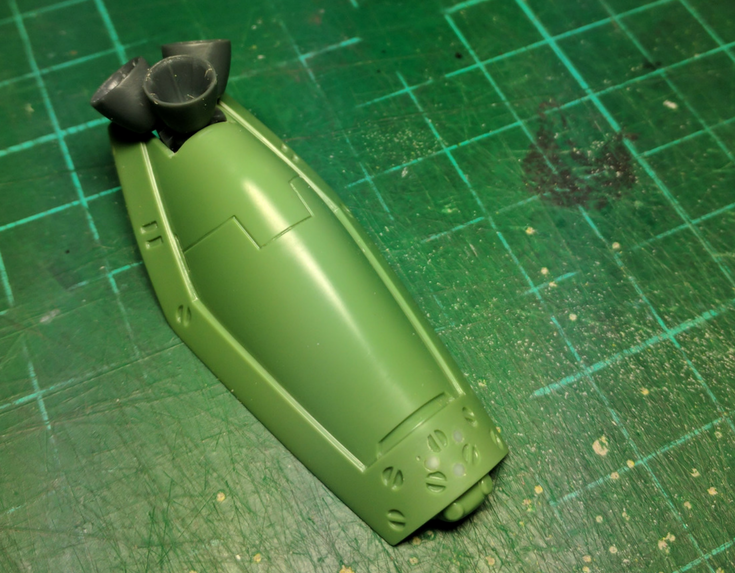
This is going to be a quick to tutorial for you guys! Notice there is a small hole on the left side of the pla rod modification there? I think this was a marking mistake. Well whatever it is I need to cover it up.
Now I have to choices here. Either use a putty or using cement and some pla plate scraps to cover it up.
For now I will choose using some thin cement and scrap pla plates just to make it interesting. This is going to be quick and simple.
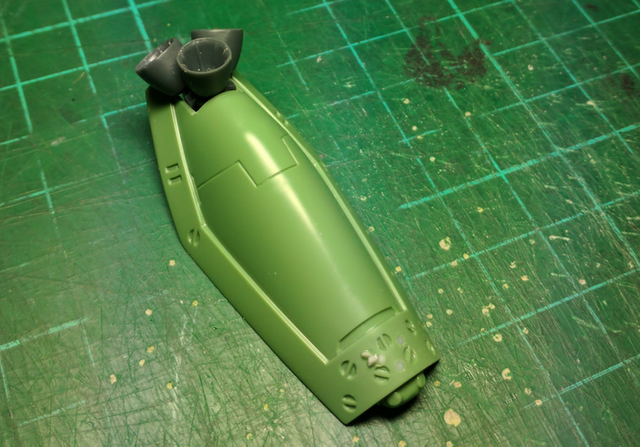
Take any scrap pla plates you have laying around or you could trim a little bit from the original runner. Then using thin cement melt the pla plate on top of the hole you are covering.
I use thin cement because they quickly dry/cure and less messy compared to regular cement.
Letting the Cement Dry/Cure
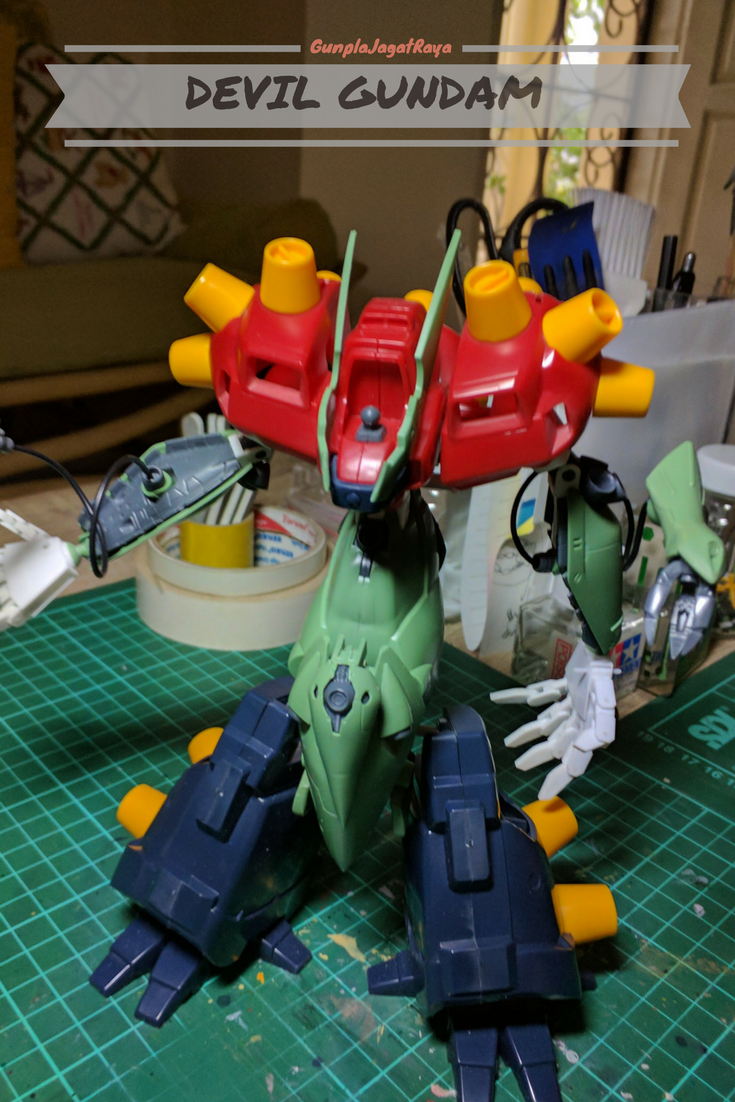
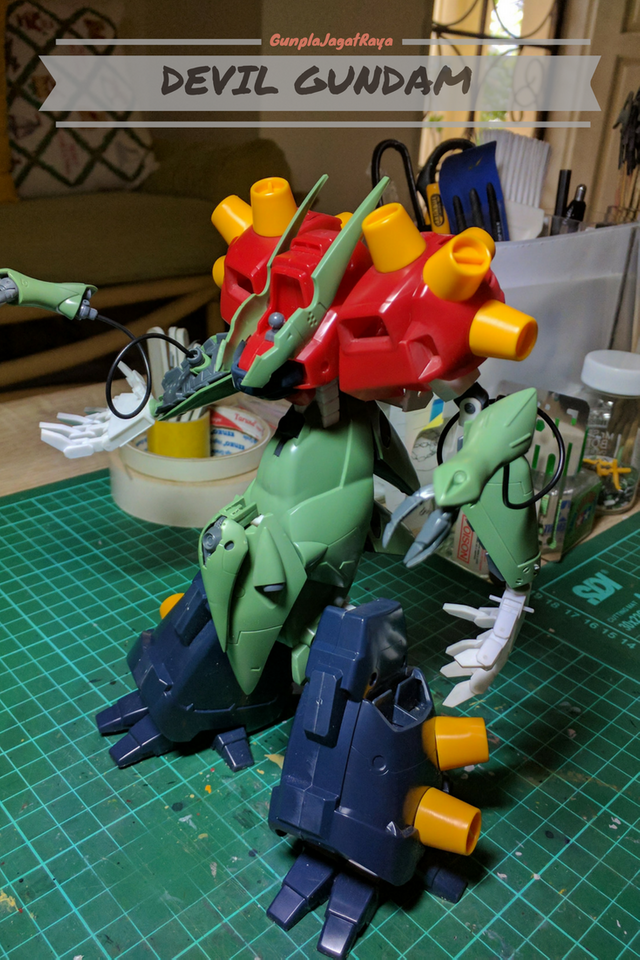
Test Fit with Whole Body and Neue Ziel Arm Extension
Another Test Fit with Whole Body and Neue Ziel Arm Extension
Tomorrow I will clean up the other arm on this Devil Gundam Project then move to modifying the legs which my gut feeling tells me this is going to be even longer modification. But it is what it is. So those are my update for today.
Keep on building! Keep on steeming! Have a nice day!
Keep on building! Keep on steeming! Have a nice day!
Quick access tutorial:
- Fixing broken peg using gunpla runer and several tools.
You just planted 0.41 tree(s)!
Thanks to @devytan
We have planted already 6507.32 trees
out of 1,000,000
Let's save and restore Abongphen Highland Forest
in Cameroonian village Kedjom-Keku!
Plant trees with @treeplanter and get paid for it!
My Steem Power = 18699.17
Thanks a lot!
@martin.mikes coordinator of @kedjom-keku