Devil Gundam: Test Fitting Piston Casing [Leg Modification - Part 87]
Hi guys!
Today, I will copy paste the pla plate connector I made yesterday and do some adjustment. So here are updates on Project Devil Gundam!
Today, I will copy paste the pla plate connector I made yesterday and do some adjustment. So here are updates on Project Devil Gundam!
Copy Paste and Test Fitting

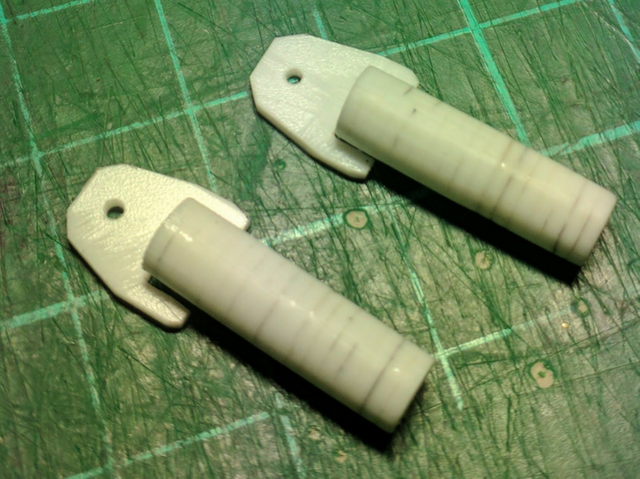
First, I copy paste the design I made yesterday. Then I will adjust the width with the piston casing since they might be slightly different from each other.
Increasing Thickness

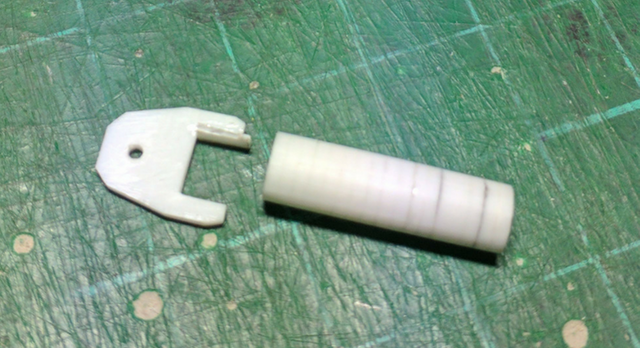
This one is quite loose so I have to add a pla plate strip on the side to increase the thickness. Leave it cure overnight then adjust the width again tomorrow.
Progress Test Fit
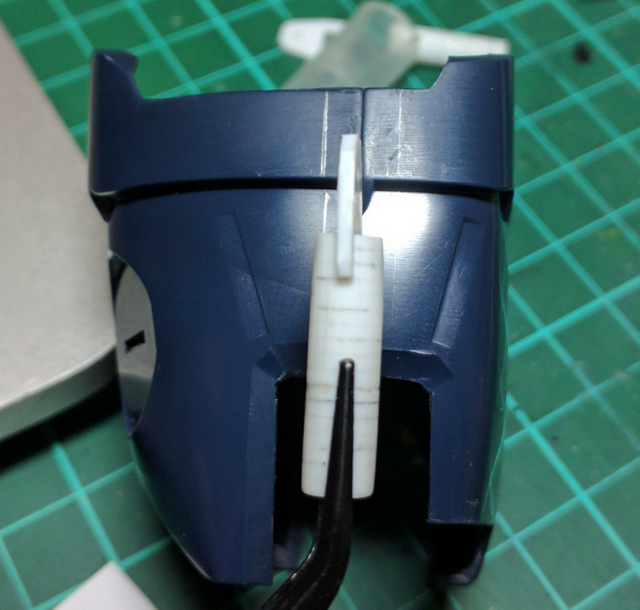
I've got one piston casing with its' connector ready to test fit with the bottom leg. I want to see how high this piston casing should be from the bottom of the bottom leg.
If its too close to the bottom leg, the piston casing might have a limited range of motion. However, if its too high it might not look good.
I'm thinking around this high should be good enough. Then I make some markings to guide me trim the bottom leg.
The connector will slide into this space and cemented down later. So these are my update on Project Devil Gundam for today.
Tomorrow, I will trim the bottom leg. Keep on building! Keep on steeming! Have a nice day!
Quick access tutorial:
- Fixing broken peg using gunpla runer and several tools.
- Fixing holes using cement and plastic scraps.
- Making C-Joints using pla plates.