Devil Gundam: Adjusting Piston and Connector [Leg Modification - Part 91]
Hi guys!
Today, I will do a couple of adjustments on the connector and piston. So here are updates on Project Devil Gundam!
Today, I will do a couple of adjustments on the connector and piston. So here are updates on Project Devil Gundam!
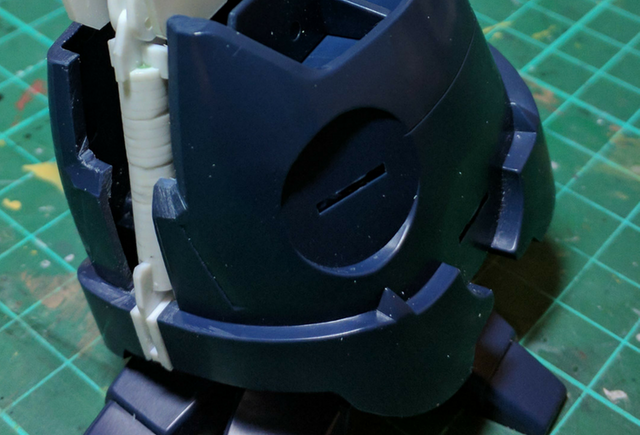
Adjusting the Connector
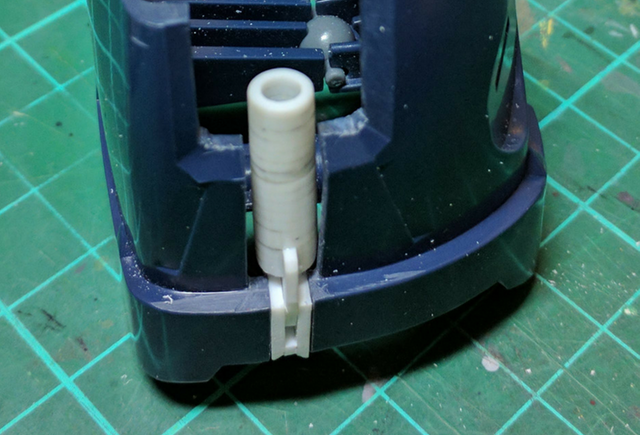
While trimming the bottom leg, I keep testing it with the connector to make sure the gap is just right. I know a couple of method to fill gaps but it's better to get it right the first time.
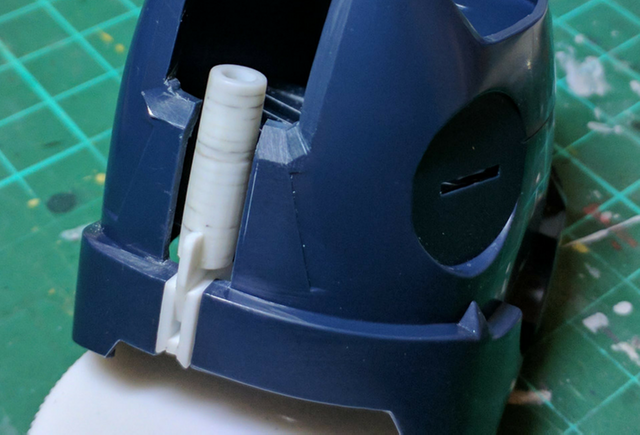
Adjusting Piston Length
I want the piston to be able to go inside the casing completely so I have to trim the piston a little bit.
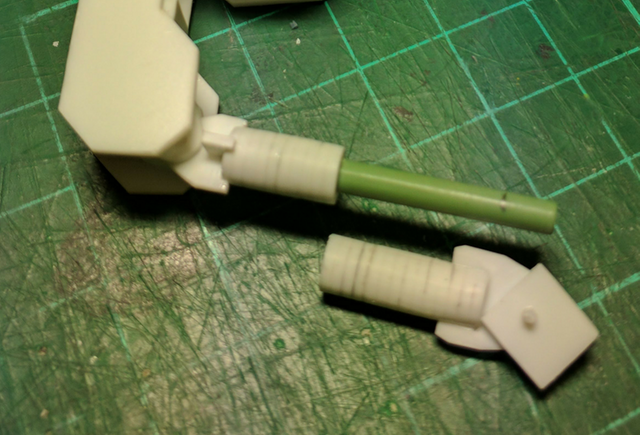
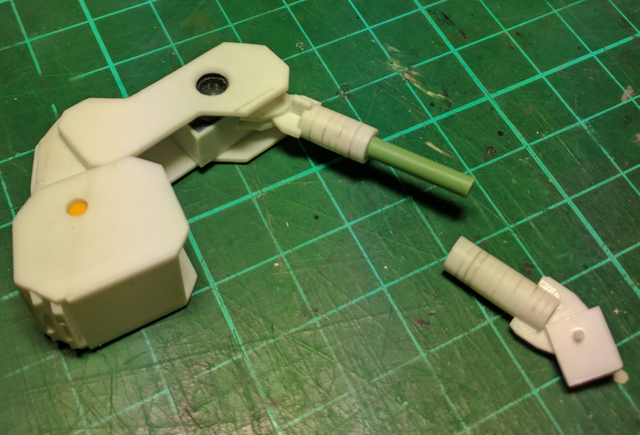
Progress Test Fit
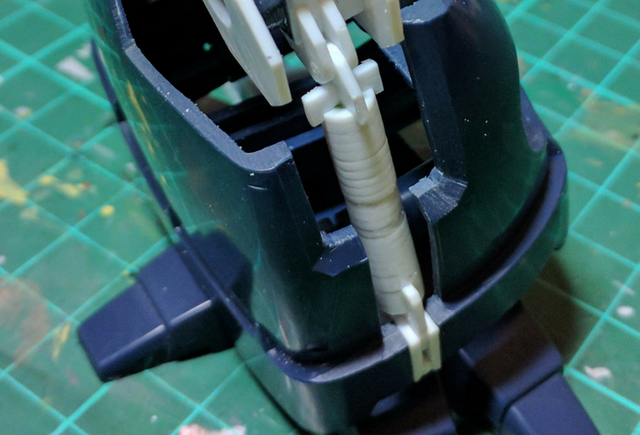
Next is progress test fit on the piston and connector. So far everything looks good to go so I will finish the piston tomorrow and trim the other bottom leg.
So these are my update on Project Devil Gundam for today. Keep on steeming! Have a nice day!
So these are my update on Project Devil Gundam for today. Keep on steeming! Have a nice day!
Quick access tutorial:
- Fixing broken peg using gunpla runer and several tools.
- Fixing holes using cement and plastic scraps.
- Making C-Joints using pla plates.