DIY Bathroom floor continuation!
Hi fellow Steemians / DIY enthusiasts,
Back today with another edition of my DIY series! This one is one that I'm more than happy to get rolling on with, since it's taken a year just to finish this one section! You can find my first post here about it! We've got work to do in our condo and this is one of the major components of it. Great opportunity to improve the look of our place and get rid of those nasty linoleum floors.
Tools Needed
First things first, you need to have the right tools for the job!
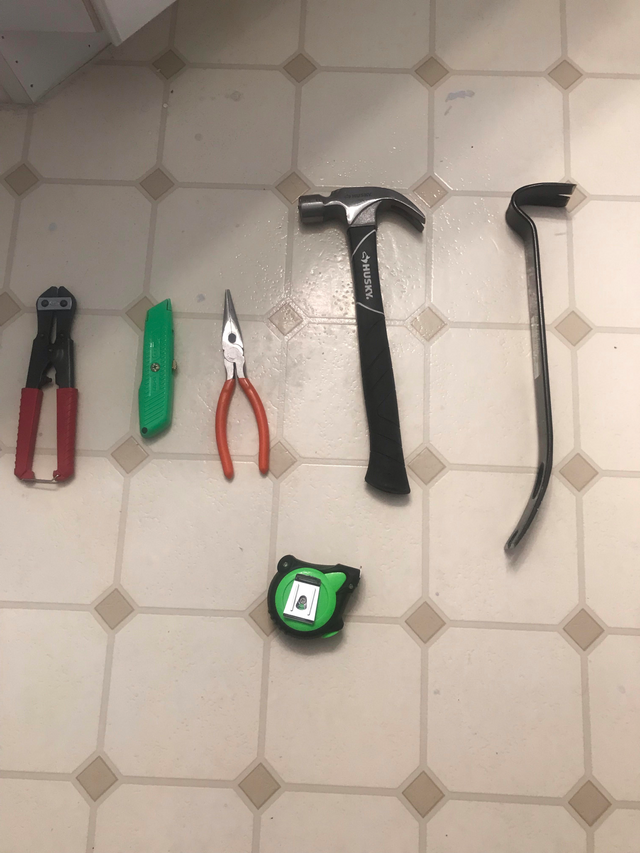
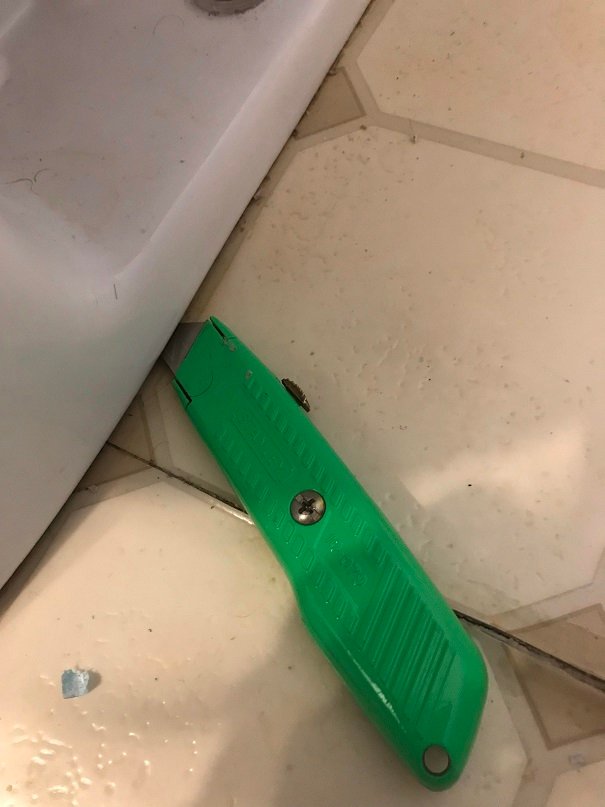
The tools I used are from left to right: metal cutters, razor knife, needle-nose pliers, hammer, prybar and a tape measure.
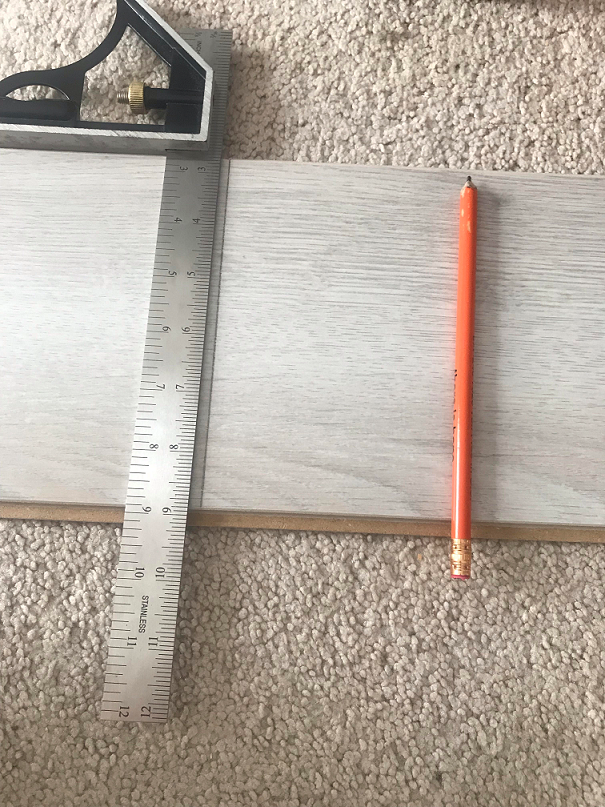
You also need a good square and pencil. Those are vital for accurate measurements!
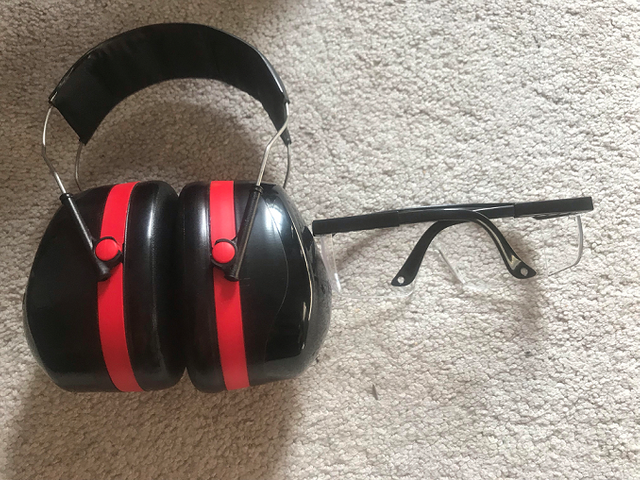
One of the important things to remember is safety when you are working with any tools. A good pair of ear muffs and safety glasses are one of the most important things to own.
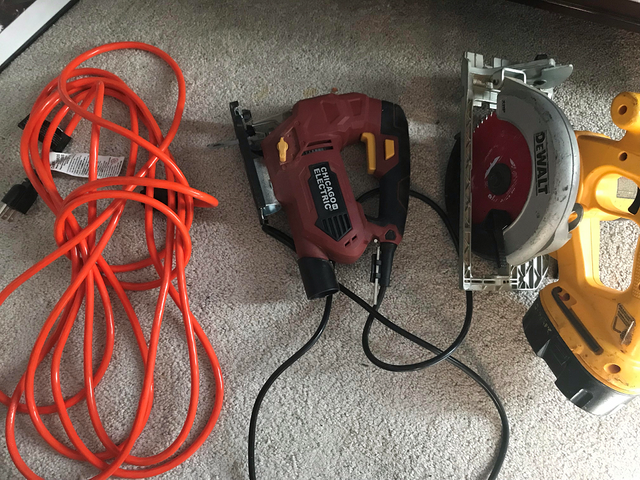
A good circular saw and jig saw are one of the best tips for successfully finishing laminate floors.
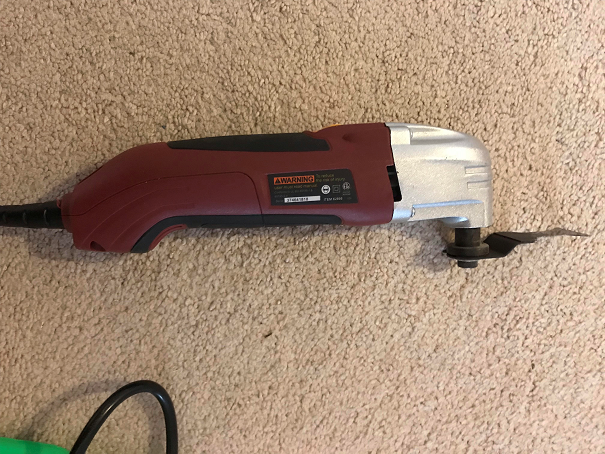
One of these oscillating tools are vital to have as well. As you can see, it has a blade pointing forward which allows you to cut straight ahead. This will be displayed when I post the picture of the trim I cut.
Prepping the area for the work
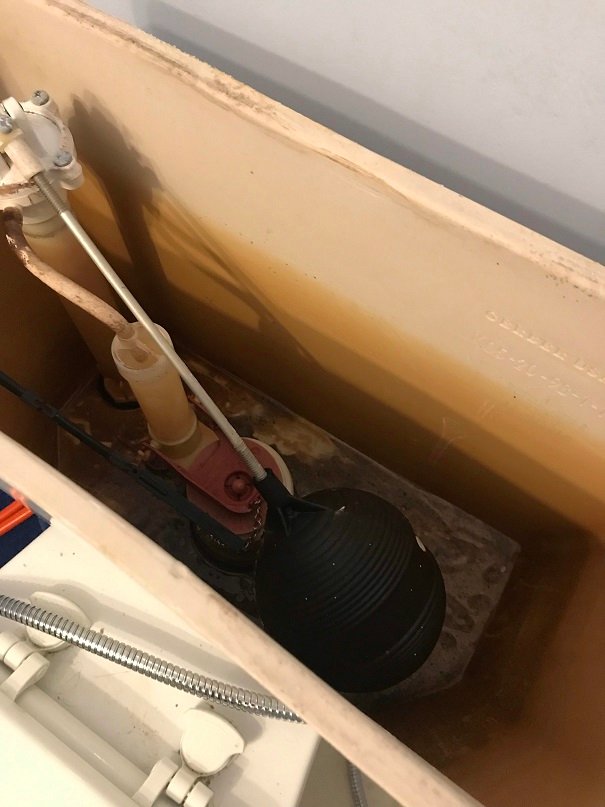
One of the first things to do for this area because it's in the area with the toilet, is to shut off the water valve and drain the tank behind the toilet of all the water. This was a long process with what I was using, but I would certainly recommend a double sided pump of some sort, they are fairly inexpensive.
Once that's taken care of, I moved to getting some of the other parts of the floor taken care of like removing the trim boards along the wall.
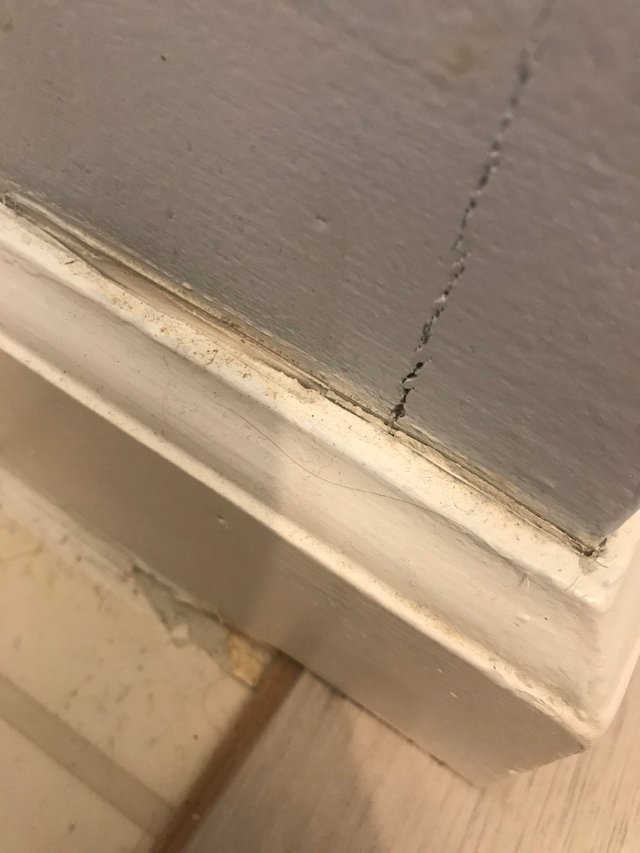
The easiest way to do this with boards that are painted is to use a razor knife and a prybar.
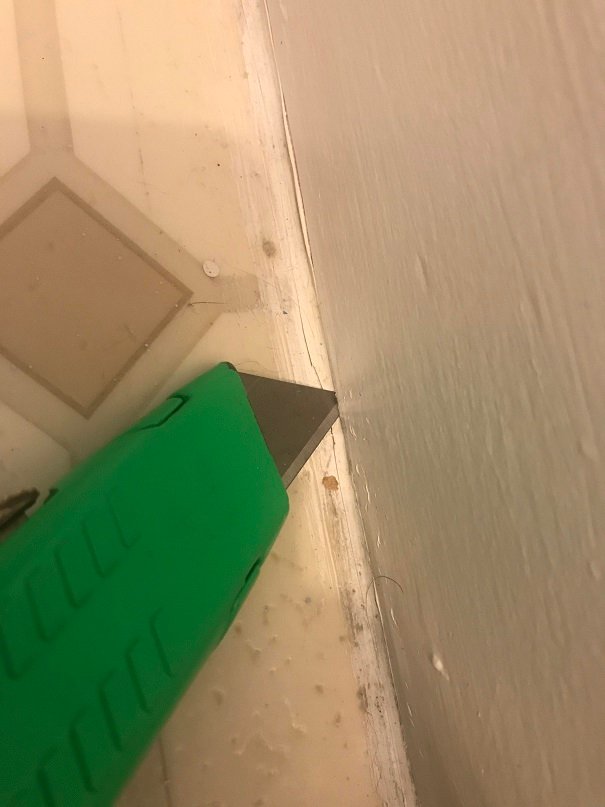
You have to remember to slice the caulking at the top, and if applicable, at the bottom of the trim. Flooring like linoleum and tile have it at the bottom but hardwood/laminate floors typically don't. Depending on the floors you have, you'll have to take a look.
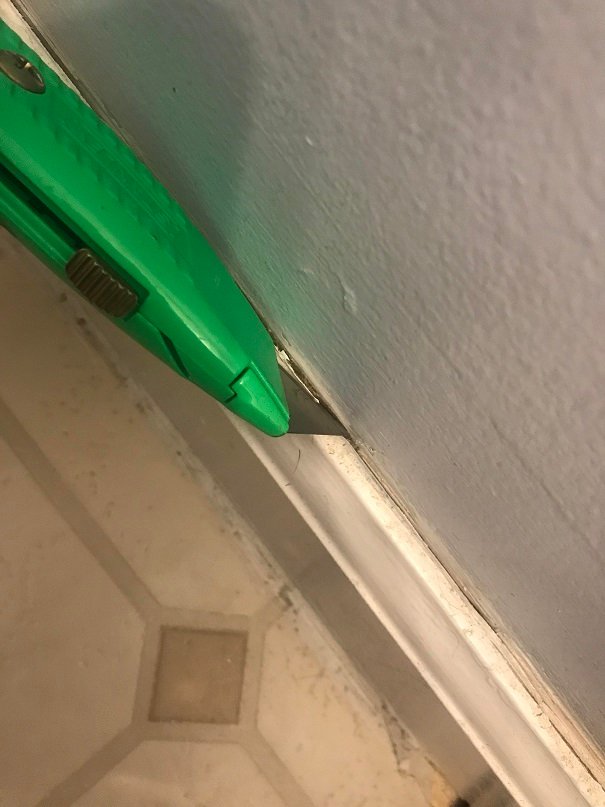
Once you cut the caulking then you'll need to use the knife to gently pry the board away from the wall. Once it's a bit from the wall, put in the prybar to just coax it away from the wall if you plan on putting the trim back, which is what I did. Just move the prybar along the wall and just do this to all of the trim boards.

Once I took the trim off, I found out how close to the wall the last board I used was to it lol pretty accurate!

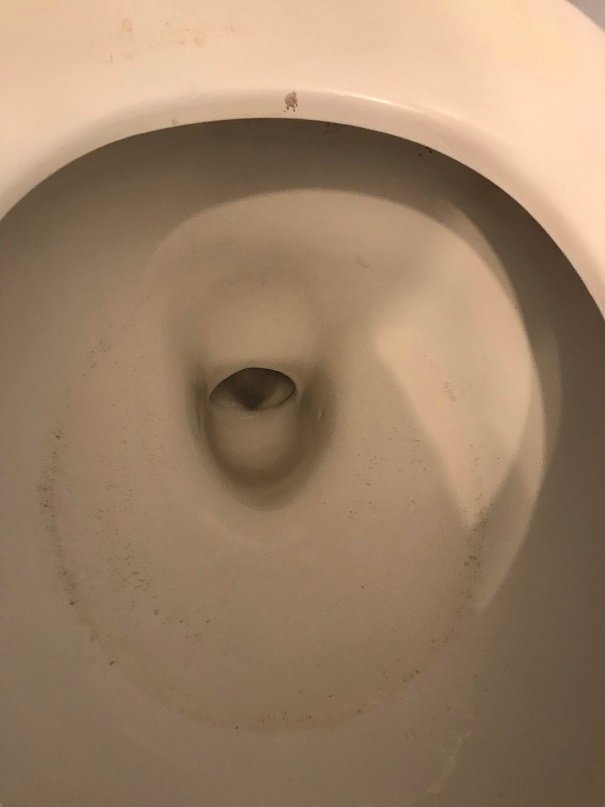
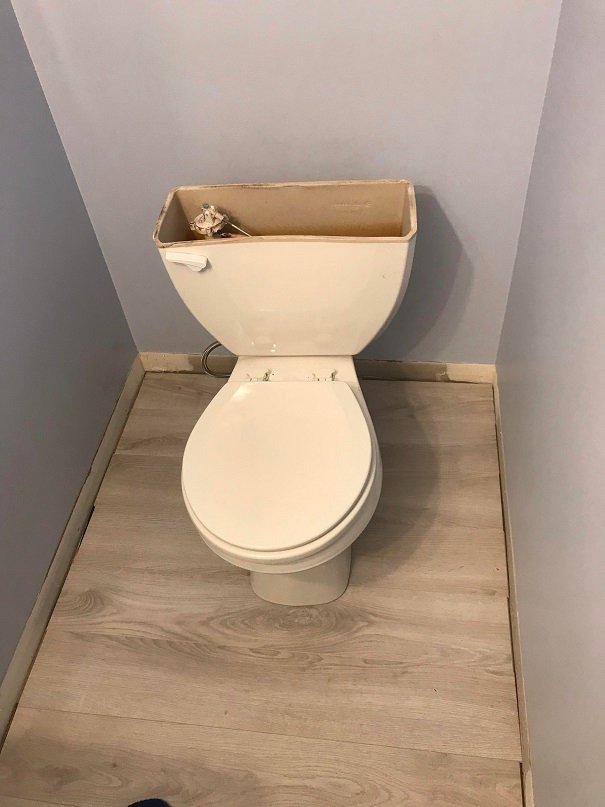
Once that's taken care of, you're going to want to drain the water from the toilet bowl. (note, that's not poop or anything gross in the toilet lol it's the sediment from the toilet tank, I drained the water from the bowl and dumped it down the toilet.) You're going to want to remove the water because once you pick that toilet up, any water in the bowl will just make a mess of the floor, so less clean up! I also cleaned the toilet with a bleach toilet bowl cleaner that way I'm not touching nasty stuff.
Once that's taken care of, you can proceed with dismantling the toilet. Starting with the wall water valve.
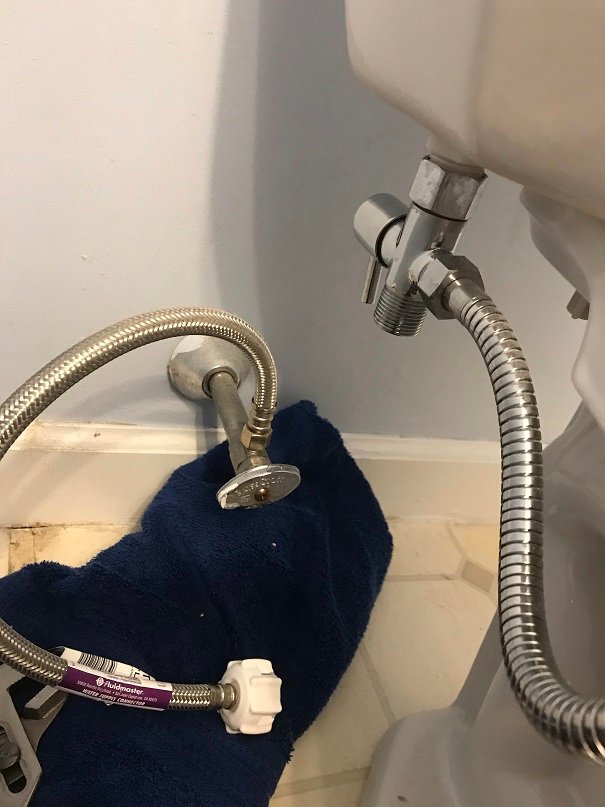
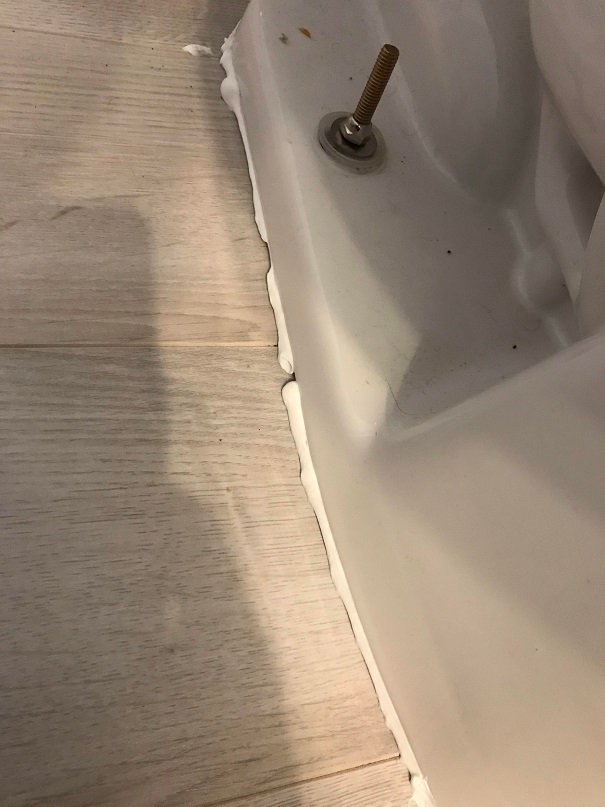
Once the water valve is taken care of, then remove the bolts from the sides of the toilet. Once the bolts are off, I ran a knife under the toilet to make sure any caulking that was there is removed.
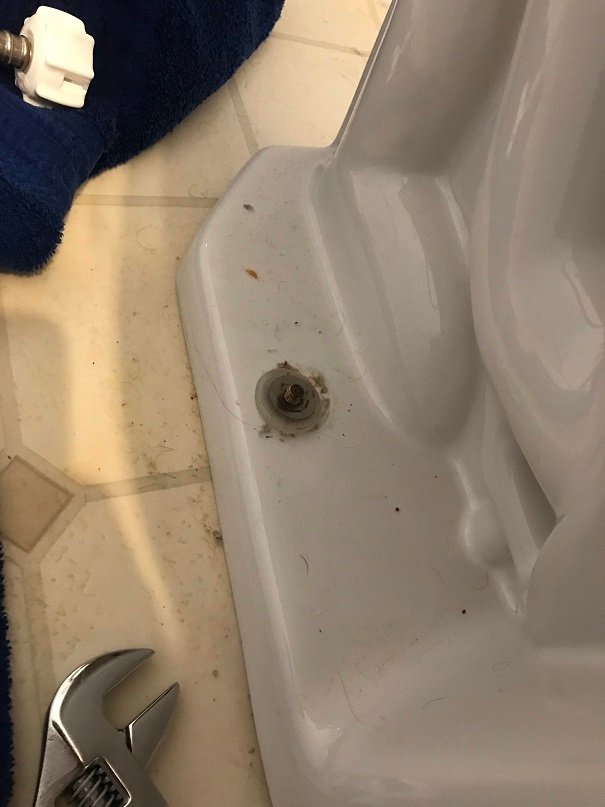
Now you're ready to pop the toilet! They are incredibly heavy, so be careful. It's one of the most important things in these types of work, to have good body mechanics. Lift with your legs and knees and not your back! Keep your back straight, either bent over your knees or standing up, but straight, and use your arms to tuck it towards your core a little bit. I was walking kind of like a crab, looks funky but it's a solid way to move it without ruining your back for months or the rest of your life.
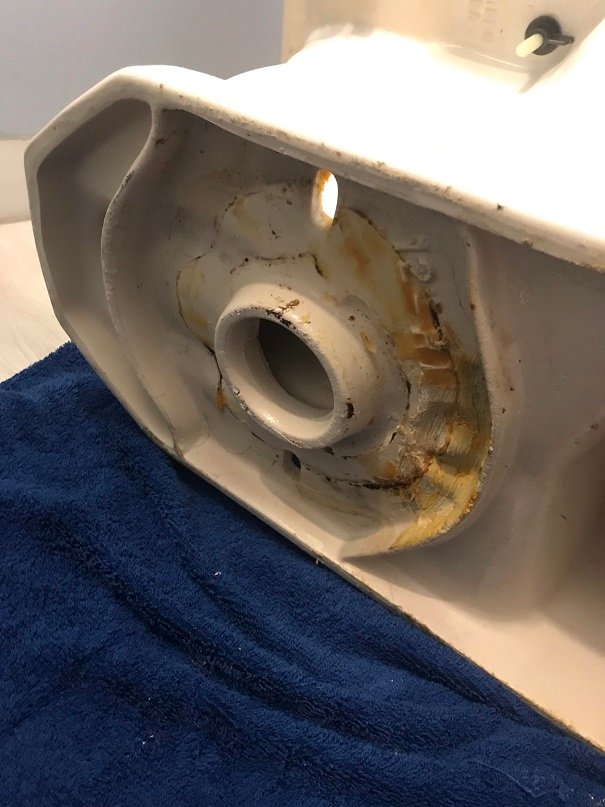
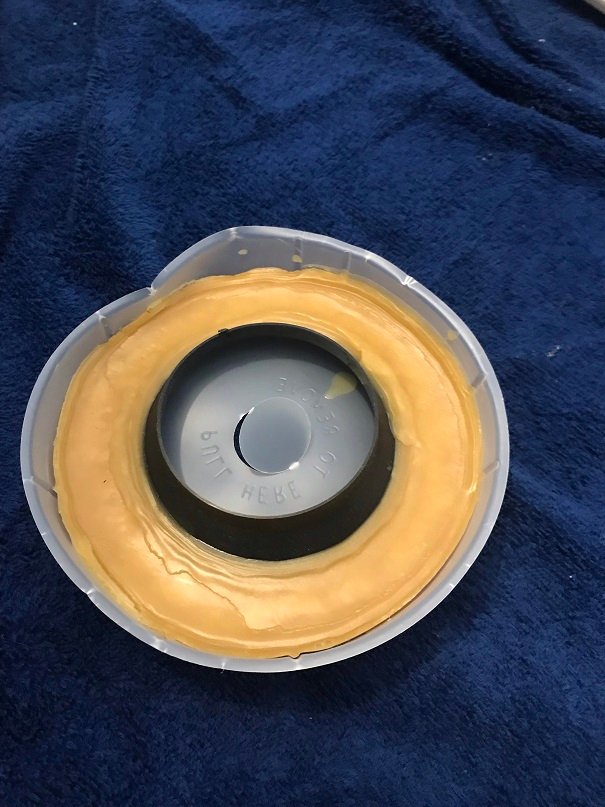
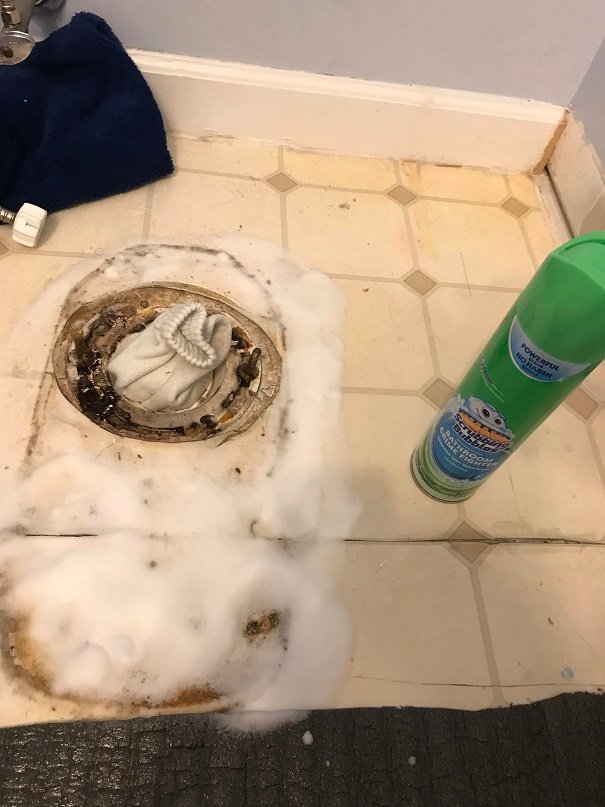
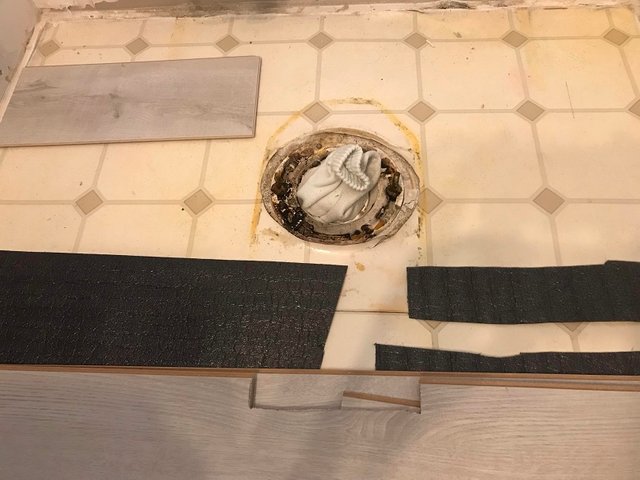
Once the toilet is up, set it down outside of the work space so you can move freely. It's a great idea to put a sock or rag in the hole in the floor otherwise you get disgusting sewer smell up through it, especially if there is suction going on such as central air/heat or a door/window is open, gross! Once you have it plugged, back to the toilet. Best thing is to remove that wax ring from the bottom of the toilet because you're going to be replacing it any time you remove a toilet. The new wax ring goes on the same spot, it's a circle so it's easy to figure out which way to put it. I picked one with a plastic ring on the bottom to guide it down the right spot, right down into the pipe.
Now that the toilet is up, I cleaned the floor to get the nasty crud off it so I'm not sitting in something awful.
Putting down the floorboards
Once it was clean, I kept moving with putting down some boards until I reached the edge of the toilet section, thankfully I didn't have to do any major cutting magic. It was very straight forward for once!
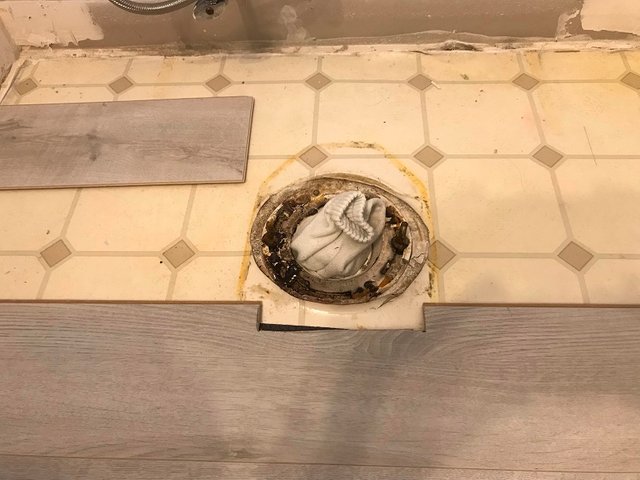
I cut a little notch in the board to line up with the edge of the toilet, no need to be fancy because the toilet is going to be sitting ontop of it so you can make it a little ragged. I then cut boards for either side of the toilet opening and moved over to the other side of the opening, I used a pencil to make rough marks of where I would be cutting.
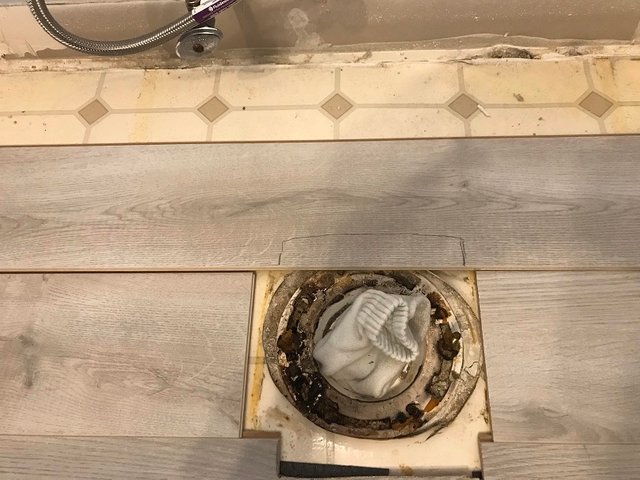
I then moved forward and brought the boards as close to the wall as I could.

I had to use my tape measure to find out the distance to the back wall and made a cut of the last board. This was definitely the fastest and easiest part of the bathroom job!
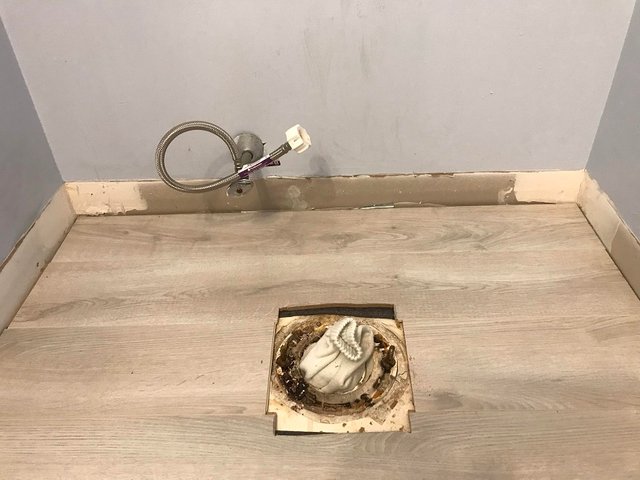
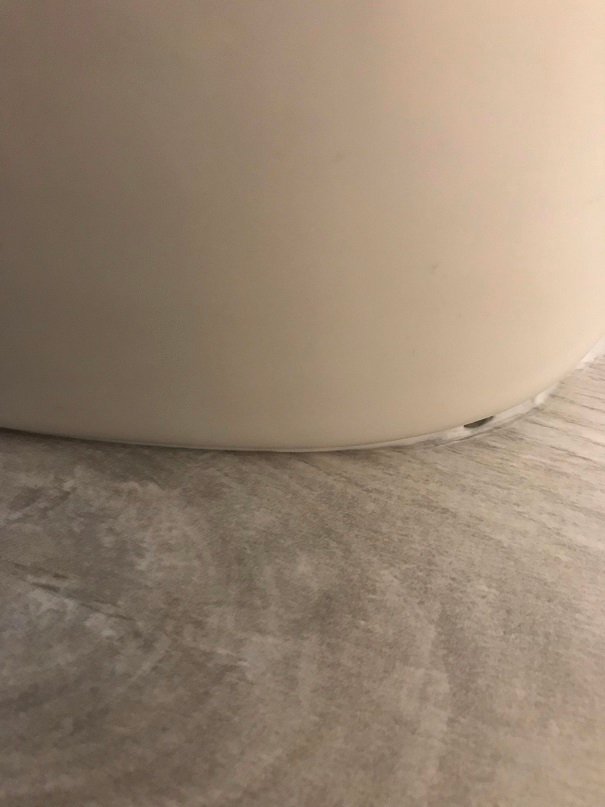
Looks like I unfortunately forgot to include the picture of it, but I had to put in a spacer on the floor so that way the toilet won't leak around the opening.
Once you have the ring on the toilet, the spacer is put on the floor, then you're ready to pop the toilet back into place!
Once the toilet is back in place, secured on the bolts, you're going to want to caulk the rim of the toilet to the floor so that way it won't wiggle when it's finally in place. Once the caulking is there, clean it with a rag or paper towel by pushing it against the floor and the rim of the toilet to tuck it under the toilet itself.
I then moved back to putting the trim back into place, but one thing I really made the mistake of is not putting the board behind the toilet back before I put the toilet back lol. That wasn't a fun mistake! I thankfully didn't have to break or cut the board, I was able to maneuver it back into place after quite a bit of frustration, but next time I am definitely going to put it in place before putting the toilet in.
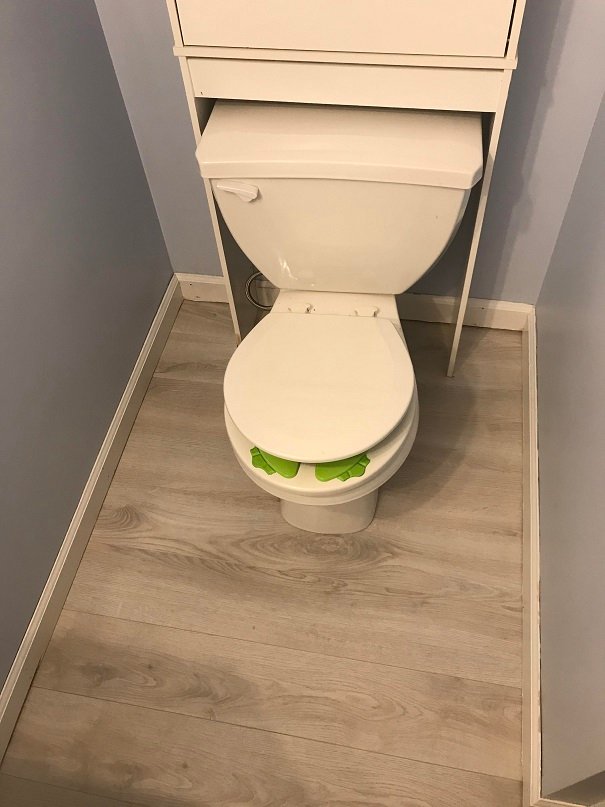
The semi finished product! I still have to caulk the trim back into place on the top and put some extra trim along the floor to hide some of the imperfections.
Next project on my list: completing the boards underneath the washer and dryer!
DIY 2011 Nissan Sentra spark plugs ; DIY Tomago Cages ; Securely Hanging a Cabinet ;
Joint Compound on Ceiling ; Washing Machine Drain Pump ; Bubble wrap insulation on a wall ; Finish work in the bathroom ; Bubble wrap on windows ; Laminate floors in a bathroom ; Ball joints on a car
Connect with me!
Did you enjoy this post or my other posts? Please consider following me for more! @cmplxty
Do you want to get paid, in crypto, for searching the internet? Try using and signing up for Presearch to earn some great crypto! I've currently got 579 PRE tokens, with a market value of $2.21. It doesn't sound like a lot but when you search using sites like Google you get paid $0! Join Presearch to break Google's stranglehold on the internet searches. If you'd like to sign up, use my referral link below and spread the word!
https://www.presearch.org/signup?rid=513043
Still using Steemit.com? Upgrade! Steempeak is a much better user-interface, gives loads more information at your fingertips and has some great developers behind it. Give it a try, go to www.steampeak.com and see how much easier it is. You just need to use Steem Connect, one of the most secure ways to log into other Steem frontends.


This post was shared in the Curation Collective Discord community for curators, and upvoted and resteemed by the @c-squared community account after manual review.
@c-squared runs a community witness. Please consider using one of your witness votes on us here
Awesome thanks! First one from you folks, I’m honored!
You have been curated by @freedompoint on behalf of Inner Blocks: a community encouraging first hand content, with each individual living their best life, and being responsible for their own well being. Check it out at @innerblocks for the latest information and community updates, or to show your support via delegation.
Thanks for stopping by and the curation! I’ll give you folks a look to see if I can help in any way!
Very intersting project:) I liked the way you presented it with all the details and the safety measures we must take:)
Thanks for stopping by! It’s a lot of fun doing things on your own, plus it’s great if someone does some basic explaining. Safety is very important to me, I’ve seen lots of friends get their bodies messed up bad by being careless, I don’t want anyone to wind up like that!
Posted using Partiko iOS
Yes in this homemade projects we forget about safety which is the most important.I saw too a lot of things go wrong and try to always keep it in mind:)
Hi cmplxty,
Visit curiesteem.com or join the Curie Discord community to learn more.
Awesome thank you I’m honored!
What a beauty
You made it look so easy and clean
What a different certain materials make in a bathroom.
Thanks for stopping by! Changing the materials definitely makes big improvements, especially on a floor.
Congratulations @cmplxty! You have completed the following achievement on the Steem blockchain and have been rewarded with new badge(s) :
You can view your badges on your Steem Board and compare to others on the Steem Ranking
If you no longer want to receive notifications, reply to this comment with the word
STOPI love the tutorials, they are very entertaining for me because they explain it with photos and they are very detailed!
Thanks for stopping by! I enjoy showing others how to do things, so it was great to do that here on Steem. Hopefully someone will get some motivation and do a small project for themselves!
That new flooring is 1000000000% a lot better than the lino ones !
And you're super handy with your home improvements talents, wow !!
Congrats for curie, as well :)
Thanks! I certainly try to be handy. It saves us a lot of money but it’s also fun for me. The new floor looks so much better than that other junk!
Well done! I like that you shared so many details from the process. And I liked that you did it all by yourself without asking someone to help you!
The curie vote is very well deserved here :)
Thanks! I’m honored to receive the curie vote! Hopefully I can inspire someone to do something small for themselves in a DIY fashion so they can learn then expand from there.
How can cleaning be easily done there?
I know when I had to clean the floor of the bathroom and it was just horrible because I couldn't clean something correctly. And later, I discovered I could not find the ways and methods to do this correctly. And now I've found information on best bathroom floor cleaner https://cleaningproductslab.com/best-bathroom-floor-cleaner/ and now you can choose between several options. I have done it myself more than once, because the truth is that it writes about these means at least.