7 Years in the Making - The Finale - Restoring and Rebuilding a 30 Year Old BMW
Almost there
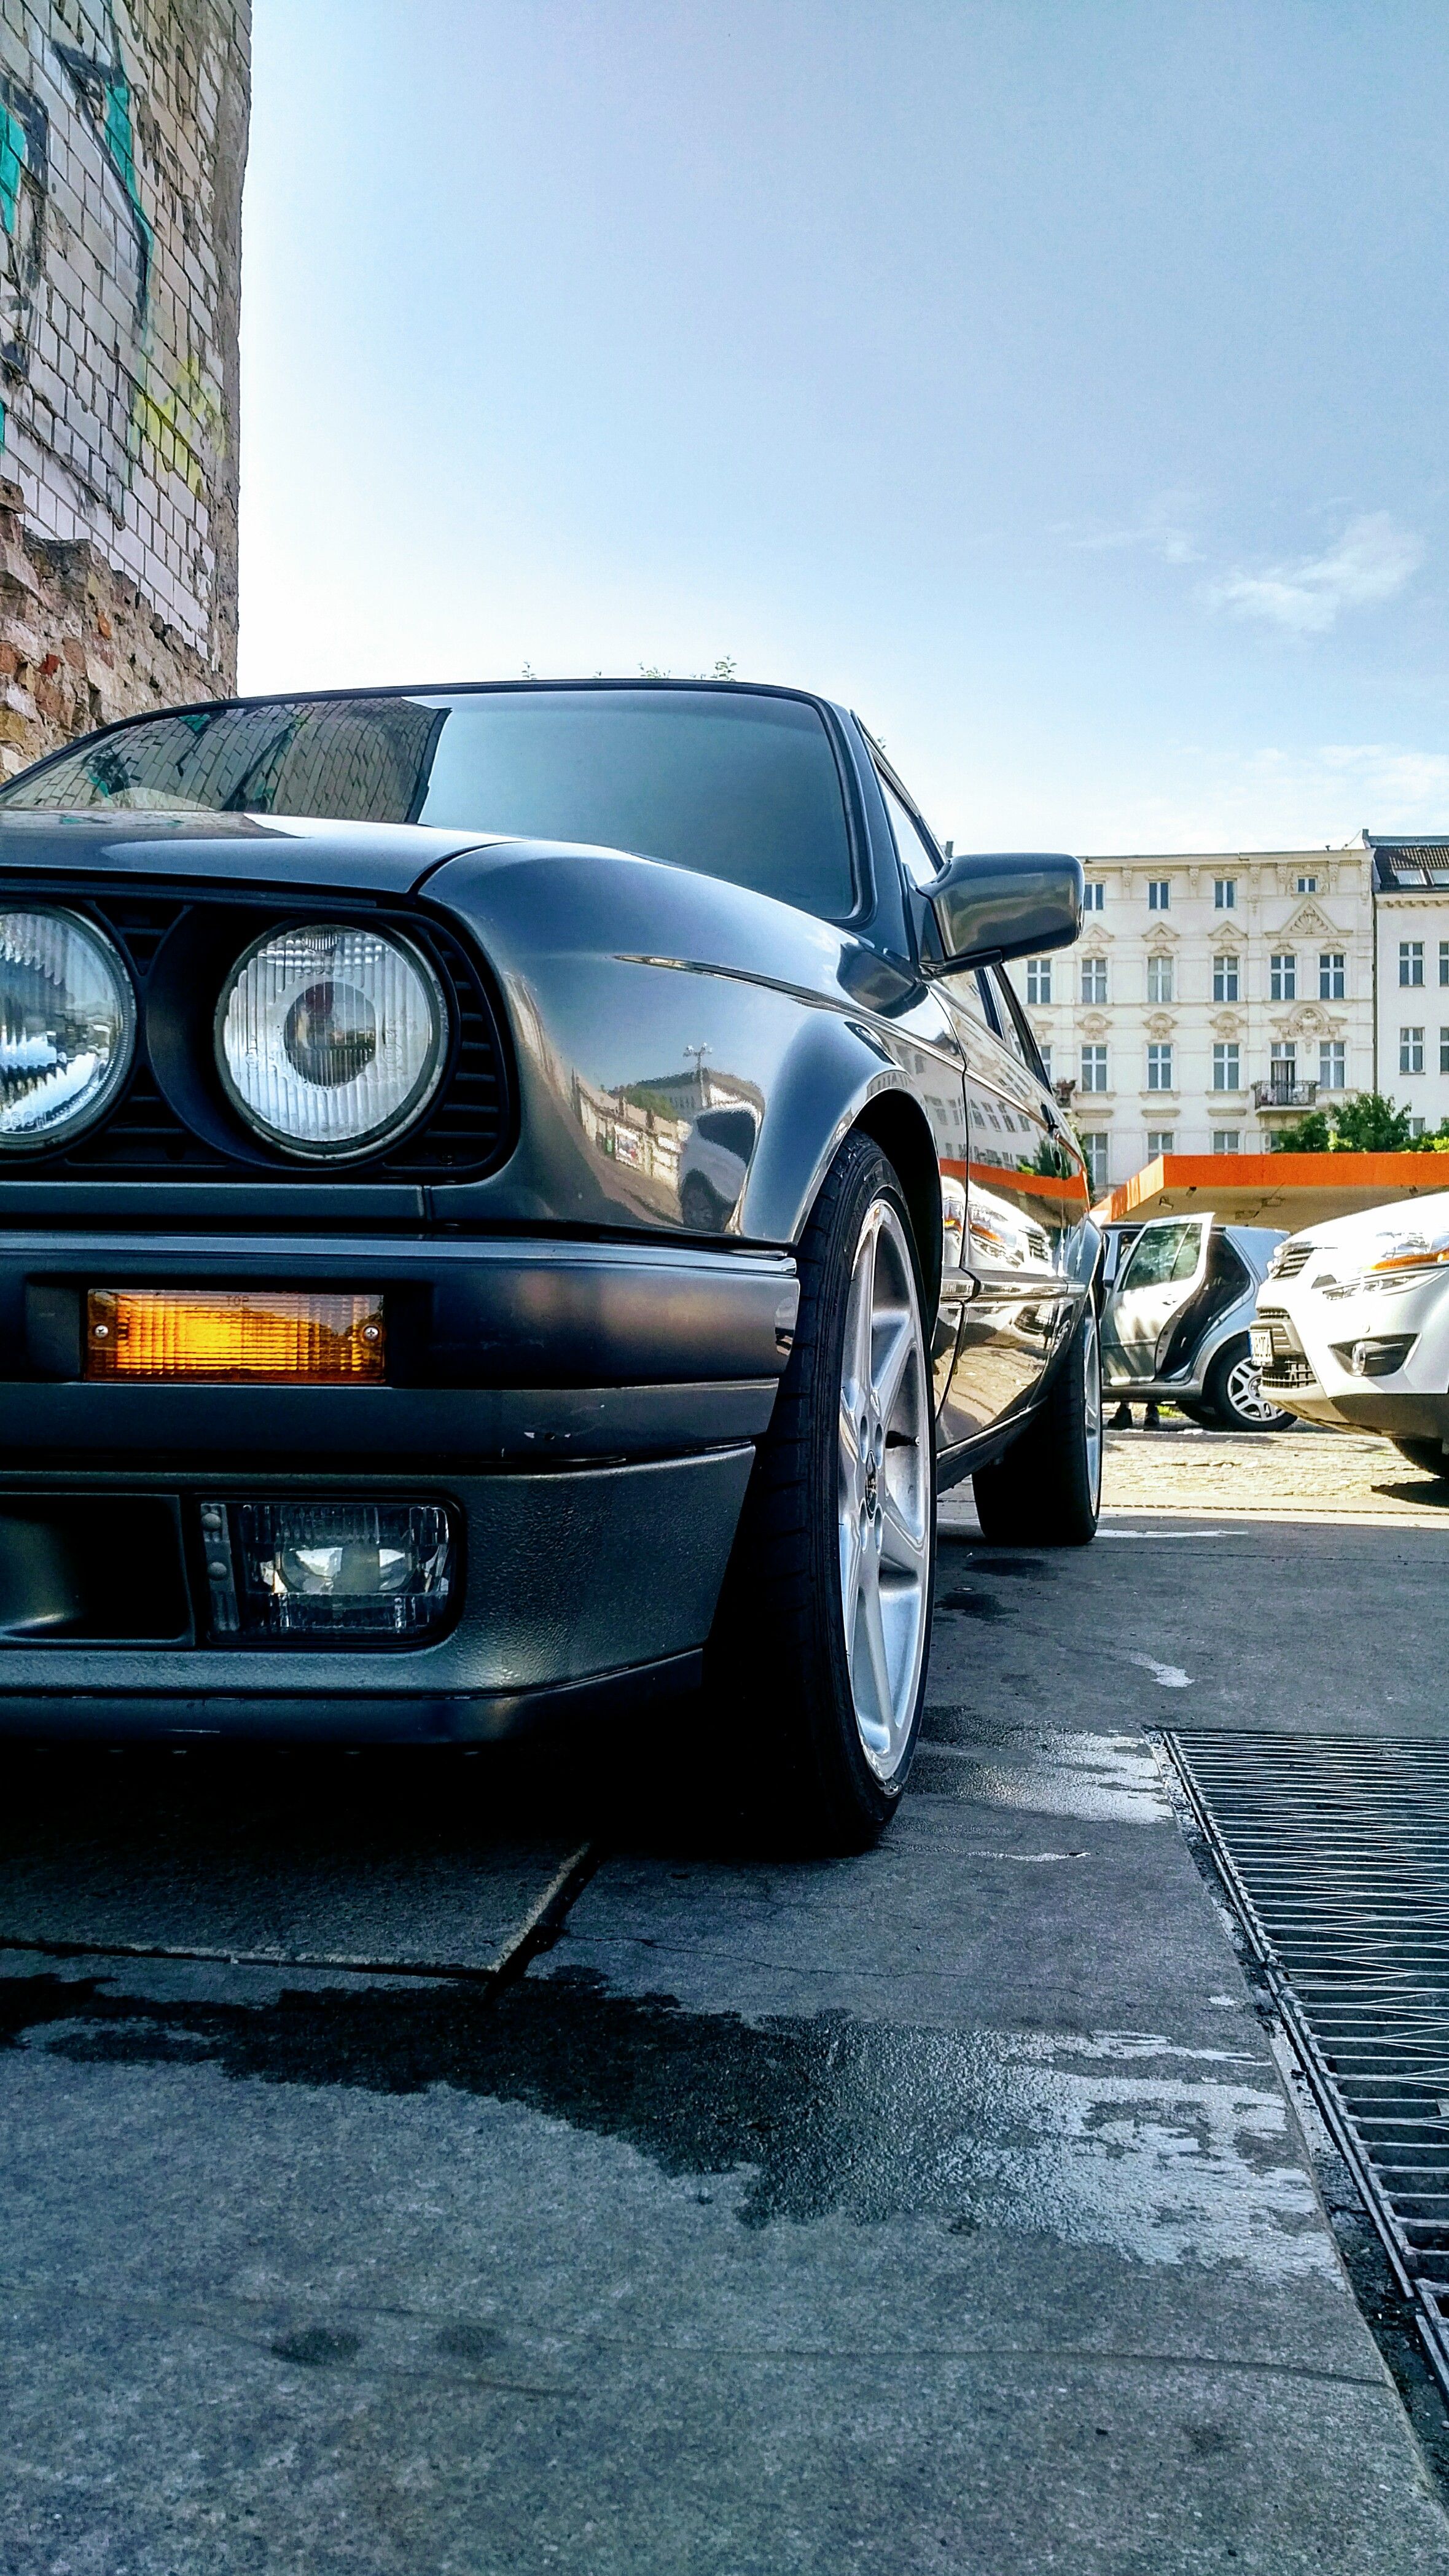
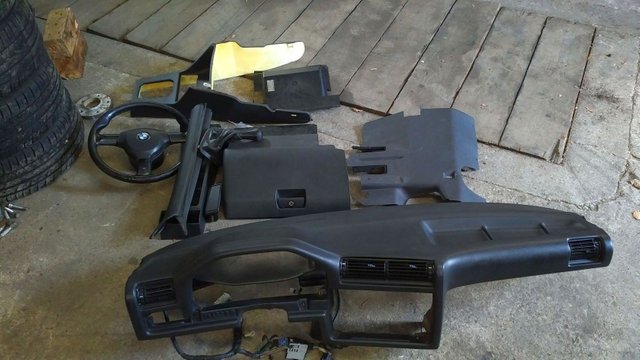
Remember this one?
After writing the most extensive and detailed blog (part 5) of this project and the immense interest about it on here I figured I'd revise and repost this epic piece of petrolhead mania in case some of you missed it. Now extended and completed.
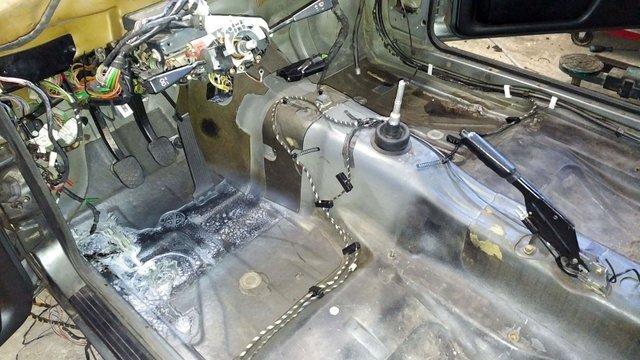
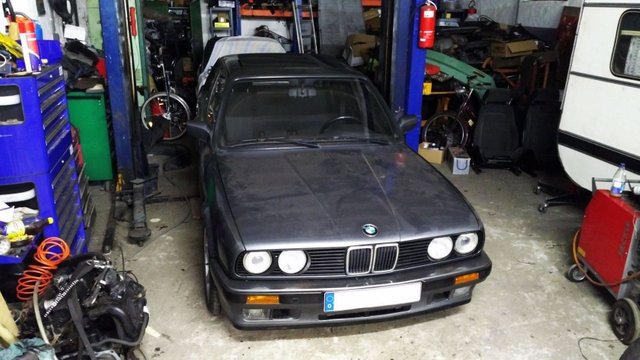
This is my 1987 BMW E30 sitting in the shop in the exact spot it was assembled a second time and (seemingly) brought back to life after 8 years of sitting in a shed out in the countryside.
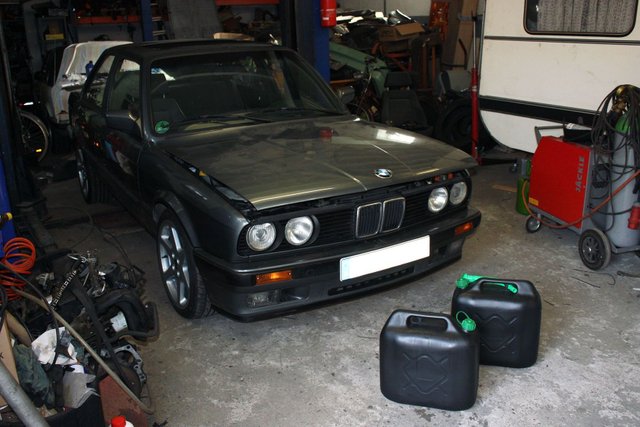
What are those two canisters doing in front of the car? I'll be getting into that but before we start let's have a laid back engine startup while it's working...
When I began this blog I told you that near the end there'd be some serious pain in every regard as this car viciously refused to be brought back on the road and that I'd get into detail on those issues. Consequently it is a nice documentation of any and every issue that you could possibly encounter with a classic BMW of the 80s era. If you have an M20 engine or an E30 you'll find this highly interesting. If you're generally into cars, classics, restoration or BMWs it will also give you a good general insight of the electric and mechanical issues that these cars even though they're simple compared to today's spaceships can still give you.
An optimistic start
Lesson learned: Before doing anything when restoring a car is the moment you have it completely assembled, running and braking with all lights working and no fluids leaking you bring it to the technical check of whatever government authority controls roadcars in your country. There is nothing worse than putting finishing touches on a car you built only to find out at the end that it won't get a registered plate because of xyz some nitpicking engineer finds and refuses to ignore. Sometimes they even give you actually useful feedback on your built.
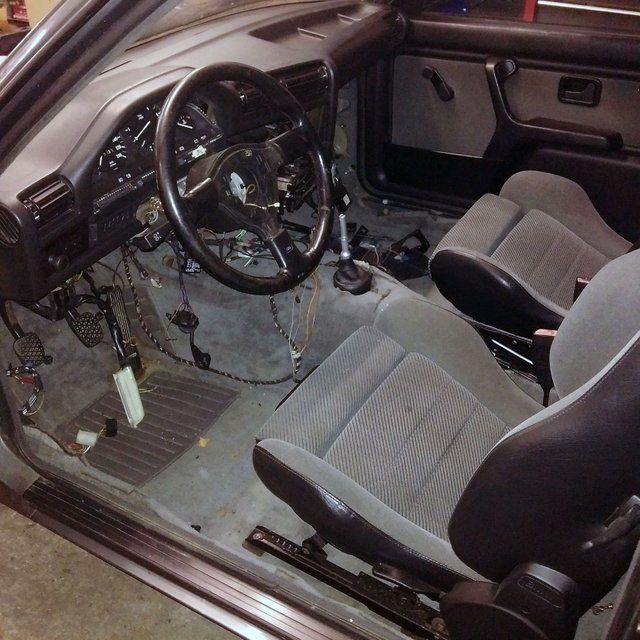
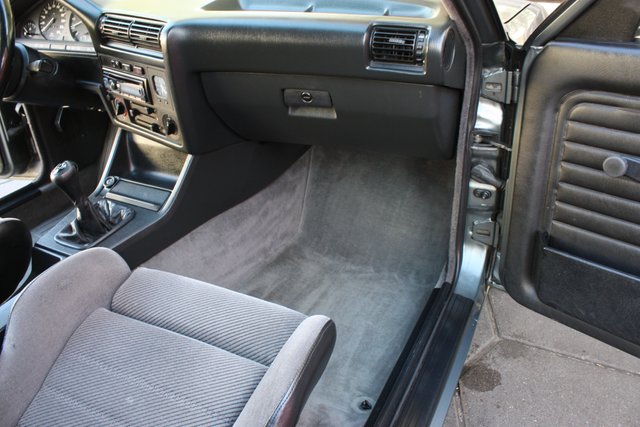
So after 9 months in this shop and after sorting out the cables and putting in the dashboard, carpet and seats
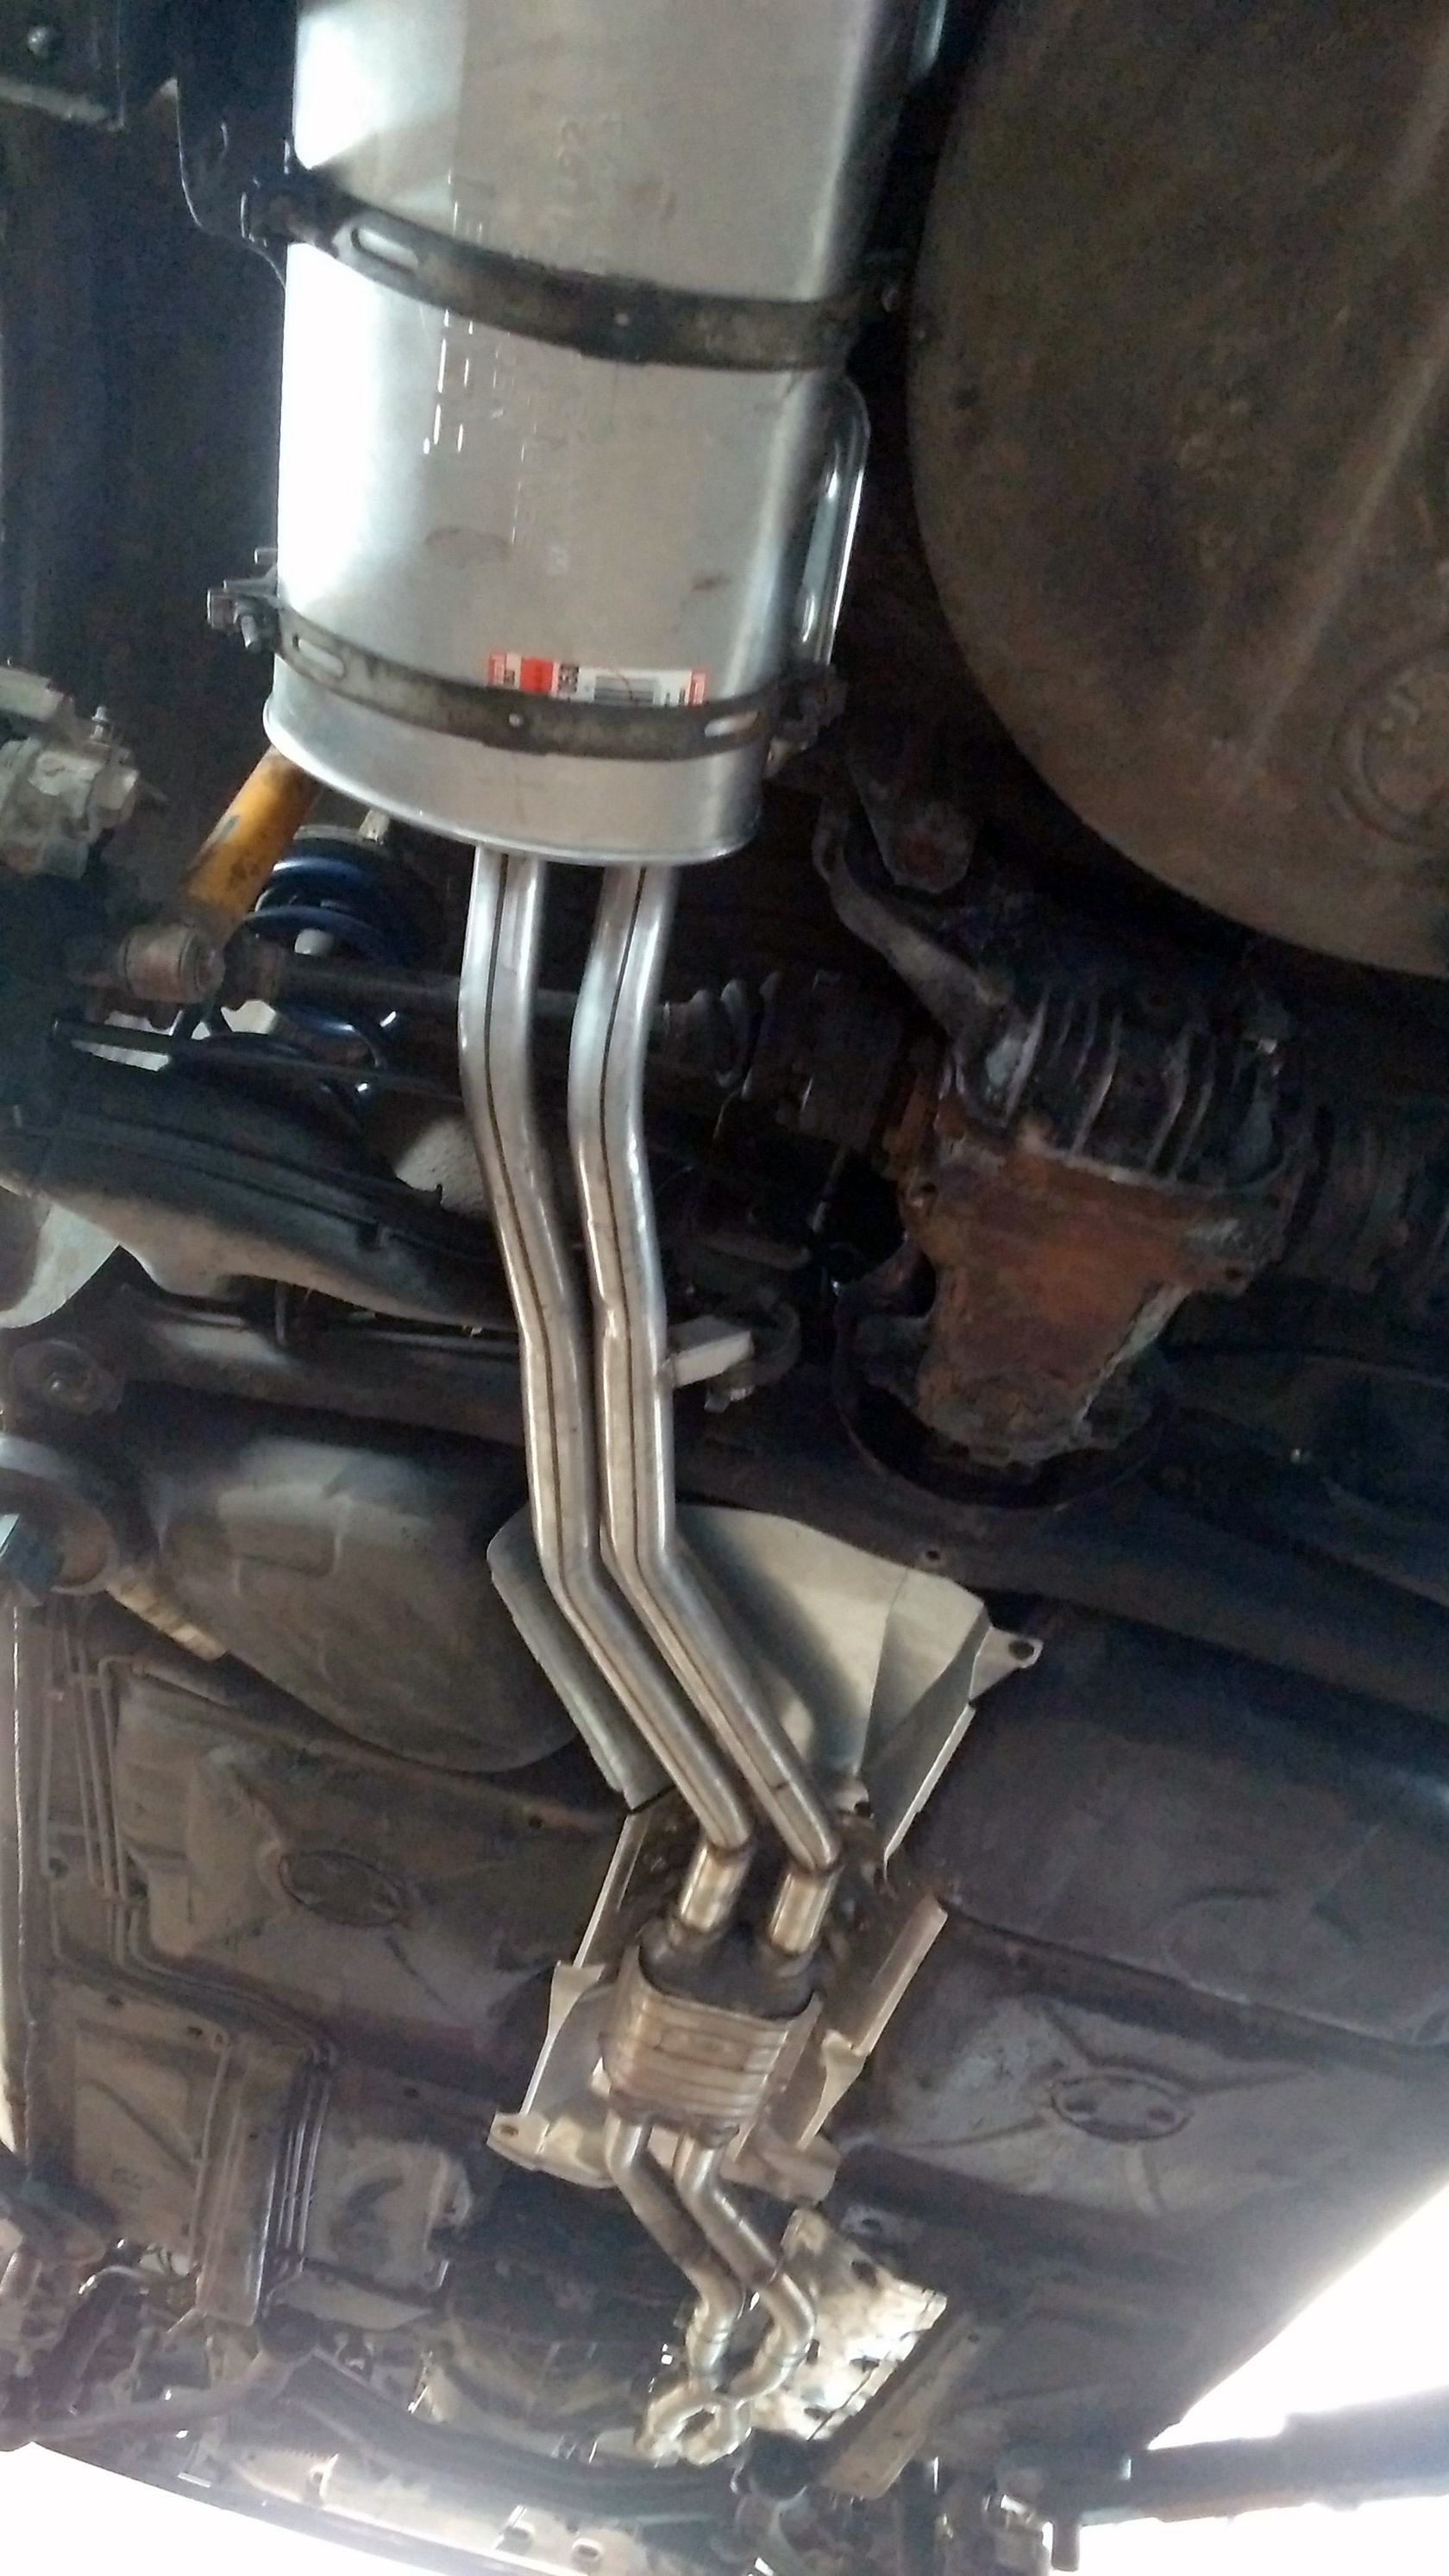
and having the exhaust setup figured out including lambda node
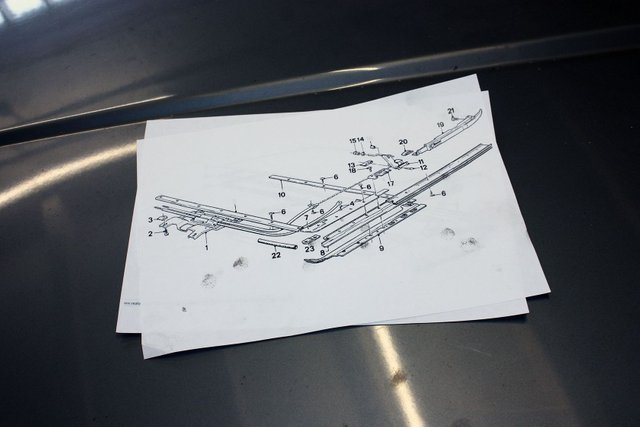
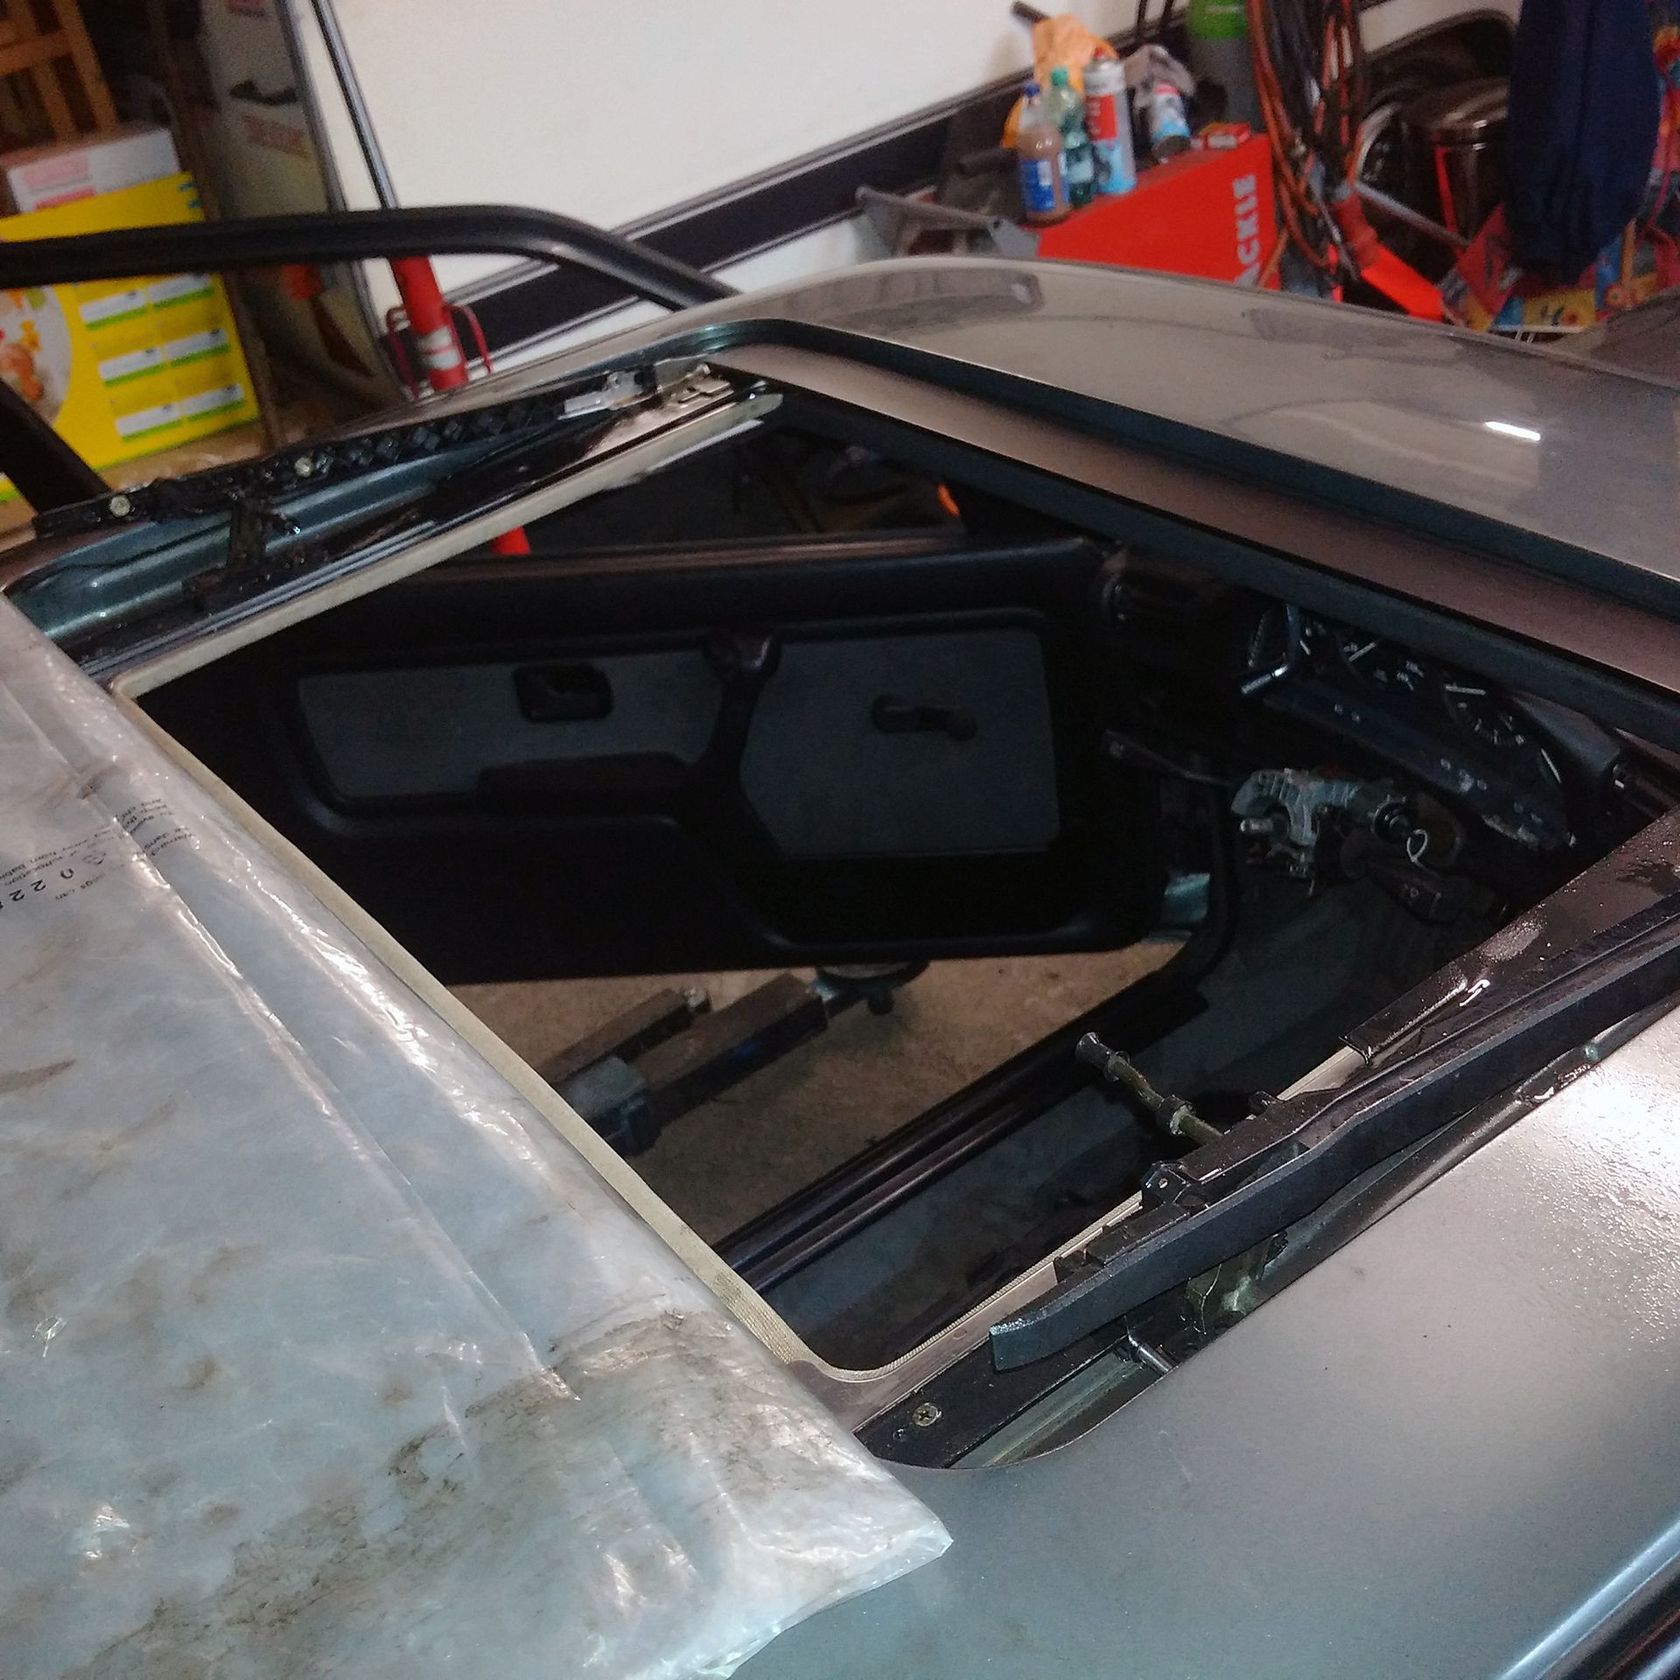
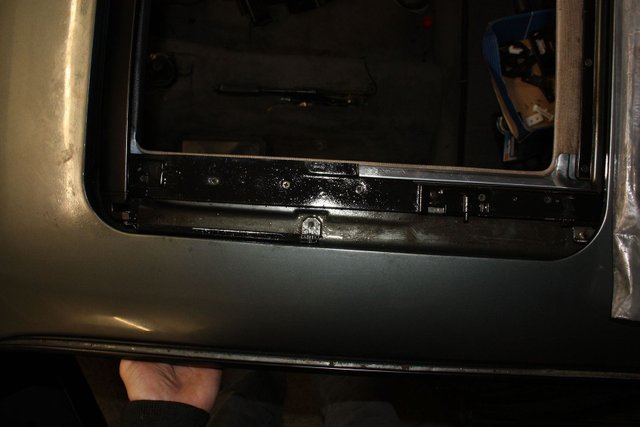
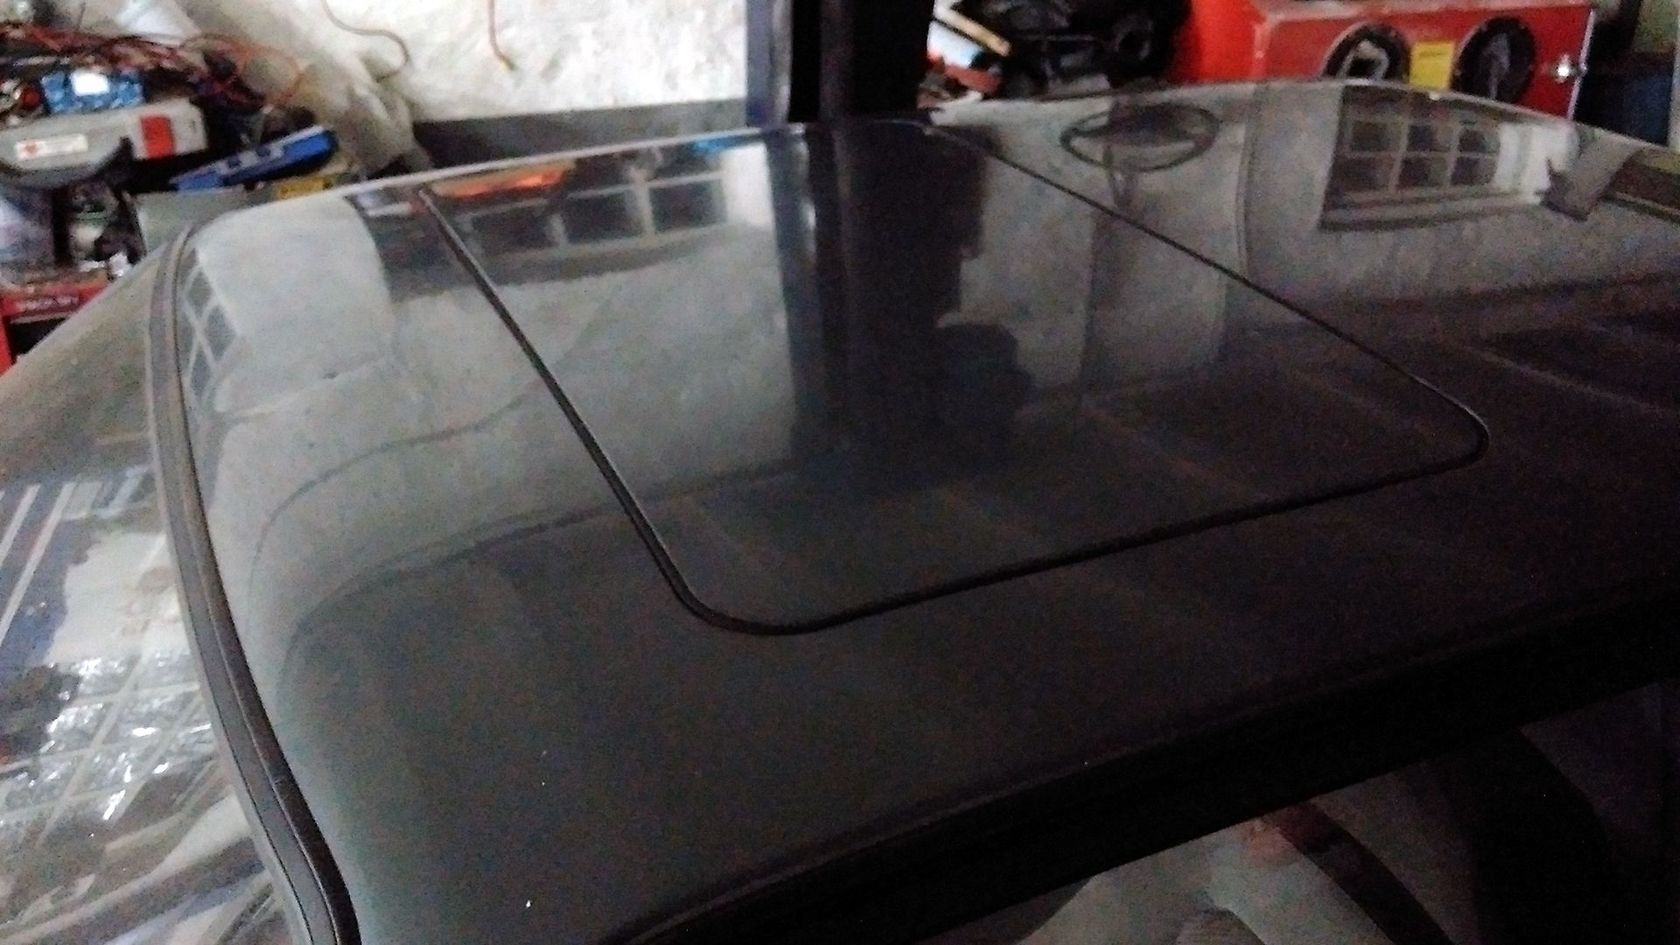
and putting the sunroof back in which is really only possible with this drawing except you've done it a 1000 times. It is tedious, complicated and hard and there is no shortcut. Mind you I'm not talking about the sunroof itself but the rails and the entire assembly which makes it a good 3-4 hour job. I got it done in 2 by starting early and with lots of coffee:
it was time to carefully navigate it out of the shop into the open air:

Off to the tech check...here the results:
ABS lamp on - functionality unknown
Lightning system works fine
Brakes work fine
Suspension works fine
Dampers work fine
Engine runs way too thick, too much gas or injection too early
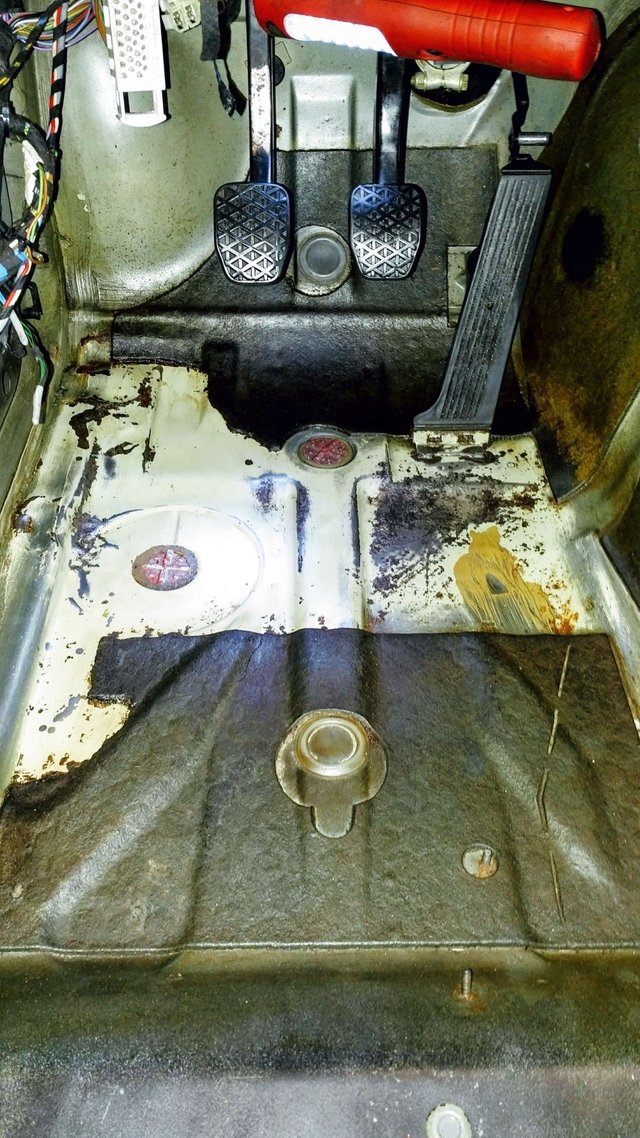
Rust below the pedals in the driver's side floorpanel, the guy was so nice as to ram a screw driver straight through the panel :)
Horn doesn't work
Windscreen wipers don't work
Emissions test failed (related to the injection problem)
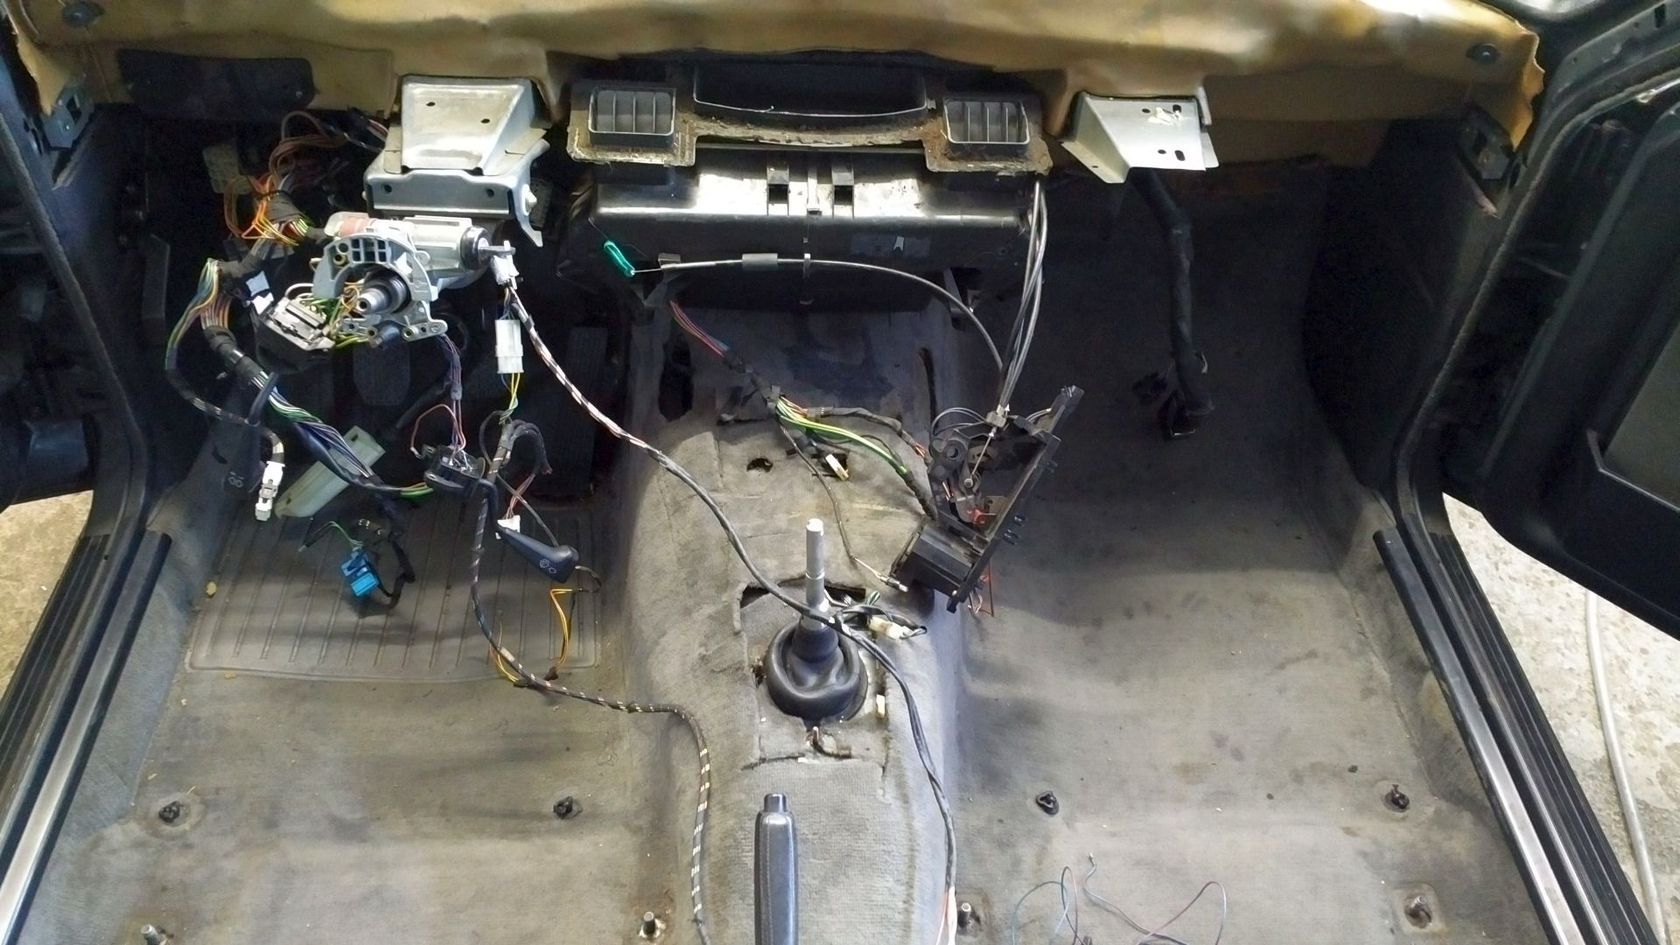
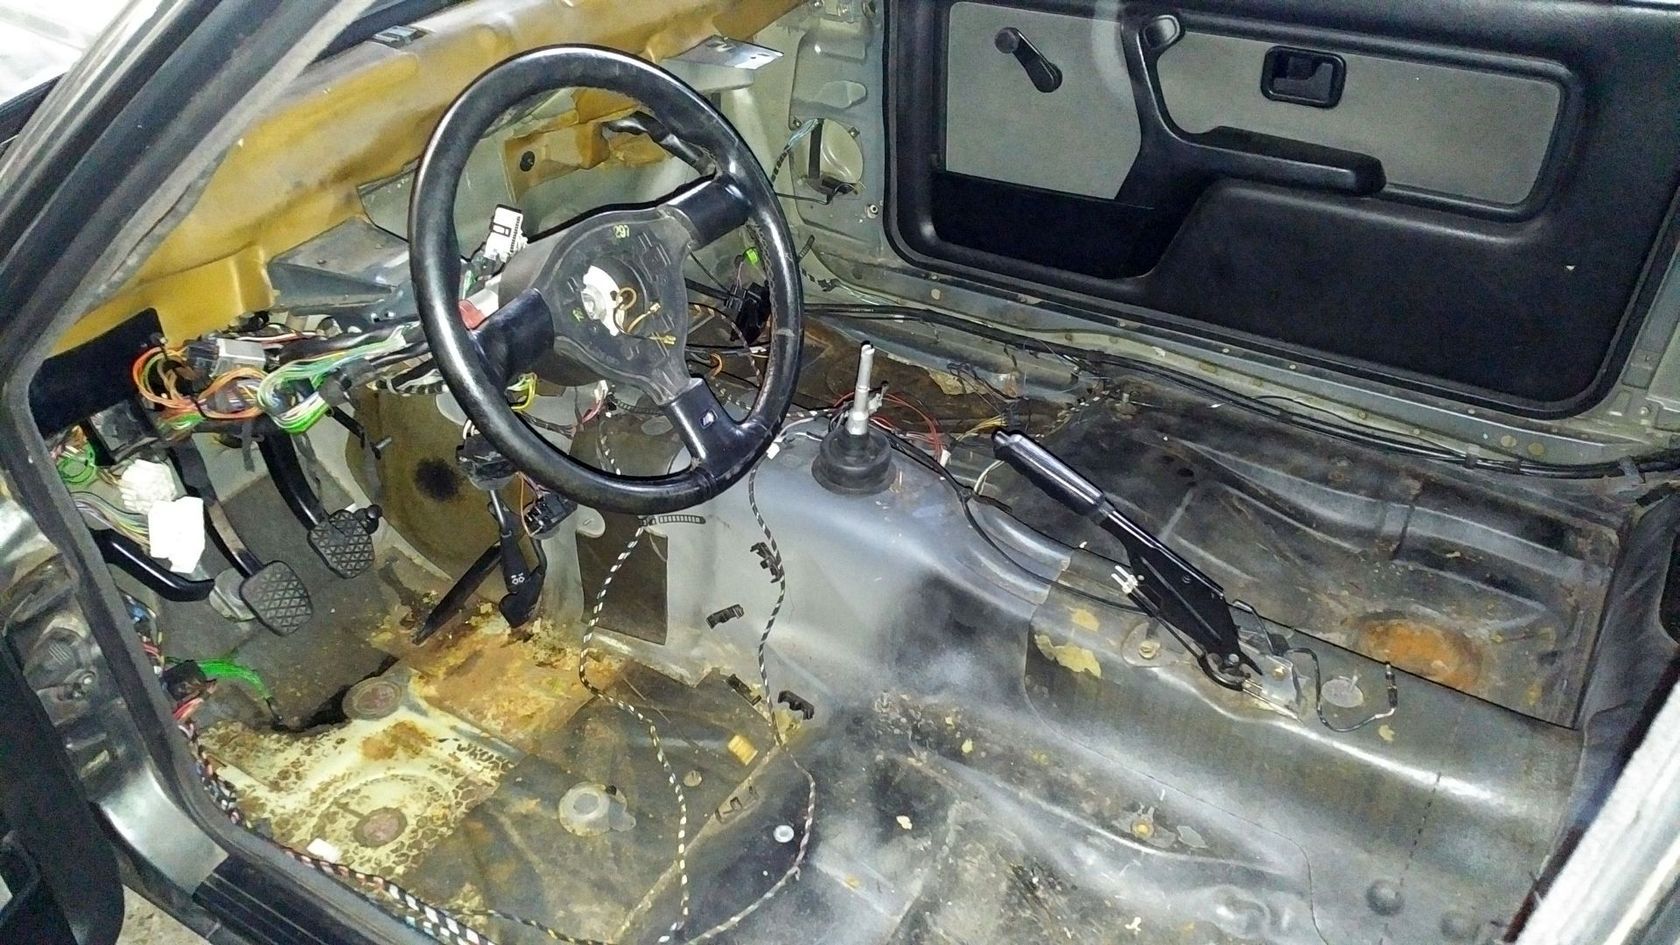
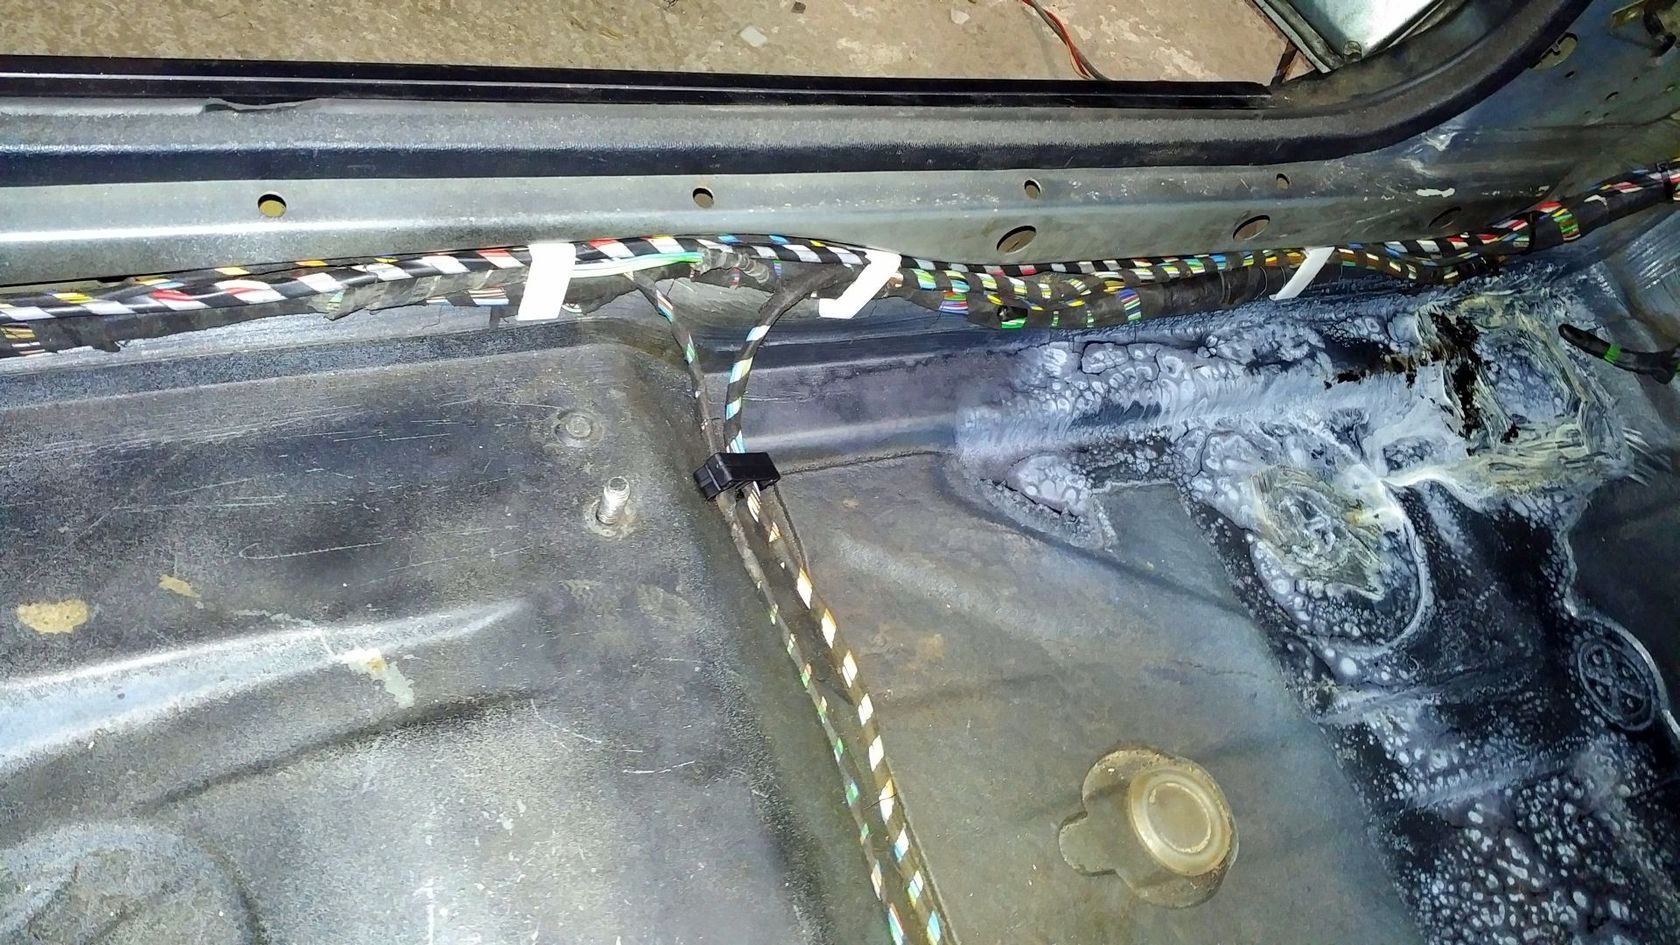
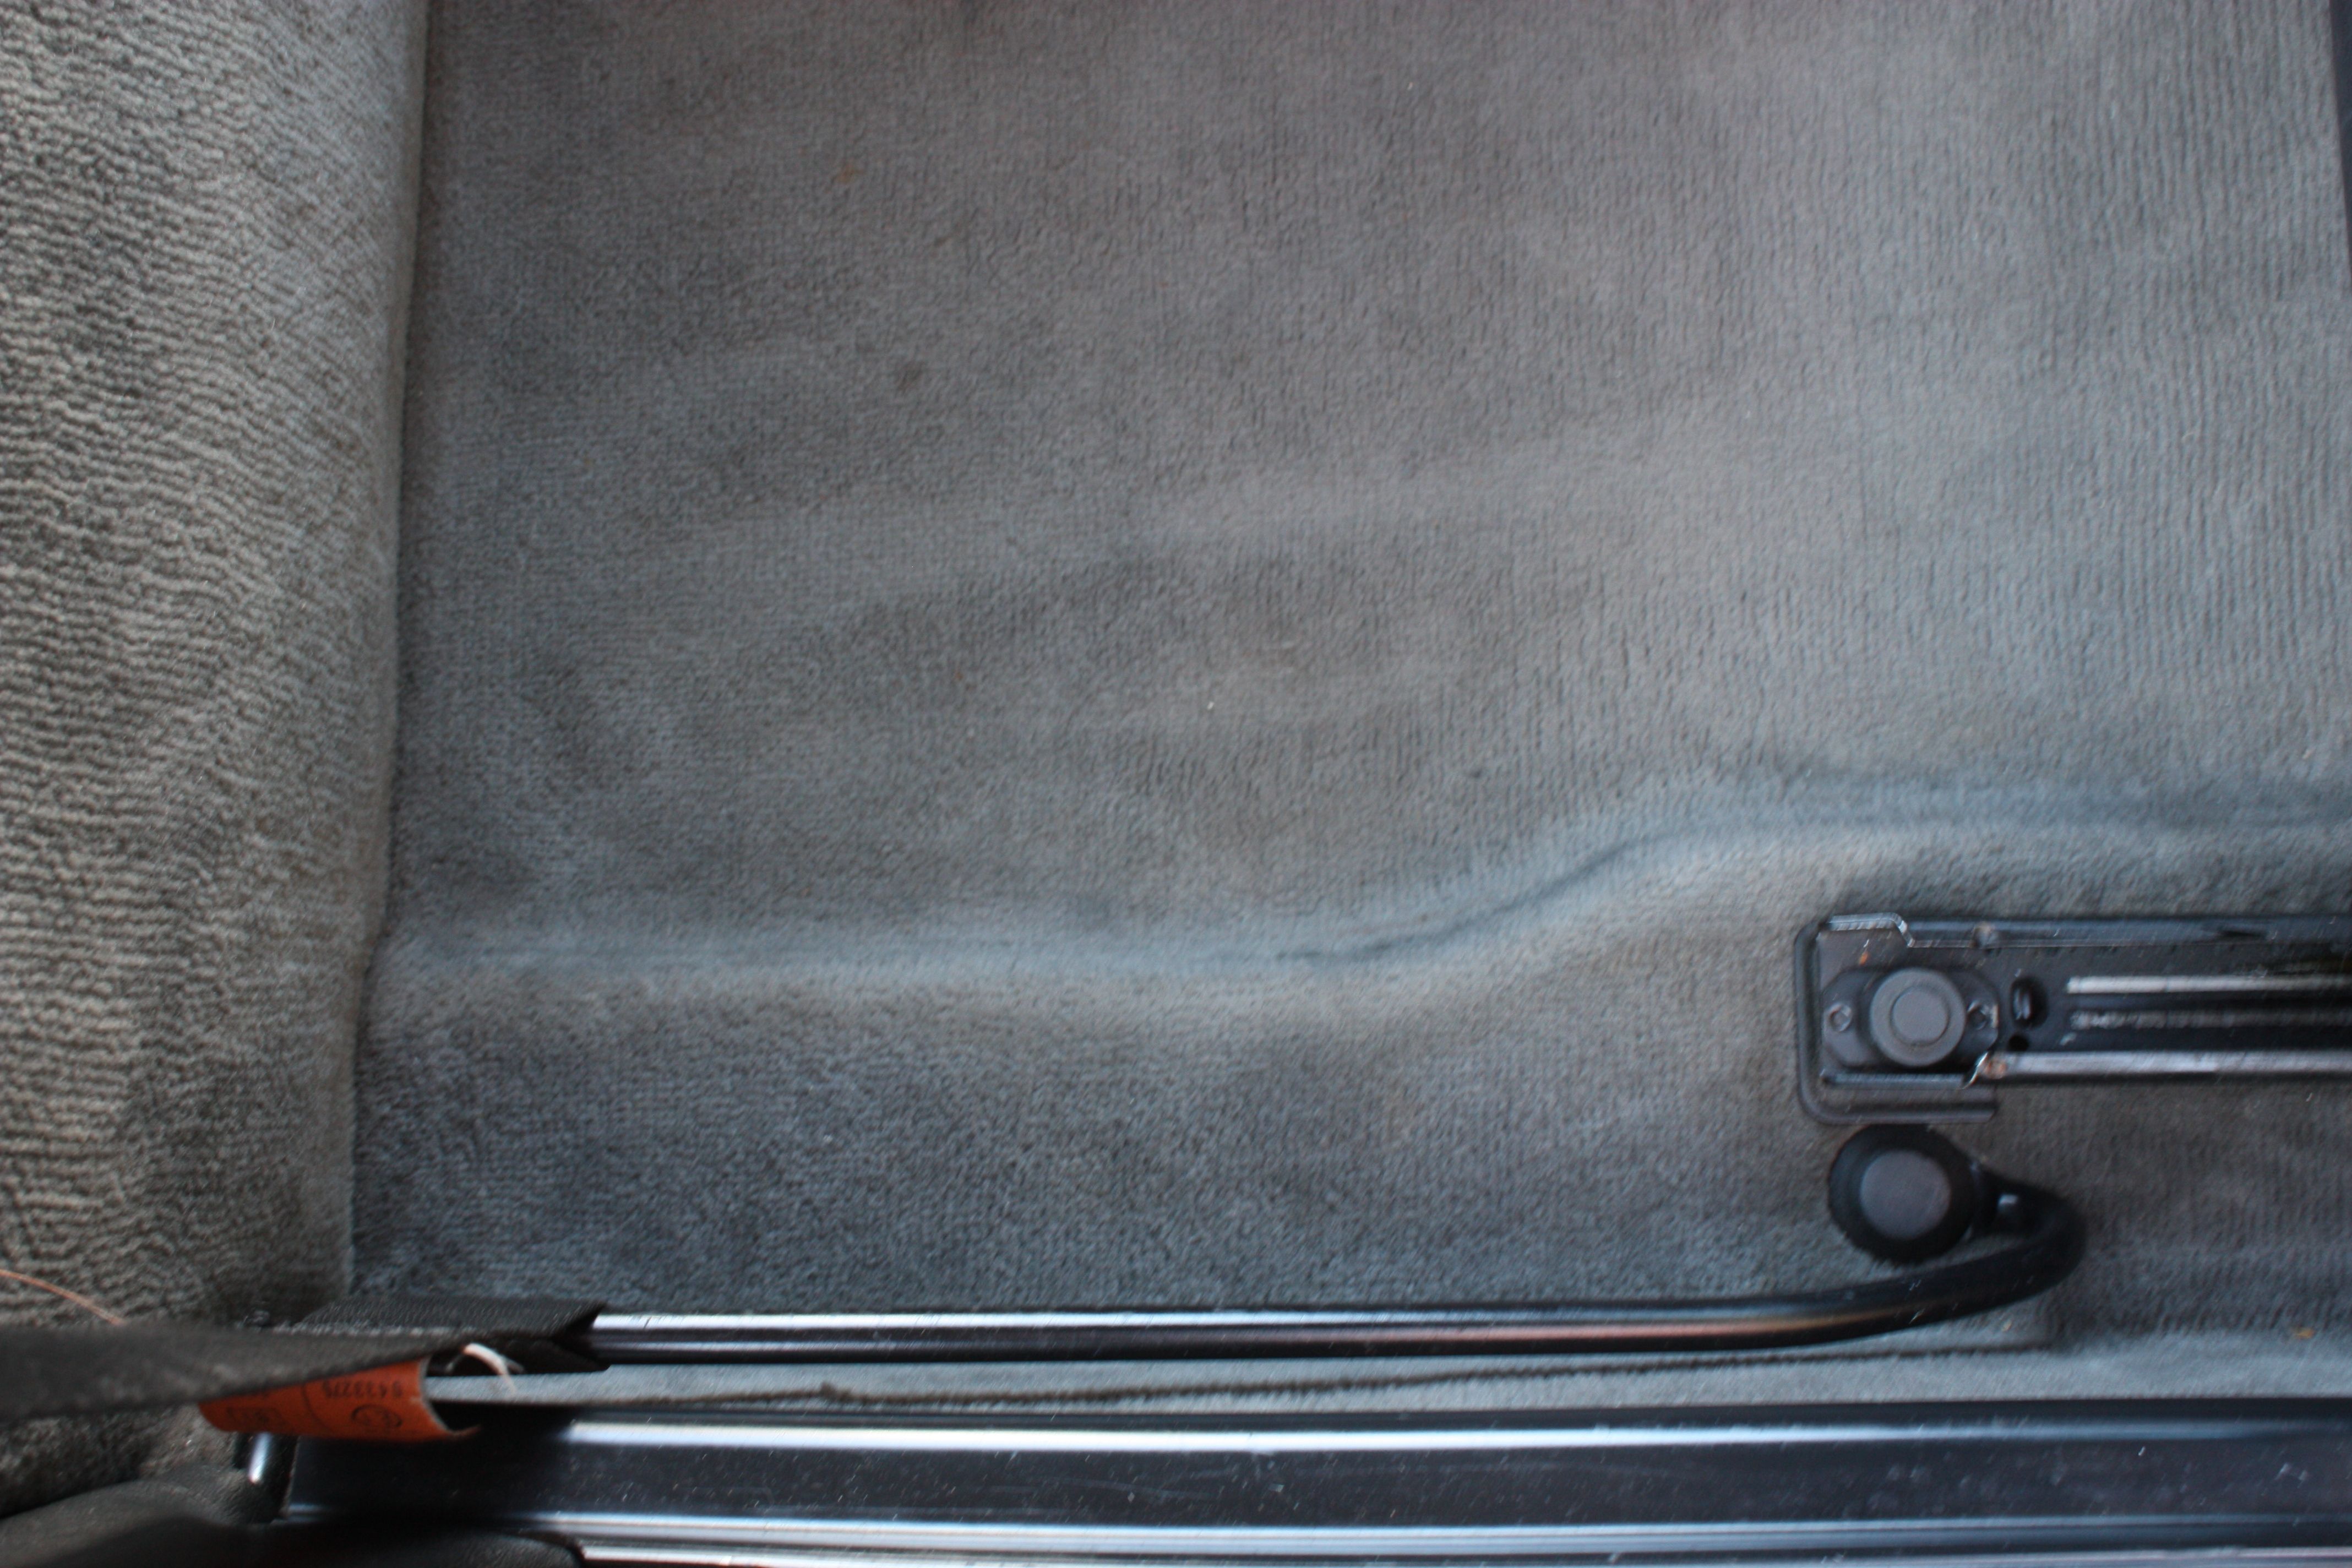
Not too bad then. On the way back to the shop we noticed the heater wasn't working, no hot or even warm air at all. Also the smell of coolant spread through the interior but temp was fine and the engine wasn't leaking. A quick check on the passenger's side carpet near the firewall confirmed the worst suspicion:
Leaking heat exchanger! Why in bold and why worst? That is a dashboard out job. Because it leaked into the carpet it's also a carpet out job. In combination with the floor rust long story short: The entire interior has to come out - again.
So a new heat exchanger was in order and a couple of days (at least 3) more time. At this point I was able to take apart and remove an E30 interior in under 4 hours.
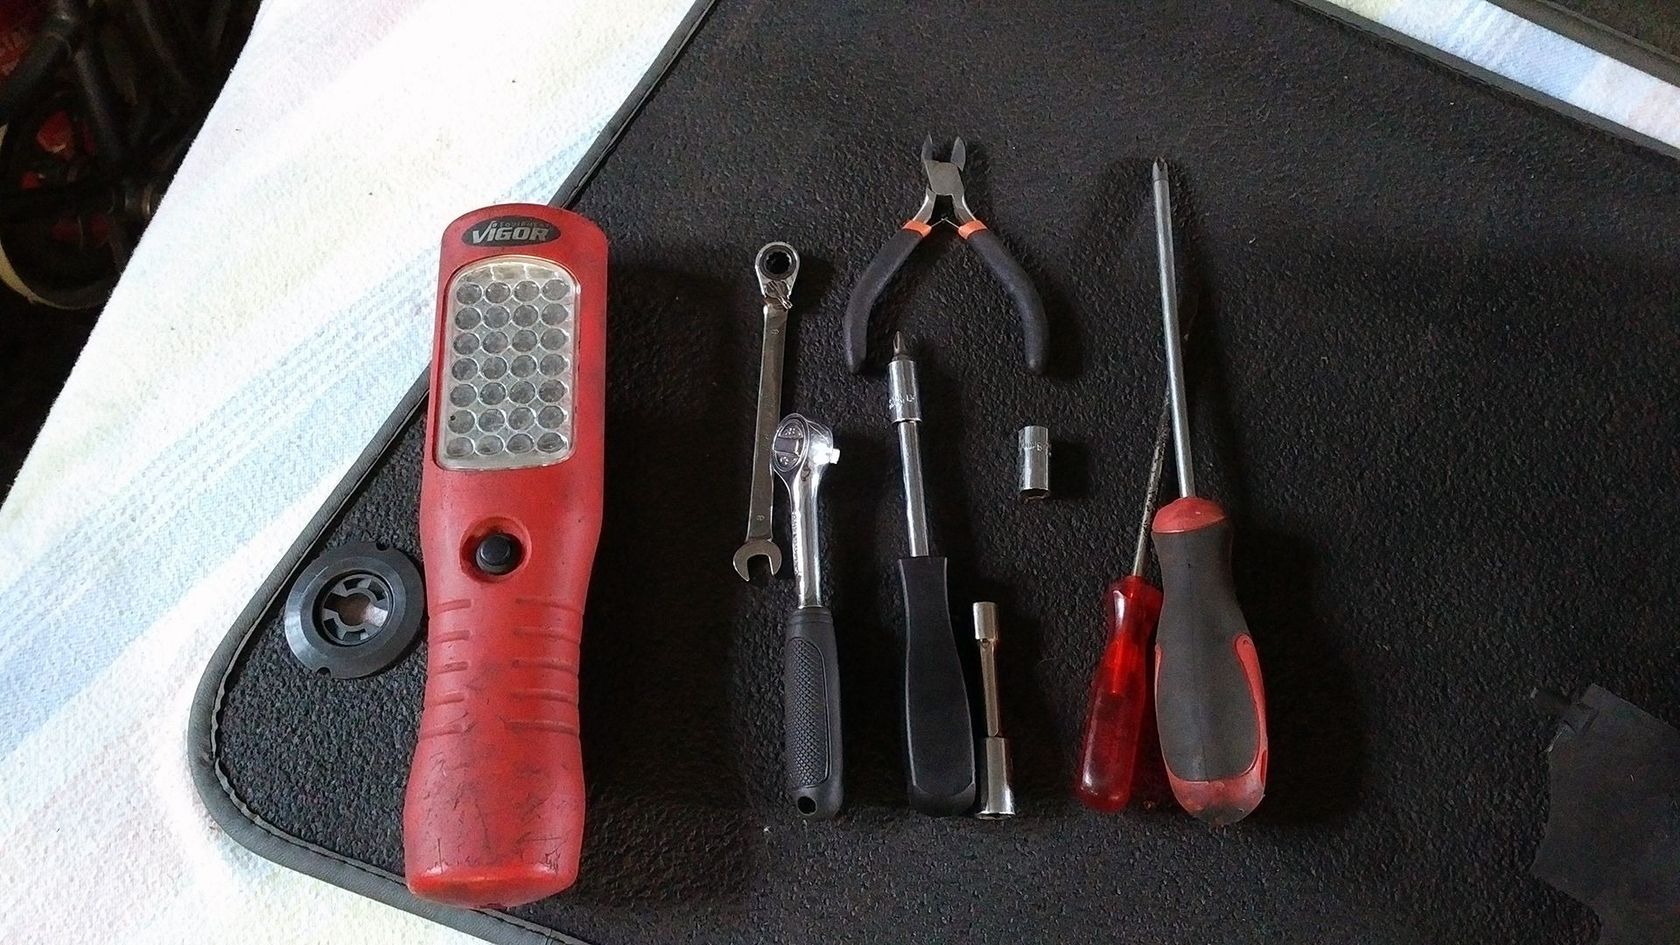
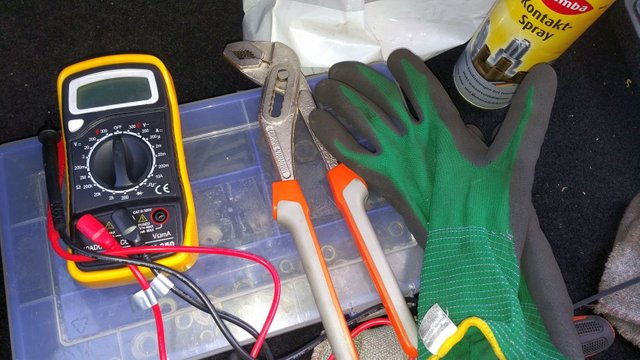
Necessary tools:
Stage 1:
Stage 2:
Stage 3:
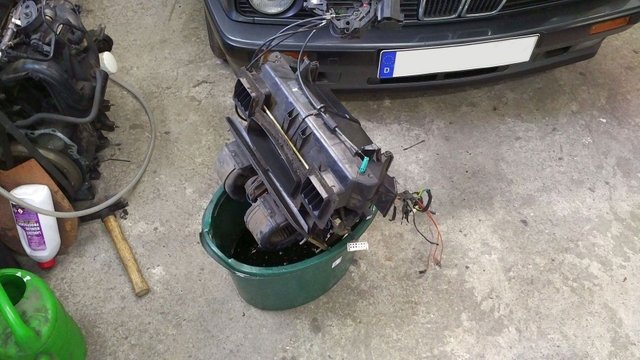
And there is our heater housing in typical BMW fashion compact, tidy and accessible once everything else is out:
Before removing it coolant has to be drained and hoses disconnected. Mark one of them with a cable clamp or pen so you don't mix them up when reconnecting!
Blue plastic screw is the drain. Here are the hoses one in and one return one. The 7 series of the time actually had an auxiliary water pump for the heater unit, luckily no such nonsense going on here:

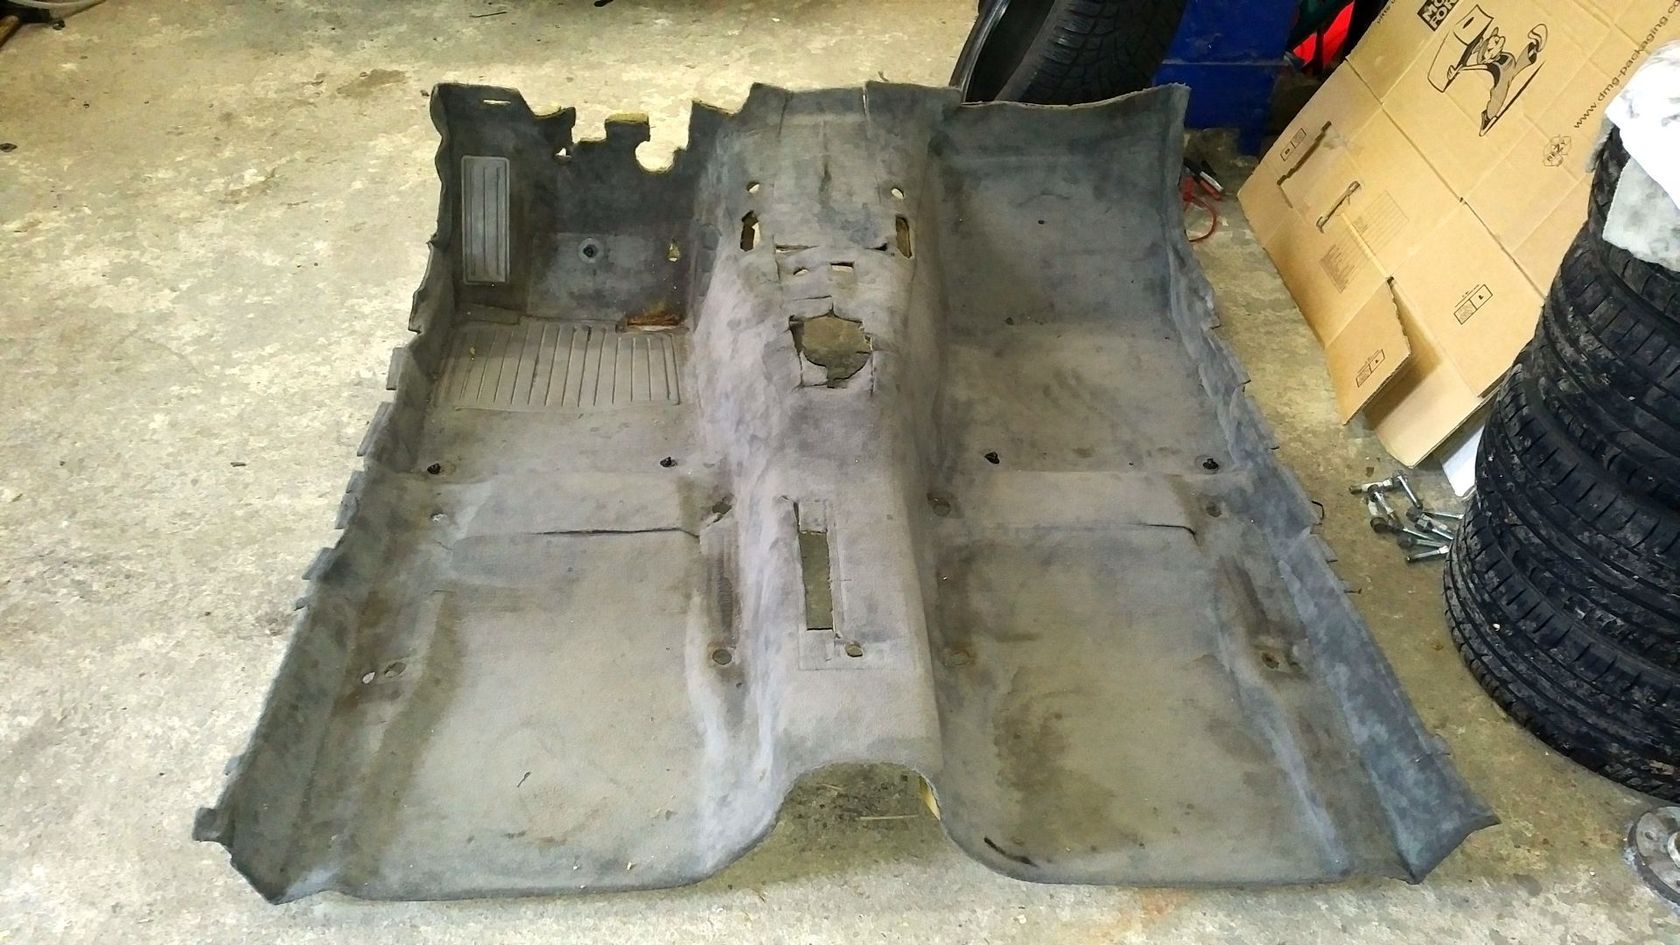
While draining I removed the carpet, an original 325i 'Velours - Grau' thick factory carpet:
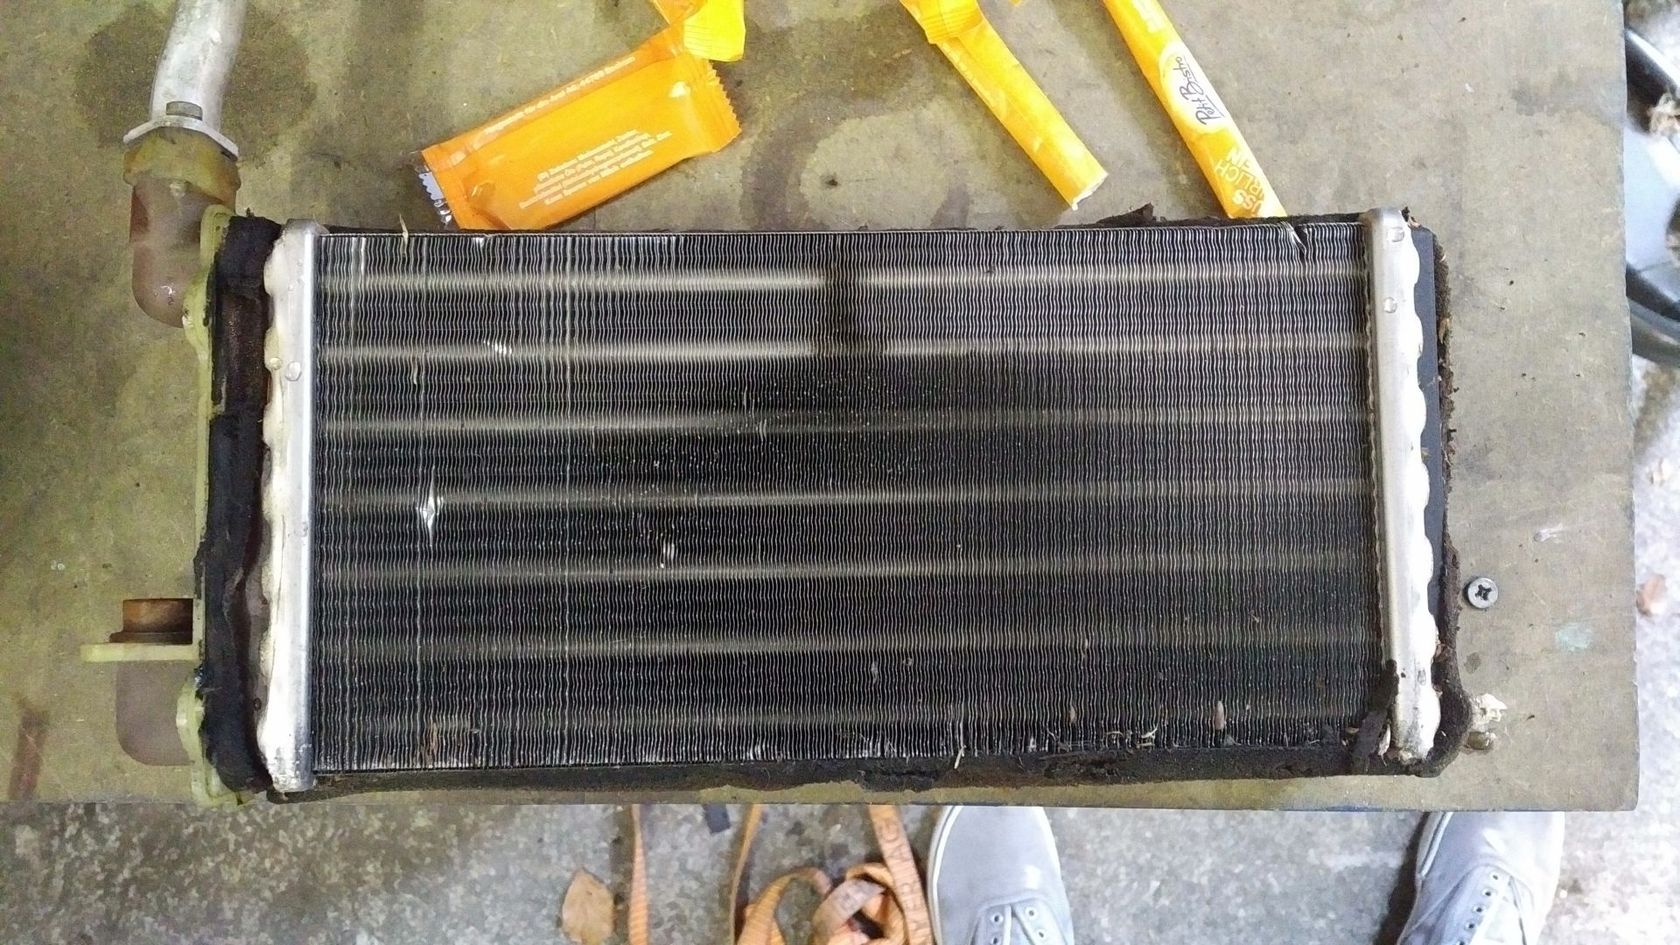
After 4 more screws which are accessible through the engine bay the unit can be removed:
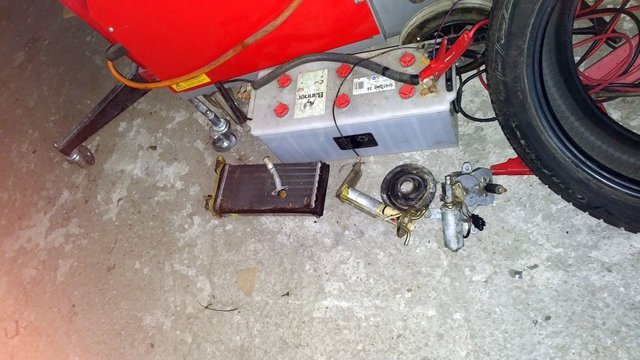
The old exchanger was totally fried:
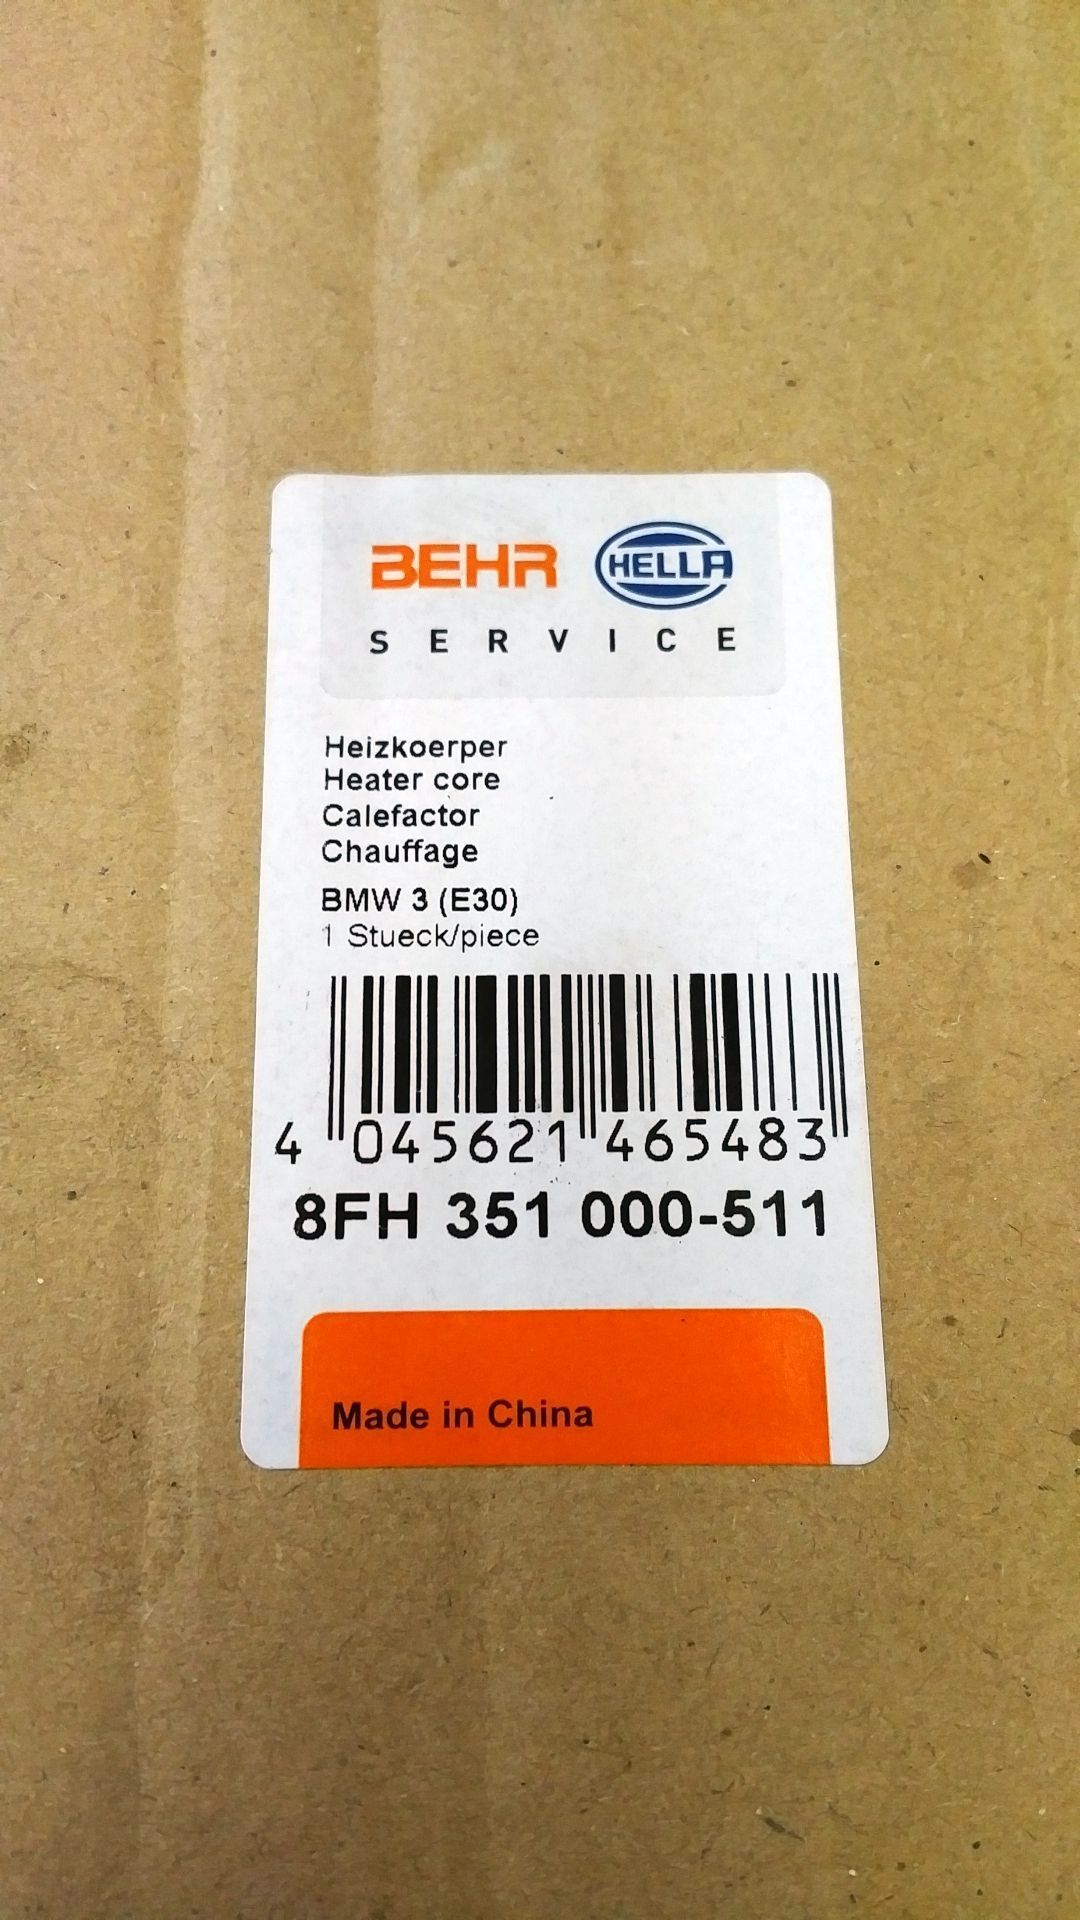
The new one looked much better but as you can see doesn't match the size so a new new one had to be organized:
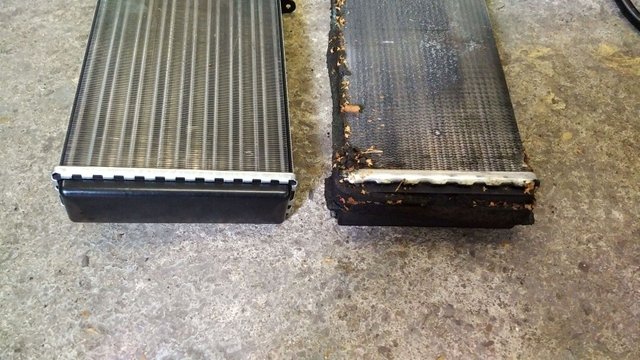
Part number is correct but this is unfortunately becoming the norm when ordering parts, the just in time everything made in China strategy just isn't working out:
No problem though as there was some corrosion to be dealt with:

3 hours and 2 broken hands later:
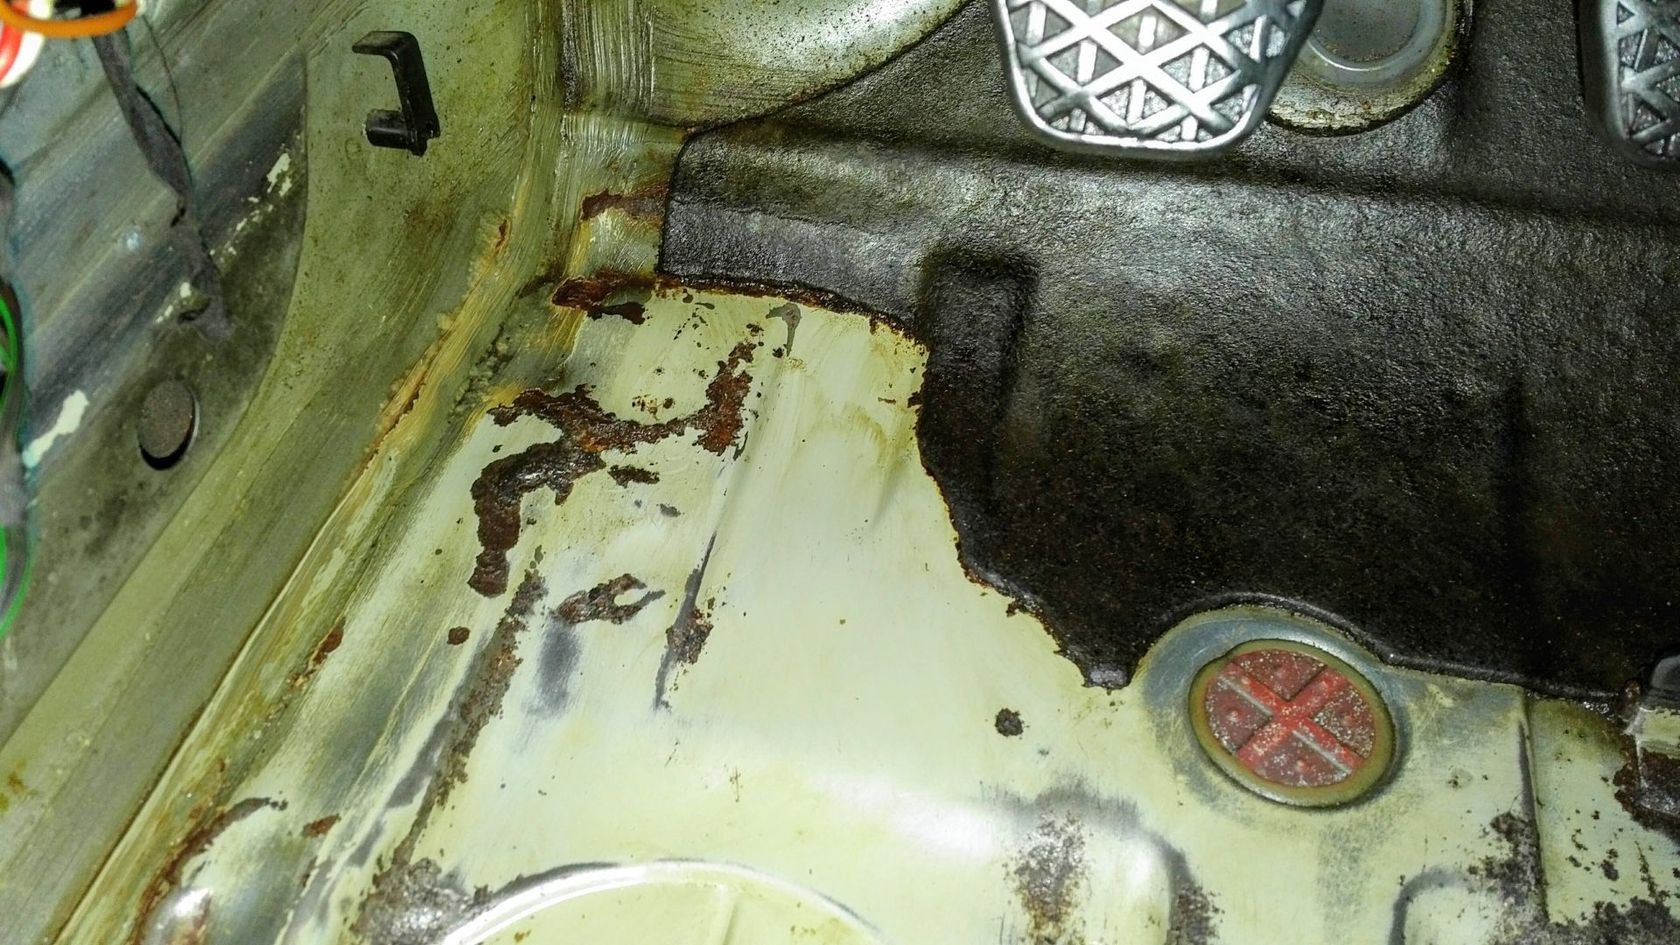
After some welding and finishing off the surface some rust protection was sprayed on and then the paint was supposed to go over but it was just too hot that day to be applied correctly:
Either way no more rust and the authorities would be happy. After organizing a new heat exchanger and installing it everything went back into the car the right way and there was even some time to clean the carpet.
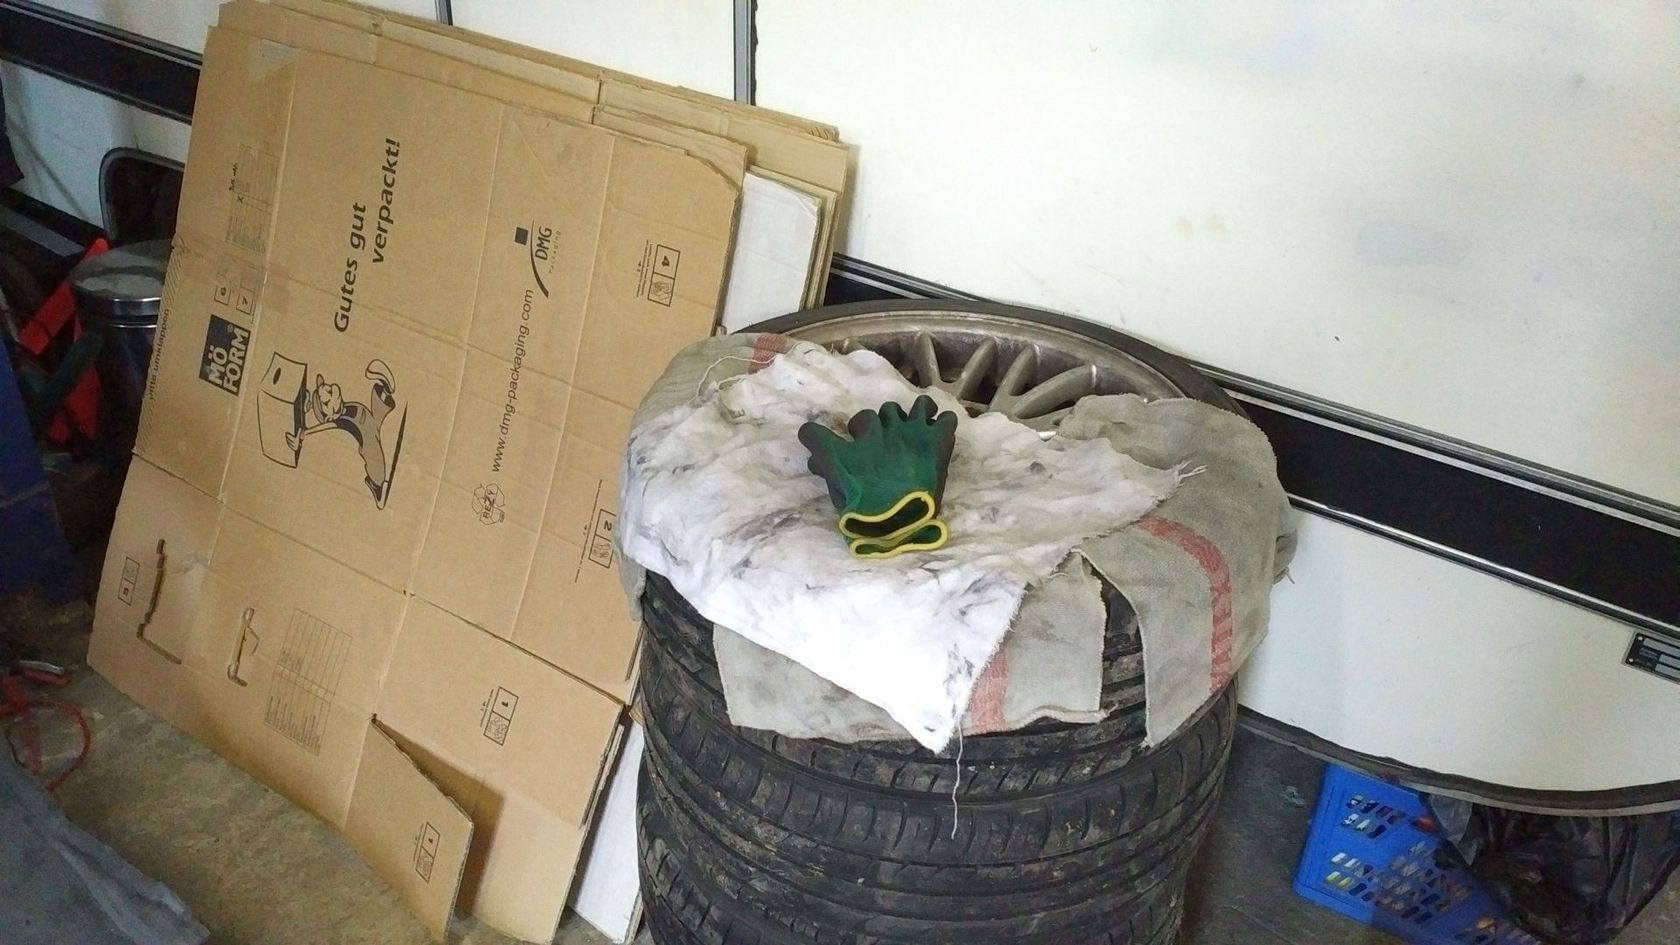
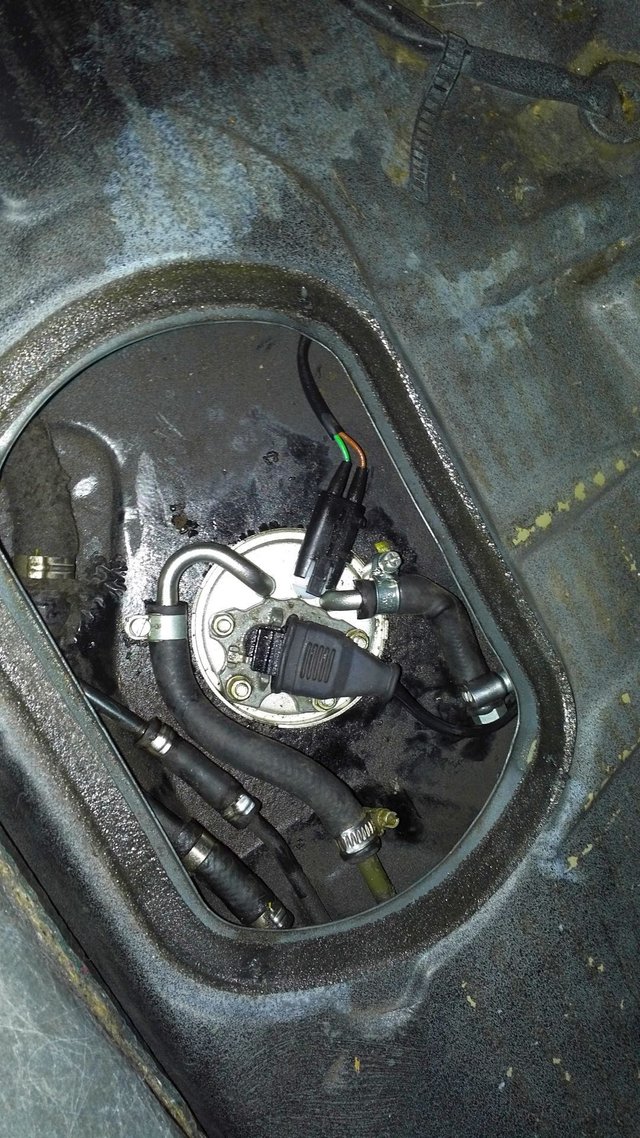
Before going back there was another problem this time with the fuel pump. For some reason it had worked like 10 times after almost 10 years of sitting dry and then finally gave up. As this was a special one with three pipes it had to be ordered with several weeks delivery time. For now the leftovers went to the shopfloor and the gloves were retired:
Oczam's Razor - anything that can go wrong, will go wrong
How right he was...Mr. Oczam. After several weeks the new fuel pump had arrived and my expectation was to throw it in and get things moving. The ABS sensors had all been checked and were in good order. The horn as I later realized was simply not hooked up to the system and the windscreen wipers were revitalized my mechanic with some E30 magic.
So after installation and initial startup the car quickly died after idling for a couple of seconds...a quick check below and:
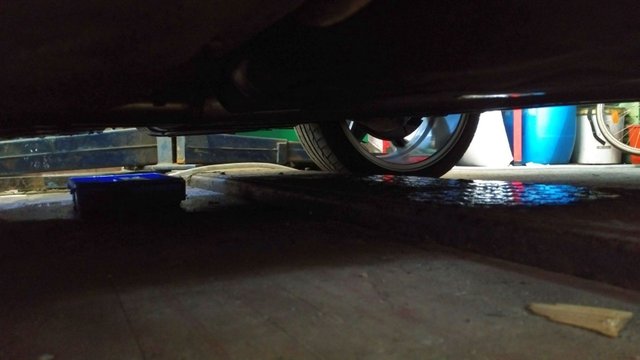
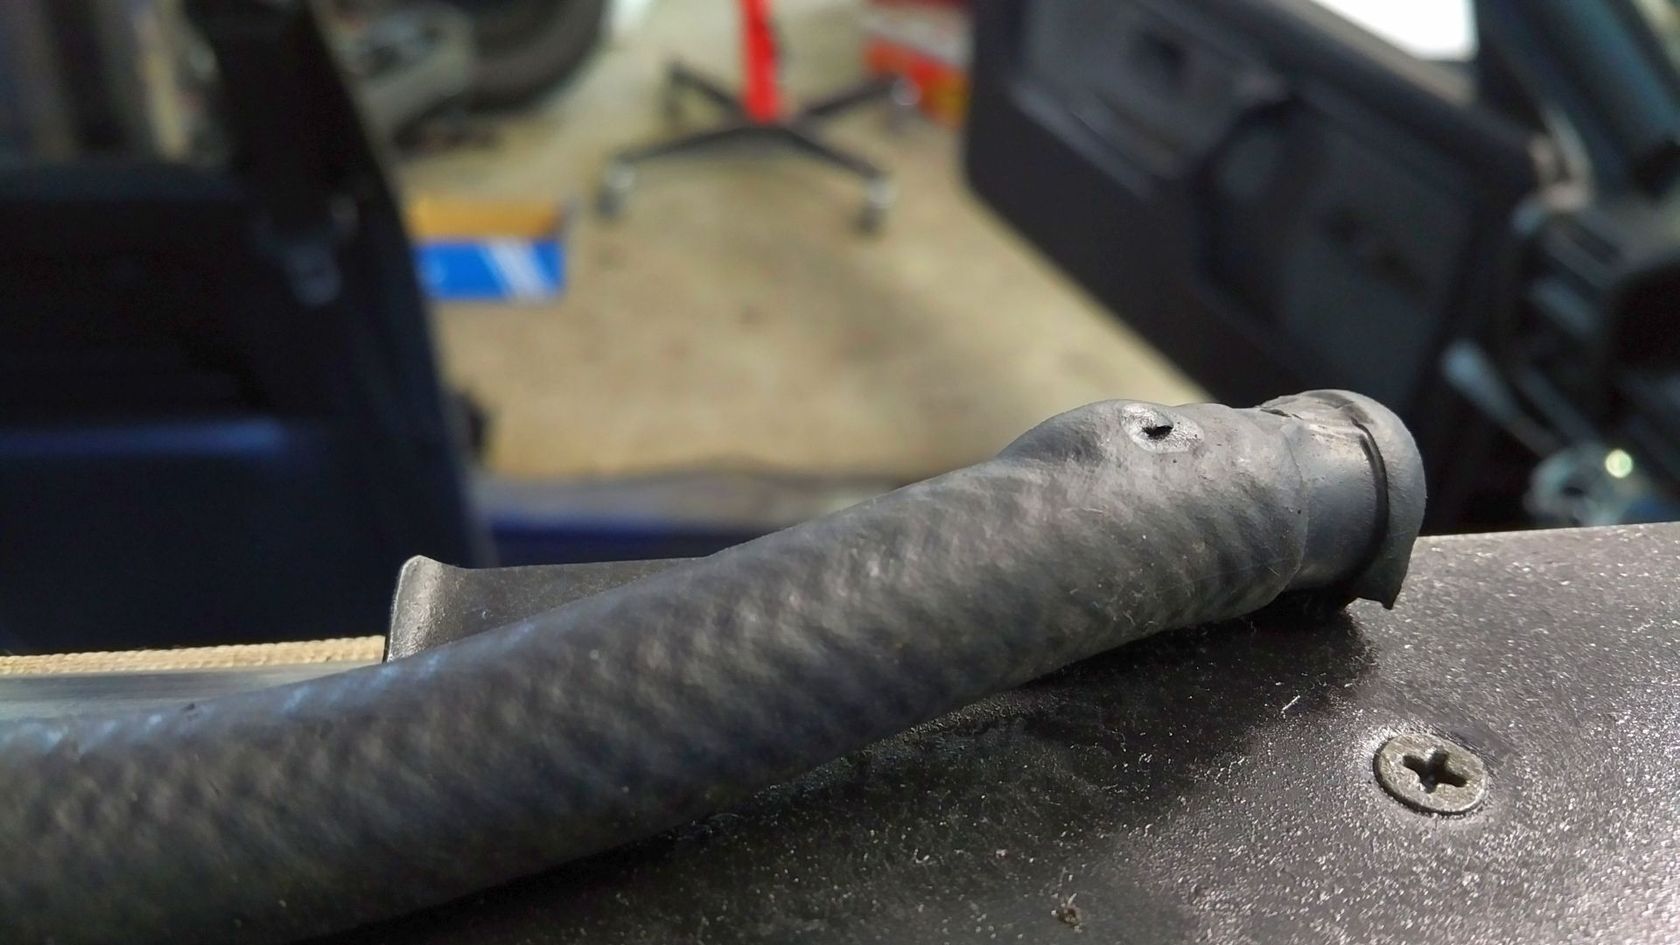
A small lake of fuel. My initial fears of a corroded fuel tank (rear axle out job) were unfounded and it was simply the return hose that had a small fracture:
That's taken care of all good then. Let's start it up:
Yeah. At that point I was like what in the fck!? Are you fcking kidding me you f........after a small break and getting back to it I began to do the routine check. What started out as a simple routine expecting a quick solution turned into an 10 week saga which eventually involved even the two brightest guys in the world when it comes to the E30 with one of them literally saying no clue and the other hinting at a potentially dead pin in the ECU. His hint eventually lead us to the problem but let's start with the routine:
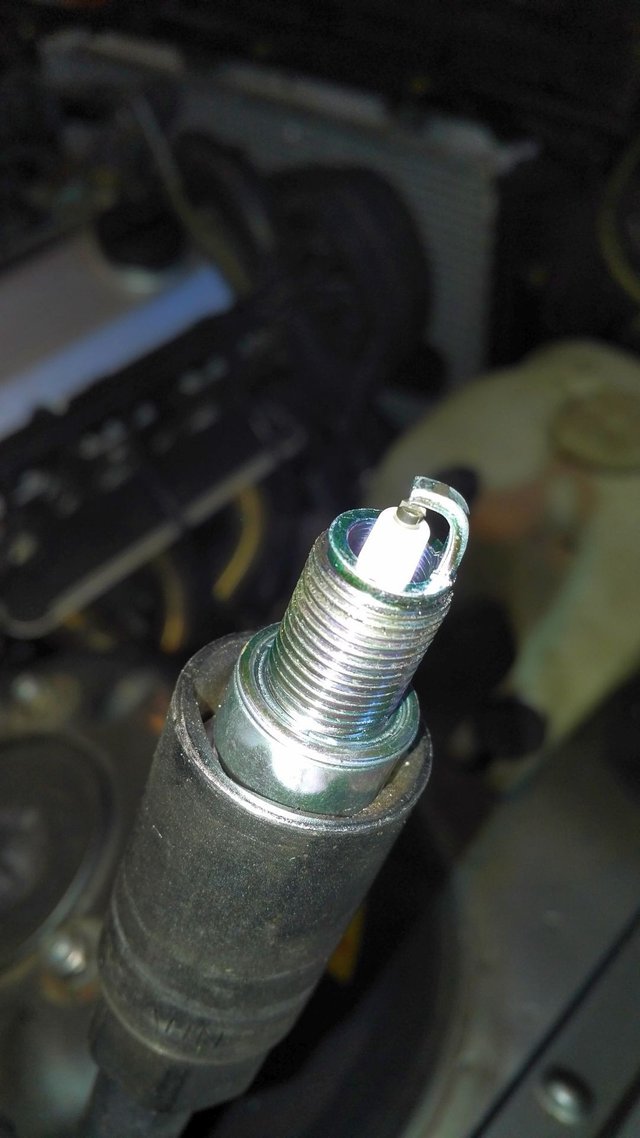
are the spark plugs firing? Yes.
are the spark plugs wet? NO!
- is the fuel pump operational? Yes.
Ok so we have a working fuel pump but no fuel in the chamber hence the injection isn't working. It was at this point that we merely went certifiably crazy.
is fuel pressure adequate? Yes.
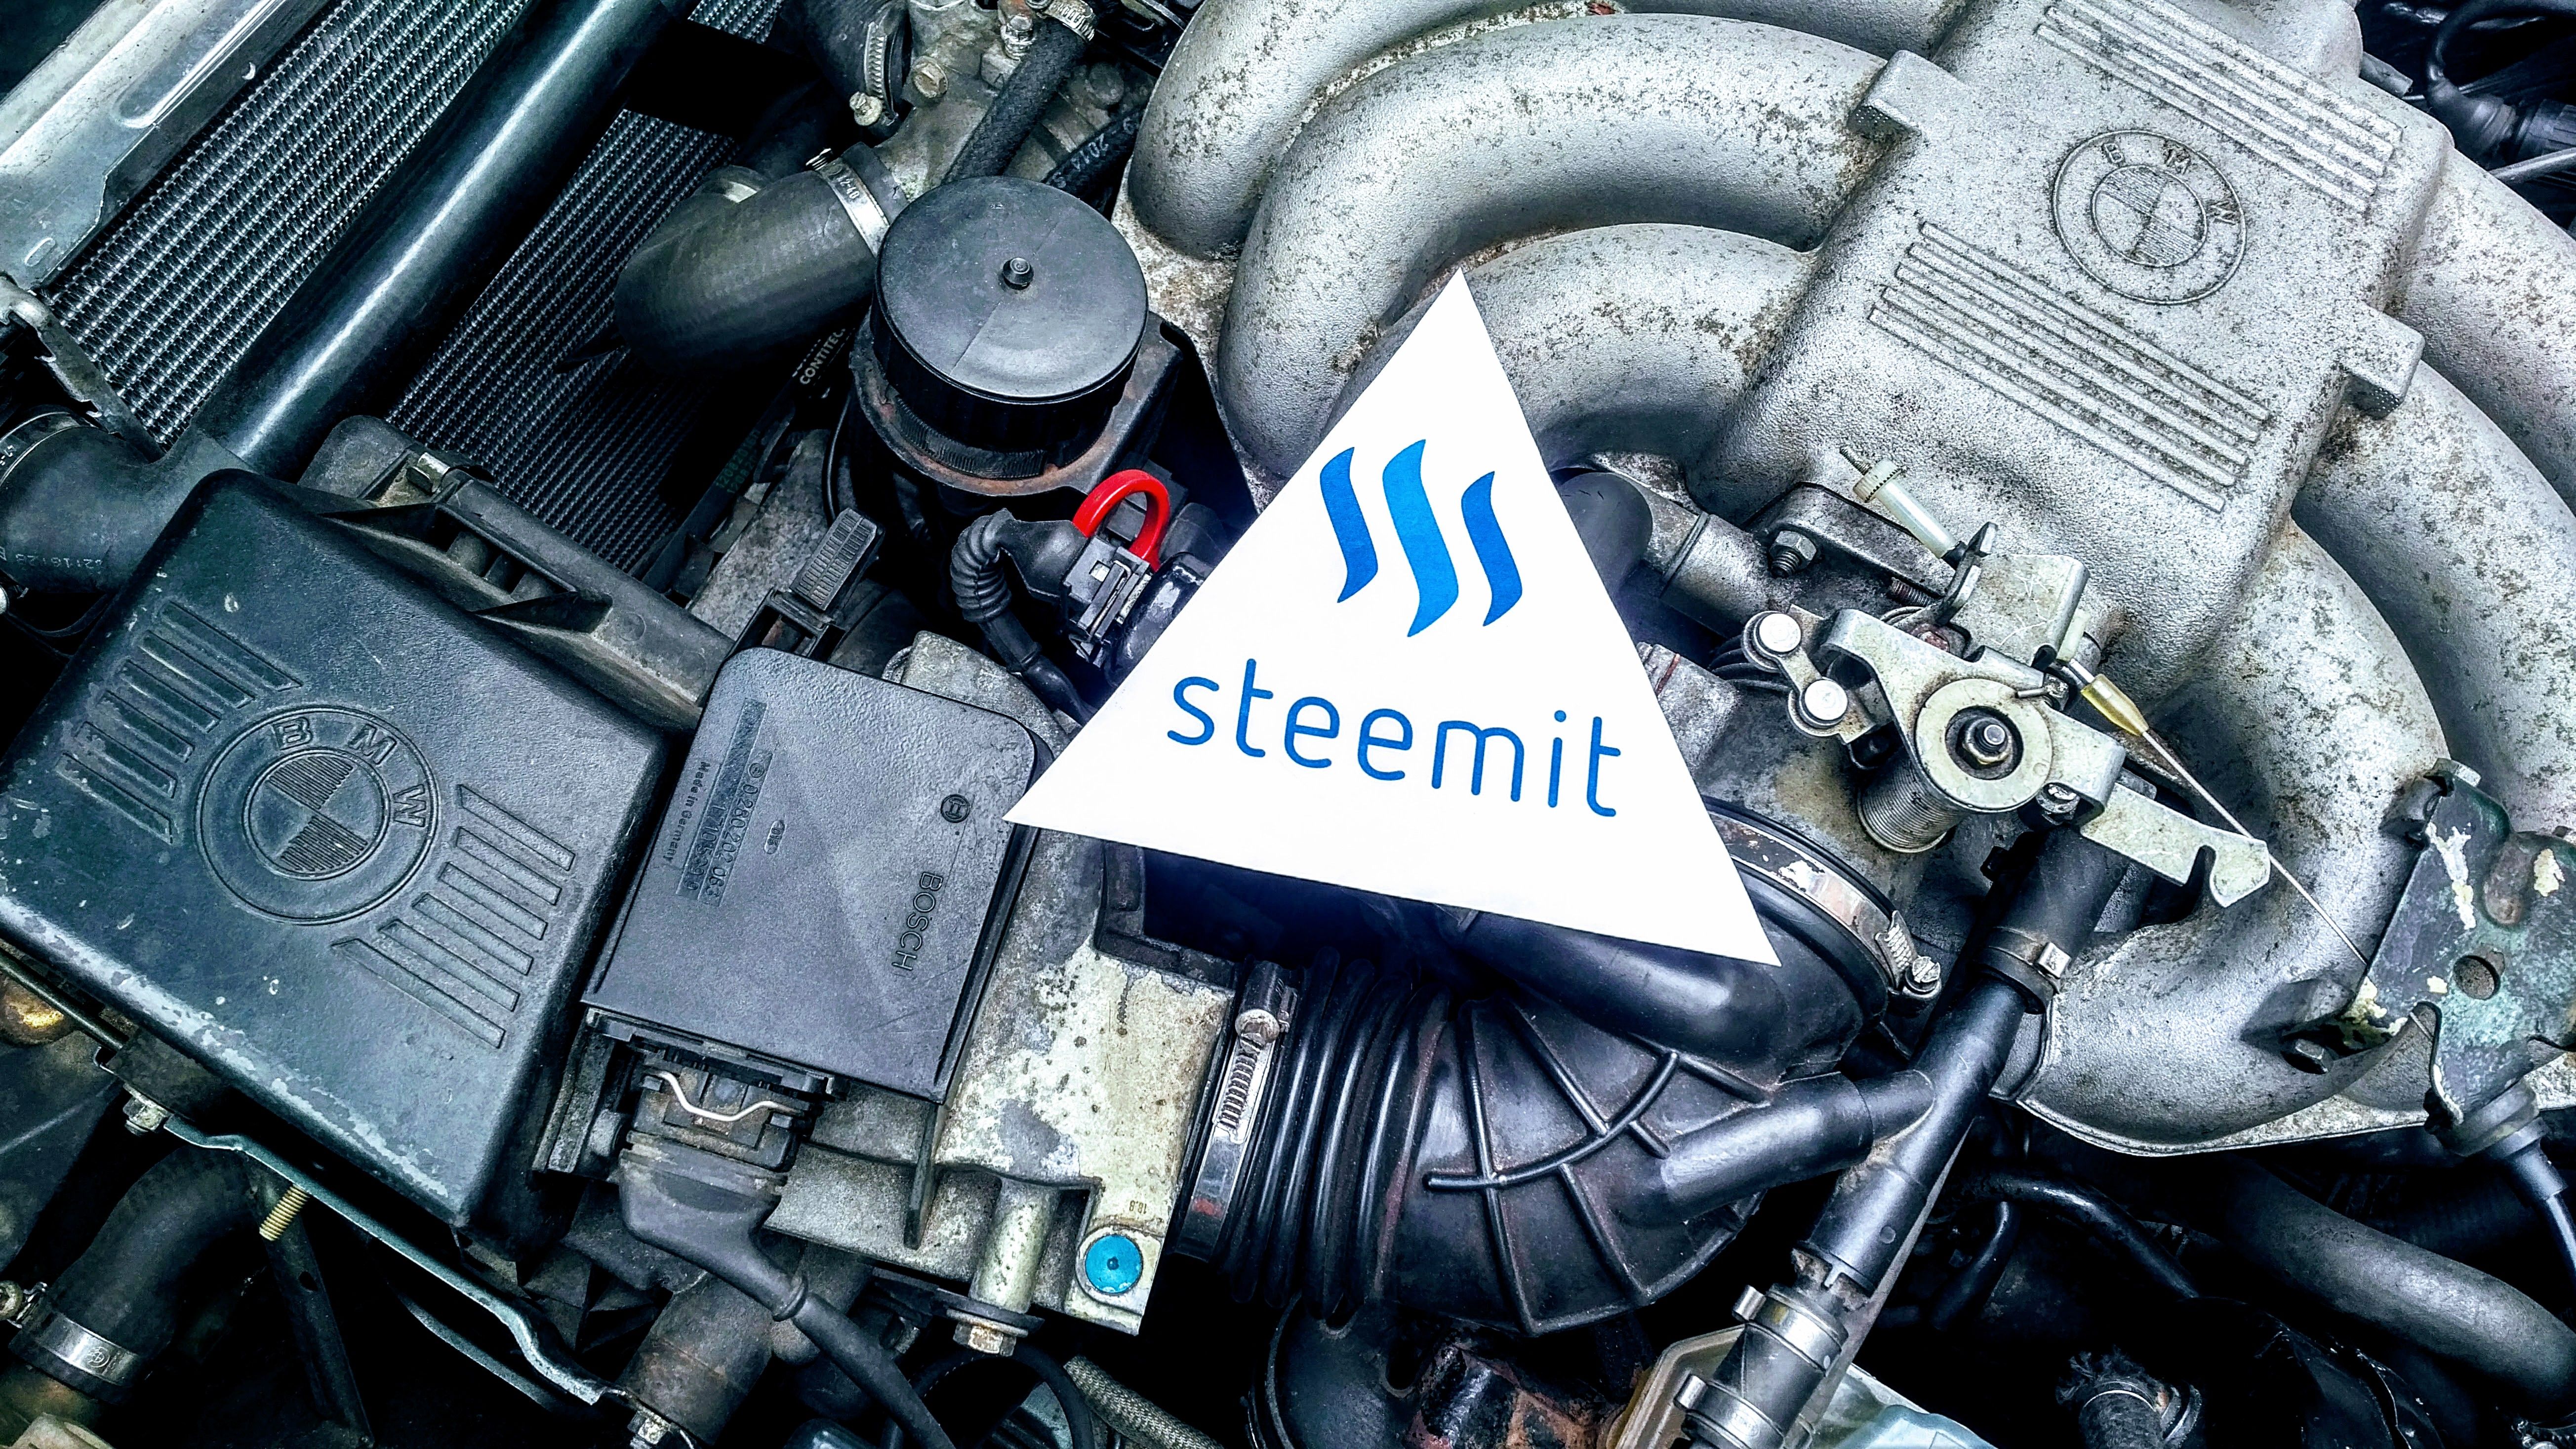
is the fuel still good? Good question, hence the canisters:
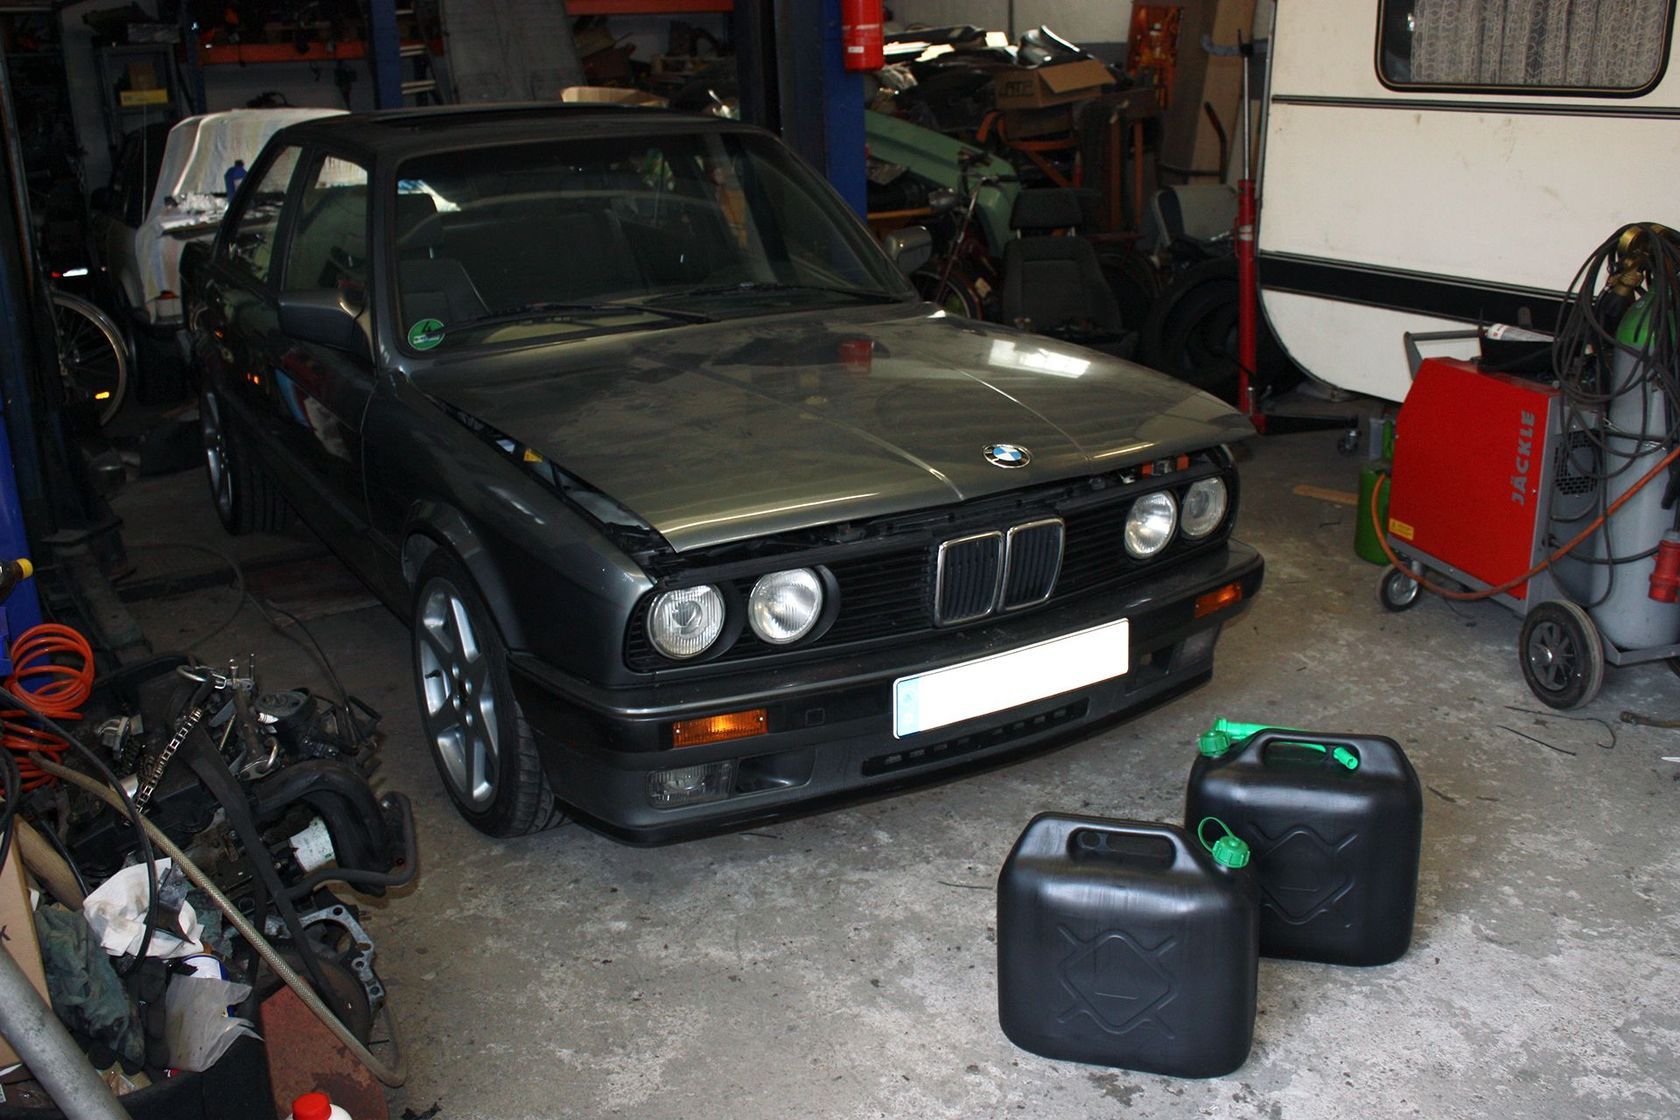
Due to the addition of ethanol to modern day petrol fuels it is possible that fuel can turn bad if it sits long enough in a tank. How do you check that? Evacuate the tank completely and put new fuel in. So I bought these babies and put a hose on the fuel valve at the injection pipe and put the other end into the canister. Now short circuit the fuel pump and pump that tank empty. Afterwards put some brand new high octane super plus 100 gazillion whatever in aaaaaaaand...nothing
is the fuel pump relay working correctly? Yes.
are the injectors working when powered manually individually? Yes.
is the engine starting when fuel is sprayed into the throttlebody? Yes.
is the fuel injection cable connector below the intake corroded or disfunctional? Yes.
Wait, it is? Hell yeah! Let's clean it, put some contact spray on it and we're good to go. No power to the injection system means no engine start. Cleaned it reconnected aaaaaaand....nothing
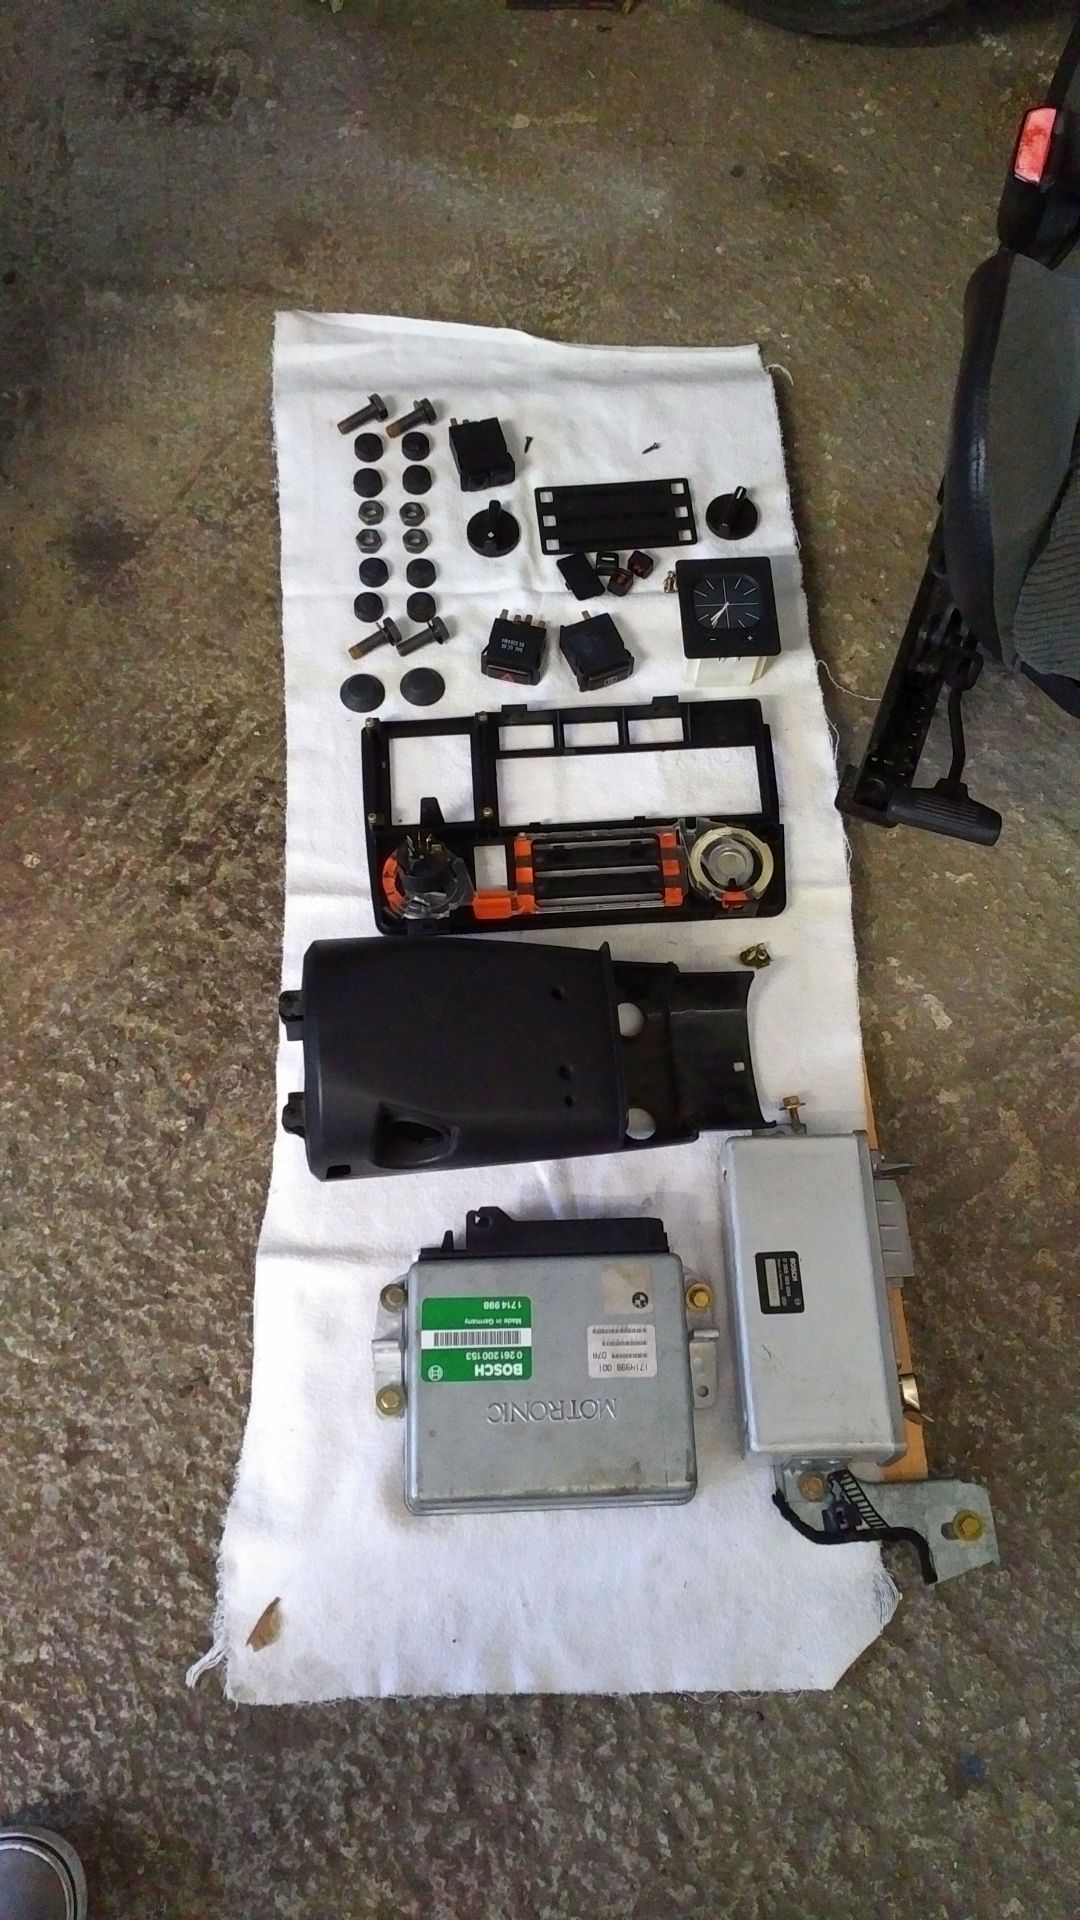
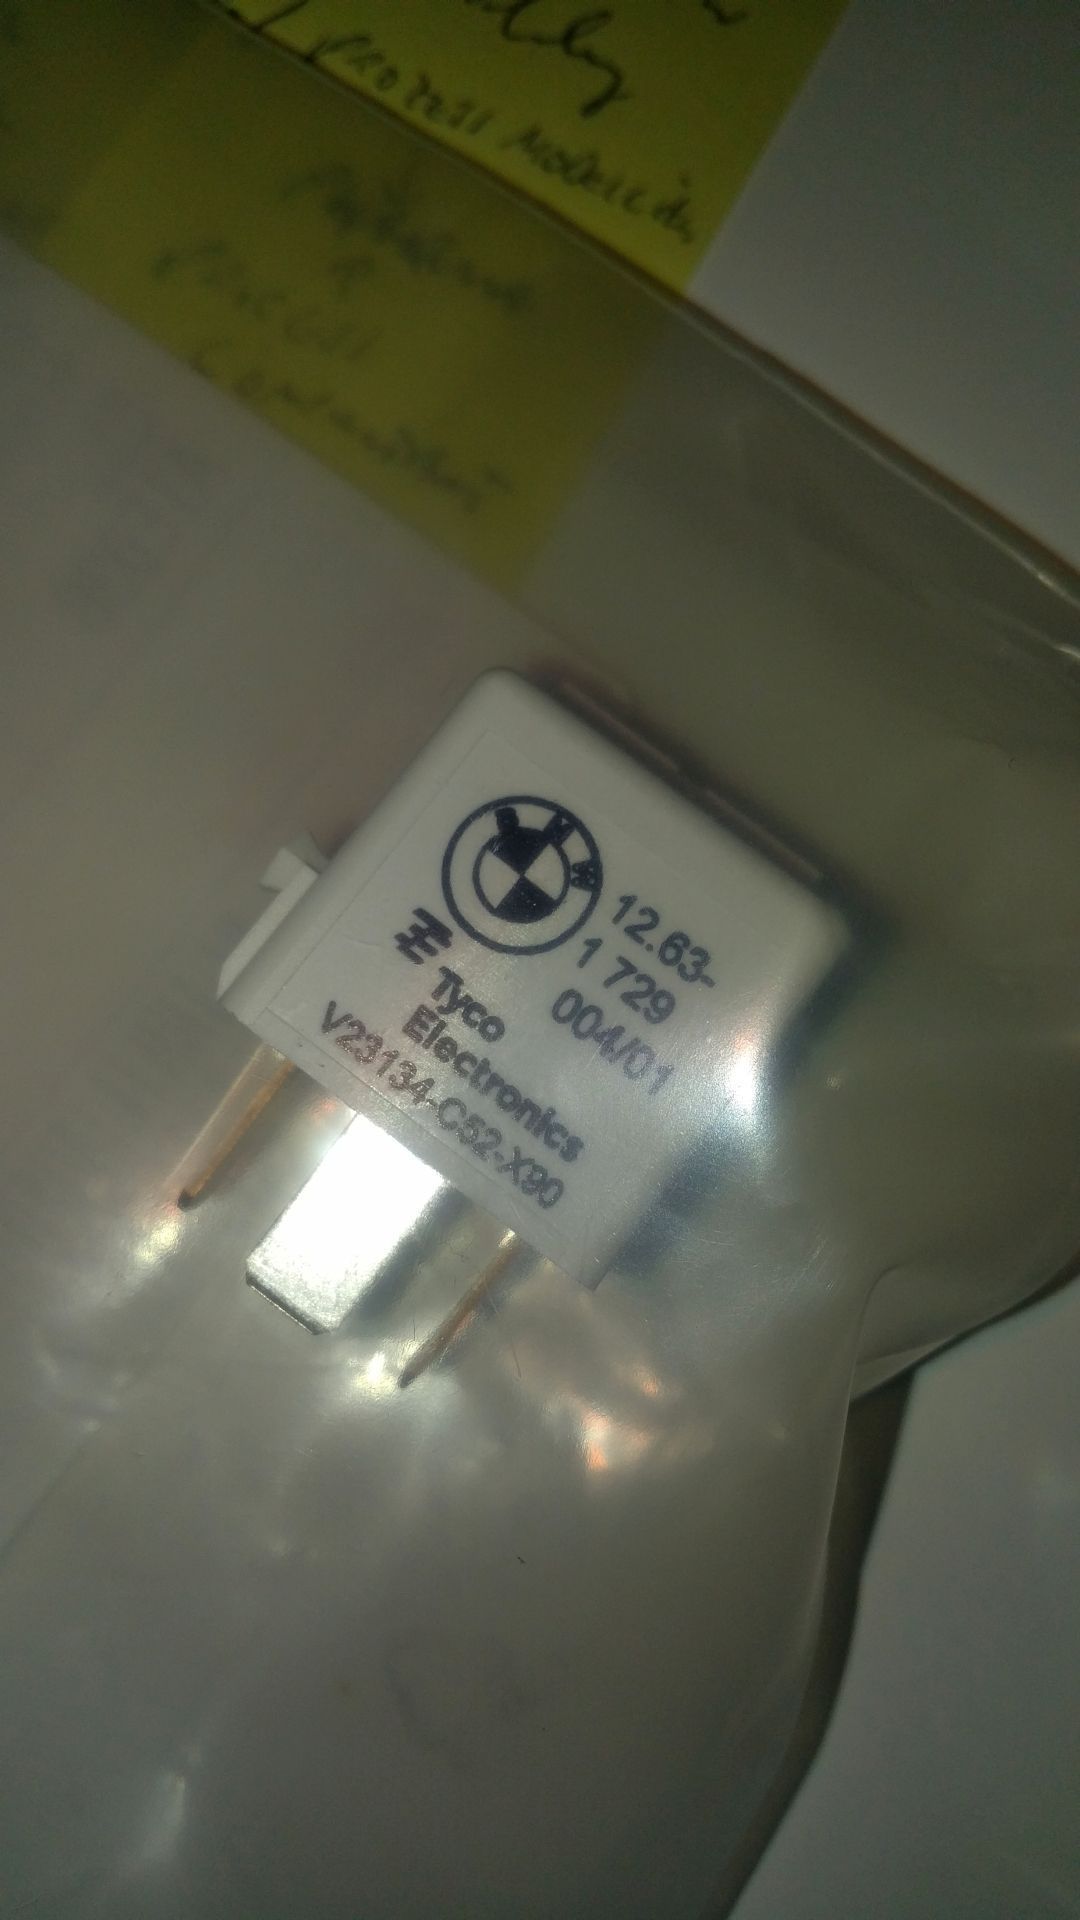
is the main engine (DME) relay working correctly? Yes.
is the ECU working correctly? Unsure but the car didn't start with one that was absolutely fine.
After 4 hours which is how long this all took we decided to really go deep dive into the electrical and mechanical procedure of this engine and its ignition system.
The only thing left to do was to get a wiring diagram and manually test each pin of the ECU and corresponding end point of the engine cable assembly. At the end of the day the entire engine cable tree was replaced with a good one. Didn't work.
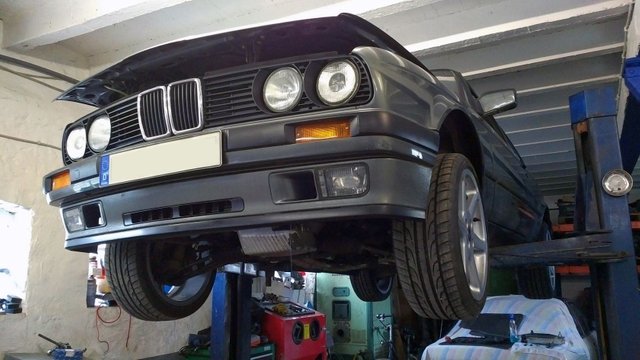
Those beautiful eyes are not helping me now...
It's alive
Weeks later while I was contemplating maybe giving it all up I got a call from my mechanic. He had tested the ECU and both injector pins were dead. E30 has 1 for cylinders 1-3 and one for 4-6, they always inject simultaneously.
This is the reason for the bad fuel economy of the M20, in the absence of variable timings and the constant injection even if it isn't optimal you get that result. Told you in part 1 I'd eventually tell you this.
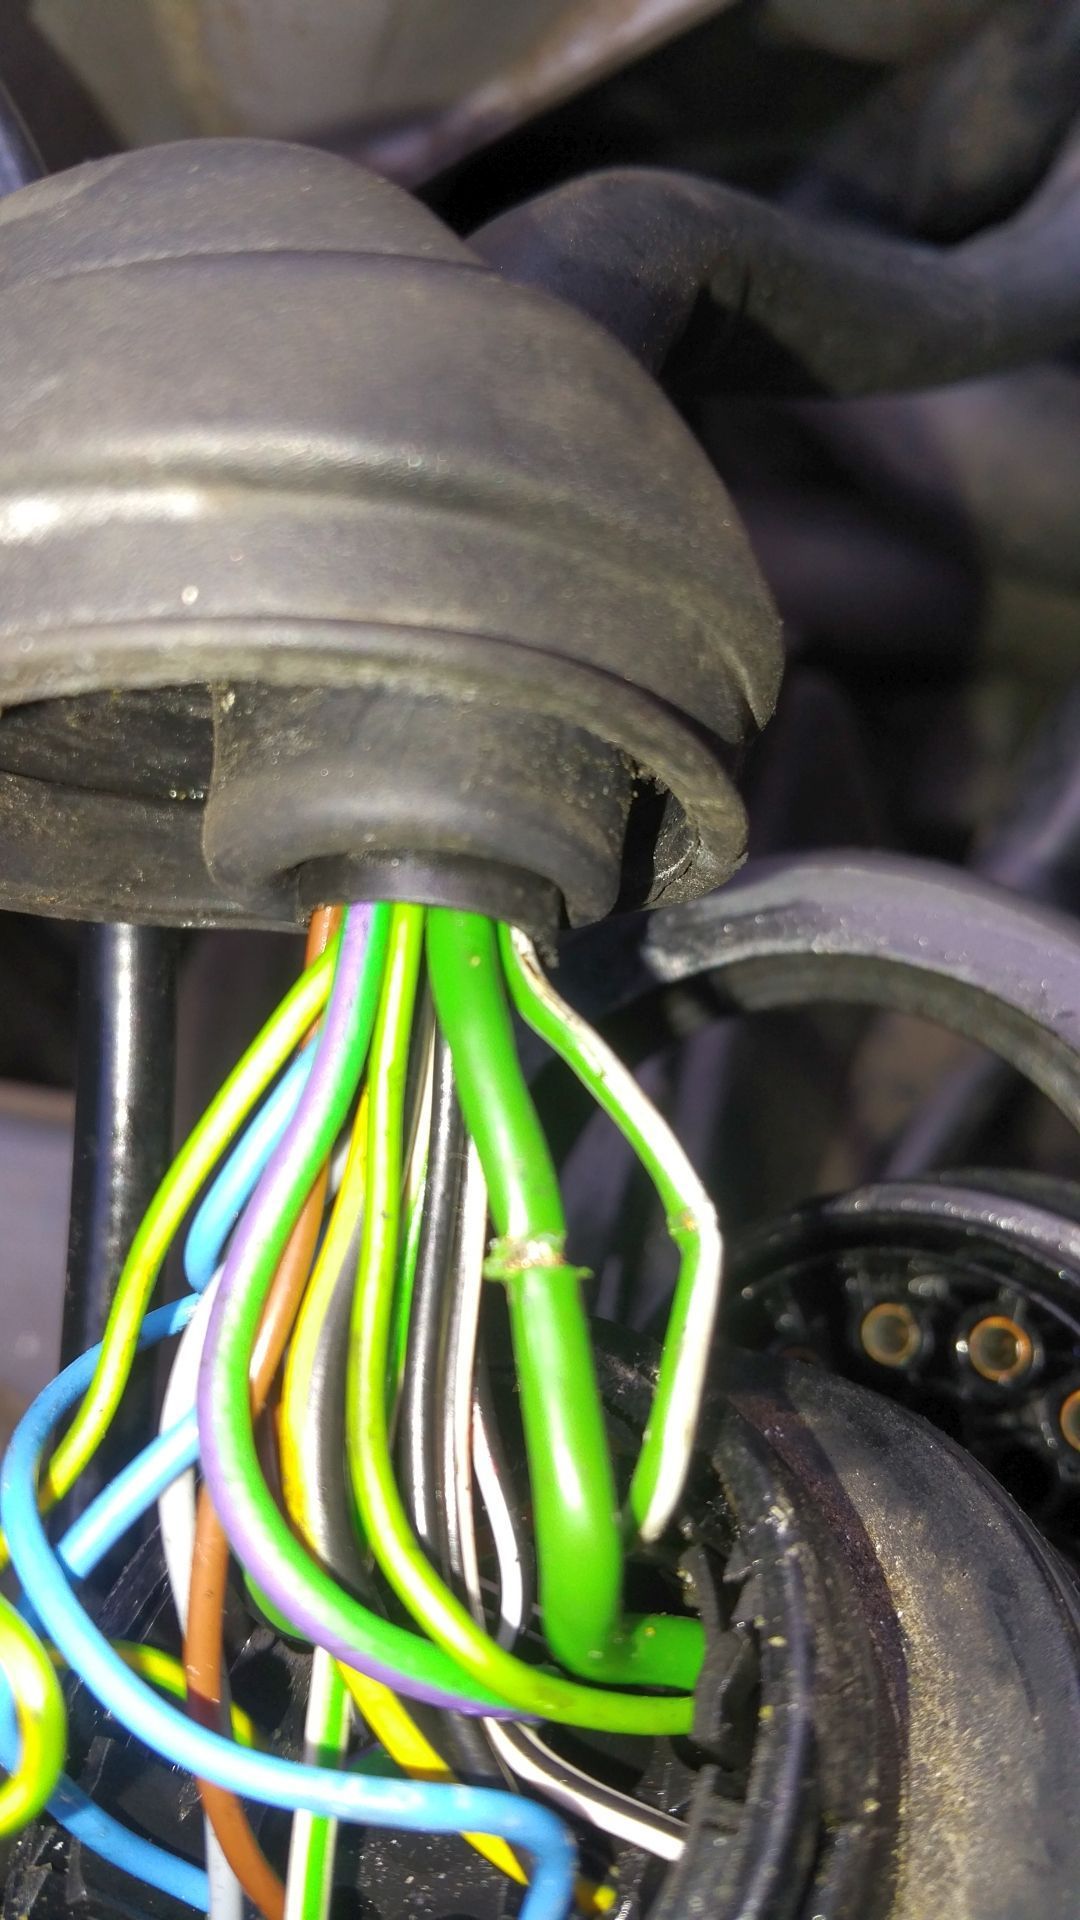
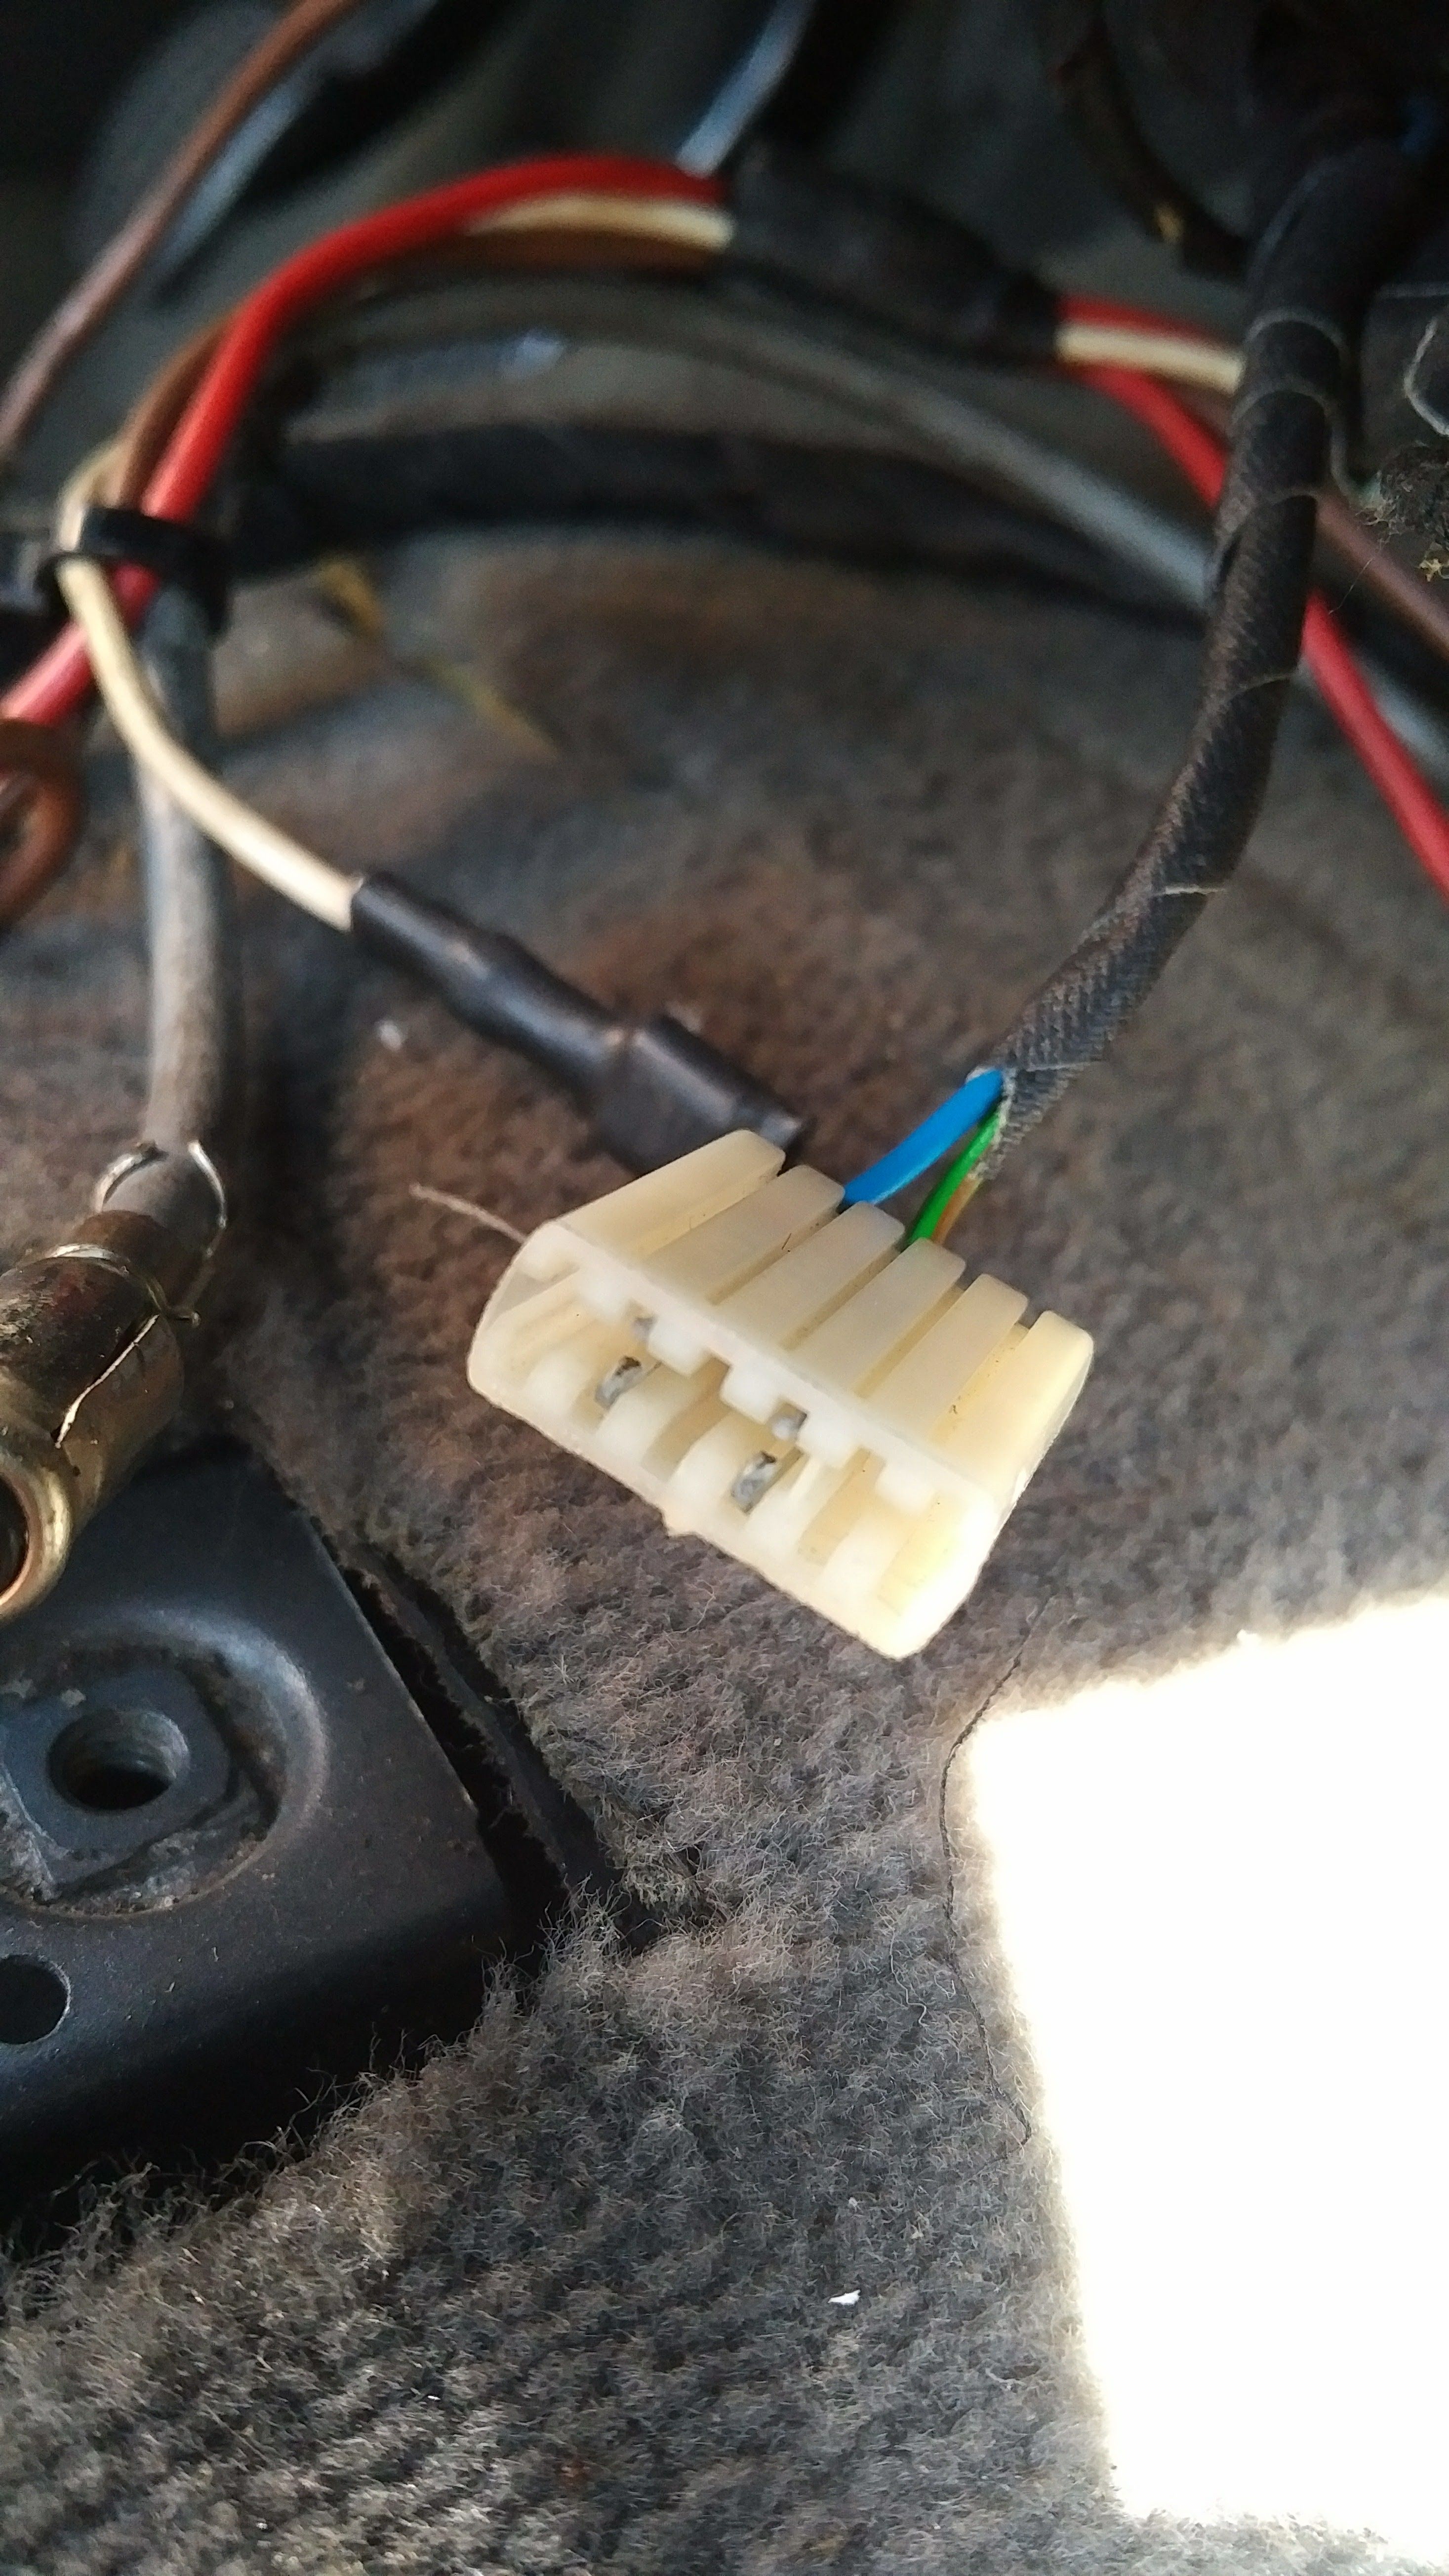
Anyway, those pins are related to the number 7 plug in the engine main electrical connector. Cables go from ignition to ECU, ECU to connector, connector to engine AND vitally to the injectors. Long story short there was no power on green number 7.
In these BMWs green is always ignition 'power-on'. If that signal doesn't reach the main engine relay it does not authorize the injection and the ECU is prevented from it. So that was the issue.
To cut the solution short the quick and dirty way was to bridge number 6 and 7, both have 12V with ignition set to on:
Very happy about this seemingly unlikely outcome I picked the car up and went home and enjoyed the sh*t out of it on the way home:
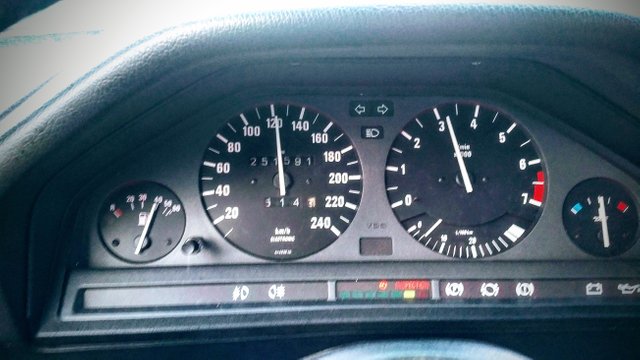
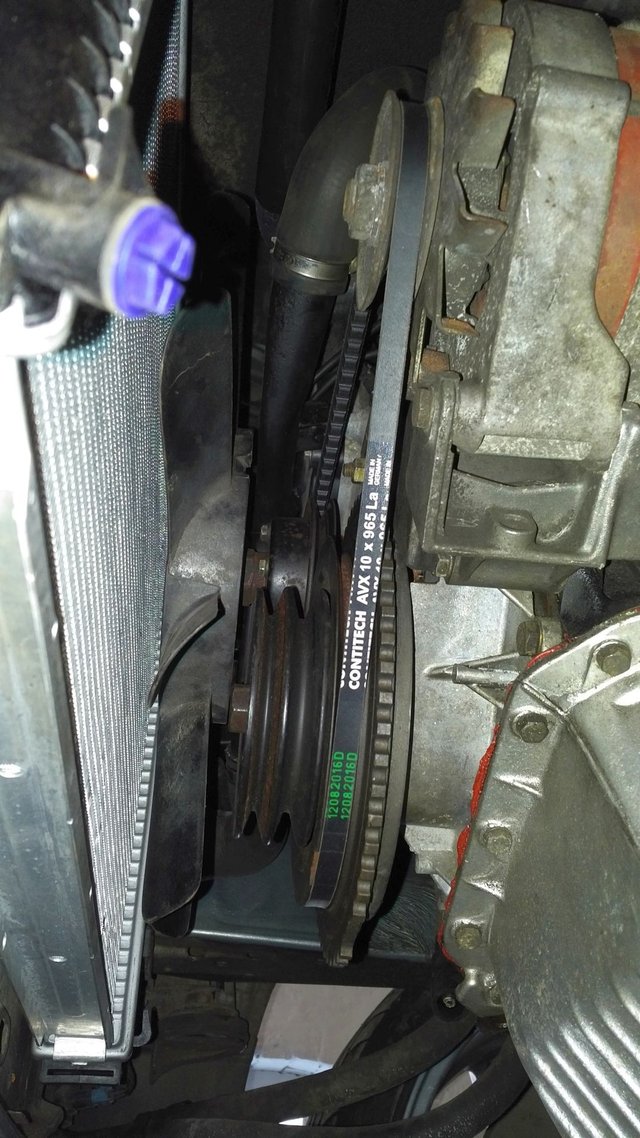
I even got stuck in multiple traffic jams so the drive home took a combined 8 hours of which I was in stop-and-go for 3 hours in 30+ C degrees. Temp stayed steady the whole way so opting for the large 324td radiator really paid off in the end.

It ain't over till it's over
2 weeks later while giving a friend a ride home it died on me on the way. After some visual checking and turning it off and on again it ran fine. During the next couple of days it kept dying during idle and even worse it started to cut out completely during normal driving.
Got it home and tried to check what the problem was until it wouldn't even start again. Checked the power on engine pin number 7 - 12V. Everything was working but it wouldn't start.
I actually unscrewed the main switch housing and found an unbelievably twisted to the side pin number 7. So it had suffered from a short circuit and intermittently cut the power to number 7 and that was that. Now 7 had the 12V but it still wouldn't start.
Keeping myself from burning it straight to the ground on the spot I calmly collected myself and did the routine again. Eventually I found myself doing the classic thing and checking the fuel pump. To my surprise it did this:
W O W!!! Could this have been the problem the whole time? The electrical connection kept having a short circuit which randomly shut off the fuel pump. I fixed the connector and voila...ran like a charm. I replaced the main engine relay as well as that had been fried during my initial trouble shooting with wire number 7. It was 29 years old.
This was without a doubt the hardest test of passion for this car I've ever gone through. My mechanic's answer to my question 'Have you ever seen anything like this?' simply resulted in a 'No'.
It ran fine for a while. The battery didn't suffer much from all the short and cold starts. Engine has normal levels of oil consumption (~1L/4000km) but that has been dropping as it's driven more. Then one day I got in and the coolant level light lit up...
Speechless...
So the coolant light lit up. That's not unusual you might say maybe it loses some because the engine, hoses or radiator are old or something. Well yeah only all those parts are brand new. That light should light up exactly once which is a few 100 miles after you initially filled and vented the system but at that point after a couple 1000 miles? No way. There had to be a leak.
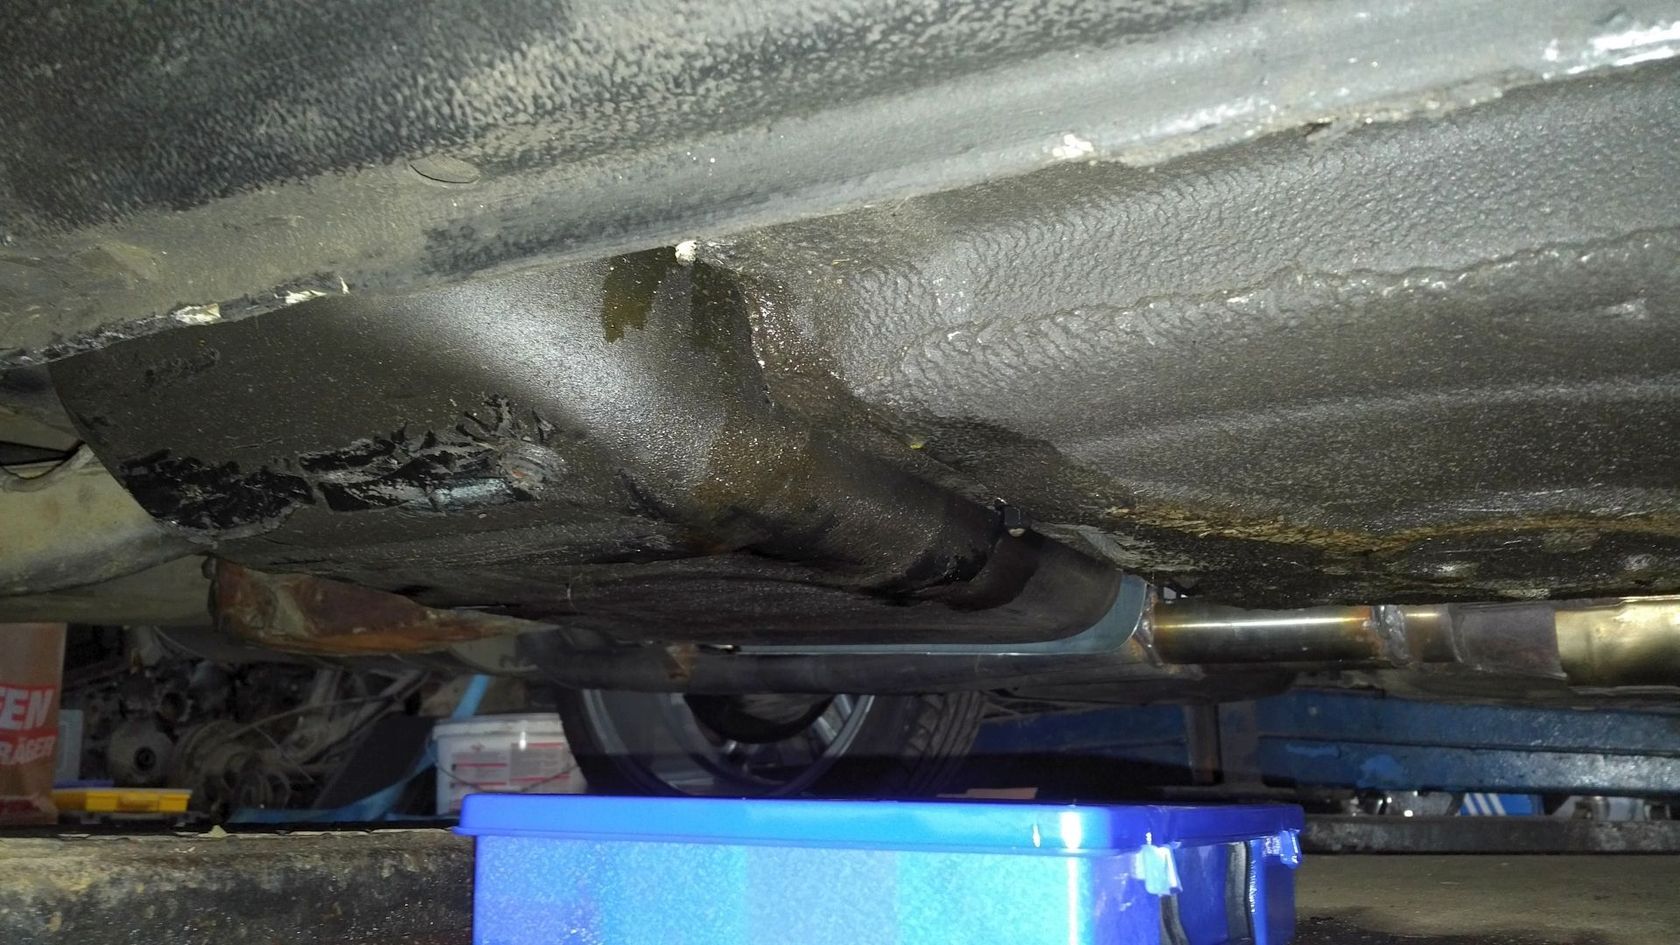
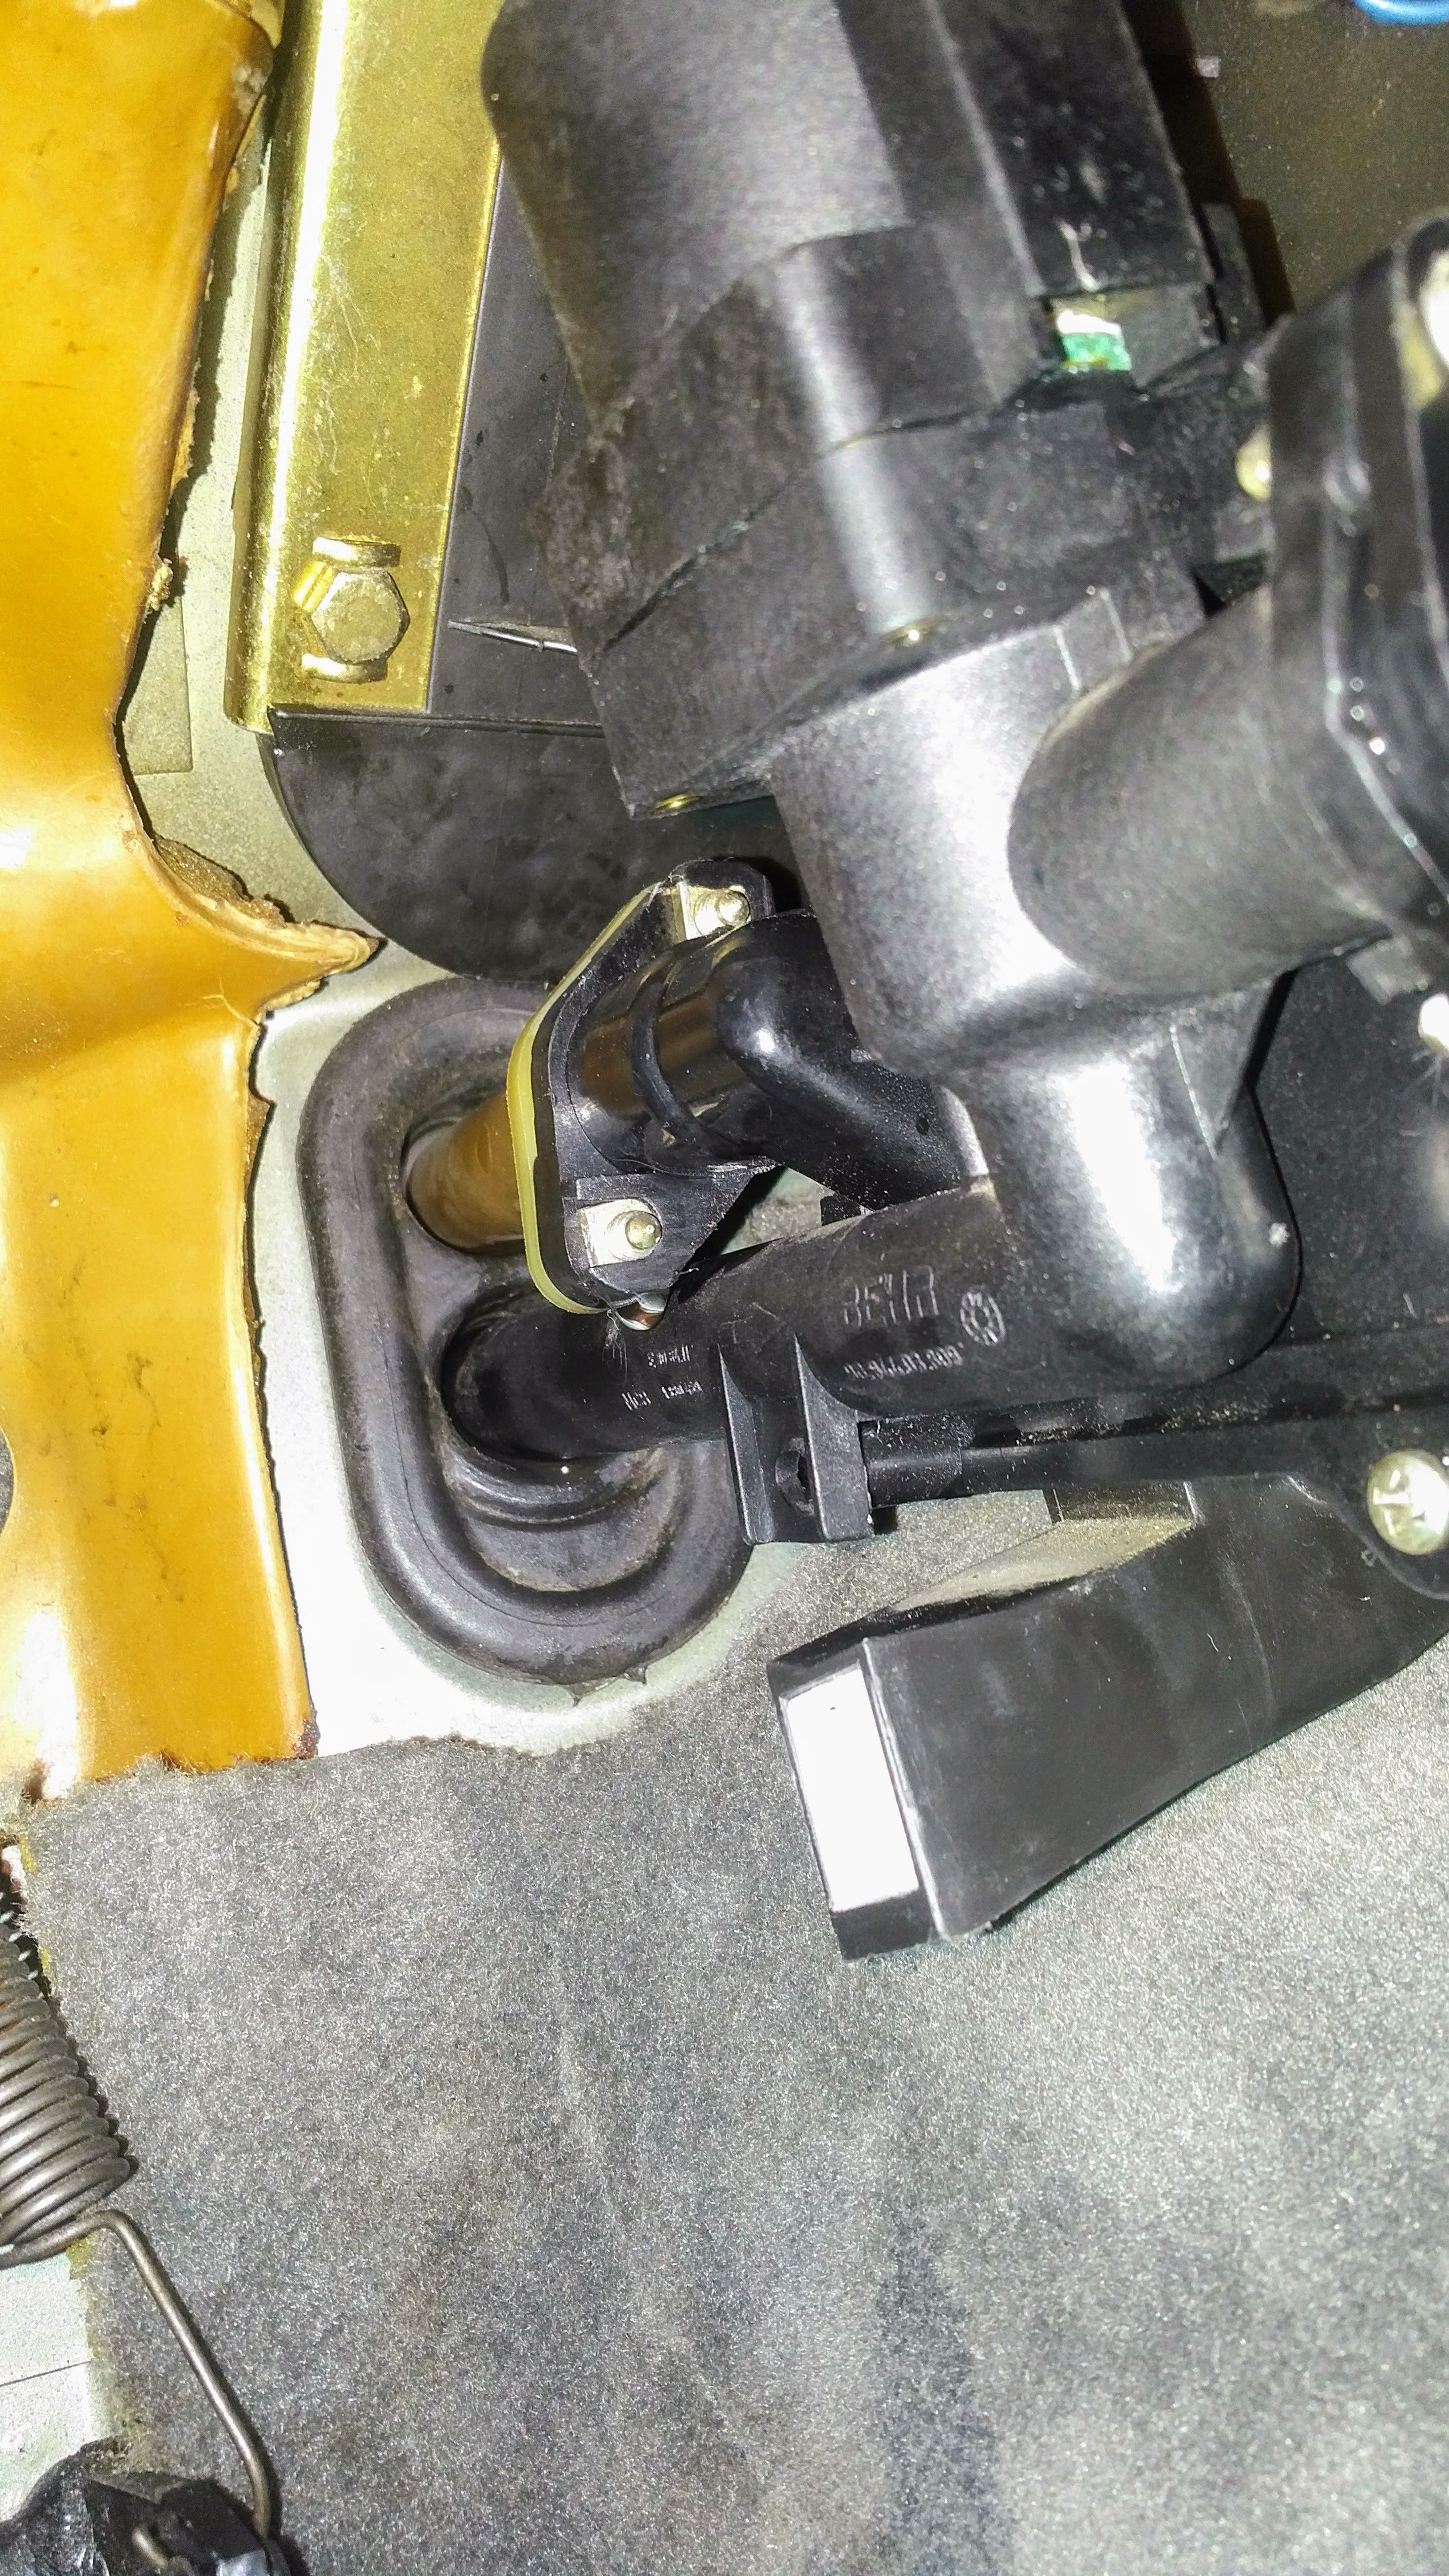
There was:
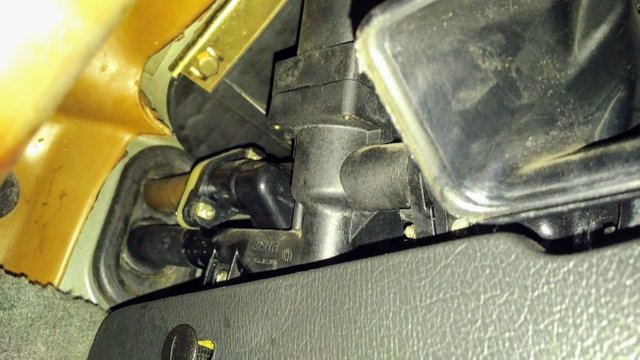
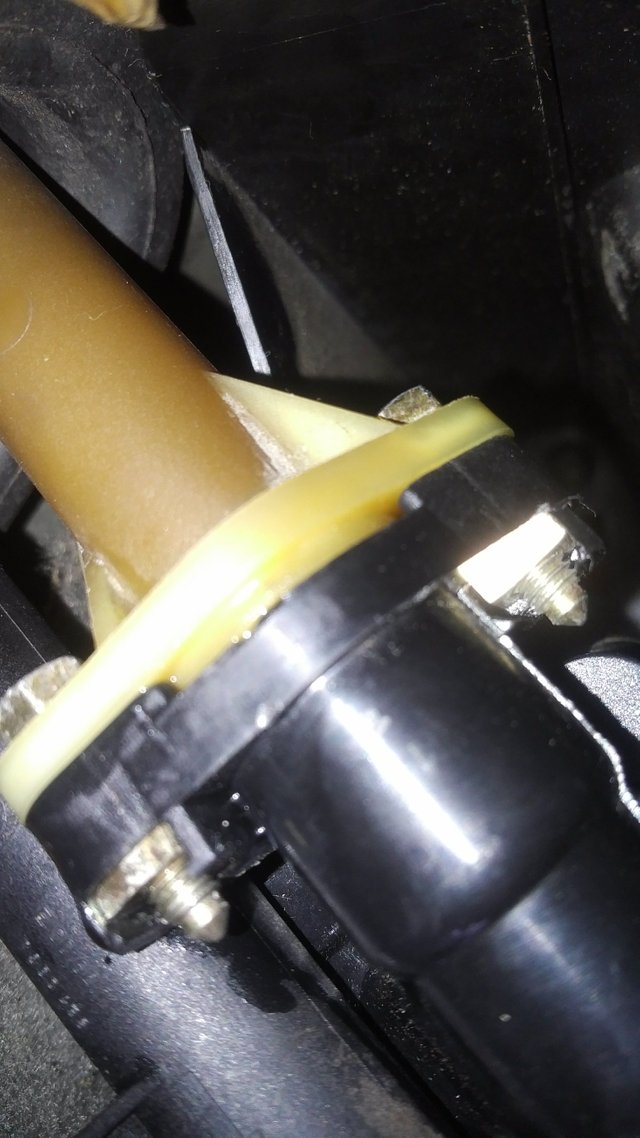
What you're looking at there is the connection of the water pipe from the engine bay through the firewall to the heater valve and the return pipe back through the firewall on the driver's side. The heater valve sits on top and it was leaking at the connection. 30 minutes later the relevant parts were removed I could take a better look:
I remember assembling this part and couldn't recall how tight I had fixed the two nuts or if I had put the sealing back in. Since it was only putting out some drops with coolant running through it at a 100C degrees I figured the sealing was inside but it wasn't screwed on tight enough.
Here's the kicker: That nut is almost impossible to fix without disassembling the interior (again). Since that was out of the question for me I bought myself a tiny automatic wrench (8mm) and used an 8mm connector out of an IKEA toolset which I could fit on top of the nut and then sliding the mini wrench on the connector. That did the job. Took me two weeks to get there. Everyone I talked to said 'no way'. Haaahaaaa Screw That [pun intended]!
When I got it out I decided to remove the entire valve to check the sealing - it was inside. Luckily the heater sits above the radiator so almost no coolant escapes when removing the valve. Put everything back together and fixed the nuts real tight.
Since we first drove the car to the check the heater wouldn't work - there was no hot air at all. During this repair I found the issue:
Yeah that's the electric switch that connects the temp regulator with the heater valve. Kid you not. Hooked it up and voila hot air, no leak, steady coolant level. HALLELUJAH!!!
Will post the 'Addendum' with some well l deserved final pics after a thorough clean up job inside out and remaining issues (miniscule comfort stuff, cosmetics, optional euqipment and audio setup).
For now Godspeed to all E30 drivers and car lovers out there! Steem that mofo on!

As usual here is the complete story so far:
Part 1 deals with the history of the donor car until it dies the first time https://steemit.com/cars/@peterschroeter/7-years-in-the-making-1-rebuilding-and-restoring-a-30-year-old-bmw-twice
Part 2 deals with a short revival, planning and building the new engine (head) https://steemit.com/cars/@peterschroeter/7-years-in-the-making-2-rebuilding-and-restoring-a-30-year-old-bmw-twice
Part 3 deals with finishing the engine (block), installation and the final death of the donor https://steemit.com/cars/@peterschroeter/7-years-in-the-making-part-3-rebuilding-and-restoring-a-30-year-old-bmw-e30-twice
Part 3.1 Building the Engine - Super Extended version https://steemit.com/cars/@peterschroeter/7-years-in-the-making-building-the-perfect-engine-super-extended-version
Part 4 https://steemit.com/cars/@peterschroeter/restoring-a-30-year-old-bmw-7-years-in-the-making

Peace.
I like your post! I sent you some money in your wallet!
Thanks, much appreciated!