7 years in the making [Part #3] Rebuilding and Restoring a 30 year old BMW E30 - twice
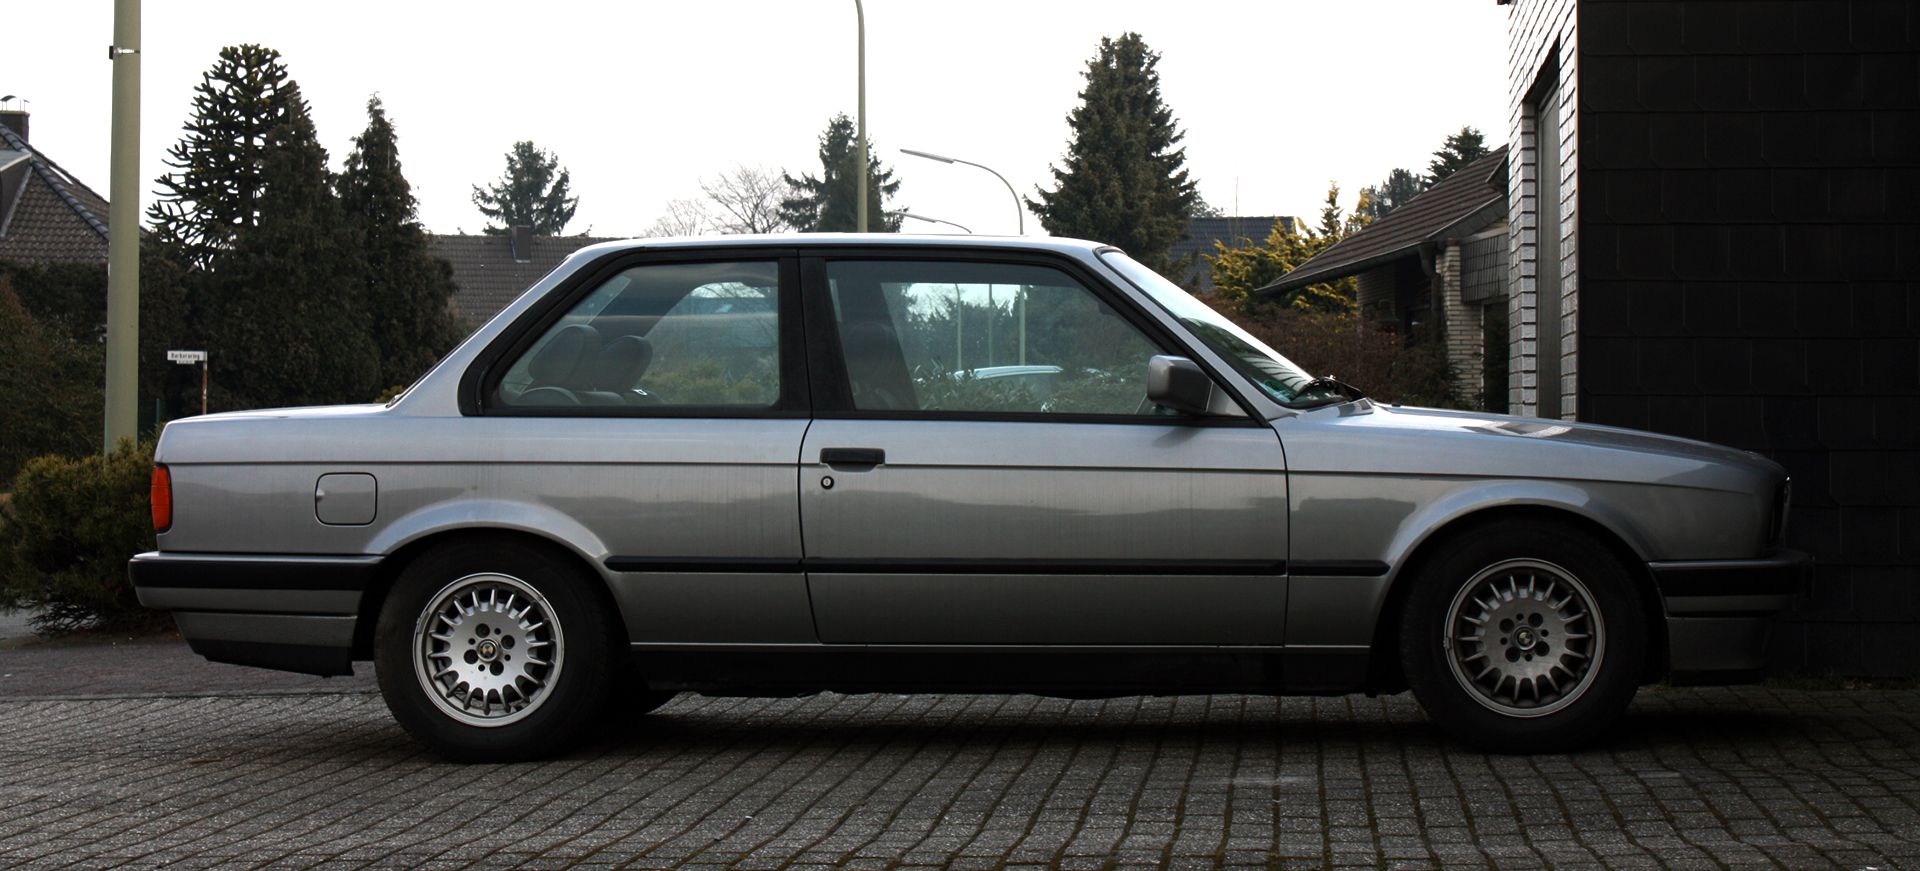
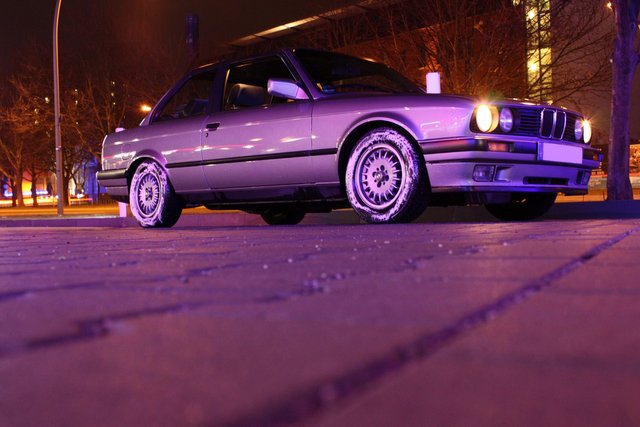
This is my 1987 BMW E30 327i:

This is the same car one year later:
What happened? You'll find out today...
This is my personal blog about my restoration of a 1980s #BMW which actually turned out to be two restorations and one engine rebuild. After having dealt with all the dry technicalities of laying out a high compression stroker engine in Part 2 I'll go into the finished product and its installation today.
Some people say you don't buy an #E30 you build one. Man I hear that! I'm here to share my story with you and give some insights into what my mechanic and I went through to get this car on the road (again). I'll go through every detail and leave nothing out.
Part 1 deals with the history of the donor car until it dies the first time https://steemit.com/cars/@peterschroeter/7-years-in-the-making-1-rebuilding-and-restoring-a-30-year-old-bmw-twice
Part 2 deals with a short revival, planning and building the new engine (head) https://steemit.com/cars/@peterschroeter/7-years-in-the-making-2-rebuilding-and-restoring-a-30-year-old-bmw-twice
Part 3 deals with finishing the engine (block), installation and the final death of the donor
Part 4 goes into disassembly of the donor and the new base, planning the exhaust system and restoring components
Part 5 will go into the engine and drivetrain installation and interior assembly
Part 6 will be devoted to the pain this car gave us because it fought tooth and nail in order to not be put back on the road
Part 7 the final act will go into lessons learned, things left to do, impressions and how it actually drives
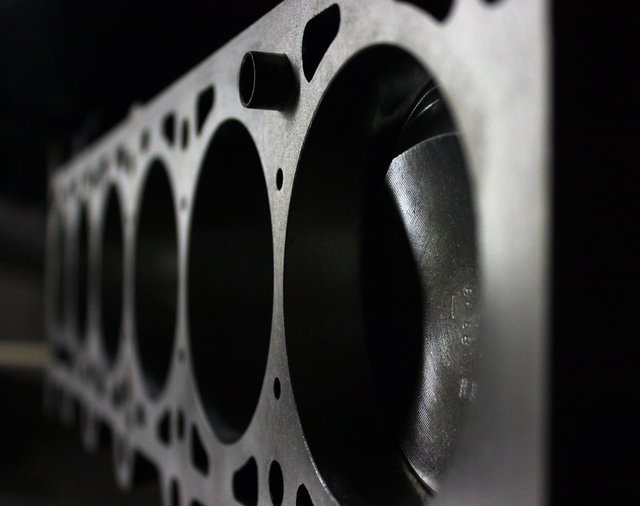
So I finished Part 2 with a rebuilt cylinder head, decked by 2.1mm to get a crushing gap of 0.8mm, an estimated compression of 9.9-1 and around 2.69L of displacement.
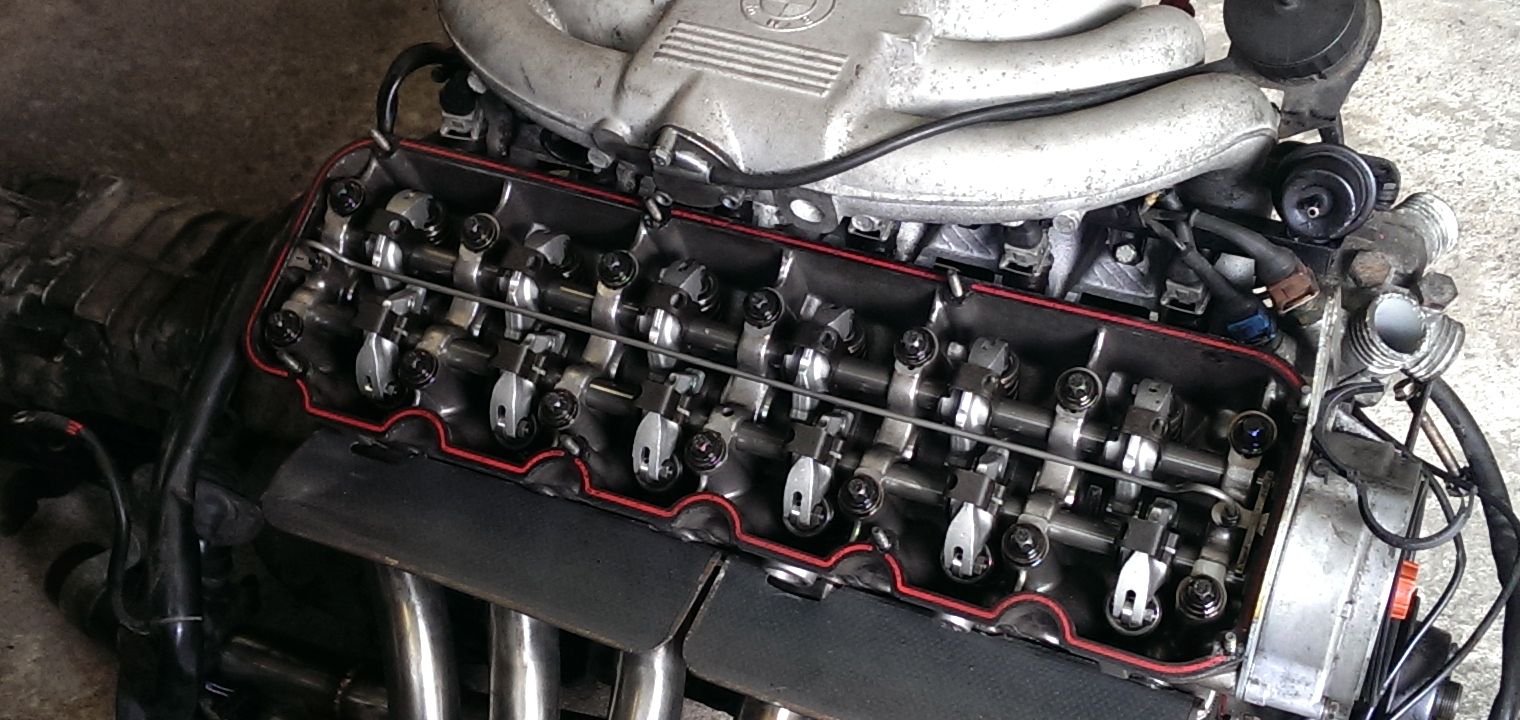
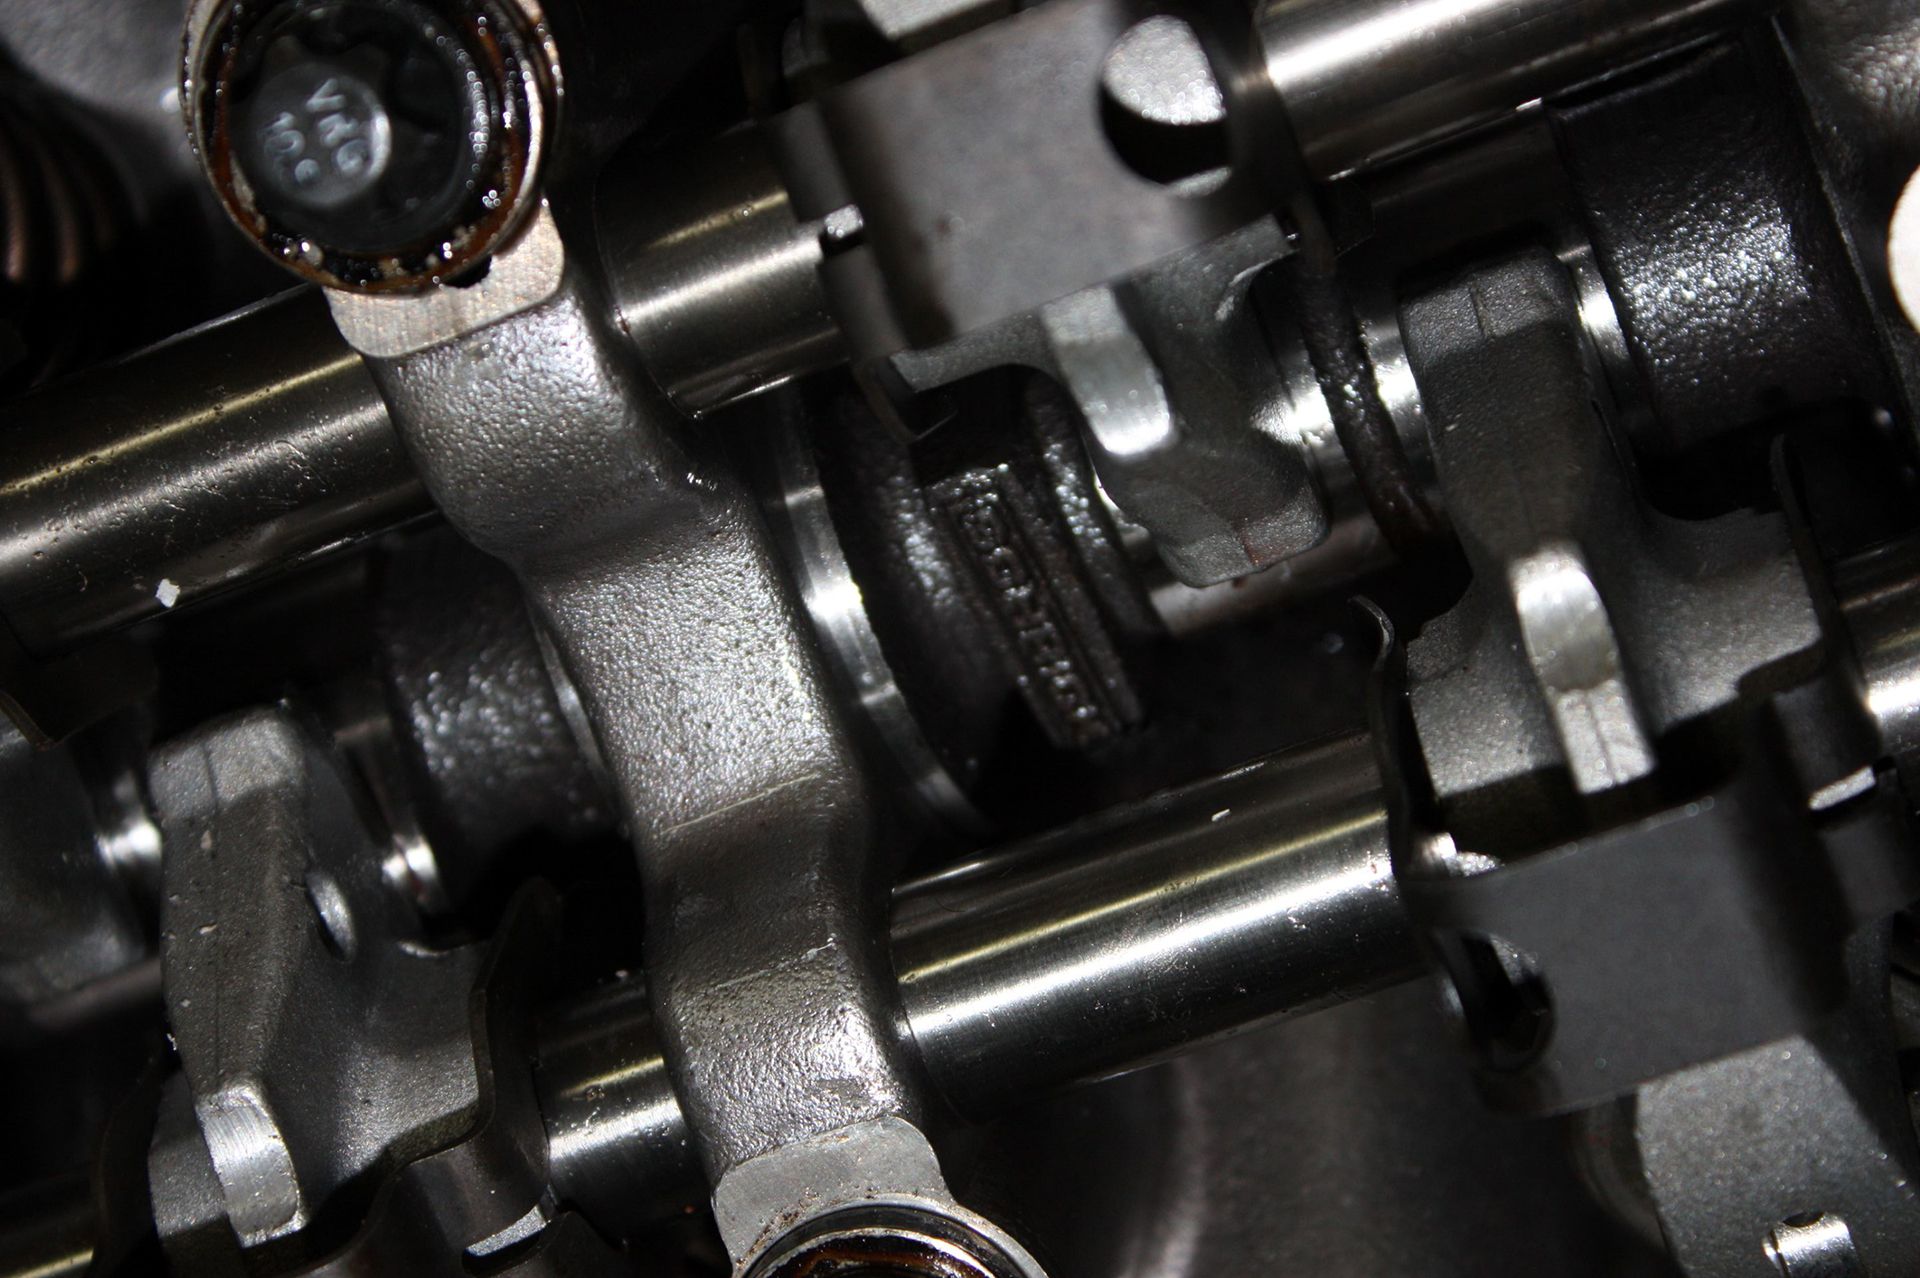
Just to give you an idea this is the cylinder head valvetrain after 247.000km:

This is the newly rebuilt one after the break-in of 4.000km:
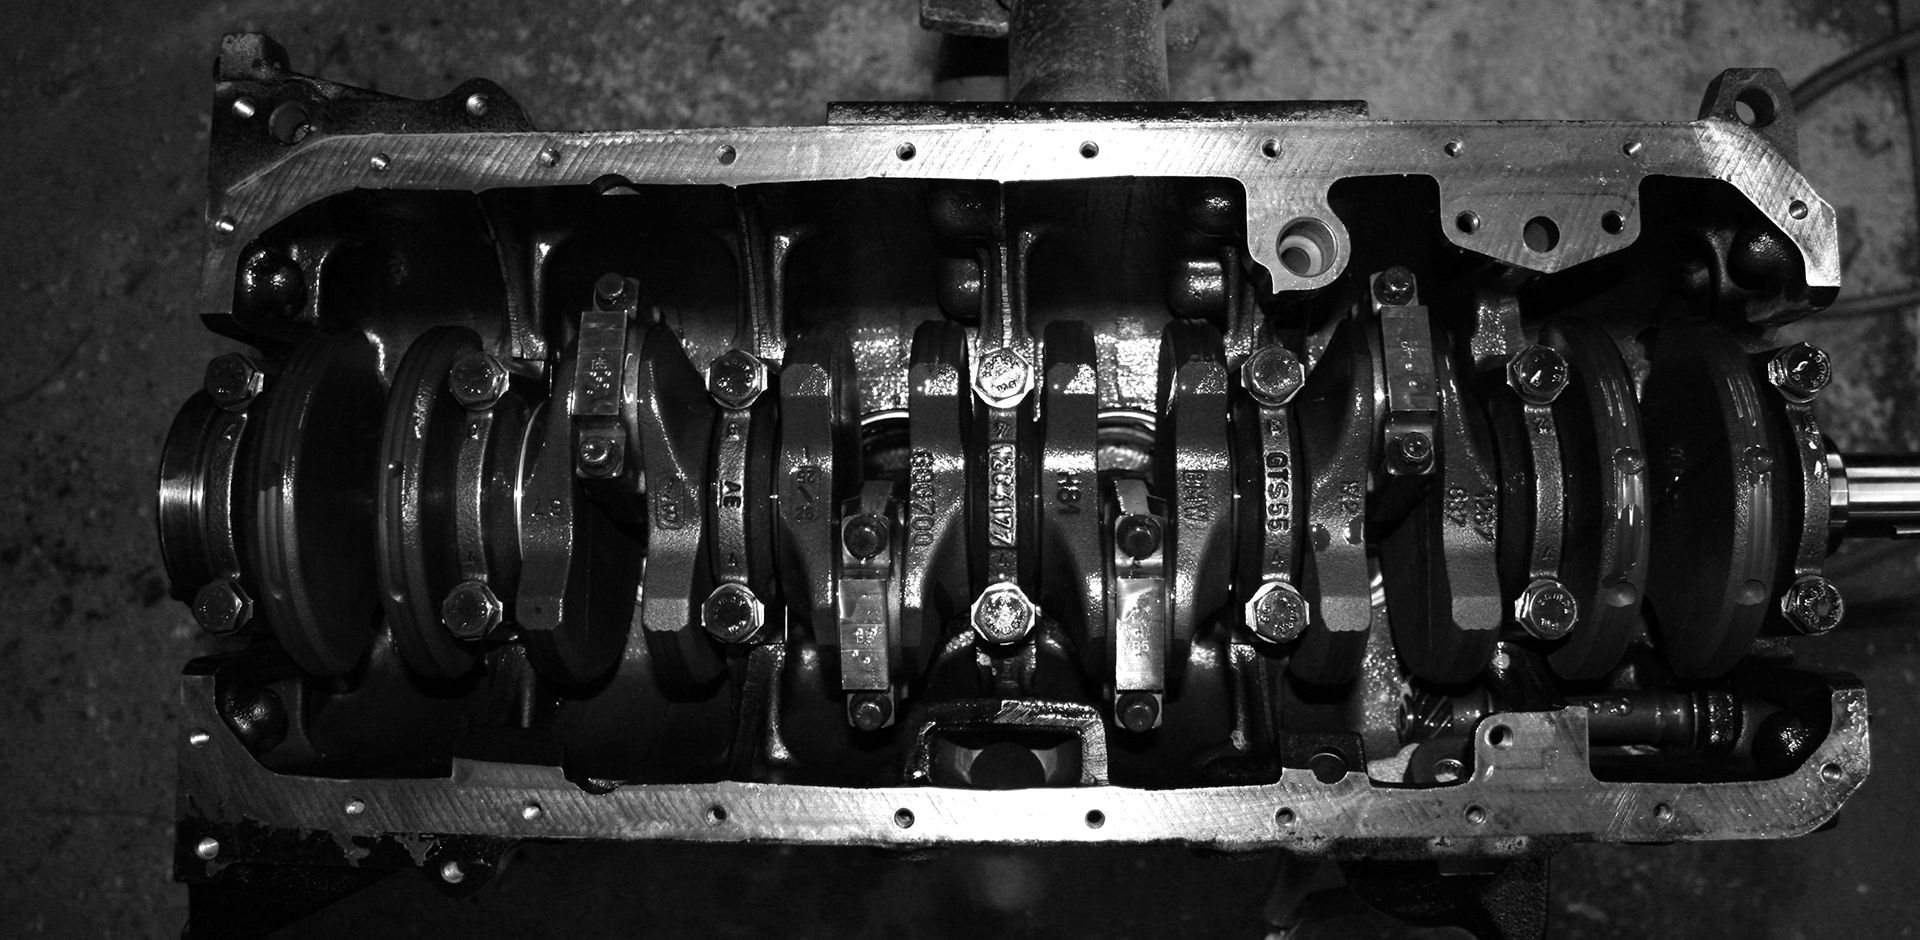
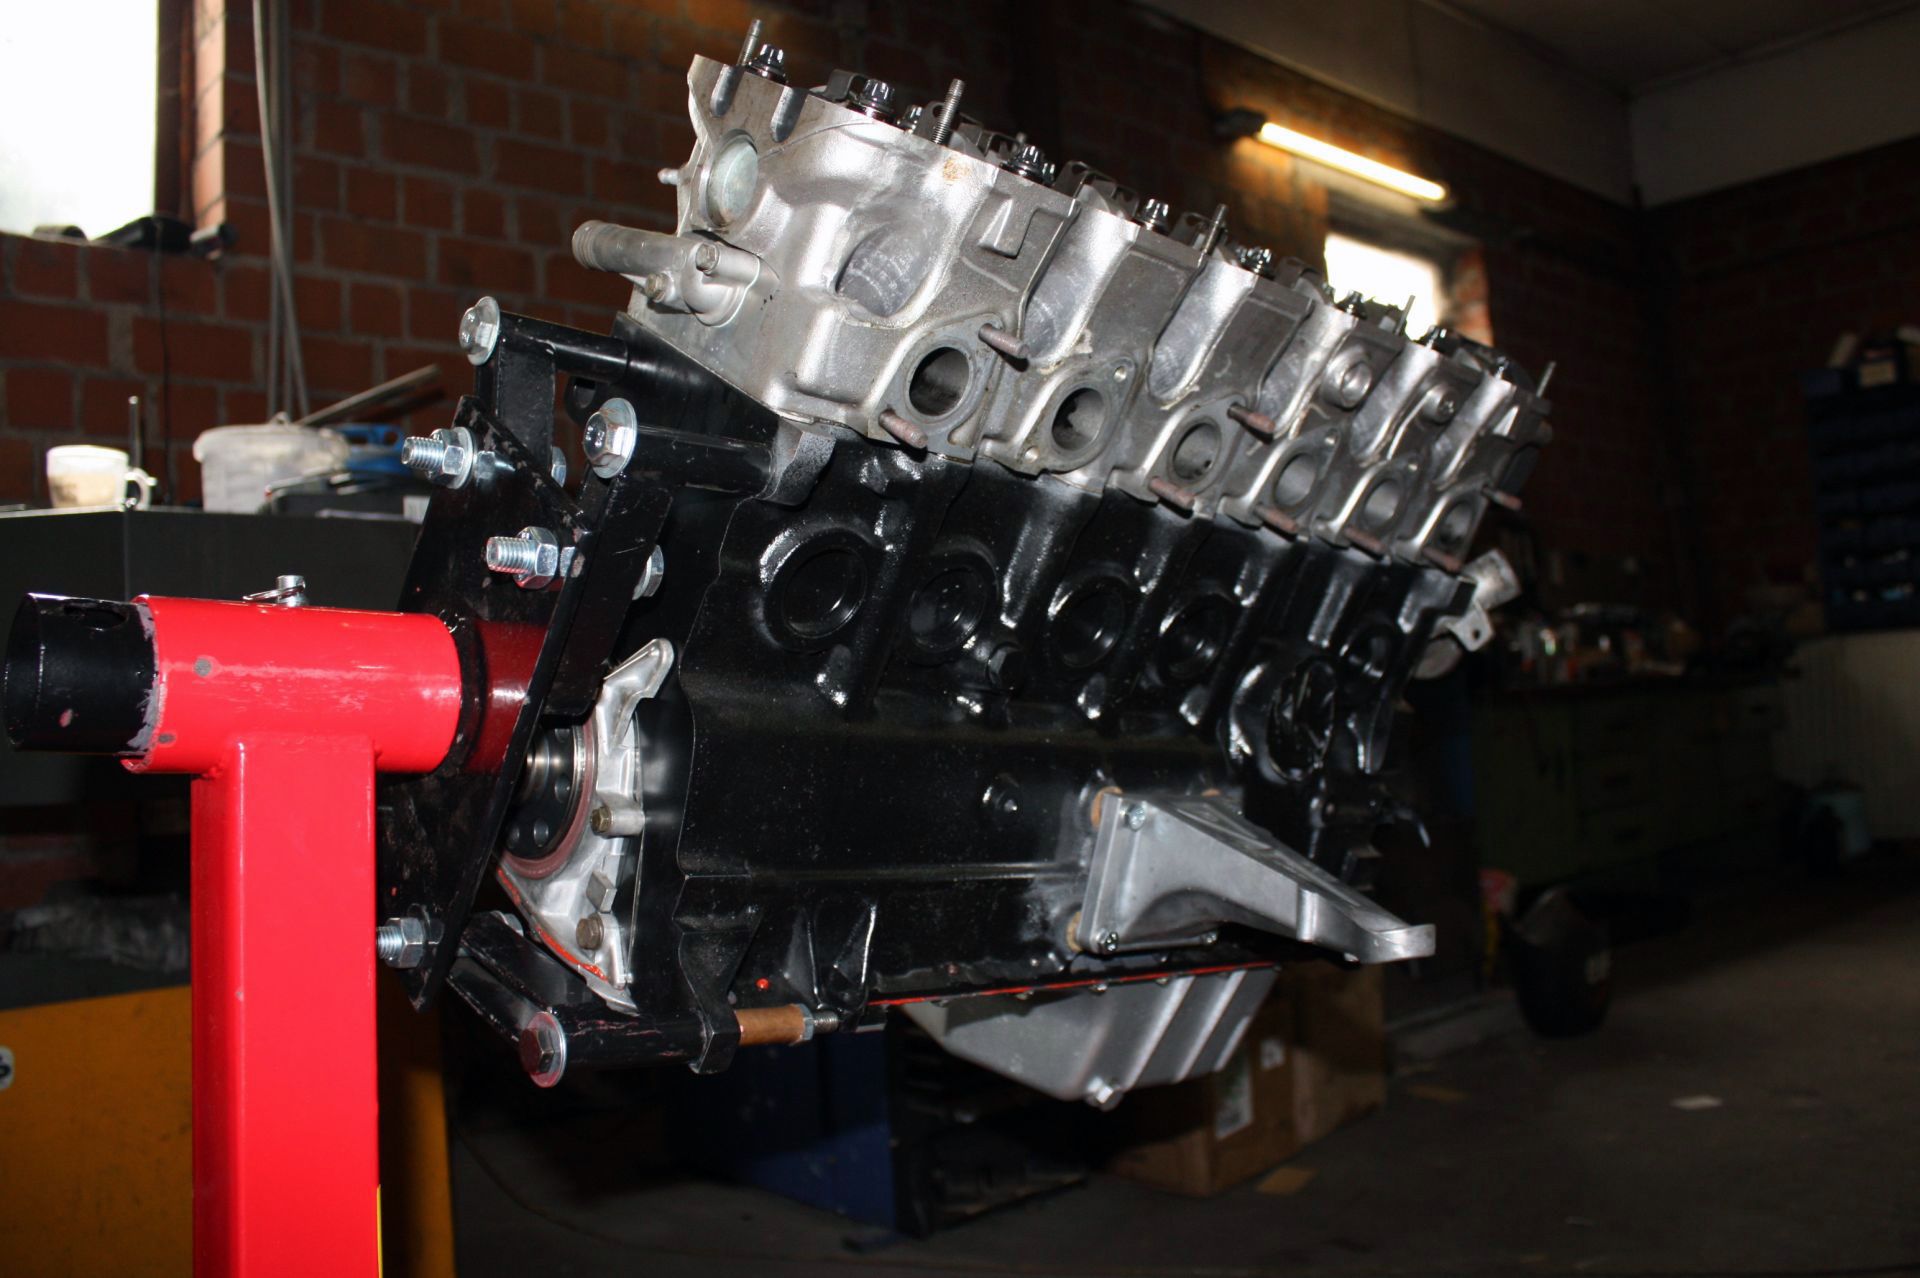
In January 2013 I got a call from Paul, the trusted engine builder, telling me the block is ready and that I'd really like the result. He didn't have to tell me that twice so went to the shop and was awestruck by the simple beauty of my engine's block.
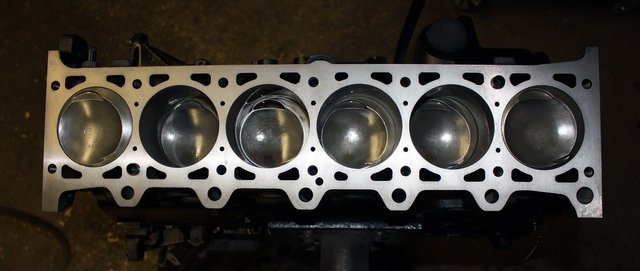
So there it is, firing order 1-5-3-6-2-4 easily remembered by an old BMW saying: 15's too young, 36's too old, 24 is just right :)
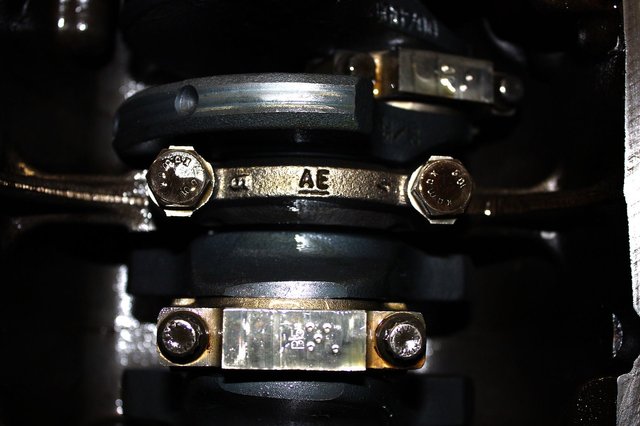
He had taken the 2.7L M20B27 block, cleaned it, decked by 0.3mm (just barely milled to get the full surface), rebalanced the crankshaft, put the original piston rods combined with the 'low-sideskirt' M20B25 pistons on it, replaced all bearings and installed everything with the specially ordered MAHLE piston rings into it.
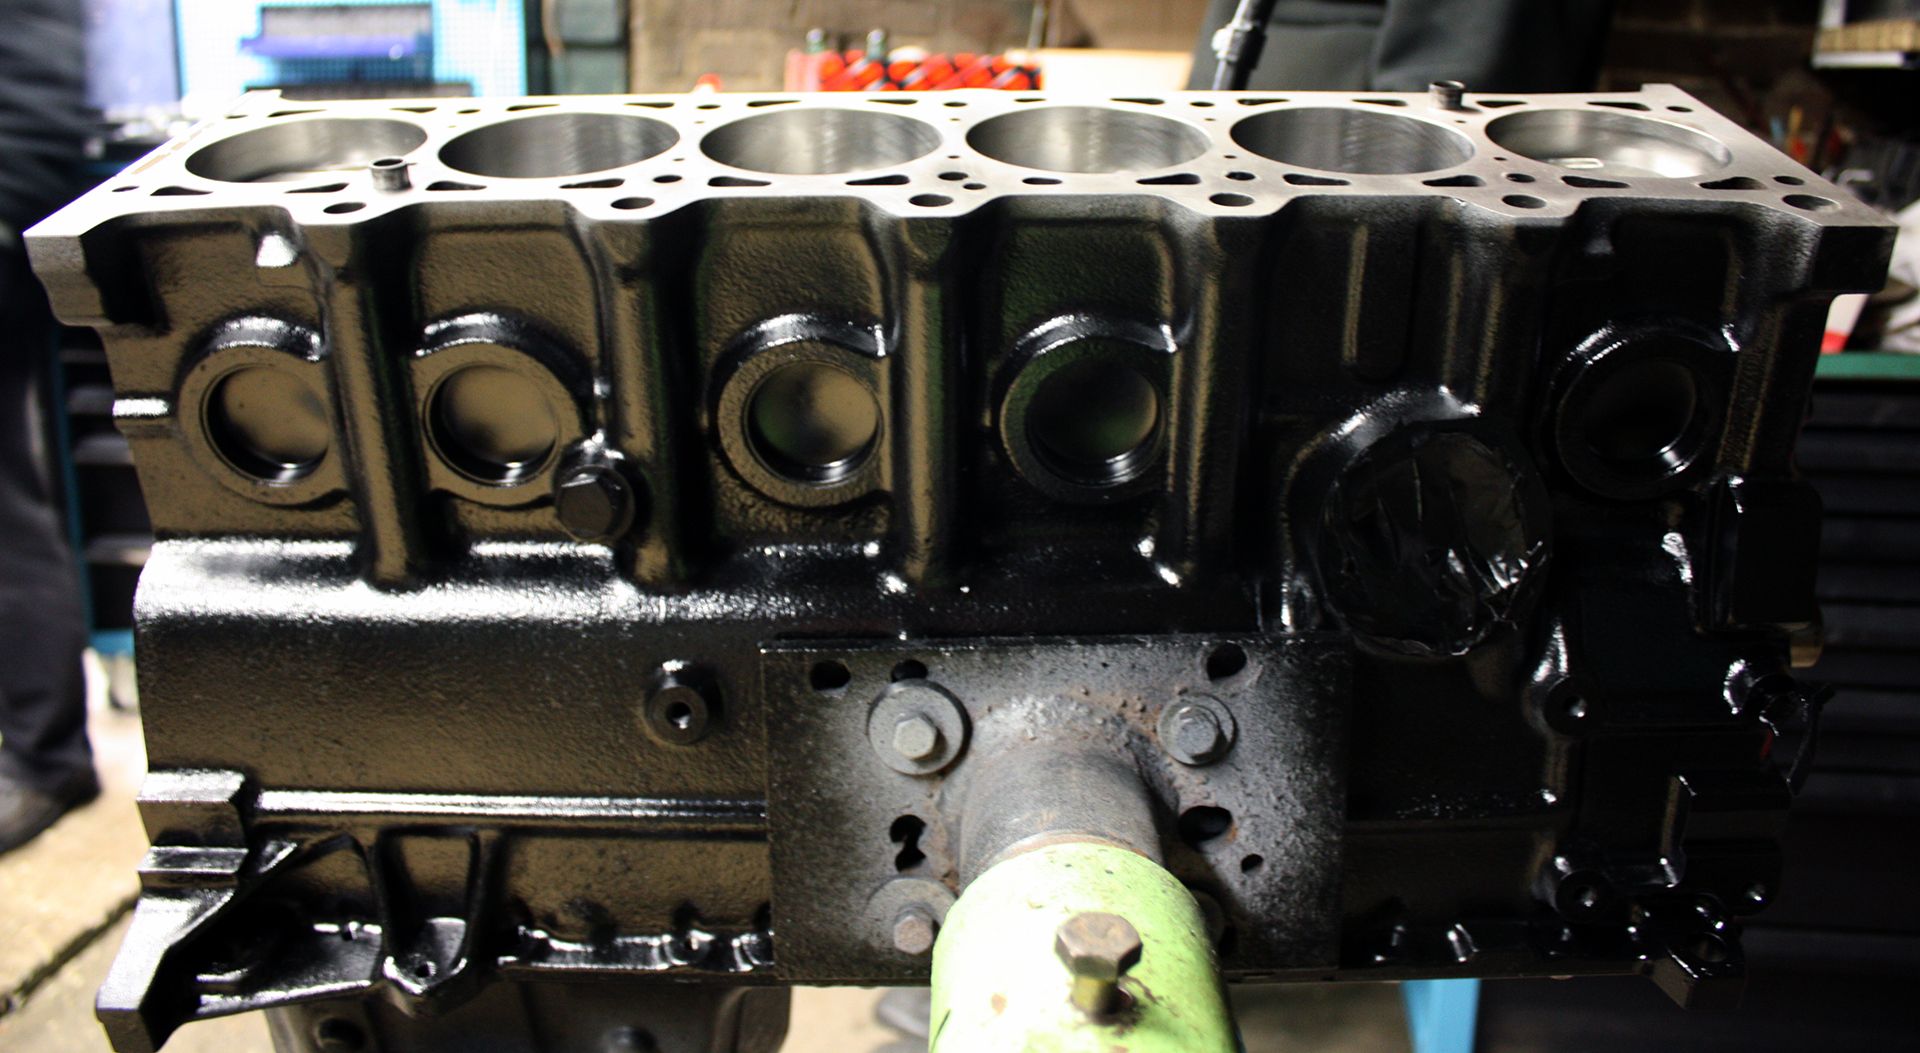
I had it painted in plain black, lesson learned here as I later realised if you do this have your guy paint the block in matte black, that way coolant and especially oil leaks can be recognized more easily later on!
In any case the brand new engine slowly came together:


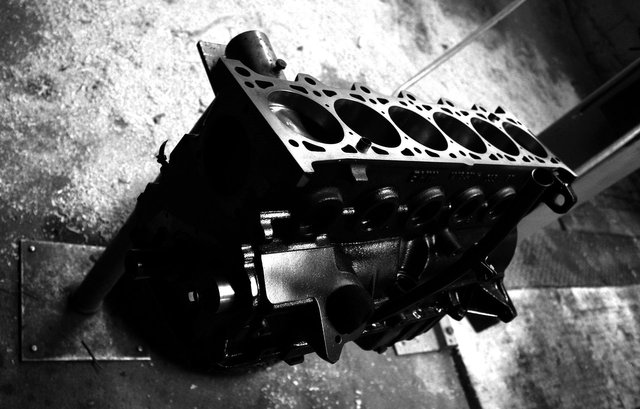
I LOVED IT!
In March 2013 it was time to put it together. Once this step is taken there's not much left to do:
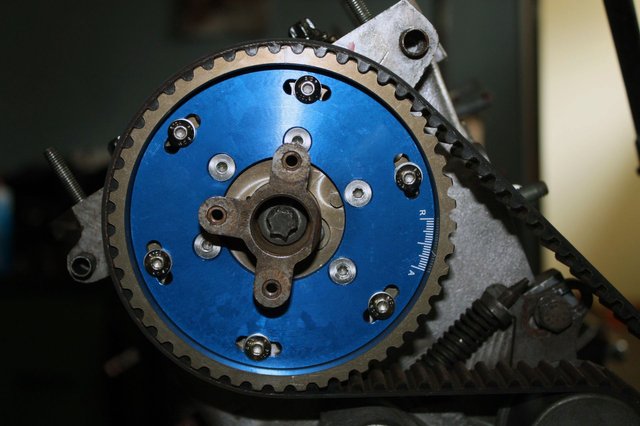
Move the camshaft into a 'zero position' meaning valve-train needs to be in dead center position, more on that below
Move crankshaft into dead center position
When both are set, drivebelt ist put on the motor and the adjustable cam wheel is used to compensate for the amount head and blocked were decked thereby decreasing the distance between crank and cam
Following that valves need to be adjusted and the oil-pan is mounted
Now moving the crankshaft to dead center is easy because the crank and the block both have an indentation which when aligned signals 'dead center'. When is the valve-train in dead center position? That's quite hard to tell here actually, you can't look inside the cylinder and there is no certain way of telling visually.
However, the geniuses at SCHRICK have put a small flag on their camshaft which when pointing at 12 o'clock means 'dead center' position.
Took us about 2 hours to figure that out :). I said dead center and not valves closed position because SCHRICK also offers asymmetric camshafts with timings like 284/272 which means the valves are never fully closed. With these asymmetric camshafts the valve overlap is such that the valves themselves push and pull the combustion gas into and out of the chamber thereby sort of charging the combustion process which gives you extra bang. It also increases idle and does what all sharp cams do: more power on top, moving the torque curve to the end of the spectrum and robbing the lower rpms of most of their power. Since I didn't want that I settled for the symmetric 272, 4 degrees more than the ALPINA 268 the reference engine uses.
Anyway having it all assembled and adjusted the camwheel could be used to tighten the drivebelt and connect the shafts at the correct timings, in my case adjustment was 0.3mm.
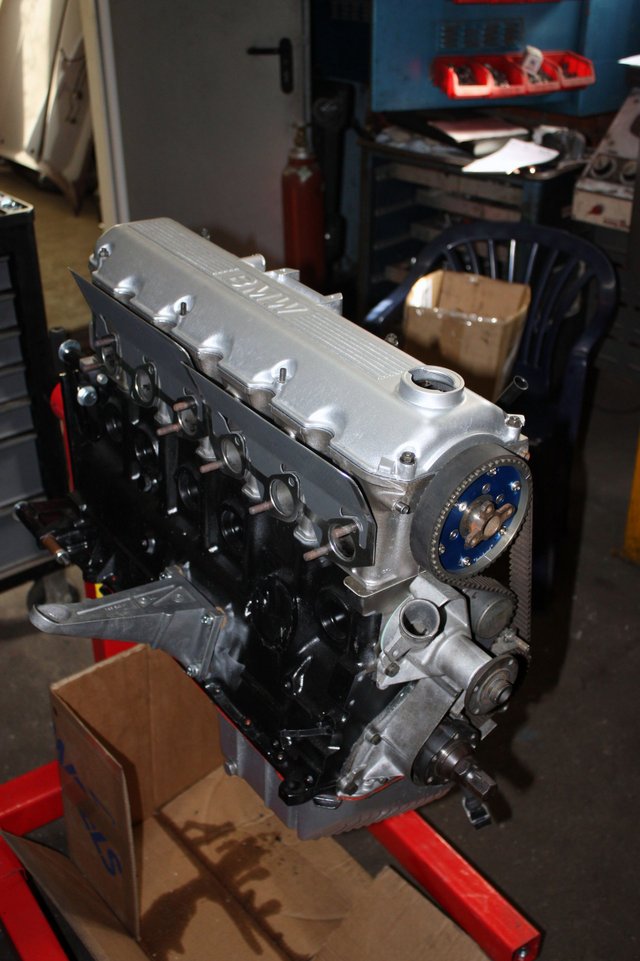
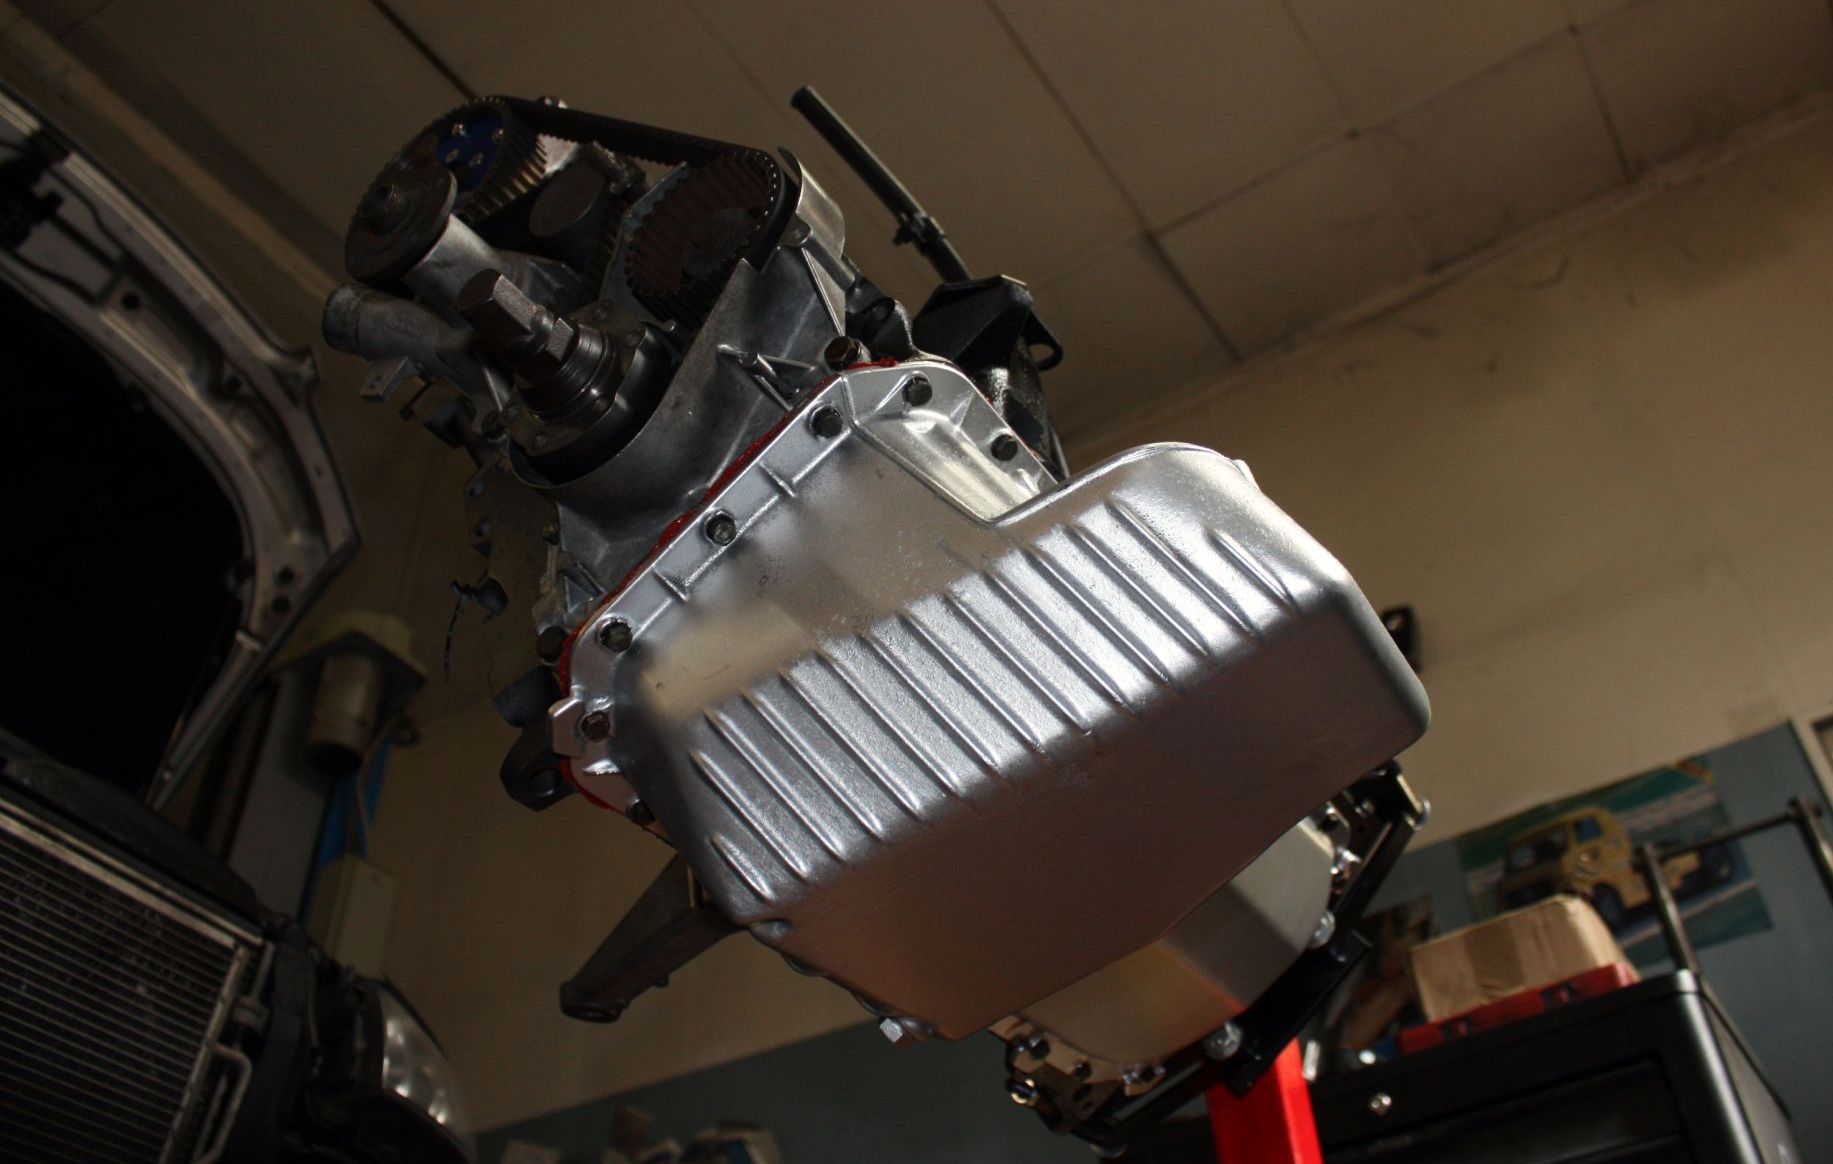
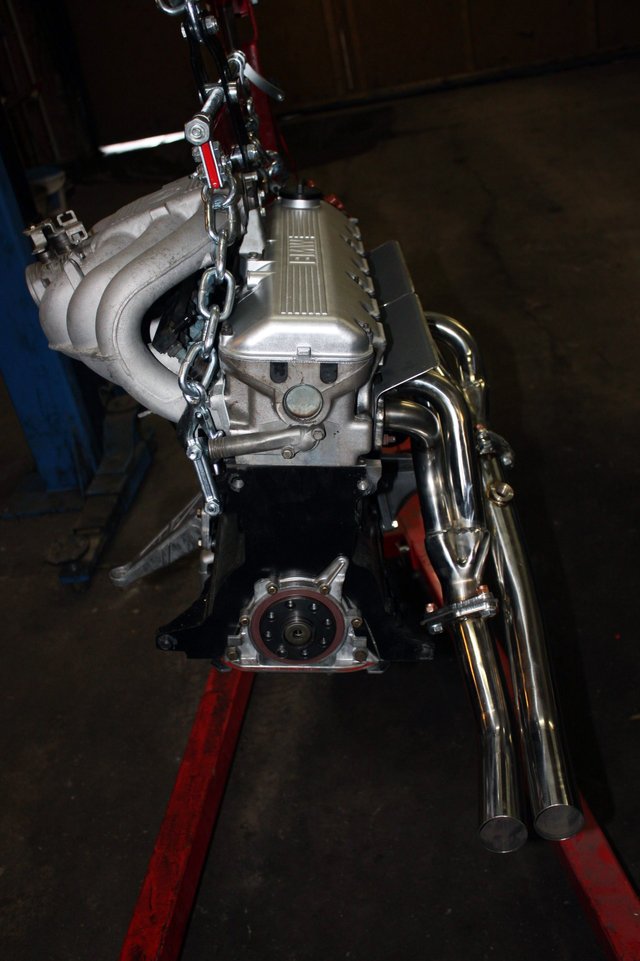
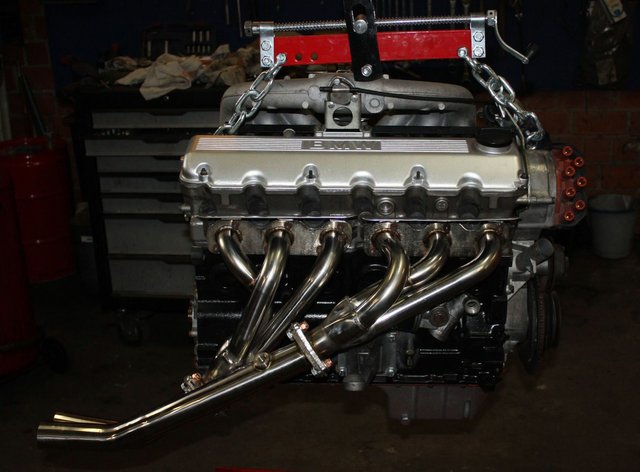
Remaining core parts followed:
Intake, oil pan, head cover, transmission and the so called 'shorty headers' - more on those later. Let's just say they're not headers as in pipe length is not equal. The only thing they facilitated in the end is to help cool the cylinder head by escaping the exhaust gas more quickly and, more importantly, separately out of the chamber.

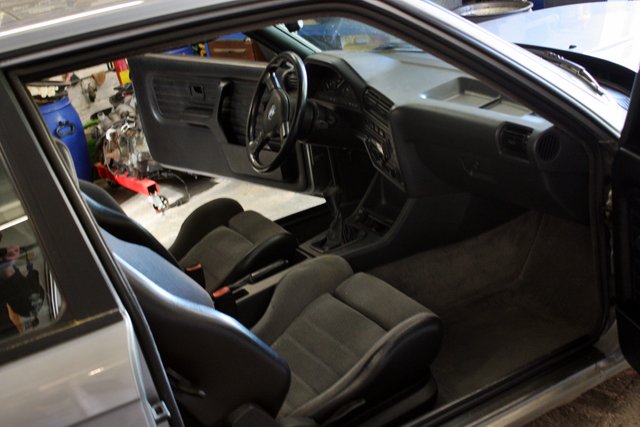
At this point so much time had passed by that I decided to ditch the cosmetics for the moment and focus on mechanical and functional finish only hence some components were simply checked for workable condition and reinstalled. Plan being that once the engine is in and running the suspension parts and other dirty/rusty components could be dealt with once enough motivation and time were 'regathered'.
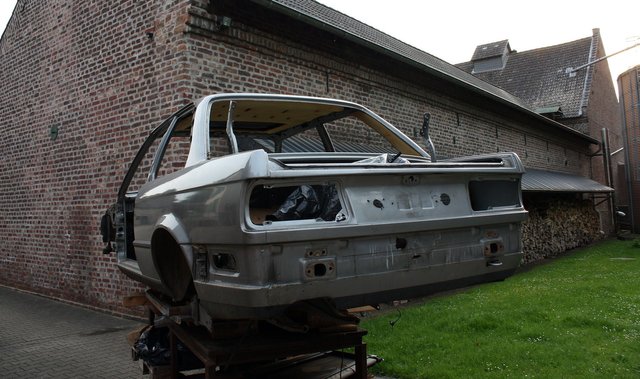
It never came to that with this chassis but looking back at it now I can only appreciate the current condition even more. The fact was that it became more and more evident that the chassis would not last forever as the rust and wear on structural components would be too severe at some point down the road. Having finished the engine I couldn't bare throwing the body into the crusher then and decided to put the engine in and see how long it lasts - turned out it wasn't long :).
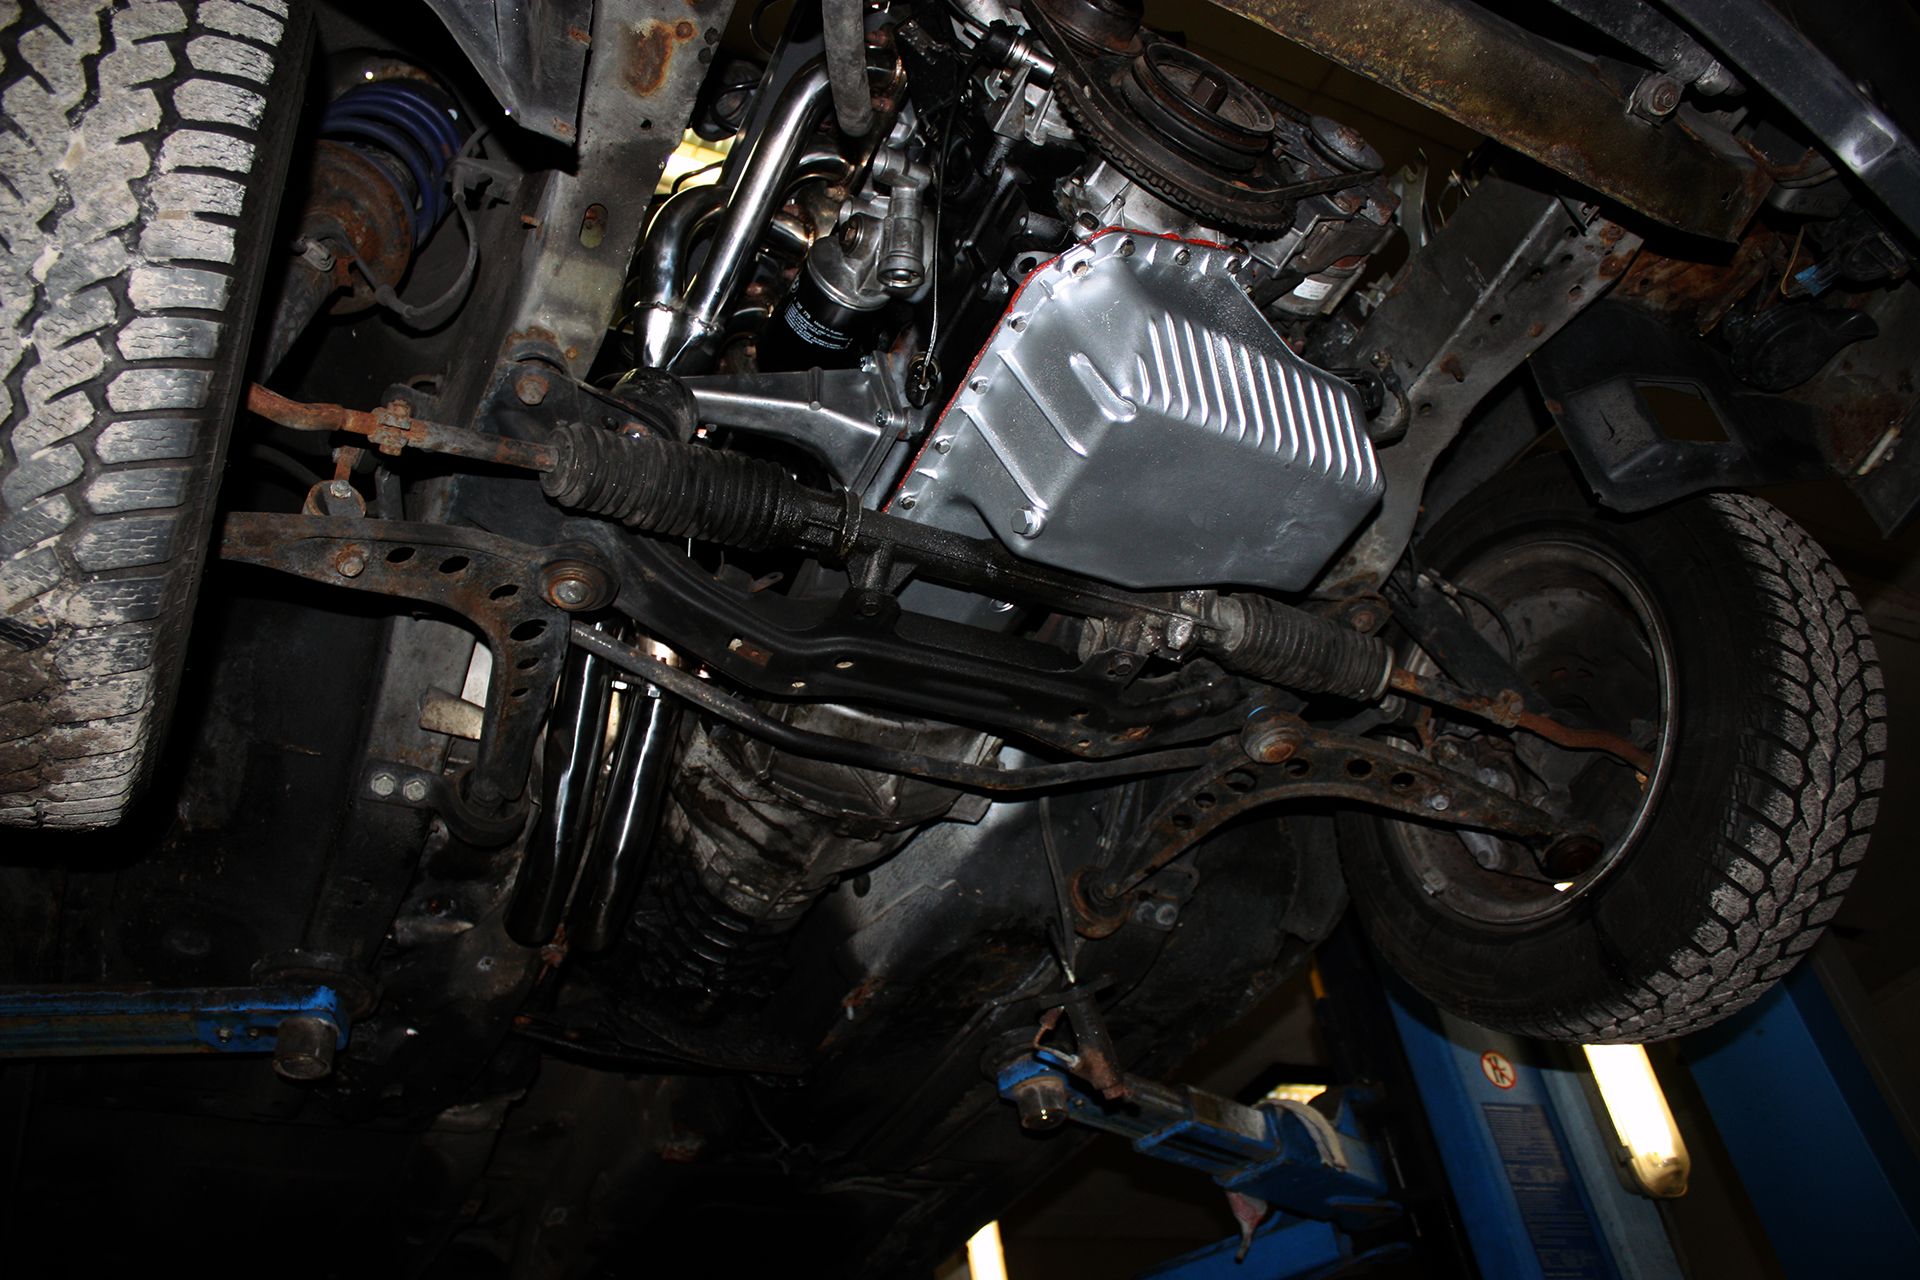
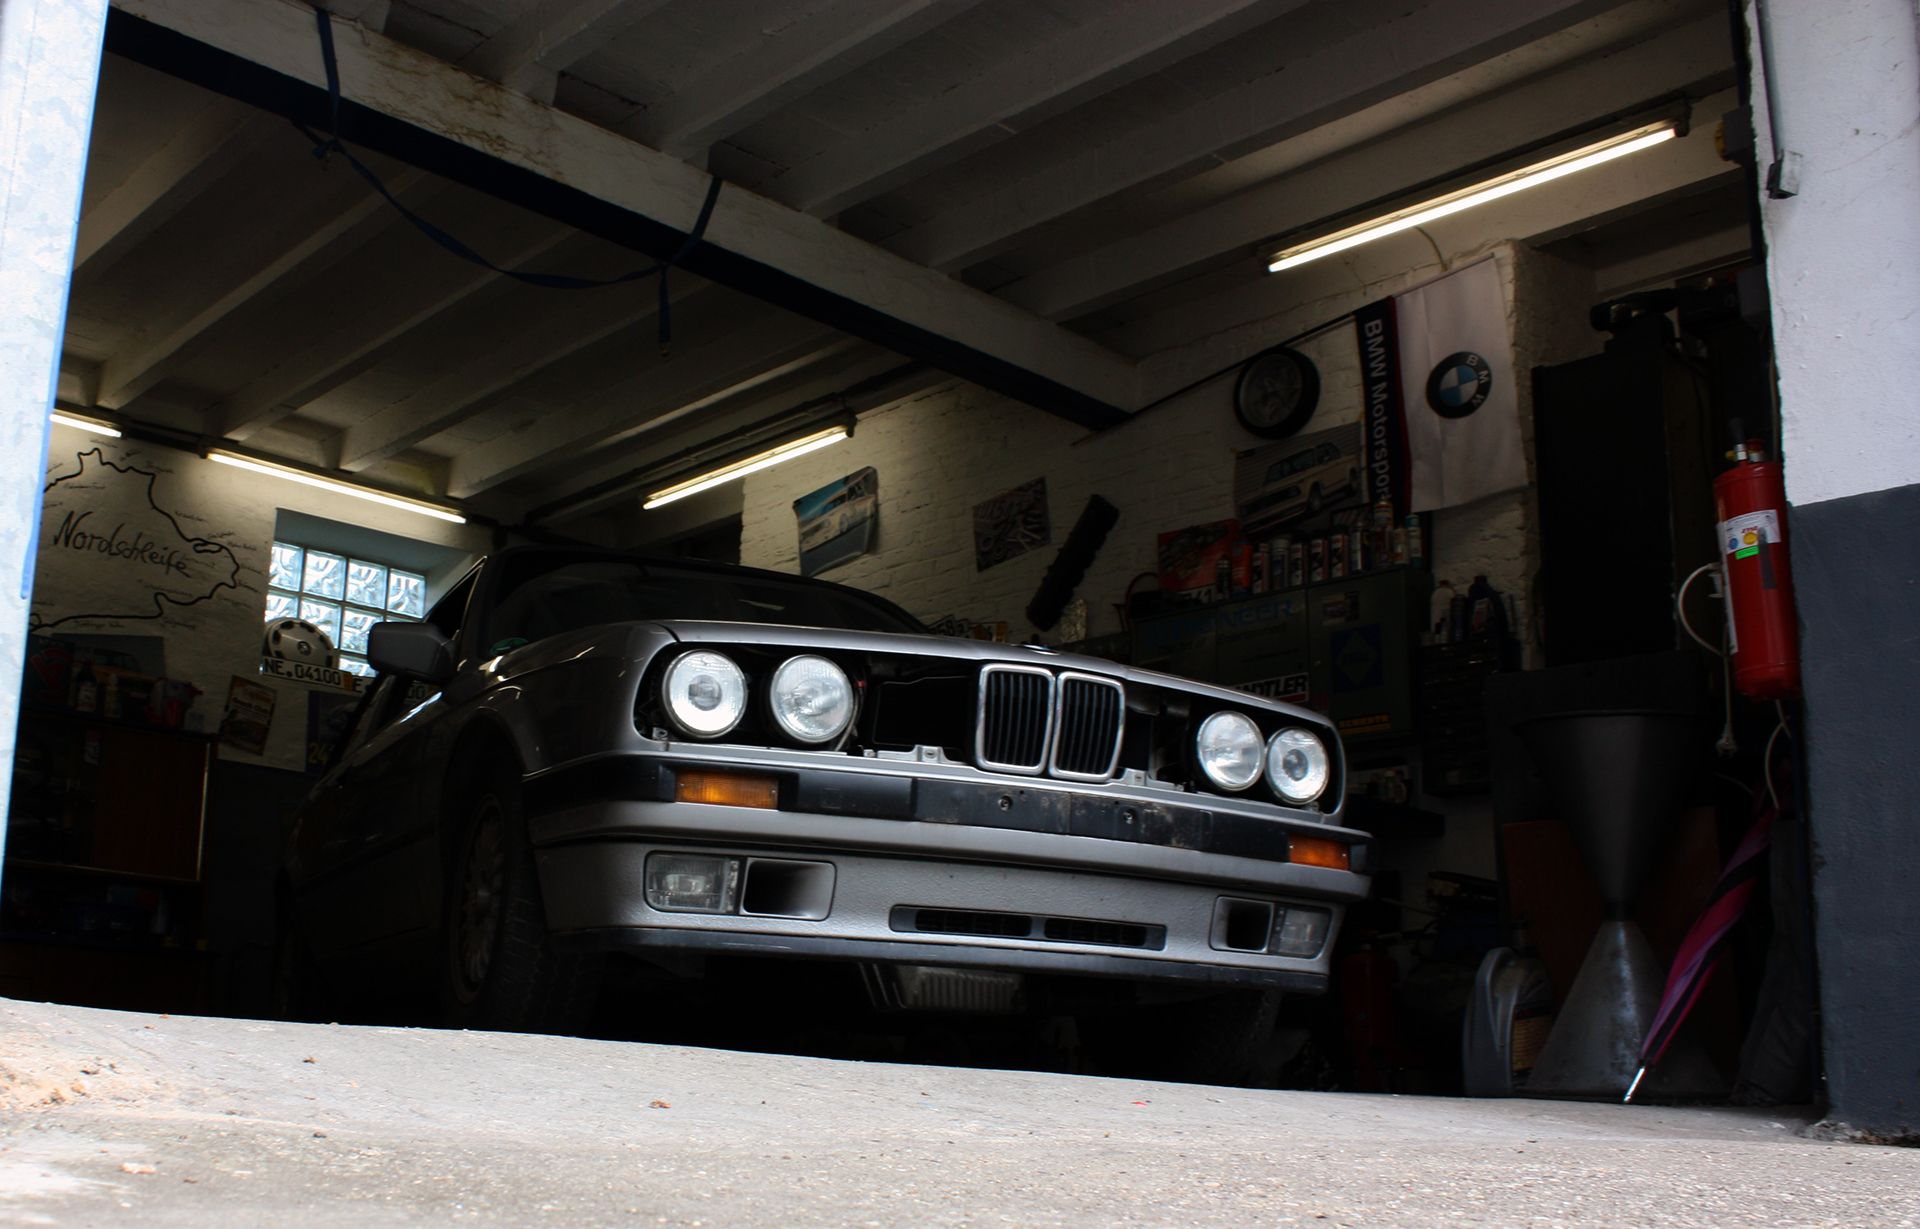
Doesn't look quite right does it? Yeah I thought so too but everything was in working order and road safe. You can tell motivation and time ran out shortly after the engine was finished.
Lesson learned here is don't make any compromise when it comes to bodyshell or chassis integrity with cars older than 20 years. It will cost you down the road no matter what. In the end this was a mistake and should have been done right the first time around BUT as life will have it time, money, motivation and just going the 10th extra mile at some point you just run out of steam. I knew I had to pick this up later on I just didn't expect the 'later on' to come around as quickly as it did. So if you see a problem with the body, fix it and fix it right. If not expect to be hit by a sledgehammer any day.
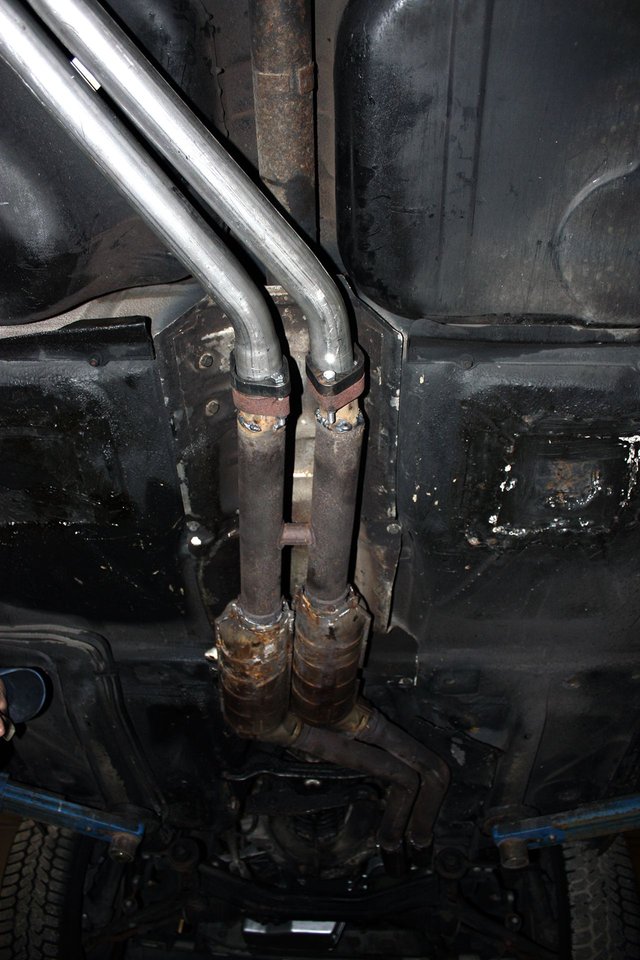
On to the exhaust system which was a hybrid combination of a standard 325i muffler, the 'Ireland Engineering' headers with X-Pipe and a set of metal-cats out of the E36 M52B28. Using these cats had multiple advantages:
epic sound :)
BMW logos which would make it easy for the authorities
equal pipe diameter front and back
designed for a comparable throughput (high compression 2.8L engine)
disadvantage being that they're quite large and even when mounted to the upper most point still stick out quite a ways from under the car
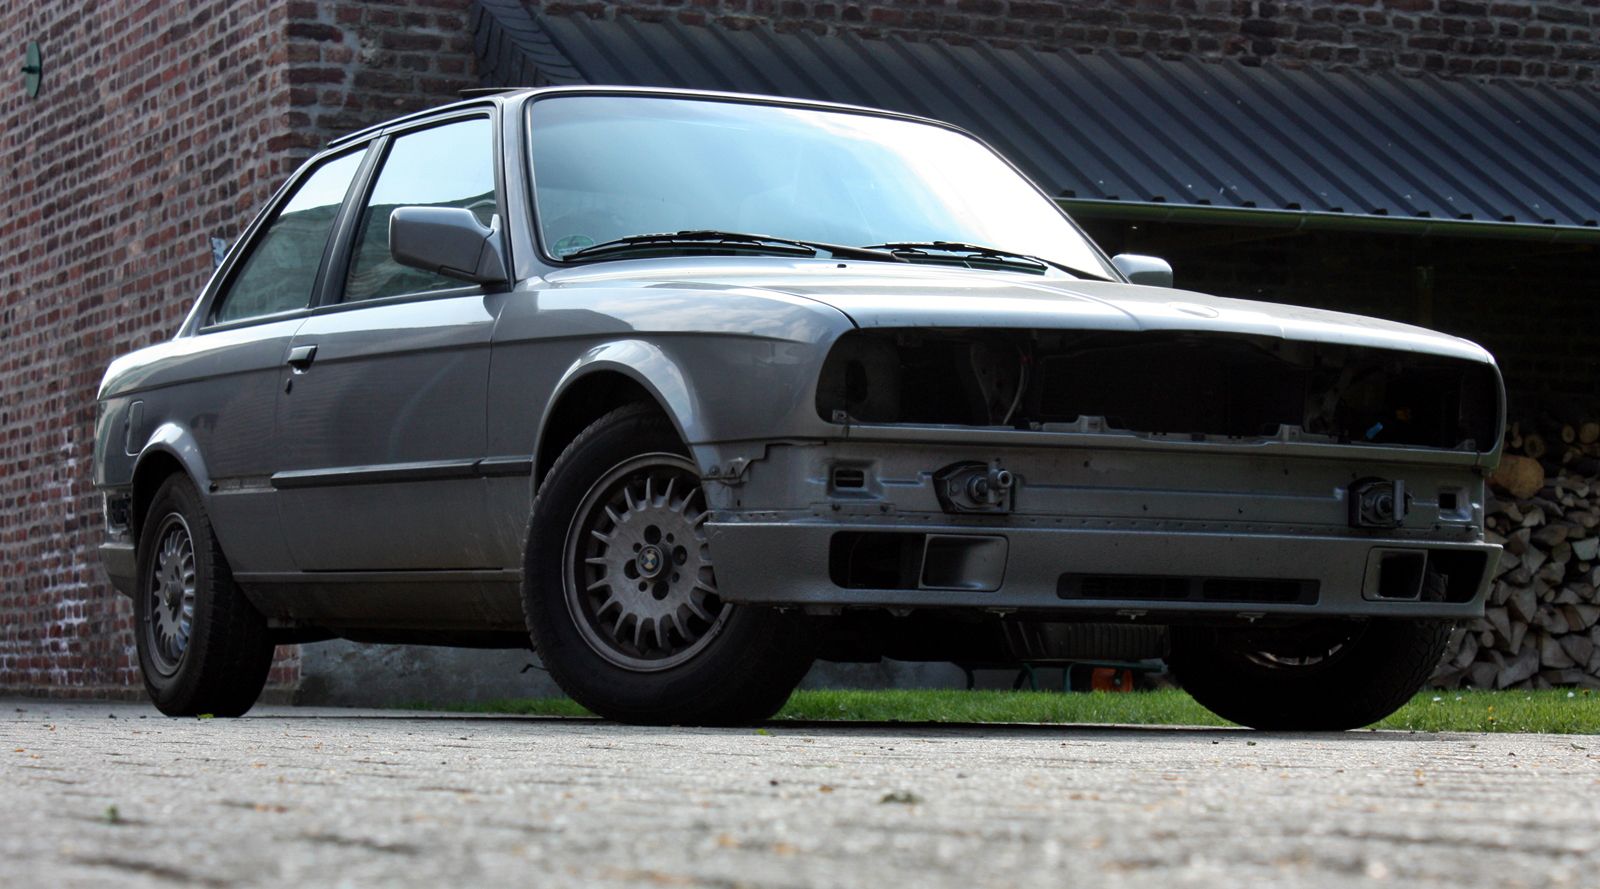
Anyway VIN # 3541187 had a working engine again and I started breaking that in. The Russian paint job still held its own at least in terms of paint finish...
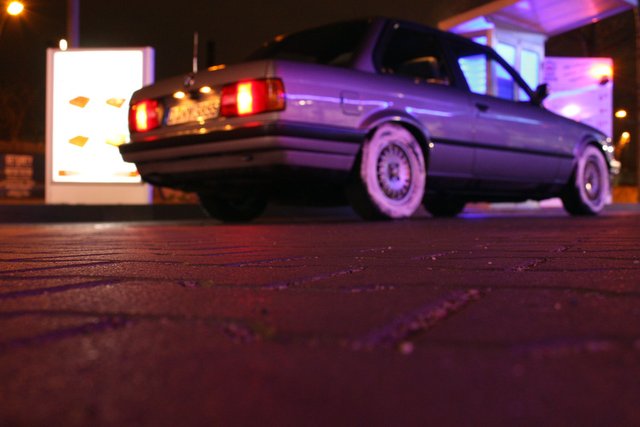
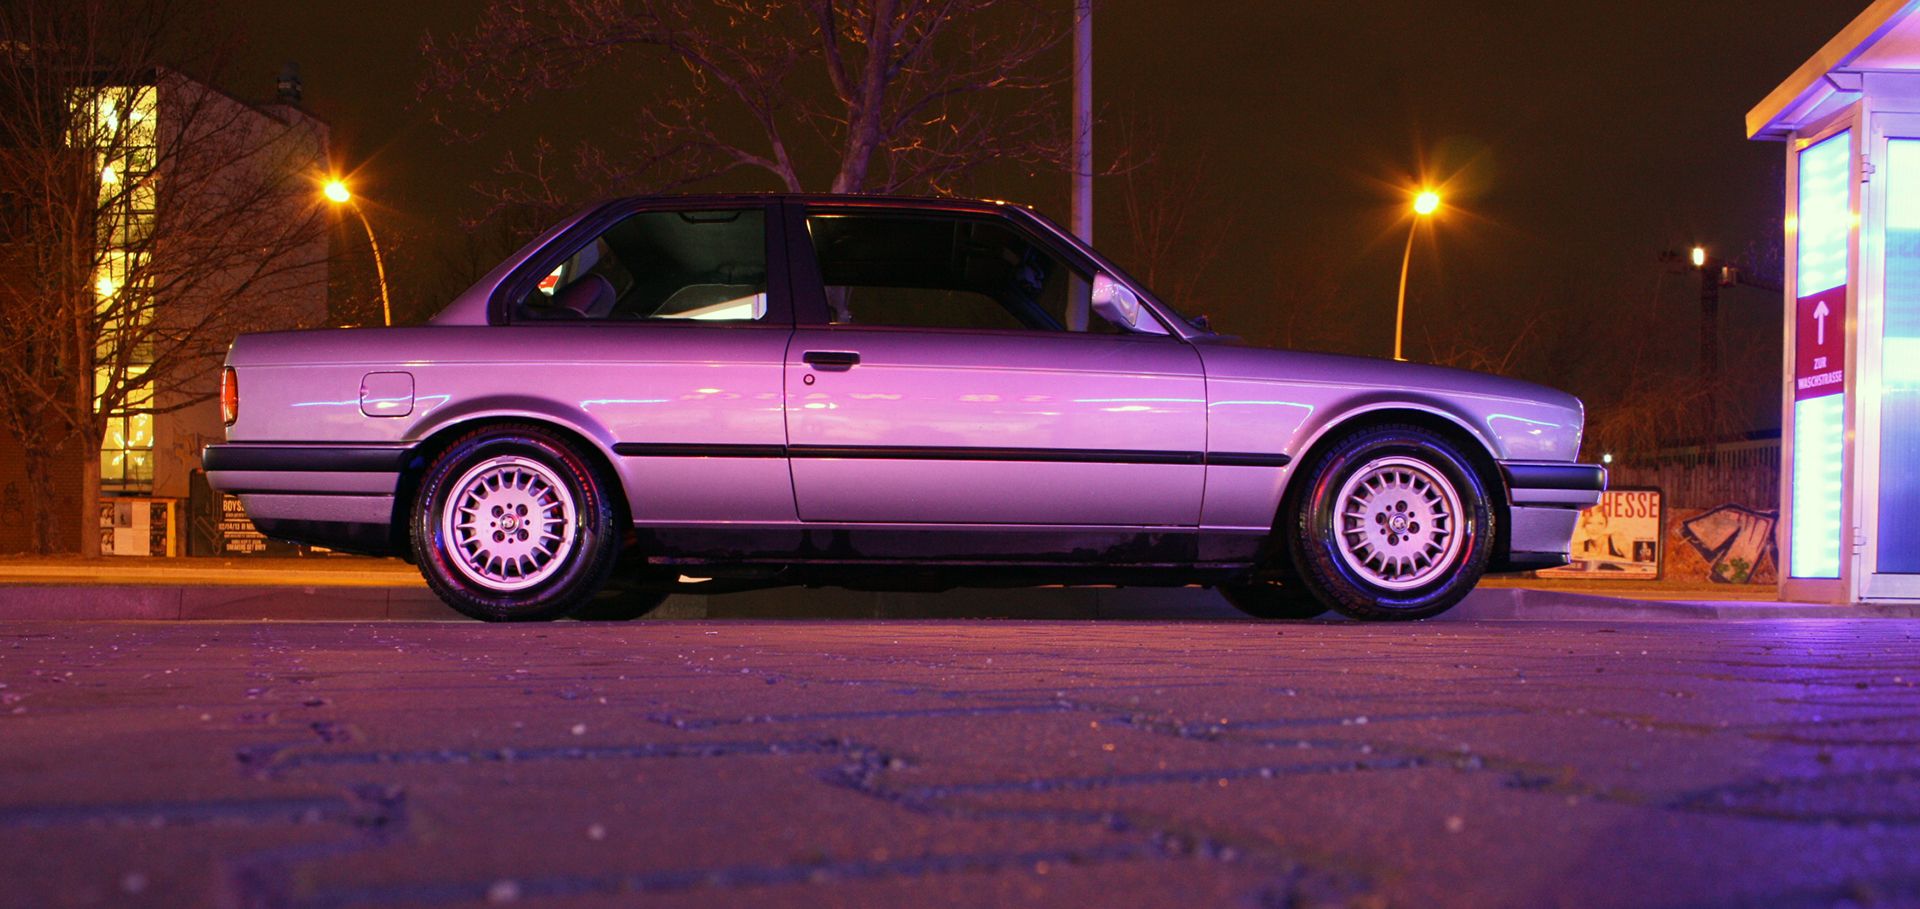
So there were some months of enjoying the car. I don't have much video or image material from that period so I'll just provide some late night car wash impressions.
The engine had just clocked 3.800km when it was time to bring the car into the shop, adjust the valves and have it pass the bi-annual check of vehicle safety, roadworthiness aspects and exhaust emissions when I got the call in late November of 2013:
"I have your car up on the lift and I'm telling ya it's not gonna pass like this. Condition has deteriorated severely in the last 6 months, don't know exactly what happened but it looks like swiss cheese. Some of it can be fixed but the rear axle mounts and rear axle frame have tennis ball sized holes in them, I'm sorry, I don't know how to tell you this but this chassis is finished."
Like I said, I knew it was coming but I didn't expect the body to disintegrate within 6 months...but it did.
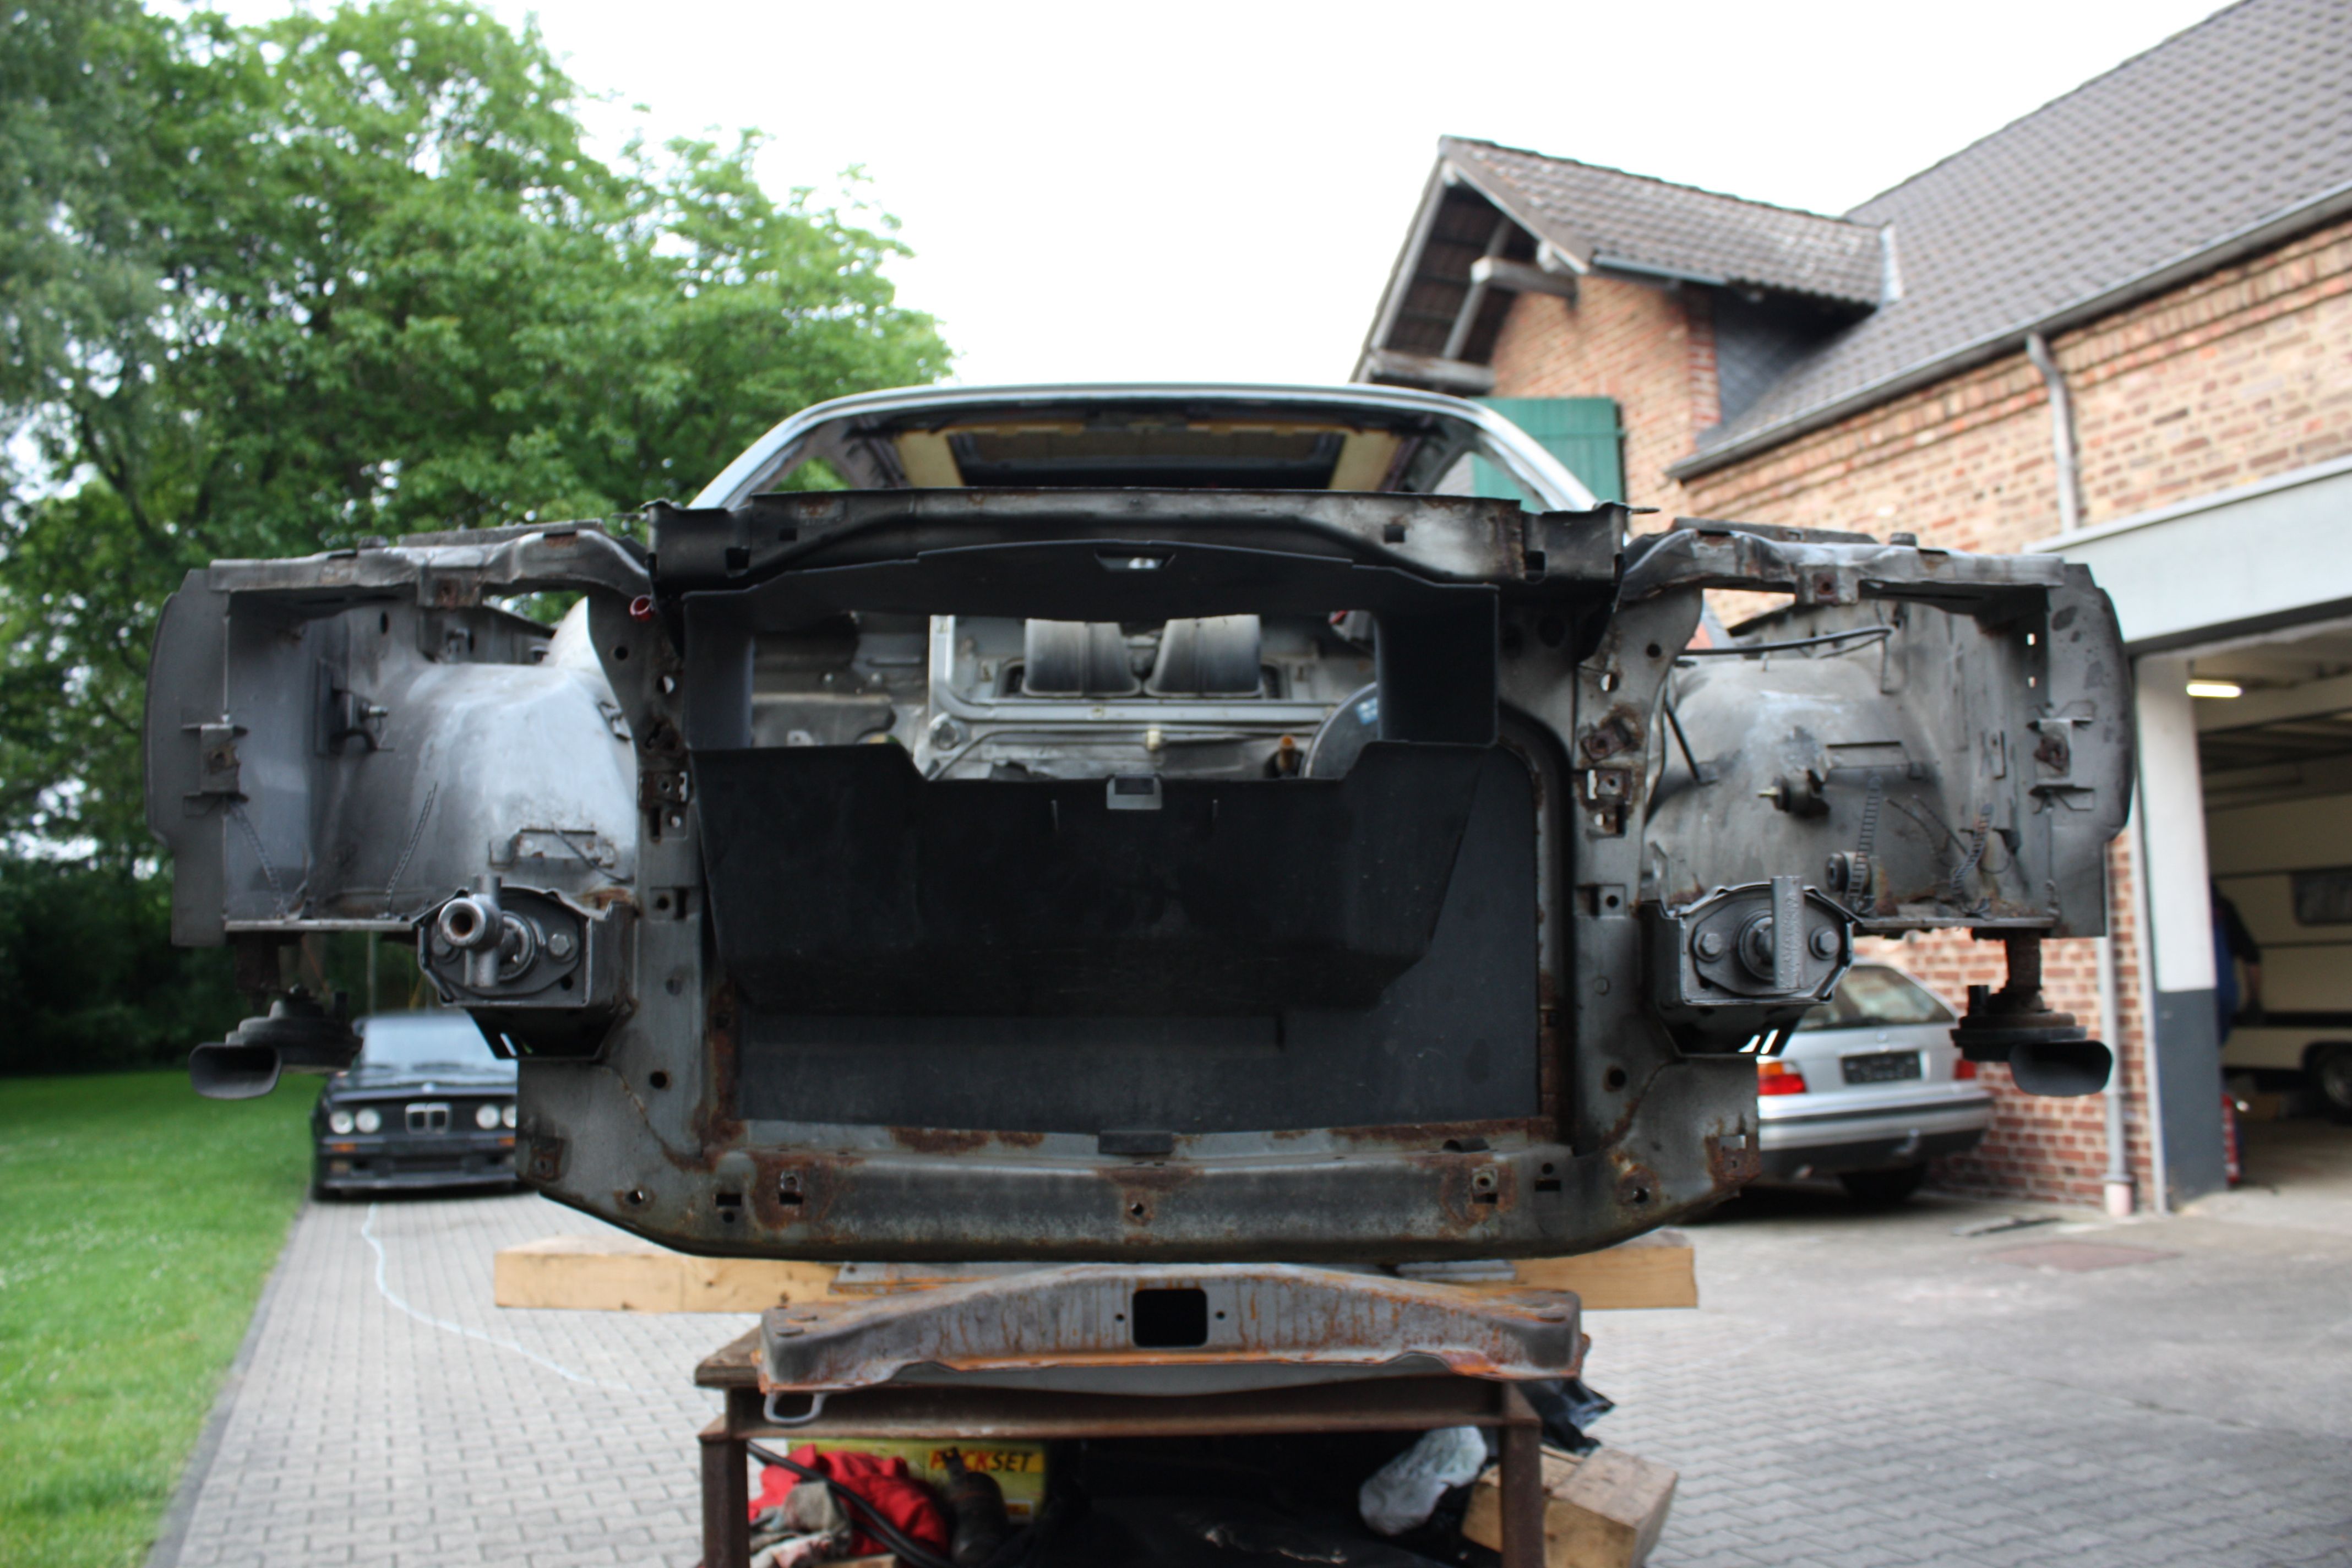
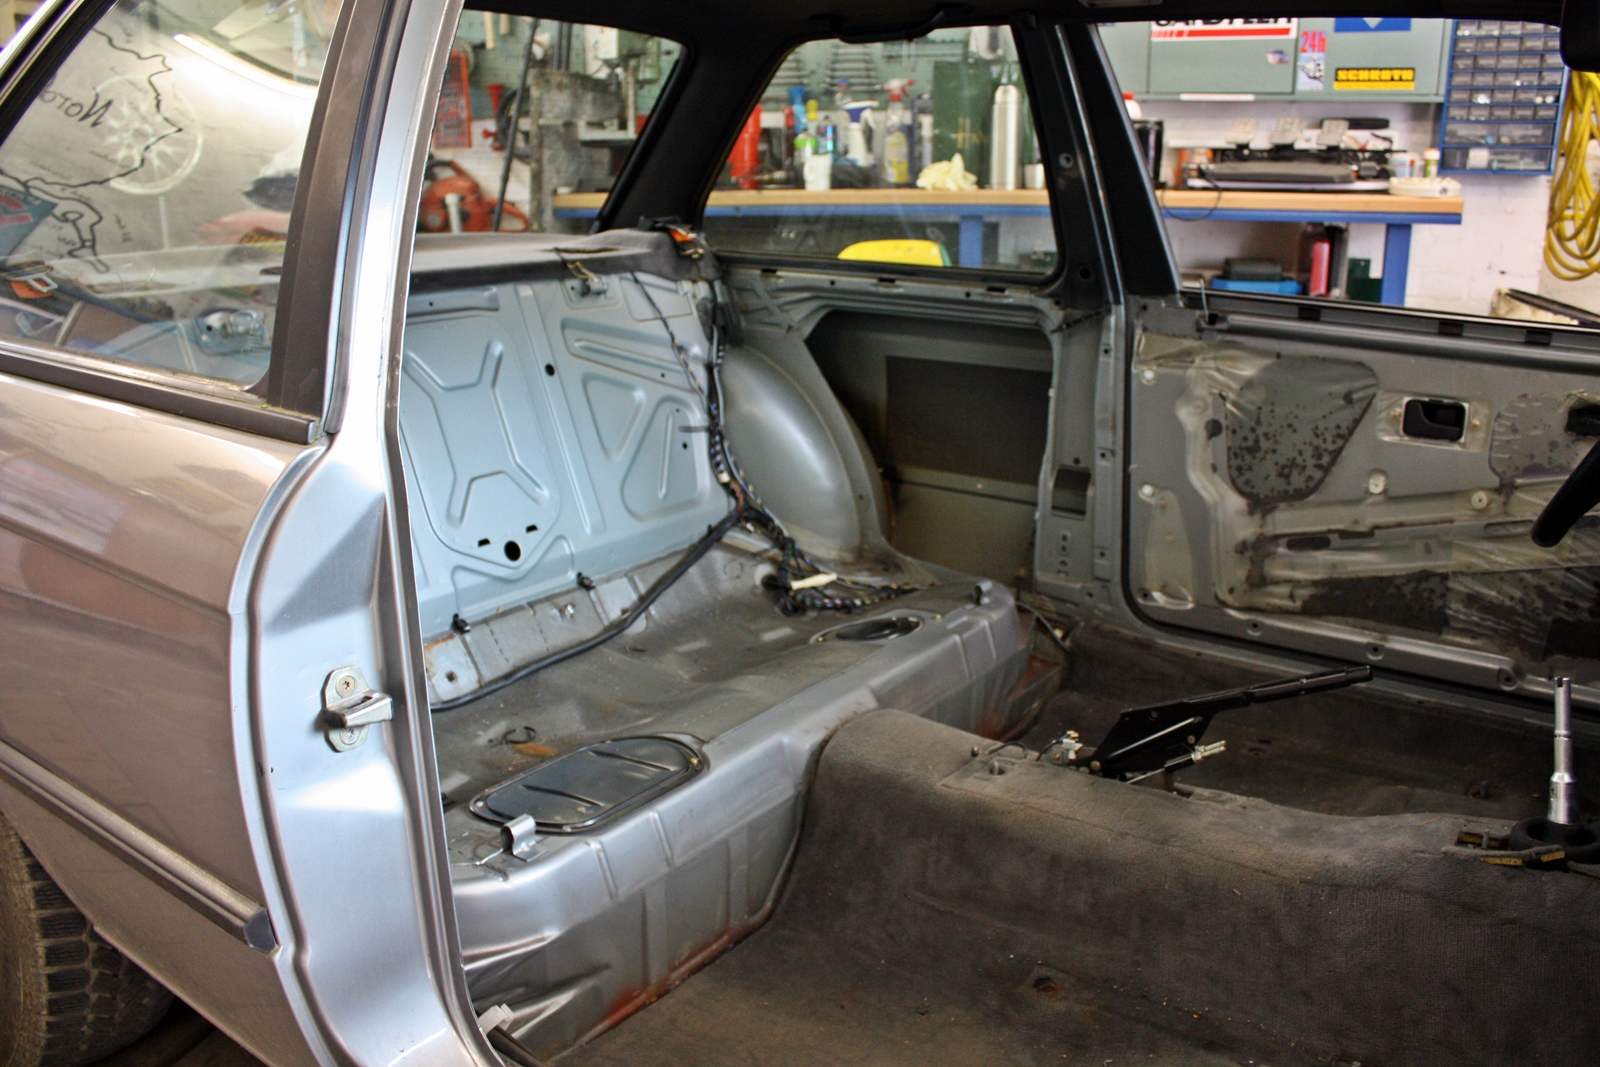
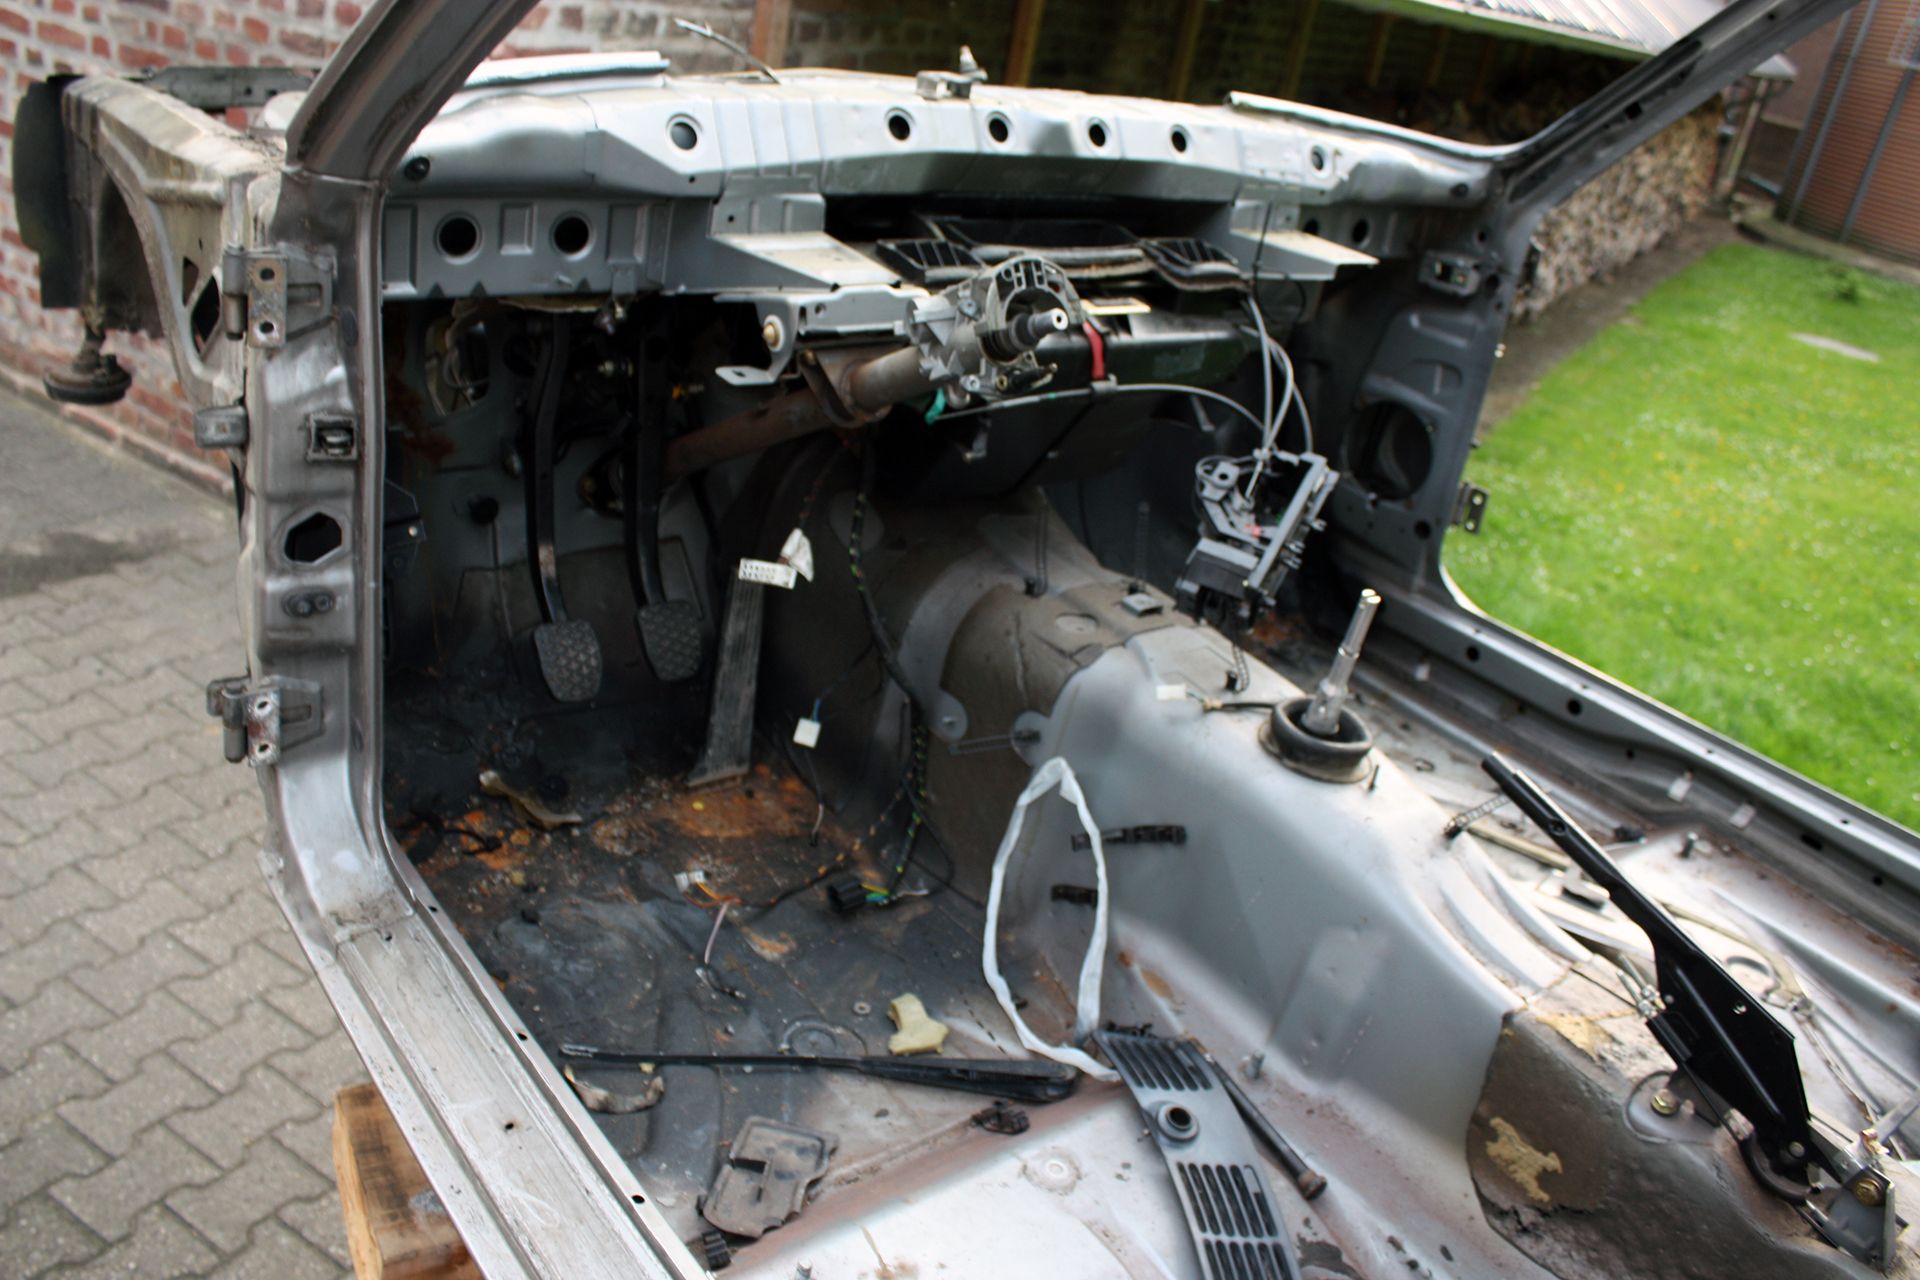
You wouldn't believe the damage which is why i'm gonna show you :) Neither I nor anyone I know who works on these cars has ever seen something like this. It looked like someone had parked it next to the shore for 12 months straight after dipping it into a container of salt. To this day I don't really know what happened to it but that last winter in 2013 killed it.
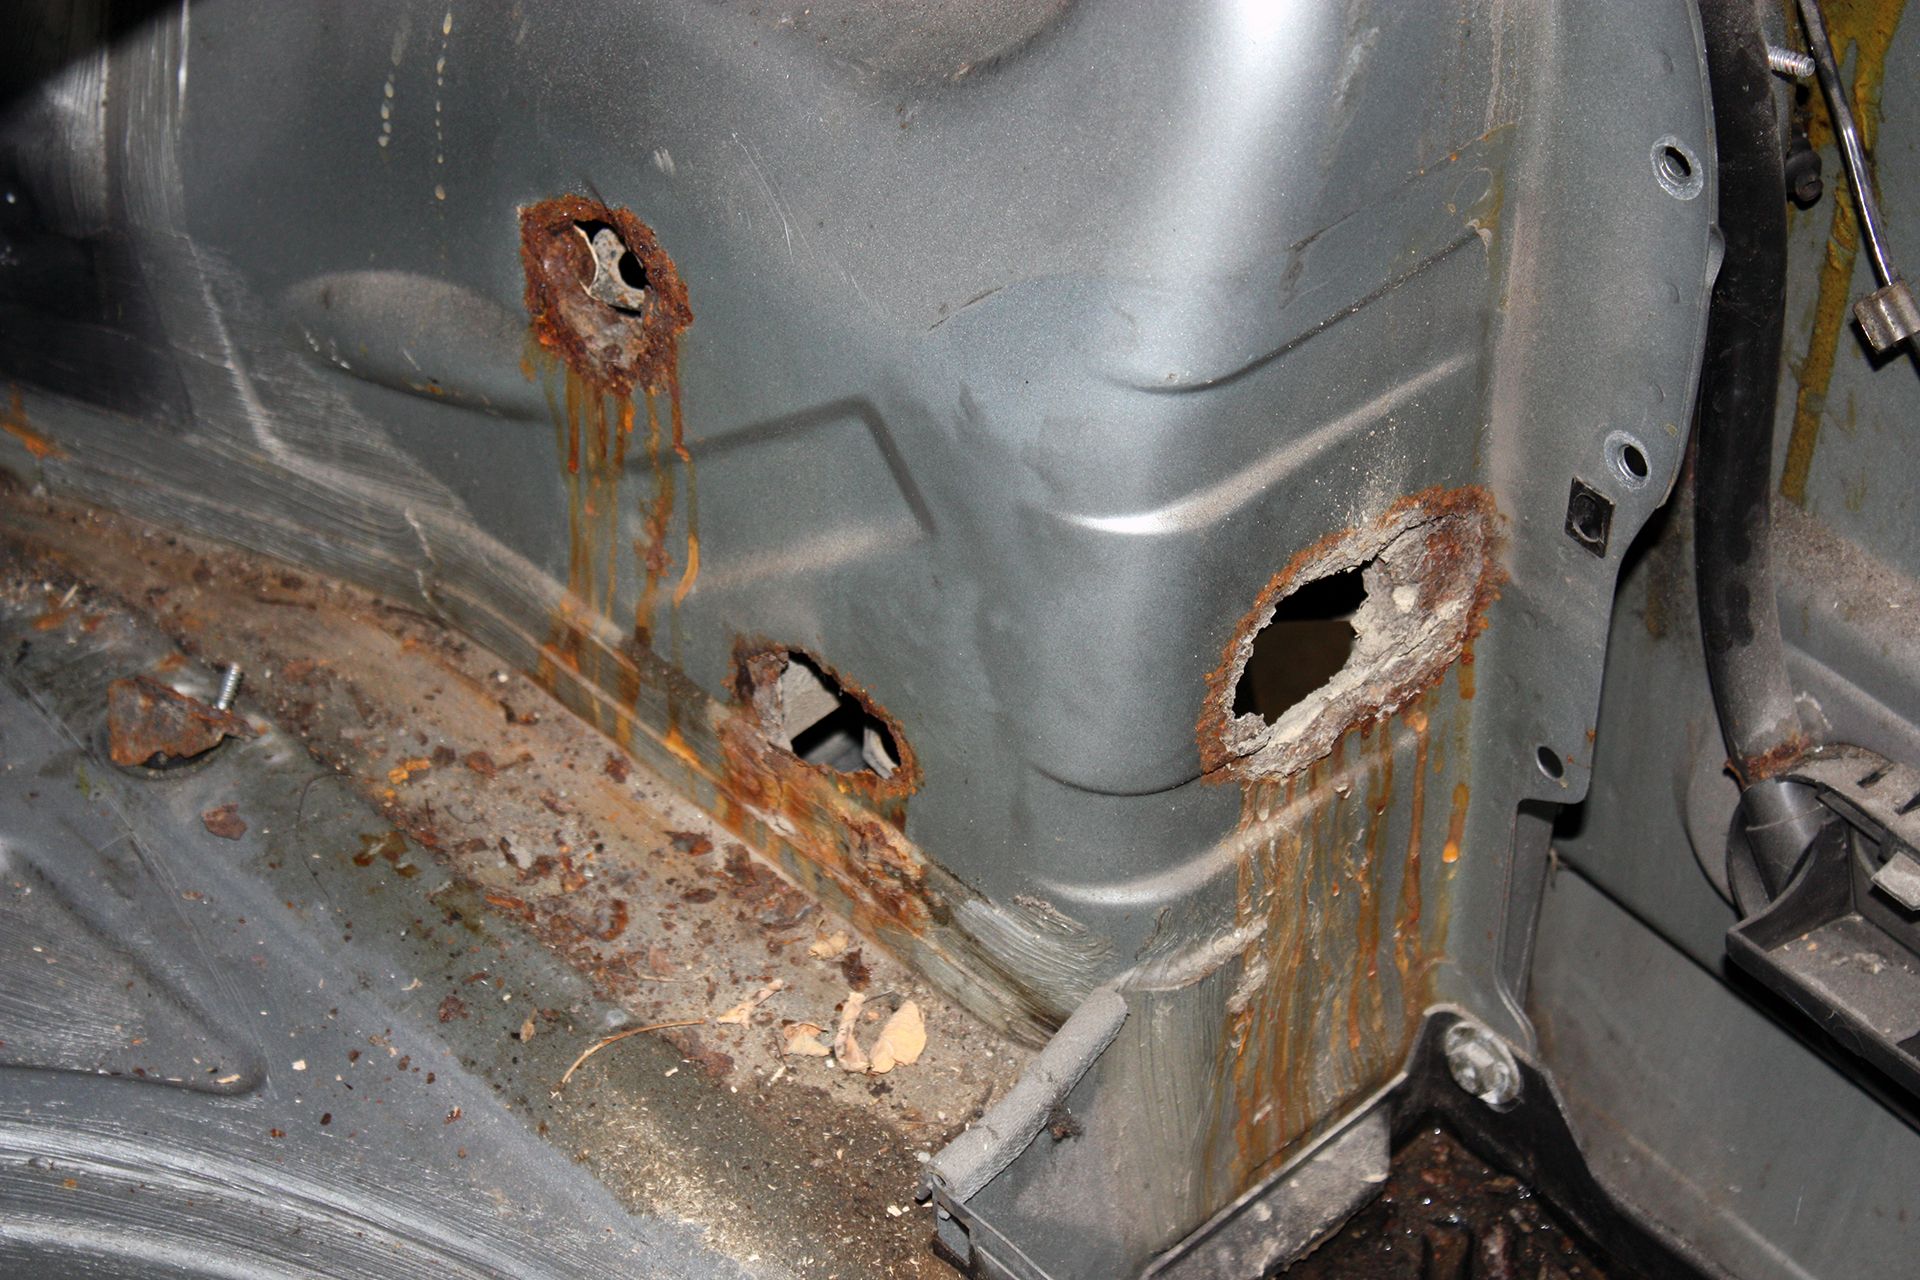
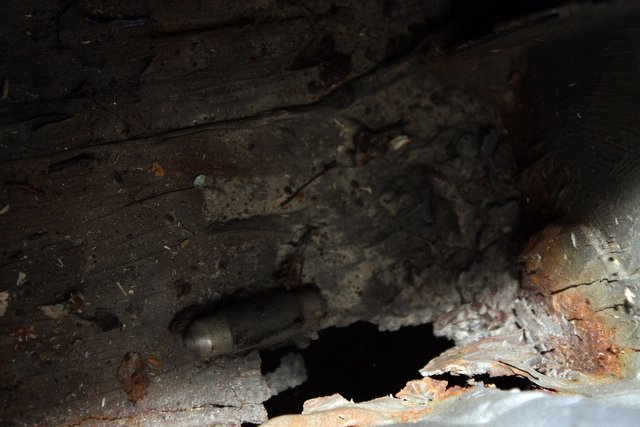
This is trunk left and right, the axle mounts and frame rails below it were completely destroyed. I don't have images for that but suffice to say this thing was finished.
So because it's so much fun...let's disassemble the whole thing, conserve interior, electrical and drivetrain including the shiny 200hp engine and find a new body. Yeah, I'm certifiable.
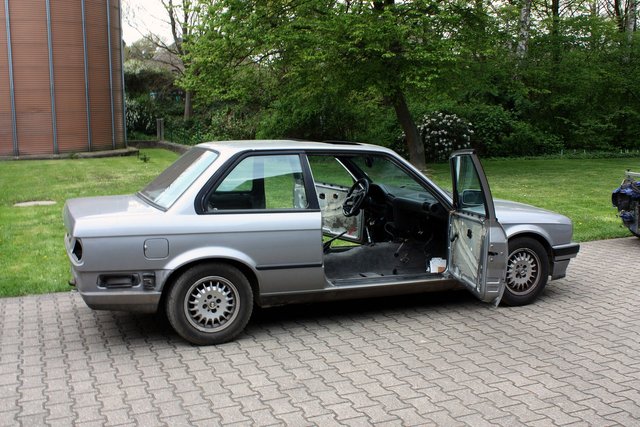

Of course the VIN and remaining necessary parts to transform another body in the future into a genuine 325i were extracted :)
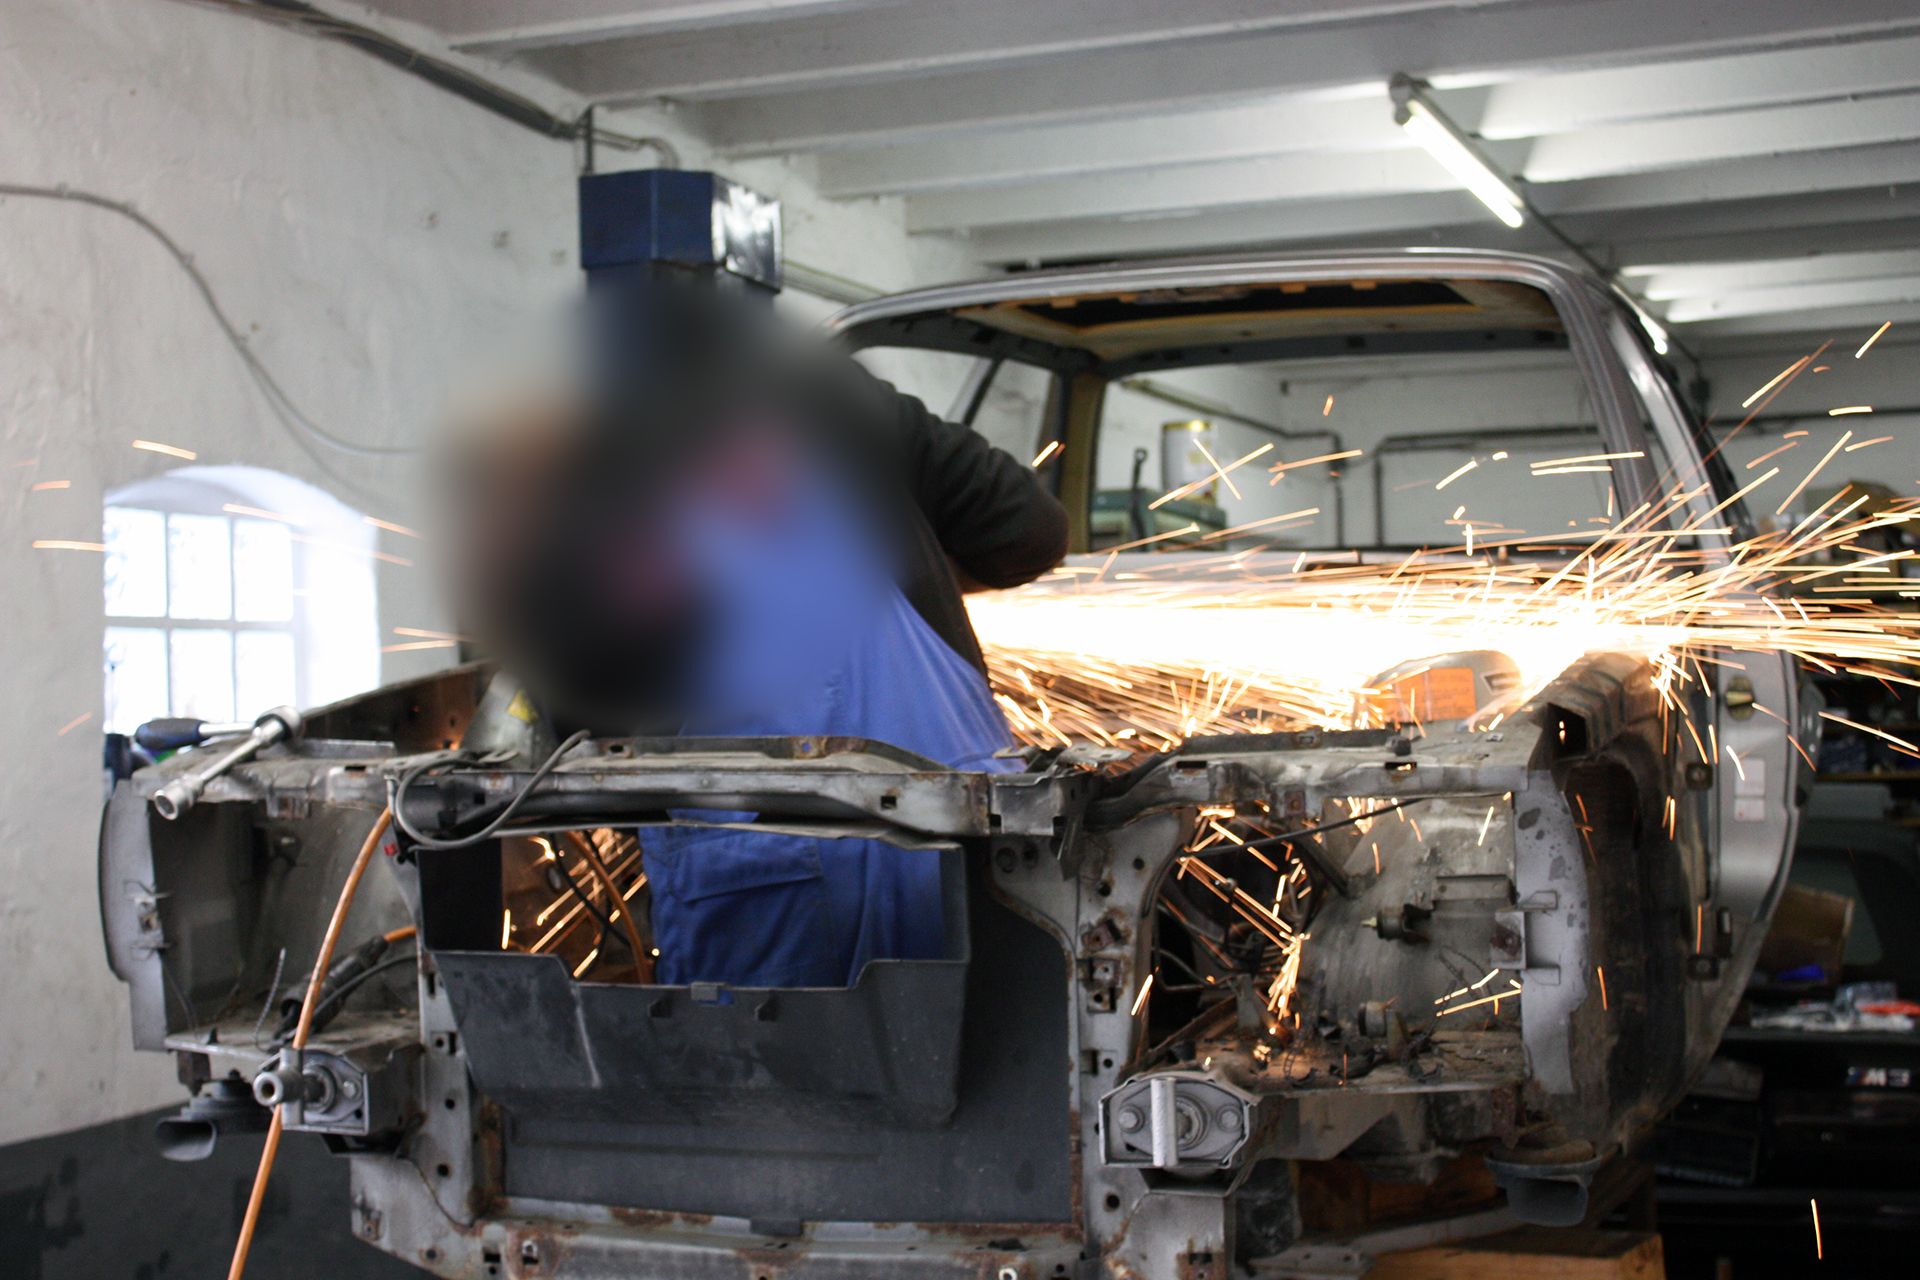
So off to finding a new home for this motor, it was April 2014. Join me again in Part 4!
Coming up...
Fantastic! Love those headers.
Some great shots there, but why before the tyre shine had dissolved?
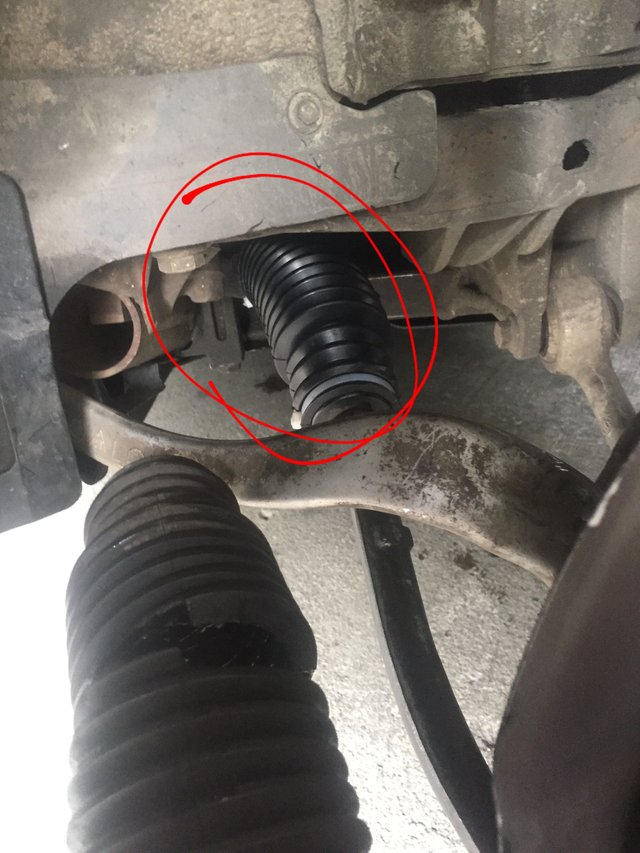
Did steering boots today.
Looking good! What components you using for the front suspension? Control arms, transverse links, stabilizer control arms?
E38, 39, 46 are chronically abusing these parts and wear them out pretty quickly.
Watch that video with some good earphones and you'll get the full sound of the new headers :)