Setting Up Gradient Texture In Blender Node Editor
This is a post about setting up a gradient texture in blender node editor, that can be used in different ways and forms, usually for creating a variation on the top and the bottom of a model.
Gradient texture is a part of the blender node editor, for creating materials, topic that I already wrote some post about.
The gradient texture allows to mix colors and textures and create variation of them. You can darken the bottom or lighten the top, or make shadows or some different variation of color or light on one side of the model.
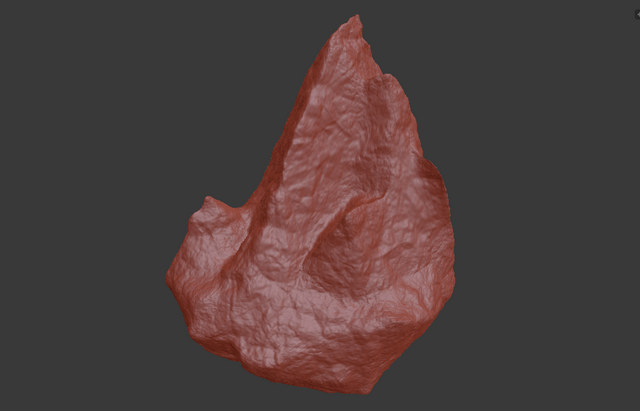
For this post and the need of the presentation I will be using this model.
This is the model without any material on it, but seen as with matcap.
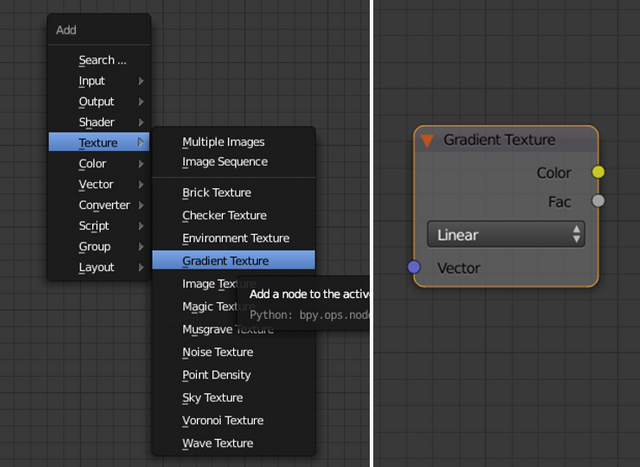
To add the gradient texture in the node editor window press SHIFT A -> Texture -> Gradient Texture.
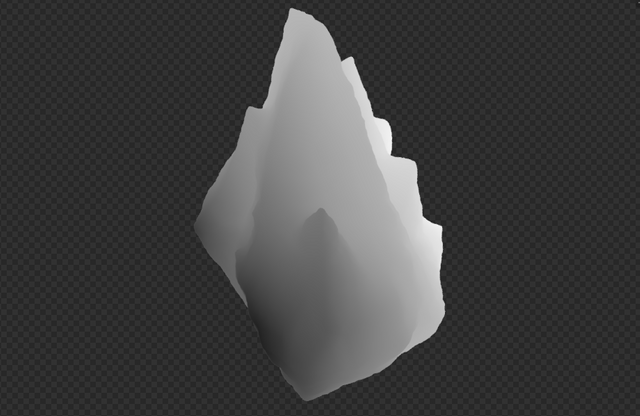
What the gradient texture node do is as the name implies, setup a gradient on the object that it is applied, as you can see from the image below.
The gradient texture node itself does not do much and it is needed to add more nodes, to create a small node group so that more option and settings are available.
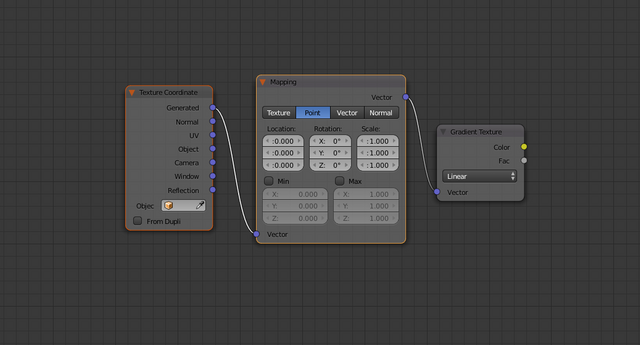
Next to be added is the mapping node and the texture coordinate node. This can be done with the shortcut “Ctrl T”, while the node gradient texture is been selected. Here is the new group.
The standard option of adding this nodes is by SHIF A -> Vector -> Mapping, for the mapping node, and SHIFT A -> Input -> Texture Coordinate.
This nodes need to be connected in a way as show on the image above. In the texture coordinates object is selected.
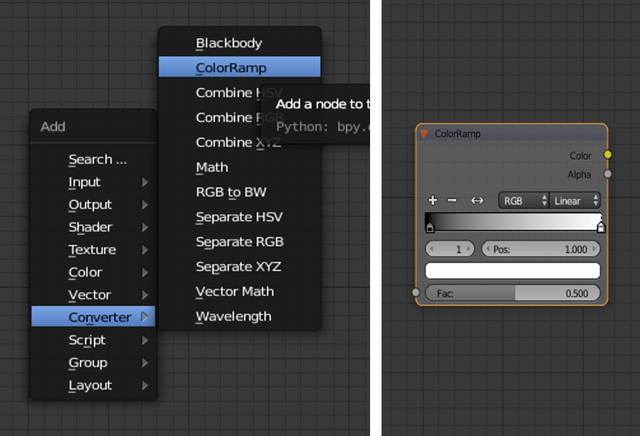
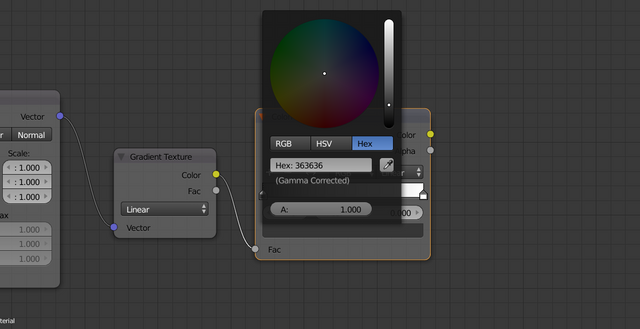
Next comes the mandatory ColorRamp 😊, SHIFT A -> Convertor -> ColorRamp.
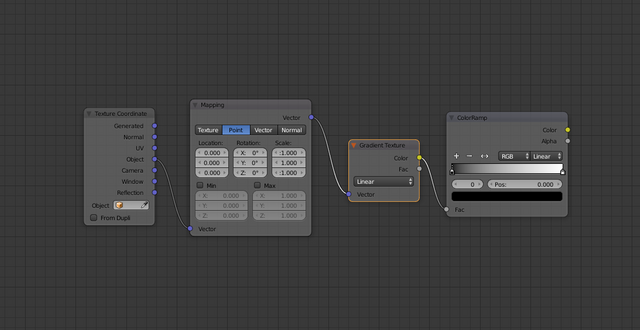
Connect the Gradient Texture node with the ColorRamp as show below.
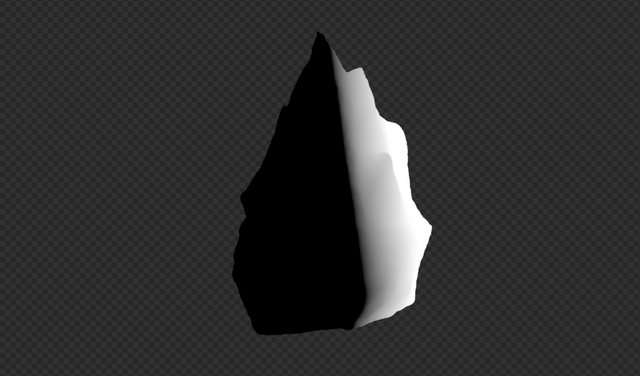
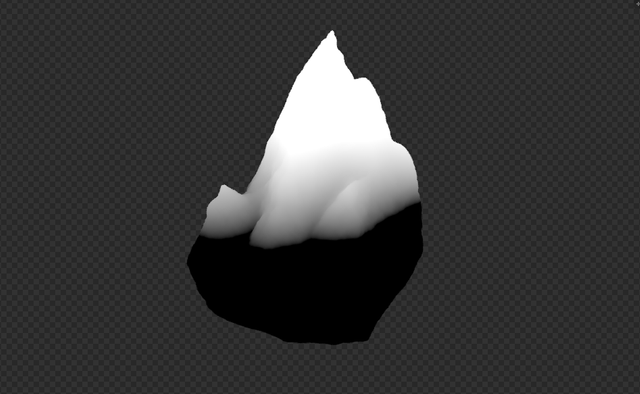
Here what this is doing to the model.
As it can be seen, at the moment it basically colors the one side of the model black and the other on white. And the transition is quite sharp. Additional settings are necessary to adjust the gradient.
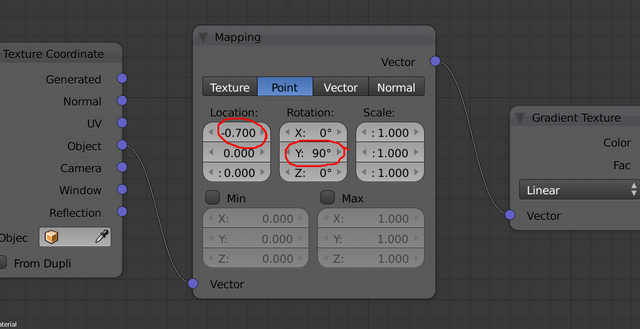
With the help of the mapping node, the rotation of the gradient can be adjusted and so as the position. In this case we will adjust the rotation on the Y axes with value of 90, and the value for the location, the first from the top at -0,7.
The rotation value is changing the direction of the gradient, and the location value in this case is pushing it up.
But as we can notice from the image, the gradient is very sharp, and maybe we want to adjust it a bit. This is done with the ColorRamp, and this node allows a lot of flexibility and adjusting the gradient.
What I have done for this case is adjust the strength of the nobs at the end of the ColorRamp, and move it a little bit further from their starting position, especially on the dark nob.
As I mentioned already the ColorRamp is very adjustable and gives great flexibility. Also there can be added more nobs and play with them.
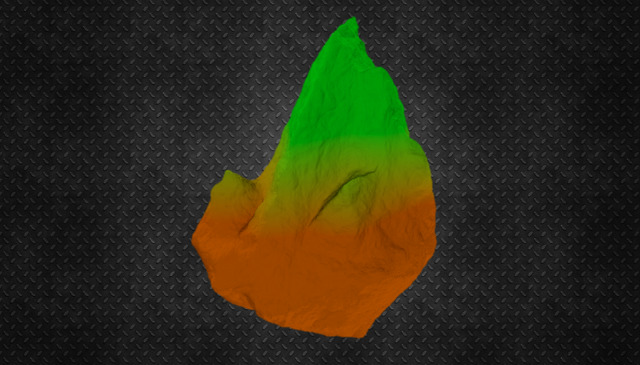
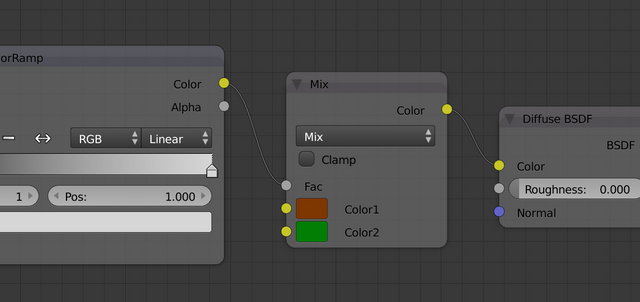
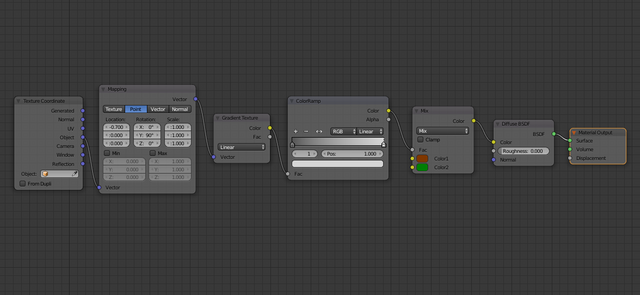
Final step in order to shown the effect in more colorfull and real use case, a mix node is added with two colors, and the gradient group as mixing factor.
The final node setup
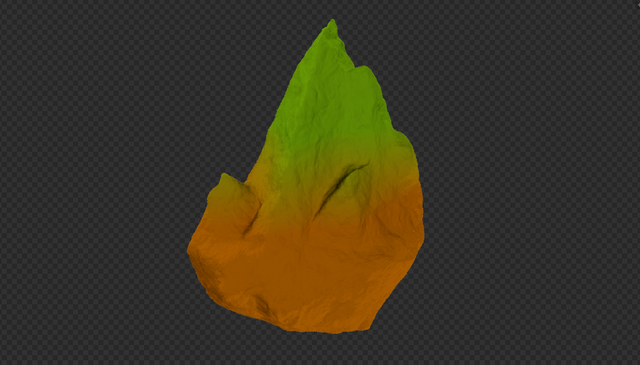
The final look of the model.
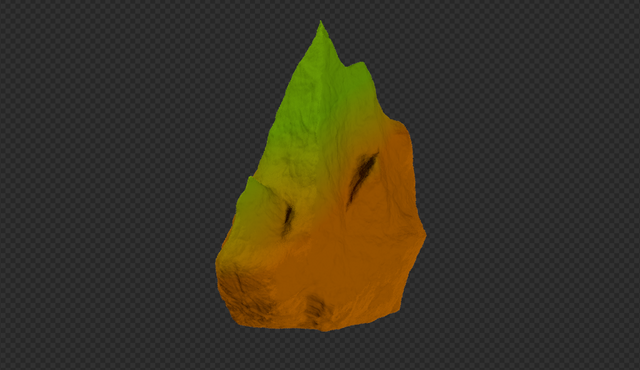
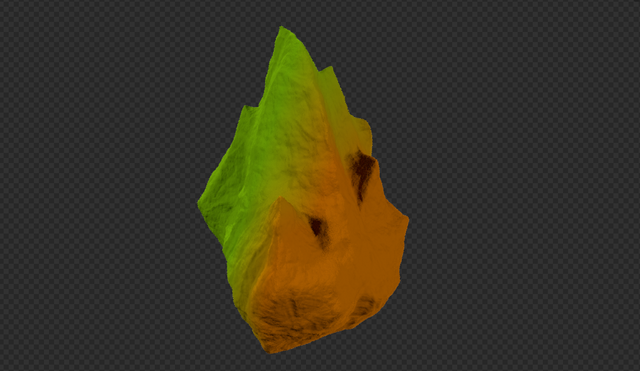
It can be seen how the gradient is mixing the two colors, according to the setup. This is just a showcase and usually the gradient is used as part of a cycle material.
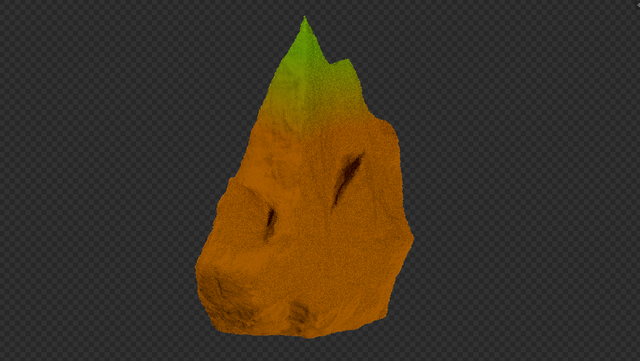
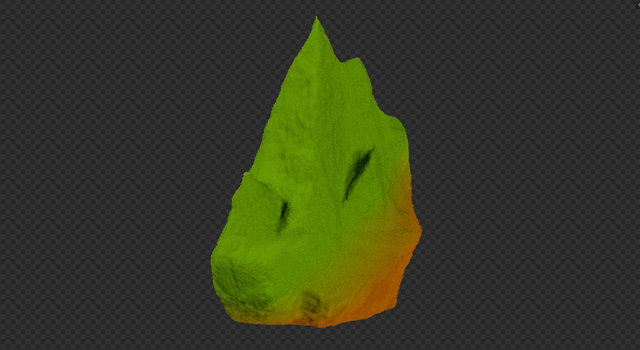
Here are some variation of the gradient adjusting the rotation and the location.
Thanks for reading, and if you have any questions left them in the comment.
All the best
@dalz
Here are some other post on blender.
- Basic Material in Blender/Cycles and Generated Textures - Simple Node Setup
- Pointiness Future in Blender Node Setup – Give Shape To Your Model
- Moss, Snow, Dirt or Just Creating Variations in Blender - Node Setup With Normal Map
- Node setup for detailed procedural generated texture and material in cycles - blender
wow, nice its useful tutorial :D
Thanks :)