Pointiness Future in Blender Node Setup – Give Shape To Your Model
This is a post about the pointiness future of the geometry node in blender. I find this extremely useful, and a great way to give shape to your model throw nodes, without the need to hand paint them.
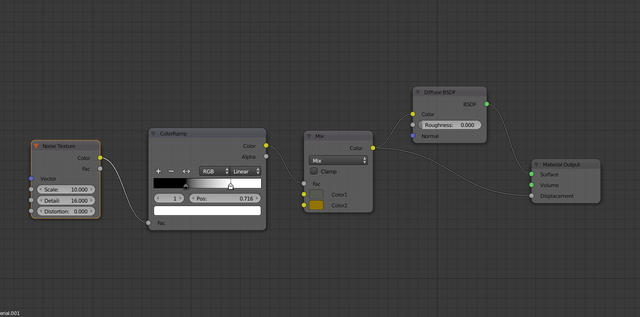
In this post I will be upgrading the node setup for a cycle material that I previously explained in the post Basic Material in Blender. You can check that post for a step by step detailed explanation of creating this basic material, otherwise here is a picture from the final setup of that post, that we will use and start with in this post.
In the previous post I was working with a simple model of a sphere, but for this post I will be using a model of rock, because it is needed for the presentation.
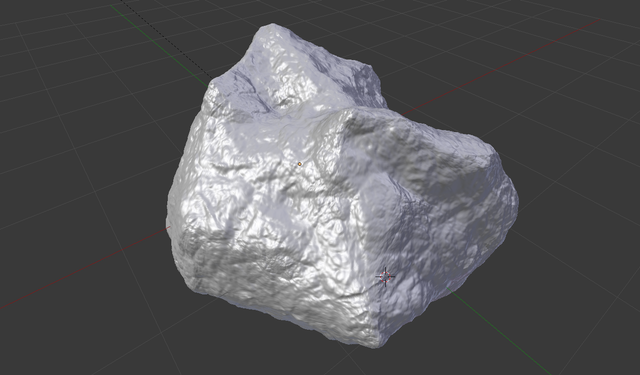
Here is the model without any material.
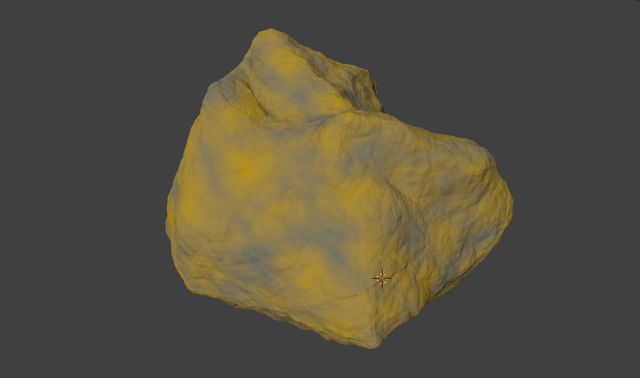
And after adding the material with the node setup above.
Next, we will add the pointiness of this model and do some tweaks, so it will looks even better.
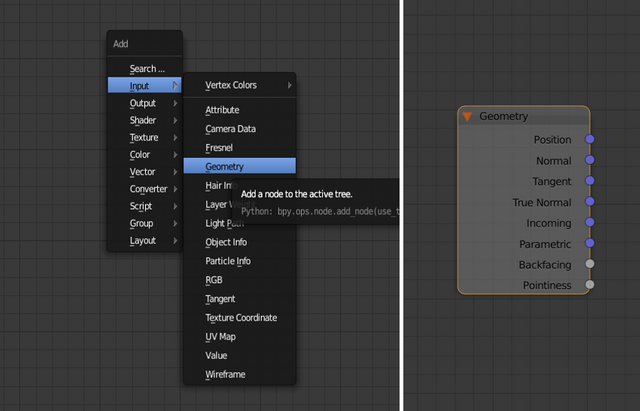
To add the geometry node press shortcut SHIFT A, the add menu will appear with different option, go to Input -> Geometry.
The geometry node has more futures but now we will be looking only in to Pointiness, that is on the bottom of the node.
What the pointiness future does is looking for the geometry of the object and highlights the edges of the model and darkens the cavities. It actually acts as a cavity map, only you can adjust and play with it quite a lot and do renders as you please.
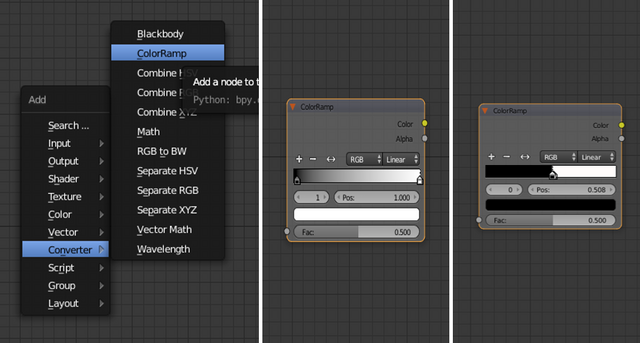
Next comes the mandatory ColorRamp 😊, SHIFT A -> Convertor -> ColorRamp, adjust the nobs from the left and right as shown below.
In order to get good pointiness map, I adjust the dark nob with value 0,508 and the white with value 0,52. This brings them very very close, as show below.
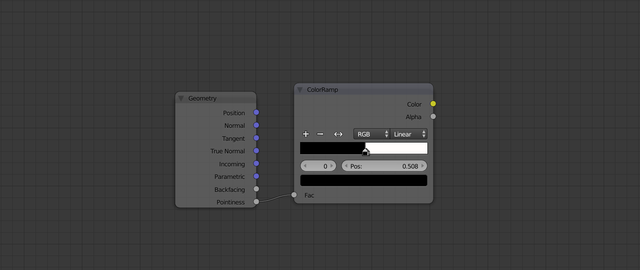
Next connect the pointiness future of the geometry node with the ColorRamp.
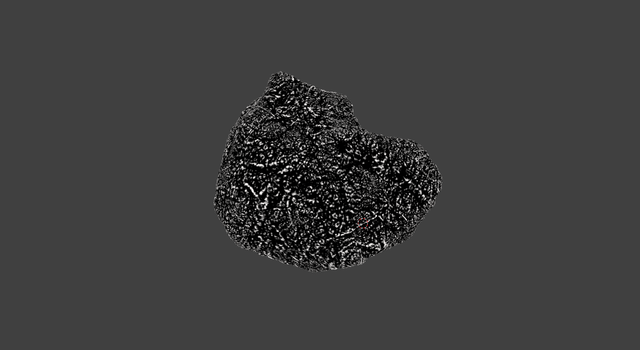
Here is a preview of this setup, and what it does to the model.
As you can see it highlight the edges and darkness the cavities and gives nice shape to the model. You can play with the adjustment of the nobs of the ColorRamp for different look.
Now we will not leave the model in this way, but we will use this to make our model look nice.
We will do this in a following way.
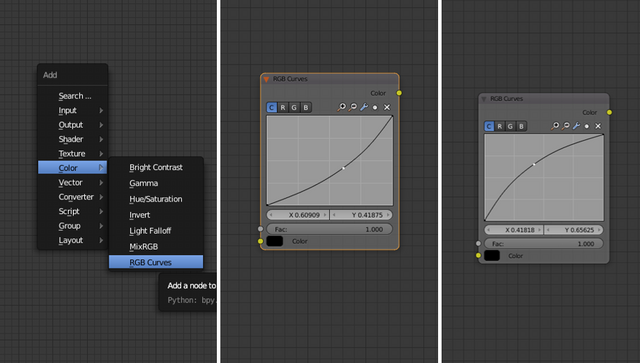
Add two RGBCurves nodes and make one a little bit darker and the other one lighter, with adjusting the curves as shown below.
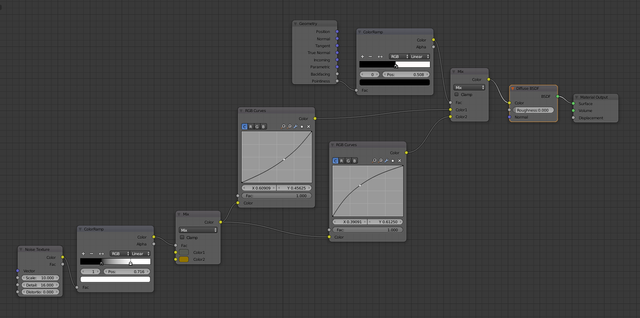
From the starting node setup (the first photo), take the exit of the mix node connect to the two RGBCurves, and the exit from the RGBCurves goes in the new mix node. Then we use the pointiness future and the ColorRamp as a mix factor in the mix nodes. What this is doing is mixing the light RGBCurve and the dark RGBCurves, as shown on the pointiness map. This is clearly show on the photo below.
The final node setup
As you can see it is not a complicated huge node tree and it gives quite good final results.
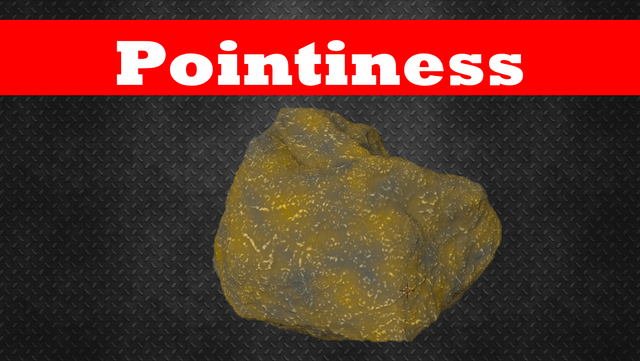
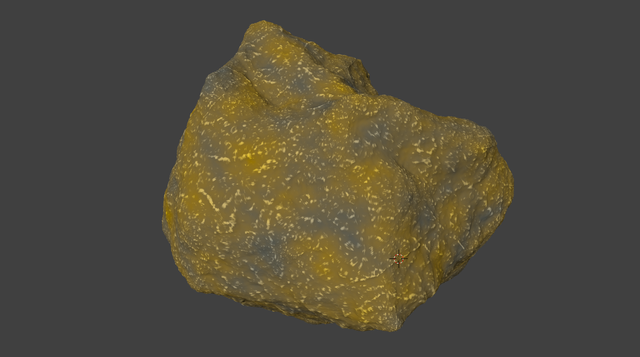
And the final look of the model.
This material now can be applied to any other model and will give the same result. Also, you can tweak the nodes, the colors etc. to get a lot of different results.
Also this can be used for mixing different textures.
In a next post we will add more futures of this material.
Thanks for reading, and if you have any questions left them in the comment.
All the best
@dalz
upvote for me please? https://steemit.com/news/@bible.com/2sysip