SteemitPublication art/photography topics #4

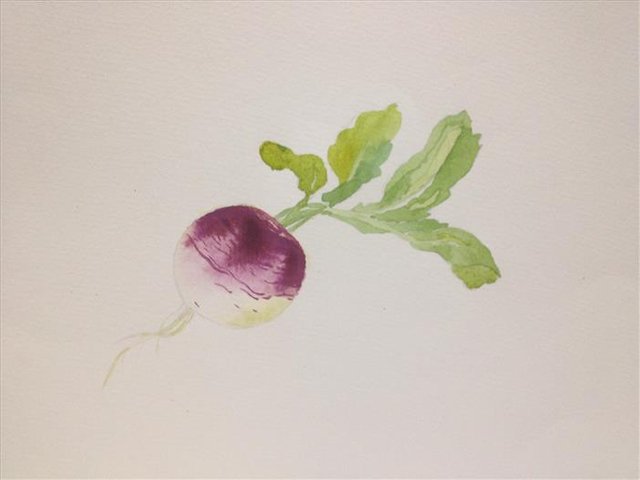
My Watercolor---Radish 水彩画 小萝卜
by: @helene

Material 所用的工具:
水彩纸,画笔,水彩颜料,调色盘,小水桶,纸巾。
watercolor paper, paint brush, watercolor pigment, palette, small bucket, facial tissue
The Process 过程图:
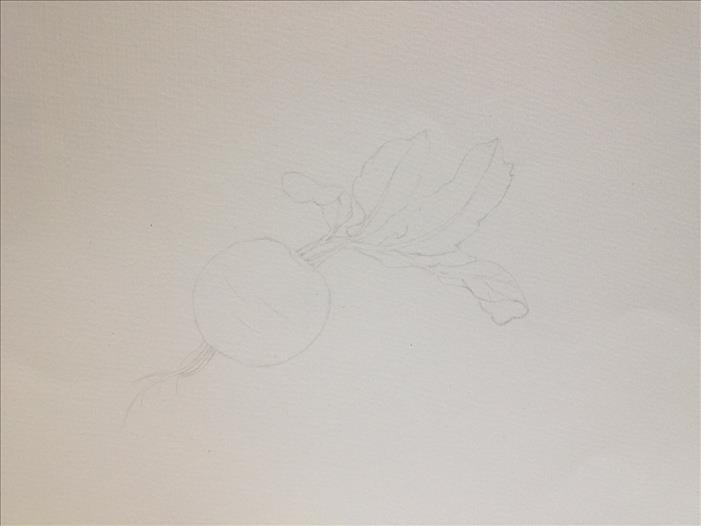
1、Line work : I used a pencil to draw the line work.
用铅笔画出萝卜的线稿。
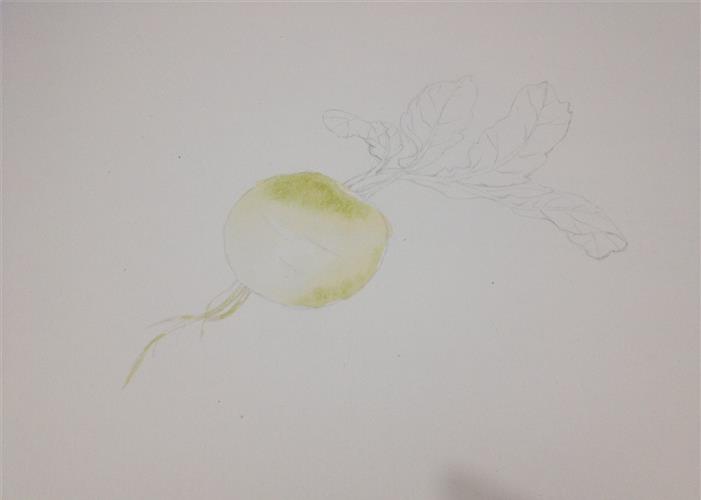
2、 First, wet the radish, and then mix yellow and water, paint the upper part of the radish.
先给萝卜打湿,然后土黄色加大量的水调和,给萝卜上部上底色。

3、Create a blend color of yellow and green, paint it, so does the tassel.
然后再调和好黄绿色,再次叠色。须子也画一点。
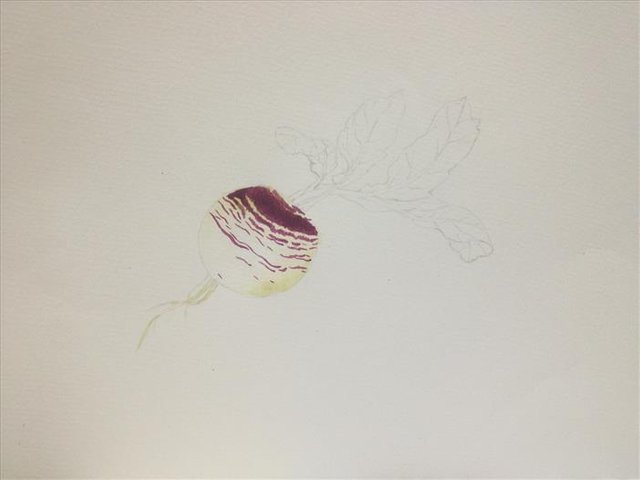
4、Blend the purple and earthy yellow, add a little of water to it and form a warm purple, paint it with a layer of warm purple.
紫罗兰加土黄色加少许水调和,给萝卜再上一层紫色。
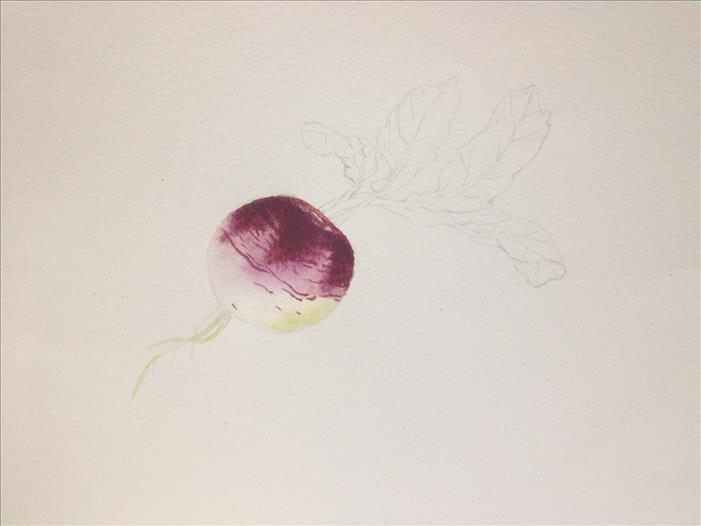
5、After the layer purple was dry and then wet the radish again, paint it with thick purple.
待紫色彻底干了之后,再次把萝卜打湿,用浓郁的紫色再次叠加。
6、blend the yellow, Prussian blue,dark blue and water, form a light green. paint the leaves and stem of the radish.
中黄加普蓝加群青,加大量的水调和成浅绿色,给叶子上一层底色。梗也涂上。
7、Create a dark green and paint the shade of the leaves. Blend the ochre, dark blue and dark green, paint the vein, wipe the highlight of the leaves, re-adjusted the detail as necessary.
然后再调和成深绿色,把叶子暗部都涂上。再用赭石加群青加深绿混合后,给叶脉上色。用擦洗法给叶子擦出一点高光。(之前应该留白,我忘记了)再修整一下细节。
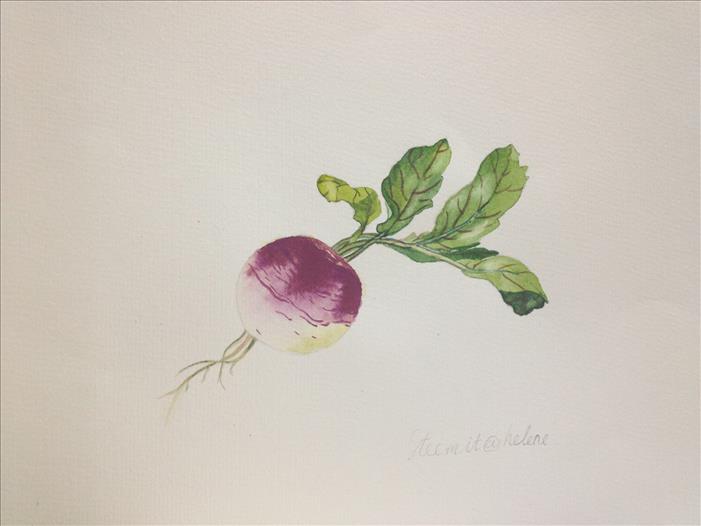
8、Lastly wet the shade of the radish, paint the shade with dark blue and a little rose color.
最后再打湿背景,用群青加一点玫瑰红再加大量的水调和,画出投影。完成!
Drawing Rembrandt - A study in 4 colour chalk - Original content for Steemit
by: @groundcontrol
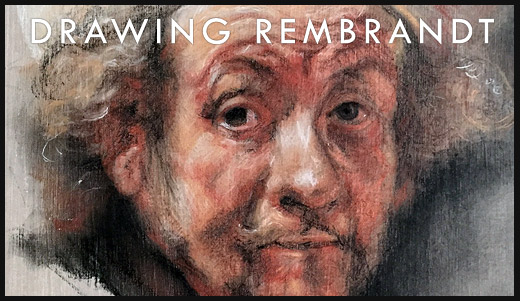
This weekend i attempted a portrait of Rembrandt using 4 colour Pastel Chalk. I always like to try and push my skills and the tools i use to combine new materials with old techniques. Here's what i came up with, i hope you enjoy my post! Thanks.
To begin, i started with Arches Aquarelle Cotton paper in Hot Press (smooth). This was paper i had previously prepared for oil painting by giving it a few coats of white gesso primer, then adding a Rose Grey gesso primer. By painting each layer horizontally, then vertically and back and forth a few times, you can get a nice canvas style grain which allows the paint - or in this case the chalk to stick. Here's a break down of the drawing process:
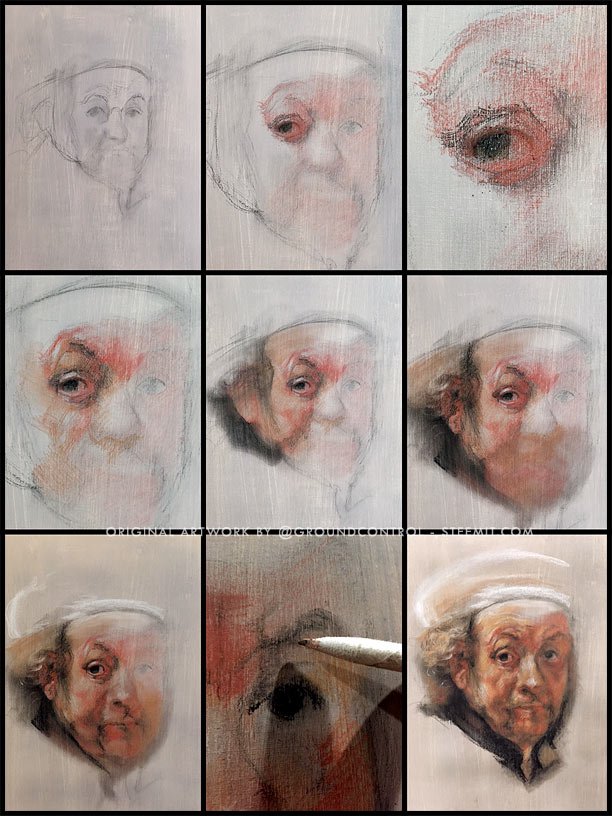
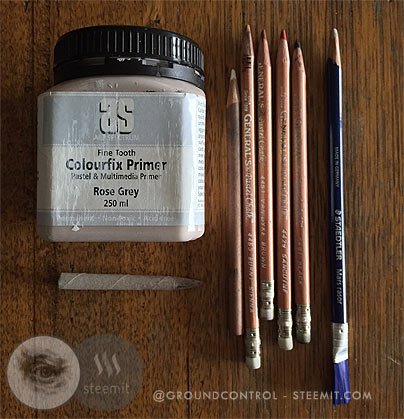
I used General's MultiPastel chalk pencils in Sanguine (red), Burnt Sienna (yellow), Van Dyke Brown (light brown), Black & White.
This is a very similar palette to what Rembrandt would often paint with. He would mostly use earth colours in a simple palette when painting his portraits simply because bold colours like blues & greens were very toxic and expensive to create back in his day - circa 1650's. He would sometimes use those colours in a commissioned painting but in his self portraits he would usually stick to basic earth tones that where easy to mix and which could convey a full range of light and shadow.
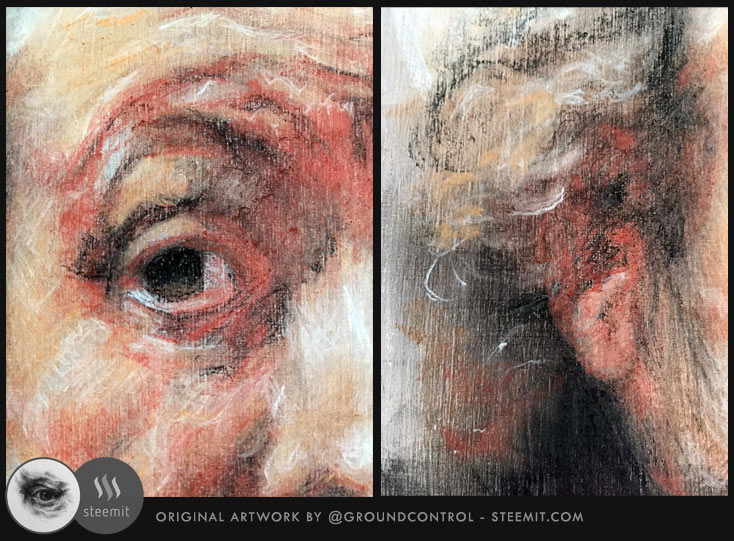
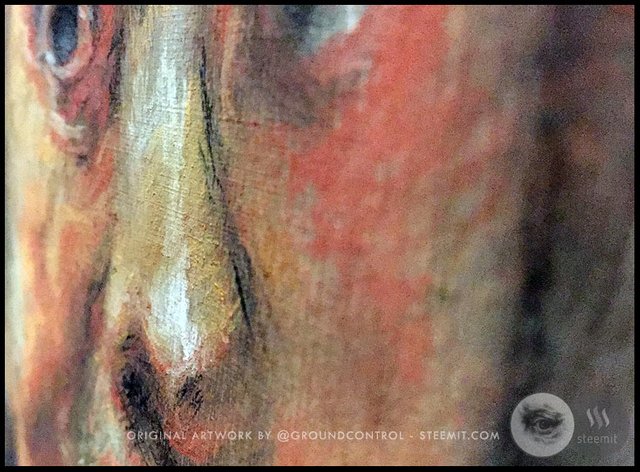
In this image you can see how the pastel chalk sits on top of the paper. It is very easy to move around and layer but also very easy to smudge and spoil. Being right handed, i had to move across the image left to right to make sure i didn't smudge it.
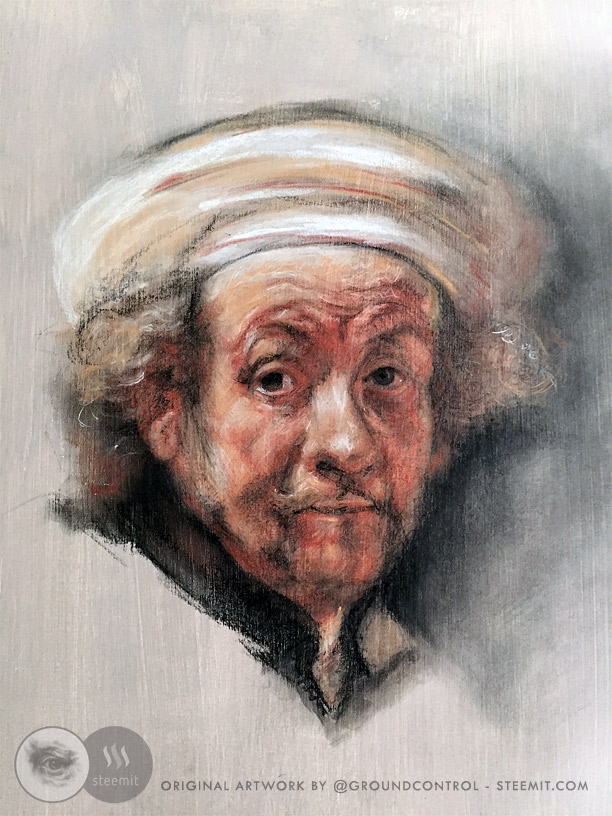
And here is the final piece. Drawing Rembrandt is something i think every portrait artist should try. You'll learn so much about forms and light by following his mastery. He had a very simple technique when you break it down but it was performed at such masterful levels that it takes decades to achieve that level of simplicity. All we can do is keep practising and learning ourselves and with each attempt, try and take something new to the next effort.
Tools Used
- Art Spectrum Colourfix Primer in Rose Grey
- General's MultiPastel Chalk Pencils in:
Black, White, Burnt Sienna, Van Dyke Brown, Sanguine.
- Staedtler Mars Rasor rubber pencil
- Paper stump
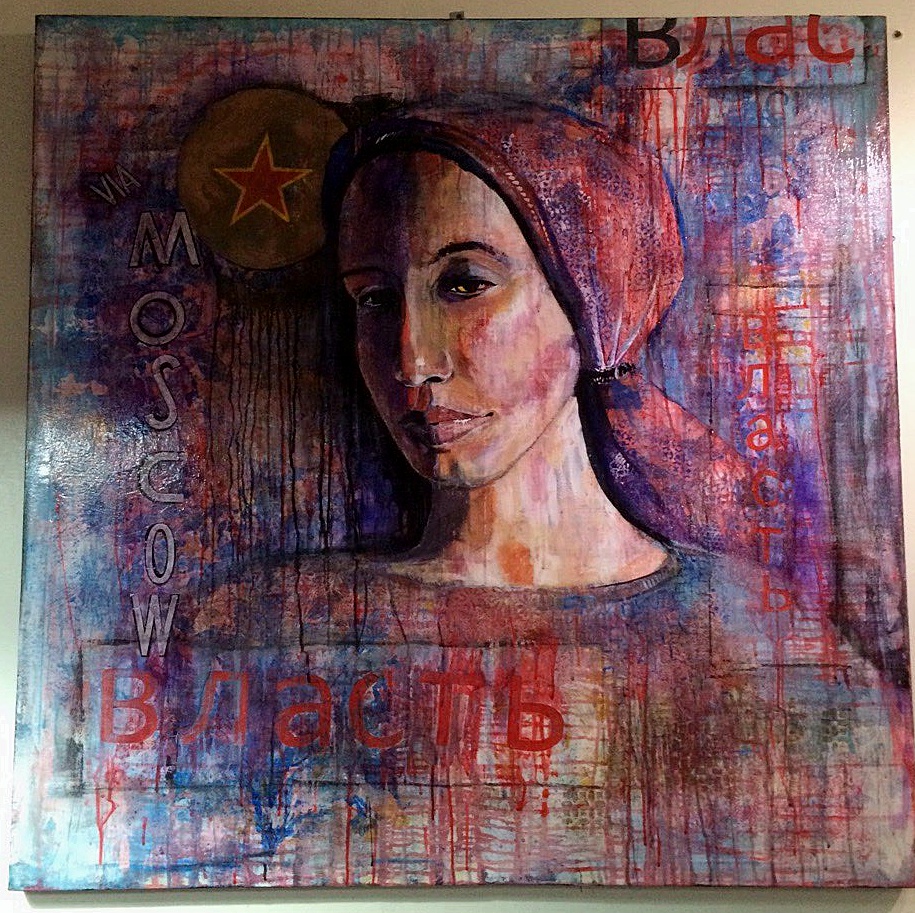
Demolished dreams: Painting inspired by living in the Post-Soviet country
by: @artbaseline

%20copy.jpeg)
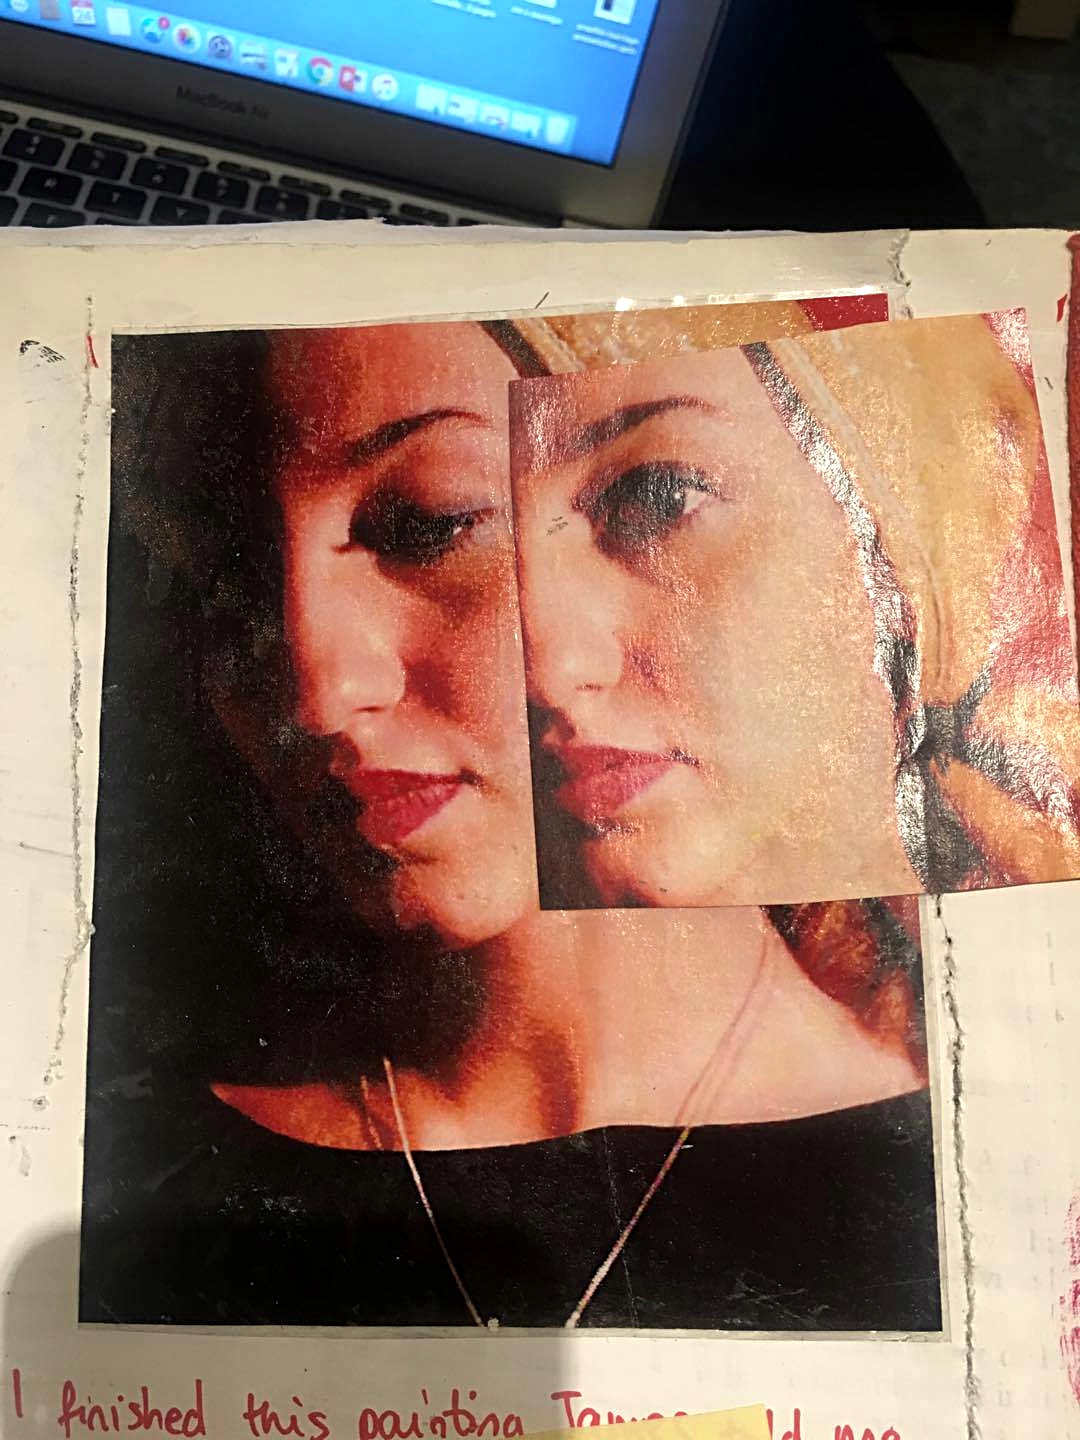
This is the picture I started working with, as I wanted an image of devastated girl and didn't really have luxury of caucasian models in the UK posing for me so i just took some selfies in an art studio and started experimenting in 5 minutes. That's where i learned, that if you don't have initial inspiration, can always take photos of things or yourself and start experimenting around the pictures.
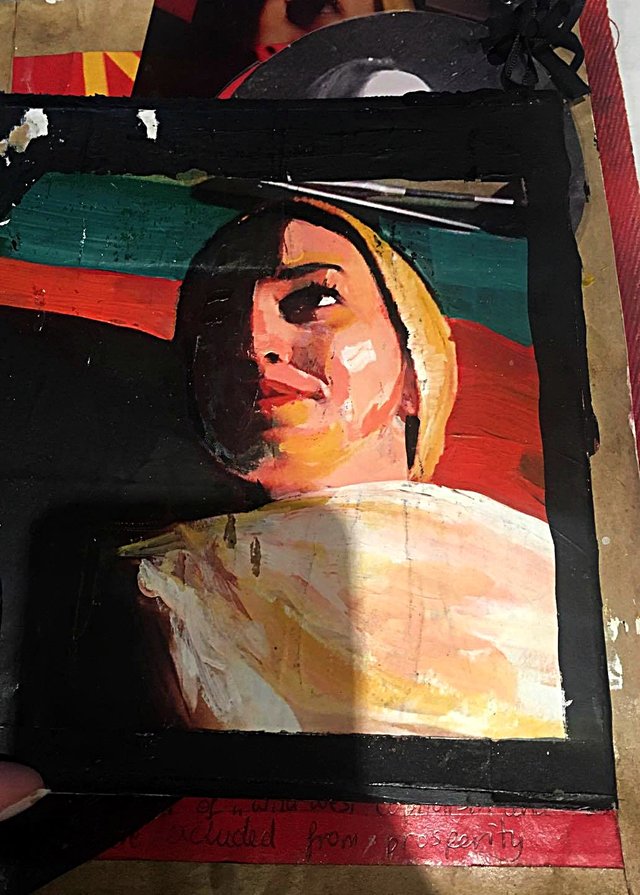
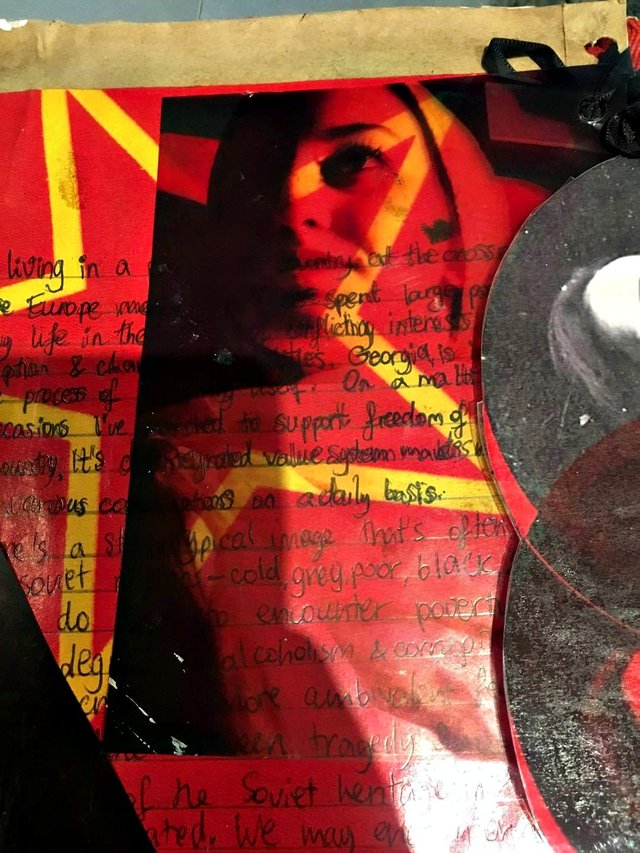
These are just parts of my sketchbook:

%20copy.jpeg)
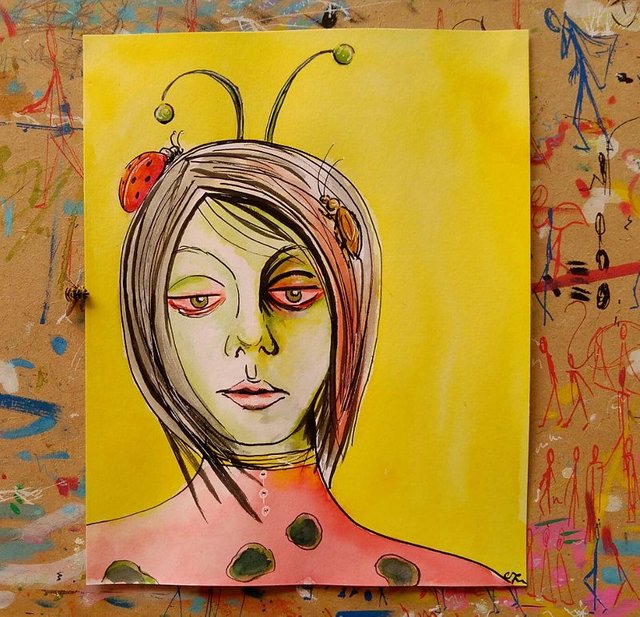
Bug Lady
by: @opheliafu

Feeling a little bit alien
I've not quite felt like myself this week, the downside of beautiful flowers and summer sun has been allergies. My eyes have been a red and watery mess so I'm taking antihistamines and using eye-drops. I don't recognise the person in the mirror, my eyes are not my own!
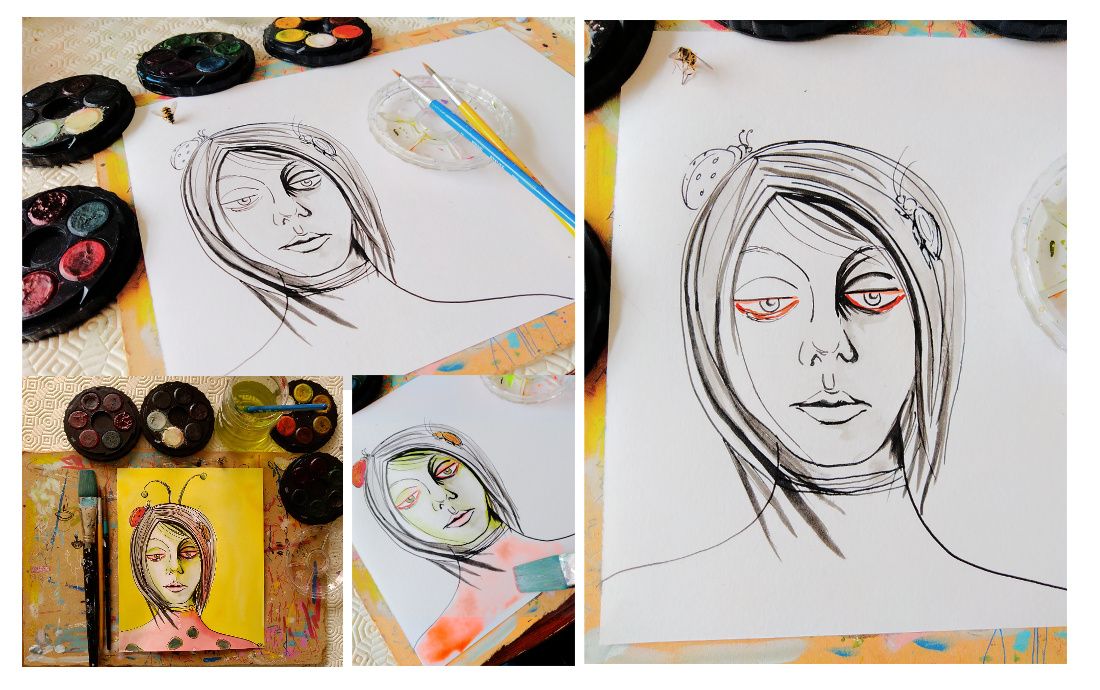
The bug-eyed monster is an early convention of the science fiction genre. Extraterrestrials in science fiction of the 1930s were often described (or pictured on covers of pulp magazines) as grotesque creatures with huge, oversized or compound eyes and a lust for women, blood or general destruction. The term is now often abbreviated to BEM.
In the contactee/abductee mythology which grew up quickly beginning in 1952, the blond, blue-eyed, and friendly Nordic aliens of the 1950s were quickly replaced by small, unfriendly bug-eyed creatures, closely matching in many respects the pulp cover clichés of the 1930s which have remained the abductor norm since the 1960s.
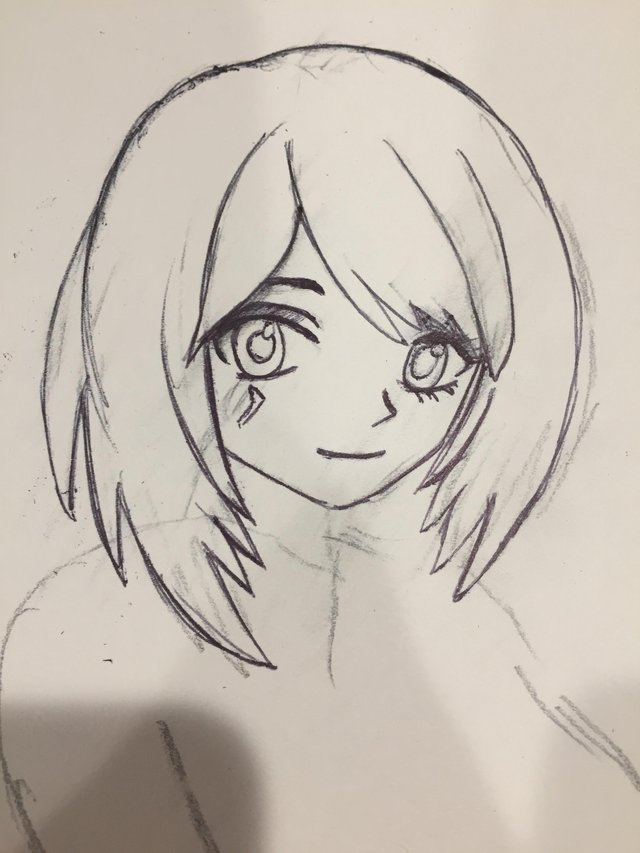
Tree-face Anime Girl (Original Drawing By KaylinArt)
by: @kaylinart
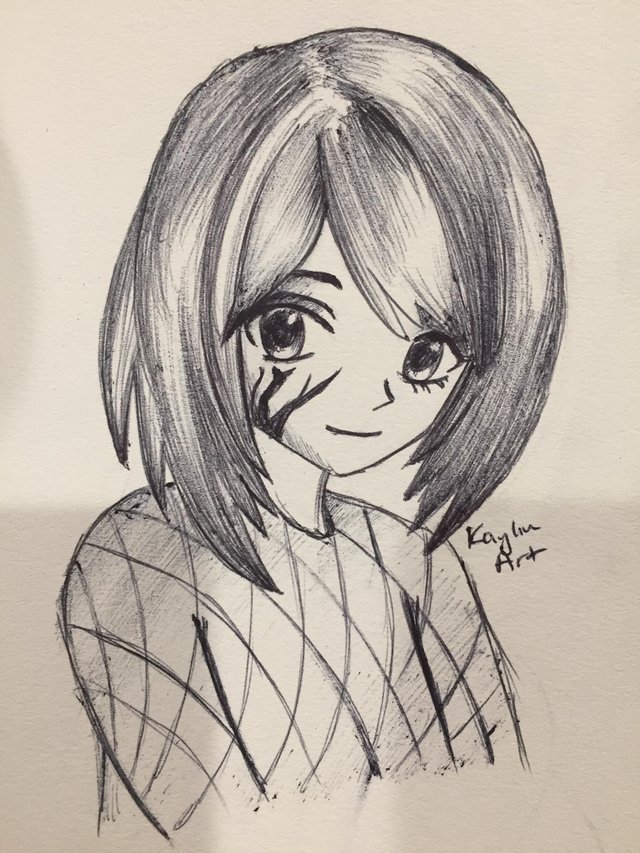
This girl has a strange tree tattoo on her face. I originally was going to do a Steem logo, But I messed up on that one. Or it looks kinda like lightning.
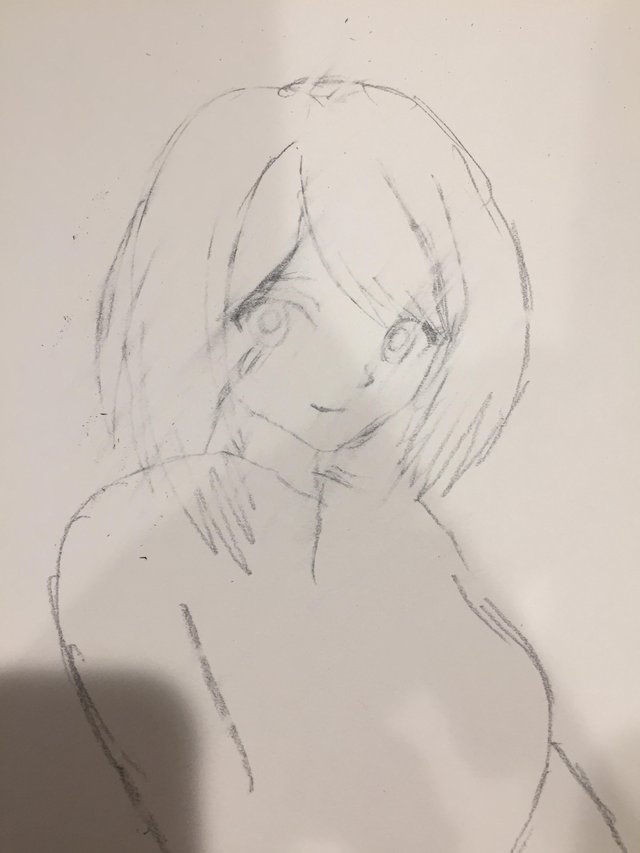
Outline
Hair done
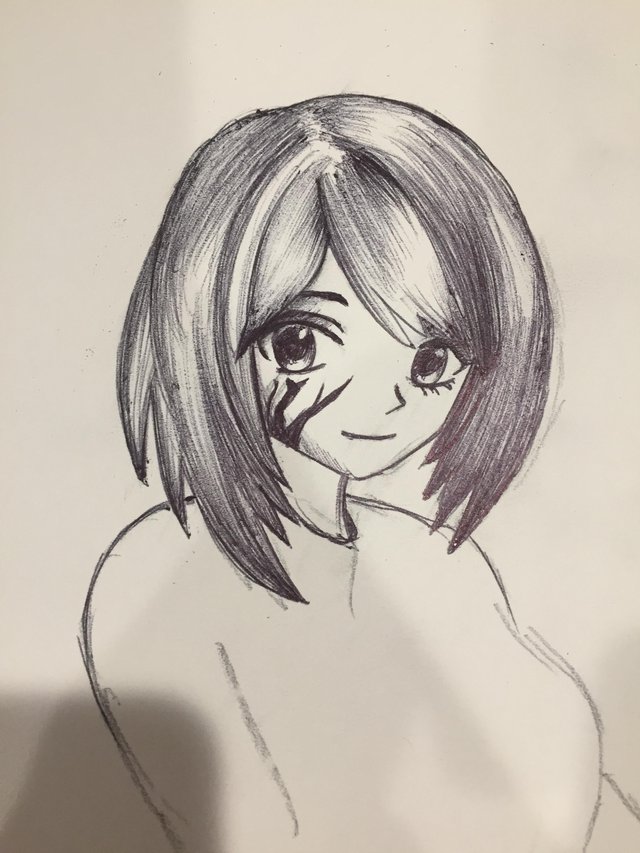
Full shade
Beautiful as always! @publication
All of your pictures are like perfect LOL! Coloring is amazing. It's very inspiring. How many pictures do you have to end up taking at the end of the day to filter through to the best ones? @publication