Fresh from the press! Drypoint thoughts and result.
Today I am going to share the process and results of my latest drypoint.
If you are interested n learning about printmaking and etching I can not recommend it enough! Personally this is something I've wanted to learn for years but I never had the time, money or connections.. blah, blah, blah, you know, the usual. ;)
Anyways, after moving to Portugal and meating a wonderful fellow artist who just so happened to have etching courses not far from where I live I decided the time had come!
This print that I am sharing with you today is the result after my third lesson with my great teacher Mary.
This is also the largest drypoint that I have made so far, the copper plate that I used to make the print is a little short of about 20 x 30 cm. The paper that I used to print on is sized 30 x 40 cm and is a super nice printing paper that I never heard of before called Velin Johannot. This is a 240 g sheet. I've been told that the minimum thickness of printing paper should be 200 g. This is so the paper doesn't tear when it is pressed against the plate.
So first! My favorite prints from todays session;
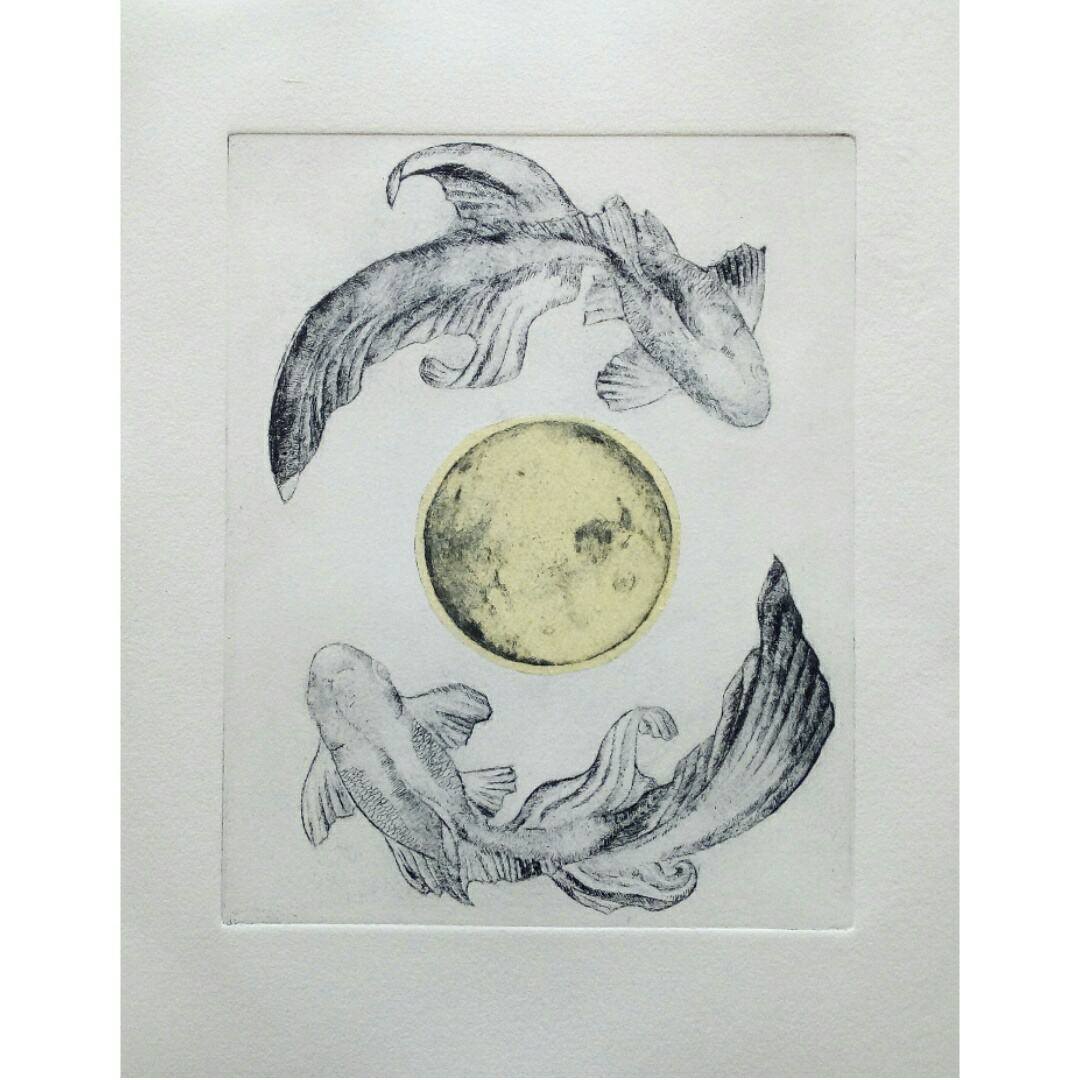
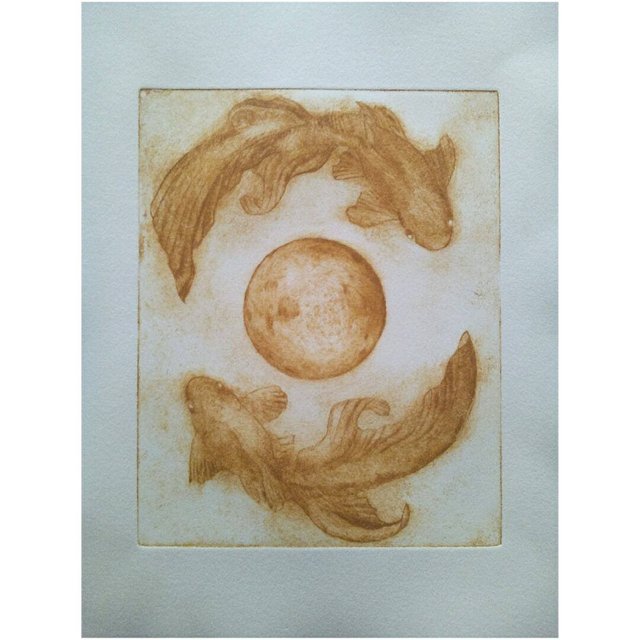
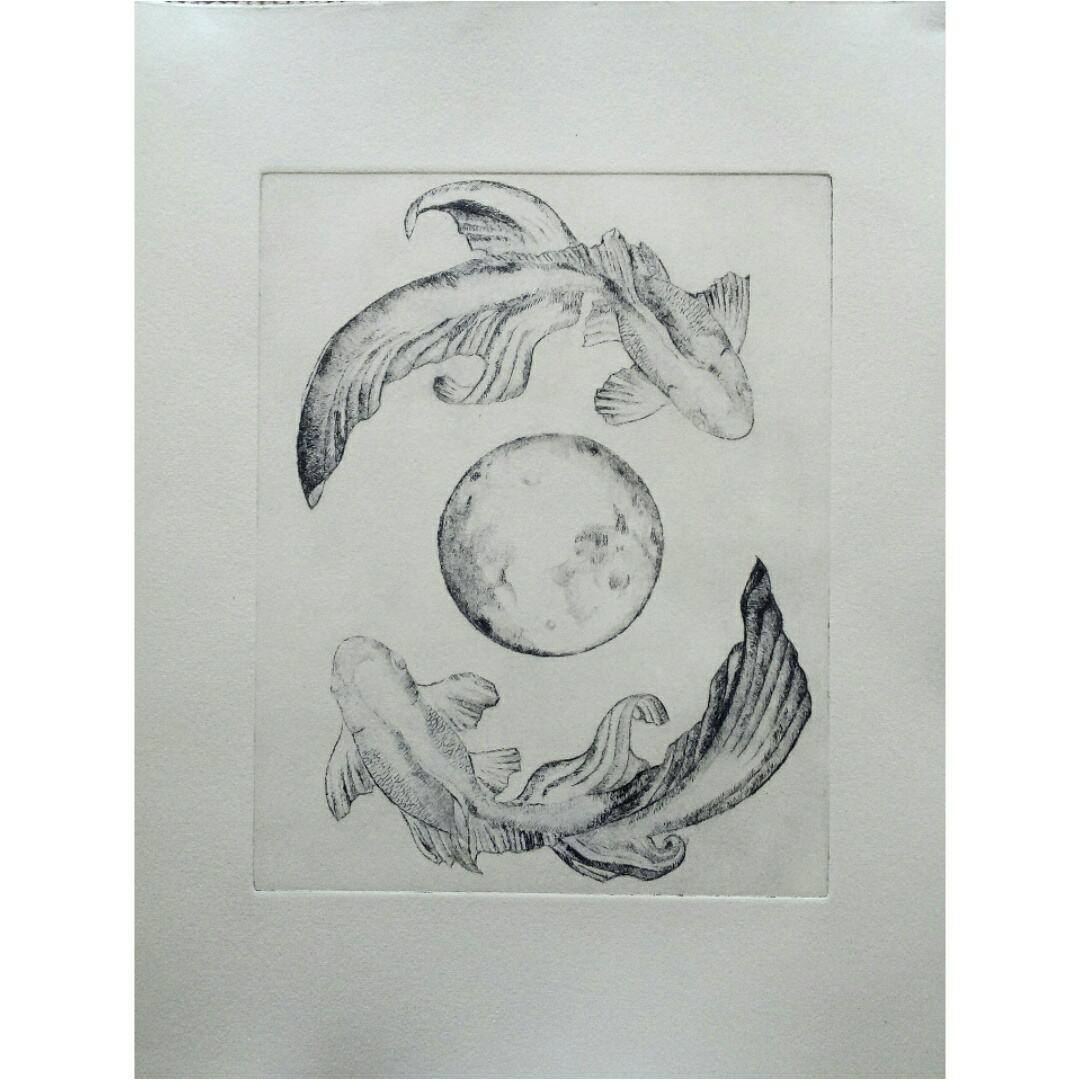
Today I had the best time trying out lots of different types of ink and colors! This time I also took a few photos during the process of making my prints that I thought would be fun to share;
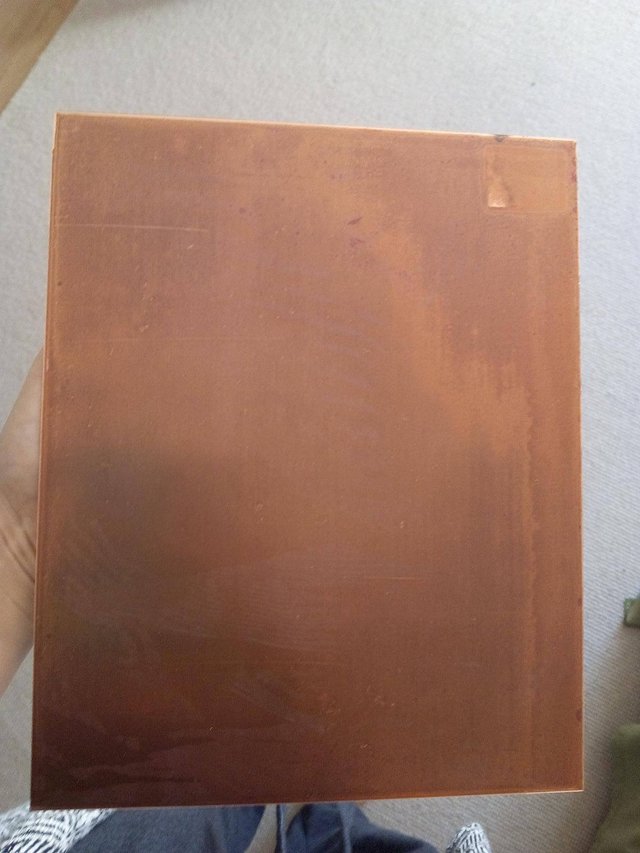
First of, This is the plate that I was making the drypoint on. The copper plate had been laying around for a little while so it had gotten quite matt and oxidized.
To make it all shiny and nice you can get;
-A sheet of 1000 g + 2000 g sandpaper
-Some metal polisher
-Turpentine
First what you do is sand WITH the grains of the copper while pouring cold water on the plate with the 1000 g. When the plate starts to get brighter all over go over to the finest grained paper.
Then you polish is with metal polisher. If still a bit dirty you can clean it with a final swipe of turps.
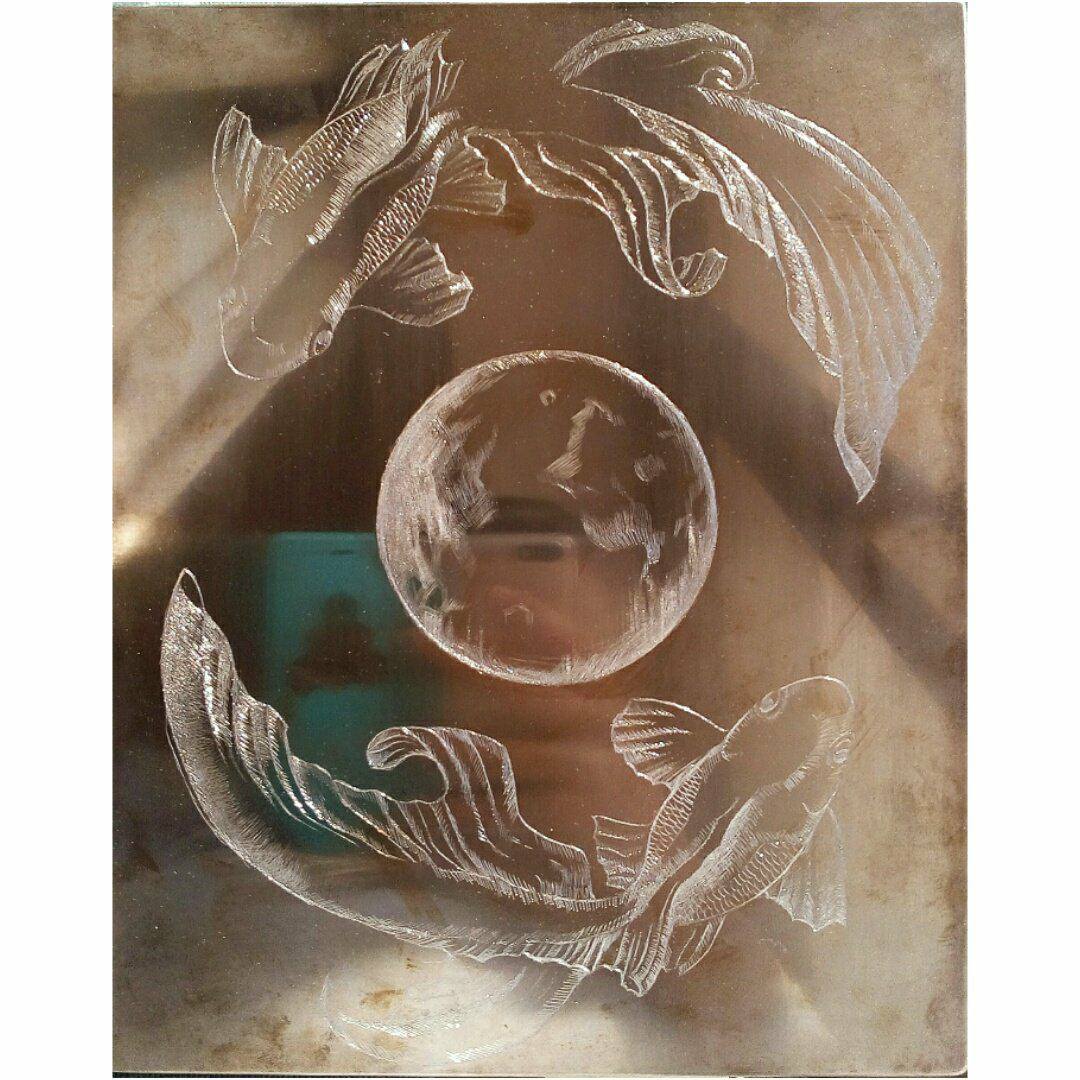
This is the plate all nice and clean after I had been engraving on it for a while. I think all in all I spent around 15 hours engraving the composition on the plate before I was happy with it.
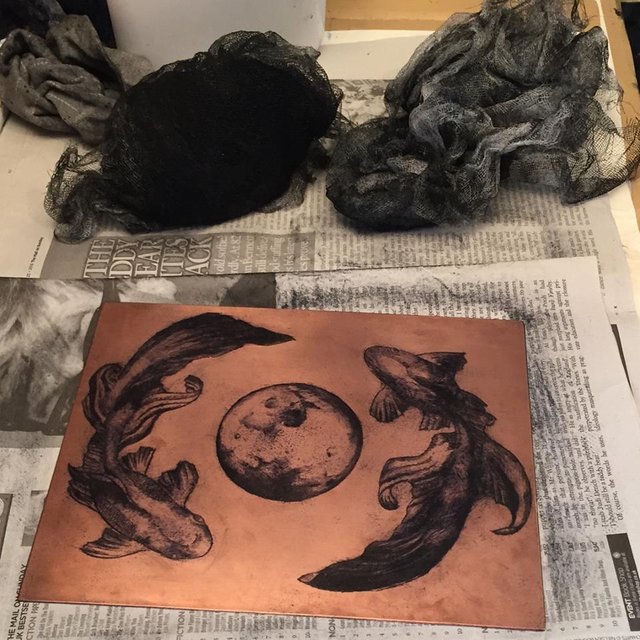
Here the plate is all inked up. The truly tricky bit is getting a feel for how much ink that should be removed and how much should be left on.
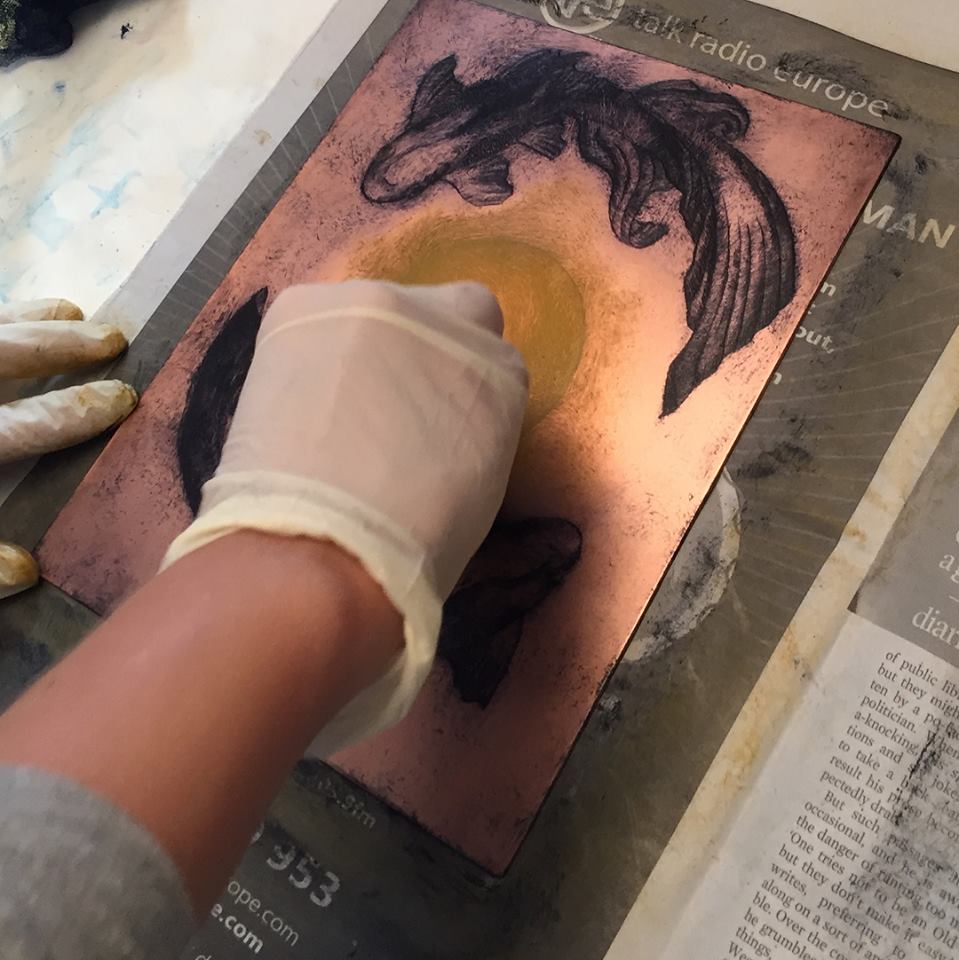
Another plate in the making. Here I am experimenting with putting on two different kinds of colors. It sounds easy enough, but it's quite a head scratcher the first times you do it. The professional calls it A la poupee. You use little rolls of felt or tarleton and you dab the rolls of fabric on your print where you want the different colors.
The clever part is not mixing the darker colors in with the lighter areas. A good tip is to keep changing the newspaper behind your etching plate so that the plate is not surrounded by ink that can find it's way onto your tools.
After inking your plate you put it on your press and place a damp paper ontop of it. Make sure your paper is not TOO wet. Then the print will look mushy.
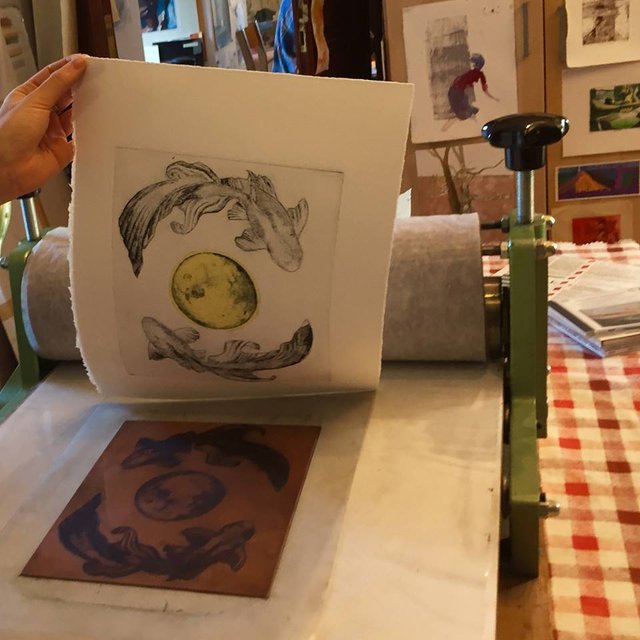
Then you just drive the print through the press and cross your fingers for a happy result!
Here are some more variations from today;
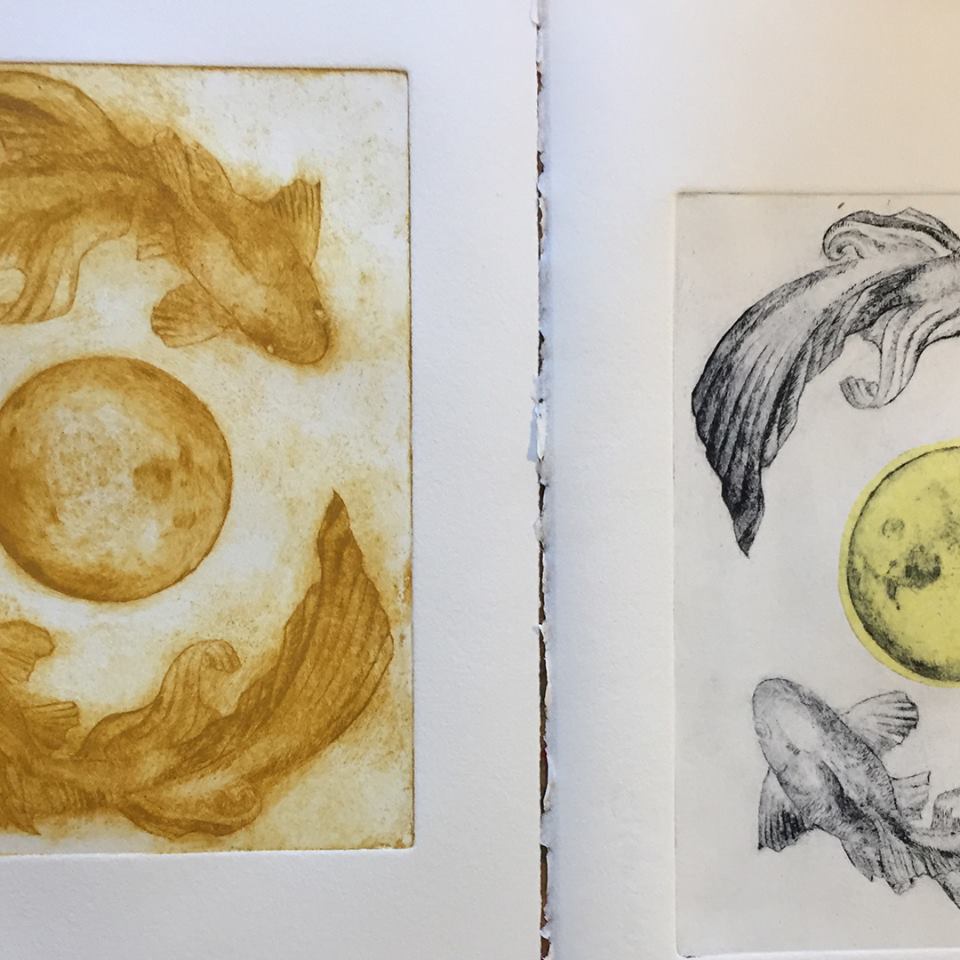
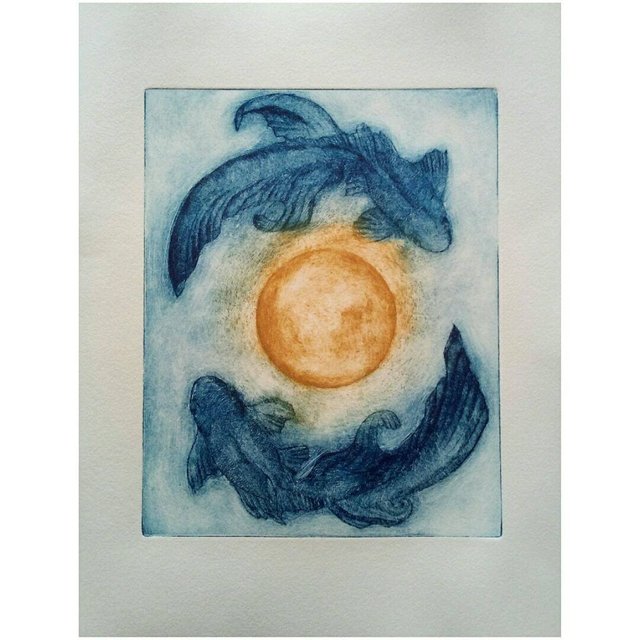
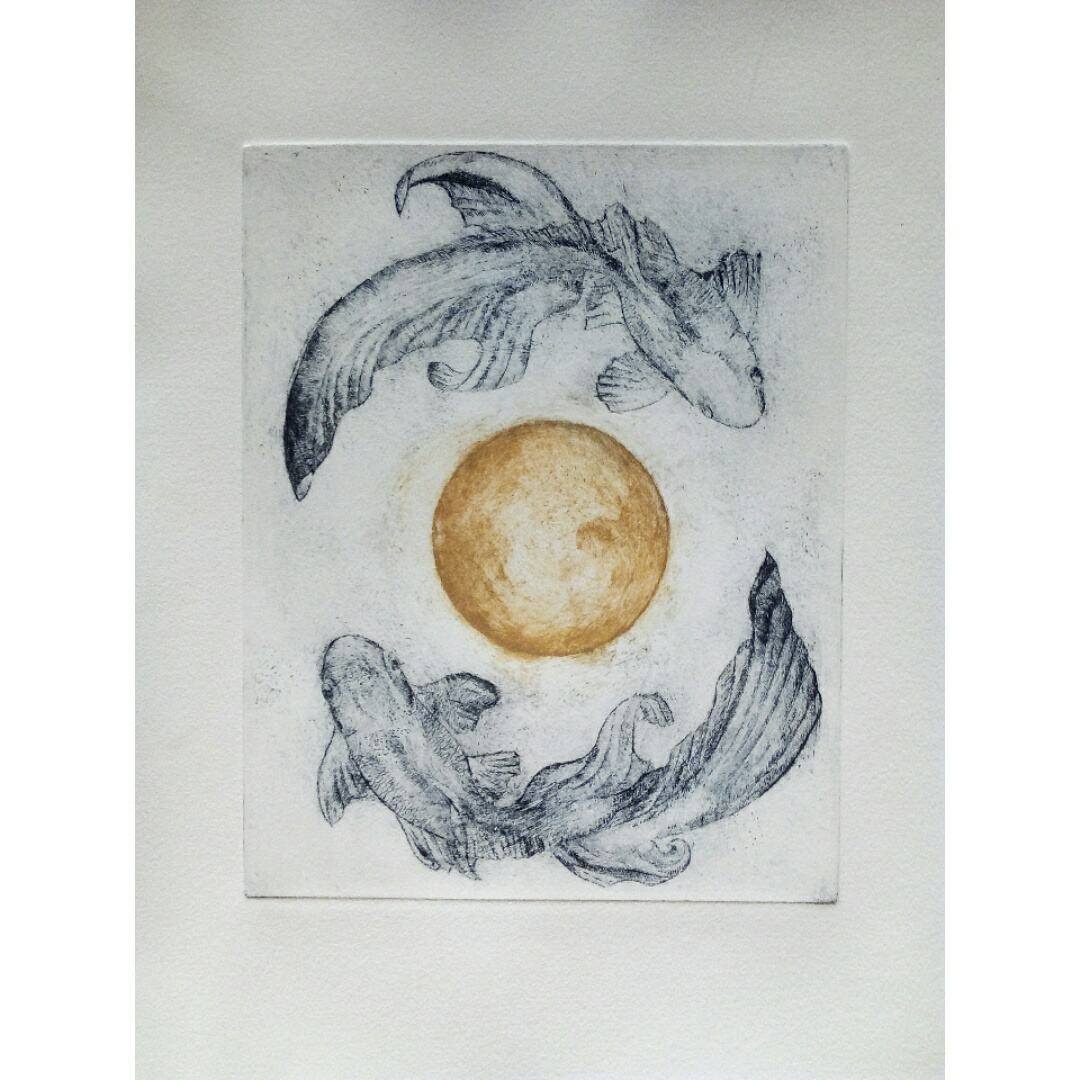
I hope you found this post inspiering if you ever wanted to try drypoint and that you have a wonderful creative day!
...Oh, and please let me know if you have any questions or thoughts about drypoint! :)
Until next time,
These are so cool - I love that every time you press it you end up with something at least slightly different. I really like the ones where you've experimented with using multiple colors... the second to last one looks almost as though you're looking down through dark water, and the moon is reflecting on the surface. It must take a lot of practice to really get the feel of the right amount of ink.
Thank you so much @offbeatbroad! :D I know!! It's so cool that the prints can never be just the same. They end up being own little individual pieces of art which I really enjoy. I really like your comment about the fish swimming in dark water, especially because I was thinking that, that specific print had too much ink outside the fish! But there you go! ;) Thank you again! :)
mmm dry point, always been hardest for me and most challenging. And it looks like you are born for it, drawing on plate looks great and amount of color on prints is good. Waiting for new one, I think you will rock!
Thank you so very much @jungwatercolor! :D Your comment made me so happy!
@mayasky you might find this interesting, you were on my mind between some others, while making this post :) https://steemit.com/art/@jungwatercolor/5th-international-watercolor-biennial-of-gallery-a-invitation-contest
Oh, thank you for thinking of me @jungwatercolor! :) It looks very interesting, I'll look more into it! :) <3
wow really cool work : )
Thank you sweet @blazing! :)
Great Printings and great article. I got the experience of doing it.
Thank you so much @maxjoy! :)
That looks easy but i bet it is indeed a hard work to go through
BTW nicely done though :)
Thank you very much @rehan12! :) I always thought it looked easy as well, until I tried it, hehe!