Rocking Cradle
( )
)
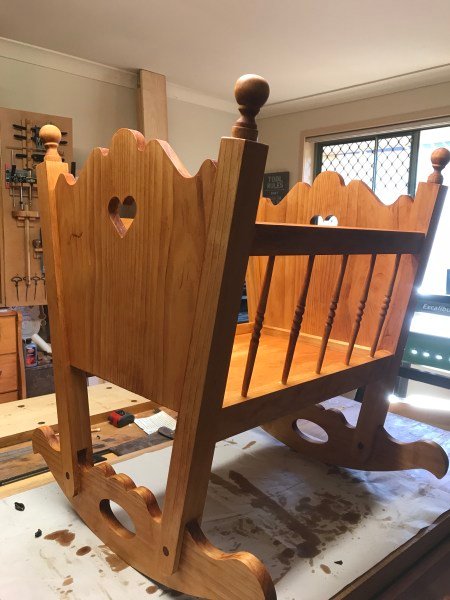
I was going to make this cradle for the Issue V and came up with a more practical version for it instead. This cradle you see now is actually fit for a real baby with the exception that I made it shorter. The original length I made it to was 36″, but I had to cut it short to somewhere around 20″ because I didn’t have clamps that were long enough. Besides that, considering I decided to donate this to my friends little daughter it would be too big for her dolls.
For the magazine I want to make a cradle for a doll and I want to make it available as a flat pack for sale. So it will have to be much smaller than this current size and the rails will have to screw into the stiles.
But going back to the cradle built I want to give briefly what I did.
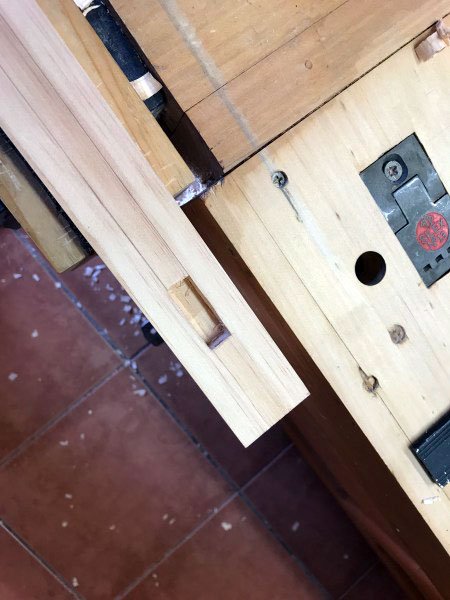
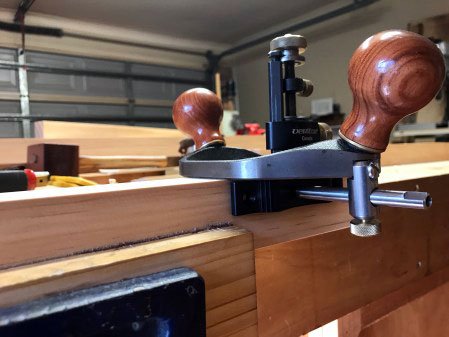
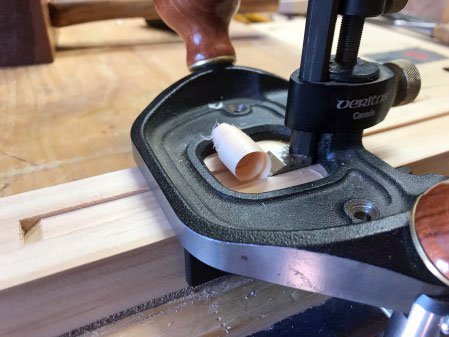
I chopped four mortises. Two top mortises were 3/8″ thick and the two bottom were 1/2″ thick. These were for the top and bottom rails. Then I made some stopped grooves about 1/2″ x 5/16″ deep, I can’t remember how longer they were. They were easy to complete with my router plane, however a word of caution though.
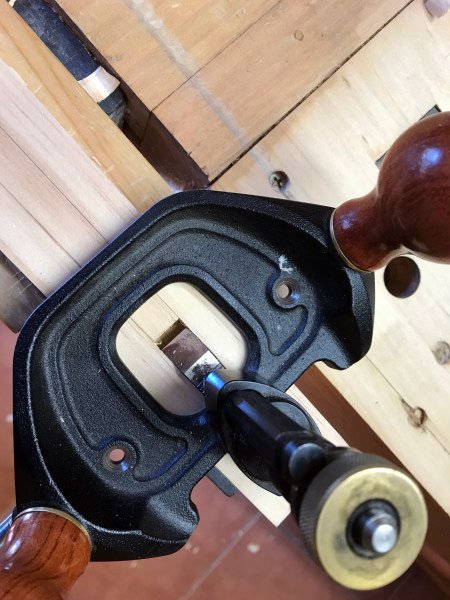
The Veritas irons are not made to the same width specs as an LN mortise chisel. This is unfortunately common amongst different tool makers. I’m not sure but it could be a way to for a person to buy from one maker. So if you planned on chopping out the groove and then ploughing it out, check the widths of your tools first or you might get a sloppy fit.

The head boards I edge joined two boards to form a panel. Once dried I scrolled the top and heart out.
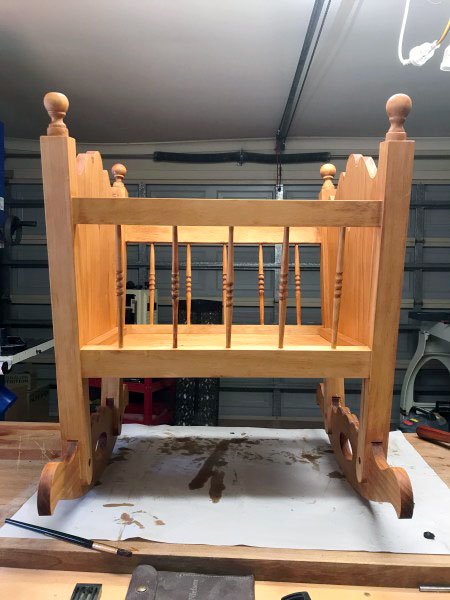
The small sticks, not sure what you call it, I turned on my lathe and bored out several 5/16″ holes with my brace and bit.
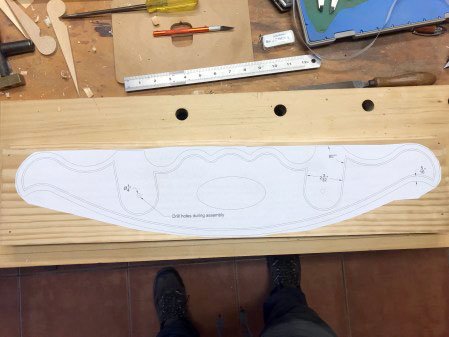
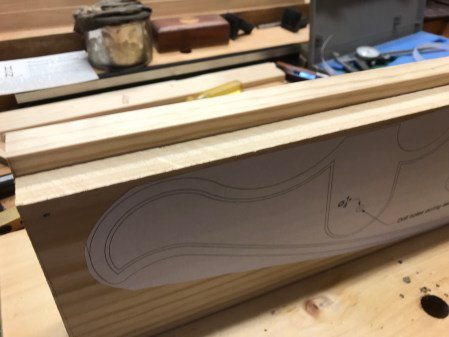
I printed out the rocker and glued it to the wood with some of that spray adhesive stuff and nailed two boards and cut them out on my scroll saw. This way I not only get to cut once and get two, but they’re also identical.
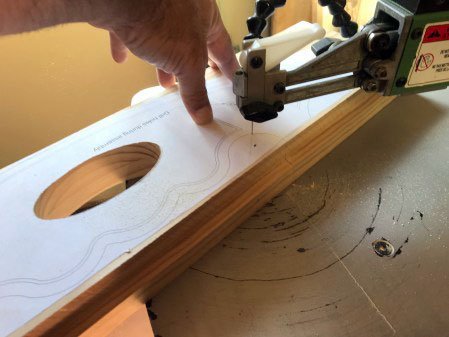
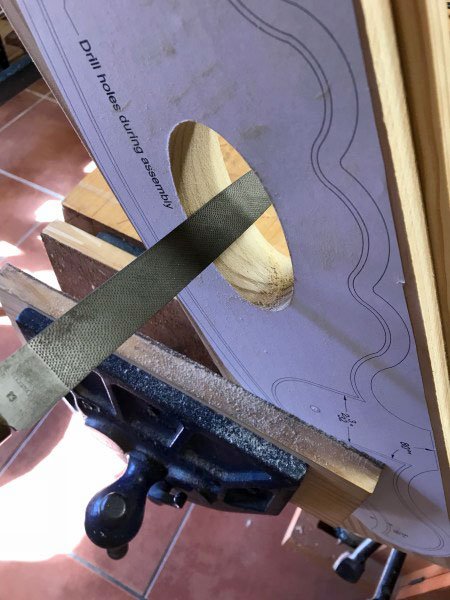
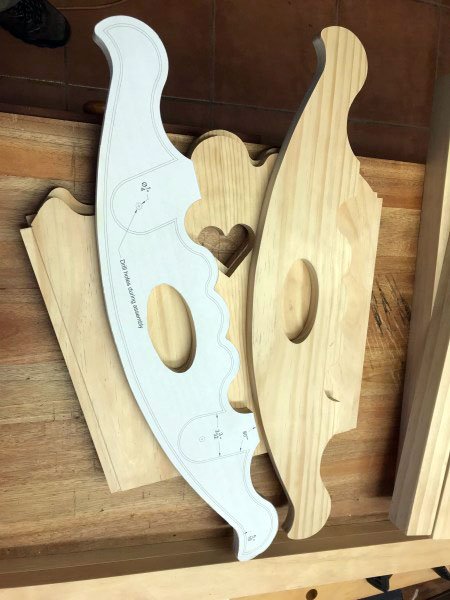 !
!
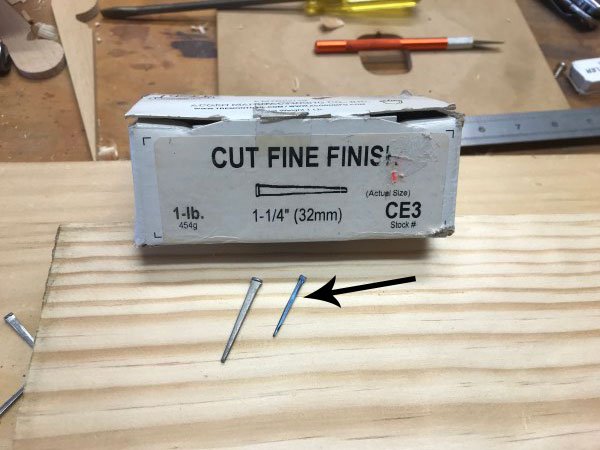
Also to form a rabbet to hold the plywood bottom I nailed a strip of wood using these finish cut nails for superior strength and placed them in a zigzag fashion. There’s no way that strip will ever come undone. For these small finish cut nail there’s no need to drill holes.
![img_0832.jpg]
( )
)
Ignore the box the finish cut nail is where the arrow is pointing to.
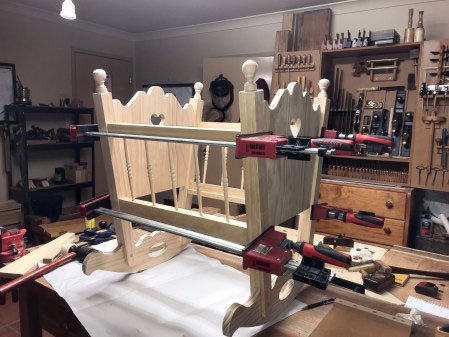
This is what it looked like prior to staining. With the staining because this is pine it’s prone to blotching. But with my fix that I eliminated 90% of it. Had I done a more thorough prep I believe I would eliminated 100% of it. The stain I used was spirit based Azura Oak which I don’t believe is available anywhere on the shelves. I was just at the right place at the right time and bought the lot many years ago. If you refer to my previous posts on how to eliminate blotching you search through them here or watch my lame videos on YouTube. Almost forgot the decorative balls on top were turned and bored a 13/16″ deep hole on the stiles and glued them in place. For the glue I used hide glue.
If you wanted to make this I would recommend you use milk paint either white or pink if they have it. You could also paint some pretty flowers on the head boards.
Hello @byhand , I am Quraturk and I just upvoted you. This is not an automatic comment. In modern carpentry there are lots of power tools to be used in projects like this. Many woodworkers prefer more traditional approach when its comes to tools. We like to way you mostly use hand tools to make a fine woodwork. Quraturk is a new curation project aiming to support quality content creators. Each day we review hundreds of content that using #quraturk tag and select 5 of them to be upvoted. You can join us on the discord server.
We have a woodworking community here on steemit and would welcome you. We have a discord channel, link here: Woodworking on Steem Discord Channel