How to build a PERFECT BOX, Woodworking Part 1 of 3

I call these boxes perfect boxes, not because you make them perfectly, but because each step in building them up makes it look like you made them perfectly.
They are, and are not, a lot of work. If you were to make these boxes in the corner-post and tenon fashion (really old-fashion), that box would indeed be a lot of work, with a lot of pieces that need to be made very perfectly. With slots that allow the side panels to slide, and tight tenons going both ways at each corner.
But, this box is really just a fancy plywood box. So, it is stronger than boxes of old, but still looks very nice.
What makes this box a "perfect box" is that after each step, you sand all the piece's ends flush and flat with the box. Thus if you are not absolutely perfect with cutting to length, then no one will know.
I made the edging of this box by cutting 4/4 maple in half. (there is no need to own a planer, as you just glue the cut side down.) But, if you do not have a table saw, or feel skilled enough to make the thin boards, you can buy 1/4" thick boards from homey depot, and use those.
All in all, this is a good mid-tier level project. More than just cutting and gluing a plywood box together, but not much more. And the results are really nice looking.
(4/4 is a woodworking term meaning 4 - ¼s of an inch rough sawn size. Which means about 13/16" planed size or 3/4" from home depot. The same reason 2x4s are actually 1-½" x 3-½" Normally hardwood comes in 4/4, 6/4 and 8/4, and sometimes 2/4 and 5/4.)
The Base Box
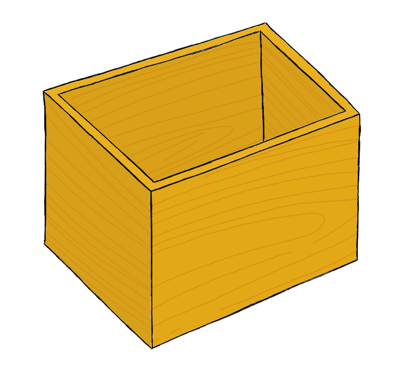
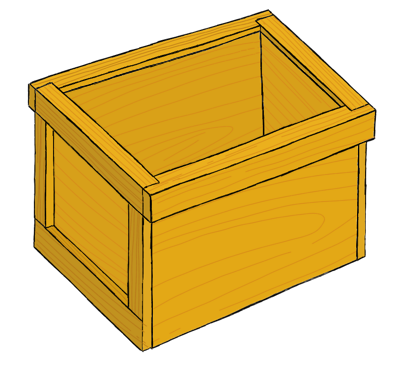
First build a plywood box
This is nothing special, just a 5 sided plywood box.
The box pictured is about 9"x15" and is made out of 3/8" Baltic Birch.
I like to screw and glue the plywood box together. The glue holding the box together, and the screws keeping the glue bond from breaking. However, if you were making a smaller box out of thinner plywood, putting screws in it becomes difficult. But, there is lots of glued surfaces to hold the end box together.
It doesn't matter which way you place the laps, we are going to cover up all the corners.
I do like to put the bottom on last. That way the screws are facing upward, adding extra holding power to the bottom of the box. However, this does show the screws to the world, if they ever turn the box over. Of course, this also hides all the plywood edges.
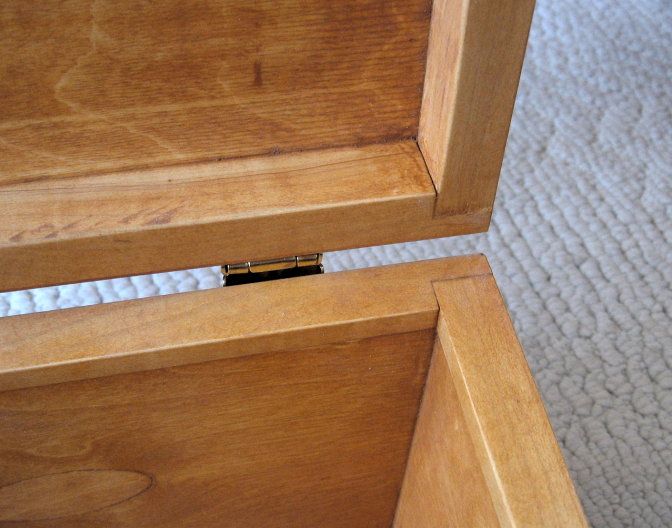
The top
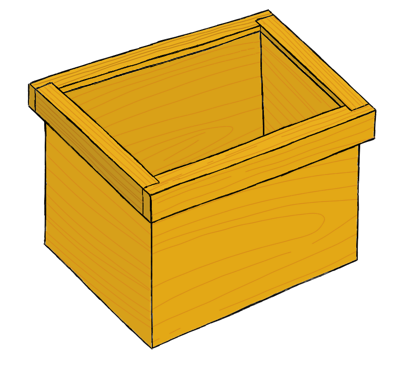
Add a ring to the top
The top ring that i made wraps around the plywood, thus covering the plywood edge. However, what i did requires a table saw. If you are just using 1/4" wood from home depot, you can either place it even with the top of the plywood, or use two pieces to make up the L shape.
First you cut the ends to be the exact width of the box, and glue them on.
Then after the glue has dried, you sand the ends exactly flush with the sides.
Thus, making them exact and perfect.
Second you notch (if you are using an L shaped piece like i did) the two side pieces and then glue them on.
After the glue is dry, sand the ends of these pieces perfectly flush with end pieces.
The end
First you cut the bottom pieces to be the width of the box.
Second, you cut the side pieces to fit perfectly between the top and the bottom.
You can either glue on the bottom piece first, because then it won't move and its easier to measure the side pieces.
Or you can cut all three pieces, and then glue them all on at once, so you can move the bottom to make up for any errors in the side pieces. (if the bottom piece sticks down to far, don't worry, you can sand it flush and then it will be perfect)
After the glue has dried, you sand the edges flush with sides and bottom of box. It doesn't matter that you are sanding the side pieces across the grain, because you are about to glue a piece on top of it to hide that fact.
The sides
The sides are just like the ends.
You cut the bottom piece and glue it on (followed, after it dries by the sides), or you cut all three pieces and glue and position them.
On this step, you want to align the edges just right, because you can't really sand them without an random orbit sander. (because there are places where you would be sanding across the grain, thus ruining your finish) But, it is also the easiest part to align.
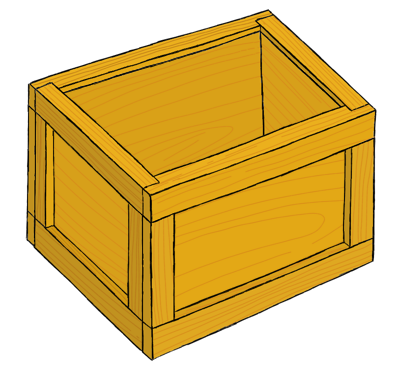
There, you have the bottom of the box done.
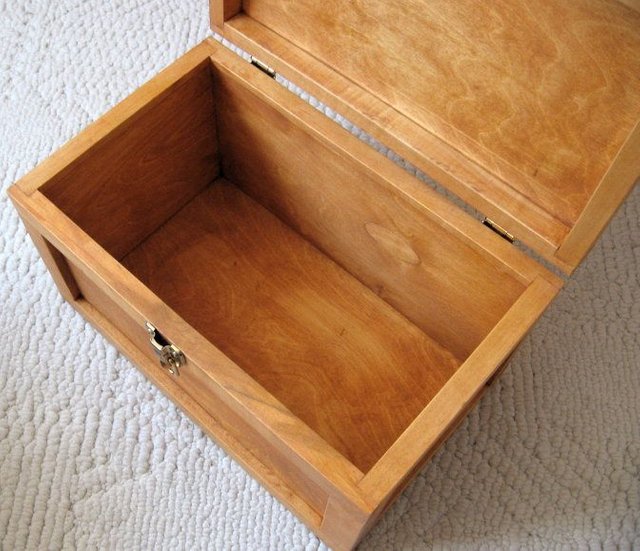
The next step, the top should be apparent (but that is because i am a woodworker... of course its obvious) and so i will write a post about how to make it, and how you build it on the bottom so it perfectly aligns.
The third post will be a set of plans for this particular box.

These boxes are made to hold 45s. With mylar sleeves. To make very safe, and sound your record collection.
Which makes these boxes a good size for all kinds of other small items.
The person i made them for has stopped communications, and thus i have two completed boxes that need a good home. If you would like to, i will gladly trade these for STEEM or SBD. Just make a comment here or on steem.chat (although i don't check the chat too often) and we will work out a price and delivery.
If you would like such boxes made to hold a specific item of yours, we can also work on such an arrangement, however, i am a slow woodworker.
Enjoy

I like everything about these boxes, simple construction, and yet they finish out superbly.
Thank you. I like it too, that is why i am sharing it.
I've always had a attraction to small boxes like this. Even cheap cardboard boxes with clean lines or clever designs hold an appeal for me.
Perhaps I should take up box making as a kind of relaxation activity.
Boxes are the one woodworking project that you start learning on, and are even learning when you get to be a master.
These are a box to try building after you have mastered making a plywood box sturdy and square. (yes, it takes some doing) And for all the extra work put into a "perfect box" you get a really nice finished product.
Wooow is very practical thanks for the steps to follow to achieve this marvilla.Greetings friend
Great post!! Who doesn't need a nice wooden box for storage etc. I love that you showed us how with excellent detail! Thanks for sharing.
We have a woodworking community here on steemit and would welcome you. We have a discord channel, link here: Woodworking on Steem Discord Channel