Ein Schachtisch entsteht ;-) (Teil 1) / A chess table is created ;-) (Part 1)
Ein Schachtisch entsteht ;-) (Teil 1)
Vor kurzem stellte @fsherberg ein Bild mit Holzklötzen ein und stellte die Frage: Was wird das wohl?
Hier nun ein Teil der Antwort. Es wird ein Schachtisch, aber erstmal hier das Schachbrett.
Material und Werkzeug
Material
Wir haben als Hauptmaterial Leimholz 20 mm Buche und Kiefer verwendet. der Träger ist Sperrholz 5 mm. Zum verkleben verwenden wir Weißleim.
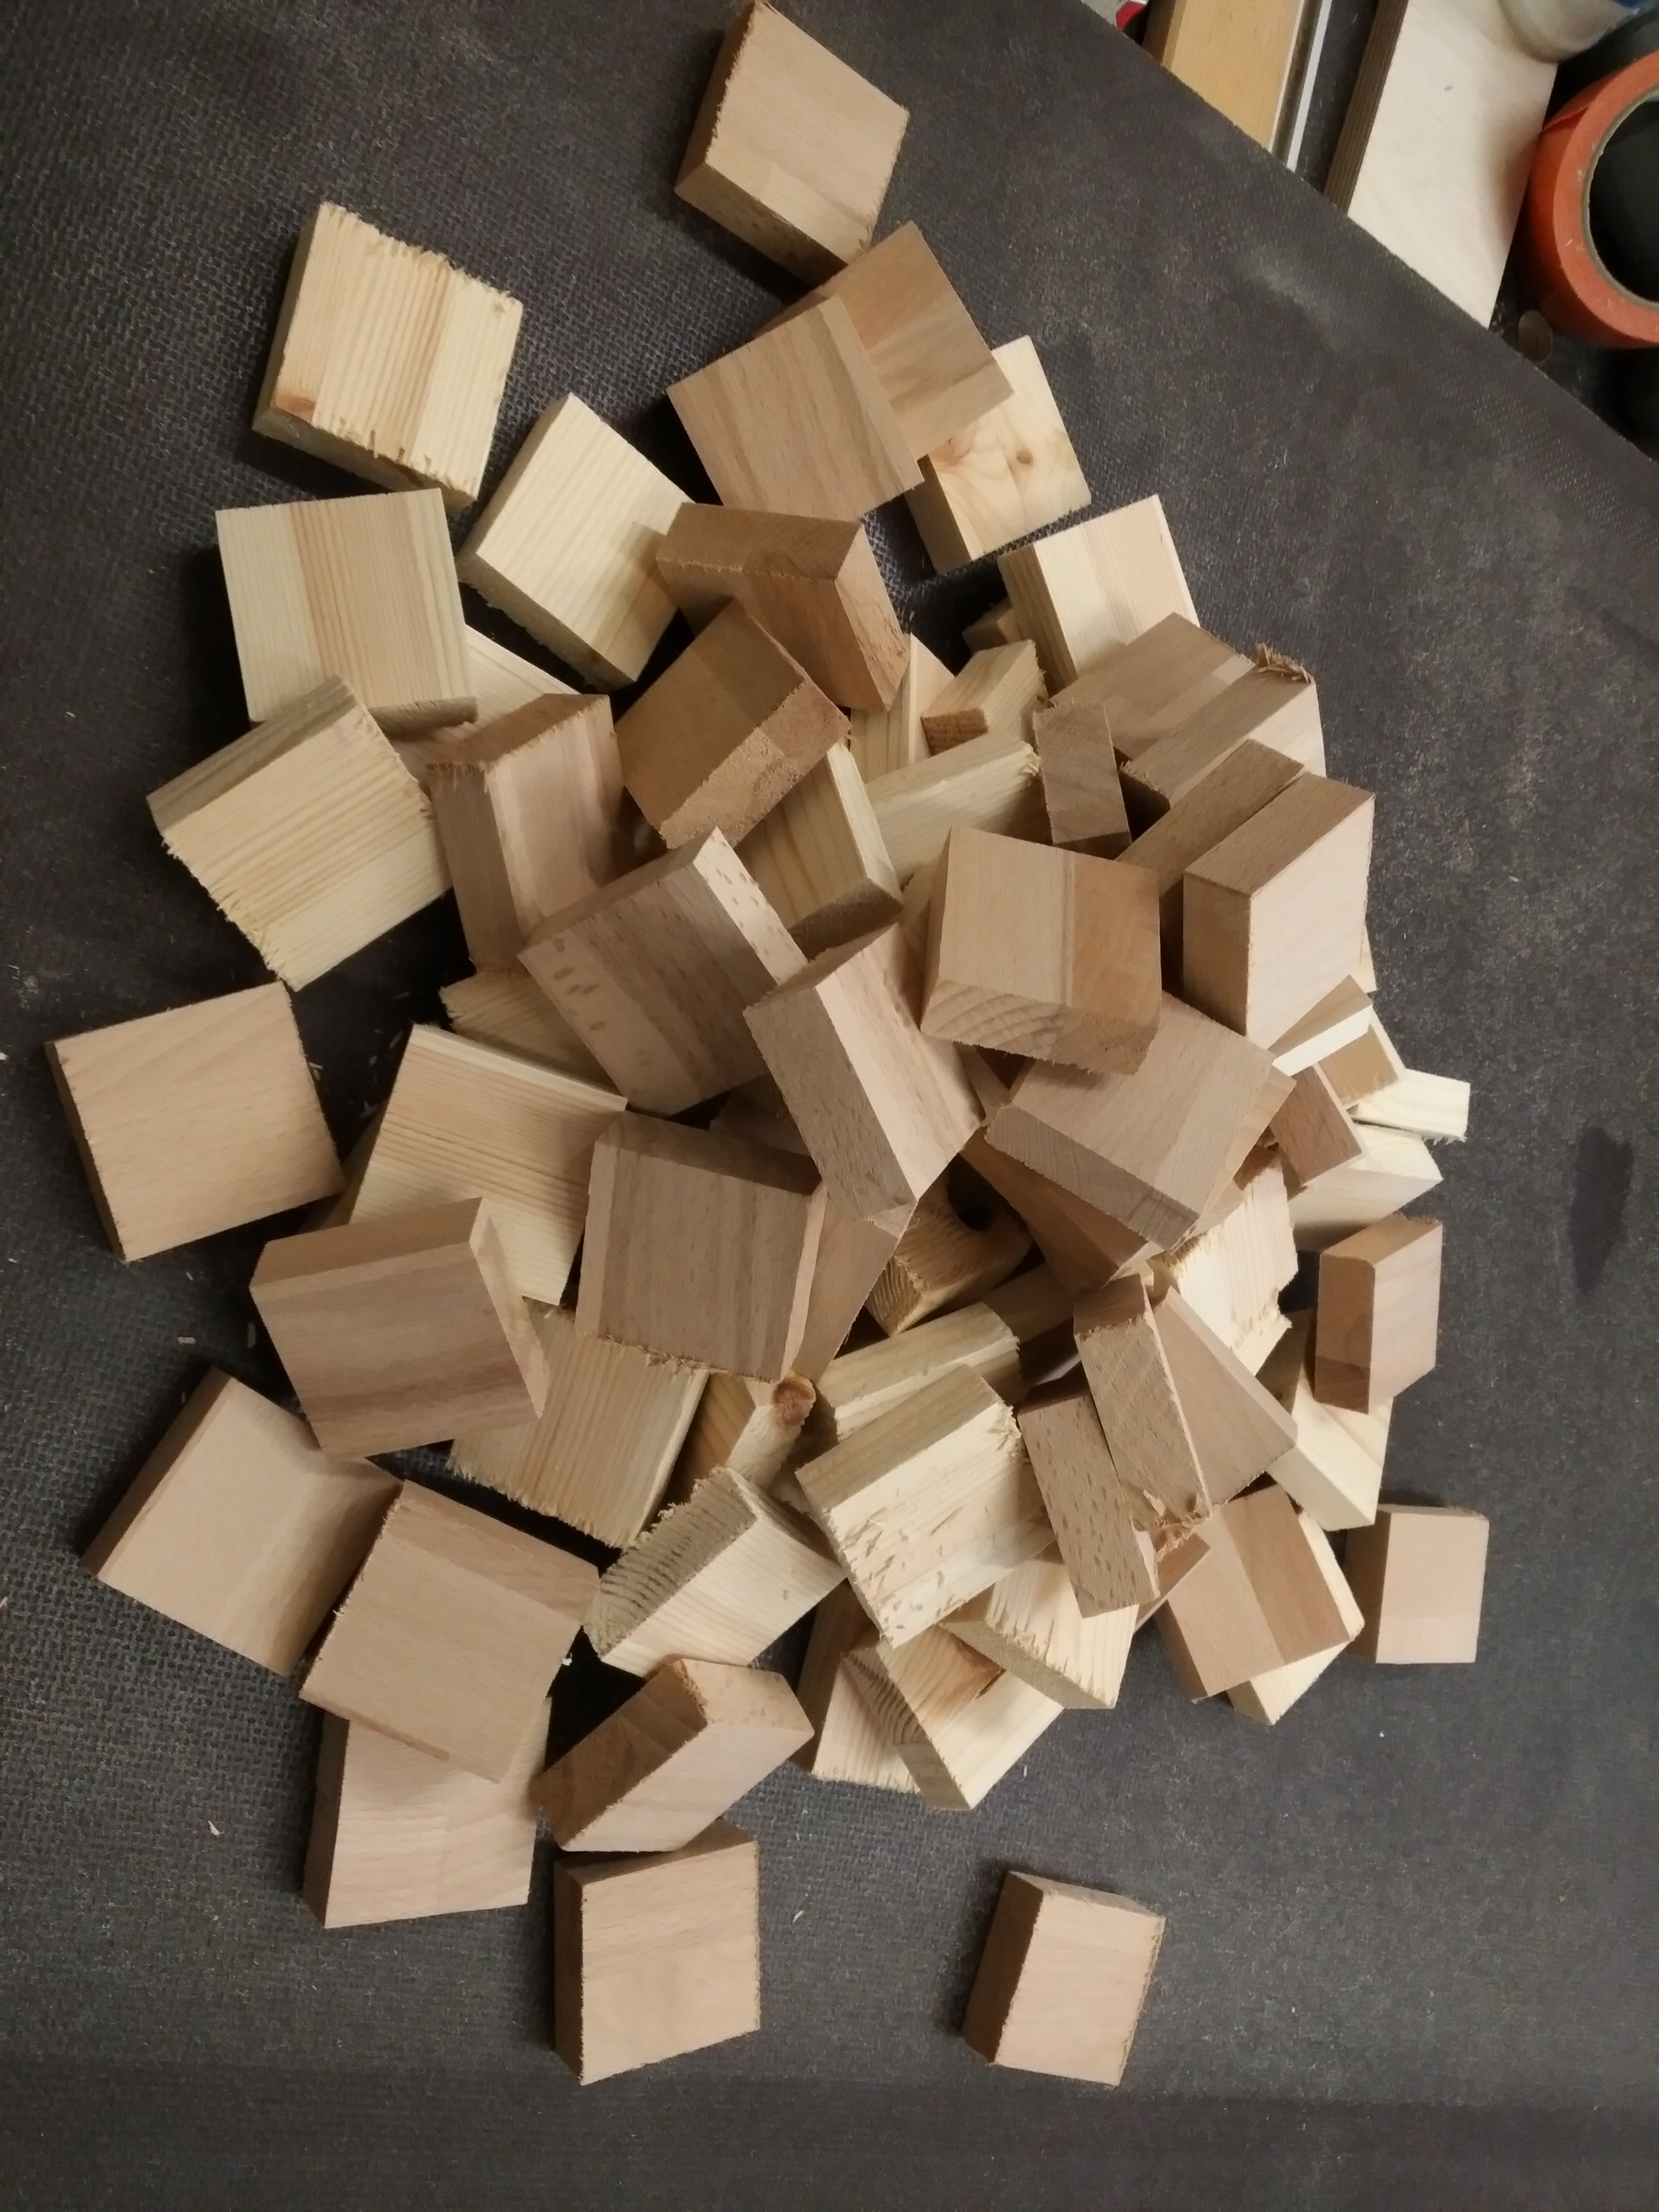
- Holzwürfel 50 mm x 50 mm
- Trägerplatte 420 mm x 420 mm
Werkzeug
- Tischkreissäge oder Handsäge
- Schleifpapier 80 bis 240
Mehr benötigen wir nicht :-)
das Vorgehen
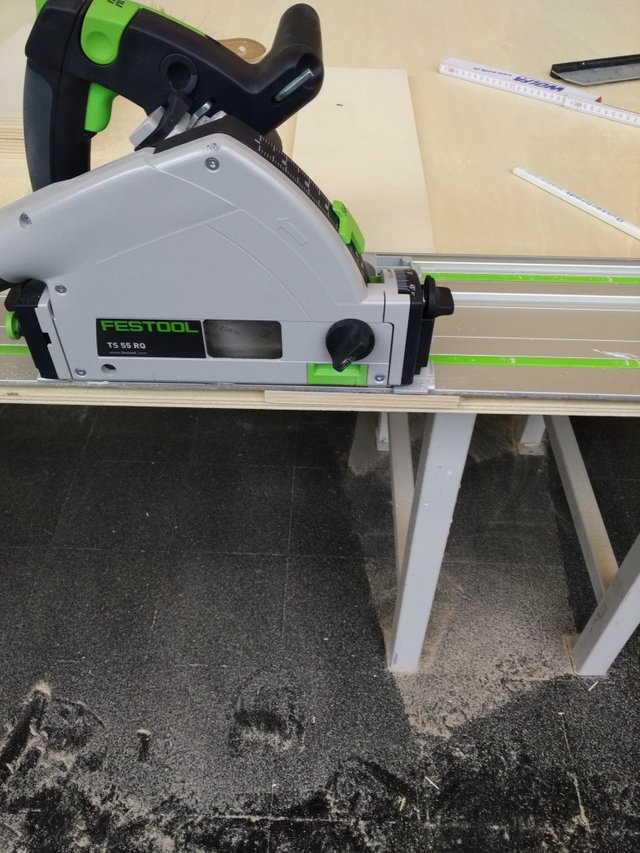
Der Zuschnitt
Als erstes mal wieder der Zuschnitt. Hier beginnen wir mit den Holzwürfeln.
Als nächstes die Grundplatte (Trägerplatte)
Die Montage
Vor der Montage werden alle Klötze angeschliffen.
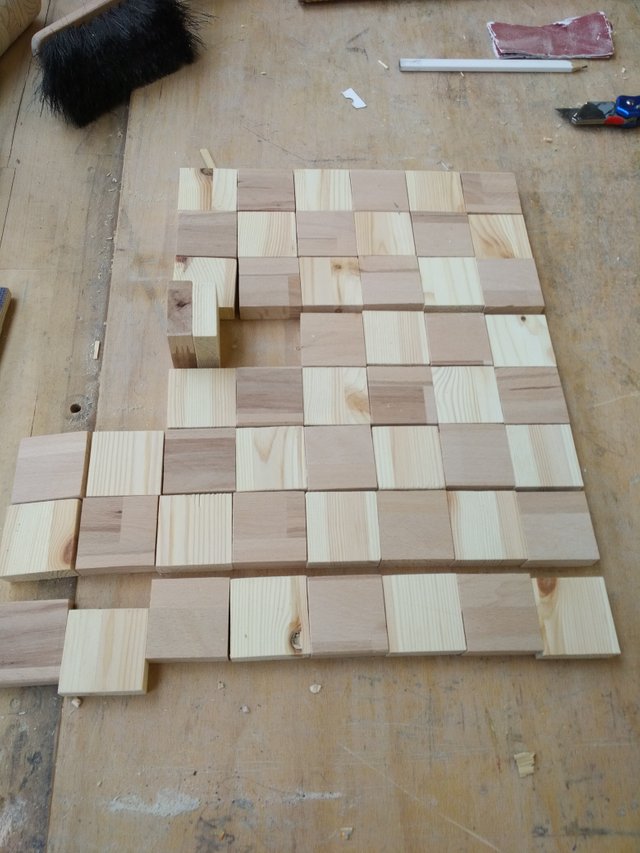
Vor der Montage haben wir die Klötze "trocken" ausgelegt.
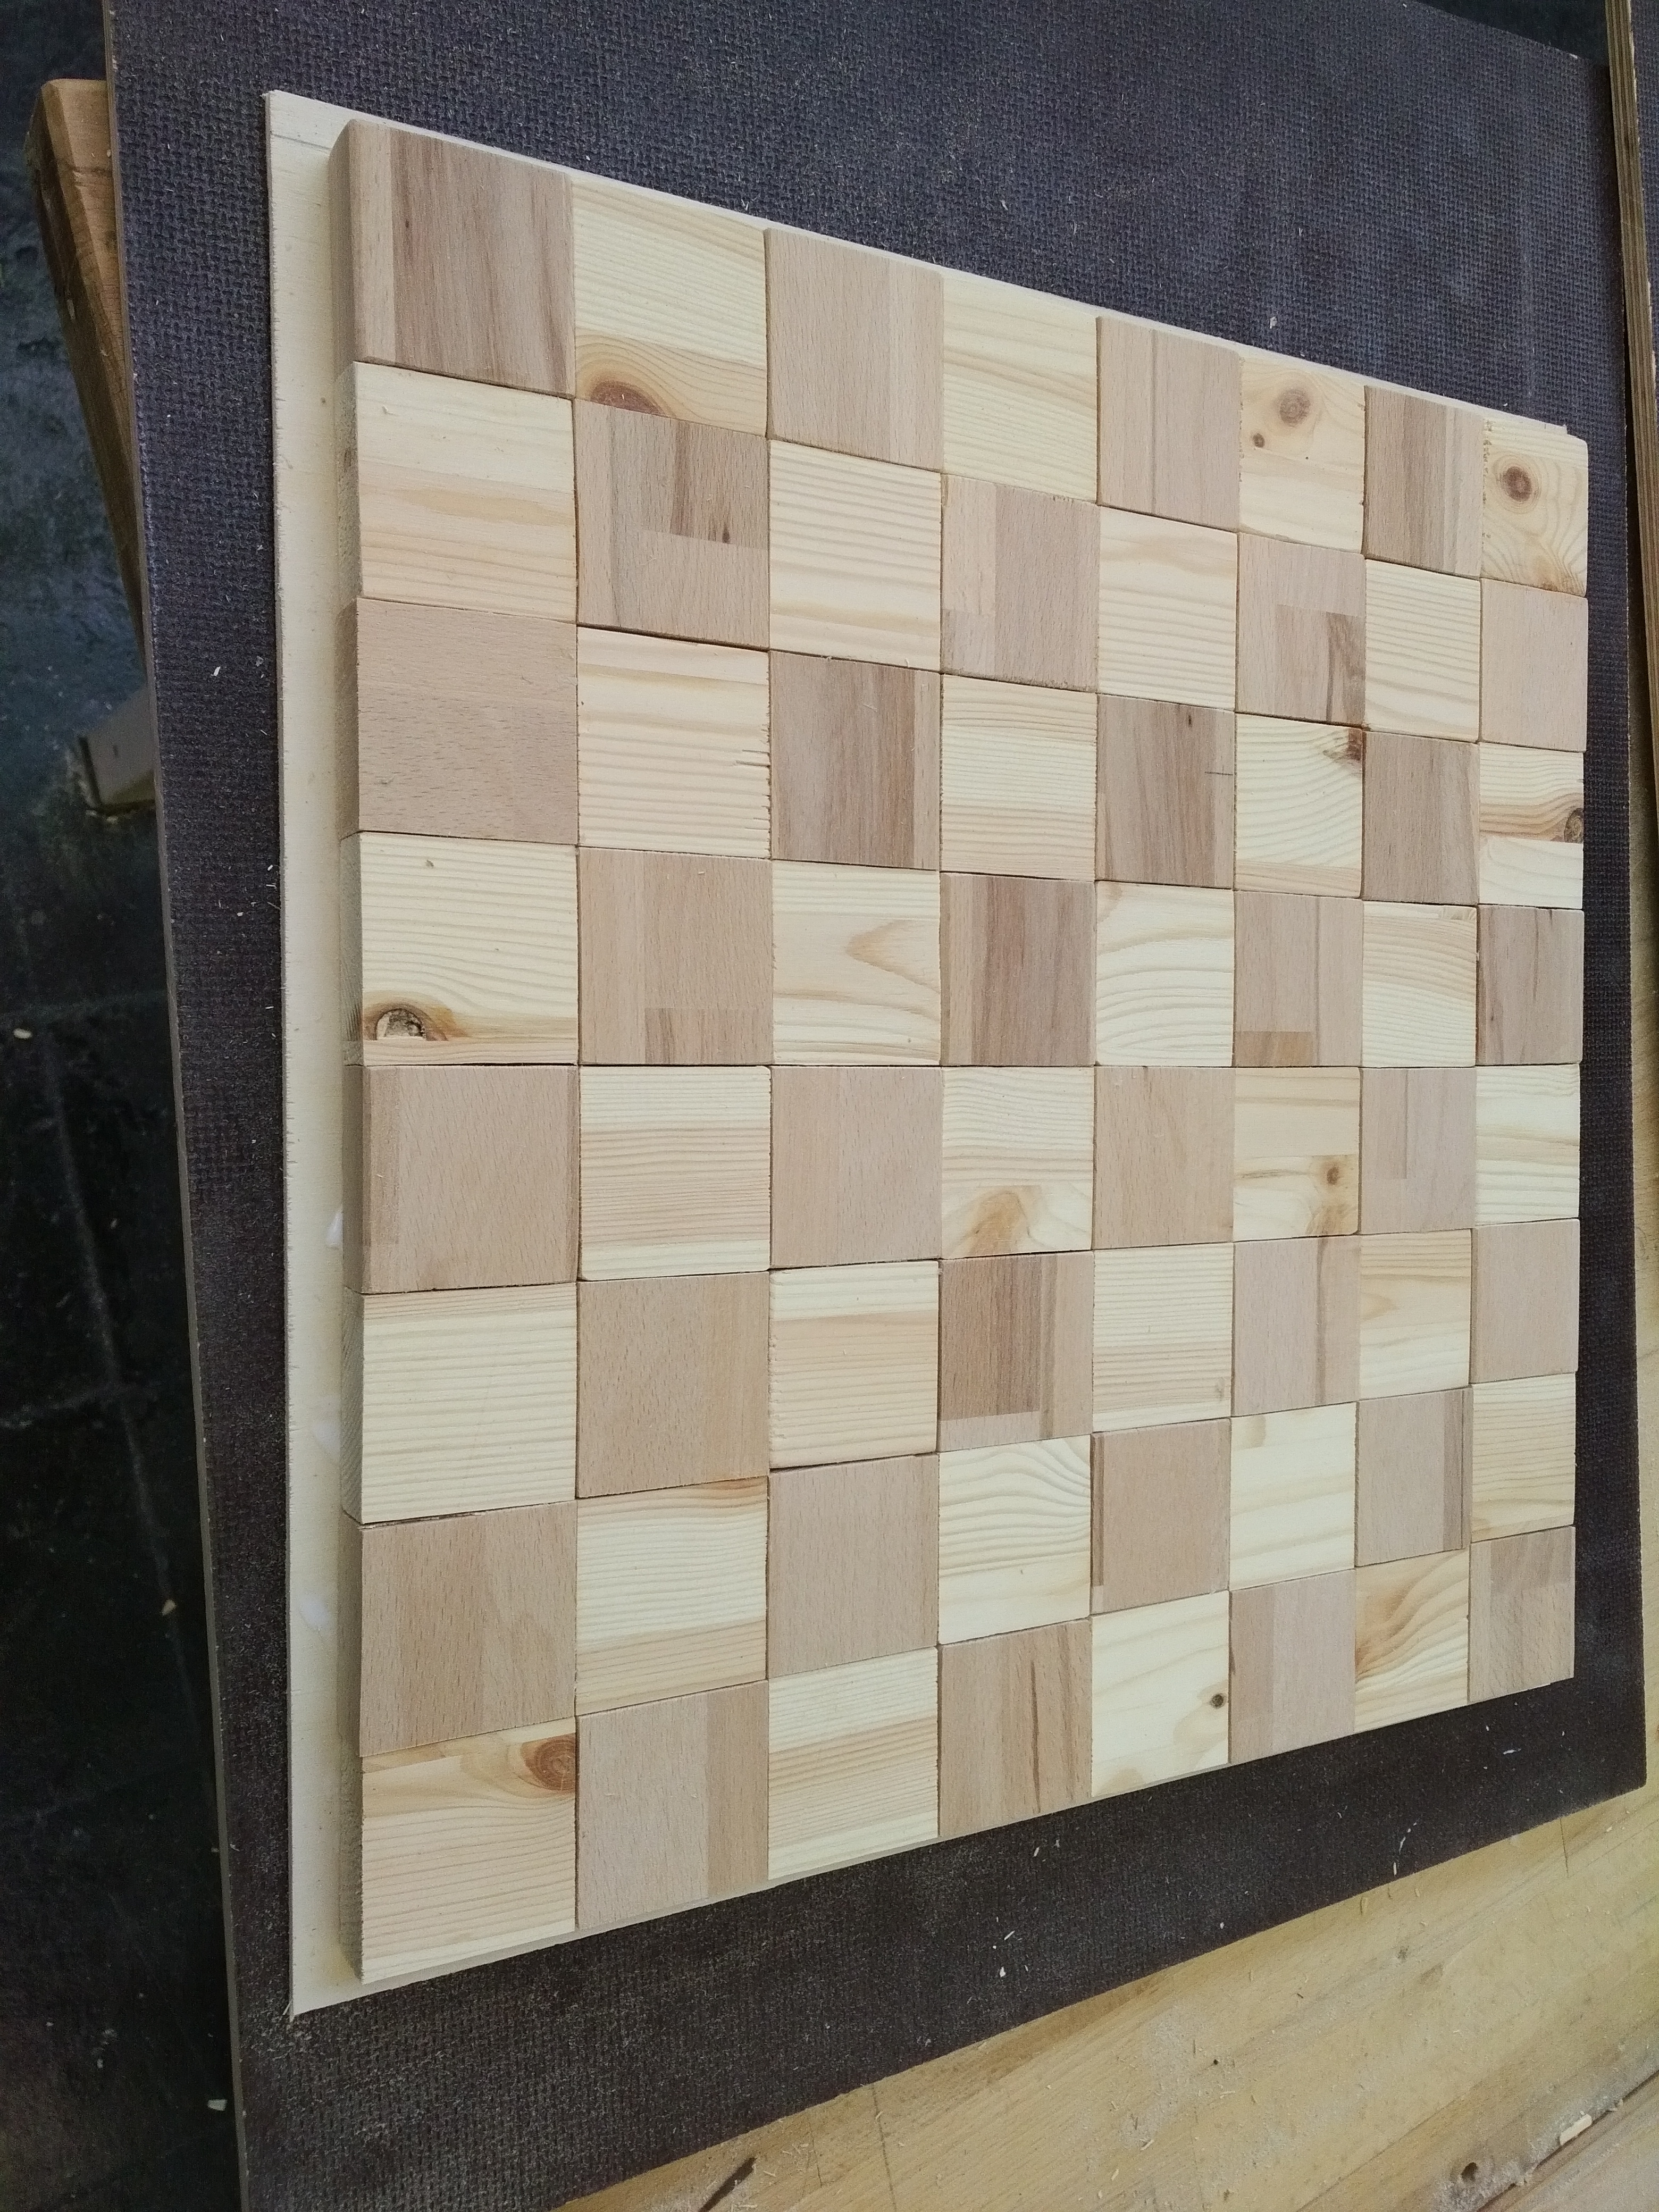
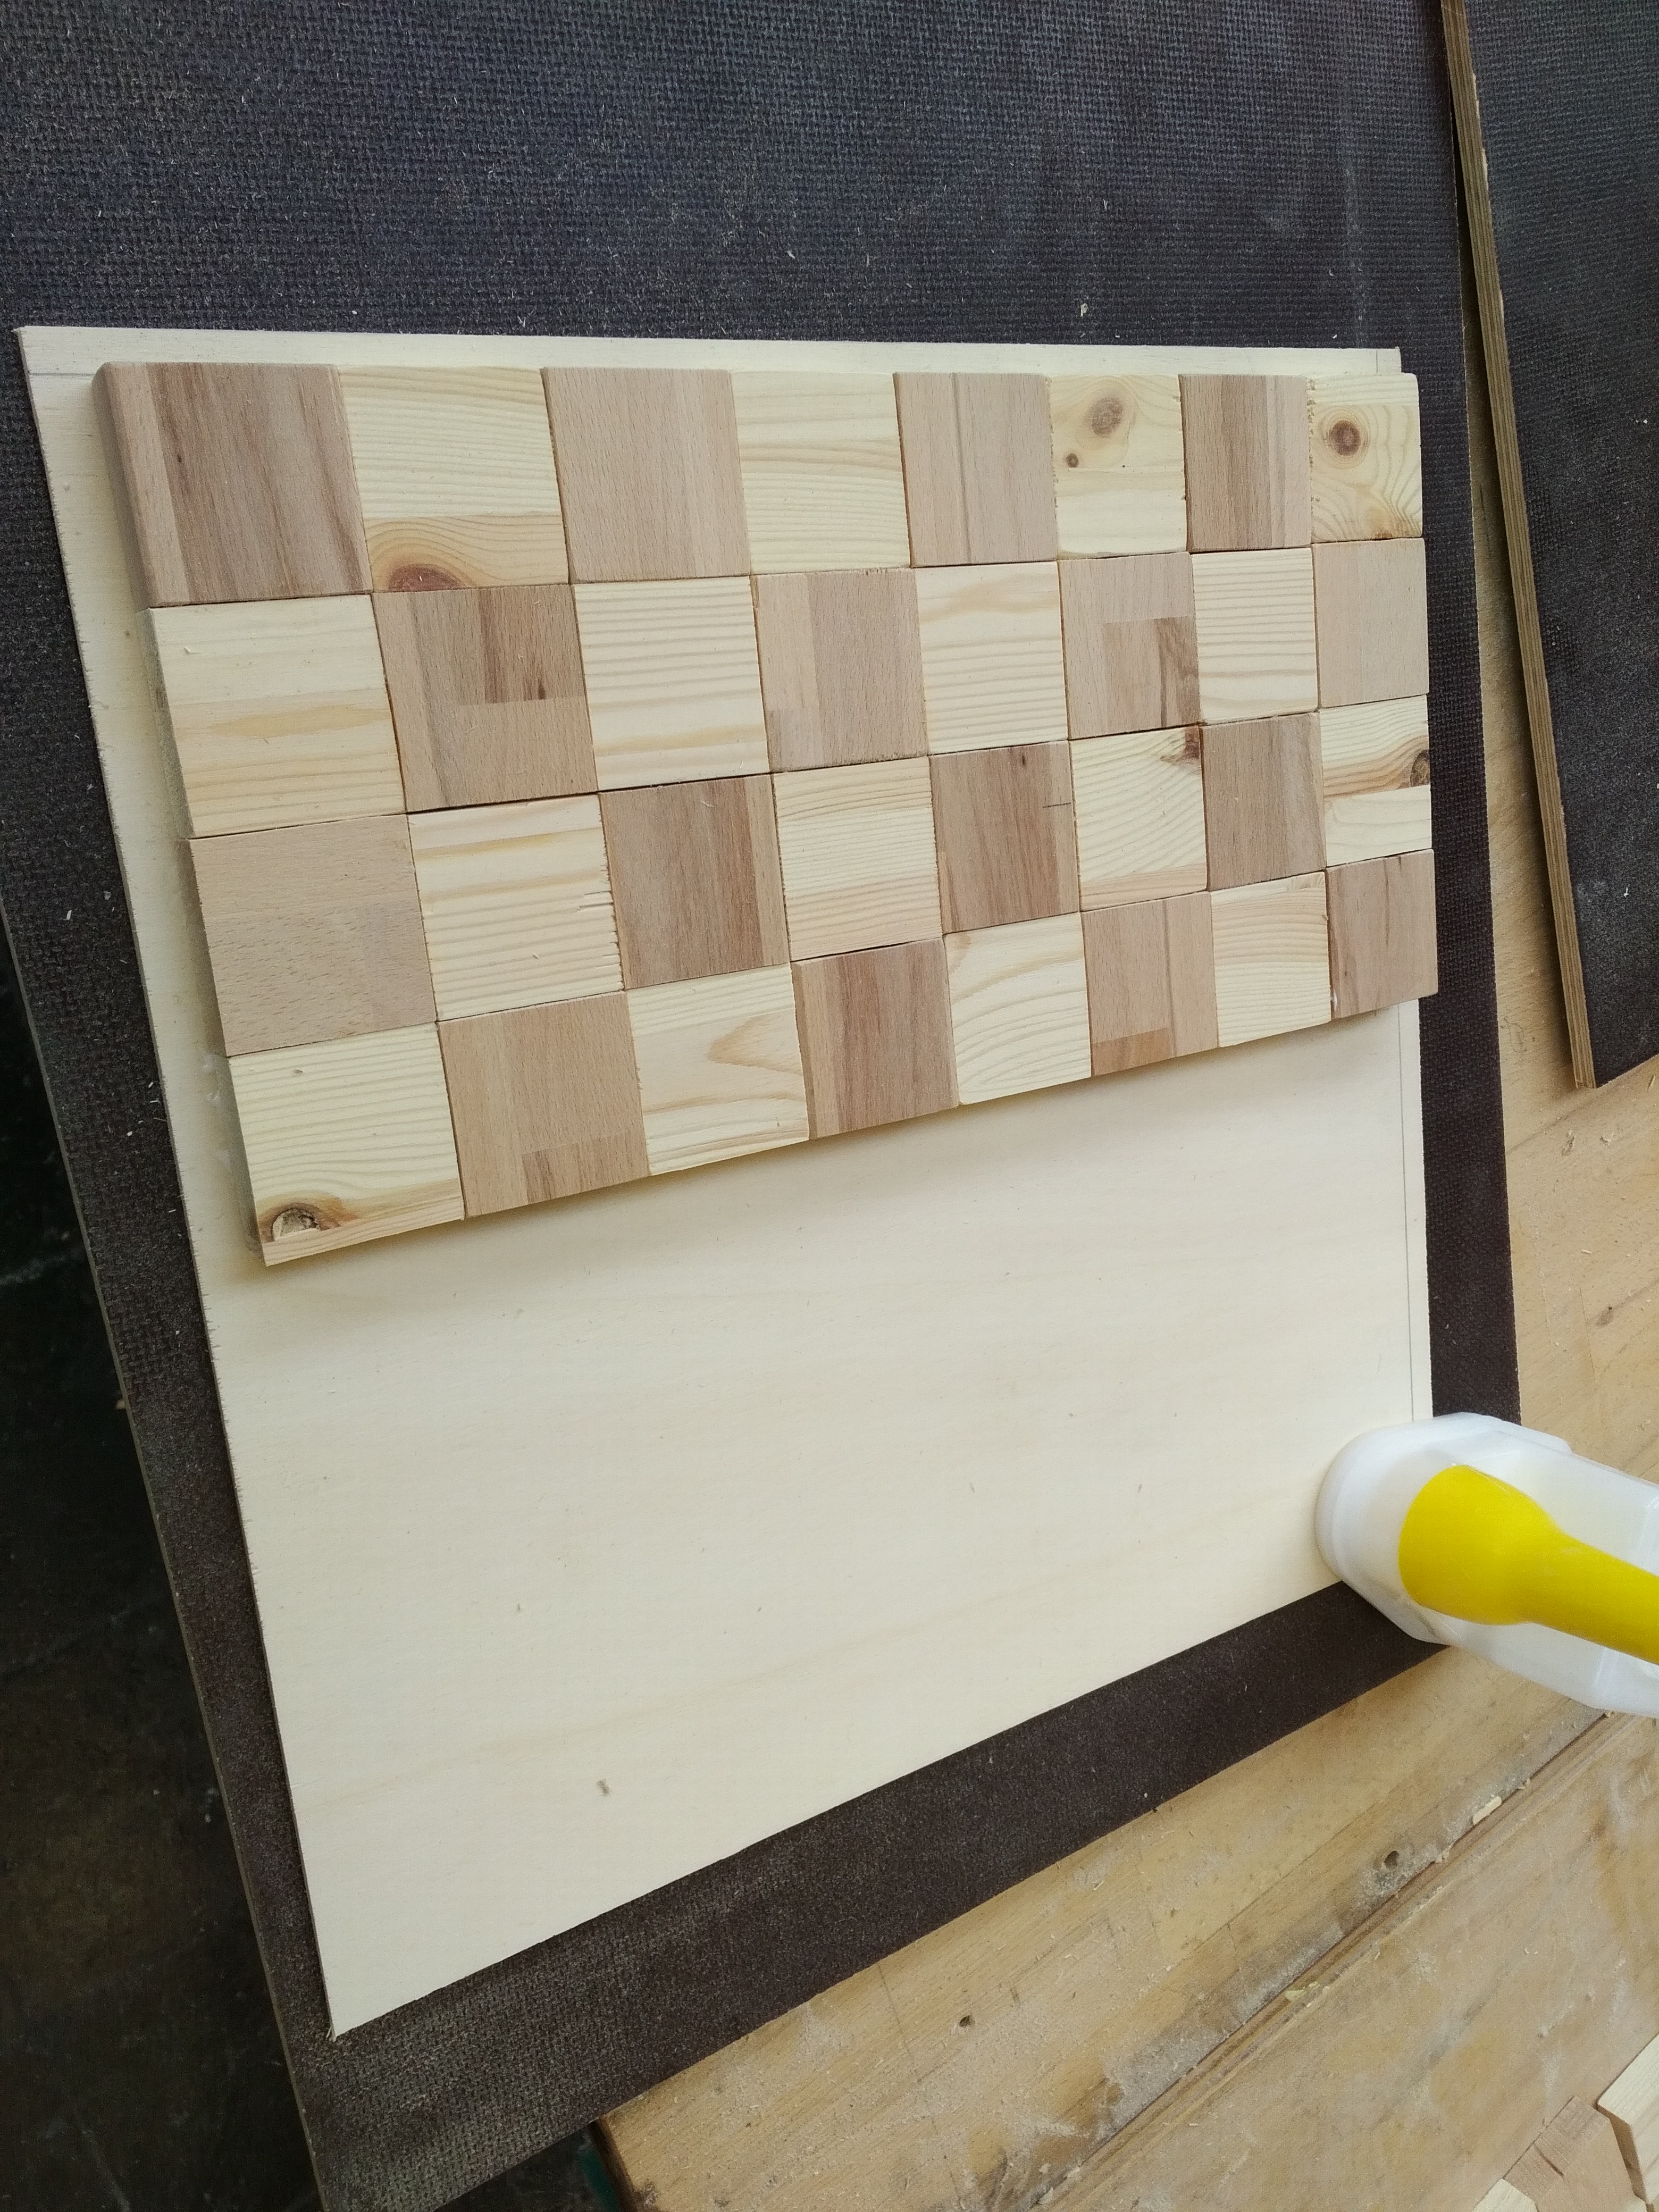
Und anschließend mit der Trägerplatte verklebt
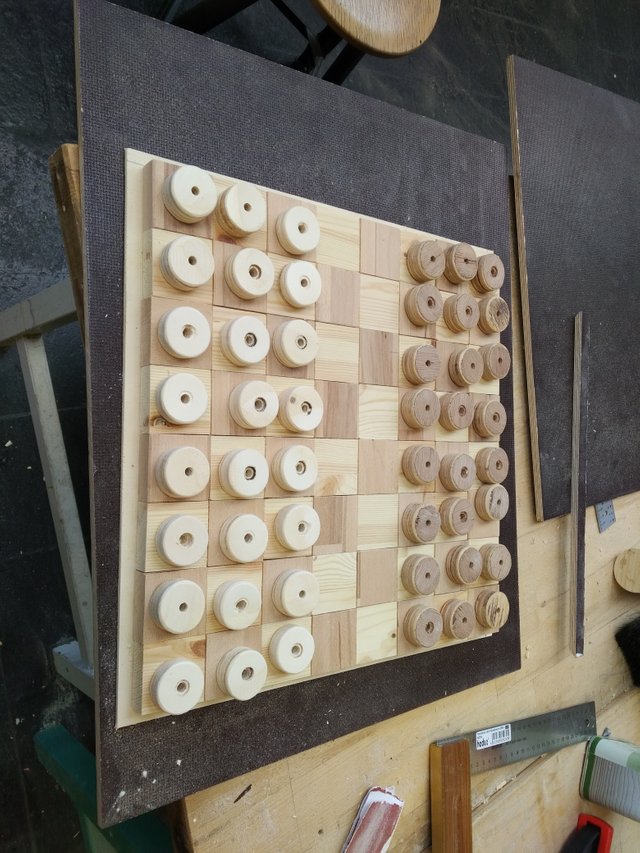
Hier das Ergebniss, vor der Montage in den Tisch
Nun viel Spaß bein werkeln
euer Bastler und Co. Team
Danke für eure Unterstützung
A chess table is created ;-) (Part 1)
Recently, @fsherberg put a picture with wooden blocks and asked the question: What will that be?
Here is a part of the answer. It will be a chess table, but first here is the chessboard.
Material and tools
Material
We used 20 mm beech and pine as the main material of laminated wood. the carrier is plywood 5 mm. For gluing we use white glue.
- wooden cubes 50 mm x 50 mm
- Support plate 420 mm x 420 mm
Tool
- Table saw or handsaw
- Sandpaper 80 to 240
We do not need more :-)
the procedure
The cut
The first cut again. Here we start with the wooden cubes.
Next, the base plate (support plate)
The installation
Before assembly, all blocks are sanded.
Before assembly, we designed the blocks "dry".
And then glued to the carrier plate
Here's the result, before mounting in the table
Have fun!
your Bastler and Co. team
Thank you for your support

We have a woodworking community here on steemit and would welcome you. We have a discord channel, link here: Woodworking on Steem Discord Channel