[Unity Game Development Tutorial: 7] - Coding Lesson 3 - Code based texture creation - Mandelbrot Set
In this coding based lesson I am going to create a very simple Mandlebrot set displaying code. It will create a texture of a size you indicate, and it will put the texture on a plane. If there is interest and votes for this project I may continue this project and add a UI and zooming via mouse at a later date.

If you missed previous coding tutorial examples:
[Unity Game Development Tutorial: 2] - The basics - An Intro to Unity - Layout, Non-Coder, Coder
[Unity Game Development Tutorial: 4] - Coding Education Speed Boost - Coding Lesson 1 - also my naming conventions
[Unity Game Development Tutorial: 6] - Coding Lesson 2 - Some of those things you learn over time
Requirements: this lesson uses default unity with no imported assets.
Setting up
We need to setup a plane in the scene, and a material that we will end up attaching our texture to. We are going to actually put the code for this project on the plane itself. To manipulate the settings and such in this tutorial you will need to change the values in the inspector for the plane. I'll consider adding a UI and zooming in another tutorial if this one generates enough interest.
Setup Steps:
- Create a plane in the scene
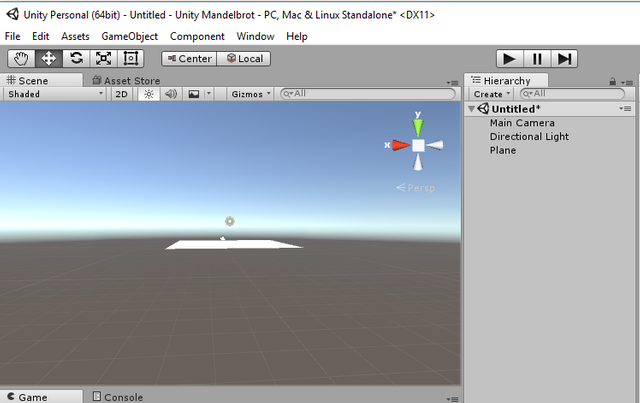
- Rotate the plane -90 degrees on the X axis
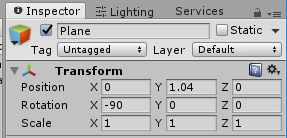
- Scale the plane in the x and Z axis until it appears the size you want your mandelbrot display area in the game view (in mine I scaled x and z to 1.14)

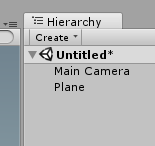
- Remove the directional light from the hierarchy it is not needed
- Create a new material and set it to shader type Unlit/Texture

- Drag the UnlitShader onto the Plane
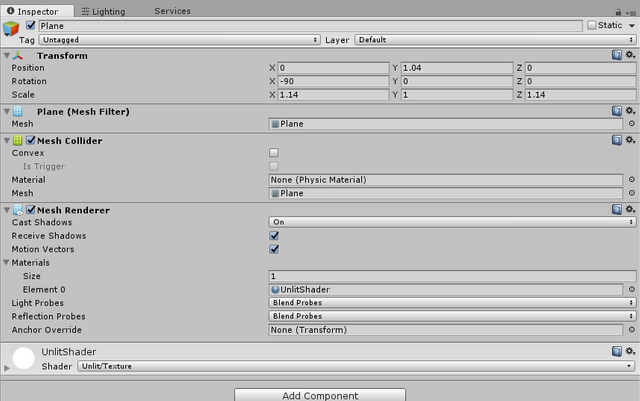
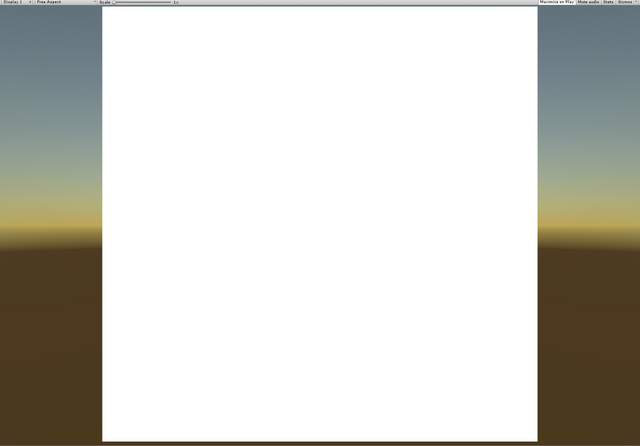
The basic setup is now in place. The rest will be creating the code and dragging that onto the plane.
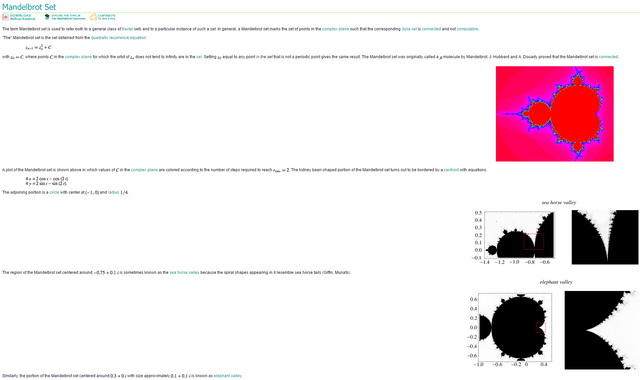
Resources if you are unfamiliar with the Mandlebrot Set
I am no mathematician though I do have a very strong fascination with fractals and the mandelbrot set. If you want to know more about these mysterious equations and how they work, where they come from, and deep dive into the mathematics behind them here are a few links for you to explore.
Wikipedia entry
Wolfram MathWorld
Ask A Nerd: The Mandelbrot Set
Getting into the Code
Create a script called Mandelbrot and drag it onto the plane. We will begin manipulating and building that script now.
We are going to set some values on the script as public. It is important to know what these values represent. We will be setting them all to double floats. We do this so that we have more floating point precision. This enables us to zoom in further than if we just used floats. In fact, zooming is only limited by floating point precision. You could code your own math library to take the floating point precision much higher and it would enable much further zooming. Such a math library would be manufacturing data types rather than using ones the CPU and GPUs can natively work with so it would slow down the image rendering speed a lot, but you could go deeper in terms of zooms.
Variables:
dfXStart = X corner starting position in terms of mathematical quadrants.
dfXEnd = X corner ending position in terms of mathematical quadrants.
dfYStart = Y corner starting position in terms of mathematical quadrants.
dfYEnd = Y corner ending position in terms of mathematical quadrants.
dfEscapValue = Escape Value for when the mandelbrot function assumes success. Color is determined by how many iteration it took to escape. This is also sometimes called the flee value. If it does not escape then we assign it a fixed color. The black bulbous mandelbrot shape is typically representative of values that did not escape.
nMaxIterations = this is the number of iterations (repeated calls to the mathematical function) that will occur before it is considered that the value did not escape. The lower this number is the faster it will render, the larger it is the slower it will render, but the detail will be more precise.
nTextureSize = this is the size in pixels of the texture we are going to use to render the mandelbrot. The larger the texture the more detail the mandelbrot will have. Essentially we compute the amount of iterations it takes for the function to escape for every pixel coordinate. This means it will render faster if the texture is smaller, but you will have very low detail. The higher the texture the longer it will take but the detail will be much higher. I do not recommend going any higher than 4096 for texture size, and any lower than 64.
Let's add those variables to our code:
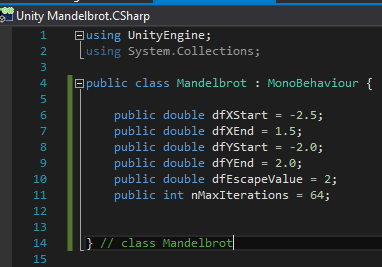
The values here are standard values that are known to work. Those coordinate values for X,Y are the region known to contain the outer most mandelbrot set. To zoom in all you do is move those coordinates closer to each other and rerender.
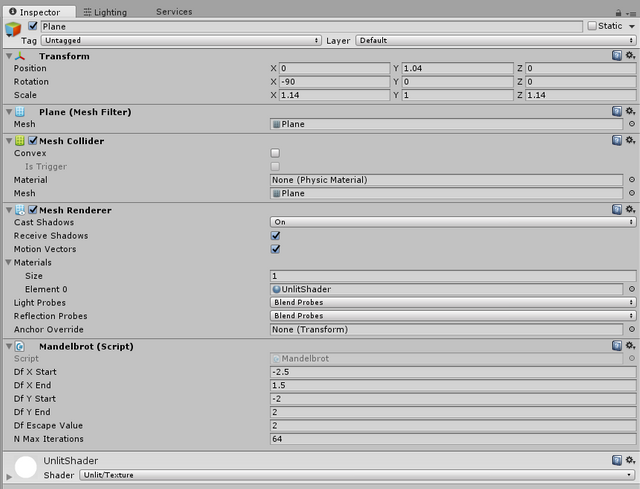
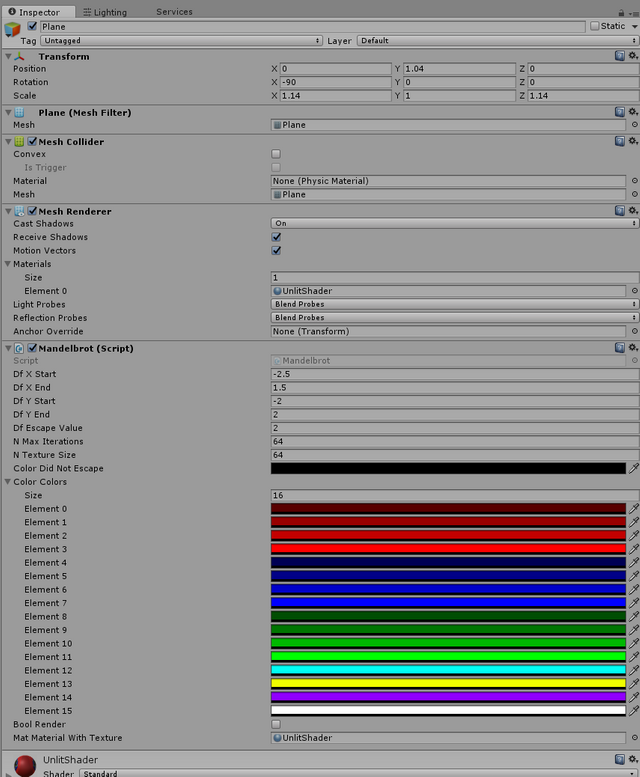
Here is what it should look like in the inspector.
We need some colors. Mandelbrot sets do not work too well without color. I approach color a little differently when setting this up in Unity than from the past. In the past when using 16 colors one of those colors would be the value used when it fails to escape. It could also occur at other locations if the amount of iterations exceeded the amount of colors. So what we are going to do with Unity is setup a color palette and NOT include the color we want to use when it fails to escape. We are going to set our failure color to something different.
To do this we are going to setup one public Color variable for the failure to escape, and then we will do the rest of our colors as a color array. This will make it so the color combinations can visually be chosen and tweaked.
Here is that simple modification to the code:
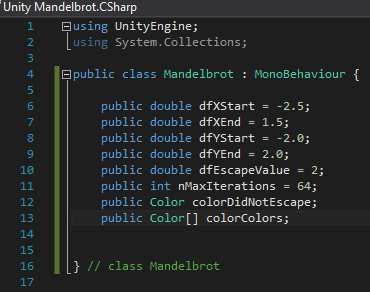
Now in the inspector let's set the did not escape value to black, 0,0,0 as the color values.
Let's then set the colors array to 16 and make 16 colors. You can use the same values as me or you can choose your own.
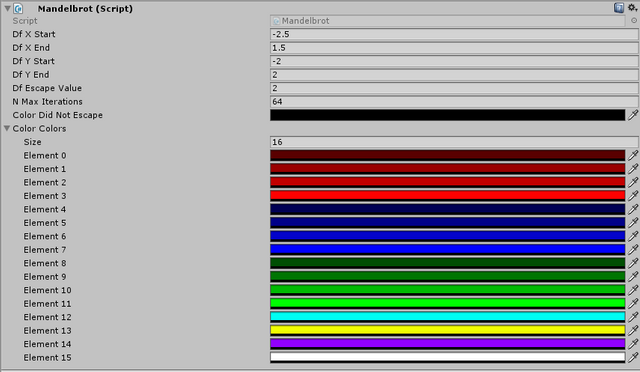
My 16 color values are as follows if you choose to use them. You can also simply eyeball it and guess, or you can choose completely different colors. It does not matter. The colors you choose can make for very interesting images.
Colors in hex:
- 59000000
- 99000000
- C3000000
- FF000000
- 00005400
- 01018800
- 0202CA00
- 0000FF00
- 004E0300
- 00760100
- 00B90100
- 00FF0200
- 00FFF400
- F0FF0000
- 9100FF00
- FFFFFF00
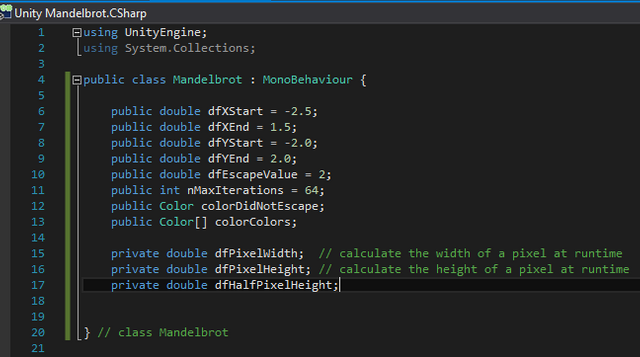
We need some private variables
The coordinates for the function are determines by dividing the distance between the start and end coordinates by the size of the texture. This can be used to determine the coordinate of each pixel in terms of the mathematical function.
We will need some private variables that contain these computed offsets per pixel. We will also need to know what half of that is for the Y coordinate since that is used in the mathematical function. Calculating it once early on will reduce the number of repeated divide by two computations required during execution. It is a simple optimization that might speed things up just a little bit.
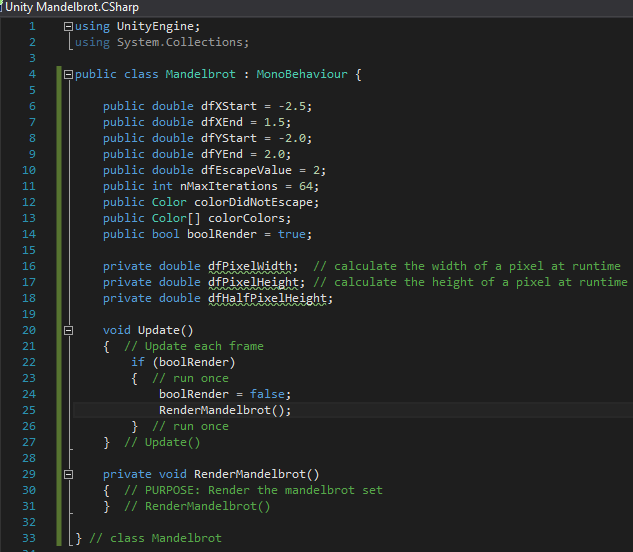
Now let's add a boolean value that can be toggled each time we change values in the inspector so that it will rerender the mandelbrot based upon new settings. We will use an Update() event which fires every frame that has one simple task. It will see if that boolean is true. If it is true it will set the boolean to false and will call our RenderMandelbrot() method. This way in the future you can tweak values in the inspector and check the box for the boolean again and it will trigger another render based upon the new settings.
At the top of the function let's add a material public variable to hold a reference to the shader. Then drag the UnlitShader we created earlier into that slot.

We are going to need a function to calculate the absolute value of double floating point numbers. That is an easy method to create.

Now let's create the method that actually builds and draws the mandelbrot.
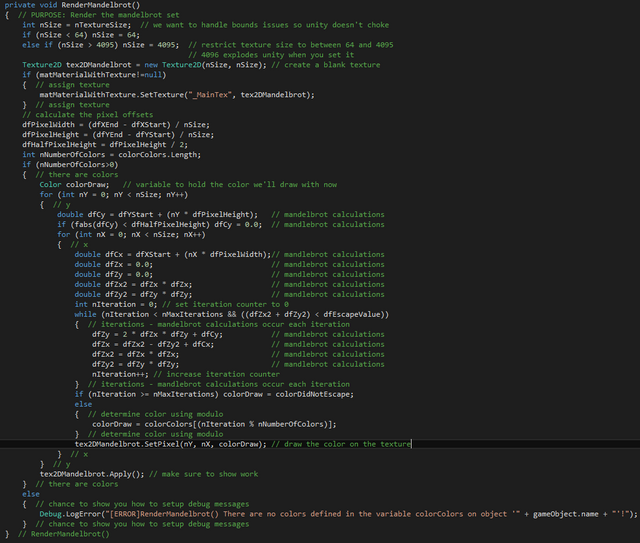
I added some comments into that code for your benefit. It has a debugging example as well if you have never sent a debug message in Unity before.
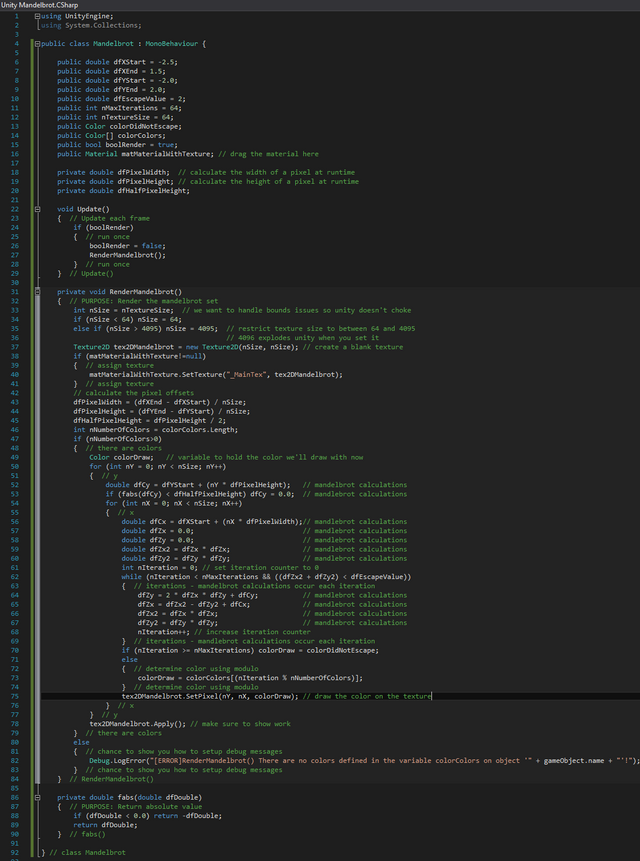
Here is all of the code in this tutorial at once:
Trying it Out
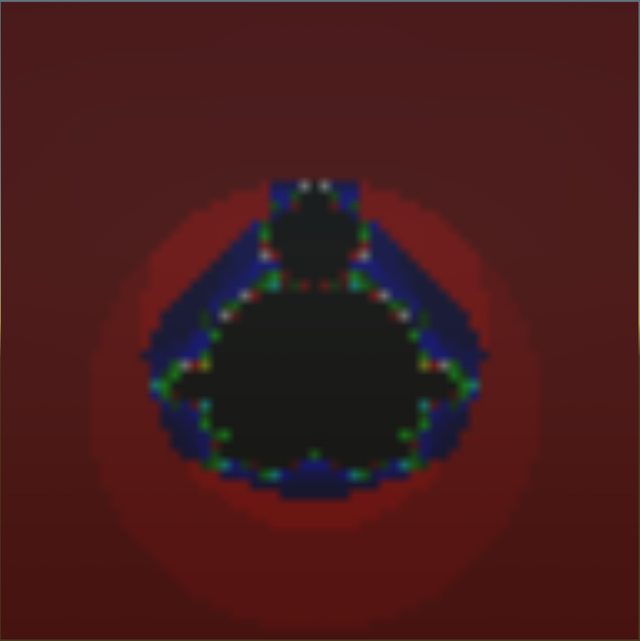
That is not very exciting... Ugh, it's kind of ugly. Don't fret... I intentionally did this to teach you some of the neat things you can do with the settings for the mandelbrot set. We are actually done with the coding. At this point it is simply a matter of tweaking values...
Let's play around with the values and pretty quickly we'll have some beautiful images
This does not quite look like we'd expect from the mandelbrot set. It is partially there, but parts are missing.
This is because the Escape Value is too low. Let's see what happens when we increase it gradually by 1 each render. We will do a screen for 3,4,5,6,7,8,9, and finally 10. You will see the shape begin to more closely resemble what you are used to seeing.
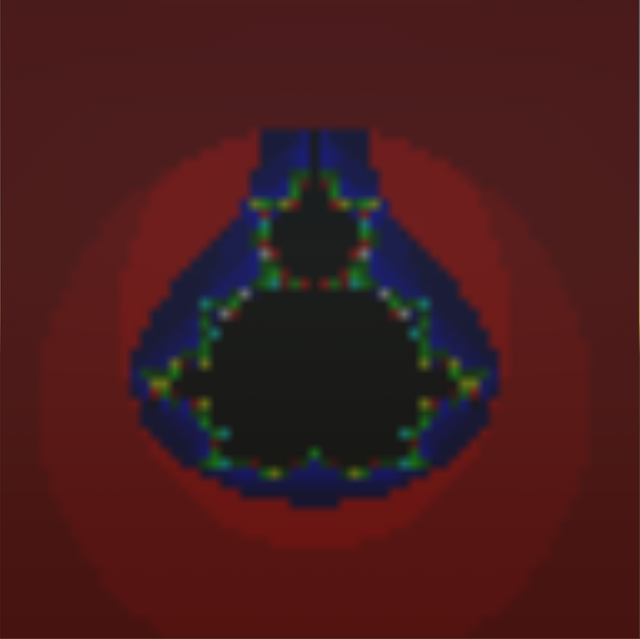
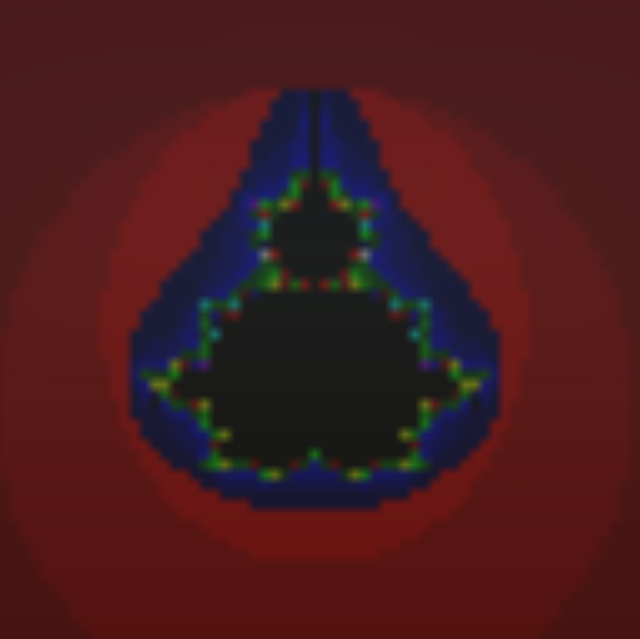
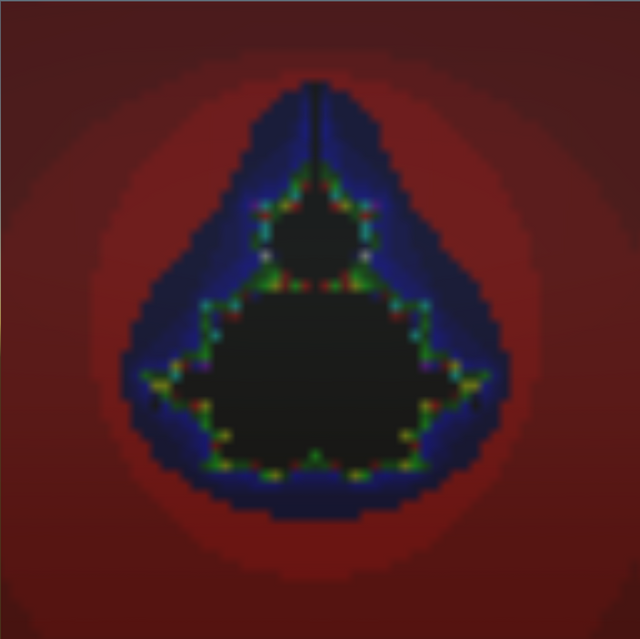
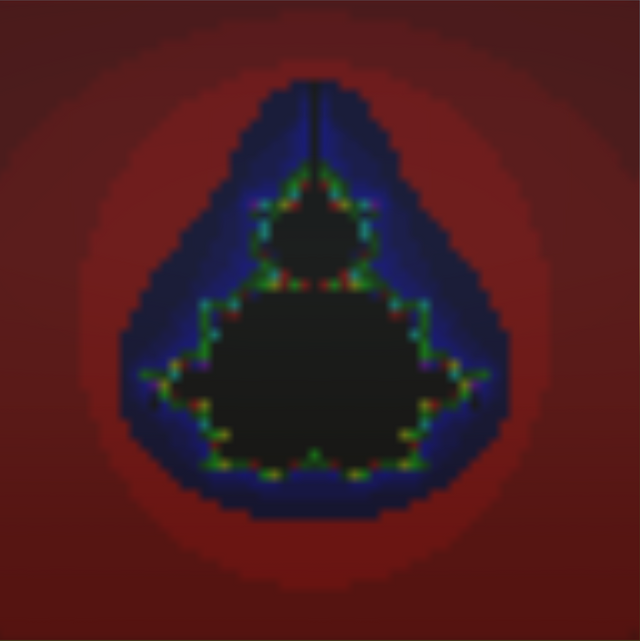
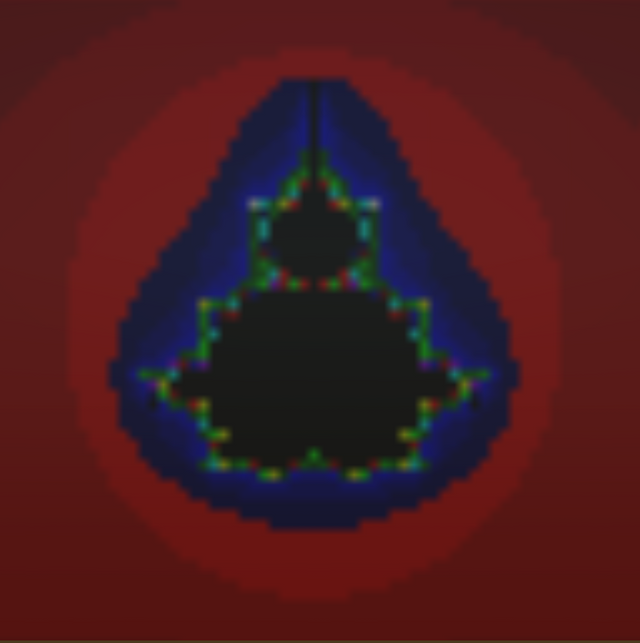
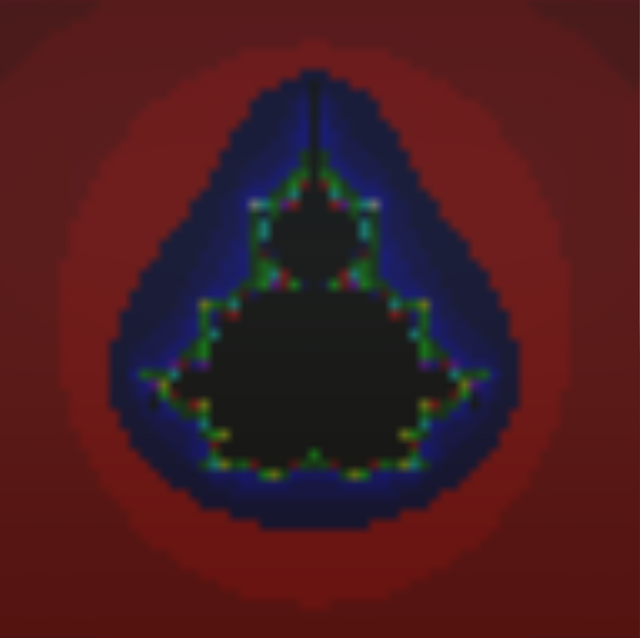
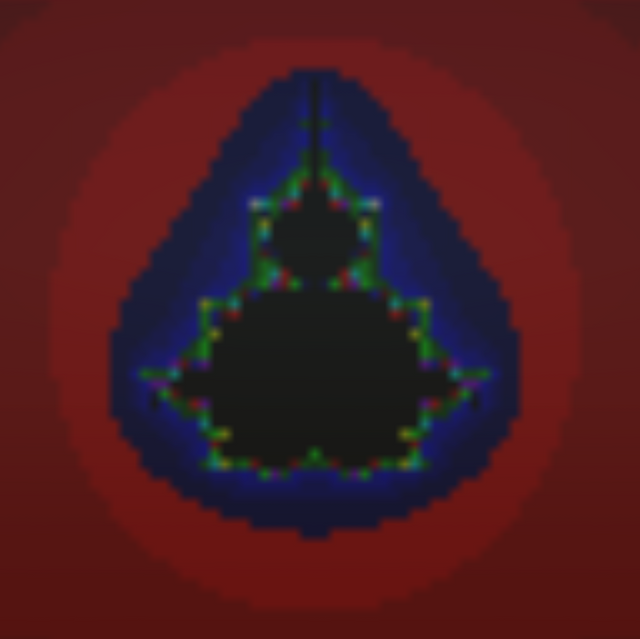
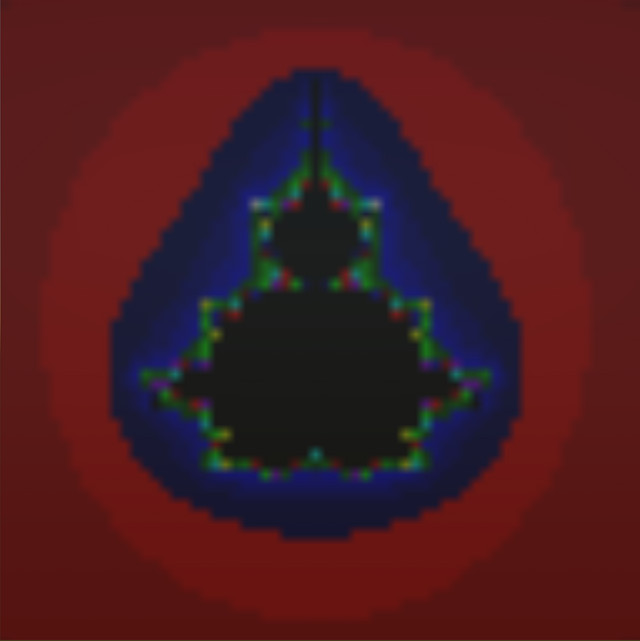
I've tortured you with blocky images for long enough
Let's gradually increase the resolution. We'll do 128, 256, 512, and 1024
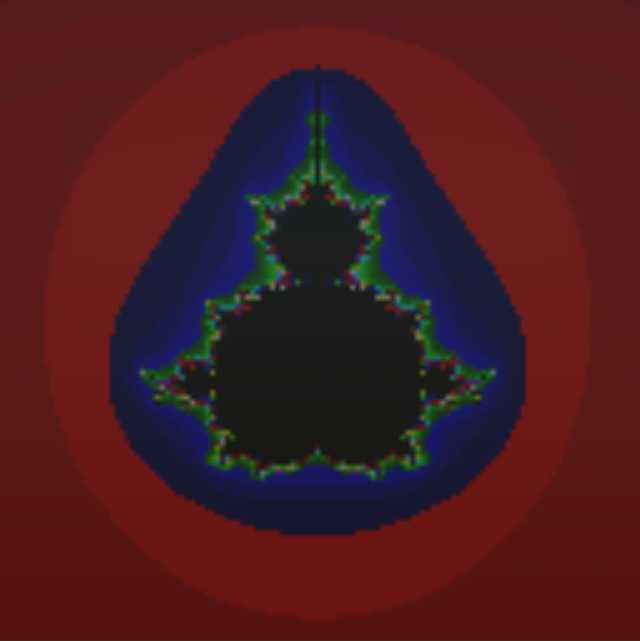
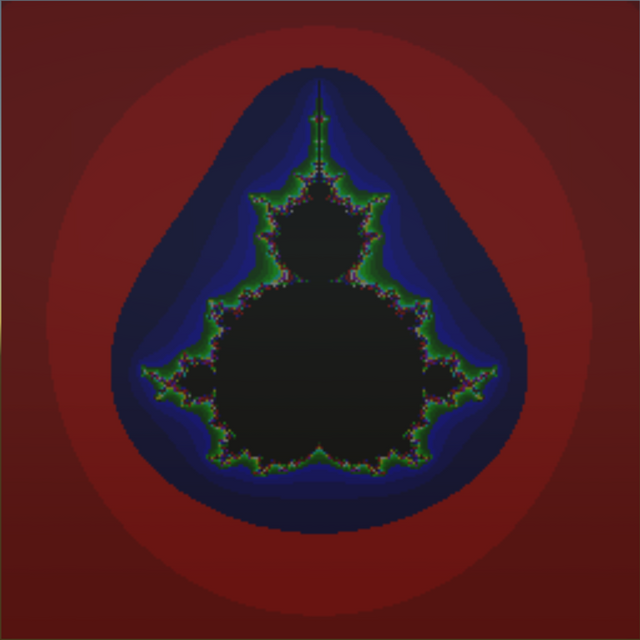
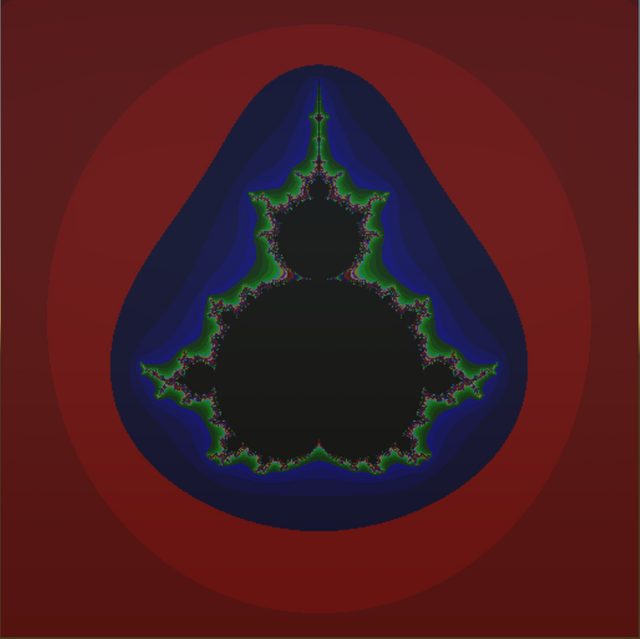
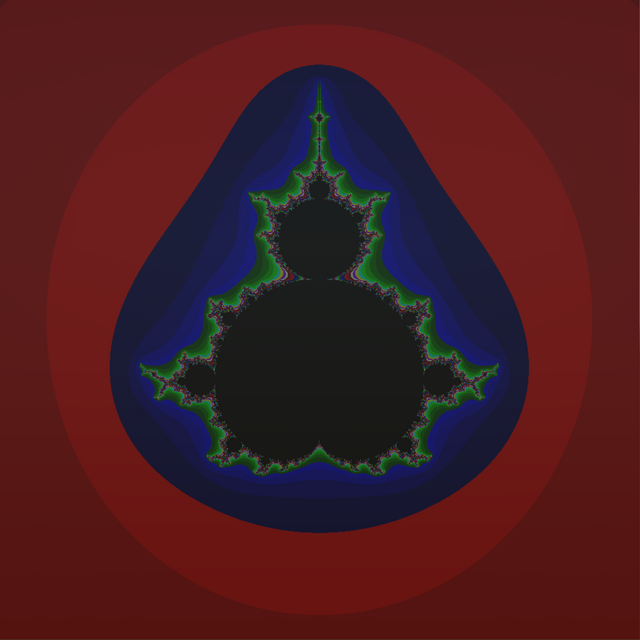
That is starting to look better. Yet we are still only using iterations.
Still one value to tweak
Now let's play with iterations. Let's take it to 128, 256, 512, and 1024 iterations like we did the texture size.
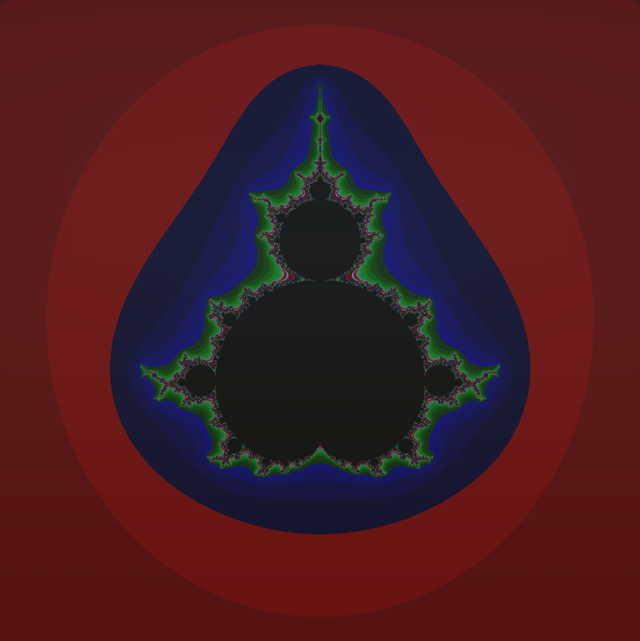
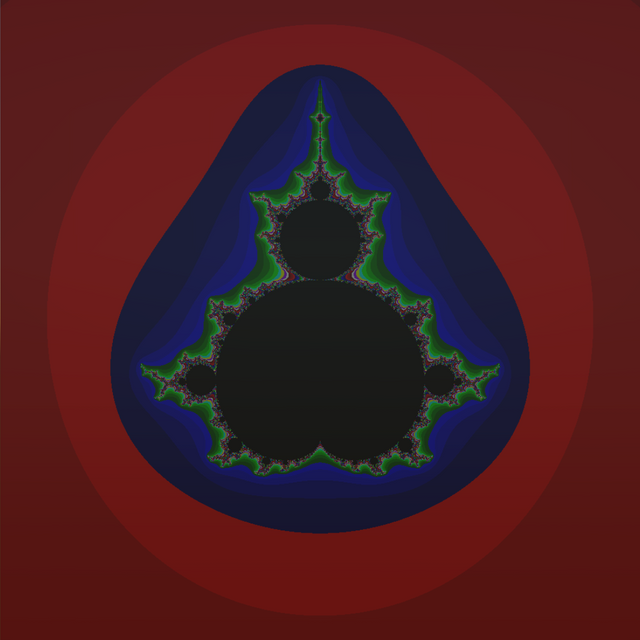
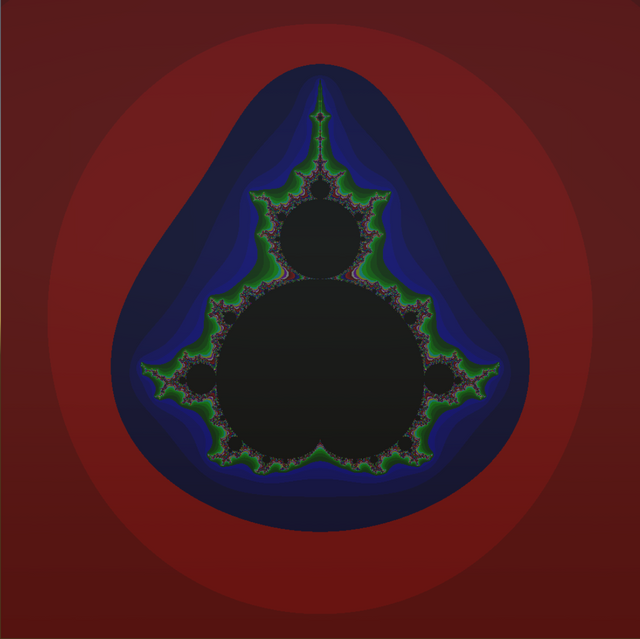
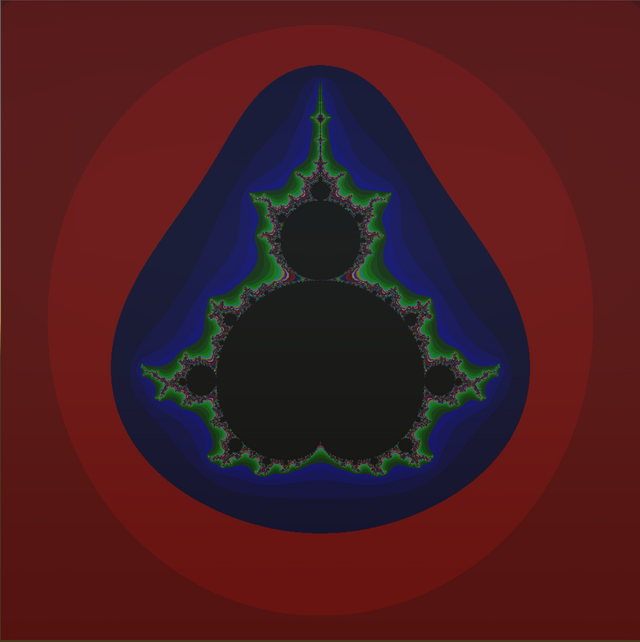
If you look you'll see it is getting more detailed with spikes extending into the bulbous areas and getting a more refined detail.
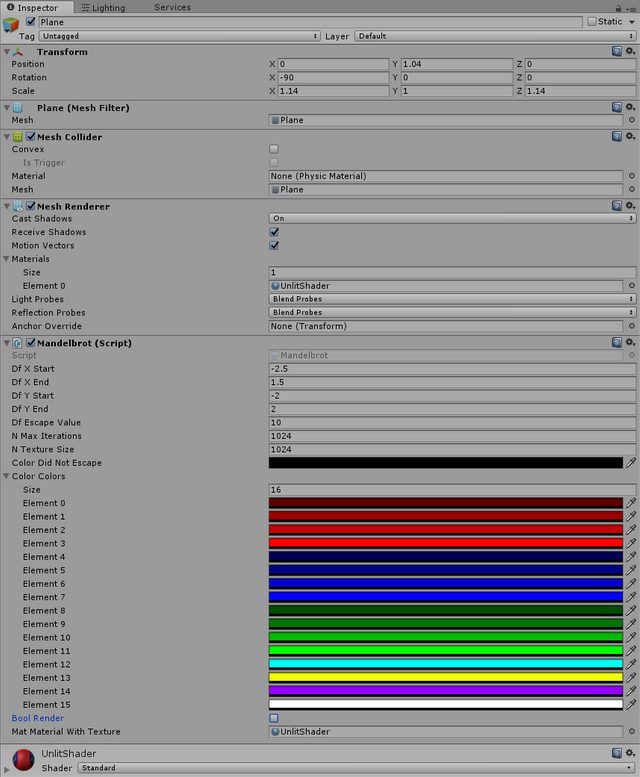
Here are the final inspector settings for that last image:
Extending it
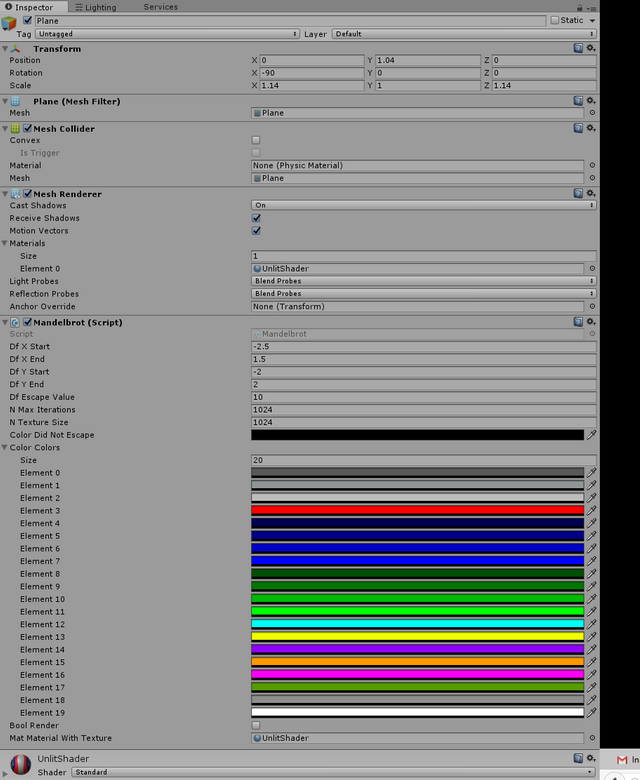
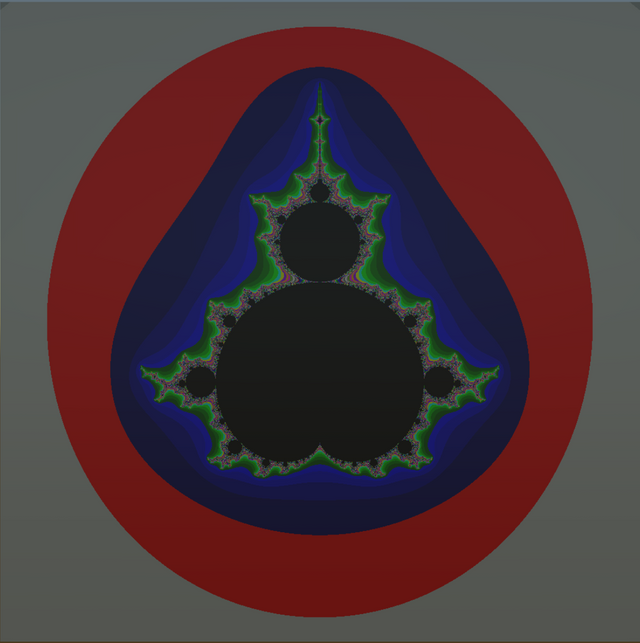
You can extend what this looks like by adding more colors and detail. The more colors you choose and the more spectacular you come up with them can result in some great images. I've seen awesome images with a lot of gray scale with islands of color. Playing around with this can become a very artistic discovery. I am going to add 4 more colors to the array and take one screenshot so you can see what it might look like. I am actually going to change most of the red colors to some grays too. I do this because when you have a lot of colors you really need to be able to zoom to get the full effect of all of the colors. If this tutorial does well I'll look at continuing it and adding some zooms. You can attempt to zoom yourself by playing around with the starting X,Y and ending X,Y coordinates.
Practical purposes for texture manipulation
This is all pretty cool, but you may be wondering what the practical purposes for this tutorial might be for making an actual game.
We just altered a texture at runtime. This means you could change via code ANY texture in the game at runtime if you wanted to.
This is commonly used when people use Perlin or Simplex noise functions to generate height maps for 3D terrain, or for other caustic cellular behavior.
If you've heard of the Game of Life you could code your own version of that driven solely by this texture manipulation.
Conclusion
This concludes this tutorial. If you found it useful or interesting please give it an up vote. It takes quite a bit of time and effort to put these together. At this point though there does seem to be an interest and I have a lot of this type of material I can write. I am sharing things with you that I have explored myself before. If these lessons keep going I might switch to actually building some things and doing those step by step. I want to exhaust some of the other miscellaneous interesting things first.
As always if you have questions or things you would like me to cover please ask in the comment section.
Thank you for your time... Happy Game Developing... Happy Steeming!
If any of you try this out with different colors and get some nice combinations I'd love to see those colors.