[Unity Game Development Tutorial: 2] - The basics - An Intro to Unity - Layout, Non-Coder, Coder
Now that I know there is interest this will begin tutorials on all things Unity and Game Development related. As long as I continue to see people have interest in these tutorials I will continue to make them. If you have a specific thing you would like to know about let me know. Otherwise I will be likely bounce around between asset store asset reviews, sources for free content, technical programming and how-tos, 2D, 3D, optimization, and any other thing that inspires me at the time. If you would like me to steer toward something specific you need to comment and let me know.
ASSETS: If I review an asset it will be one that I own. If I link to another tutorial or review it is likely because, I don't own it or I find the other tutorial or review to be worth sharing.
VIDEOS: I may make videos from time to time if I believe it is important. Otherwise most of my Unity material will be in the written form.
OTHER TUTORIALS: If I encounter other tutorials that cover a topic that is needed I may reference them and point you in the direction of that specific tutorial rather than redo what someone has already done a good job of. This will free me up to try and focus on things that may not have been covered very well, or if they are I am unaware of them.

Introduction
This is my introduction to Unity tutorial. I plan to focus on three different areas in this blog post. Layout of the Unity Editor, Playmaker and similar tools for non-coders, and some tips about coding in Unity for experienced programmers. I will likely reference some tutorials and videos made by other people within these sections as is relevant to being a more complete experience for you.
NOTE: This is an unusually long post because I wanted it to be useful for different skill levels. That means there is a lot of different material to cover.
Layout of the Unity Editor
Below is an image of my typical layout. I reduced the window size for this image to show how crammed it might be if you tried this on your monitor. This is NOT how I normally view it. You can setup the layout how you like. I will show you some basics and then I want to touch on some of the important areas here.
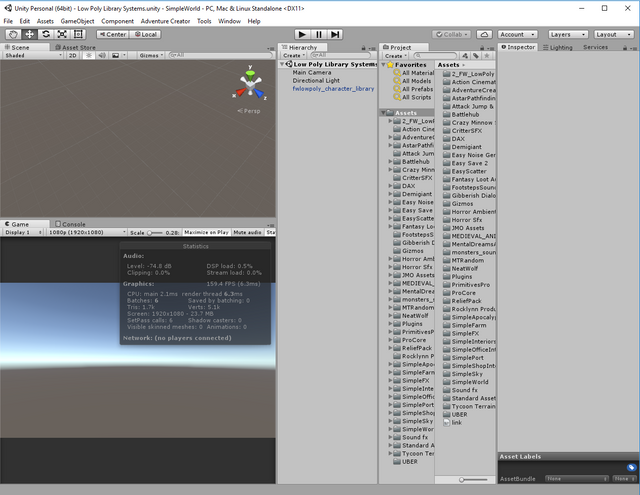
I tend to use a 4K 43" TV as my primary monitor for development. That enables me to instead make the layout look like this.
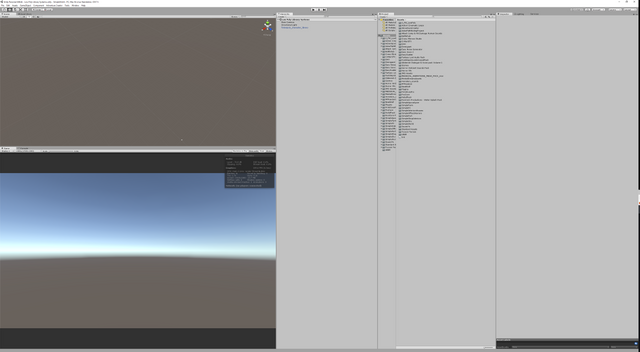
With a 4K resolution my actual game view can be set to 1080p in the lower right and I can also have a pretty big scene view above it. This is simply something I like. You should find what display you are most comfortable with.
To help you with that here is a great menu area to go to in order to select a base layout that you can then tweak to your liking.
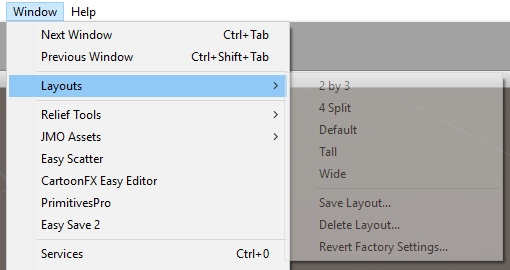
I am using a modified version of the 2 by 3 layout. You should play around with the layout options to find the one you like best.
If you see options and things in the windows that you do not have, I intentionally loaded a project I have that has quite a few assets already loaded in it so it more closely resembles what you might have when you are actually building a project.
The below is the Scene View.
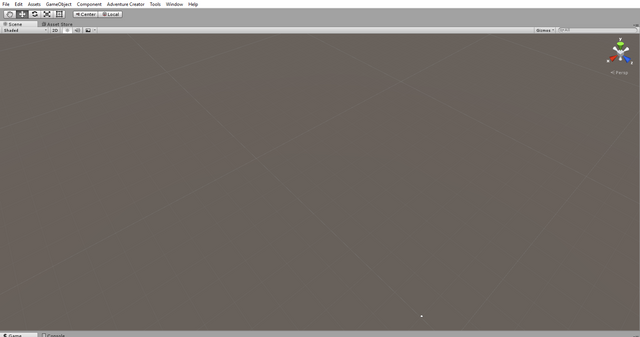
You manipulate the game view within this window. You place objects, rotate them, move them, delete them, etc. This is where you create the worlds.
The below is the Game View.
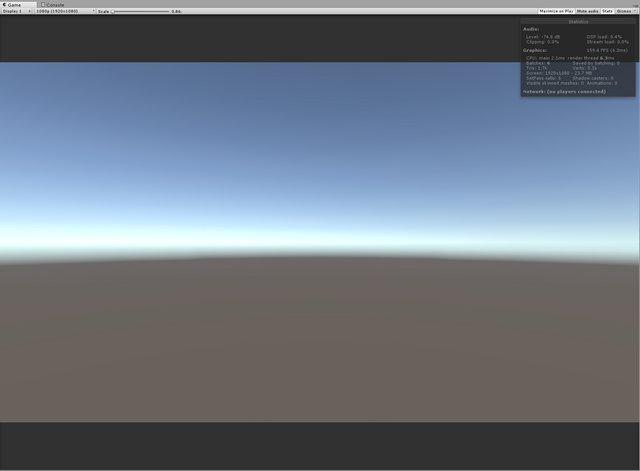
There are some interesting things I want to touch upon here that are useful for knowing at the outset of your Unity adventures.
I currently have the STATS button active so it is giving me information about FPS, Batches, and other useful statistics. These are important to keep an eye on as you develop so you can see if something you did adds a major frame hit in terms of performance. It is easier to fix if you catch it when it happened than it is to try to track it down later after you have done many things. I am certain this will be referenced by me in other tutorials, especially any that I am speaking about optimization.
I currently have the Maximize on Play selected. When I click the play button to test the game it will maximize the game view to take up the entire window minus the pause, play, stop buttons. If you want to play and don't want the other windows visible this is how you can do that. It is also useful if you wish to see what the difference in the stats are if you are playing in a higher resolution.
The last thing I am going to cover in the game view section in this tutorial is the resolution.
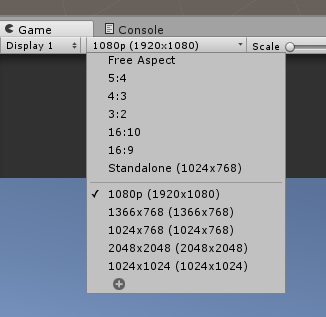
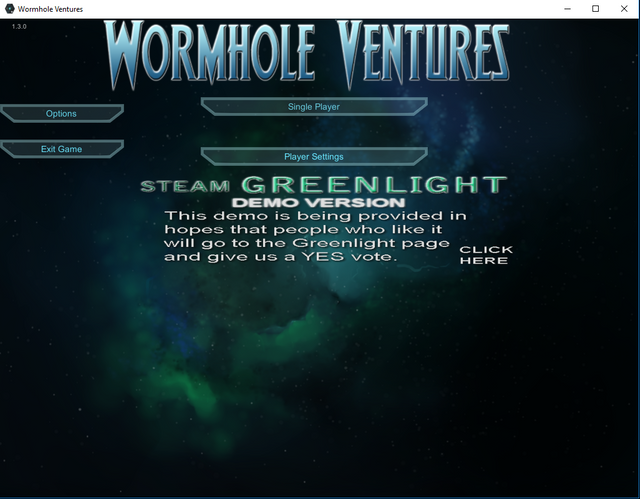
I currently have it set to 1920x1080 which I have called 1080p. I created this resolution as an option for inside the editor by clicking the plus symbol at the bottom of that menu. I highly advise you try out many resolutions and aspect ratios as you test your game. This is especially important for your UI as that may not look good or scale too well to a certain resolution or aspect ratio. Be sure to test the minimum resource you wish to support and all the way up through the maximum your monitor can handle. When you are done with those try the aspect ratios at the top of the menu. If you can get your display looking good in all of those aspect ratios it is highly likely it will look good on any monitor beyond the minimum resolution you test, even those of higher resolution that your own. I cannot over emphasize how important it is to test this. You will be in for some surprises if you don't. I can illustrate with two screenshots what can happen if you don't do this. (Yes, this is one of my past projects - I'm hoping you learn from my mistakes)
Good
Bad
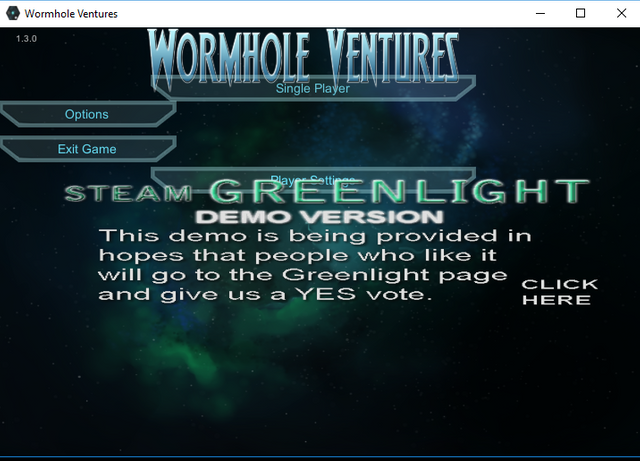
The below image is of the Hierarchy.
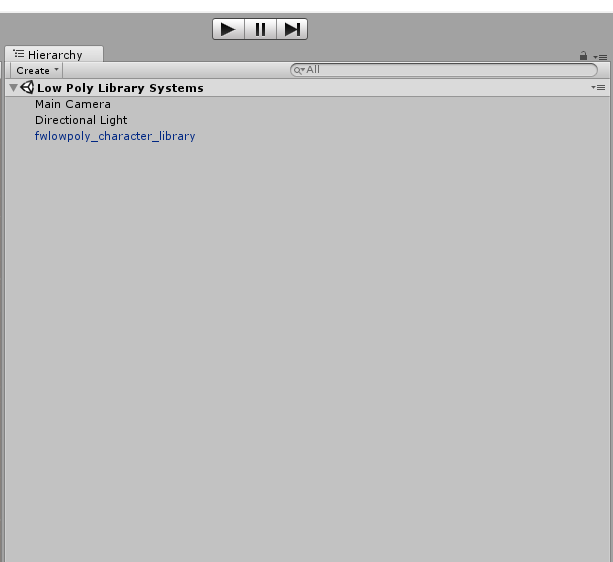
Anything that is active in the game exists within the hierarchy. If it is not somewhere in the hierarchy then it is not actually in the game. You can create new objects at runtime, yet they too are loaded into the hierarchy. When you destroy and object it is removed from the hierarchy. You can also select items by clicking on them in the hierarchy as opposed to having to move your camera around and find them in the scene view. You often will want to leave your scene view looking at a specific point when you are building a scene. Therefore, you need a way to select items without moving the scene view. You can do that via the hierarchy.
The below is a view of the Projects section.
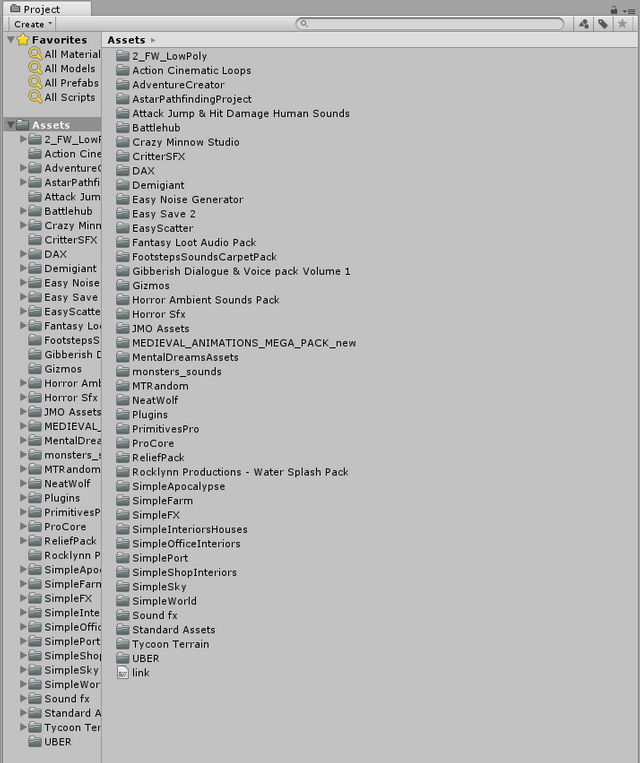
All of your scripts, sounds, models, textures, etc are in this location. This is where anything that you might possibly want to use within your project is stored. If those objects are not ever used by the game and they are not inside of a outer most folder called Resources then they will not be included with your game when you build it for release. It will only include things in the build that you actually use in scenes. If you have a Resources folder it will include anything in that folder whether you use it or not as this is a folder you can use to load and use resources as needed at runtime. I will cover that in another tutorial as that is primarily a scripting/programming related task.
Below is the Inspector tab.

It is currently blank because I do not have anything selected in the hierarchy. I will select each of the items from top to bottom in the hierarchy so you can see the three different screenshots of what happens in the inspector tab.
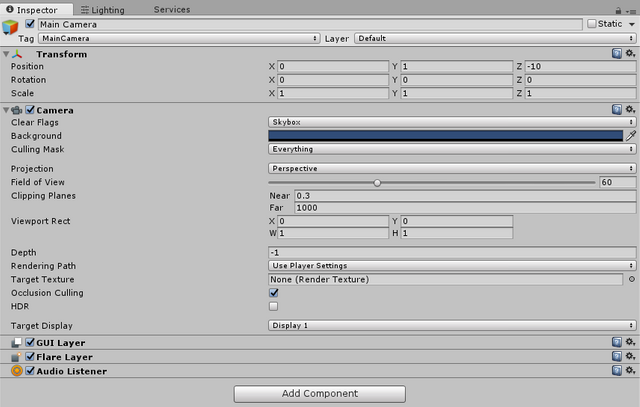
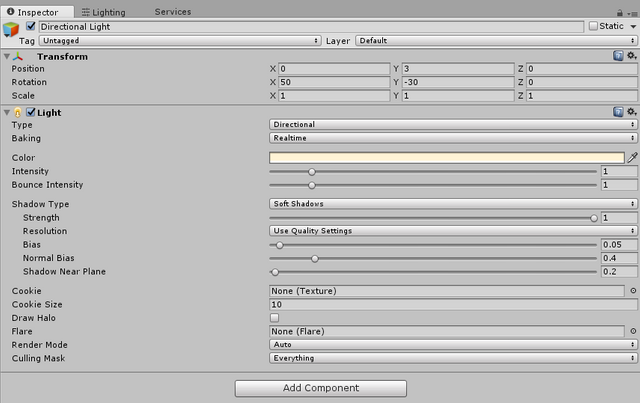
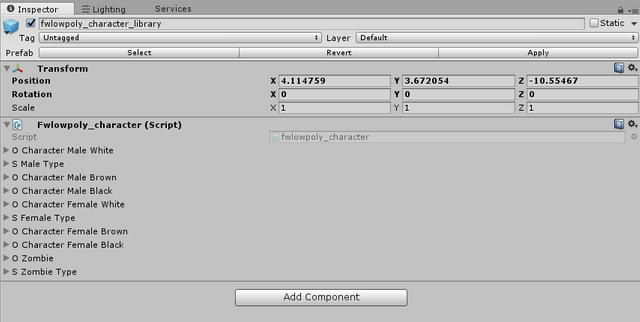
That pane is extremely important for changing public properties and values of object. You can access variables on scripts that have their scope set to public from these panes. There is a lot of dragging and dropping to slots in scripts and objects in this pane to set properties. You can also manually move, scale, and rotate objects by their numbers in their Transform from here as opposed to having to manually drag them around the scene view. This is very useful if you need to consistently move, scale, or rotate by a very precise amount rather than simply eyeballing it in the scene view.
It is important to know the Lighting tab might be present here as well.
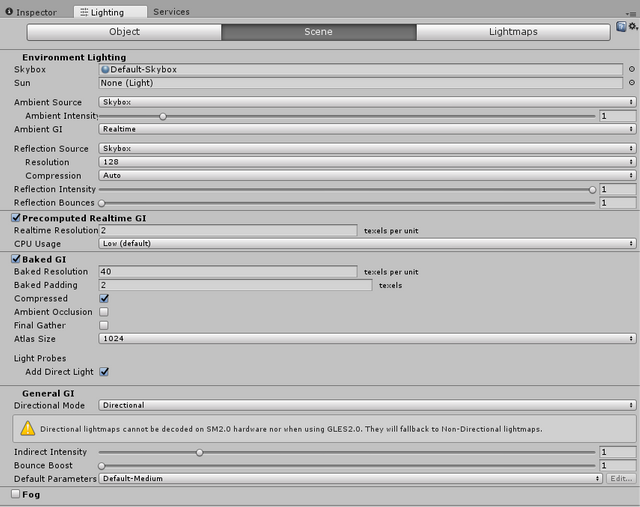
Odds are you will not need to mess with this tab when you immediately start out. Eventually you are likely to encounter a situation where you are looking for a very specific lighting model, or tweaks. At that time you'll find this tab to be very important.
Scenes
Unity operates using scenes. Think of them as a level, or a box. They are a box that has everything in the scene (mostly hierarchy view) that you need to happen. An example might be a scene called Indoors. You could have the inside of a building labeled as indoors. You could then create a new scene with just the Outside stuff and call that one outside. Then you might make it so if you click on a door while you are in the Indoors scene it loads the Outside scene, and if you are on the Outside scene and click on a door it loads the Indoors scene. This is important to understand.
Build
When you are ready to make a playable game you want to give to someone else you can go to the build menu.
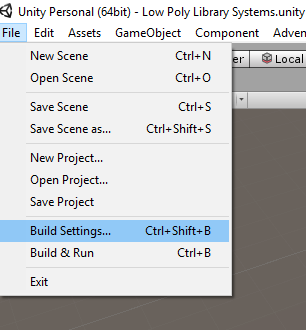
and click on Build Settings...
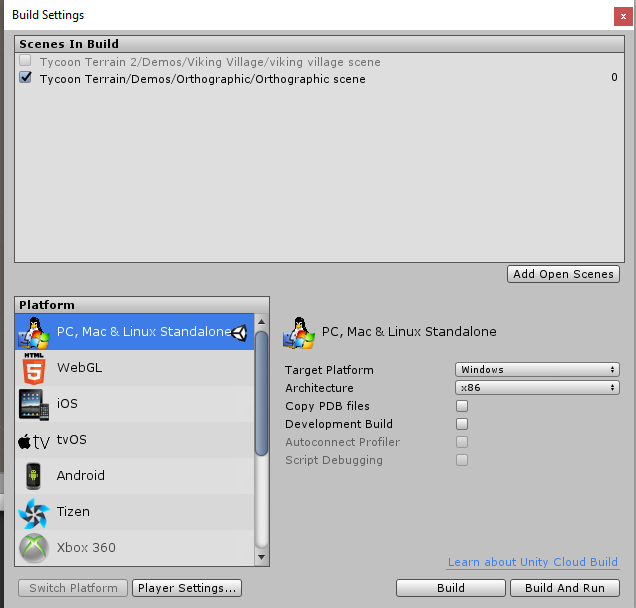
This will bring you to a section where you can specify if you are building it for Windows, Linux, Mac, iOS, android, HTML5, etc. What options you have will greatly depend upon what you chose when you were installing Unity. Once you are ready you can click BUILD and it will ask you where you want to save the built version of the game and start building it.
I am missing some tabs
"I am missing some tabs. You have tabs on your screen that I cannot see."
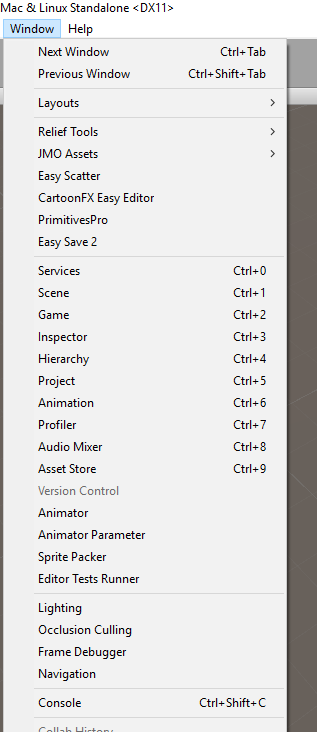
If you are missing some screens go ahead and go to the window menu and it is very likely the item you are missing is listed there. You then should see it appear and you can drag it around your layout and dock it where you prefer it.
That is a quick run down of the basics of Unity. If you would like to see this in further detail I highly recommend watching some of the official tutorials. There are some great tutorials here.
https://unity3d.com/learn/tutorials
For the Non-Coder
When making a game being able to program is pretty important to accomplishing most things. Yet perhaps you want to make a game and don't want to learn to program. You do have some options on the asset store that are available to you and might prove helpful.
Playmaker
Playmaker is a very popular tool for visual programming/scripting without knowing how to program or script. It is similar to the Unreal method, but is not as thorough as that YET. The Unreal system has been around for a lot longer.
It is currently $45 on the asset store while it is on sale. It is normally priced $65. You can get it here.
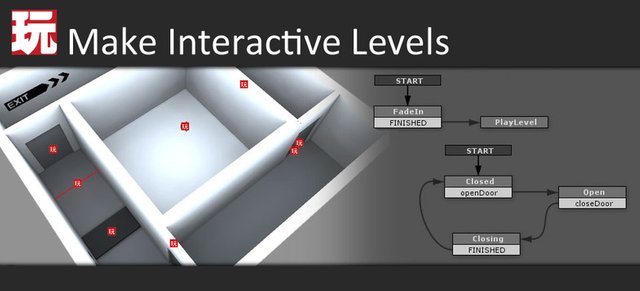
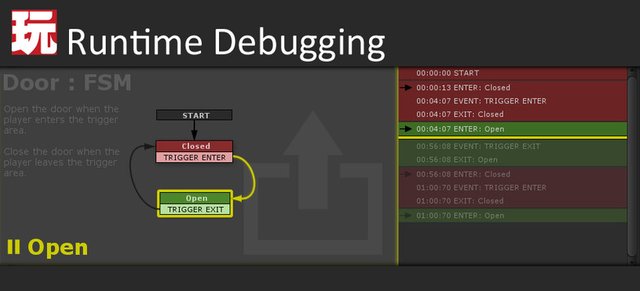
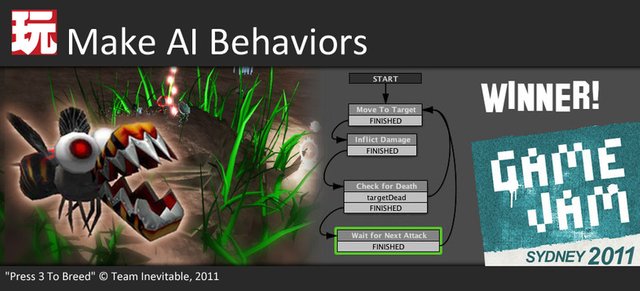
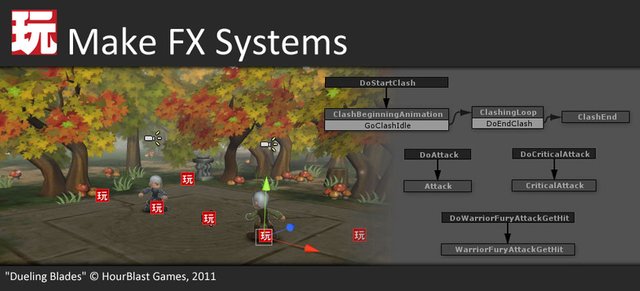
It is not exclusively for the non-programmer. Programmers sometimes find a benefit in using it as well. My son Nathan ( @theanubisrider ) has used it quite a bit. I'm a programmer and picky so I really haven't yet, but I do plan to check it out. I suspect I will want to use it in places, other places not use it, and possibly extend it. A lot of other assets on the asset store have been made to interface with Playmaker.
Adventure Creator
Adventure Creator is your one stop shop for building your standard 3d or 2D style adventure games without ever needing to touch code if you don't want to. It is pretty in depth in what it will let you do. If you are making an adventure game it likely has everything you need to do that and you can focus on rapidly developing the game rather than having to build tools and systems.
It is $70 on the asset store and can be found by clicking here.
There are many other tools the non-coder might benefit from for other game genres. I am only covering these two at this time, because I own both of them and I also need to limit the scope of this already massive post.
Coders intro to Unity
If you are a programmer there are a few things that are typically pretty alien the first time you use Unity. They mostly involve scope, global variables, and accessing other functions and such on other objects. I want to touch on those quickly so you can perhaps hit the ground running.
My examples will all be in C# rather than Javascript or Boo. In Unity you'll learn that there are things that you can pull off with C# in terms of interfaces, external access, libraries, etc that you cannot accomplish very readily in the others. If you are going to use Unity I recommend focusing on C#.
FIRST: If your script is not attached to a game object in the hierarchy it is not running.
SECOND: You cannot access scripts on other objects in the hierarchy without doing a little jumping through hoops.
THIRD: When you load a scene it destroys ALL objects in the previous scene. This means if you had any values you wanted treated as global, they are lost. You can solve this and I will explain how in this section.
FOURTH: One method to accomplish global variables is to use the static modifier on your variable declaration. You can then reference that variable from other scripts throughout unity as long as the object with the script that has the static variables is present in the hierarchy.
FIFTH: Another method of doing global variables is to grab the game object with the script via code, then use a GetComponent call to grab the script with the variables. You then have a handle into that script and can then access any public level methods or variables whether they are static or not. This is useful and sometimes you will want to do this rather than use static. Also if you are going to be referencing this script often then cache the handle to the script so you don't have to keep using GetComponent as there is a performance hit with GetComponent.
Persistent Object
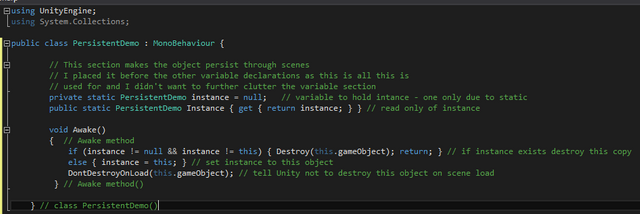
Here is a code example for how to create a persistent object that exists in all scenes. This can make them very useful for holding global game data that must be preserved between levels. Another way rather than doing this would be to save and load your data to prefs (registry) or a file between level loads. This is pretty inefficient though and should not be done unless you have some compelling reason to do so.
Conclusion
This concludes this tutorial. If you like this and want me to continue making tutorials about Unity and game development please give me your votes. As long as their is continued interest I will continue to make them. If you have specific topics you wish me to cover please let me know. If I do not have requests then I'll likely post tutorials about whatever comes to mind that I find either interesting, potentially helpful to people, or preferably both.
Thank you for your time.
Keep up the great work, you are one of my favorite game programmers of all time. As long as you continue to write stuff like this, I will be here to listen and learn. Thank you for your good work @dwinblood!
Wow, what don't you do?
Very good tutorial. I'm not a programmer, nor am I trying to develop a game, but if I ever am I know where to look for clearly written information. Thank you for taking the time to share these tutorials. :)
Hehe.... Chemistry and some other things. If I need chemistry help I'll be headed your way.
I may or may not have blown up my last chemistry experiment...
Great job! Was looking into possibly making a game with Unity last year. May just have to dig up my ideas again. :)
Nice! I've thought about doing similar for Unreal!
I like your title of Wormhole Ventures, I was doing a game called Asteroid Ventures until recently :)
Wormhole Ventures is actually greenlit. I probably would have released it by now, but I got distracted by this thing called steemit.
I'd encourage you to do Unreal. It has some great things. I considered switching to it for my big project, but I have a lot of assets that would be useless to me then, and I'd also probably have to spend 6 months or so getting to a similar level of comfort to what I have with Unity. I personally am engine agnostic. I'll use whatever works for me best in my current circumstance. I have licenses to Cryengine, and GameMaker Studio Pro as well, and of course various RPG Makers, and Leadworks Game Engine.
I tend to focus on Unity. If you make Unreal related ones similar to mine I can at least assure you I will read, and use them and likely up vote any of them I see. My vote is not worth much though. :)