[Unity Game Development Tutorial: 10 : Turing Game: 1] - Setting up the UI so we can attach code and begin the game
In a post I made asking for votes on next project. Turing Test style project won. This starts that tutorial. The first thing we need to do is setup the environment.
This tutorial will cover some aspect of the Unity UI system. This likely will have benefit for any type of game you may design if you have not yet done much with the UI system in Unity.
A brand new project
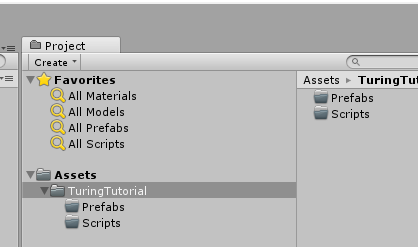
First let's build a brand new project as a 2D project and set up it's folders as follows.
In terms of interface at the most rudimentary of levels this does not need to be a complex setup at all. We need a space to type our text and a place to display our scrolling text and allow us to scroll up and down through it's history.
Setting up an easy UI Canvas
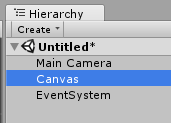
Create a canvas by right clicking in the Hierarchy area and choosing UI and then Canvas from the menu. It will create an EventSystem object which is critical to the UI system in Unity. Your Hierarchy should look like this.
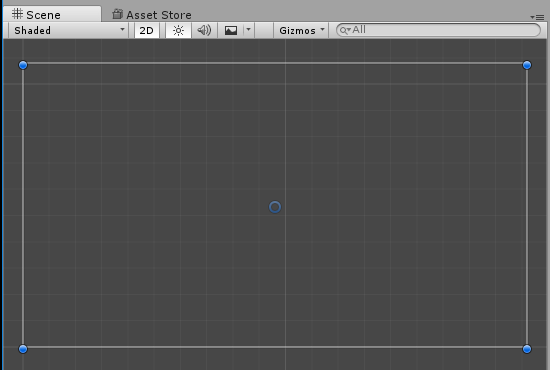
Double click on Canvas in the hierarchy so that your scene view will center on this Canvas.
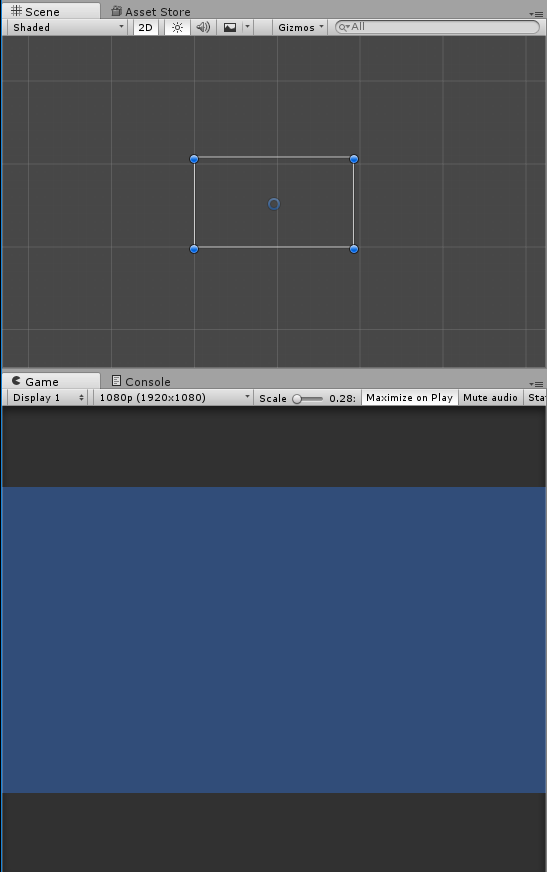
You are welcome to zoom in to the canvas if you like so it takes up most of your scene view, but you do not necessarily need to.
Right click on the Canvas in the Hierarchy choose UI and then Input Field. This will create an input field we can use to accept input for our game. It will not actually be useful until we write the code for it. Initially this object shows up in the center of the canvas as follows:
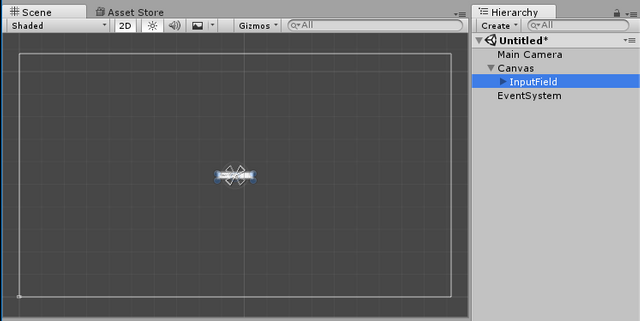
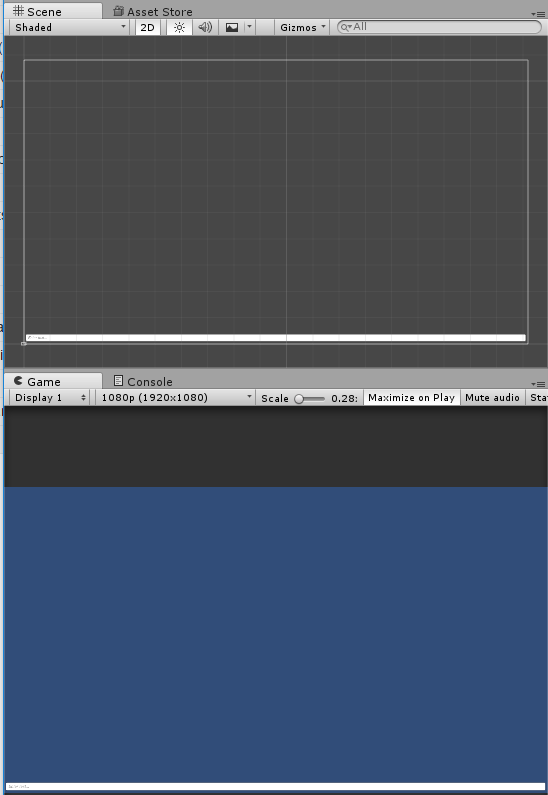
Using the following tool you can move the input field around and then you can mouse over the borders of the input field and drag it out to occupy the bottom of the UI area where you would want people to type.

Mine ended up looking something like this: (including game view as I think I want to do something about that blue soon)
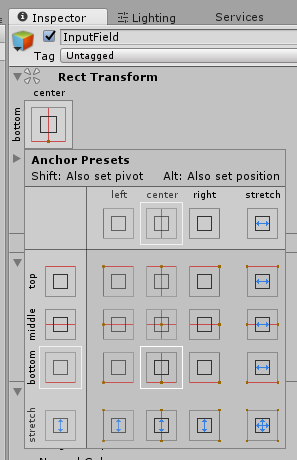
It is important to set the anchors for your UI objects so they know how to behave as the scale of the UI changes. There are a lot of options and I recommend you play around with them and try switching screen resolutions and aspect ratios as you try them out. (I cover screen sizes and aspect rations in this tutorial).
For now I am going to anchor this new input field to the bottom center.
Now let's add a UI Panel to Canvas, and set it to be anchored to top stretch in all directions.

I also moved the bottom edge of the panel to be just above our Input Field.
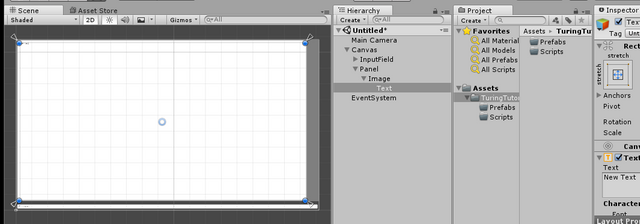
Due to how Unity masks things and treats text wrapping we will want some assistance from images in setting up a scrollable text area. So create an image under the panel. Anchor it to stretch in all directions and leave some room on the right hand side for adding a scrollbar in a moment.

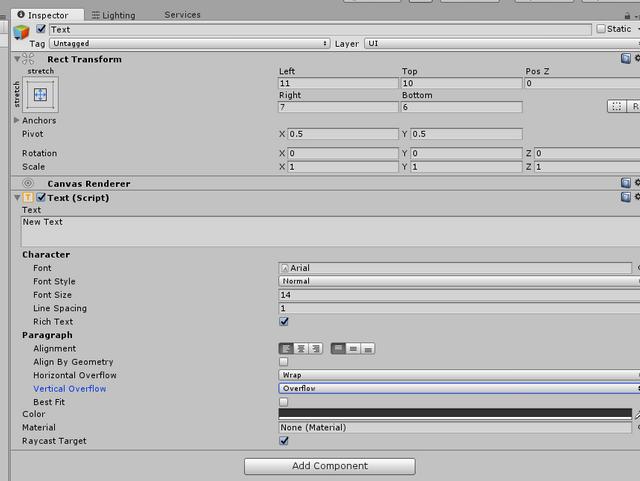
Now let's add a Text UI item to the Image. Size it to fill up the size of the image. Set it's anchor to stretch in all directions as well. You may want to play around with different anchors for different results on this one.
Set the Vertical Overflow in the inspector for the Text object to Overflow.
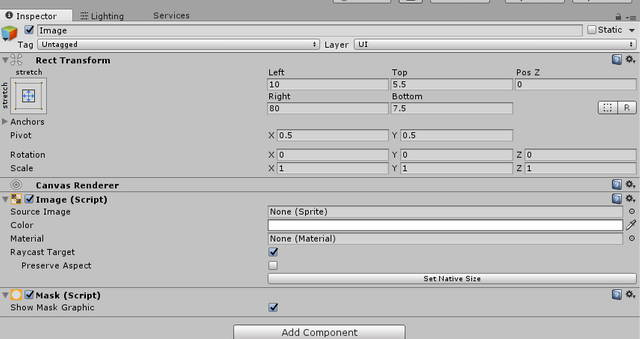
We now need to add a mask component to the Image so that the text does not overflow outside of the image boundaries. To do this we are going to do something different. First select the Image in the hierarchy.
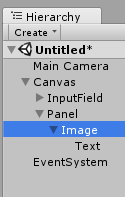
Next click the ADD COMPONENT button in the inspector for the image.
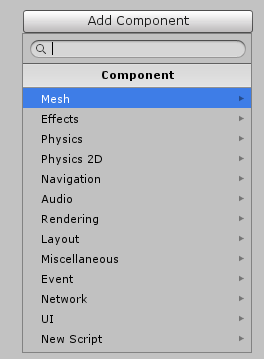
In the search box type mask.
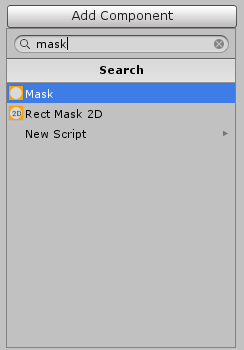
Once mask is available select it and add it to the image.
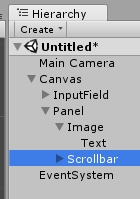
On the panel go ahead and add a new UI Element called Scrollbar.
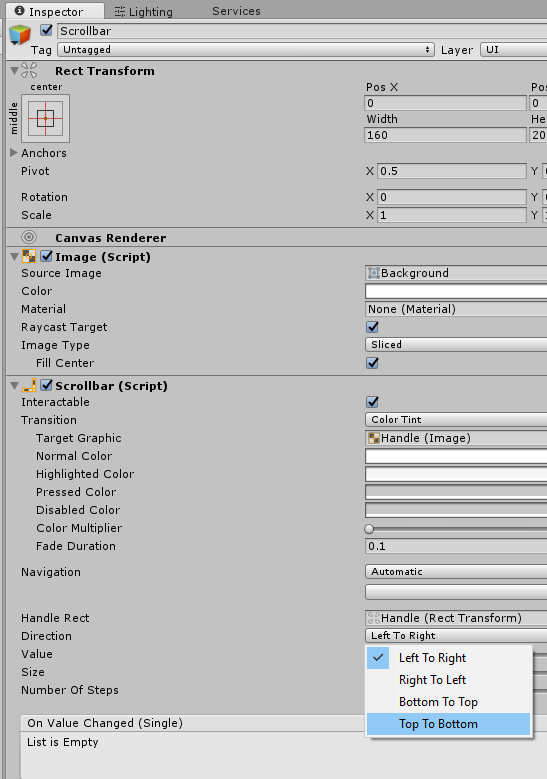
In the Scrollbar inspector change the direction from Left to Right to Top to Bottom.
Move the scrollbar, scale it, and anchor it how you prefer within your view. I anchored mine to stretch only top to bottom and be anchored to right side.

Next add a Scroll Rect component to the image the same way you added a mask.
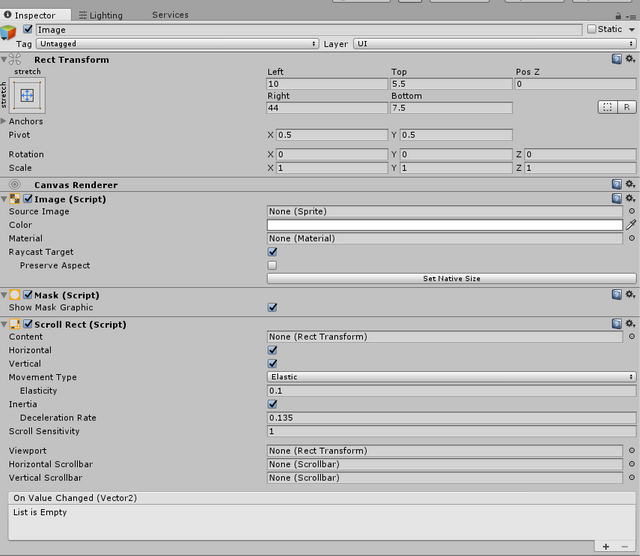
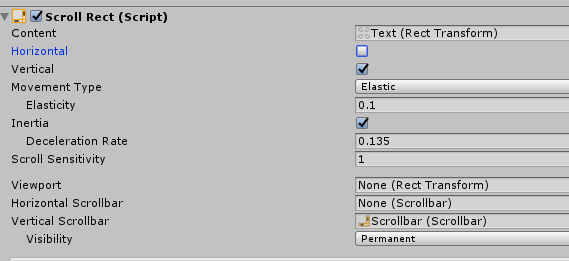
Drag the Text item from below the Image on the hierarchy and drop it on the content field in the Scroll Rect script on the image.

Uncheck the Horizontal check box in the scroll rect script.

Drag the scrollbar from below the panel in the hierarch and drop it on the vertical scrollbar slot in the scroll rect script.
Now we need to add a Content Size Fitter component to the Text object in the hierarchy. You do this using the same technique you used to add a mask, and a scroll rect on the image. The difference here is that this one is added to the Text object.
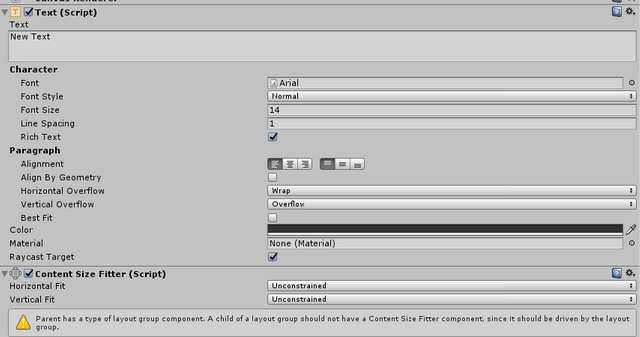
Next in the content size fitter set Unconstrained on Vertical Fit to preferred fit and then position the text how you want it to default in your scene. It is useful to type a lot of line numbers in to test this.

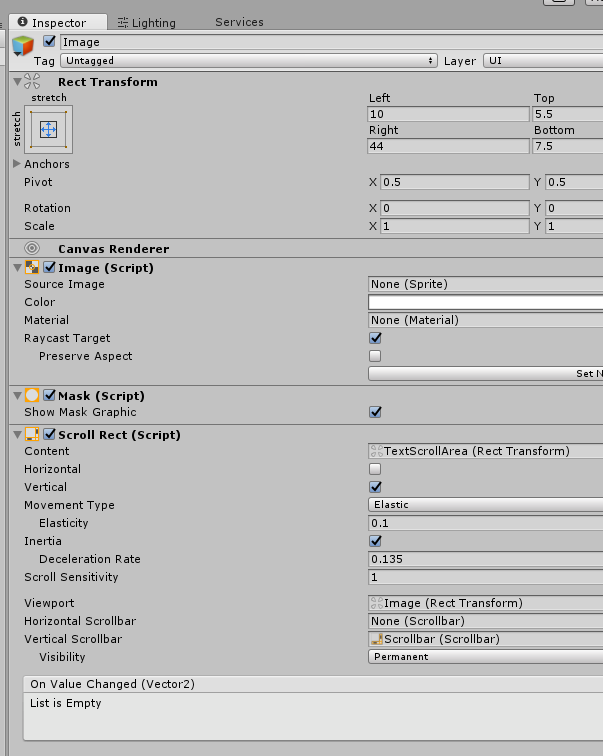
The final step is to drag the Image from the Hierarchy onto the Viewport slot in the Scroll Rect script on the Image. Until you do this the scrollbar will keep considering the Input Field as its target. You will see in this screen that content is listed as TextScrollArea. That is because I renamed that Text field so it was distinguishable from the Text that is below the Input Field.
Testing
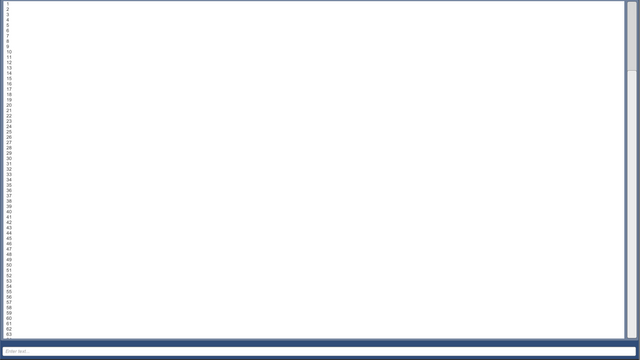
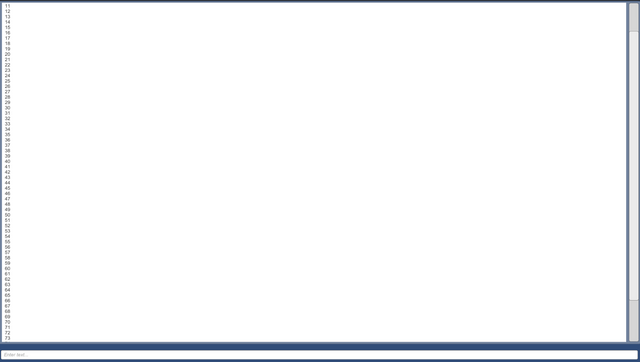
If you click on the text field you can type a lot of numbers in it. In my test I am doing a 1920x1080 screen and I typed in 80 lines of text. Not all of them fit. Yet I can test the scroll area when I press PLAY and try it out.
Conclusion
This concludes the first tutorial in the Turing Test style game design. We now have areas where we will be able to code entering and displaying text. In reality those are the main things that drive a game such as this.
(Edit: By request here is a link to my unity project in this tutorial.)
If you like this tutorial and want to see more, please up vote this post.
Happy steeming, and thank you for reading this tutorial.
My favorite part!