Working with Bozz: Patio Upgrade
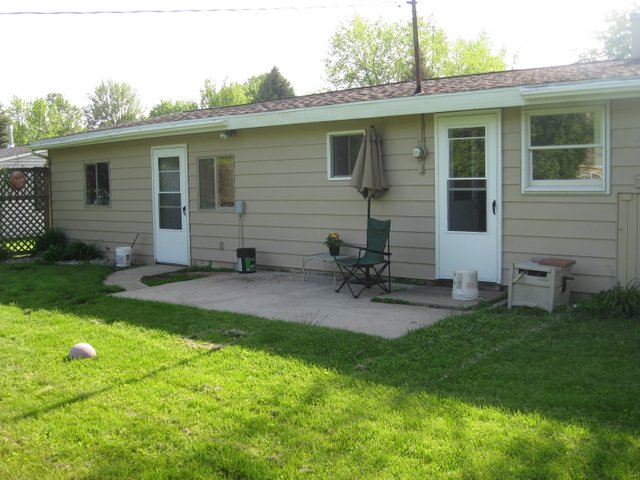
I was browsing through my Facebook page today, and it came up that seven years ago we upgraded the patio at our old house.
I got thinking that I still have all of the old pictures from that project, so it might be a good idea to write a post about it.
I took a ton of pictures during the project, so this post is going to be image heavy, but trust me, it will be worth it!
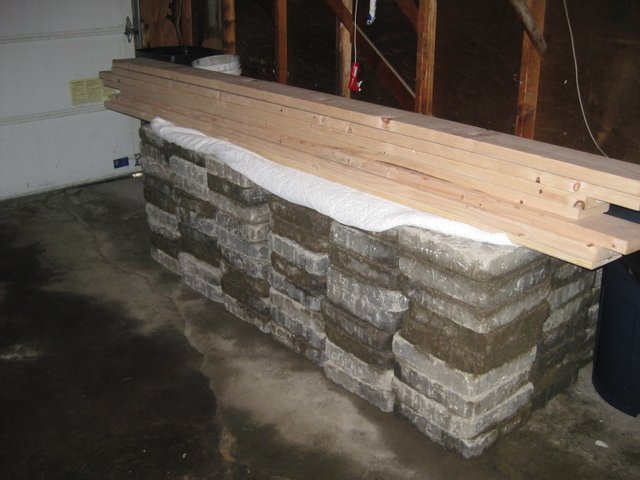
For some ludicrous reason, my wife and I decided that we could do most of the work ourselves.
We picked out some blocks from a guy we knew that could get them at discounted prices and had them delivered.
He had to bring them a pallet at a time in his personal truck and then we had to unload them and stack them.
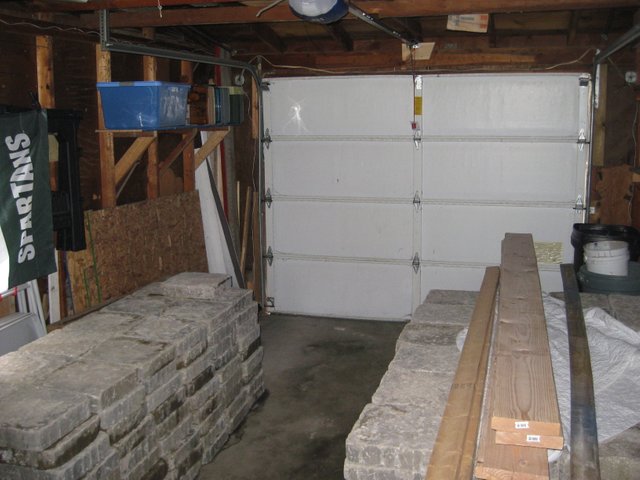
For reference each block was about 40 lbs. By the time they had all been delivered, I think we had close to 300 blocks sitting in our garage.
I also bought some wood to use as a frame.
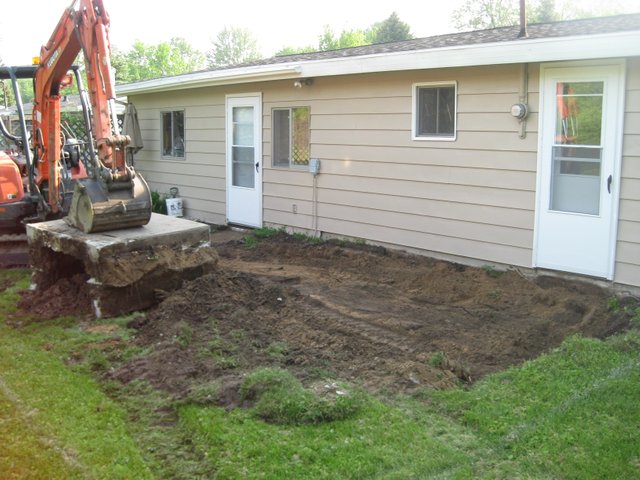
We then needed to get the old patio removed. That required some major excavation, so we contacted a local guy to come and dig it up.
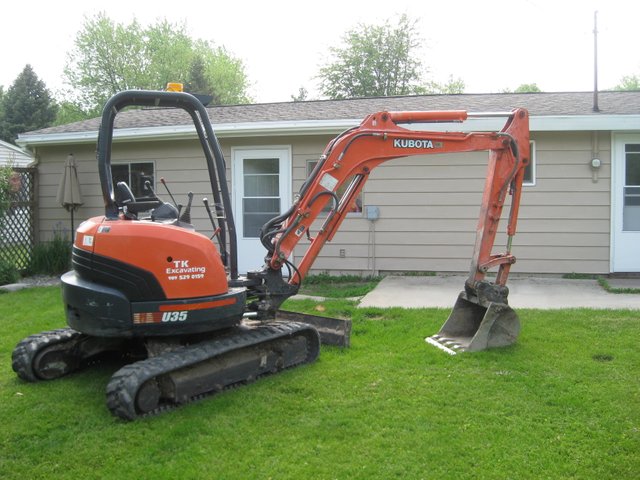
I was home alone watching TV one evening when this showed up in my back yard.
Over the course of a couple of evenings, he was able to get the job done.
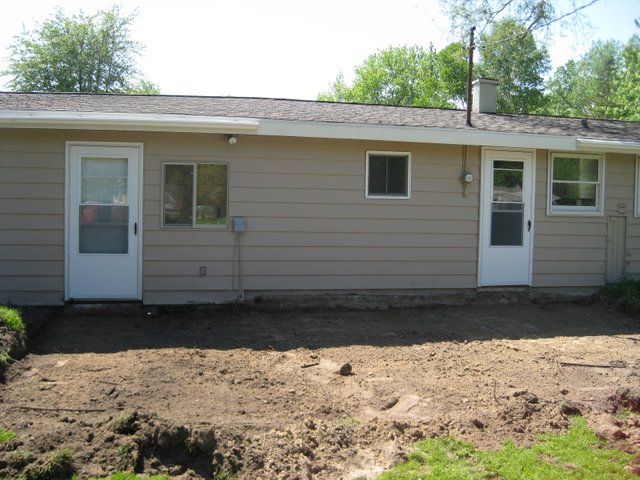
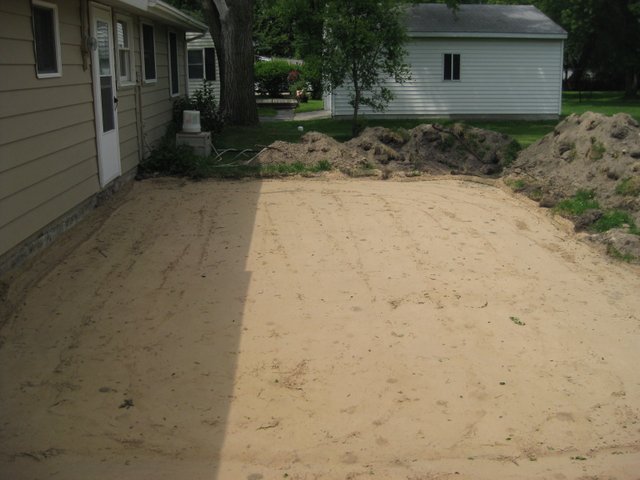
He then finished excavating the rest of the area we wanted for the new patio. We were planning on increasing the patio three to four times its original size.
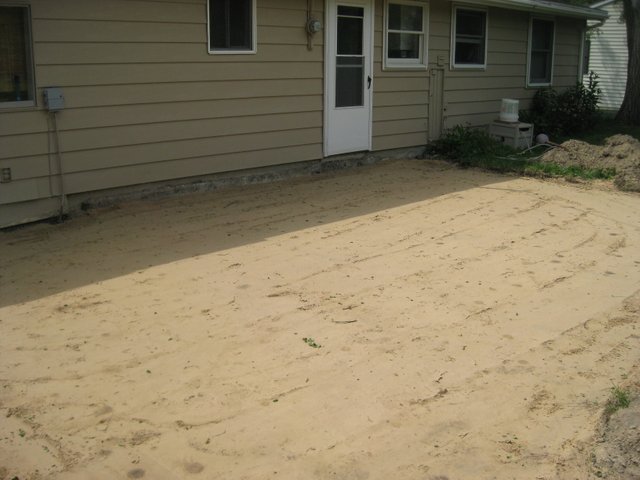
The guy that did the excavating for us also brought in some sand for us to use as a base for the pavers. I had to go to a local equipment shop to rent a compactor. This allowed me to get the sand mostly level and ready for the pavers without having to worry about future settling.
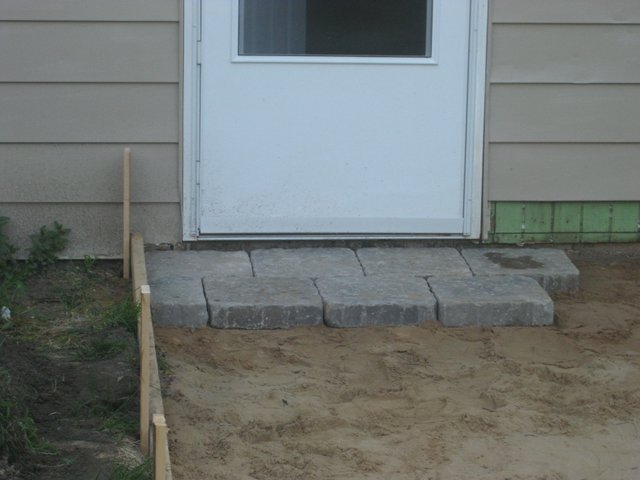
Now, everything was ready to start laying the pavers.
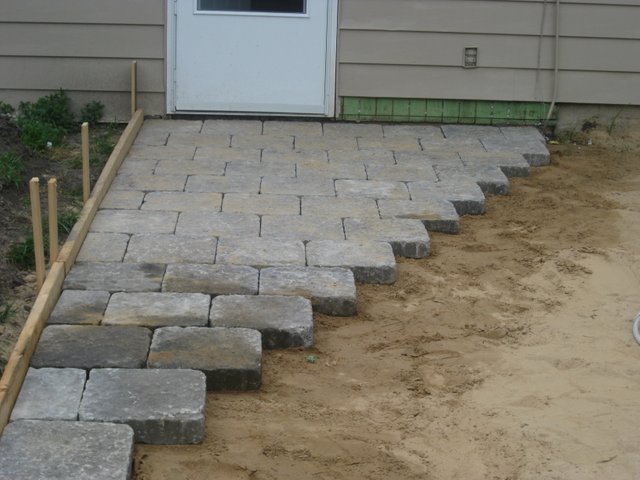
I laid out my boards as a guide, and started in the one corner.
Even though I had already compacted all of the soil, each block still required a lot of leveling by hand. This made things very tedious, especially as the weather started to get hotter.
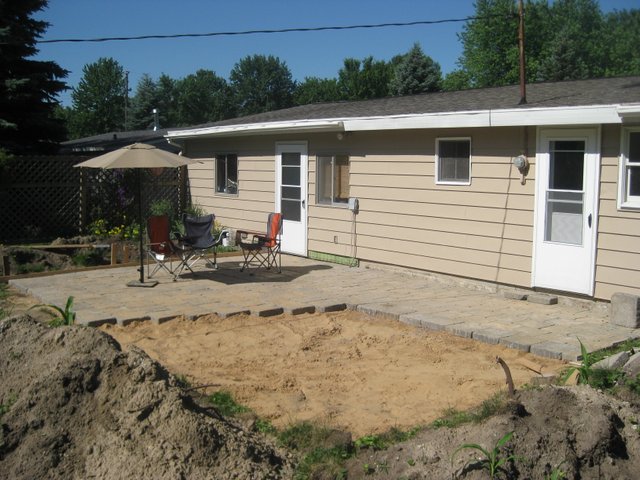
Things started out really well. I had to cut each of the half blocks with a circular saw and masonry blade, but I was moving right along.
My wife and I had a lot of help from her family and our friends, but by this point, I was starting to get discouraged. The constant moving of sand and leveling combined with the hot evenings were starting to take their toll.
It didn't help that I was still working a full day at my regular job and then coming home to work on this in the evenings. I was ready to give up, but we pressed on.
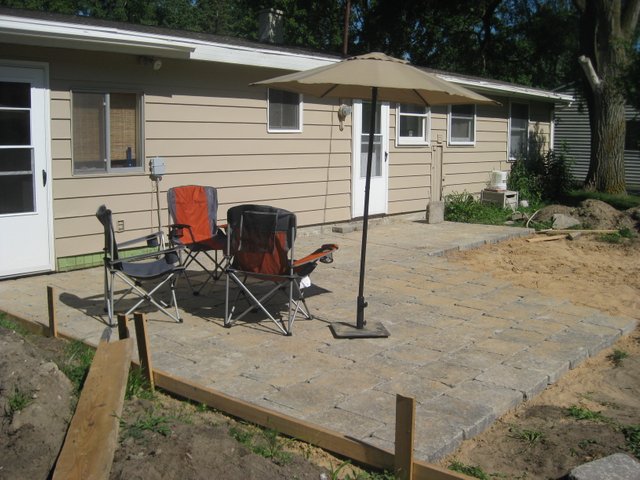
We decided we wanted to enjoy what we had accomplished and moved some lawn chairs onto the portion we had done. It was summer after all and we needed a place to relax.
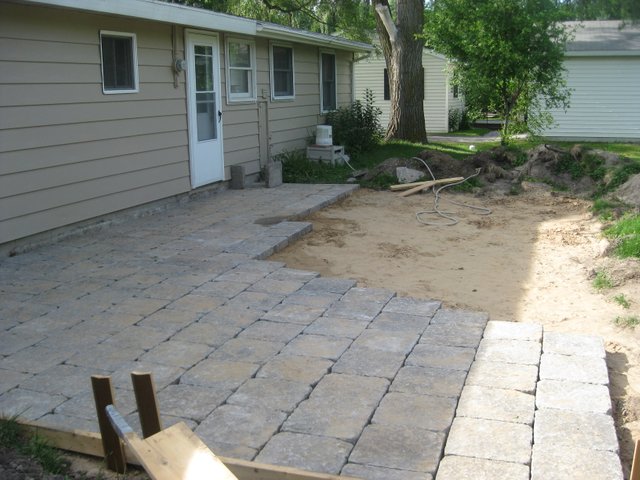
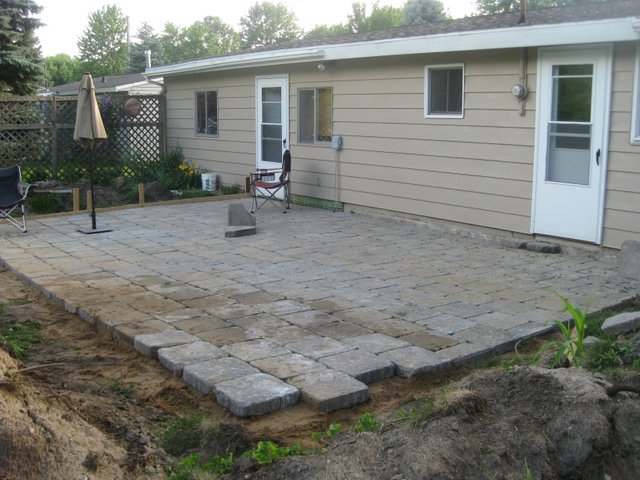
Eventually, we were very close to being done. I didn't realize it, but in my haste to finish, I had become pretty lax in the moving sand and leveling area. Thus, the last corner of the patio ended up being a good three to six inches higher than the rest of the patio.
You can kind of see the gradual slope in the picture above. I eventually came to grudgingly accept it, but it was always something that bugged me even until the day we moved out of that house...
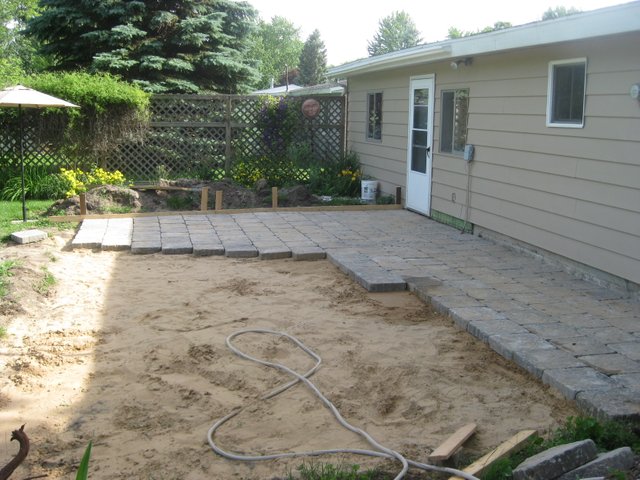
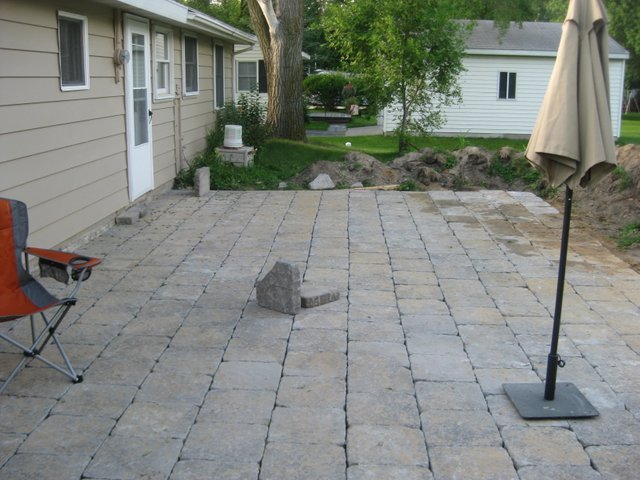
This picture shows the slope much better. Ultimately I think it could have turned out much better if I had just removed some of the sand from that end of the patio. I was more concerned about that corner being level with the ground than I was about it being level with the rest of the patio. I could have leveled out the rest of the yard around that corner and it would have turned out much better.
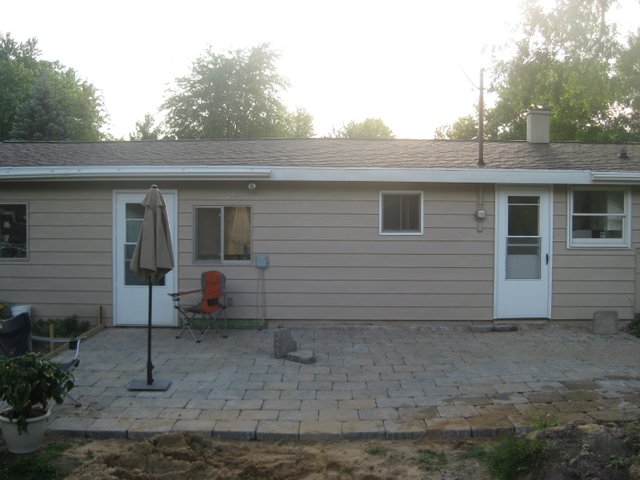
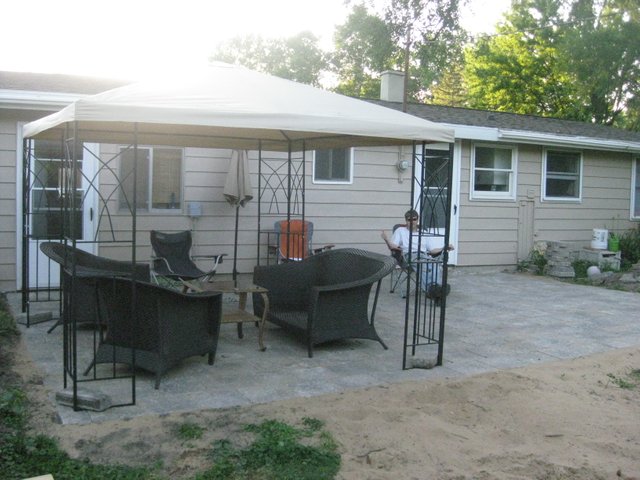
In the end though, we had a lot of good times on the new patio before we ended up moving to a new house. Here is a picture of my buddy enjoying my handy-work. The area away from the canopy became a nice spot for my grill and our small fire-pit that we eventually purchased.
The grass eventually grew back in around the perimeter of the patio. I also got a couple of bags of bonding sand from the local home center to sweep into the cracks between the paver stones. I also rented the compacting machine again and laid down some pieces of plywood so I could run it over the paver stones to set them into place.
If I had it to do over again, I think I would also have laid down some pea gravel along with the sand to just give the pavers a better base while still allowing for some drainage. I would also have been more patient and made the adjustments I suggested above for that final corner.
Thanks for reading!

.gif)

Very nice! I love this idea! We recently removed our old, rotten back porch, and this might be a good way to replace it! :D
Good luck! It was a ton of work!
upvote for me please? https://steemit.com/news/@bible.com/2sysip
a major job but i love it
Thank you!
Looks great man! Any chance you want to do mine? LoL.. hoping to put in a patio this fall when the heat dies down a bit.. hopefully mine will look this good when im done.. :)
Thanks. I swore I would never do another one though. 😁 Make sure you use my advice. Making sure you have a good base is really key!
The upvote slider isn't working right. It short-changed you on your vote ... so I'm putting the extra we owe you here.
Thank you.
You can come and do my back garden if you like, its in a terrible state!
Hahahaha!