Trial of Steempi v2 | 初試 Steempi v2
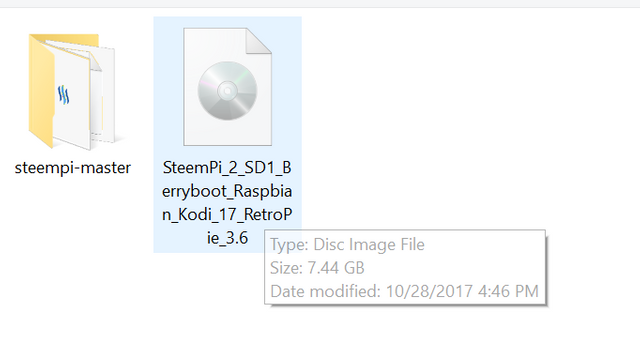
@techtek released Steempi v2 a few days ago. Besides a github release for user to install on their Steempi, @techtek also prepared an image file of 7.4GB in size for users to create their own bootable Raspbian OS SD with Steempi v2 preloaded.
早前 @techtek發佈了Steempi v2。和前一個版本不同的是,這些除了可以從Github那邊安裝之外, @techtek還準備了一個大幾7.4GB大小的鏡像檔。利用它便可以燒製一張可以帶Steempi v2的Raspbian系統的開機SD卡。
I downloaded the image as per instructions in @techtek‘s post to my Dell notebook. Then I use Etcher imager to brun the image to my spare 32GB micro SD card.
下載了鏡像之後,我就用Etcher去把鏡像放到早前已買的32 GB SD卡中
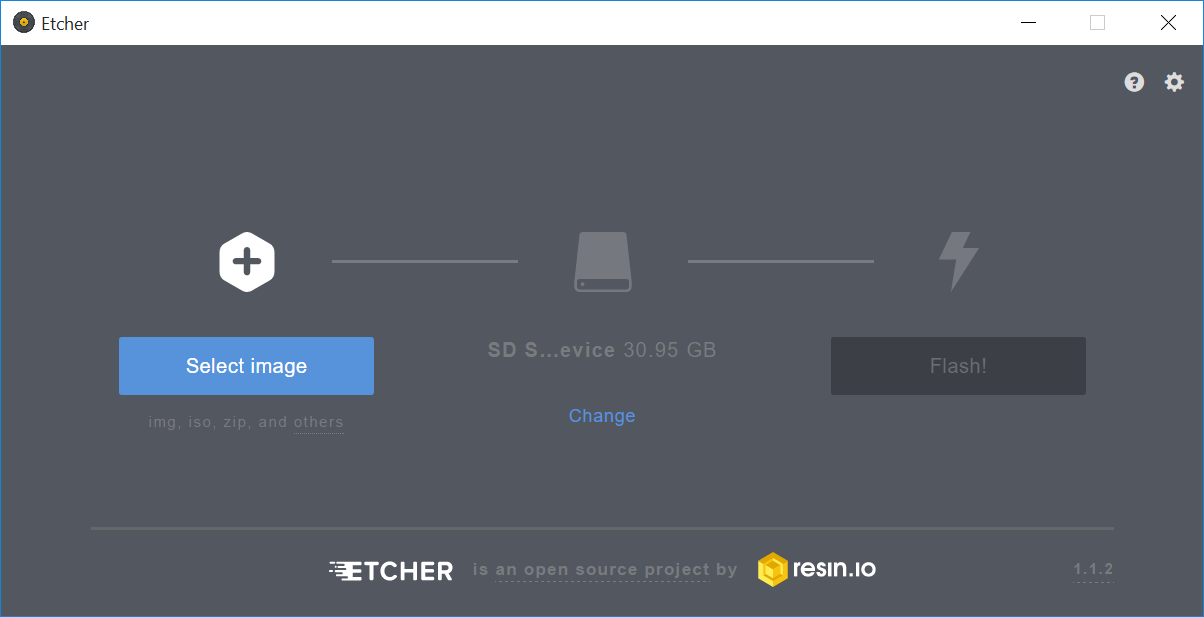
As shown, once after Etcher was loaded, it detected the 32GB SD card.
一打開Etcher, 它就找到那張SD卡。
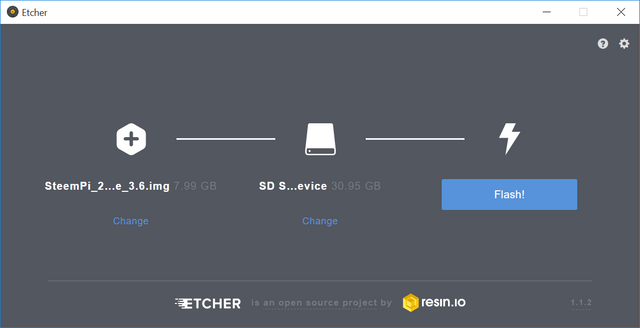
I just needed to select the image file. Then click “Flash”.
接下來就是選取鏡像。按"Flash".
Etcher started to write the image to the SD card.
Etcher 就會開始把鏡像寫到SD卡中。
When it is completed, I had a 32GB micro SD card with Steempi v2 on Raspbian preload.
完成後就有一張已經安裝好Steempi v2的可以開機的RaspbianSD卡。
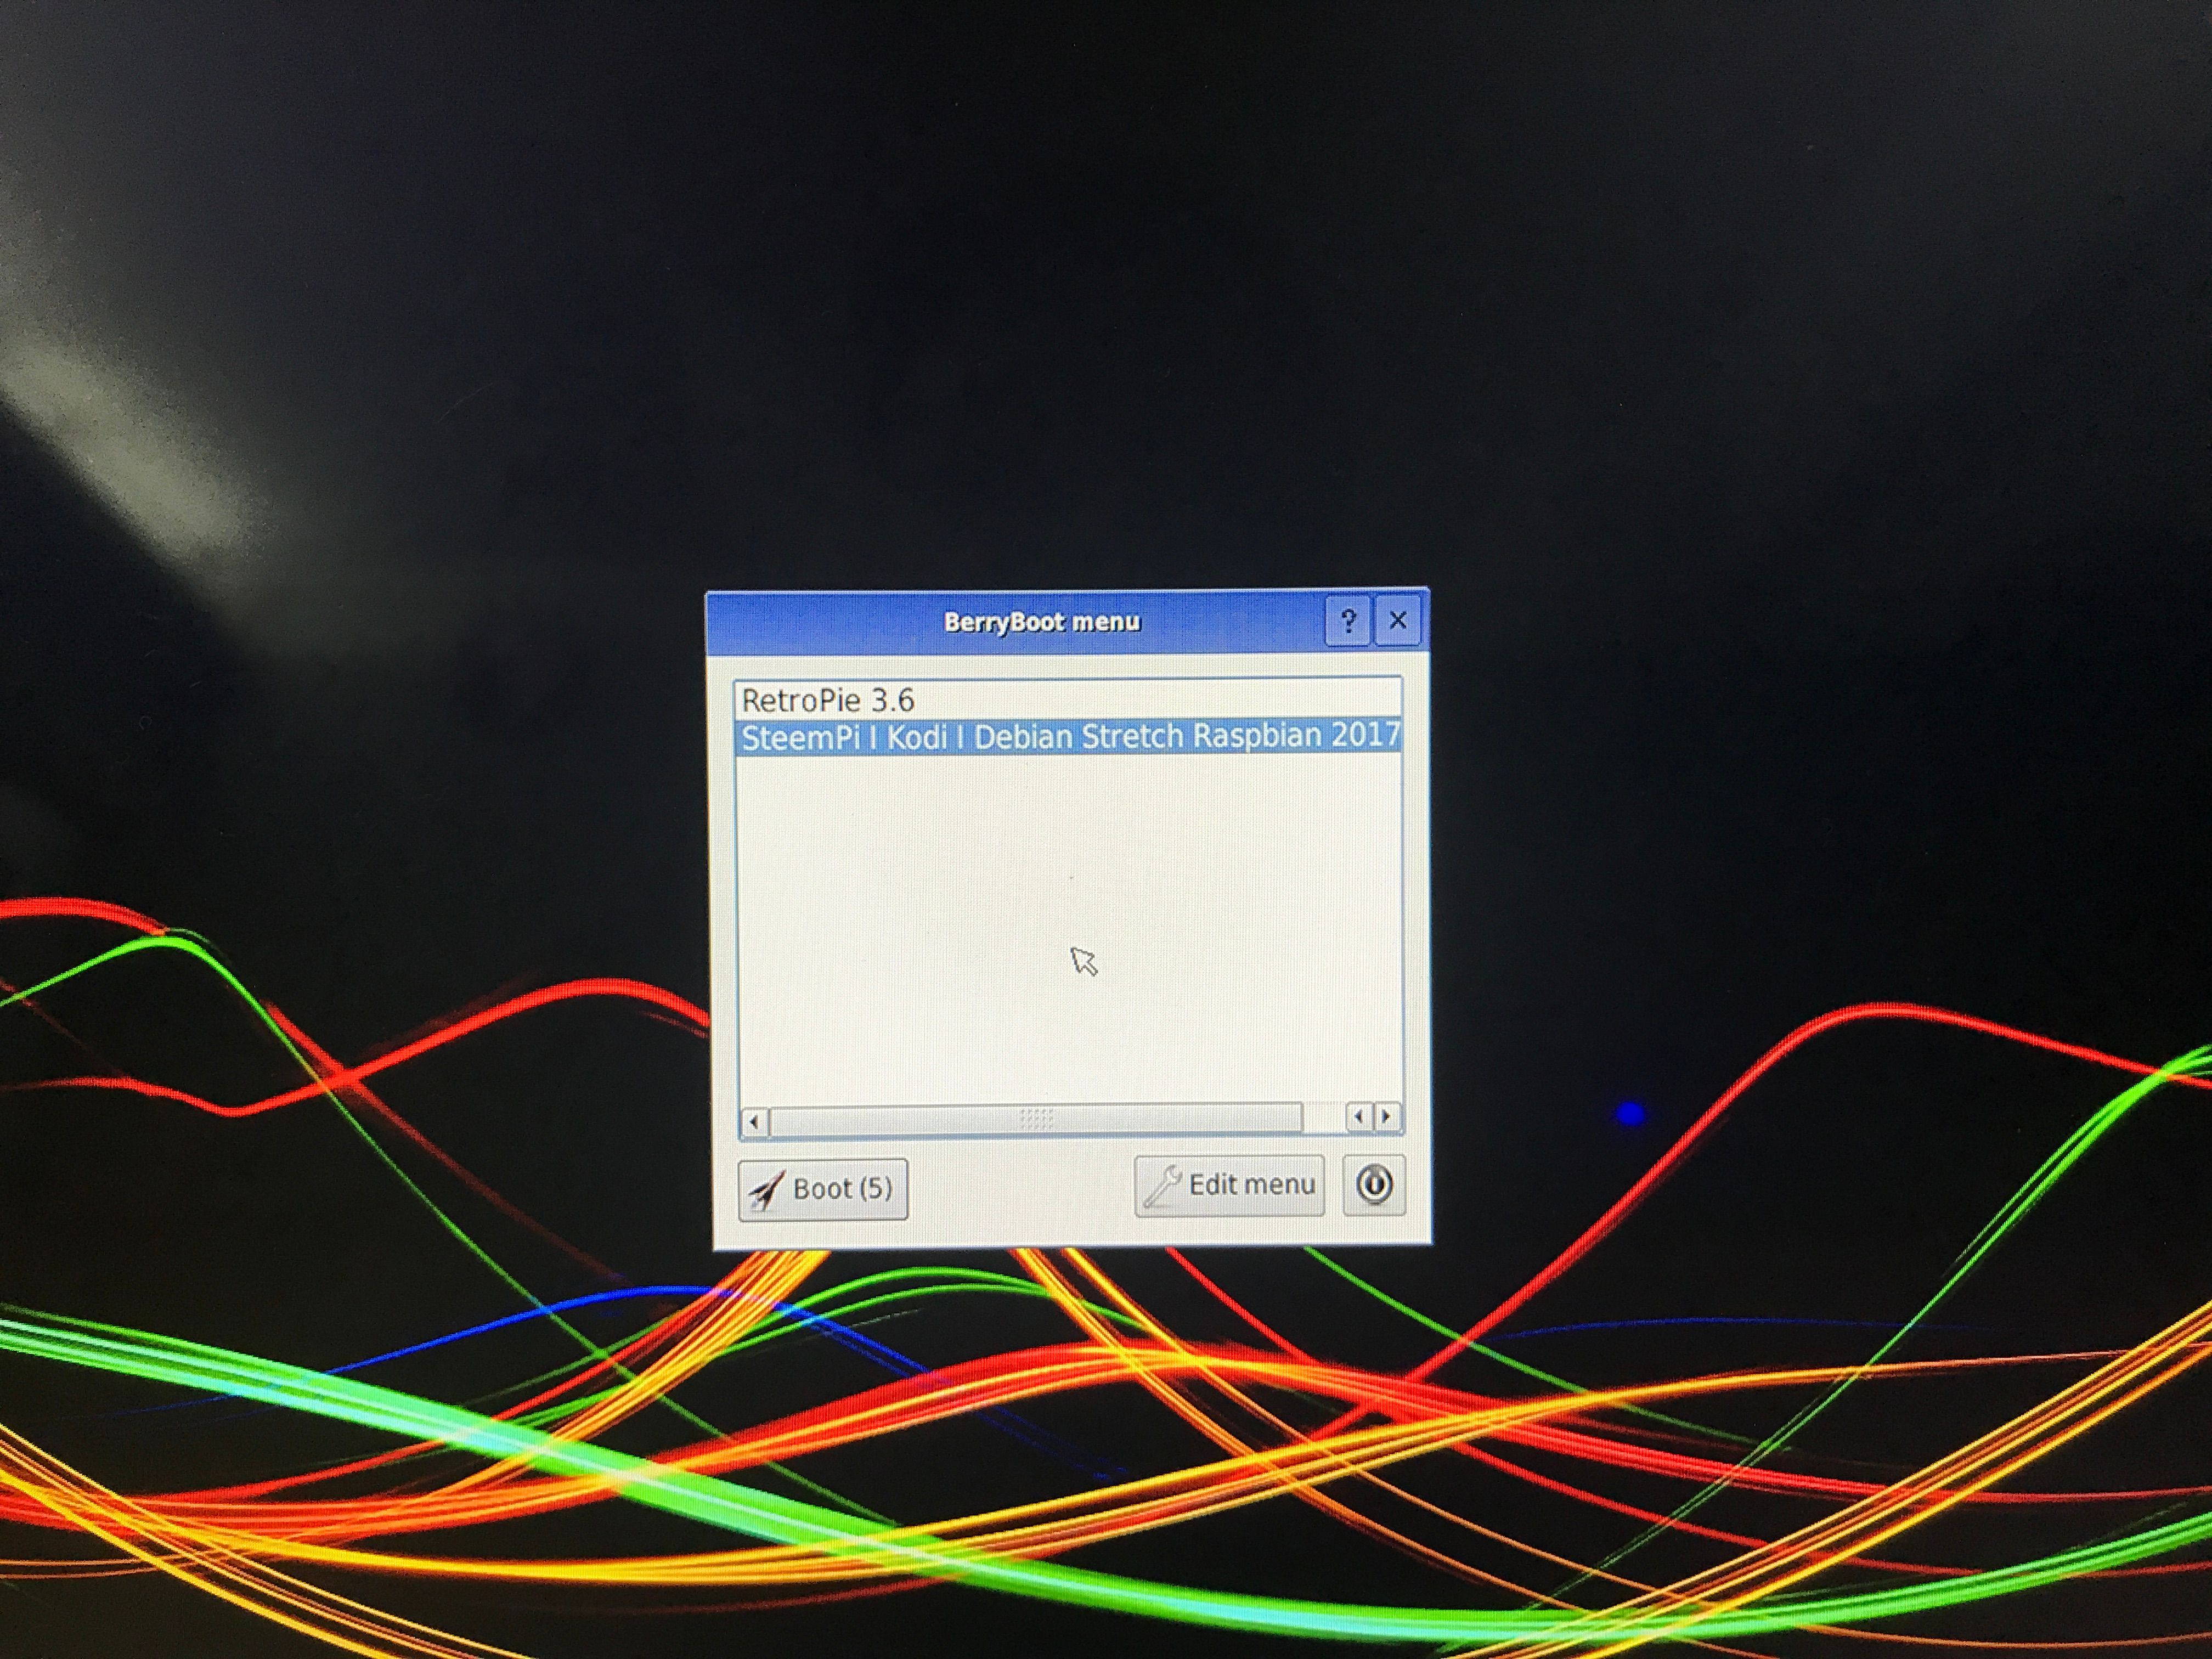
Then I put the SD into Raspberry Pi 3, power on. Berryboot client showed up. By default Steempi kiosk mode Raspbian was selected. Users could press “Enter” to boot or just wait 10 seconds so that the system could boot Raspbian with Steempi kiosk mode pre-loaded.
立即放入樹莓派試一試。可以見到預設是用Steempi新機的。只要按下「輸入」或者等10秒就會使用它開機。
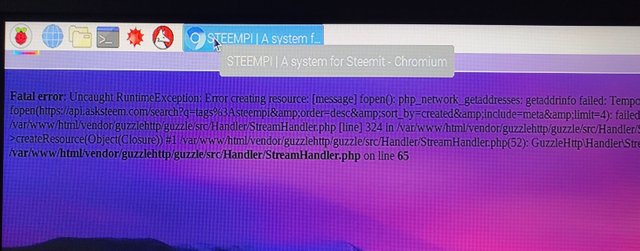
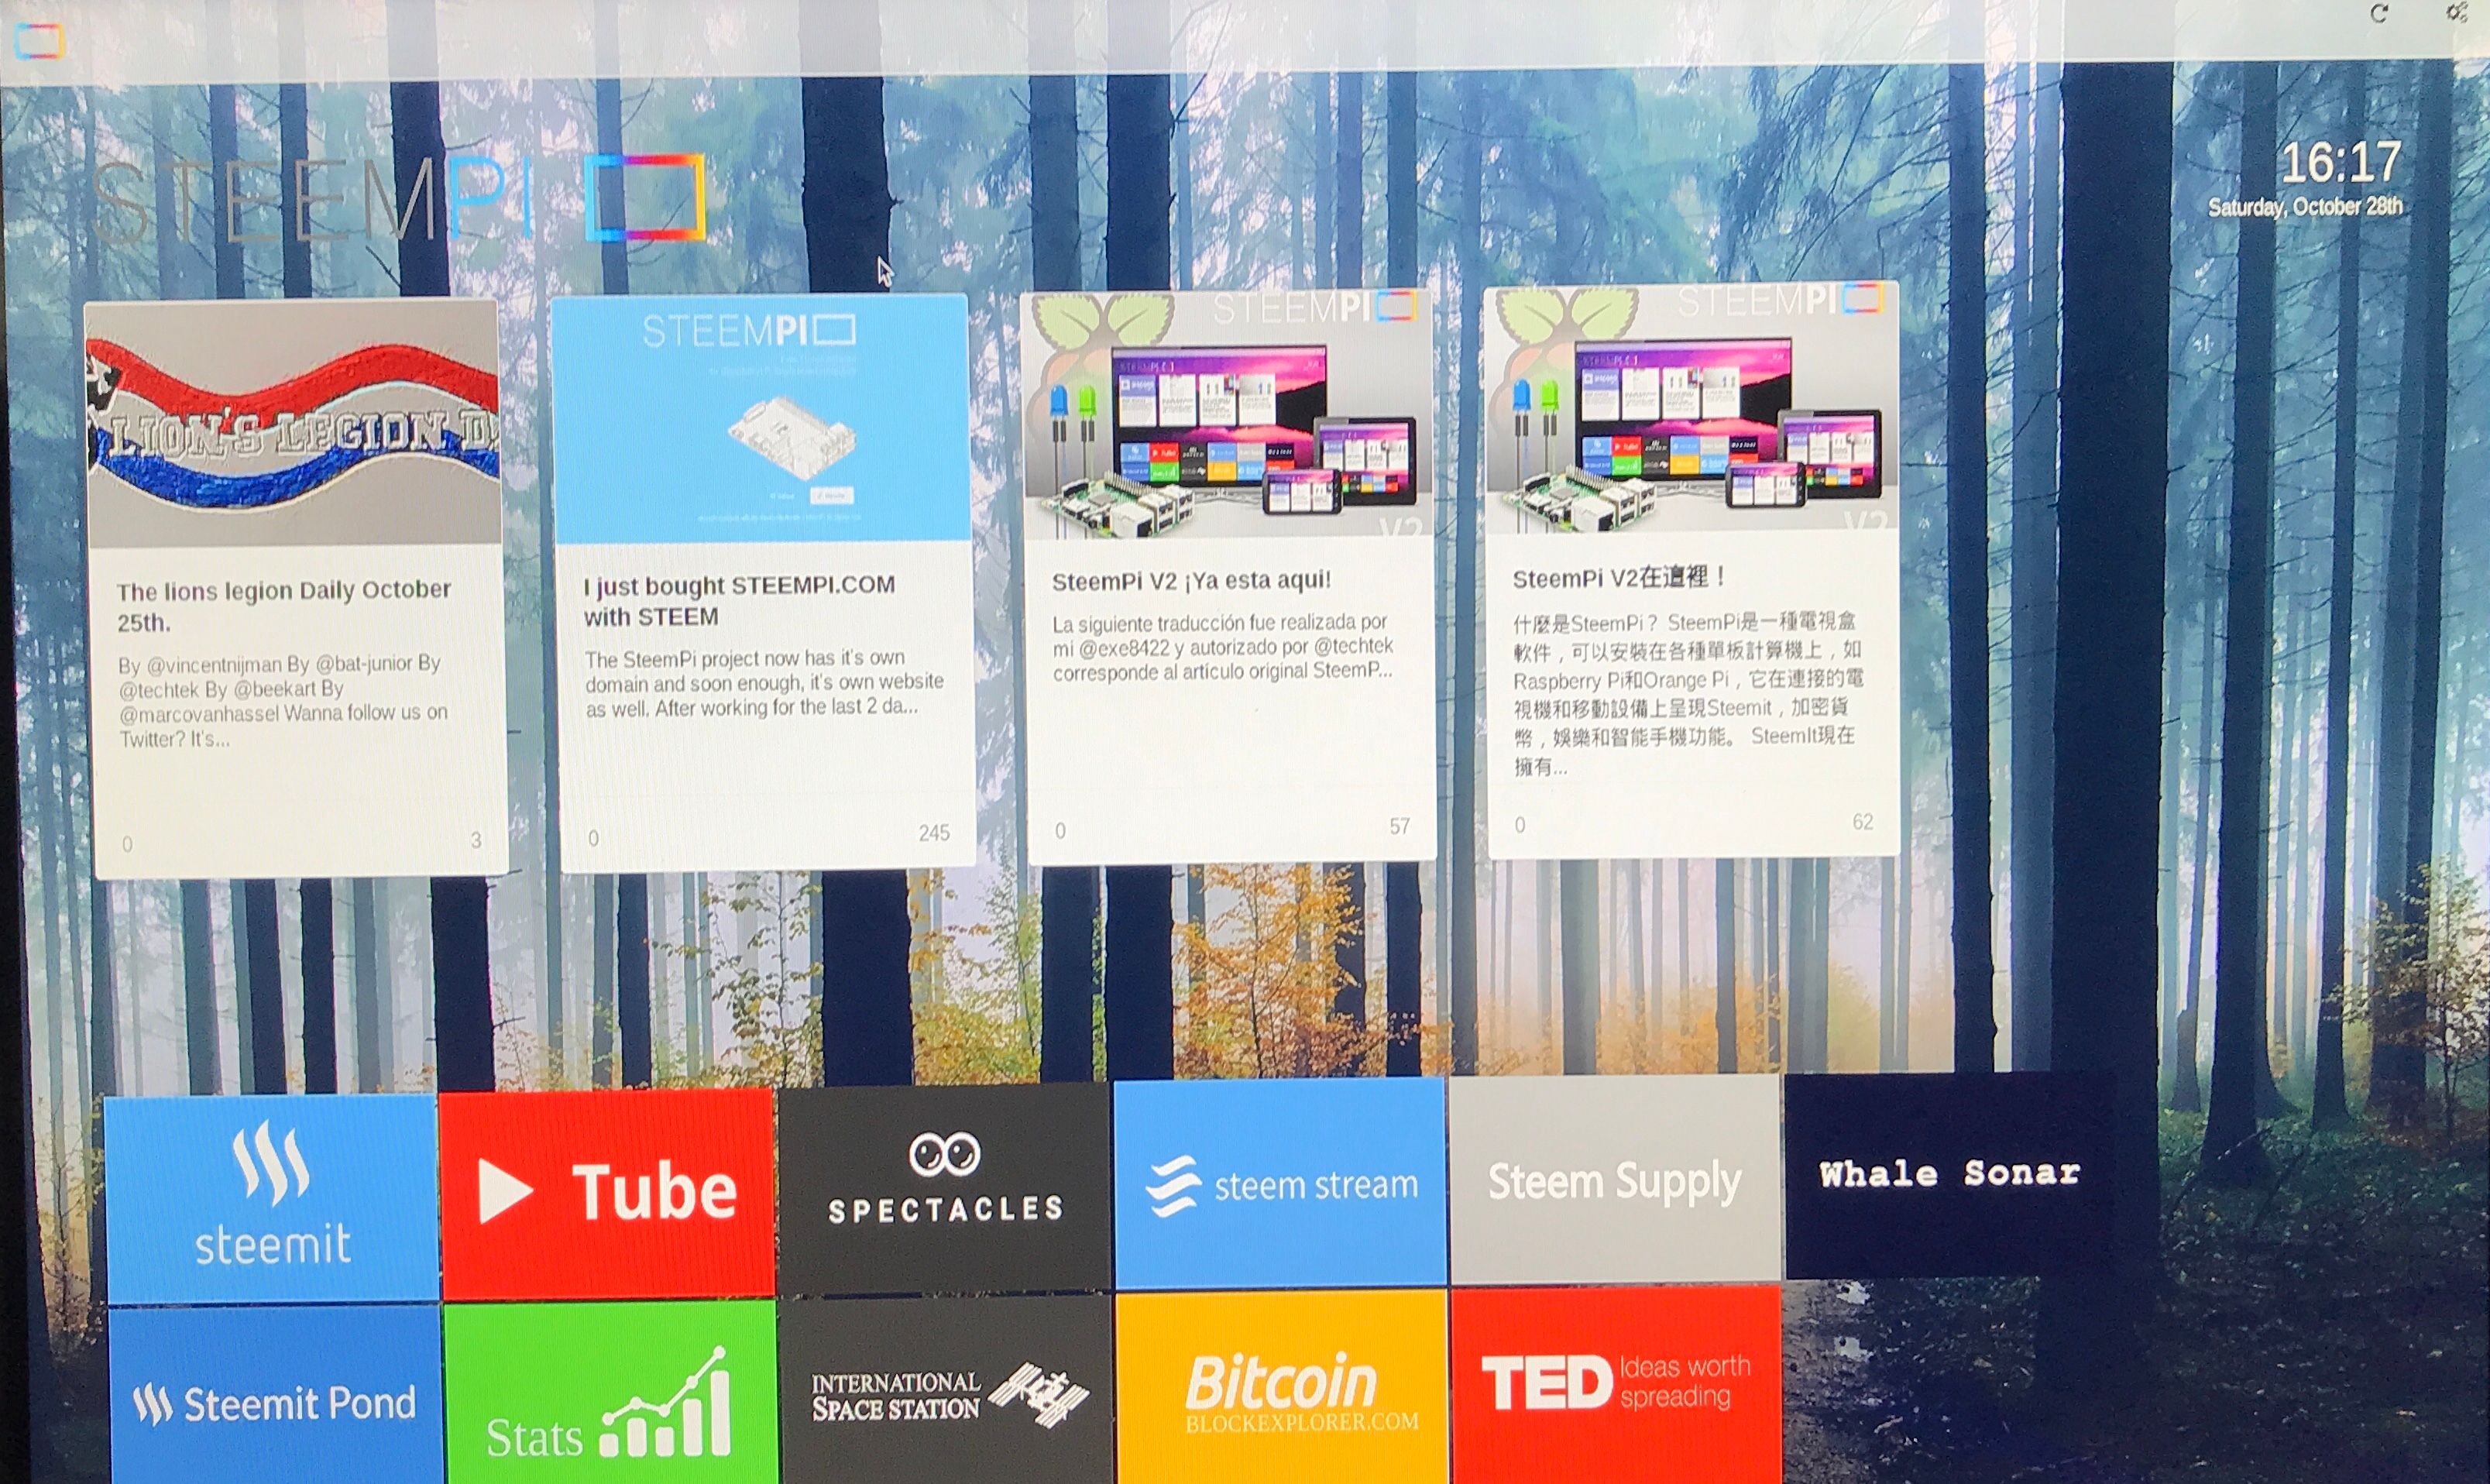
Steempi automatically loaded at startup. However, there was error shown.
果然開機之後就見弓Steempi. 可惜就見到這個錯誤信息。
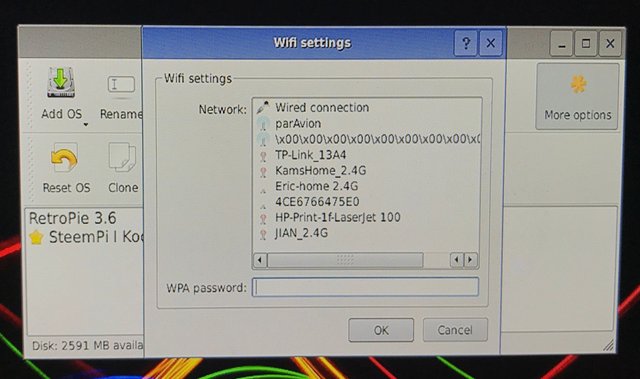
I figured out it was because there were no Internet connection. Therefore, I had to configure it to connect to my home’s WIFI network. In the documentation it stated that F10 should be able to get me to the Desktop where I could find the Network Configuration menu. However, my keyboard‘s F10 key didn’t work. After plenty of trial and error, I found that Alt + F4 did the same trick.
我發現原來是沒有網絡連接。所以我就要做好無線網絡設定。在Steempi 文件中提到用F10鍵可以叫出原來的卓面,所不知為什麼我的鍵盤的F10鍵卻沒有效。在無數次的測試之後,我發現「Alt + F10」都有相同效果。
In fact, at the BerryBoot screen. There was an “Connection” menu for network configuration. However, in this tool, I could not find my home’s WIFI network. That‘s why I had to use th Alt + F4 method.
其實在一開始的開機畫面中,可以選擇"Connection"菜單來設定網絡。可惜在這個工具中找不到我家中的無線網絡,所以最終我還是要在開機之後才利用「Alt + F4」來做設定。
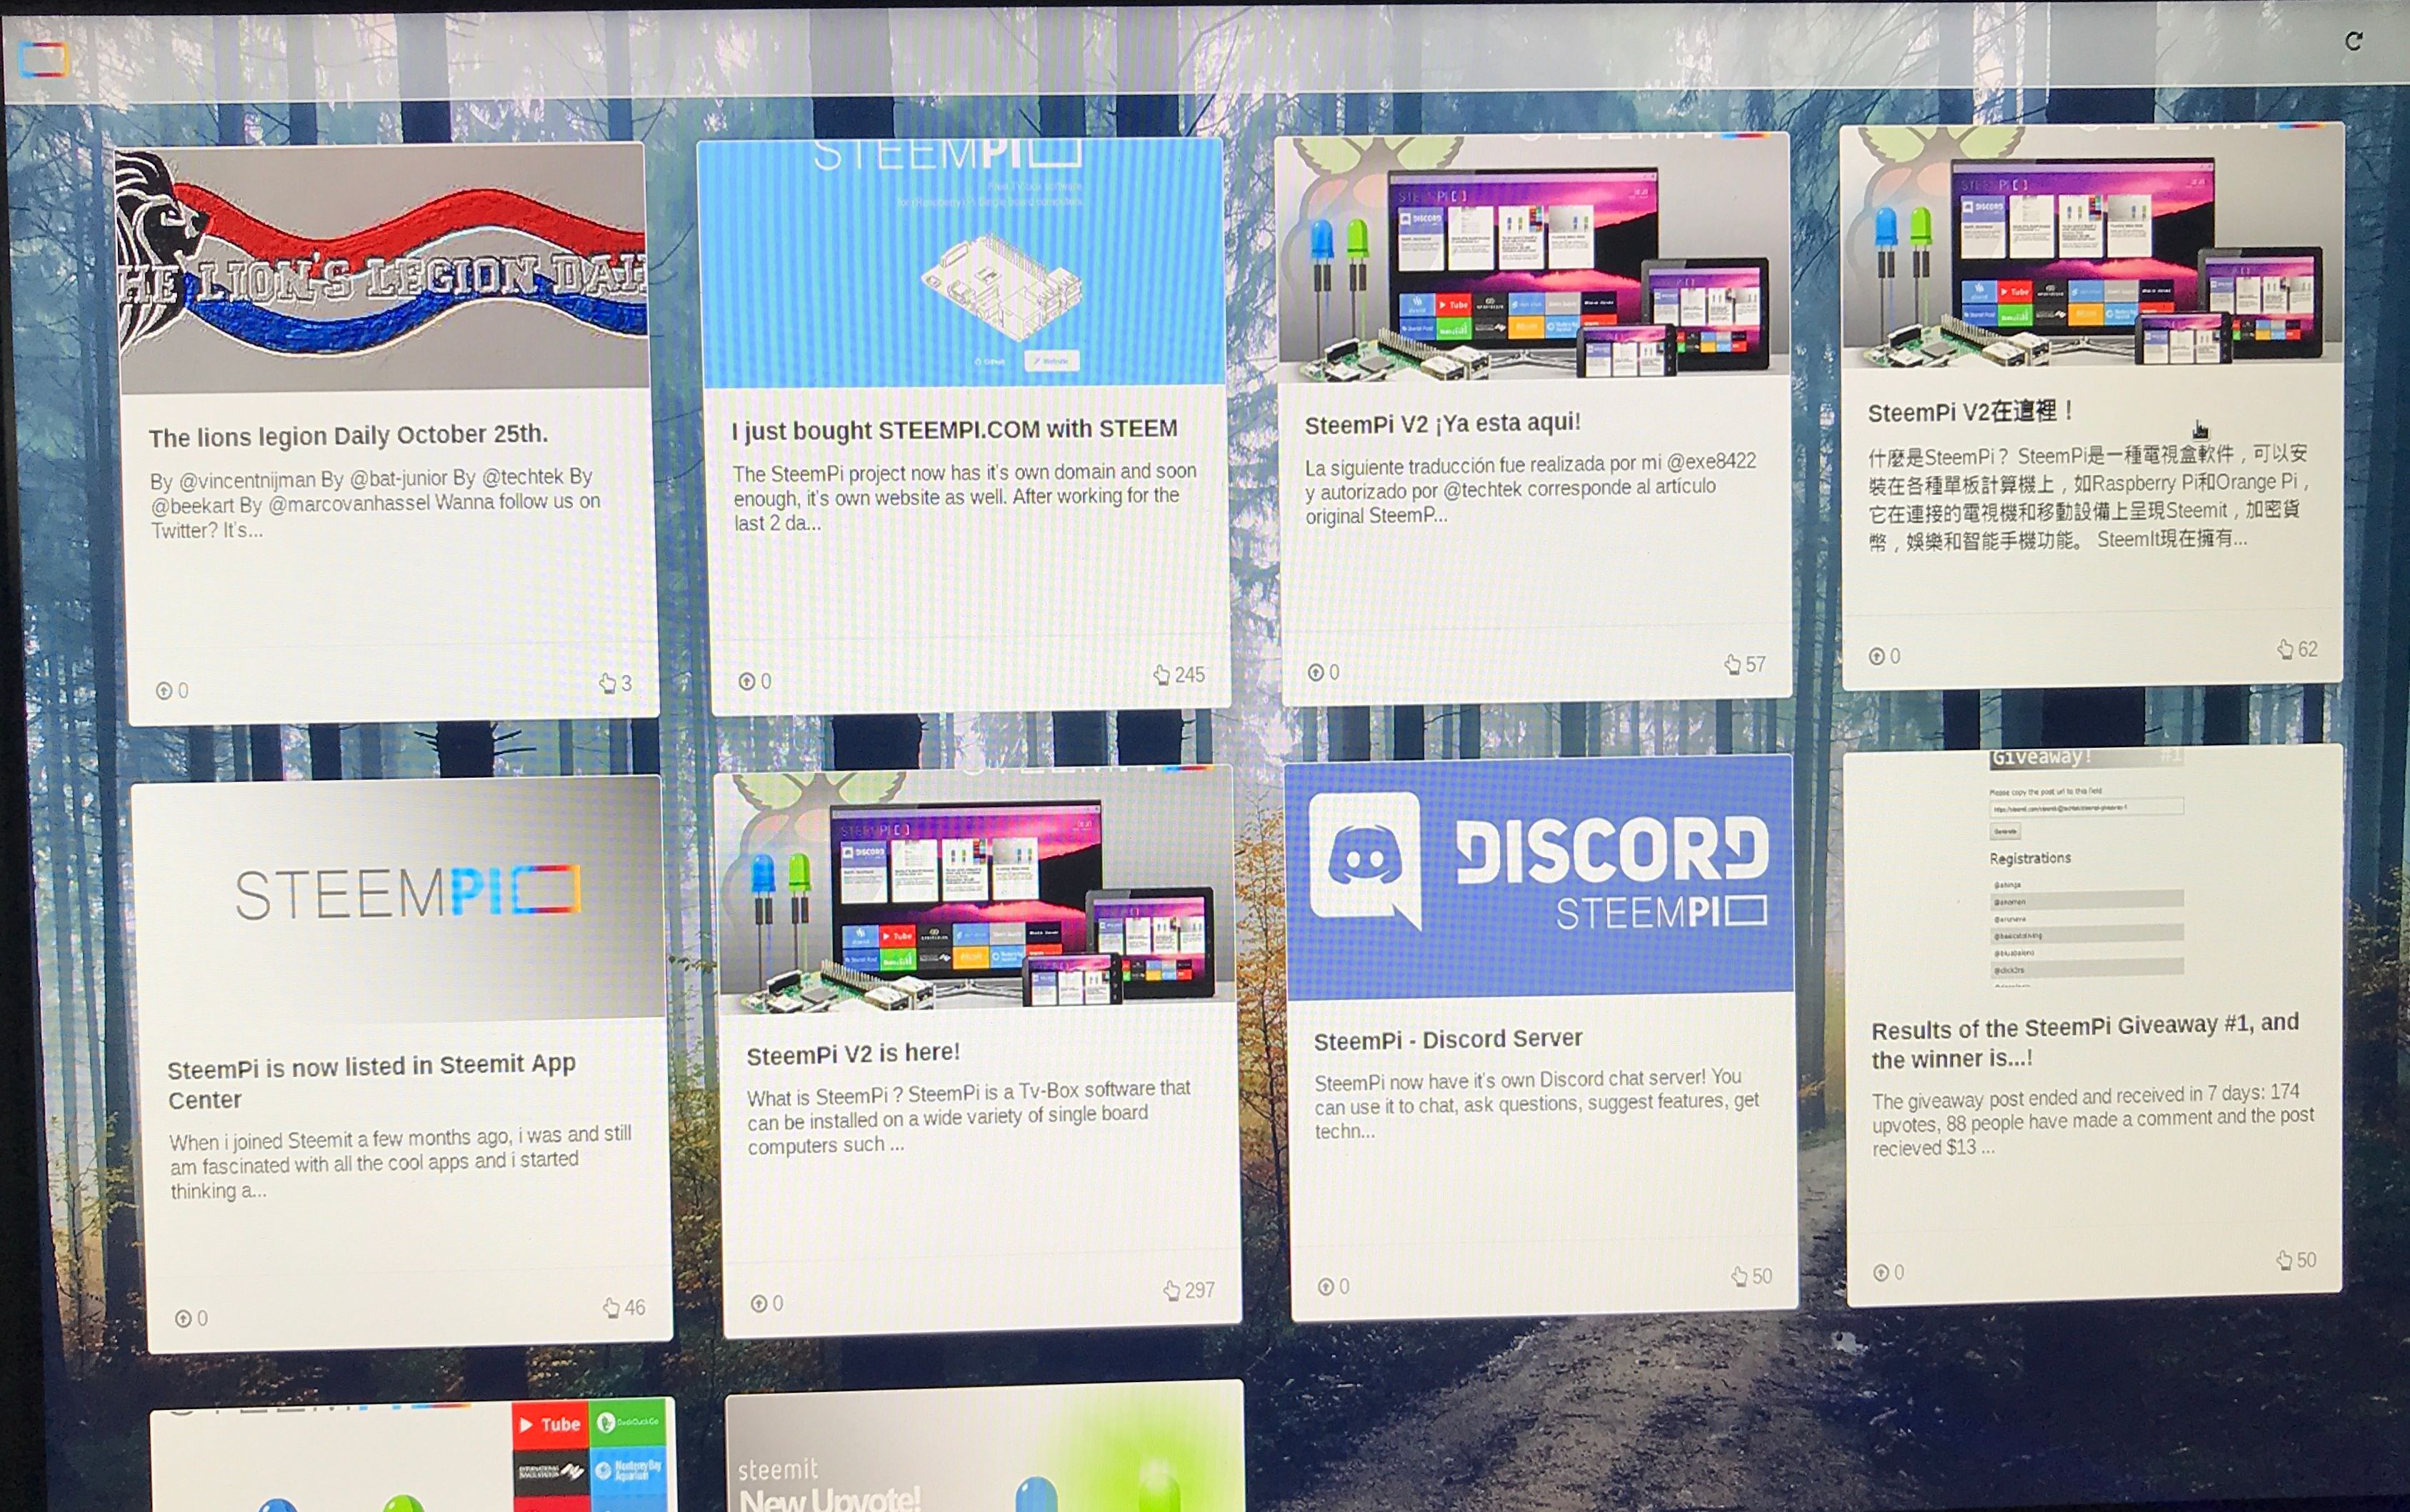
After connecting to the WIFI and got Internet access, Steempi v2 worked fine. The next thing I would like to try out was the new LED notification tool. I found that in the “Configuration” page, I could enter my Steemit username. At first, I expected after I setup my account, Steempi would work around my account, include the post feed and LED notification. The truth was, it was not. I’ve checked with @techtek, this item was for future use. If a user wants to change default user account of Steempi, he has to change user account at the code file level.
網絡設定好之後,Steempi 就正常連作了。接下來我想試一試在"Configuration"版面之中的東西,包括用戶名和LED測試。設置了用戶名之後,我以為steempi會開始圍繞我的房口而運作。但實際上卻不然。@techtek告訴原來該設定是留待以後用的,現在並未有實際功能。
Scroll further down the configuration menu, there were the tool to test the 3 LEDs. I used to have the comment notification BLUE LED setup for Steempi v1. So the testing of BLUE LED worked just fine. To see if the tool works with the 2 new LEDs, I first had to connect the 2 LEDs to Pi 3. However, I didn‘t find any documentation on how to setup the other 2 LEDs. I then dig into the souce code files, and found the information in the php files for using LEDs.
- GREEN LED had to connect to GPIO 1
- PURPLE LED had to connect to GPIO 2
再來就是新LED的測試了。在Steempi v1時我已經建立了藍色LED, 現在就要接駁新的綠色和紫色LED。不過我找不到任何文件有提及該如何接駁。我只好到源碼中找尋。最後給我在php檔案中找到了:
- 綠色LED要接到GPIO 1
- 紫色LED要接到GPIO 2
It ended up like this. | 就像這樣。
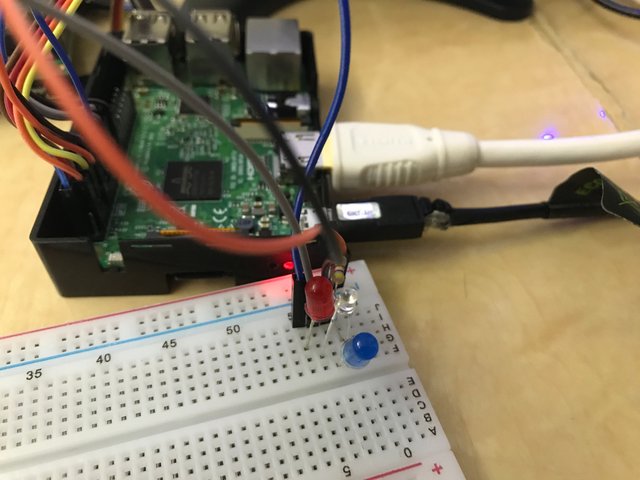
I verified the setup by the LED testing tool.
之後再用設定版面去成功測試LED。
Next step was to test the Upvote notification. It didn’t work! I checked with @techtek again and found that the function was still under testing, therefore, the script file was not yet included. I could manually change the codes inside the script file to test it.
原本是想繼續測試Upvote通知的,卻發現不能運作。原來因為這功能未完全測試好,所以沒有打新的功能加入。要測試的話只可以自己動手改變代碼了。所以我沒有做這個測試。
Other than Steempi, it could also be booted up as game console - RetroPie.
除了SteemPi, 用戶還可以選擇用RetroPie來開機,將樹莓派變成遊戲機。
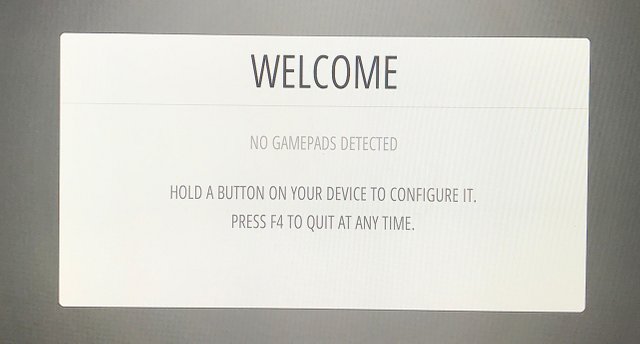
After booted up, it checked whether there was a game controller connected. Since I didn‘t have one, the process stopped there. I would test this later.
因為我沒有USB的遊戲控制器,所以用RetroPie開機之後就見到這個錯誤信息。唯有往後再試吧。
With this I concluded my tests on Steempi v2. I reported all the issues to @techtek, hope that the fixes will come soon.
測試完畢,我亦把所有問題向@techtek報告了。希望改良版快些登場吧。
請關注!點讚!轉發!
Please Follow! Upvote! Resteem!
Raspberry Pi with 20x4 LCD - D.I.Y. Series (3) | 樹莓派 加上 20x4 液晶顯示 - 自己動手系列(3)
兼賣樹莓派的書店 | Bookstore that sold Raspberry Pi parts
樹莓派 3 開盒及初建分享 | Raspberry Pi 3 Open box and Setup





Thanks for writing this nice review!
For RetroPie you can instead of the game controller also use the keyboard, just press and hold a key to map it. (it wont show the emulators until you have added the roms of the games in the Retropie rom folders, but you should be able to play the Doom, Quake and Duke Nukem and a few other games.)
Some of the SteemPi features do still require a bit of command line to start them / and configure.
Step by step getting there.
Upped and resteemed, Thanks for testing :) and thanks for getting in touch in the SteemPi Discord server and providing feedback.
You're welcomed! Steempi is a nice piece of work! I like it!
Restem post
good effort try this ,it is useful
A pretty detailed review
Resteemed
好像挺好玩的,可是怎麼感覺是啥都沒完成,要等到以後用的...呵呵
so now working back :)
大家都在玩,好像很好玩的樣子,可是都看不懂啊!
這是
毒男人的玩具之一毒男人?呵呵呵
哈哈,就是毒男!
thanks for sharing keep it up
Great works, I wish you success

keep it up i wish you more success 😍