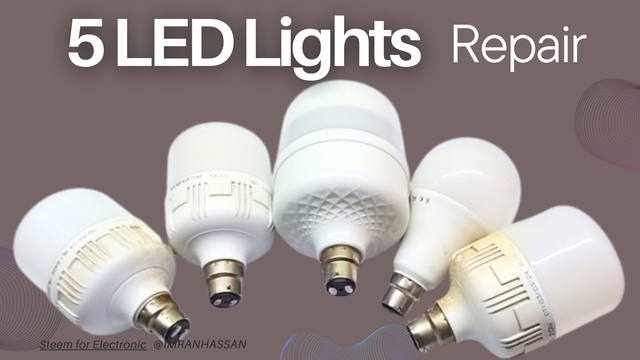
How are you all? I hope everyone is well and healthy by the grace of God. Today I will show you how to repair five LED lights.
.png)
Edited with Canva.
A brother from my area gave me five LED lights to fix and said that all the lights in his house were broken, so I should fix them quickly. Then I told him that it would cost 30 taka to repair each LED light, and if I have to install more parts, it would cost 40 taka. Then he agreed and gave me 200 taka to repair five LED lights. So let me show you step by step how I repaired 5 LED lights in this post and share a video with it.
| Preparation for LED light work |
|---|
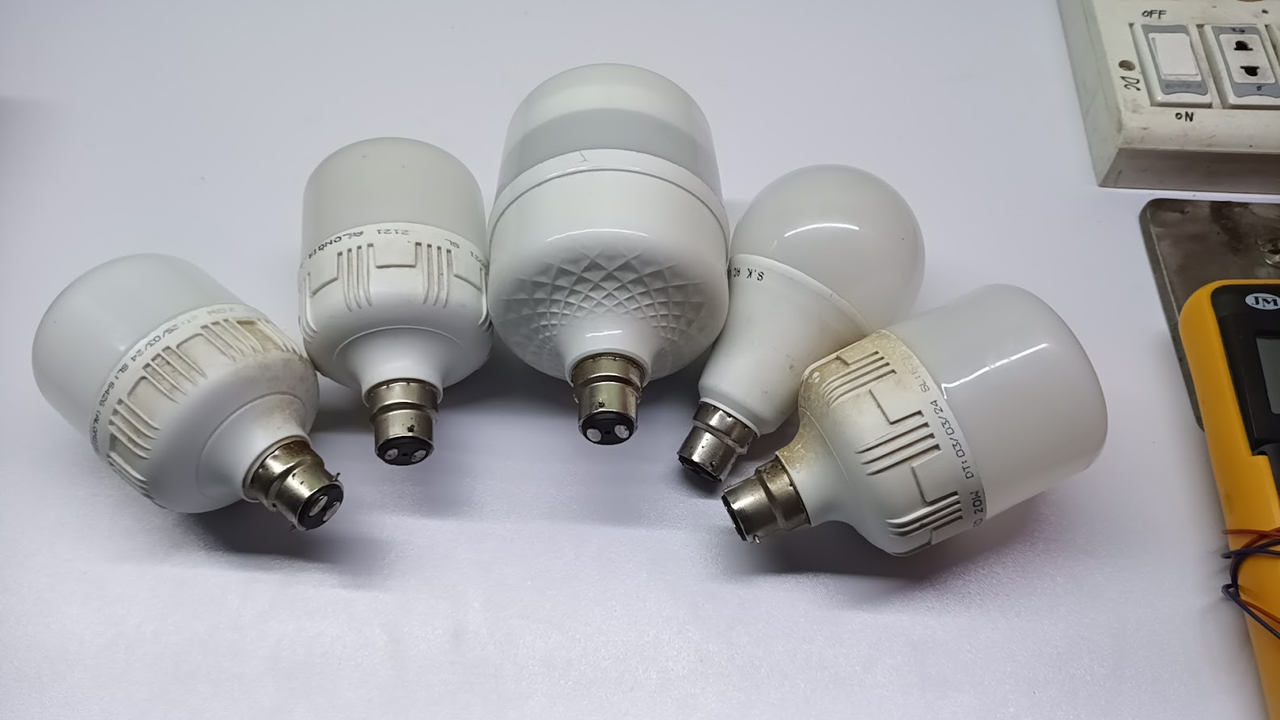
First of all, you can see that I have taken five LED lights here on my work table. So that it is convenient to repair the LED lights and you can understand them better, I have taken the numbers of the LEDs here with a marker pen. Here you can see that I have marked the LEDs from 1 to 5. Then I have taken a bulb holder here so that I can check the LEDs through the series line and show you, so let's start repairing the LED light now.
| Number 01 is repairing a 30-watt LED light. |
|---|
Step -01
First, you can see an LED light in my hand; it is a 30-watt LED light. We will now open it to see what the problem is. I have removed the top white plastic cover; there is no problem on the top. We will now look inside.
Step -02
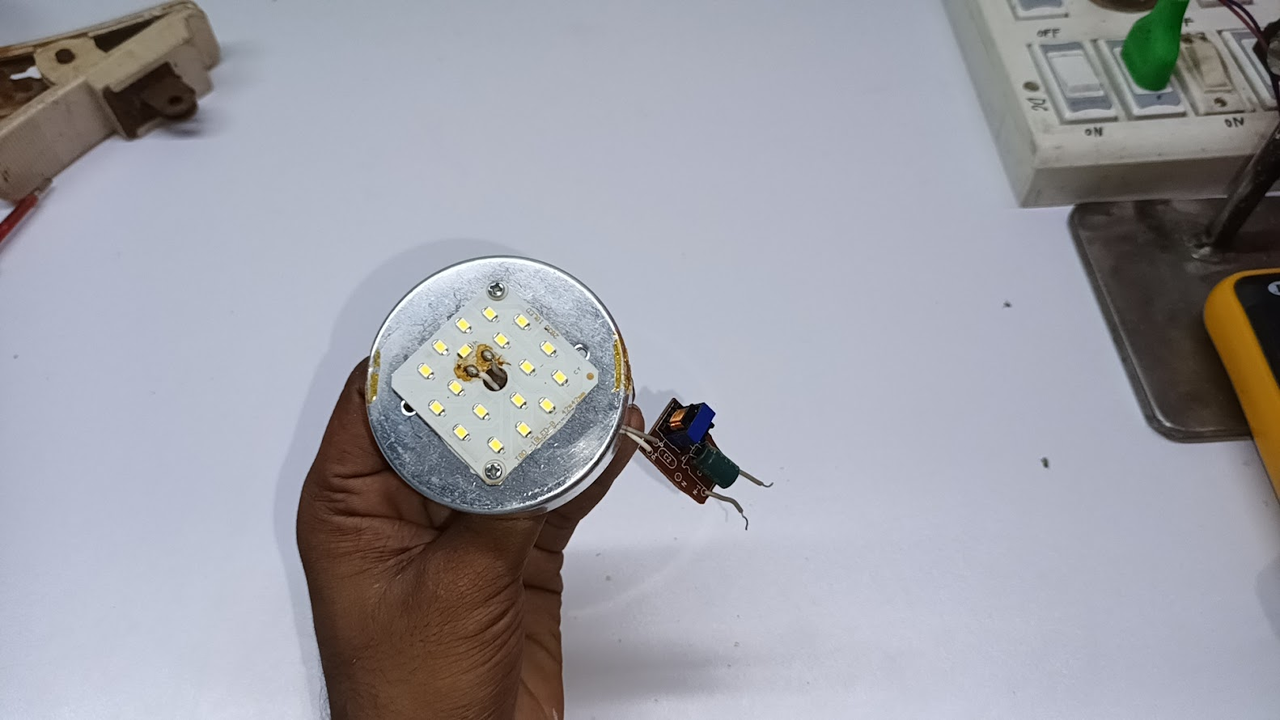
After removing it inside, you can see that our power supply circuit has burnt; now we have to change this circuit and install a new circuit. Now you can see that I have taken a new LED driver circuit here, which is priced at ৳15 Bangladeshi taka.
Step -03
And I am throwing away the old circuit. Now you can see that I have replaced the new driver circuit inside the LED body cover and connected the input voltage to the pin holder.
Step -04
Now you can see that I have put all the body covers back on and connected the positive and negative connections of the new driver circuit to the LED chip. Now I have tested it, and you can see that the LED chip is glowing very nicely. Now I have put the white body cover on top and checked it again, and you can see that it is glowing very nicely.
| 02 number 20-watt LED lights are being repaired. |
|---|
Step -01
Now you can see that I have taken my second number LED light in my hand to repair it. After removing the white body cover on top, you can see that one LED out of the 20 LEDs inside the LED chip is burnt, and here is the series line connection. If one LED chip is burnt, this light will not light up anymore.
Step -02
Now I have decided to change this LED chip and replace it with a new LED. And you can see that I have taken a new LED plate, which I will replace in this light; its market price is only 12 taka.
Step -03
I replaced the LED chip with a new one and connected the negative and positive to the circuit. And now you can see that I tested it, and it is working fine after changing the LED plate.
Step -04
Now I have installed the second LED light on the repaired complete column and upper body cover, and you can see that it is working fine.
| 03 No. 20 Watt LED Light is being repaired. |
|---|
Step -01
Now you can see the number three LED light in my hand, so let's open it now and see what's wrong inside. I have removed the white body cover on it, and you can see that one LED chip on the top of the LED plate is black, which means it is also an LED problem.
Step -02
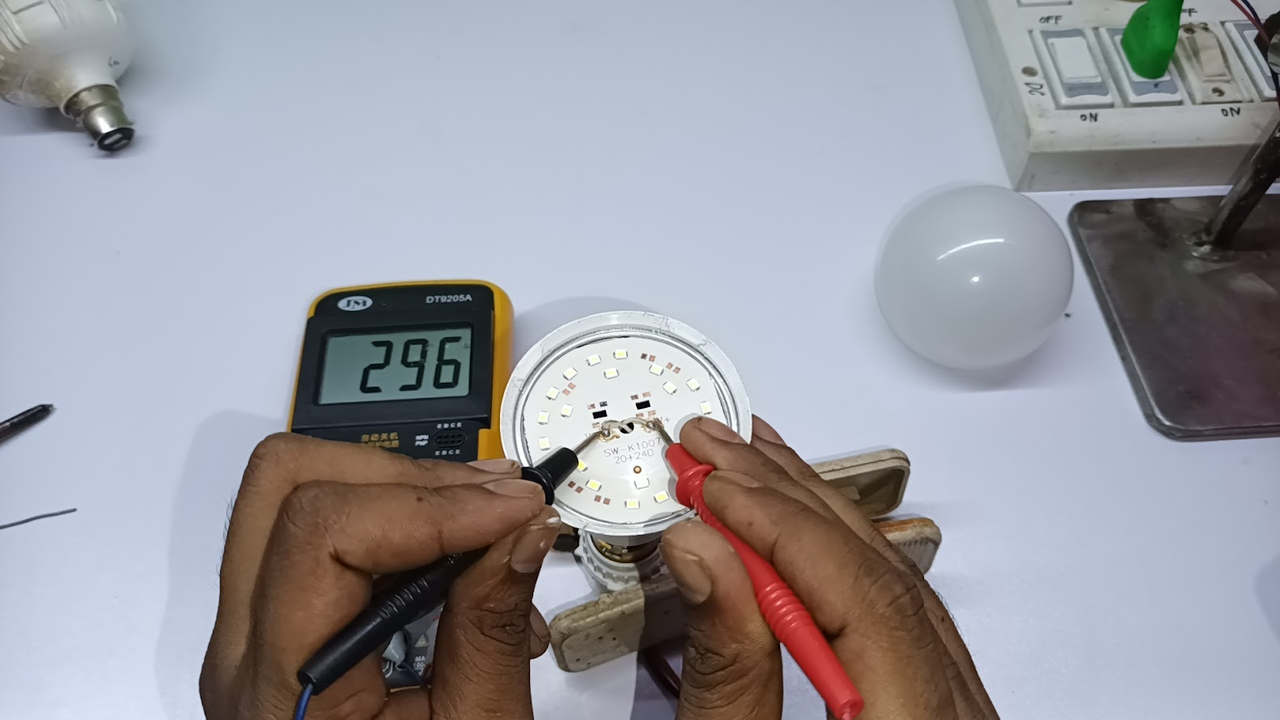
Now you can see that I am checking the output of the circuit with a digital multimeter. My circuit is good; here I need to change the plate of one LED chip. You can see that I have taken another new LED chip pellet to replace this number three LED light.
Step -03
Now you can see that I have installed the new LED plate on the body cover of the LED light and made the negative and positive connections. Now you can see that I have tested it through the series line, and it is shining very beautifully.
Step -04
Then after installing the white body cover on the top, I checked the LED light again, and you can see that my number three LED light is also completed very beautifully.
| 04 number 20-watt LED lights are being repaired. |
|---|
Step -01
Now you can see that I have taken the number 4 LED light in my hand to repair it, so let's open it inside and see what the problem is. I checked the output of its driver circuit with a digital multimeter; the driver circuit is good, but there is a problem with my LED.
Step -02
So I don't have an LED plate to change this LED chip, so I will repair it here. There are 25 LED chips here, so if I find one LED bad from here, I will short it. So you can see that I found one bad LED here, so I connected it to the line using a soldering iron. Now it is ready to light up completely, and now 24 LED chips will light up here.
Step -03
I checked it again through the series line, and you can see that it is lighting up very nicely, and since there are 24 more LEDs on this LED chip plate, I hope this light will not get damaged easily. So our LED light number four repair is complete; now let's repair the LED light number five.
| 05 number 20-watt LED lights are being repaired. |
|---|
Step -01
Now you can see that I have LED light number 5 in my hand; this is my latest repaired LED light, so let's see what the problem is inside. First, I removed the inner body cover, and as you can see, I can't find any problem in the LED.
Step -02
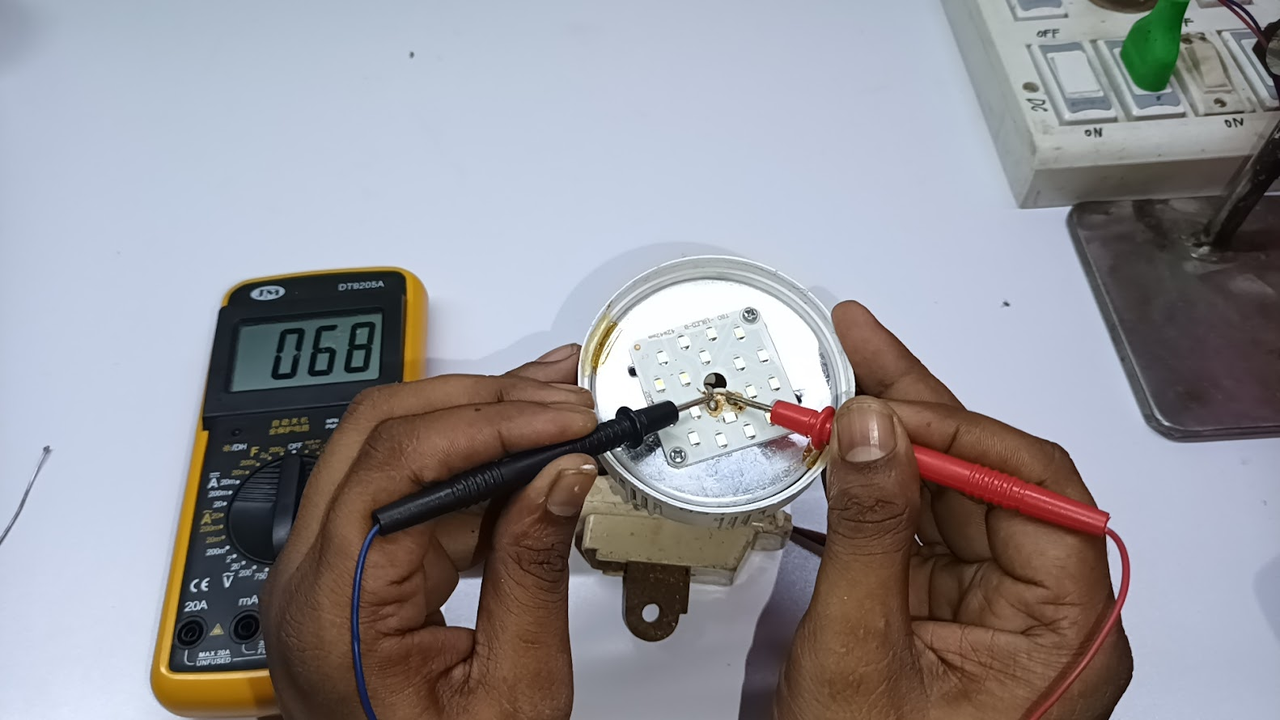
Then I checked the driver circuit output with a digital multimeter; it shows very low voltage here, which makes me suspect that it is a circuit problem or an LED problem. I don't understand, so I will test both. So I removed the circuit and the LED plate from the LED body cover.
Step -03
Now you can see that I have taken a new driver circuit to connect with the old LED chip. Now you can see that I have connected the new driver circuit to the old LED chip.
Step -04
So before the old LED chip was not lighting with the new driver circuit, so I connected the new LED chip with the old driver circuit. And I compared both of them in a series line; my new LED light was lighting with the old circuit, and the old LED chip was not lighting with the new LED light, so I decided to change the LED plate here.
Step -05
Now you can see that I have put the new driver circuit and put the new LED plate with the old driver circuit and left the old LED plate in my hand, so let's test it now. After testing, you can see that my new LED chip is turned on with the old driver circuit, which means that our LED chip had a problem.
Step -06
Now I have connected the body of the fifth LED light and the driver circuit; you can see that the new LED chip has been replaced here. Now the repair of my fifth LED light is complete; as you can see, I repaired five LED lights very efficiently.
.png)


Upvoted! Thank you for supporting witness @jswit.
Congratulations!!

Your post has been upvoted through steemcurator06. We encourage you to publish creative and quality content.
Curated By:
Thank you for uploading your content to IPFS!
With SpeemClips, you can share vertical videos and appear in other users’ feeds based on your video’s topic.
Remember to always use relevant tags related to your content so it can be recommended to the right audience.
The tags you should use are listed below:
Curated by @marvinvelasquez