How To Draw A Kawaii Character - Simple Tutorial For Kids

When my daughter was about 2 years old I started to pick up drawing again after ten years of not doing so. I always have been an artsy type and I was into art as long as I could remember. But right after university, life just got a lot busier and I hardly had time to devote to art. And then marriage and of course kids came along several years later. I decided to pick up art again because I wanted to inspire my daughter to do creative things.
One of the earliest artwork I did was drawing kawaii characters. I had not been drawing for about a decade and my hand sort of 'forgot' how to draw. I bought several drawing instruction books but I was drawn more to kawaii art because I wanted something more cheerful that could inspire my daughter. One of the books I bought was by Christopher Hart, Manga for the Beginner Kawaii: How to Draw the Supercute Characters of Japanese Comics.
This book is an absolutely a must for those who want to learn to draw kawaii art. I learned so many great tips through the step by step instructions and super cute illustrations given throughout the book.
Here are some of the kawaii character drawings I made while reading the book. These drawings are inspired by Hart's illustrations but they are 100% mine, meaning they are not copied from the book. I drew them from scratch based on the tips I learned. The cute girl in some of the drawings was inspired by my daughter. She used to have this elephant plush toy which was her favorite that she carried everywhere.

This tutorial is based on some of the things I learned from the book. It just covers the most basic part to make it easier for kids to understand and follow. Again, the drawing and the text are 100% mine and not copied from the book. So let's get started!
Materials you need
- Drawing paper
- Pencil and eraser
- Compass (drawing tool) or a large size cup
- Black marker
- Colored pencils
Step 1
Use a compass (drawing tool) to make a big circle. If you don't have one, you can use the bottom of a cup to create a circle. This circle will become the head. Make sure your circle is not too small. We want to draw a super cute character and to make it kawaii, the head must be huge and bigger than the rest of the body. Next, draw the body and short hands and legs. The legs are just stumps here.

Step 2
Draw her hair exactly like you saw in this picture.

Step 3
Erase the top outline of the circle and the head is now bigger because of her hair!

Step 4
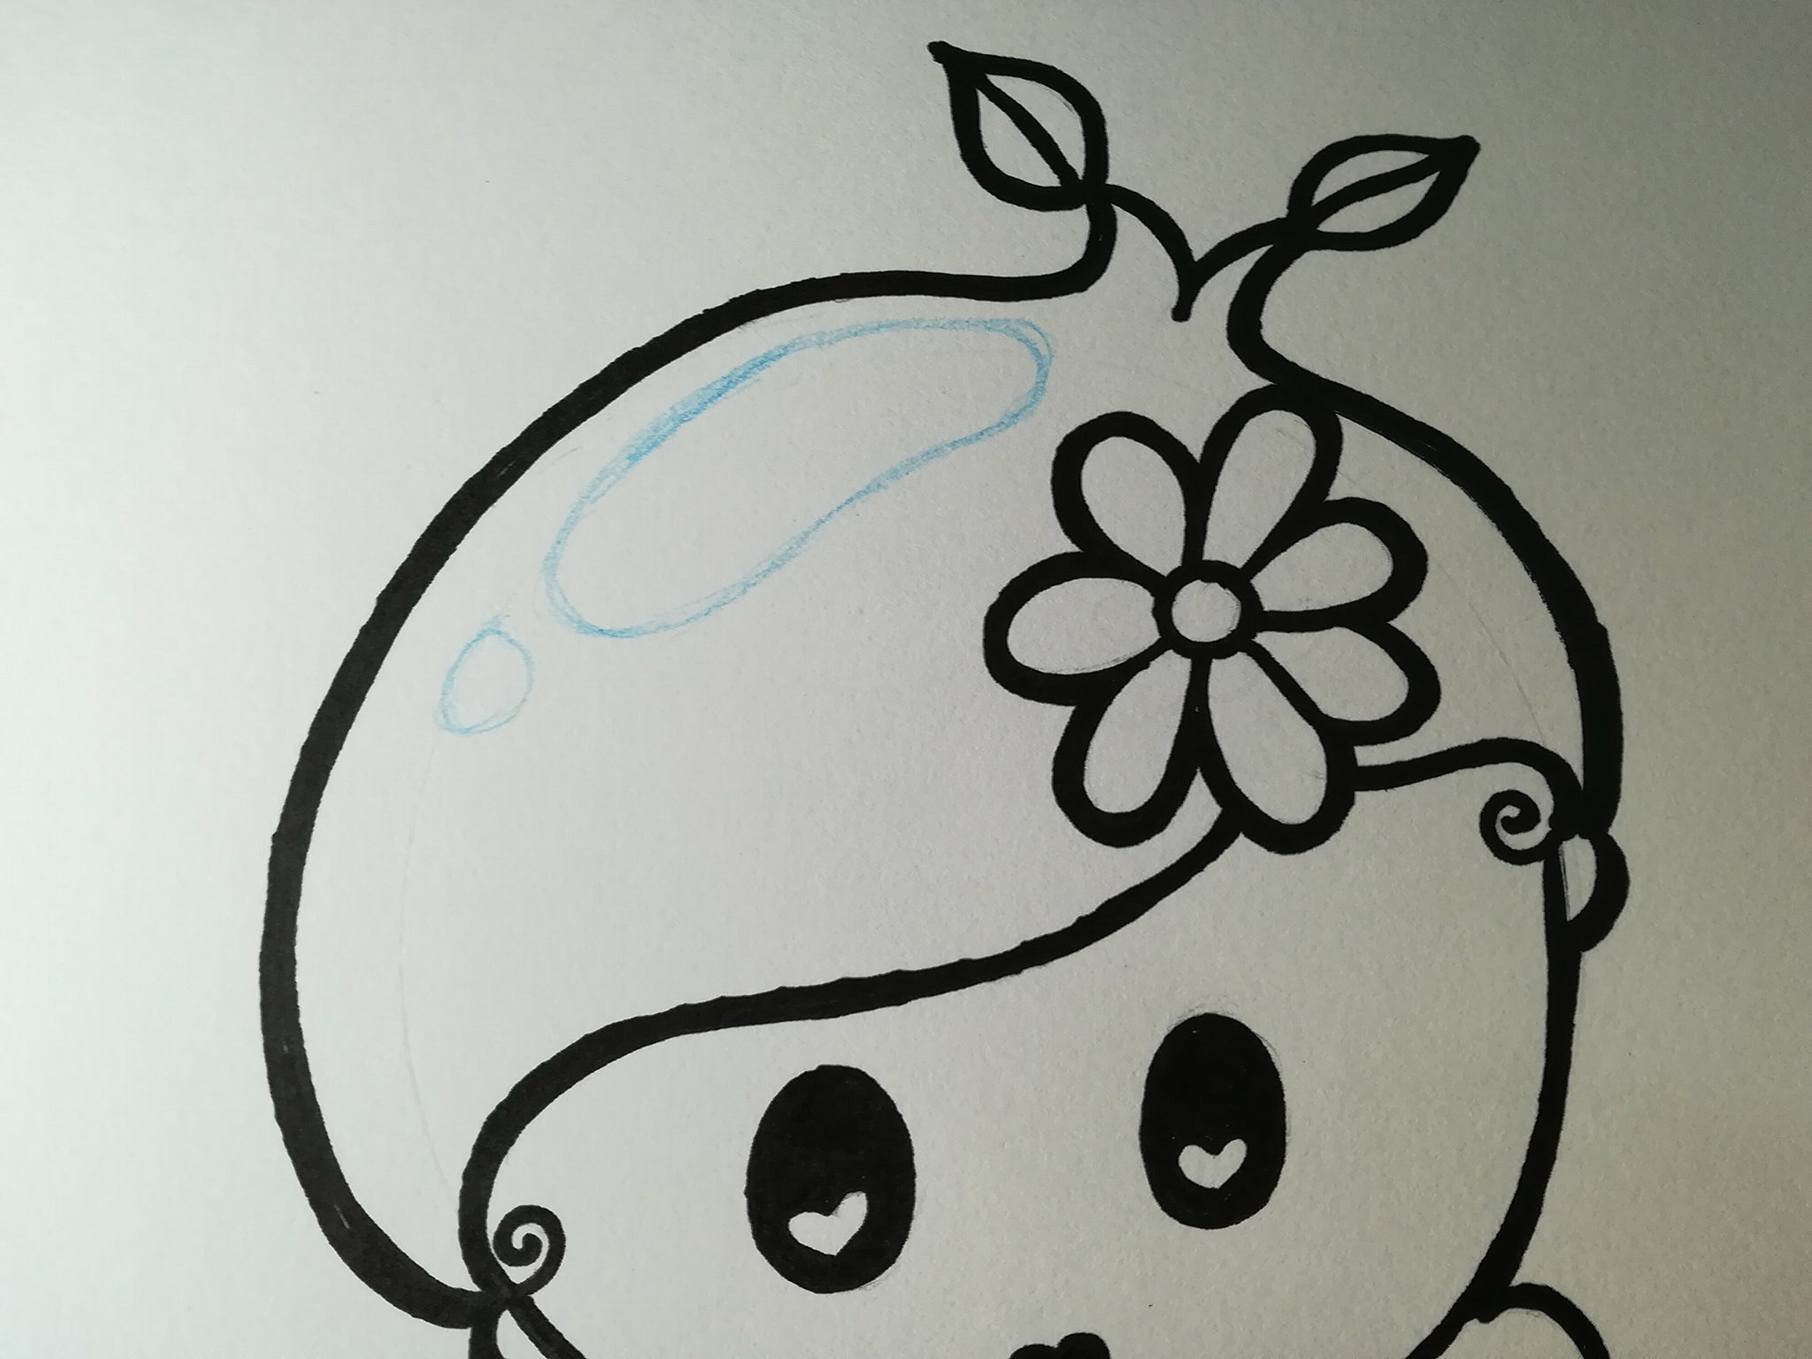
Draw her eyes and mouth. Unlike other manga drawing styles with large shiny eyes, a kawaii character has very simple features - dot eyes without shine, no nose and tiny mouth. However, for this drawing, we make her eyes larger with heart shapes in them and also her mouth is also heart shaped. Maybe she is in love! So go ahead and draw exactly like you saw in this picture.

Step 5
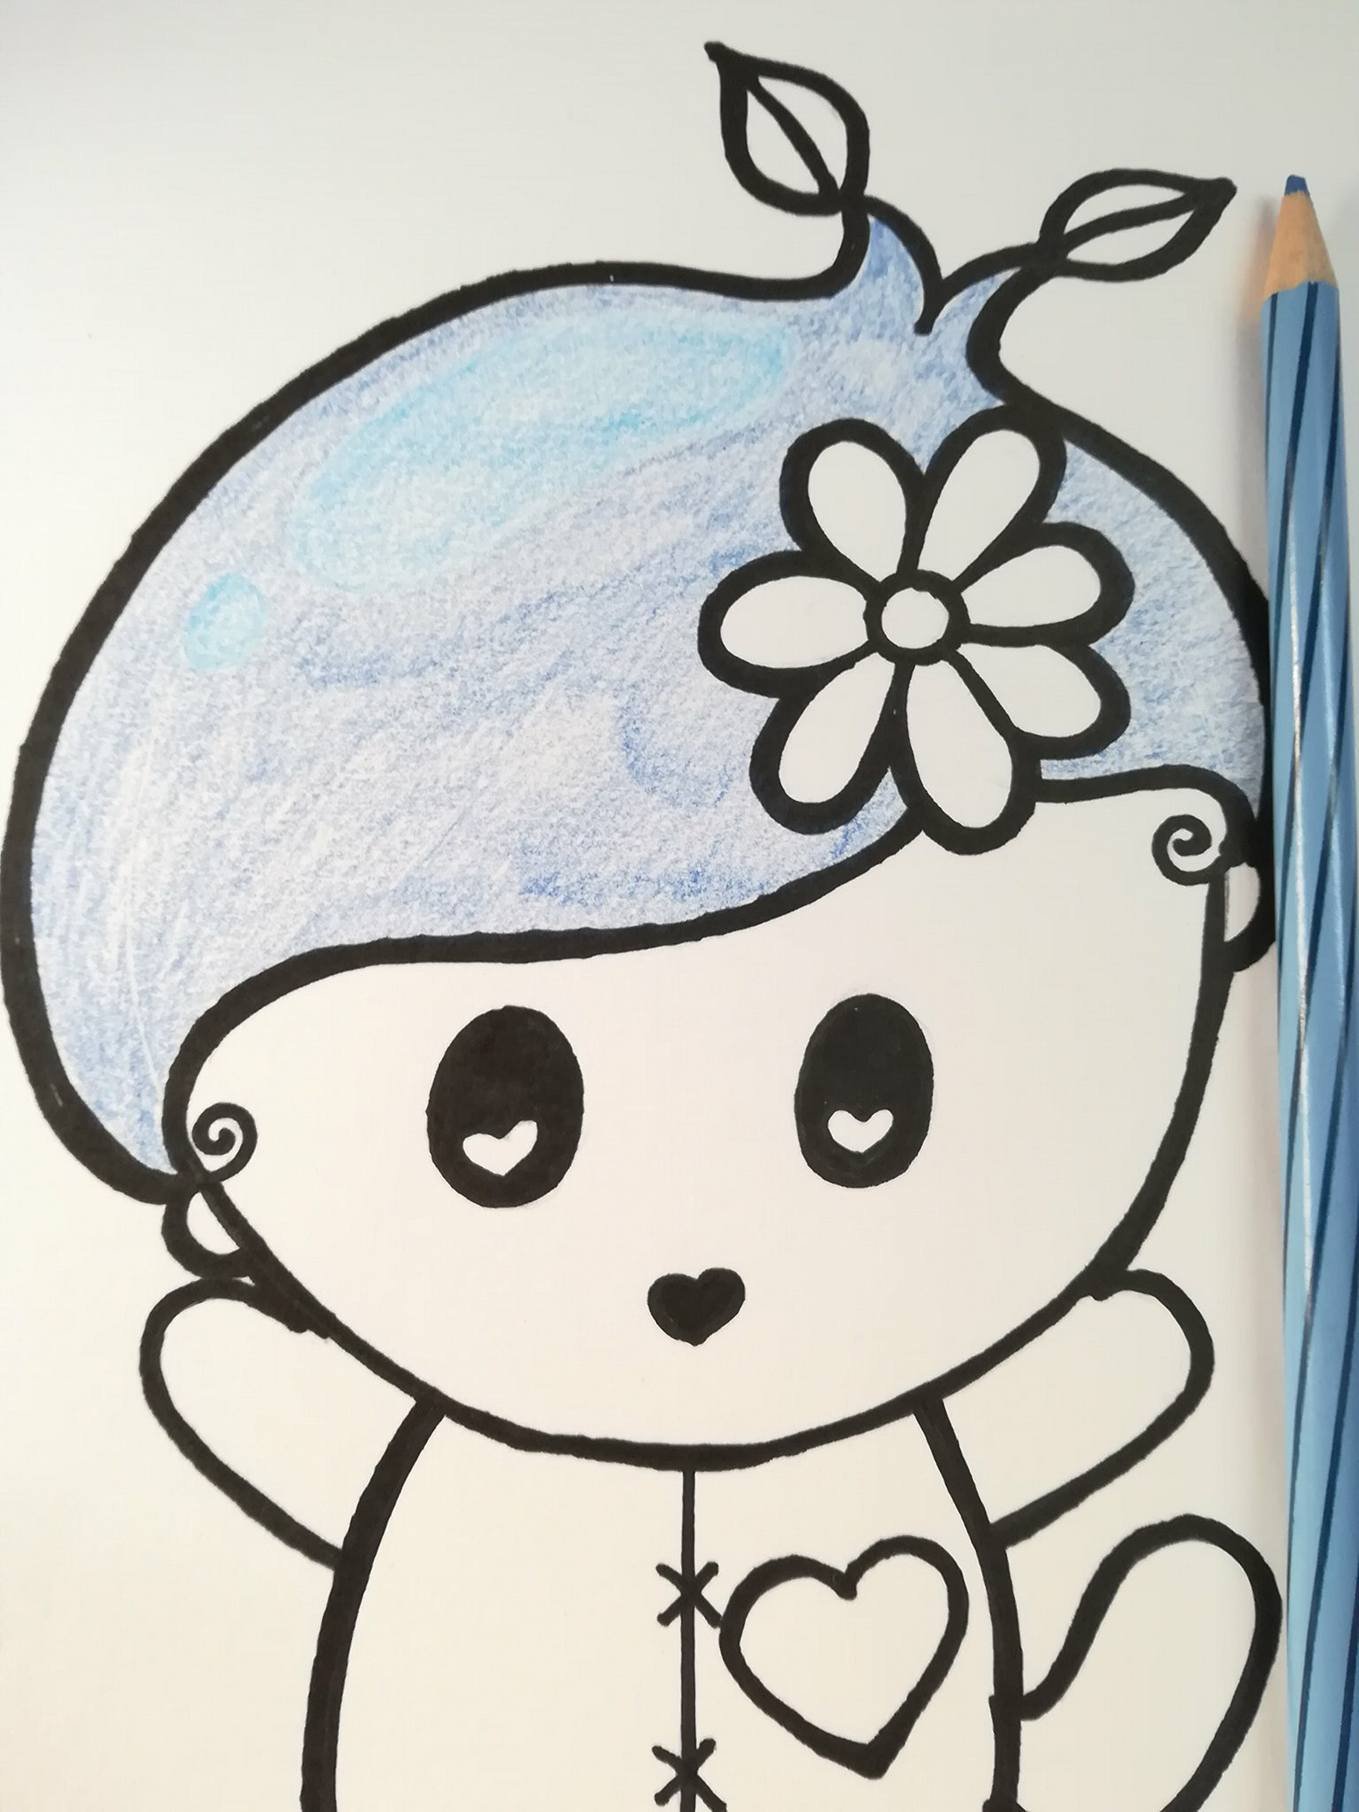
We don't want any fancy clothing for this cute girl. So she is wearing a onesie with a tail. There is a heart shape on her left chest.

Step 6
Now get your black marker and we will start inking! Once you finished, make sure you erase all pencil marks.

Step 7
I am not quite happy with the drawing because the black lines are not thick enough. So I made the lines thicker. A thicker line makes the character flatter and extra cute! Don't believe me? Compare the image on step 6 and 7, which one looks more appealing? Make sure you erase the rest of the pencil marks.

Step 8
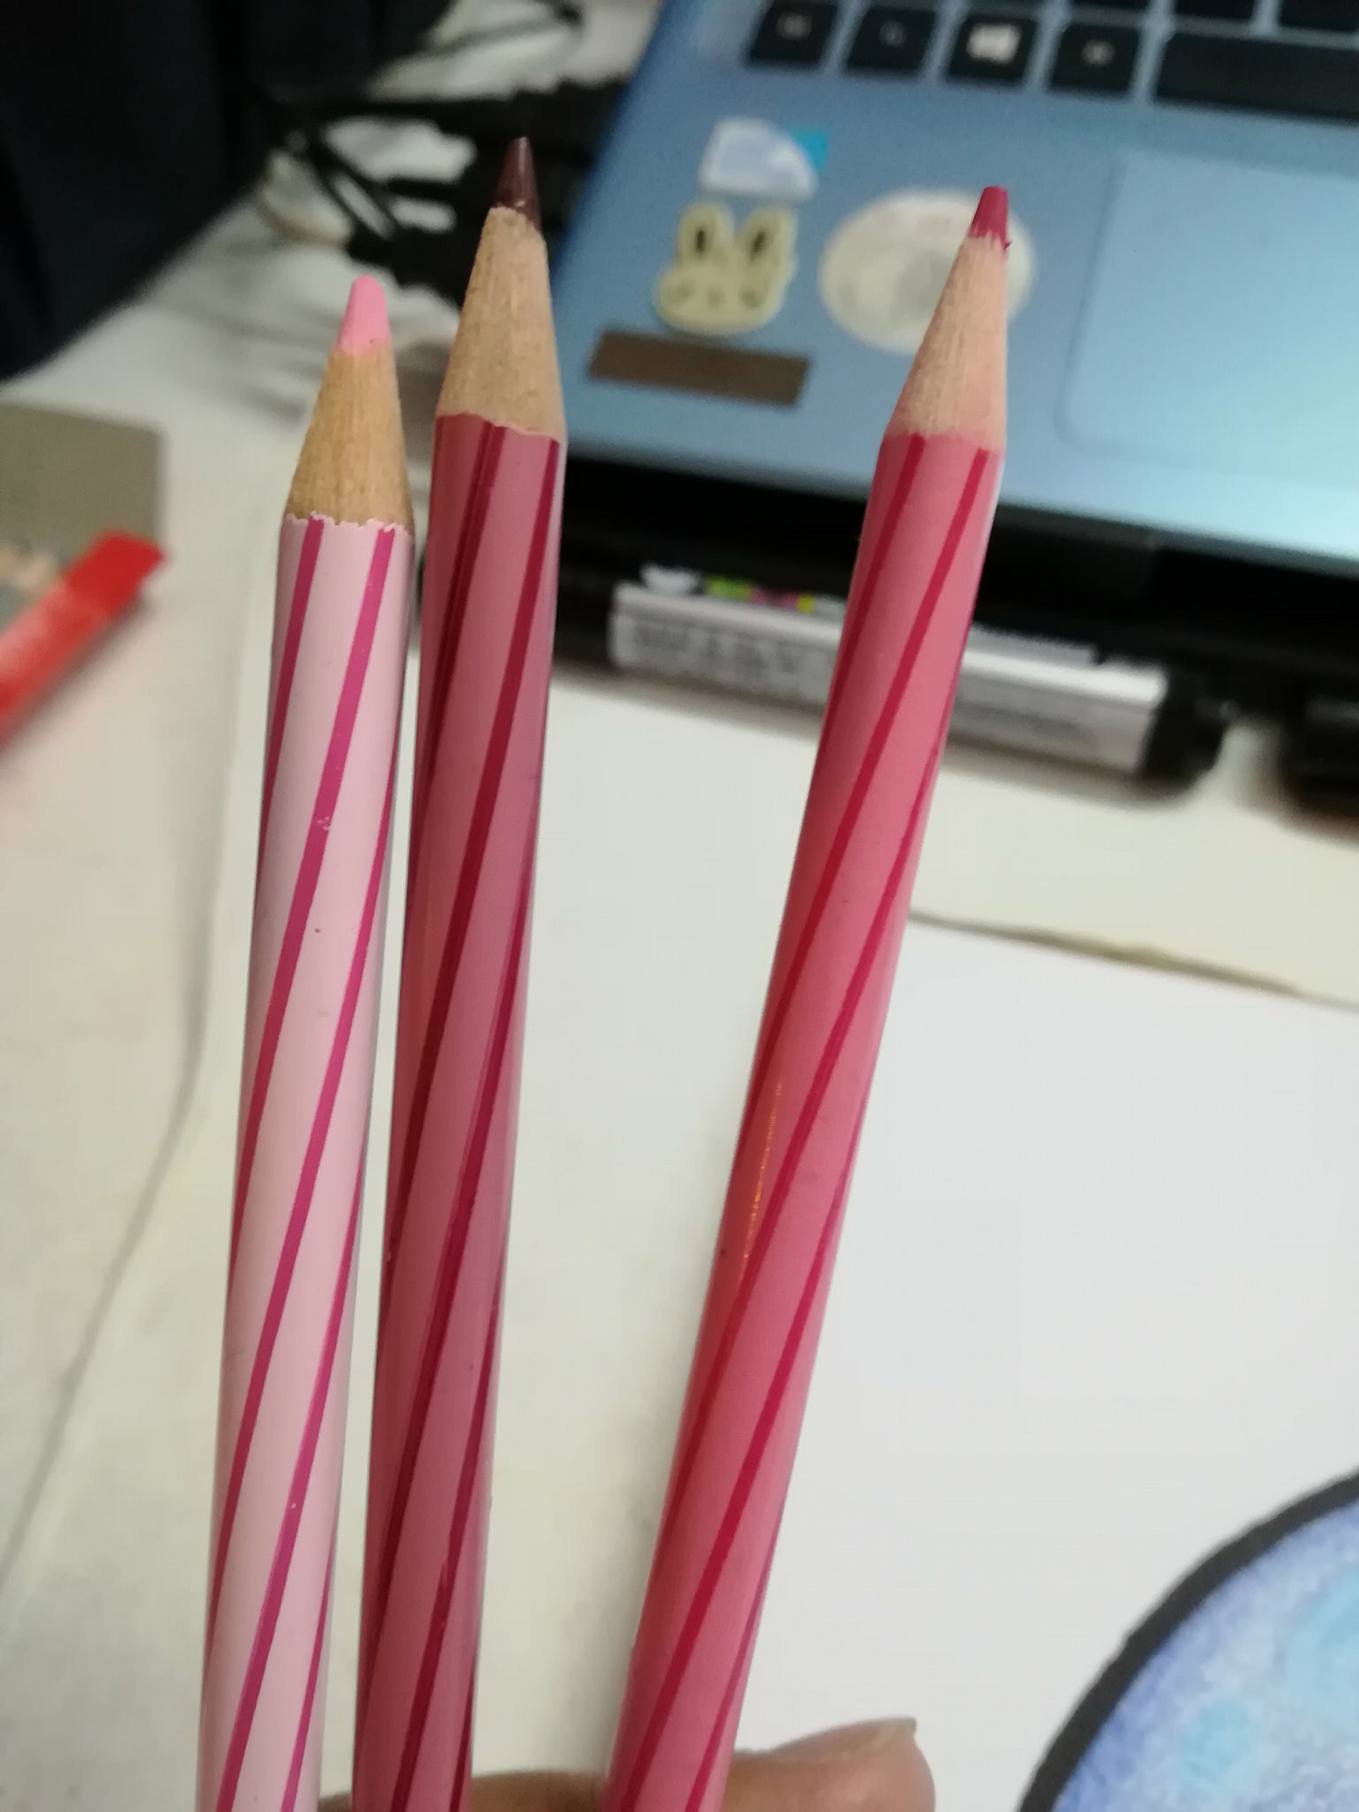
It's time to color. You can use my color selections which are combinations of blues and pinks but you can choose whatever colors you want. You can choose to do flat colors without shadings and that's fine. We are just having fun here. But if you want some fancy shadings to make the drawing pop-up, here's a simple tip. Pick 3 different variations of a color, in the image below I picked 3 kinds of blue - the lightest, medium, and darkest blue.

Step 9
Use the lightest blue for the highlight and color it.
Step 10
Use the medium blue to color the rest of her hair. When you color, don't press to hard. Relax your hand and apply a thin layer.
Step 11
Use the darkest blue to create the shadings around the edges and corners. Once you completed, it will look something like this.

Step 12
Now we want to color her body. I decided to use pink for her body. The process is the same as coloring her hair so you just have to repeat step 8 to step 11. Next, color the flower and the leaves. I decided to not color her face and the heart though.
...and here is the completed drawing! It's very simple, isn't it?

Thank you for visiting! What do you think of this tutorial? Will you give it a try? Please leave your comments below.

My previous posts:
Please Don't Leave Me - The Lost Boys Painting #5
Aloof And Cold As Ice - The Lost Boys Painting #4
All Shapes and Sizes Are Beautiful
Don't Stop Even When You Feel Defeated
I am selling some of my paintings over on Artfinder. Shipping is FREE worldwide. You can check them out here: ARTFINDER.
My gifts & merchandise available at REDBUBBLE (international), Printcious & CreativeUnited (Malaysia).
Thank you!


Resteeming this as reference for future practice once I am settled and have the tools I need ready.
Thank you @redtomato . Glad you found it useful :)
really you create a great post....i learn some new from your post.... Lot of thanks for Sharing this informative and valuable post....best of luck brother....
Thank you
Really lovely and awesome art...i love this photo....
Thank you
Cute drawing and easy steps to follow. ;D.
Thank you @esdee ..yes it's very easy!
This was simple to follow and I found it helpful. Ill be trying my hand at these soon, Im sure! Thanks for shating!