How to: Shoot Aurora Borealis / part 2 – The Settings
Hello guys! Happy to have You back!
If You dont know me yet - please read my first post About Me
In this post I would like to tell You how to improve Your night photography techniques – especially photo shooting of dancing Aurora Borealis lights. In this part I will focus on Settings of the camera.
If You are interested in the subject and didn't read my last post – it was all about The Gear , You can have a look at it HERE
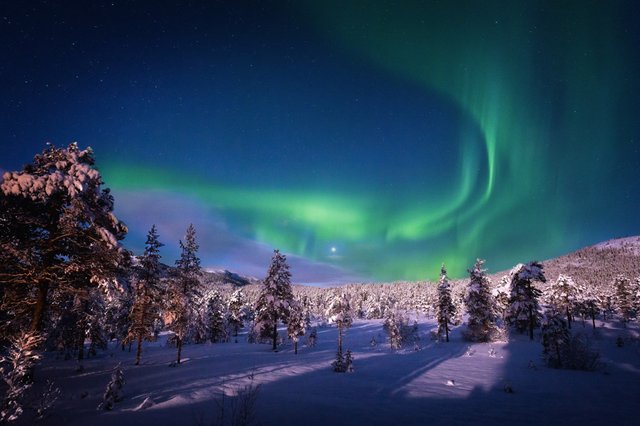
Foto: Night sky with amazing aurora, some clouds and a light from full moon from the back. Grong, north Norway.
First of all I would like to give You the most important TIP – maybe very obvious for those who have experience in night shooting already, but can be a milestone for all the beginners in this type of photography.
All the settings in the camera we should make at home, or a car, before we go out on the dark, windy, freezing outside. One reason is that we wont waste our time and we wont forget about details which can destroy Your hard work, when Aurora is starting to dance – all You want to do is to start shooting, not thinking about picking the right buttons and choosing the right settings. Other reason of that is a fact, that some settings of the camera are very universal for night shooting. If we are back from day time outdoor trip, before we go out, some things simply must be done!
Preparation of the camera:
- Be sure that Your batteries are fully loaded. Long time exposures and working outside in low temperatures will eat the energy fast!
- Put Your best lens already on the camera, or, If You prefer to transport camera without lens mounted to body, make sure it is ready, clean and TAKE OFF all the filters from your lens. The only filter You can use in that conditions are UV filters to safe the lens glass from scratching or getting too wet. It is much easier to clean the UV filter than to clean and dry out lens glass.
- Be sure You have Tripod ready. If You are going to shoot from slippy rocks or frozen lake – spikes for the tripod legs and on Your shoes can save Your equipment and Your life maybe...
- Check Your lens buttons – set to Manual Focus, set Stabilization to OFF – You will shoot from a tripod so it wont help You (in long time exposures, stabilization can destroy the sharpness, I am not sure why it is happening, but in my case, I had bad experiences with this, so now I just put all stabilizations to OFF and have no more problems.)
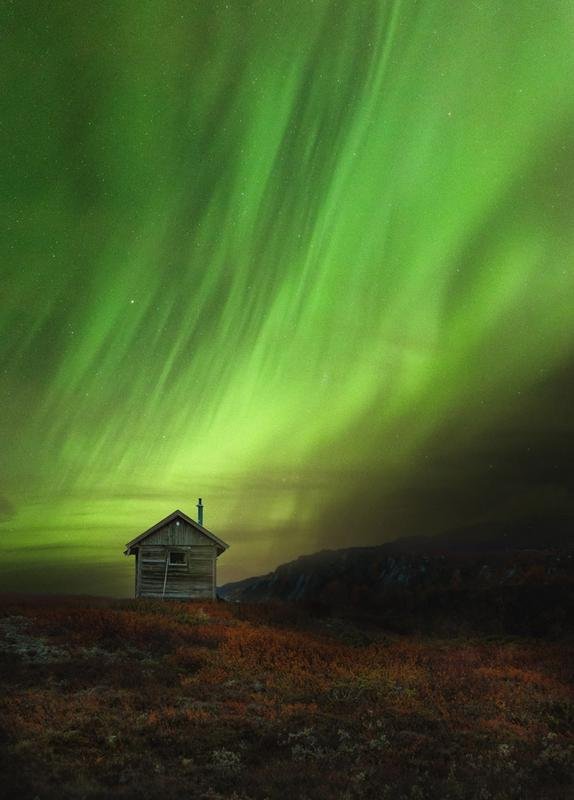
Foto: Wooden cabin in Sylan mountains under the Aurora lights. Middle Norway, autumn time.
Let's get back to the point of the post, Settings of the camera You can choose at home:
- All settings should be MANUAL – White Balance, ISO, Exposure Time, Aperture, Focus on Lens. Set the image mode shooting to RAW (much more options in post production to remove the noise, taken out details from shadows etc etc)
- WHITE BALANCE (WB) – set it to around 3200K – north lights can have a lot of different colours in it, so this should be re-checked on place, comparing to what You see in real life. For myself, I always try to catch the colours like they are in real – WB is one of the most important setting for this purpose. AUTO WB can do the good job ....sometimes... so You can face the situation that in one photo You will have nice and natural colours, on the other shot they will be very cold and unnatural, because Auto WB will try to choose it depending of the situation, and believe me, the situation off Aurora is changing sometimes very fast. Also remember, that if You are shooting in RAW, You will have possibility to work with white balance during post processing in CameraRaw software for example.
- ISO – With this setting You will have to work also on place, depending of how bright the Aurora will be, depending of how long You will want to expose Your shot. You can set the ISO to 1600 at the beginning. In real life shooting I am using various ISO settings – from 1000 – which gives a nice quality of the image (low noise) but demand longer exposure times, to ISO 3200 or above – to catch the Milky Way shapes or details of fast moving lights.
- Exposure Time – The second main setting we will work with on the place, depending of the situation or desired effect. During night shooting I am working on times from 2-3 seconds for fast moving lights up to 30 sec. To catch the Milky Way or weak Auroras. Now important question – why not to use 40 seconds, or maybe 2 minutes of exposure? Well, If You want to see the stars as a short lines – do so, but If You have the stars as a dots, like in real life – Use maximum 30 seconds of exposure (for a 16mm lens) or even shorter times if You have lenses like 24mm or 35mm. There is a calculation You can make to learn the maximum exposure time for Your focal length, but I never used the calculations, I dont like to calculate being outdoors, I like to experience ;).
- APERTURE – here the rule is simple, always use lowest possible value, which means Your lens will be opened as wide as it can. As I already tell in previous part of the tutorial – the brighter lens, the better quality and details. F4.0 – I am using this one with good results as You can see on the photos. F2.8 – f1,8 – crazy good!
- Focus on lens – always set manual to infinity – but it doesnt mean that You have to set the macimum value. With f4.0 this can be little closer than infinity, best way to check how Your lens is working with that – try to set the sharpness on brightest possible object – can be the star, can be the moon, can be some distant lights. And If You dont have posibility to block the correct setting – check it many times during night shooting as it could changed during moving the camera or by accident. Good TIP – You can use sticky tape to block the focal ring of Your lens – can do the trick!
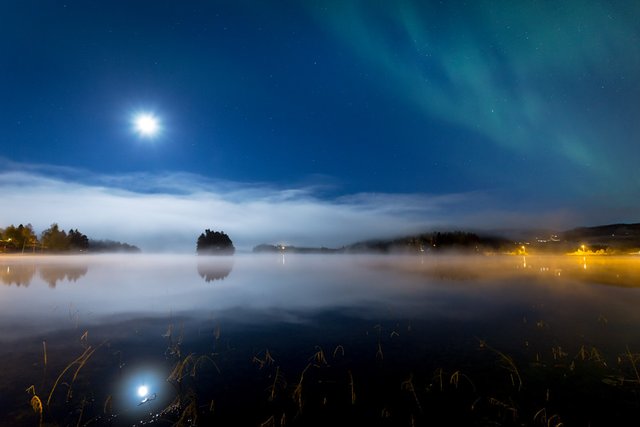 Foto: Beutiful night with full moon, foggy air and Aurora Borealis. Jonsvatnet lake near Trondheim, middle Norway.
This few simple things is good to remember and to test with Your gear in real life. More and more shooting in night conditions will teach You how not to think about it and just enjoying the outdoors and Your shots next day!
If You found the post interesting and useful, please support my work by upvote and repost, check also other posts and write a comment if You have any questions or maybe different experiences. Follow my site to see much more shots from northern parts of Europe.
PART 1 of the Tutorial: HERE
If You are interested in my work – visit www.asphotovisions.com
Thanks for Your time and have a great day!
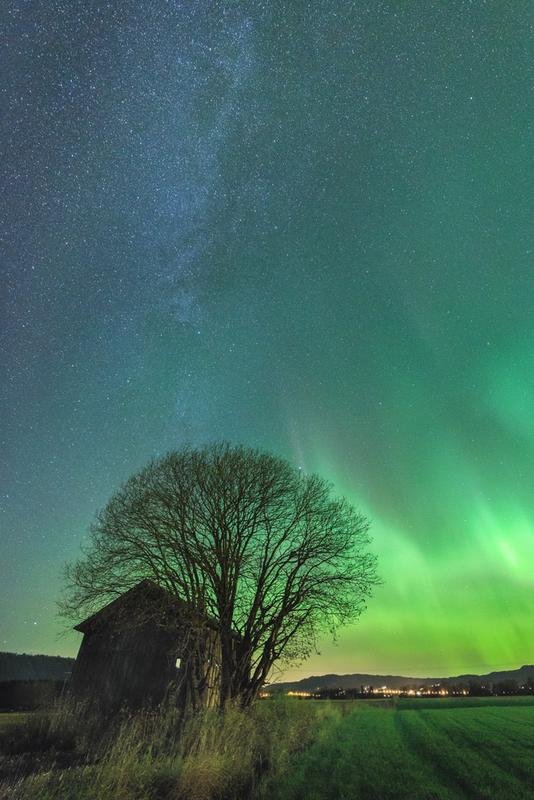
Foto above: Aurora lights and Milky Way above the fields near Selbu, middle Norway.
Foto below: Aurora show over Trondheim town, roof top of Nidarosdomen Cathedral. Norway.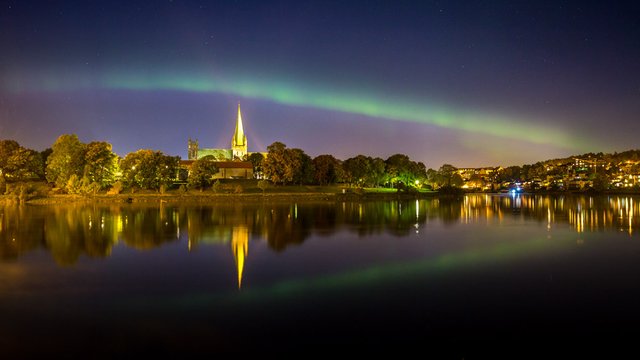
Great stuff! Looking forward to build up my steemit community with good people. Cheers :) I need to head up to Norway one of these days (when it isn't so cold... )
Hi, thanks for support. I am also building up the site since 2 days now ;)... So good like to You my friend! About visiting Norway - if You like to do some hiking, travel - I reccomend autumn - October - the weather is the best, colours are most vibrant and beutiful, sun is giving nice low light, and during the night You have chances to watch north lights. Winter is good if You like winter sports, summertime - nothing really special - of course for me as photographer ;). Have a good day!
Great tips and photos! I look forward to seeing more of your shots! Following :)
Some beautiful shots. I have been enjoying the lights up here in Canada also and you have some valuable tips.
These are absolutely beautiful. Thanks for pointing me to them. I hope to be able to gaze them one day with my own eyes. I think I mentioned a song I wrote, I guess you can find it easily if you look for "Priscilla Hernandez - Northern Lights". Thanks for sharing them through your pictures.