Photography Journal Day #1! - Figuring Out How To Use A Camera!
My Journey Into the World of Photography!
My Personal Love and Appreciation for Photography!
Ever since I was a little kid I've always had a fascination with movies and in particular the basic arts and crafts of cinematography. Everything from adrenaline fueled car chase scenes to romantic ones in the alps left me perplexed and in awe as to how a metal box with a slice of glass thrown in it had the capability to capture and produce such breathtaking and stunning images!
As far as expertise and knowledge on photography, I'd proudly say I'm a "Veteran Family Photographer". By this I really mean that myself and a few of my fellow "Generation Z" folk are the ones at family meet-ups and functions who ends up getting the camera tossed at to take a group picture because although my family is made up of doctors and engineers, it seems that peeping through the little viewfinder and clicking the shutter button is a task just too ambitious for the likes of any of them. With my level of competence, having very minimal knowledge on how cameras even worked I always thought that the greatest and most efficient way to take good photos was to spin the camera into complete auto mode and simple fire away.
It didn't take me long to realise that this wasn't the right way to take photos

The 3 Pillars of Photography!
These 3 pillars are also known as the exposure triangle. They are the 3 fundamental and key concepts which one has to grasp and master in order to become a well versed photographer.
1.) Aperture
Aperture might arguably the most influential factor in photography as it allows us to control the depth of field (Area of the image which appears sharp). Aperture is simply the hole in the camera lens in which light travels through the camera body and onto the camera sensor, cameras work very similar to the human eye in which the aperture is our pupil (having the ability to dilate and constrict). Aperture is measured in F-Stop numbers; the smaller the F-Stop number, the larger the aperture and vice versa. We need to know what aperture to use to suit the type of photograph we want to take e.g a large depth of field (small aperture) would be needed to take a picture of a scenery while a small depth of focus (large aperture) would be needed for portrait or macro photography.

This is a picture with a large exposure. It is a macro shot where only a small portion of the picture is in sharp focus while the background is blurry.
2.) Shutter Speed
Shutter Speed is the length of time the image sensor of the camera is exposed to light. In all cameras, the shutter button is used to trigger the camera to open its shutter and allow light to pass through and hit the camera sensor. The longer the shutter is open the more light enters the camera. Shutter speed is measure in fractions of a second; for instance, when doing sports or animal photography we use a quick shutter speed such as 1/250th of a second as we want to freeze action. However when carrying out night photography to shoot scenery such as the milky way, a much slower shutter speed is needed as there needs the camera needs more time to absorb the little light which is emitted at night from stars.
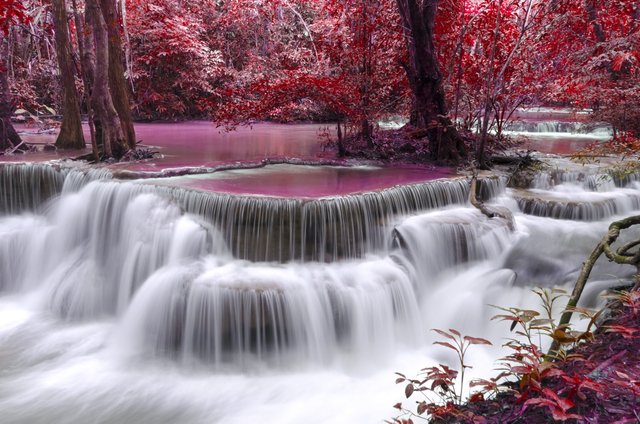
Here we have a great example of how shutter speed can be effectively used to change the way an image appears. The expert who has taken this photo has chosen a slow shutter speed to give the effect of water flowing.
3.) ISO
ISO controls the amount of light the camera needs and is a representation of the sensitivity of the camera sensor. As the ISO value increases, the amount of light needed to expose an image decreases! Higher ISO values are used indoors or anywhere where lighting is limited, however once ISO is increased too high the colour accuracy and dynamic range of the photo is reduced leading to a decrease in image quality. A lot of grain is also introduced into the photo which makes it blurry and not clear, this is called "noise" in the world of photography!
If possible always keep your camera's ISO as low as possible!
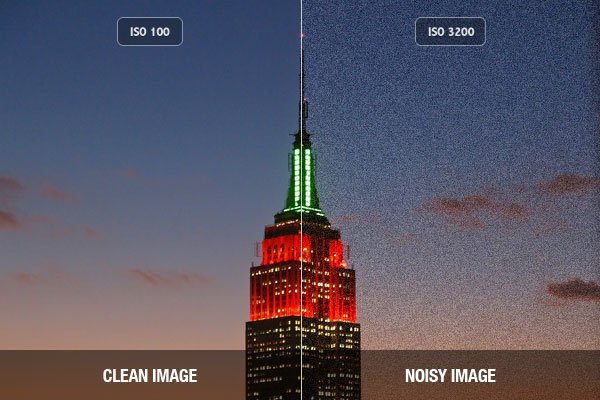
Difference between low and high ISO
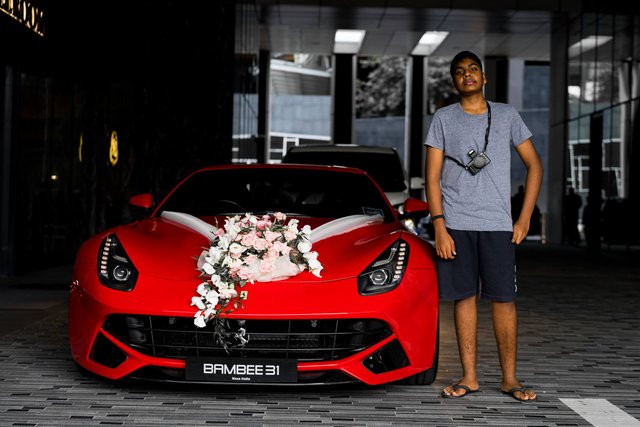
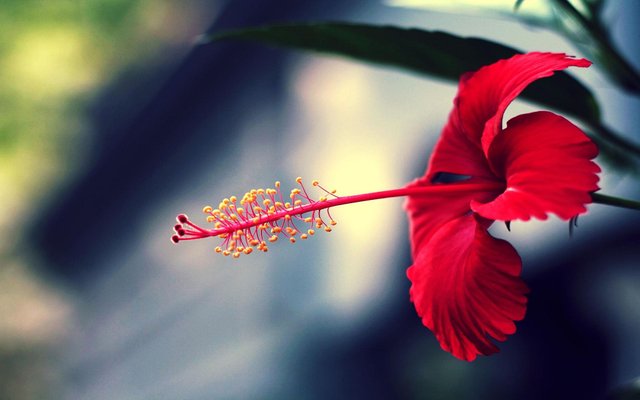
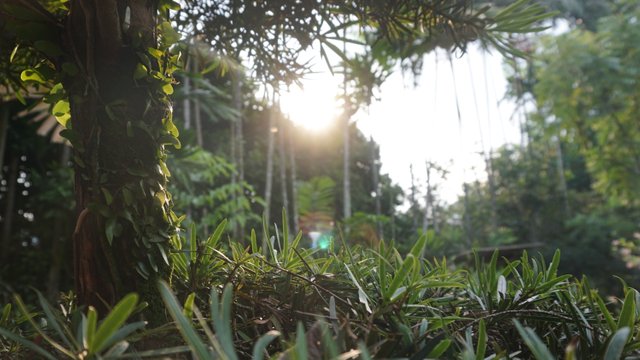
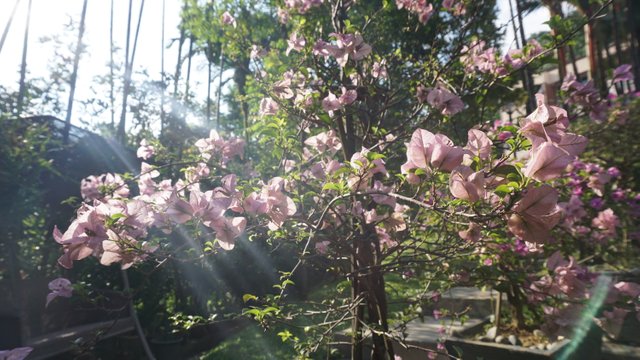
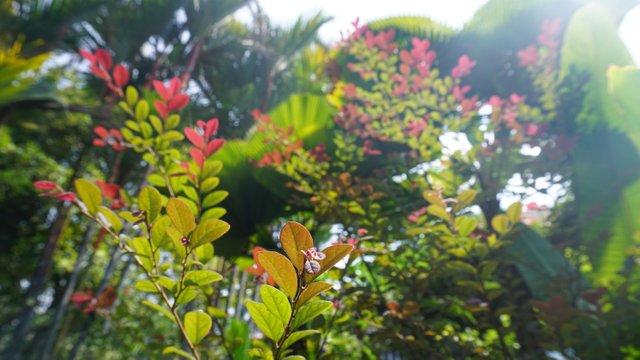
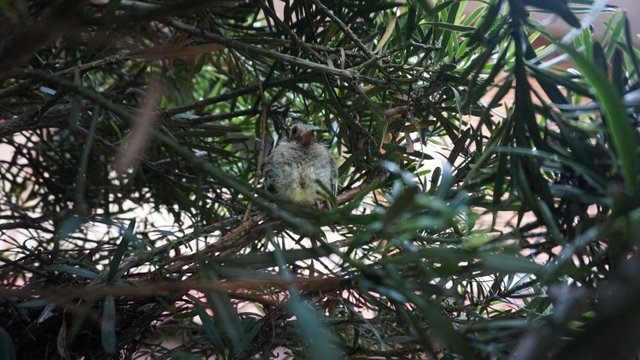
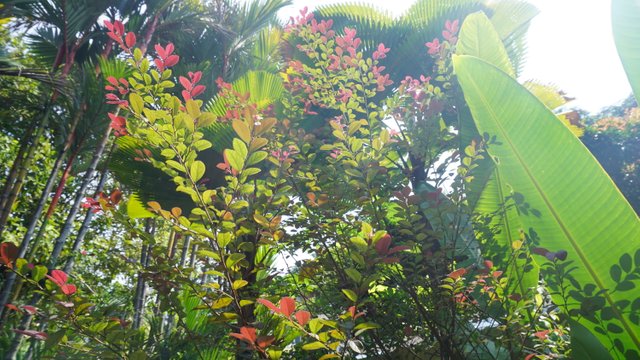
Here are some pictures which I took this week in our garden!
Thanks for reading my article guys, keep calm and Steem on!!

Congratulations @darmerc21! You have completed some achievement on Steemit and have been rewarded with new badge(s) :
Click on the badge to view your Board of Honor.
If you no longer want to receive notifications, reply to this comment with the word
STOPDo not miss the last post from @steemitboard!
Participate in the SteemitBoard World Cup Contest!
Collect World Cup badges and win free SBD
Support the Gold Sponsors of the contest: @good-karma and @lukestokes