My shittiest method: The in vivo complex of enzyme (ICE) assay.
In this new challenge reseachers/science students have to present the worst method they are forced to work with.
I imagine having your Prof looking through the same microscope beats even an ICE assay. from pixabay
The Challenge
My fellow lab-rats!
While I am sure that you love working in the lab every single day of your existence (that’s sarcasm), it’s a sad fact that we all suffer from having to conduct experiments that are exhausting, time-consuming and fail to work spontaneously.
Take this challenge as a possibility to rant about your worst assay, get at least some fun and rewards our of it and maybe win the sympathy of the STEM world by being declared the poorest lab soul of all!
The following rules apply:
- describe the worst method/assay/experiment you have to work with
- use the #myshittiestmethod and the #steemstem tag
- use “My shittiest assay method: … ” as title
- you can nominate some peers, they have to participate then (unless they want to be seen as very, very lame). But you can join the party without invitation aswell!
You can win:
- a 100% chance to get my (albeit almost worthless) instant upvote!
- what I deem the shittiest assay by one month from now wins 200 SP as delegation... or as much delegated SP as needed to reach 500 SP (which grants the voting power slider) for as long as you need to reach the 500 yourself (yes, this means people with more than 500 SP already are participating just for the fun – but you can keep the rewards too^^).
I’m starting today, and I nominate @alexs1320 – I’m quite sure microscopy isn’t just fun and taking pretty pictures! (And from his anti-vaxxer posts, he seems able to do a quality rant!)^^
And there it is - my shittiest method:
The ICE assay – why is this still a thing?
If you want to understand why we have to endure something like the ICE assay, you should first recap my recent post on topoisomerases (Topos).
As I wrote there, Topos are incredibly important enzymes for regulating DNA topology, and if they are inhibited this can cause terrible consequences.
Now, measuring the inhibition of Topos in a cell-free experiment is quite easy – you just buy the enzyme, incubate it with a suspected inhibitor and some supercoiled or katenated DNA, then you separate the DNA by electrophoresis and you see whether the enzyme still works or not.
Ofc, it’s trickier than it sounds, but a lot easier than monitoring the situation in living cells or even animals. Also, there are two types of inhibition: the “catalytic” inhibition and Topo poisoning.
And the only way that I am aware of to detect Topo poisoning in vivo is to detect the complexes of Topo and DNA that are accumulating when a Topo poison is present. And that’s when the ICE assay falls on a researcher’s head like the very sword of Damocles.
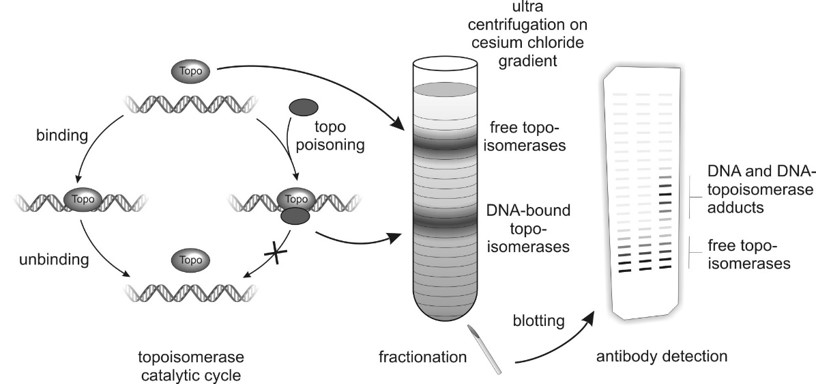
The basic priciple of the ICE assay. Sketch by Christine Tiessen, a fellow PhD.
In my case, I’ve used the assay during my PhD, and all the other people who have used it have since left our lab. So when my boss had the idea to check the intestine of some rats that we had to use during a prestudy on the toxicity of certain mycotoxins for Topo poisoning I was counting 1…2…3…and then she looked in my direction. Shit happens.
Step 1: Homogenizing rat intestine
First thing that happened was that I got small intestines of 5 rats. I had to cut it to small pieces with a small scalpel and then I put it into a “lysis buffer” and stored it at -80 °C for several weeks. I remember the smell – rat guts…hmmmmm…I hate working in fucking vivo!
Last week the time was finally upon me. First I unfroze the samples. The last time I had animal samples I ruined them by homogenizing them with ultrasonification, which hredded the DNA, so I took a different approach this time.
Recently, our lab bought a homogenizer. You fill you samples into tubes that are preloaded with small ceramic balls, you choose a suitable program and switch it on – brchrambruchrchrchr – and the rat intestine is brown smelly sludge. Oh sorry, a homogenized lysate, I meant. Still smells like shit, though.
But at least our Topo/DNA complexes are swimming around freely now.
Step 2: Your worst enemy: The density gradient.
Even before I squashed the rat parts, I had to prepare a density gradient for each sample. A concentrated solution of caesium chloride has a much higher density than a regular salty buffer. So if you slowly and carefully pipette differently concentrated solutions of CsCl on top of each other, you generate a gradient with a high density at the bottom and a water-like density (that's 1 kg/l) on top.
The problem is, once you hand starts shaking from pipetting slowly and carefully, you might press your thumb too strong for just a blink of an eye, the solution “shoots in” and the gradient is ruined forever. You can start from the beginning, then.
As I am an experienced post doc these days, it took me like half an hour of concentrated pipetting or so to finish a gradient for each sample. All as planned.
Step 3: loading the gradient
Now the gradient is produced, we can load our samples on it. As I want to compare the results, I first measured the protein content of each sample with a standard BCA assay - quite simple and reliable, but that costed another 45 min of my time.
Then I loaded the volume to yield 10 mg of protein of each sample on a gradient tube - again by pipetting slowly - and again with the fear of ruining the gradient.
Step 4: Ultracentrifugation
Before we can put the whole stuff into our centrifuge, we have to balance the tubes. Ultracentrifugation uses - as the name suggests - ultra-high centrifugal forces. For this to work, the whole system has to be balanced really good, which means the tubes have to weigh exactly the same. We tolerate a +/- of 5 mg, which is about the weight of half a drop of mineral oil.
And as my pipette obviously can only produce whole drops, balancing can take a while and cost some nerves, accompanied with hysterical laughter if the analytical balance again says "+0.0062 g". I hate you, balance!
Once the tubes are balanced, I put them into the centrifuge tube mantles and walk them to the UC. Of note, the machine is in a totally different room, and I thus try to walt slowly, without shaking, to prevent mixing the gradient. One hit at the elbow, a try to catch a closing door, a little stumble, and my experiment goes to hell.
But then, finally, the tubes are safely stored in the centrifuge rotor, and I can start the ultracentrifugation, that runs for 20 hours (originally 24, but who wants to start working in the afternoon and leave the lab at midnight? Not me.).
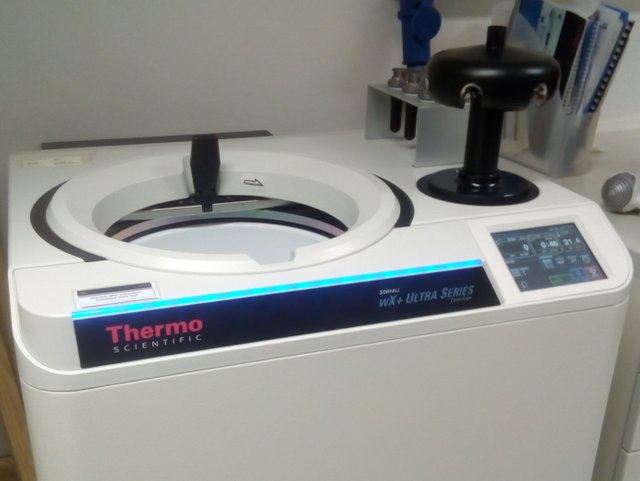
our fancy blue-glimming ultracentrifuge with the rotor and loaded tube mantles (upper right)
During this time, the lighter free Topoisomerases hopefully seperate from the heavier DNA-bound Topoisomerases, that move downwards the density gradient because of the centrifugal forces.
Step 5: Fractionation
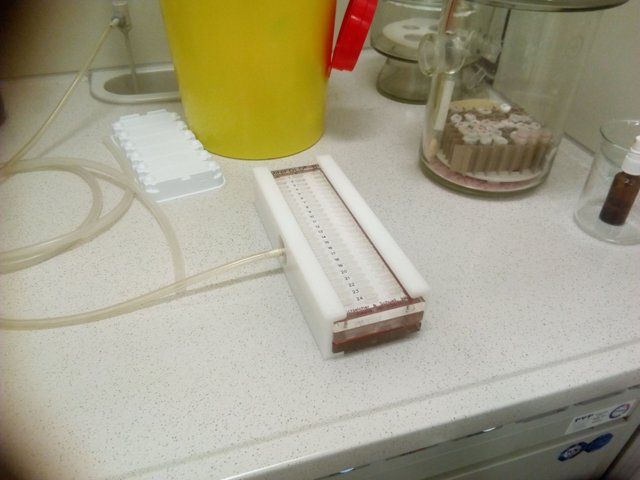
The next day, I had to fractionize the gradient. We built our own little "fractionizer" that consist out of a needle connected to a thin hose with a syringe holder - innovative shit.
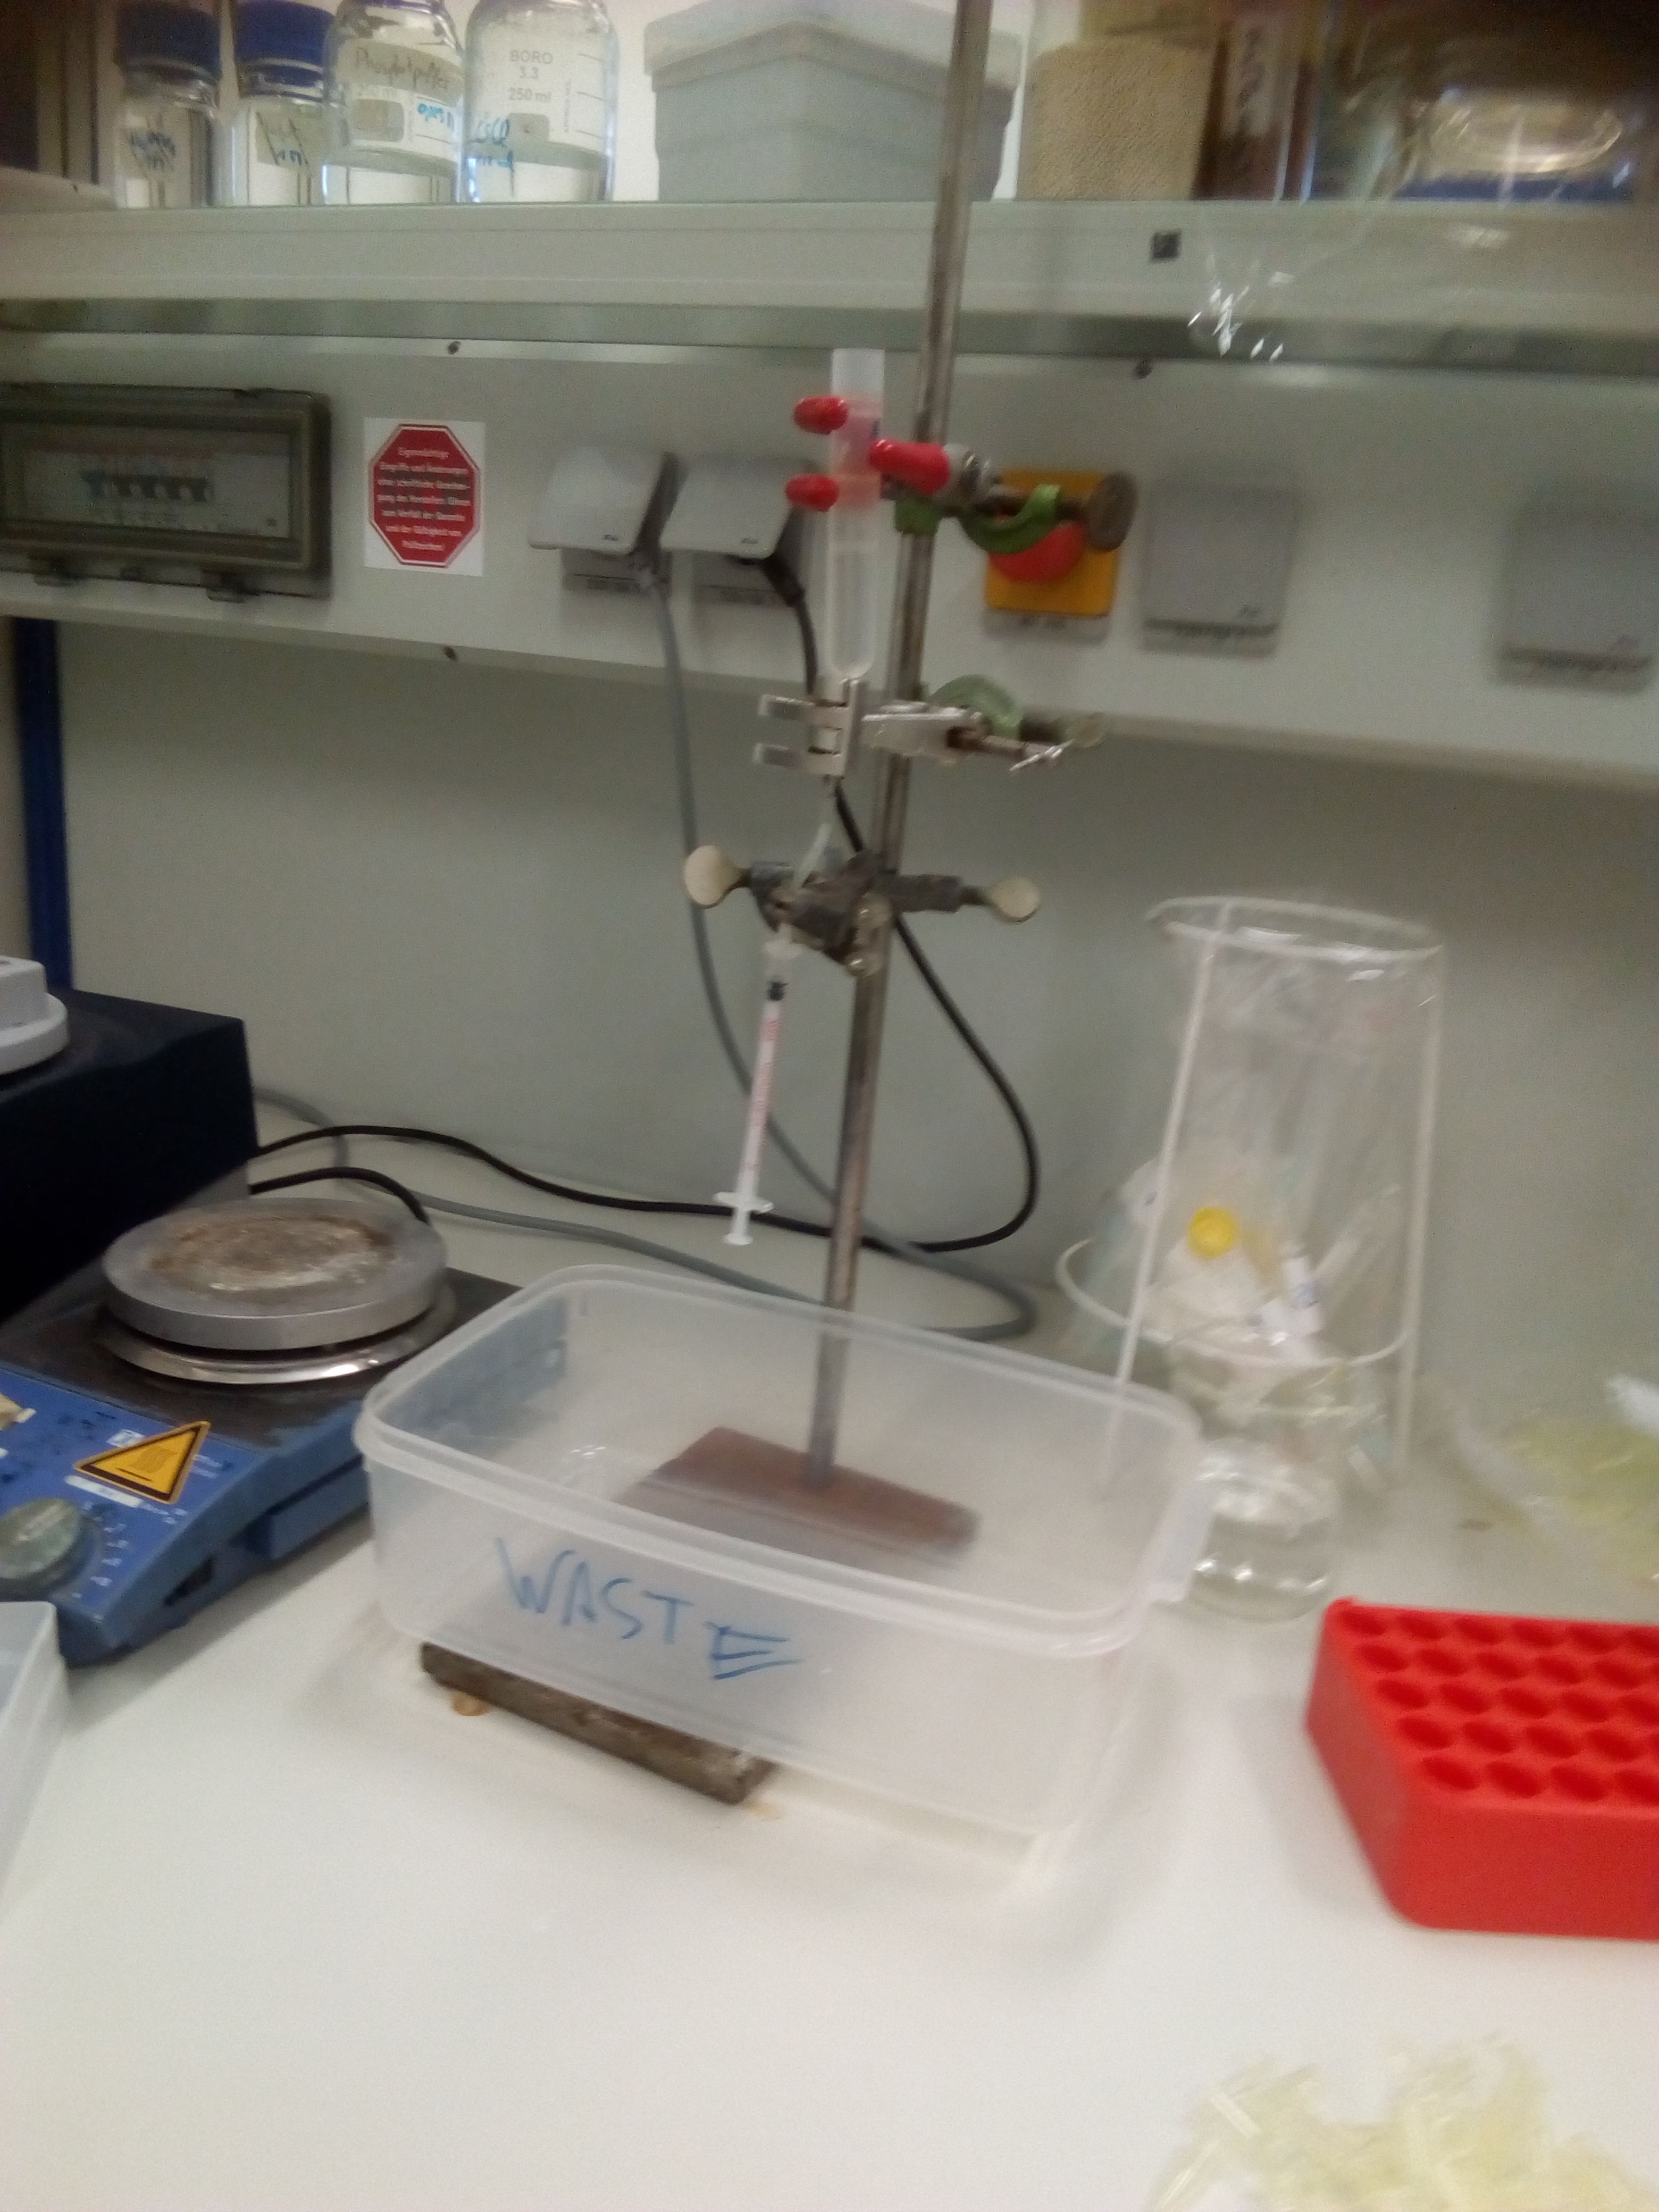
my self-built "fractionizer"
I use the needle to penetrate the tube's bottom (yeah, I know how this sounds), and then portion the gradient to 20 equal fractions. This is again a quite tiring business that takes about 1.5 hours of highly concentrated work. Sometimes, the tubes start leaking, and then it get's ultra-stressy - you have to be very fast then to lose as little as possible. Of course, by extended Murphy's law, it will always be the most important sample that starts leaking.
Now we have free Topos and Topo/DNA complexes in different small tubes - probably.
Step 6: Measuring the DNA content
Once the fractions are taken, we have to measure the DNA content of each fraction. In our lab, this is done with a NanoDrop, which is extremely convenient. You just pipette a small drop (1 µl) of sample onto it, close it, press a button and it tells you the DNA concentration.
What is considerably less convenient is the amount of samples I had. 5x20 fractions = 100 samples, that's again a shitload of pipetting and a lot of my time.
But as we measured the DNA, we now know in which fractions to find the Topo/DNA complexes.
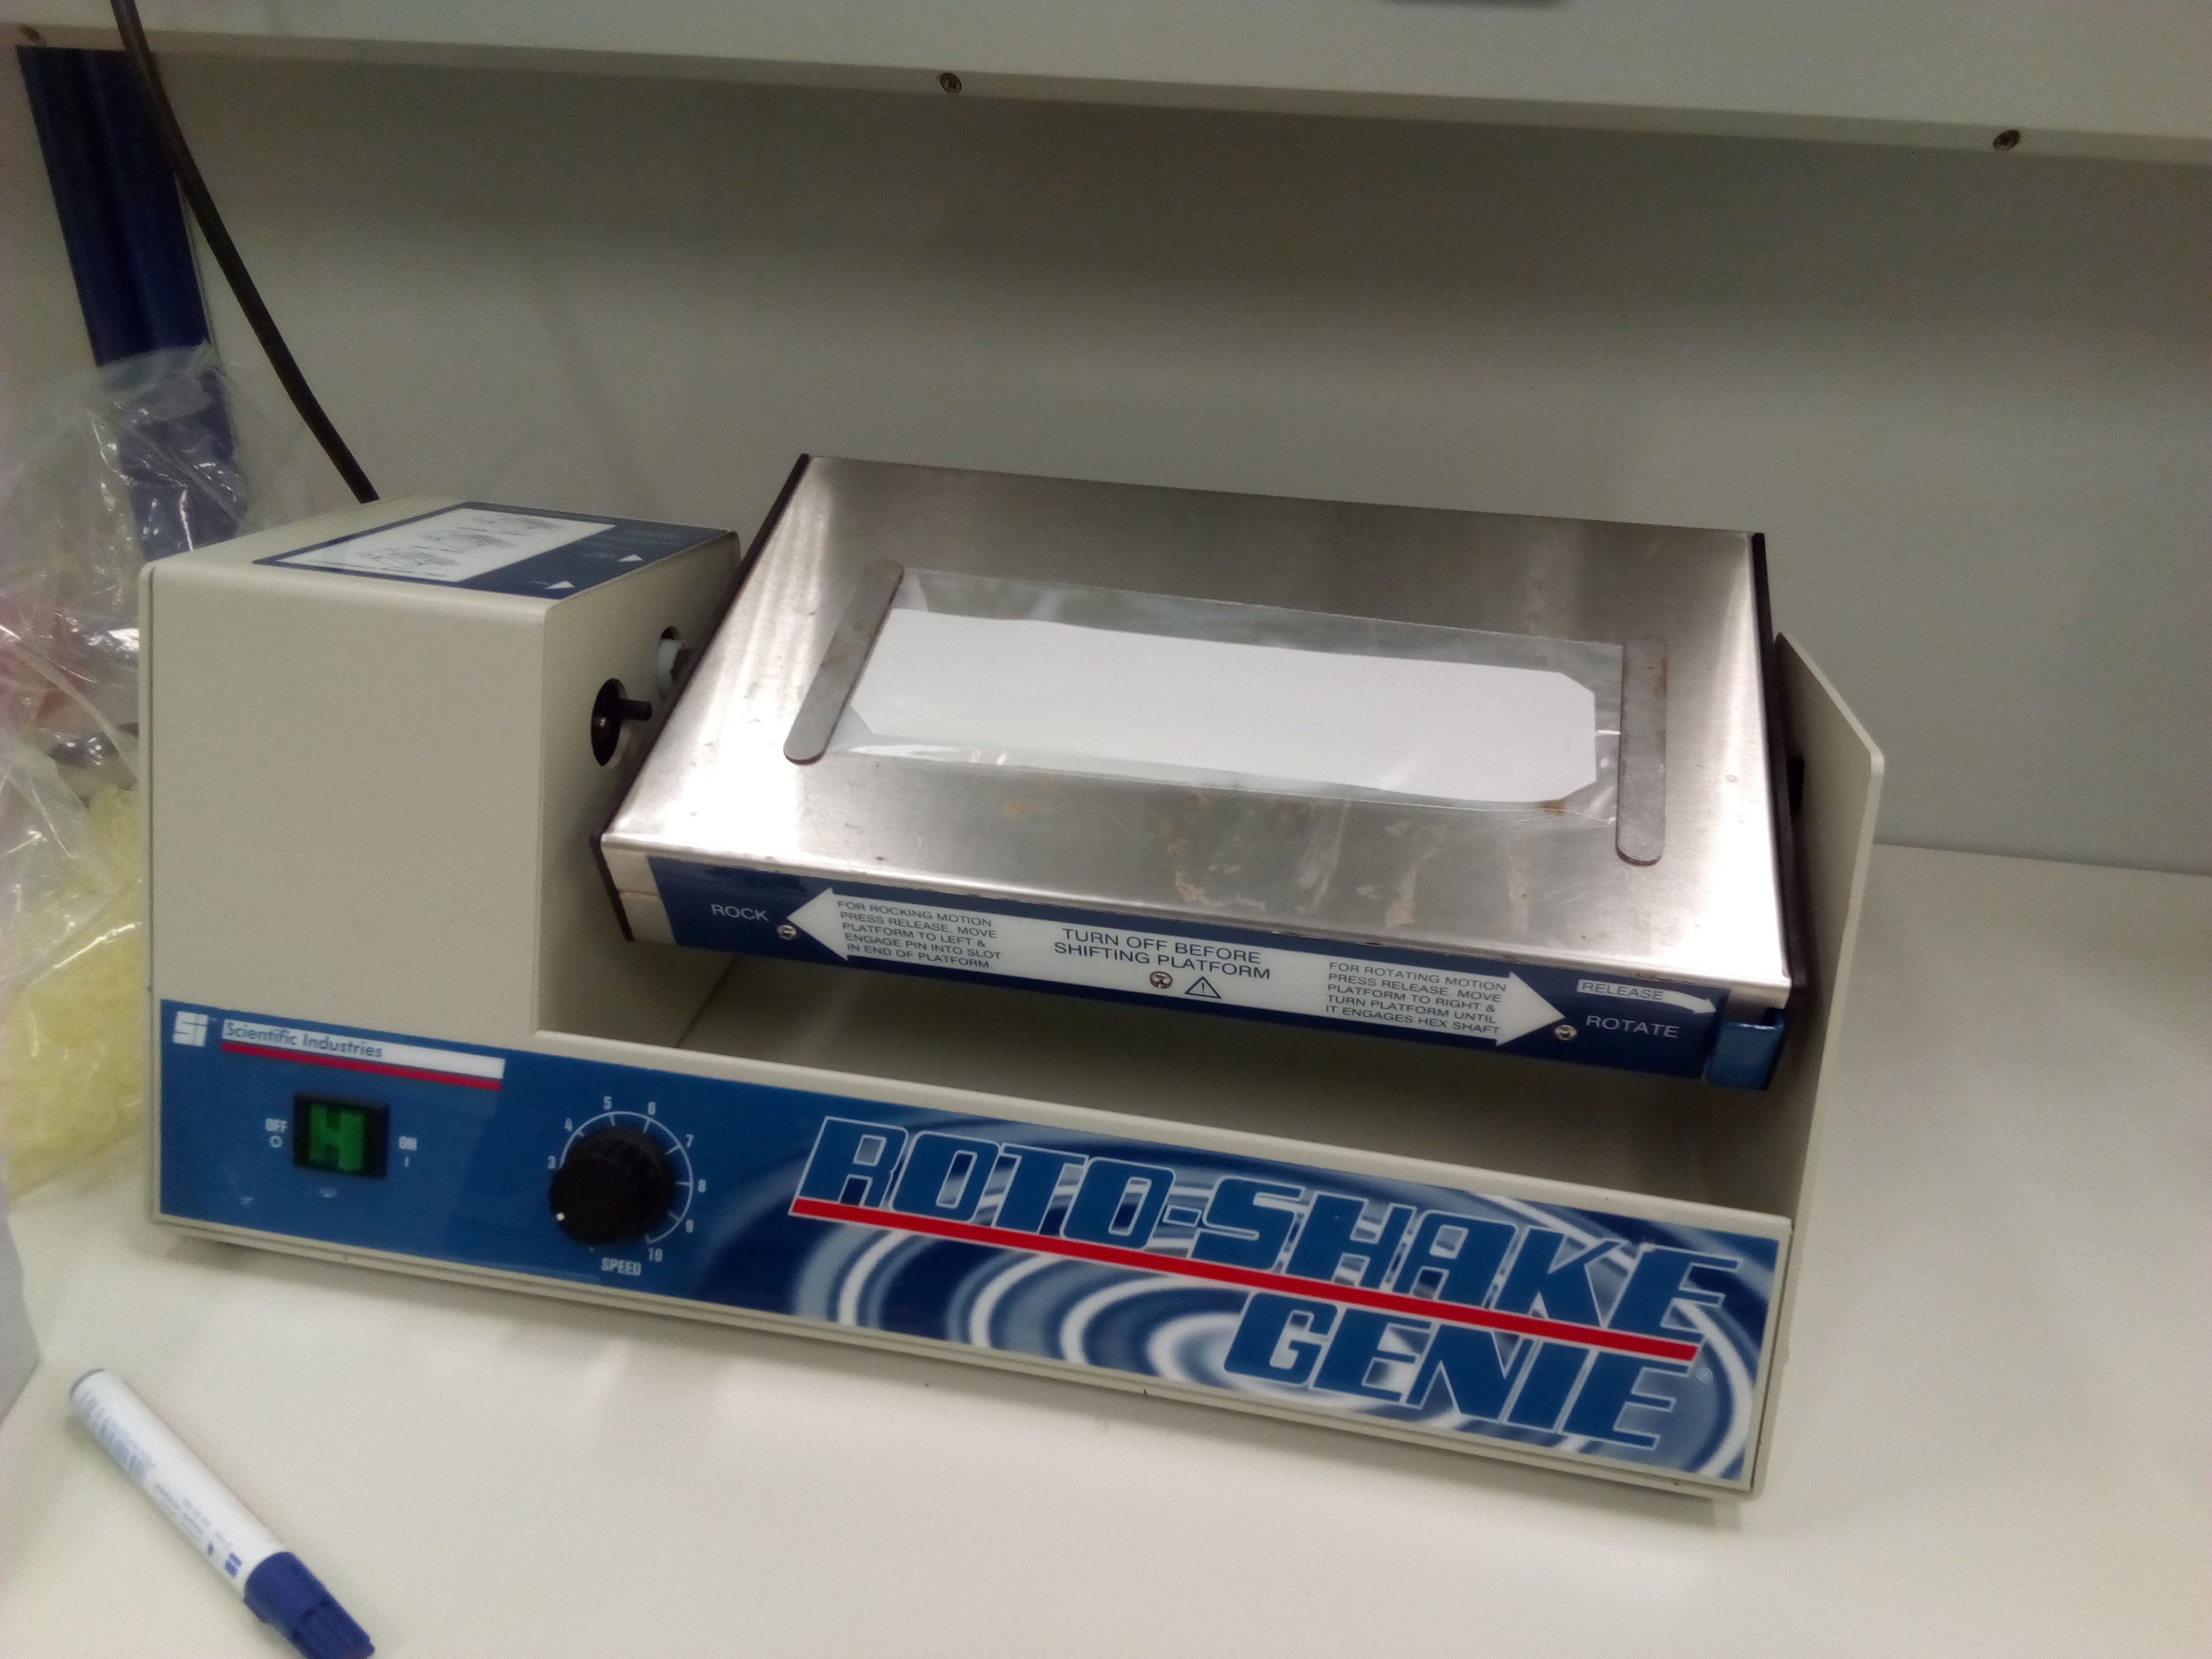
Step 7: Slot-Blotting
We now blot the 12 most interesting fractions of each sample on a nitrocellulose membrane that is able to bind proteins. For this, I used the slot blotting apperatus you can see below. The same volume of each fraction is pipetted into the slots, and then a soft vacuum is applied to such the liquid through the membrane, with the proteins like our topoisomerases getting captured by the membrane.
slot blotting
Unluckily, it didn't work that well. I guess my fractions contained too much proteins/DNA/other shit, so the membrane slots got blocked and it took way too long to suck the solutions through. I even had to abort it at some point and take a note which fractions not to trust.
Quantification was already deemed impossible at this point, but I detected the stuff anyway, maybe I would at least be able to get a hint out of it.
Step 8: Immunostaining
Now that the Topos contained in our fractions are bound by the membrane, we can detect them. To do that, we use antibodies.
As antibodies are proteins and the membrane captures protein, we have to "block" all available binding sites by incubating it for 1-2 hours with an excess of proteins - I used a solution of milk powder. Then I prepared a solution of my primary antibody - a rabbit anti-TopoII IgG, shrink-wrapped the membrane in plastic foil with the antibody-solution and incubated it overnight.
my membrane, shrinked wrapped in foil, with the antibody solution inside. We believe it brings luck to rotate a membrane
In this stage, the antibody is supposed to bind to the Topos.
The next day, I washed the membrane and shrink-wrapped and incubated it again with my secondary antibody - a anti-rabbit IgG coupled with HRP, an important enzyme.
The secondary antibody binds to the primary antibody, which ultimately means that HRP is now attached to the sites where Topos were captured at the membrane.
Now, finally, 2.5 days after I started the experiment, I can detect Topo poisoning. HRP catalyzes a reaction by which a chemoluminescent product is formed, whose light emission we can capture by photography.
And the result looked like this:
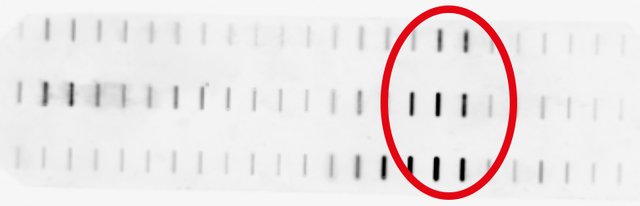
Whohoo, the rats that got the most mycotoxin show the strongest effect!
But on the other hand, I can't discriminate between free and DNA-bound Topos. Probably 10 mg of protein were too much and I overloaded the gradient.
Still, it looks like our poisons produce Topo poisoning in the small intestine of rats, which is quite remarkable and unexpected!
To prove that and maybe quantify it, however, I will have have to repeat the whole experiment. D'oh!
Science is repetition.
Summary
You can detect Topo poisoning in vivo, but:
- you have to be lucky, the assay sometimes works, sometimes it just doesn't
- you have to endure the tiring processes of preparing a gradient, balancing it, fractionating it, blotting, blocking and staining
- you can only process 6 (!) samples every second day, and the results fluctuate a lot, which means it can take you months of despair to build a halfway-reliable graph for your paper
- if your hands shake too much during gradient preperation and transport, you will not have a result two days later even as you had to do all the work
Beat that one!
I'm waiting for you to challenge the ICE.
This is a test comment, notify @kryzsec on discord if there are any errors please.
Being A SteemStem Member
Thank you for your post. :) I have voted for you: 🎁! To call me just write @contentvoter in a comment.
Oh My Oh My... :D
Somehow I hope I will not beat that one. xD I will start a new project next week - so maybe then I will have something suitable to contribute to this challenge. Still... hopefully not. xD
This is the best idea for challenge EVER!!! I will think well about mine! :)
haha, I'm looking forward to read it - for real!
This sounds like a fun challenge! I'll be sure to post some laboratory technique woes under #myshittiestmethod.
ICE sounds like a shitshow, though; in vivo work seems really stressful. Thankfully my yeasties don't mind being harvested for their succulent cellular marrow -- I mean, uhh, colony PCR to validate genomic edits. Yeah, that's it.
I didn't know how the layering worked for ultra-centrifugation, but it seems you've got iron hands of analytical balance precision -- a stable pipette jockey!
there is really not much choice... you repeat the assay as long as you develop iron hands (that's probably a selection criteria for PhDs in our field and seem to carry the necessary gene). But your hands sure hurt afterwards!
looking forward to your shittiest method!
I don't re-steem often, but this idea is simply brilliant!
I will not disappoint our readers as I had an incredibly stupid (and impossible) experiment.
Holy smokes this is gonna be fun!! I'm gonna love reading those rants.
But I'm not sure if i'll enter though....last I worked in a lab was a few years back when I was doing immunology courseworks....can i enter with a post from those biochem/physiology lab days? Or does one have be working the shitty methods constantly, everyday? :D
P.S. : I'm already above 500 sp, but this sounds like so much fun, i don't care about the rewards haha!!
If you belong to the lucky group of survivors, you can take those long past methods aswell. ;-)
Awesome Idea! Can I use Venous Canulation? I've burst like 8 veins this week alone (including my own when I was trying to practice on myself) and I really need a rant!
Of course! You are officially nominated!
Wow. This seems like way too much work for way too little outcome. Good thing we're not doing anything in actual labs in computer science, so I don't have to endure stuff like that. I am thrilled to see what the other contestants will have to offer in this competition.
This is a nice challenge. I'm thinking about contributing too even though the lab days are over for nearly 8 years.
I already thought about some NMR related articles I might write.
Great, I'd love to read them!