No.2 Moulding Planes Build
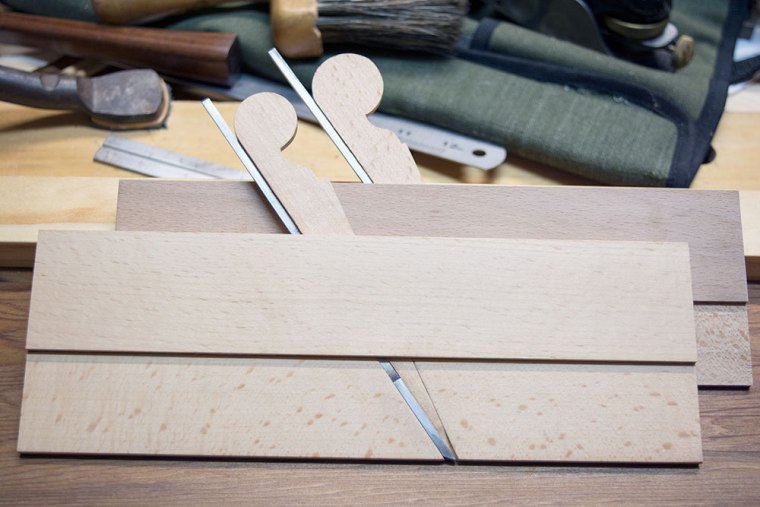
I finished profiling both soles of matching pairs of the No.2’s hollow and round. Tackling the profile of the round was simple, I used a block plane planing right to the pencil line and then smoothed it with sandpaper carefully trying not to disturb the profile by sanding it out of shape. After the initial shaping of the sole came the profiling of the iron. Profiling the iron comprises transferring the sole’s profile to the iron. I then shaped it using both the grinder and files. When I was satisfied with the match, I heat treated the iron by hardening it, polished it, tempered it and then polished it again. I flattened the back and sharpened the iron paying particular attention not to sharpen the profile out of shape. The round is always simpler to do, unfortunately I cannot say the same for the hollow.
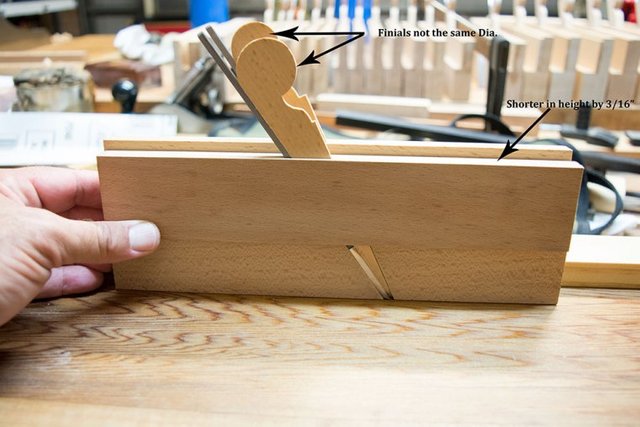
As for the No.2 hollow having a tiny hollow profile of only 1/8″ in width and a depth of 1/32″ you can see how finicky it is. Profiling any hollow with a round you must create a trough first for the round to track in and the depth being so shallow and the moulding plane having no fence, it’s very hard to plane in a straight line. Without a track it’s almost impossible to do and unfortunately it took several attempts to get it right hence why the hollow is shorter in height than the round. I had to plane off the profile several times but eventually got it right and both planes match perfectly. The awful feeling of getting it wrong several times mismatching the planes in height is gut wrenching, but the plane will work fine. The planes height doesn’t affect its performance, its mere aesthetics. But I didn’t stop with the screw-ups though.

The finials (shape) on the wedge its purpose other than being tapped with a wooden hammer serves nothing more than aesthetics and I mucked up on that aspect as well and I don’t have a reason for it other than shit happens.

You may wonder how long it took to shape both irons and I’ll tell you. The round took half an hour, well that’s what it felt like. However, the hollow took two hours give or take. It’s a long process of trial and error, rarely can you get it right the first time round. You shape a little, put the iron in the plane and protrude it a tiny amount from the mouth of the plane and check your work in progress. What you want to achieve is a perfect match and the corners of the iron feathering off so they don’t dig into your work when planing.
If it sounds difficult it’s not, but very frustrating and time consuming and there are no shortcuts. I doubt very much a machine could do it even if it was laser cut, you still need to sharpen it and that’s when you’ll the face same issues over again. You need to be very careful when sharpening moulding plane irons, it only takes a few too many strokes on one part of the iron or the other to lose its shape.
The frustrations at the end of the project turns to joy. When you’re finished and you take your first shavings and the plane performs as it should you’re overwhelmed with joy. I made a functioning tool and this tool will aid me in my future projects. It may not be period correct due to one plane being shorter in height by 3/16″ than the other, but nonetheless it’s a good functioning plane.

Everything else I do to the plane from this point on is both for comfort and appearance. I’ll round the top back corner and add a profile on the lower part of the grip, slap a few coats of Antique Oil and she’s done. It’s a good idea to apply the finish as you go rather than wait till you complete the set. That’s far too many planes to do all at once, and I don’t have the space where I can leave them to dry.
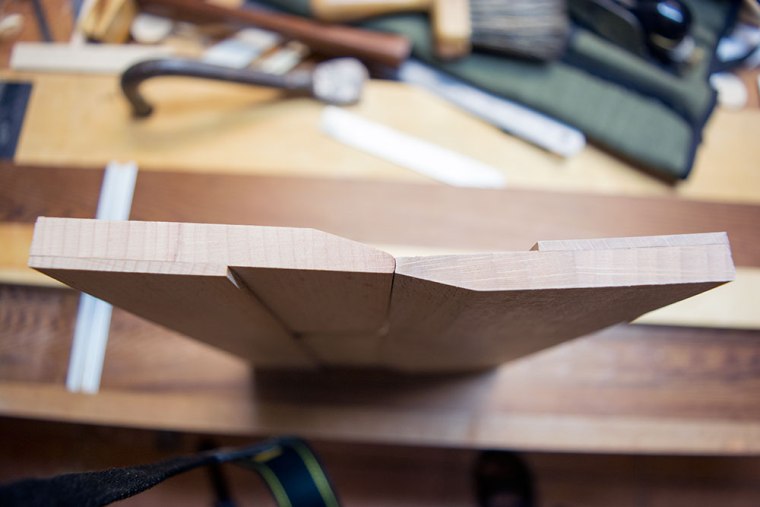
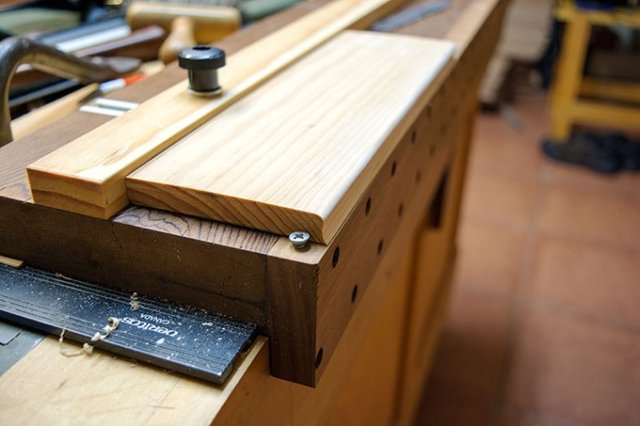
I’m satisfied with its performance. I made this small moulding using both the hollow and round no.2’s. I finished the moulding with a light sanding to remove the facets. The sticking board I made in the fourth Issue of the magazine is the best thing I’ve made period. The adjustable fence has made working mouldings and other operations so much simpler. I suggest you all to make this sticking board. Time comes when I build a new and longer workbench I will make a new longer sticking board.

My plane making won’t stop after this entire set is completed. I still have a rabbet plane to make and dedicated moulding planes with fixed profiles. Then a panel raising plane will be on my list of planes to make.
Hey @byhand, great post! I enjoyed your content. Keep up the good work! It's always nice to see good content here on Steemit! Cheers :)
Thanks very much exxodus
We have a woodworking community here on steemit and would welcome you. We have a discord channel, link here: Woodworking on Steem Discord Channel
This is a great idea but I don't see a lot of woodworking activities in steemit.