Making something from nothing.
Hi and welcome to my ongoing project of creating a functional survival bow from start to finish with no power tools, just blood, sweat, tears and a few splinters! I'd like to first mention that I am a fully trained Arborist and also study Arboriculture as a labour of love and with that preface, I know how to responsibly and safely handle woodworking equipment and caring for our tree friends, but also removal thereof and felling techniques. I don't recommend doing this without supervision of a specialist, prior research and pure grit or in the unfortunate circumstances of a SHTF, dire straights occurrence.
Trees are living things and a certain amount of respect and caution should be considered at all times when working with living things...
With that being said, i'd like you join me on my journey and hopefully you can take something useful from this! I hope to complete this post with the finished product within 2 weeks, which is about the length of time a healthy human can go without food. I may even craft some arrows towards the end of the project.
I've started to set myself projects for myself throughout the year working with my favourite medium. WOOD!
In this case, I had the fantastic idea of crafting a "survival bow" with basic tools you might have to hand if you're a bit of a "prepper" like myself. A survival bow is basically a hunting/self defence weapon which you would be able to craft with minimal tools and energy expenditure, in a situation where you need to gather your own food, hides etc, whilst in the field. What better time to start this project than in the middle of Storm Emma and the so called Beast from the East here, in North-East England? There's no better time..


So with that, I set out into my woodland equipped with only hardy boots, warm functional clothing and my trusty hickory hatchet and woodworking saw in search of a suitable specimen!
I was looking out for a Beech or Ash sapling, no more than 10 years old (you can usually tell by the species you're scouting for and it's corresponding diameter), one which was growing fairly straight and well out of the way, maybe in an area where my responsible harvesting would allow other wildlife to grow through in a few weeks when Spring is in full bloom.
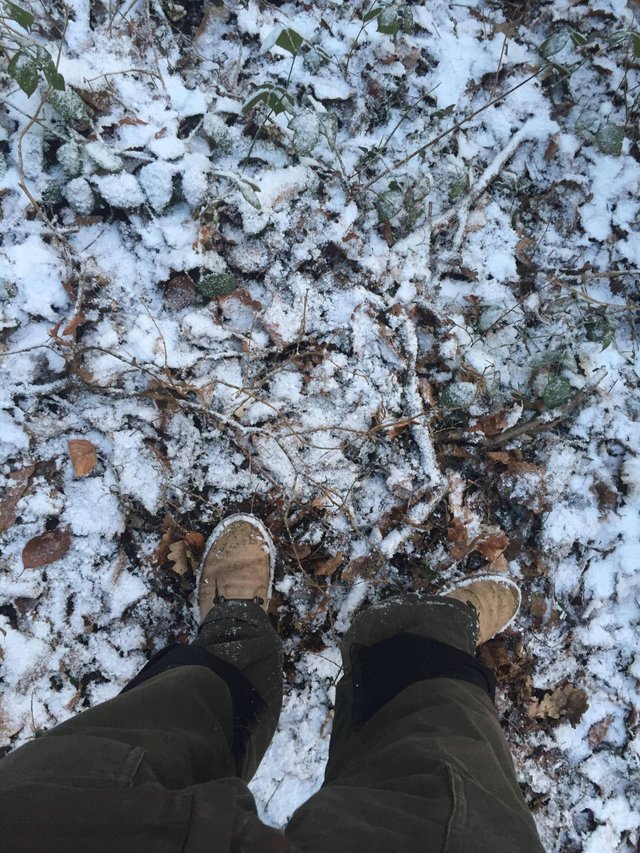
I came across a strapping young Ash tree and set about clearing a felling space.
Once i'd carefully cut a 45 degree cut at 3" above the base with my hatchet, I applied some pressure from the opposing side to give me some leeway to apply the final horizontal cut with my saw. This illustration below should point out the method quite clearly.
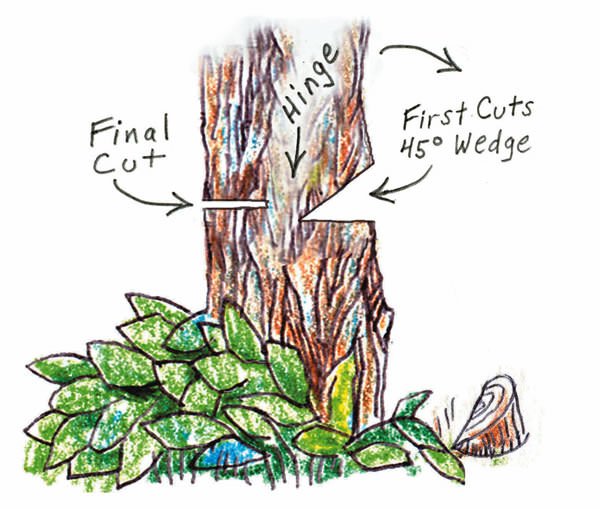
Timber!
I always like to make use of all I take from nature, and cut the sapling into 2x 50" staffs which would be enough for 4 bows. The remainder of the branch limbs I processed into scrub and placed near fox holes and windy runs to act as some form of shelter for smaller animals during the storm.
Now, I always have a certain amount of guilt after removing a growing tree from the Earth and make sure no-one can tell i've been there by applying aftercare to the removal site. I sheared some bark from the staffs and lashed the stump tightly to form a sort of bandage to protect from root damage from the severe weather and other forms of tree rot. This gives the tree chance to regrow or shut off it's nutrient and water uptake to that particular limb and redirect it towards another part of itself to grow back once more. This is called Epicormic growth.
Now all was said and done and nothing but the keenest of eyes would ever tell i'd been there, I headed back home through the harsh weather to make some noodles and a cup of tea to warm up before the process of bark removal!

Now some die-hard crafters will play hell here, I removed the bark with a jack knife, which although isn't ideal for this job, is all I had to hand until the delayed delivery (due to the weather) of my new Morakniv Carbon Steel Bushcrafting knife. Here is the knife and the bark stripping process below along with my new knife which arrive this morning!
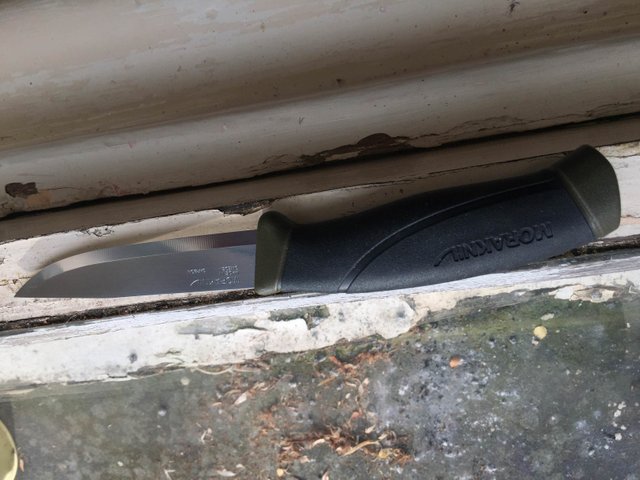

The Mora makes light work of the Ash bark outer and inner..
But as you can see the blade here of my jack knife I was using, needs some care and maintenance..
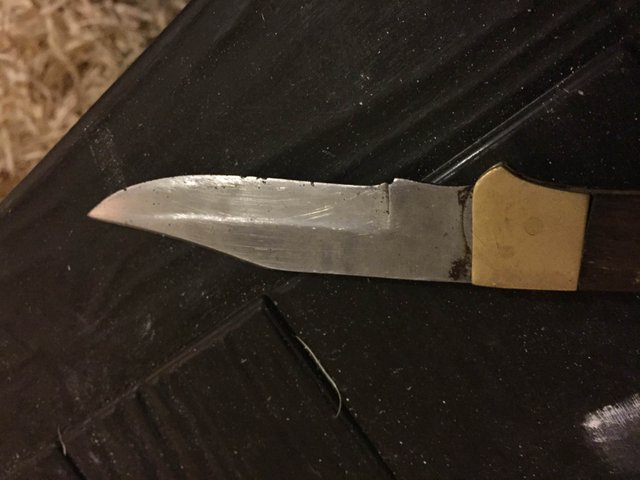
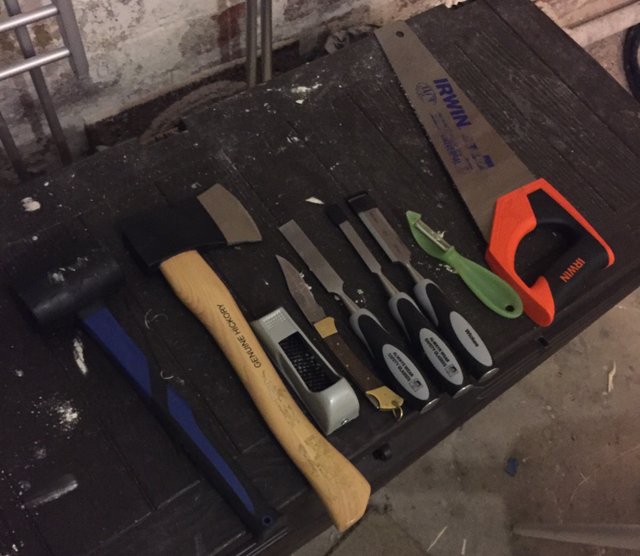
Because of it's blade profile, it's not best suited for woodwork, it's primary function is for skinning animals and meat, not for stripping wood. However it's my trusty knife passed on from my Grandfather and I found it to work just fine, as ever! The piff, which is just under the bark I removed with a hand potato peeler, carefully as to not make any possible breaks in the heartwood where lifting could occur come tillering of the bow! Below are the tools I have used or plan on using for this project so far, maybe there will be new additions, i'll make sure to list them.
Now I left one staff barked, i'm not sure what i'm going to do with it yet, but currently have it seasoning, which is a process of drying wood limbs out through natural changes in the weather under shelter. For best results, you should seasons wood for 1 year per inch in diameter.
As we are crafting a survival bow, and time is theoretically of the essence, this half of the sapling that i'd stripped, was going to go straight into processing! I left it to dry in the basement overnight and at least half of it's weight in water had evaporated come morning, so I stuck the kettle on and began to make initial battened entry cuts into the end of the staff with my knife and a rubber mallet (you could just use a 3" across piece of wood) until I could get my hatchet head into the split and continued carefully with that.
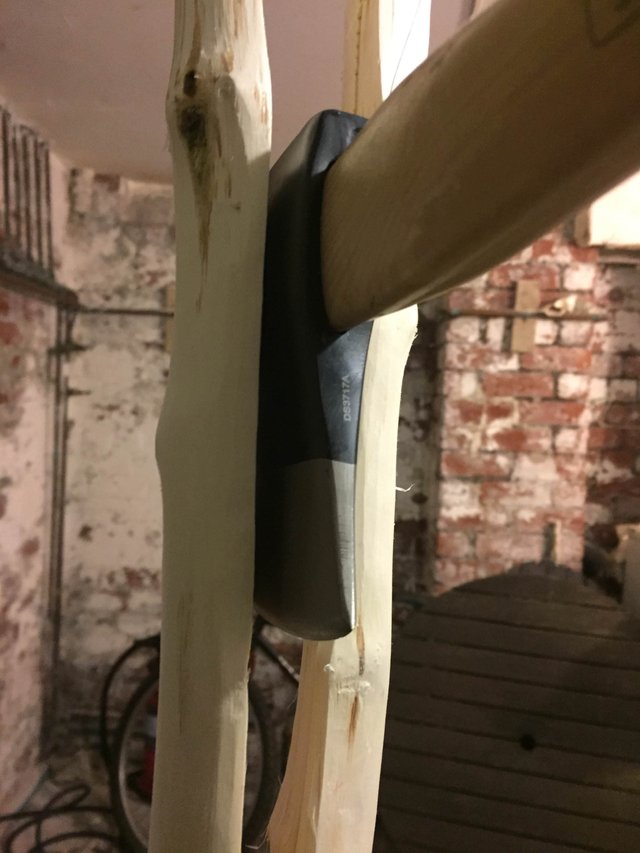
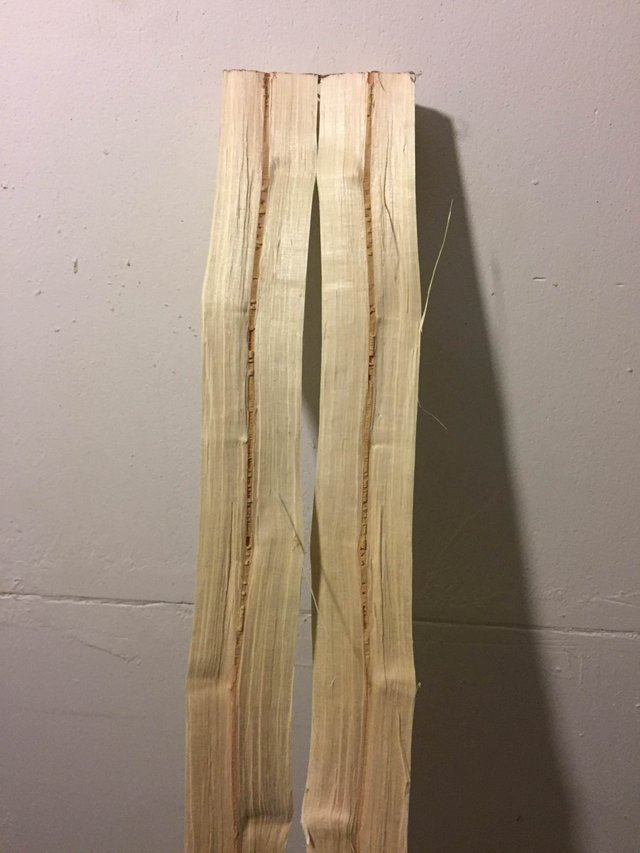
A perfect split! Now I measured up 47", marked the midway and 3" either side of that for the grip and the excess point with a marker pen and sawed off the excess.

I was then left with a split staff, stripped of bark and piff and the length of what I want the finished product to be at. Good stuff!
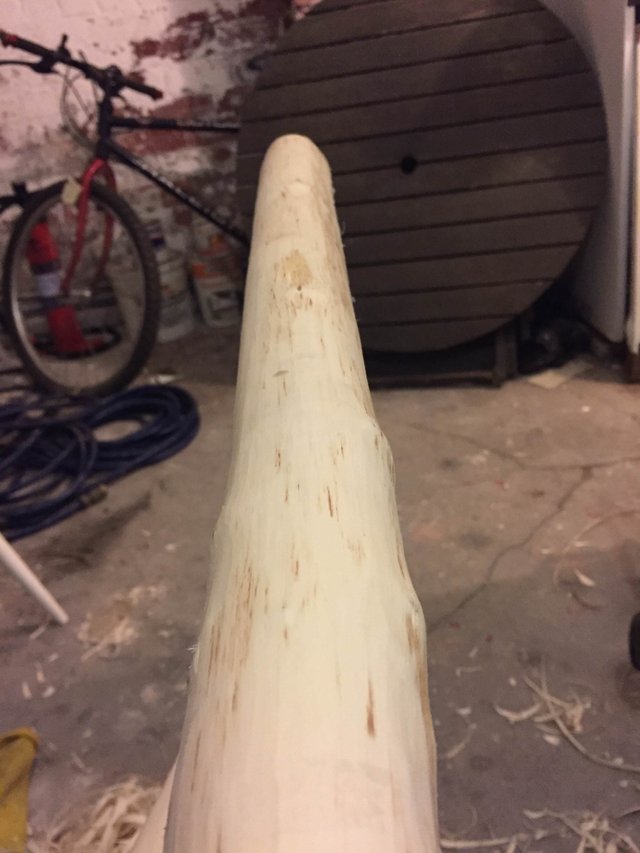
Now come the arduous, but most satisfying part of the process, the shaping of the bow by way of shaving away reliefs to a taper at each end. You can easily get carried away, remember with wood, you can only take away, you can't replace, so checking often the progress you're making is a good idea. You want it to taper off but also be flat, only relieve wood from the front side of the bow staff, that's the side that'll be facing you when you draw. I used a potato peeler and my Mora sheath knife and got something resembling what I wanted on the one side.
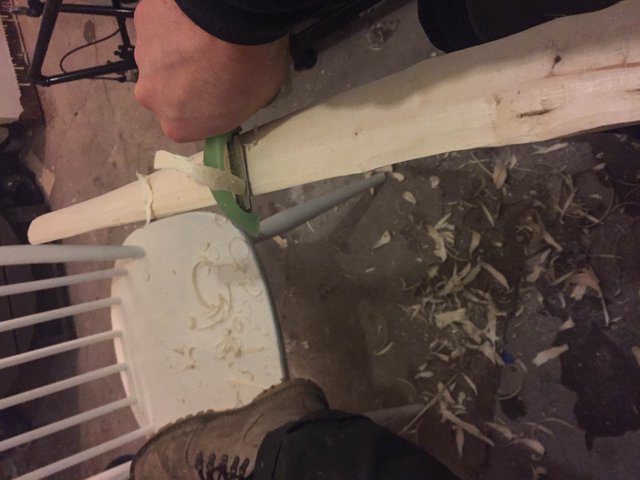
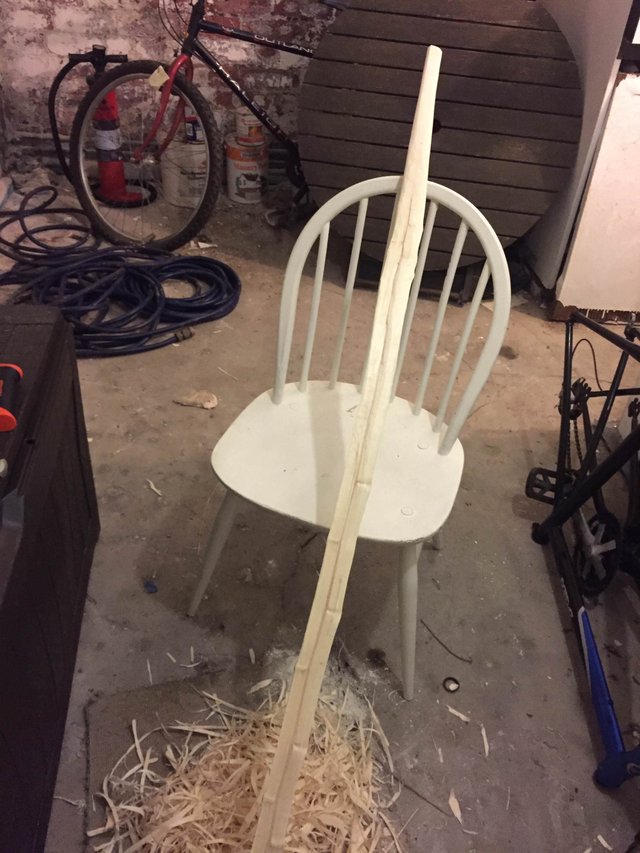
Yet more shaping... :D
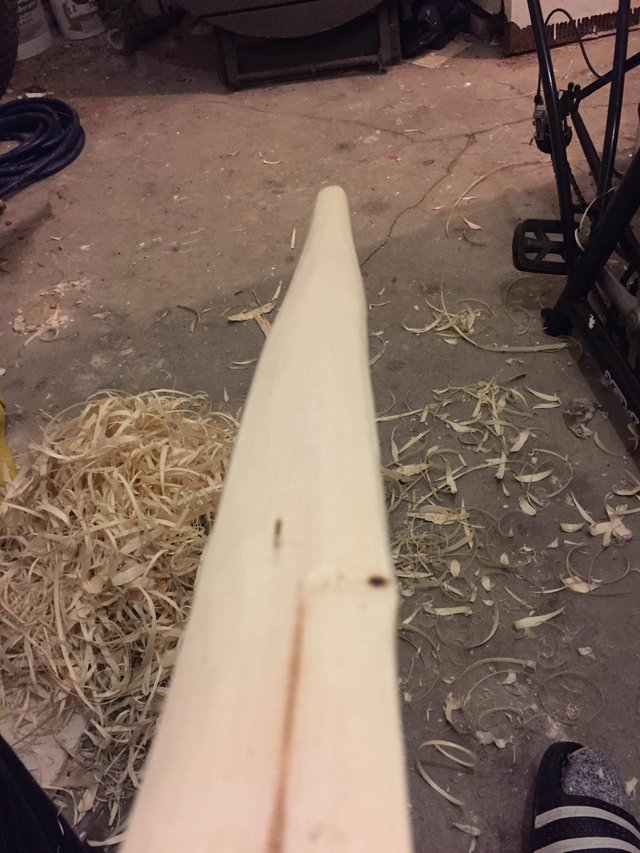

Both sides now looking good but only one side was showing flex and this is currently where i'm up to, i'll be updating daily with updates so check back and feel free to ask me anything, thanks for checking my post out, I appreciate it a lot!!

06/03/18
Congratulations @solomon-king! You received a personal award!
Click here to view your Board
Do not miss the last post from @steemitboard:
Vote for @Steemitboard as a witness and get one more award and increased upvotes!
Congratulations @solomon-king! You received a personal award!
You can view your badges on your Steem Board and compare to others on the Steem Ranking
Do not miss the last post from @steemitboard:
Vote for @Steemitboard as a witness to get one more award and increased upvotes!