Focus Stacking Tutorial - Part 3 – How I Shoot My Indoor Image Stacks
Focus Stacking Tutorial Part 3 - How I Shoot My Indoor Macro Image Stacks
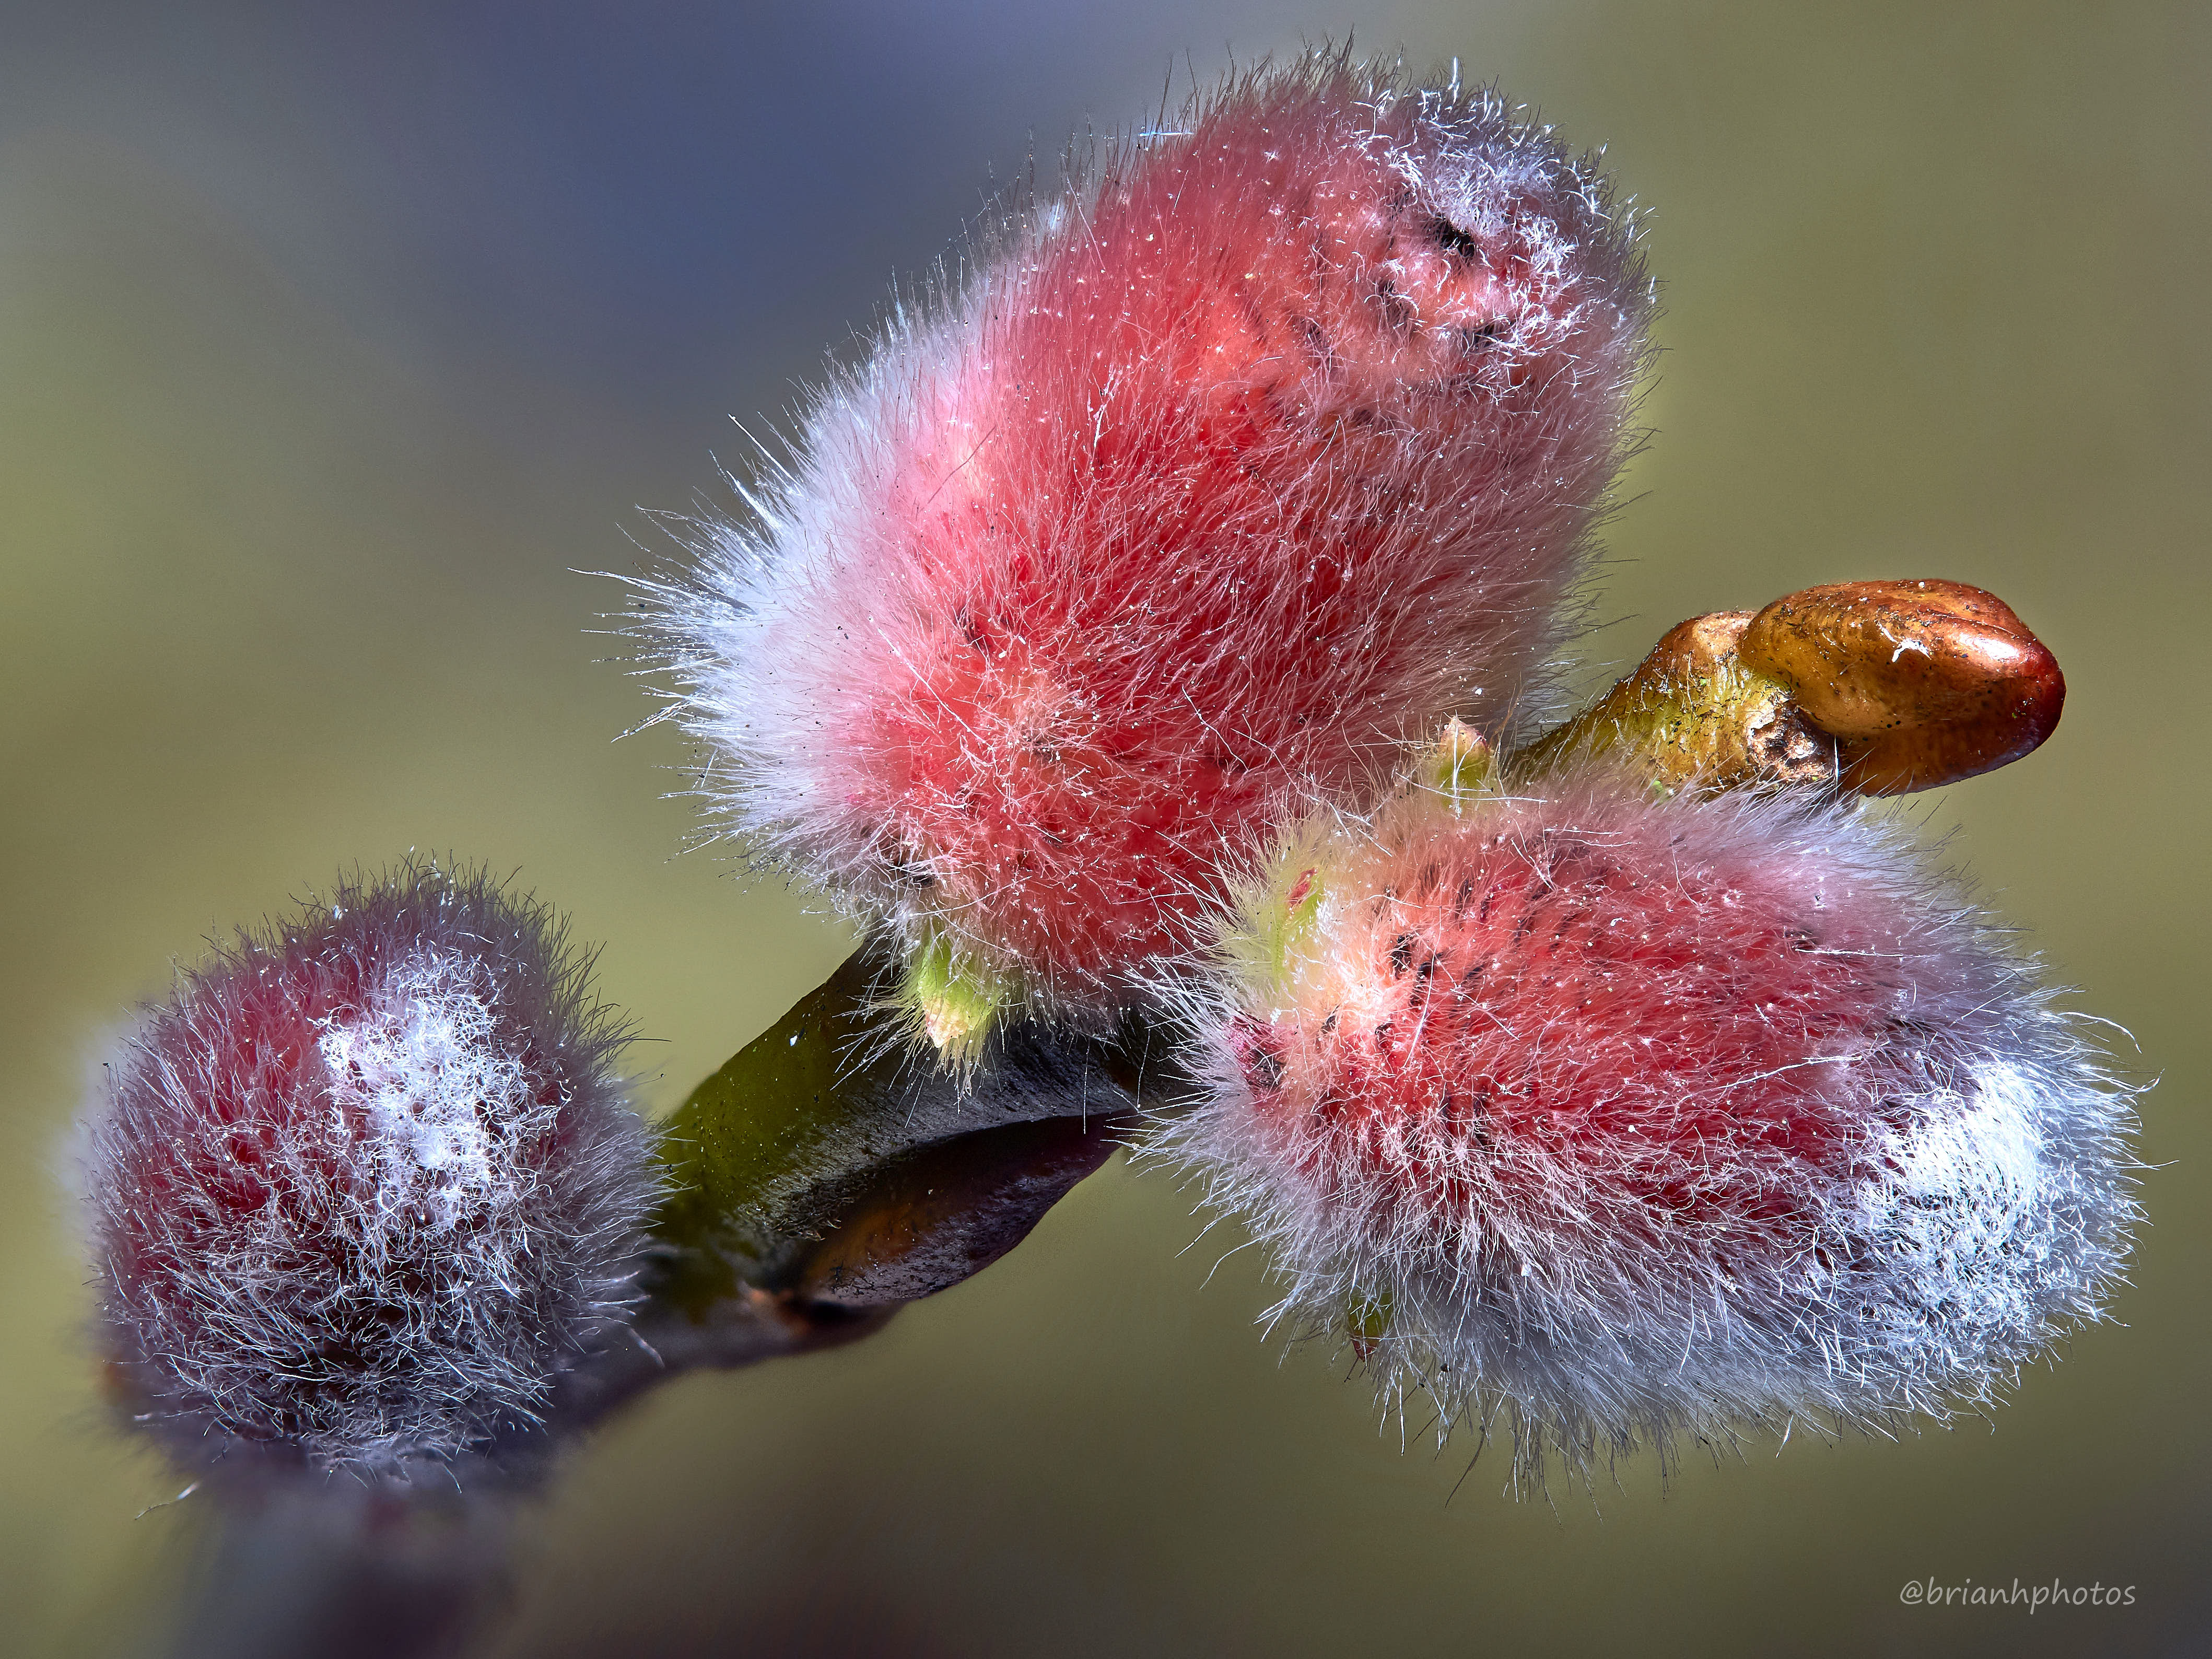
Click/tap the image to view at 100%
Introduction
In this article I am going to try and explain how I shoot my indoor macro image stacks.
As you know from my previous posts, I always use and encourage others to use the focus bracketing features built into recent Olympus and Panasonic cameras because it makes this part of the process so much easier.
I’ve made a video to help cover some of the issues that are more difficult to explain in words. I’ts sometimes just easier to see how to do something rather than read about it. See the link below.
When you are shooting indoors you don’t have to worry about the wind blowing everything about and moving your subject around, like out in the field. To keep your subject exactly still makes all the difference between a good and bad stack.
I’ll make another post, during springtime, about shooting macro stacks outside.
Secure Your Subject
Find some way to secure your subject. A flower in a plant pot, a dead insect held in place with clamps or like I demonstrate in the video, a tree branch twig held secure in a roll of packaging tape.
Secure your camera
Your camera needs to be on a tripod to keep it still and be able to frame you subject as you want. In my opinion a ball head mount is the best option you can use to enable easy positioning of your camera to frame your subject.
Set up your camera and shoot your stack of images
Please watch the video here
This is my first attempt at making video a like this, so it’s not the best but I hope it helps demonstrate the process. I will and must aim to improve my videoing skills.
The focus bracketing feature has two main options you are able to set. They are “set number of shots” and “Set focus differencial”.
Trial and error is the best way to get an understanding of how these parameters work but here are some guide lines.
When you are very close to your subject so your lens is at its closest focus distance (1:1 or more) and you’re shooting aperture is open wide - F2.8 or wider then you should have “set number of shots” set to a high value (100+) and “set focus differencial” to a low value (1 or 2).
When you are further away from your subject and your aperture is narrower (F8+) then you should have “set number of shots” much lower ( 10-) and “set focus differencial” to higher values (5 to 10)
I hope this will be helpful to anyone interested in trying macro focus stacking
If there are any questions please post a comment and I will do my best to answer.
Happy Focus Stacking!
For those interested, here are previous episodes in this series:-
1. Basic Steps Summary
2. Why Focus Stack
3. What Equipment Do I Need
Feel the Love
@brianhphotos
Upvoted ☝ Have a great day!
@happymikes, if you had really upvoted me I may have given you some time and upvoted back.
Great tutorial. As a former glamour photographer I'd never heard of F Stop bracketing, but I can def see the benefits in it for this kind of work.
Thank you.