AK Tiny Home Build (Part 7)- Electrical, Final Insulation and Vapor Barrier
It was getting cold and I was still running a power cord through a open window. It was time to get permanent power indoors so we could continue the tiny work. Before this I had a small amount experience running wire for homes. I was mostly the man drilling holes and pulling on wire. I didn't feel comfortable taking on this job by myself so I asked a friend with many years of electrical experience if he could come help. In the deal for him to help me I said, "you can stand around and just tell me what to do. I'll do all the labor...". That didn't happen.. I was getting tools and drilling a few holes. My buddy with all the experience flew through the work, I think I almost slowed him down a few times.
Thanks to my good friend, this part of the job was more fun quick and almost painless, with his help.

Below I would like to show how we ran wire through the Pacific Smartwall which is a prefabricated wall system from Pacific Homes.
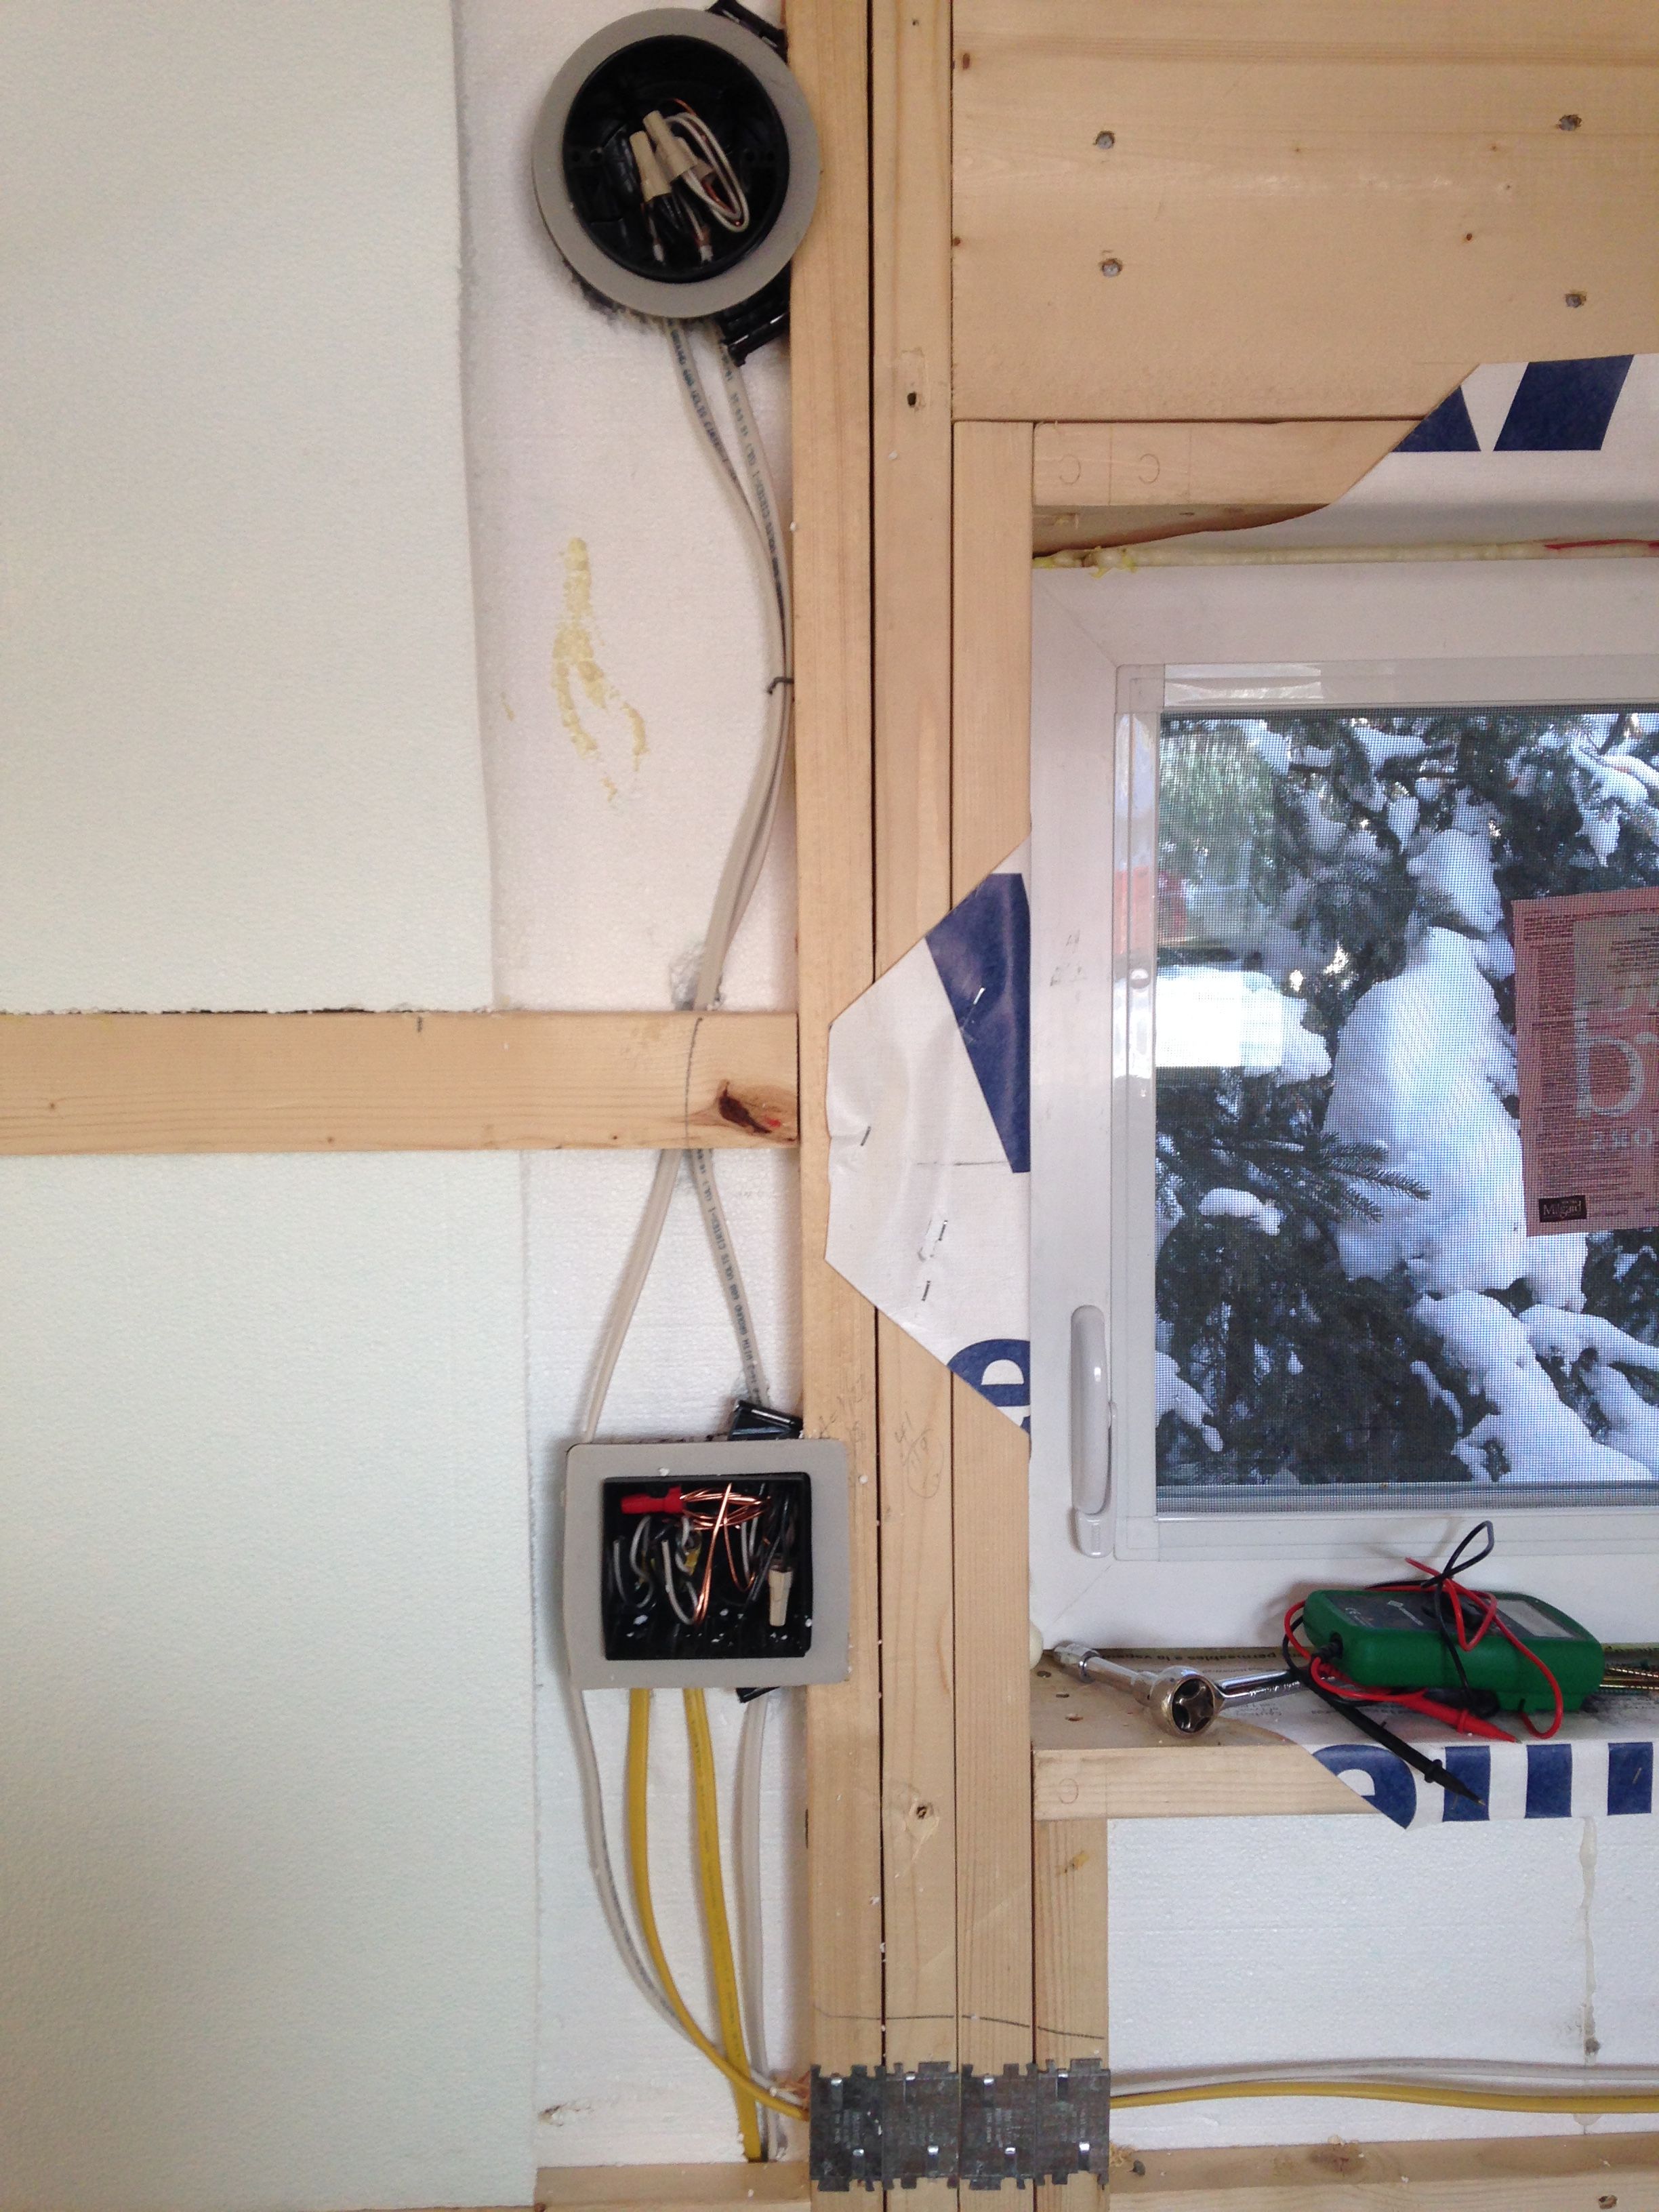
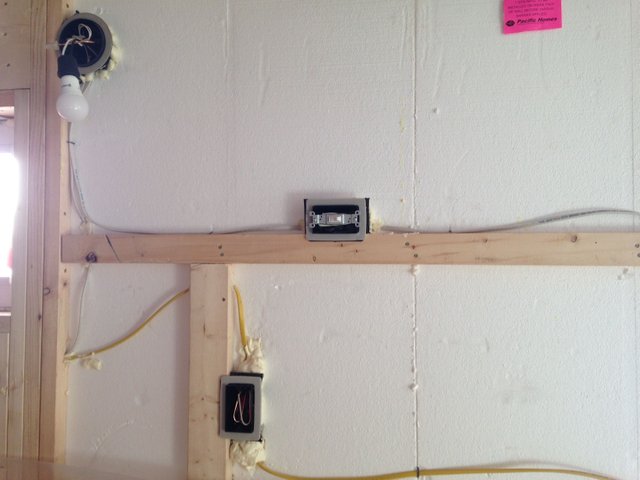
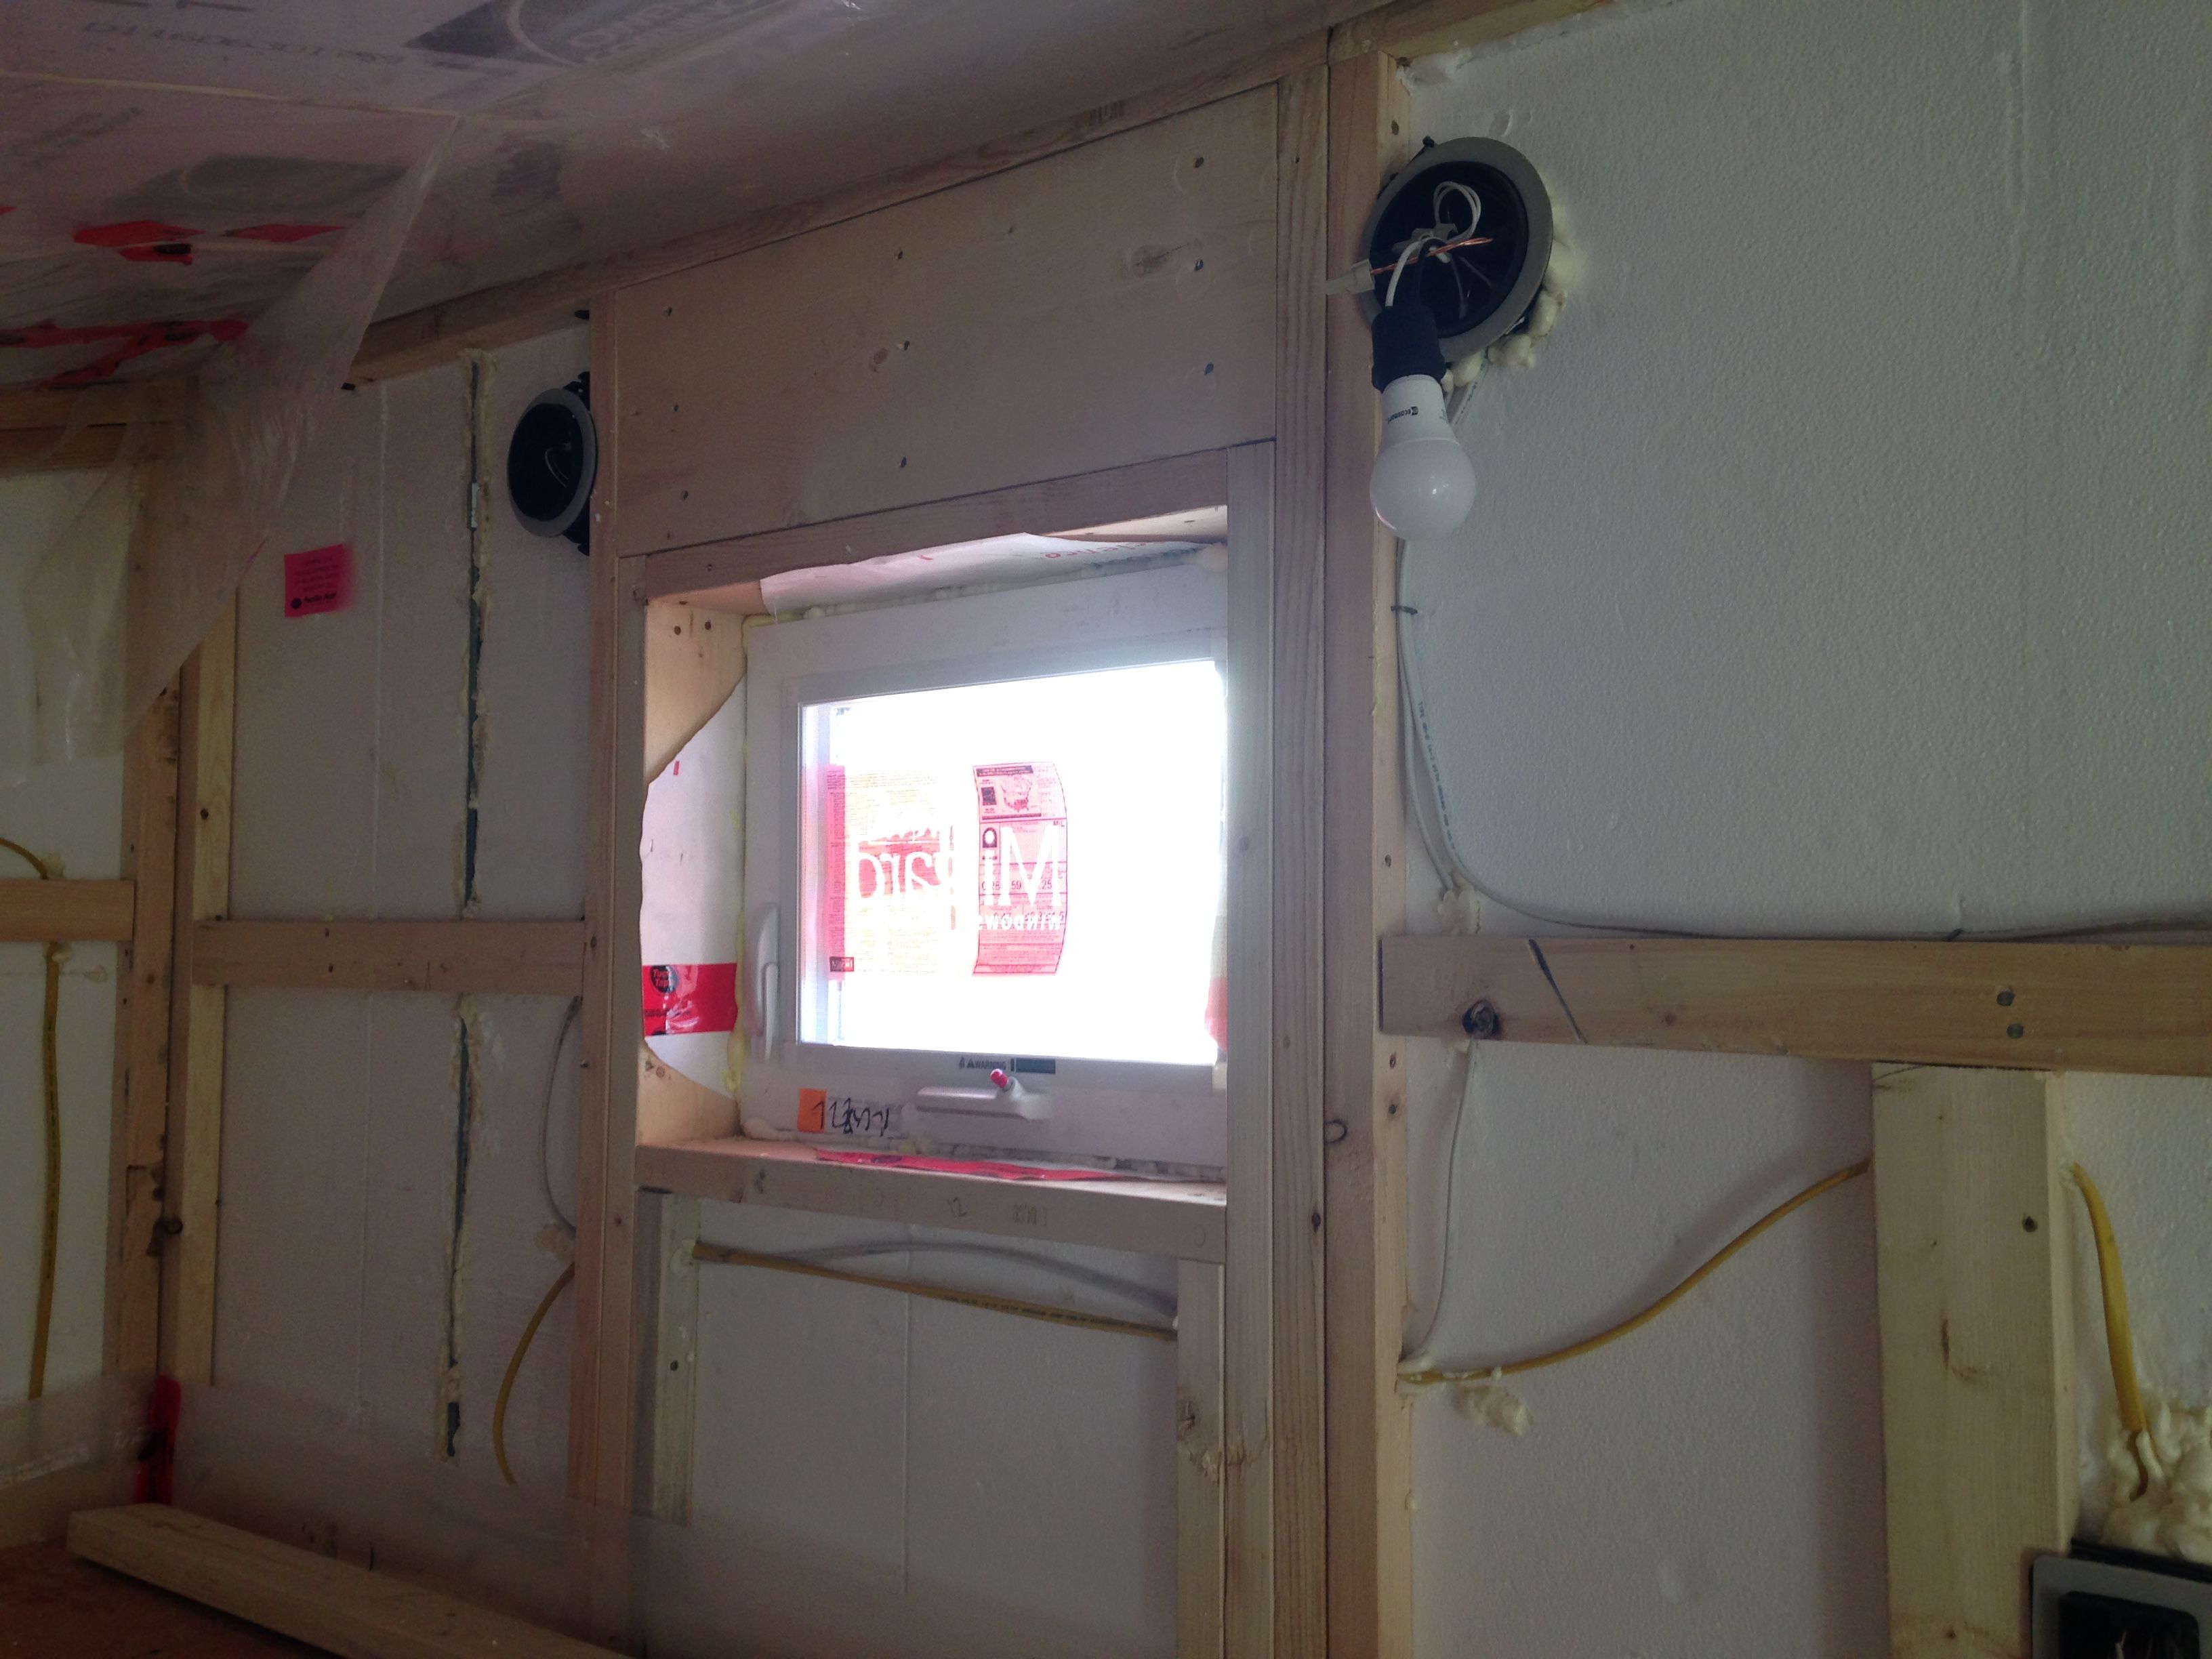
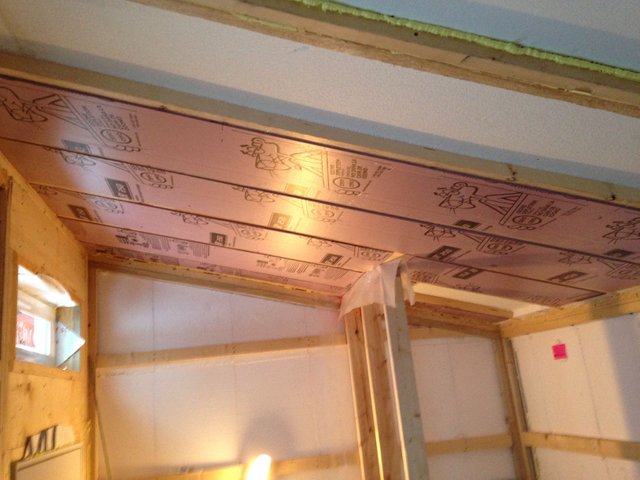
In the photo below you can see that the final insulation is in the ceiling and in the walls. The walls, unlike the ceiling, have 1 inch foam installed. This foam covers the wires and adds to the insulation, for a total of 5 inches of foam.(Or a R value of 22) You can also see nail plates were installed since the last picture, of this wall, that you looked at.

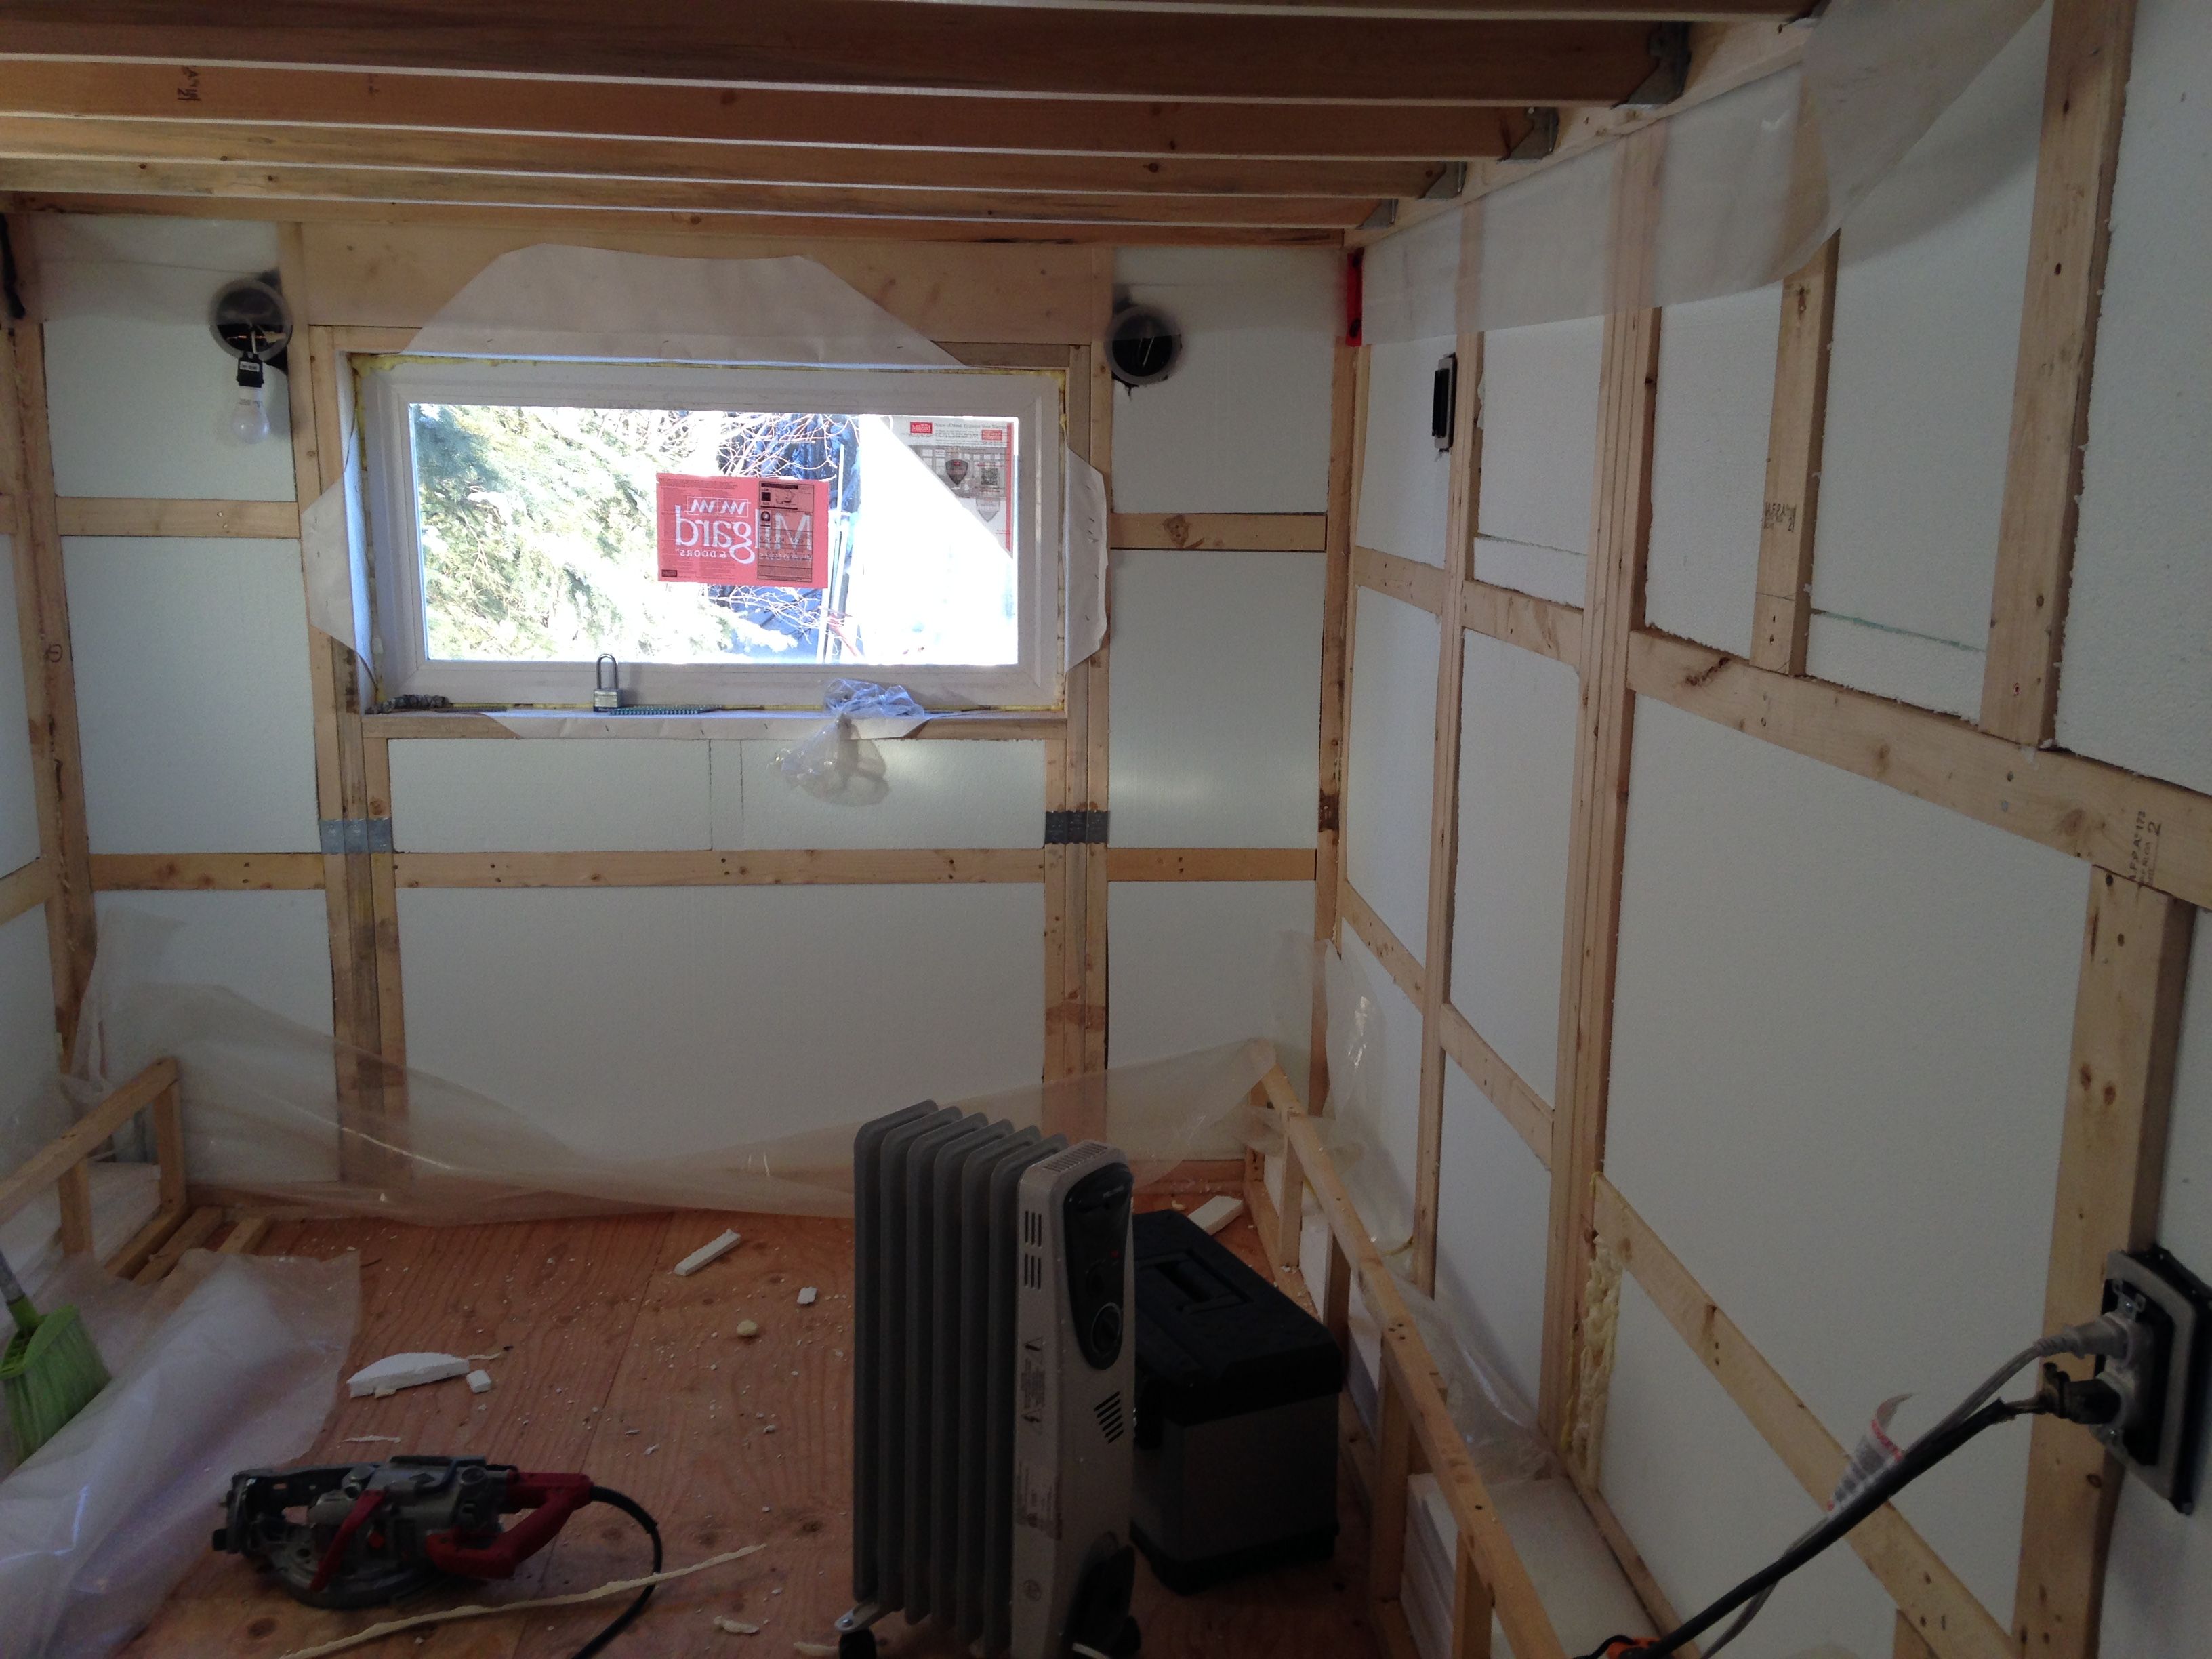
The bubble is completed below. All the vapor barrier is on the walls and sealed with red tape and acoustical sealant. Acoustical Sealant is the black line that you can see around the windows and in the corners. I like to call this stuff "Black Death" because it is nasty! No matter how hard you try not to get it on anything... it gets everywhere. Hand, clothes, floor...EVERYWHERE!

Well the the tiny house bubble is complete.. we are at the conclusion of part 7. Thanks again for tuning in. Please If you have a question please let us know in the comments below.
If you missed the first 6 parts of AK Tiny Home Build here they are: (part 1) (part 2) (part 3) (part 4)(part 5)(part 6)
If you have been following, you have been a witness to my blogging evolution.
Special thanks to @greenacrehome for help with moving pictures and thanks to all the http://www.homesteadersonline.com peeps for the recent help as well.
This is so exciting! I just found y'all on the newsletter thingy and I'm super excited to go back and read all the other parts of this amazing journey. I also can't wait to see the finished product!
Woo-hoo!! We are real excited about being here! We are getting to the fun stuff... pallet wood processing for the ceiling is next. Thanks for the nice comment.
Brandon and Lindsey
2.16% @pushup from @aktinyhome
Sneaky Ninja Attack! You have been defended with a 15.93% vote... I was summoned by @aktinyhome! I have done their bidding and now I will vanish...Whoosh
This post has received a 44.73% upvote from @aksdwi thanks to: @aktinyhome.
Prevents cold air from seeping through the floors, keeping indoor temperatures stable. Lowers heating and cooling costs by minimizing thermal transfer. http://ottawainsulations.wikidot.com/