AK Tiny Home Build (Part 5)- Metal Roof and Siding
Before I started this project I had never put on metal, of any sort, on a building. Some would say I'm a glutton for punishment but I like to say "I like to learn new things". "If your not learning your not living", I say all the time. Enough of what I say.... metal time.
The gentleman you see below is a good friend and a mentor. He agreed to come help me get started and it only cost me a trip to the liquor store. (we will call him the Milkman...its one of the nicknames he goes by)

The Milkman is waiting for a measurement from me so he can cut the drip edge.
Drip edge is the first step to putting on the roof. It gets installed on the drivers side and passengers side of the tiny home before the sheets of metal. (see below)

Drip edge is on! Drip edge's purpose is to direct dripping water away from the fascia (the white trim around the top) and house.
Next is full sheets of metal roofing. Since I bought a house package from Pacific Homes all the metal for the roof was cut to length. Not having to cut and the Milkman throwing sheets of metal at me faster than I could screw them down, made this process extremely fast. These two factors are the reason I have only one photo of the whole roofing process.
There were some really good tips, for putting metal on, I learned while working with the Milkman.
- Measure and pre-drill holes for the screws. This will make sure all the screws line up and it will help to save energy by not having to drill through the metal with every screw.
- Remember your measurements or write them down. This will save you a trip up a ladder to re-measure.
- Alway put your first screw, in the top pre-drilled hole, that is closes to the panel you are overlapping. This will give you a pivot point at the top to line it up all the way to the bottom. (Thats what worked best for me.)
If you check out the photo below you can see I have one sheet completely secured and all the screws are in a line. The next sheet is ready. So the first step I took is line the the sheets up at the top and bottom so there is a nice straight line from one sheet to the next over hanging. Then I went to the top side of the unsecured sheet, pressed down on the ridge where the two sheets overlap till the unsecured sheet is flush against the roof and put in a screw. After the first screw I went to the opposite side and repeated. If I followed these steps the metal went up straighter. If I forgot, which I did a couple times, the sheet of metal would not always line up properly. Its like a ziplock bag that doesn't get sealed right at one end, when you try to close it, it just doesn't line up and close at the other end. So.. once I had the top and the bottom screws in and everything was straight I would secure the rest of the sheet. .....and repeat.

Before I started on the siding, I had to go backwards a bit, by cutting open the tyvek and installing some one inch steel strapping. I did this where each wall panel ended and the next one began.(see below) For a little more piece of mind.


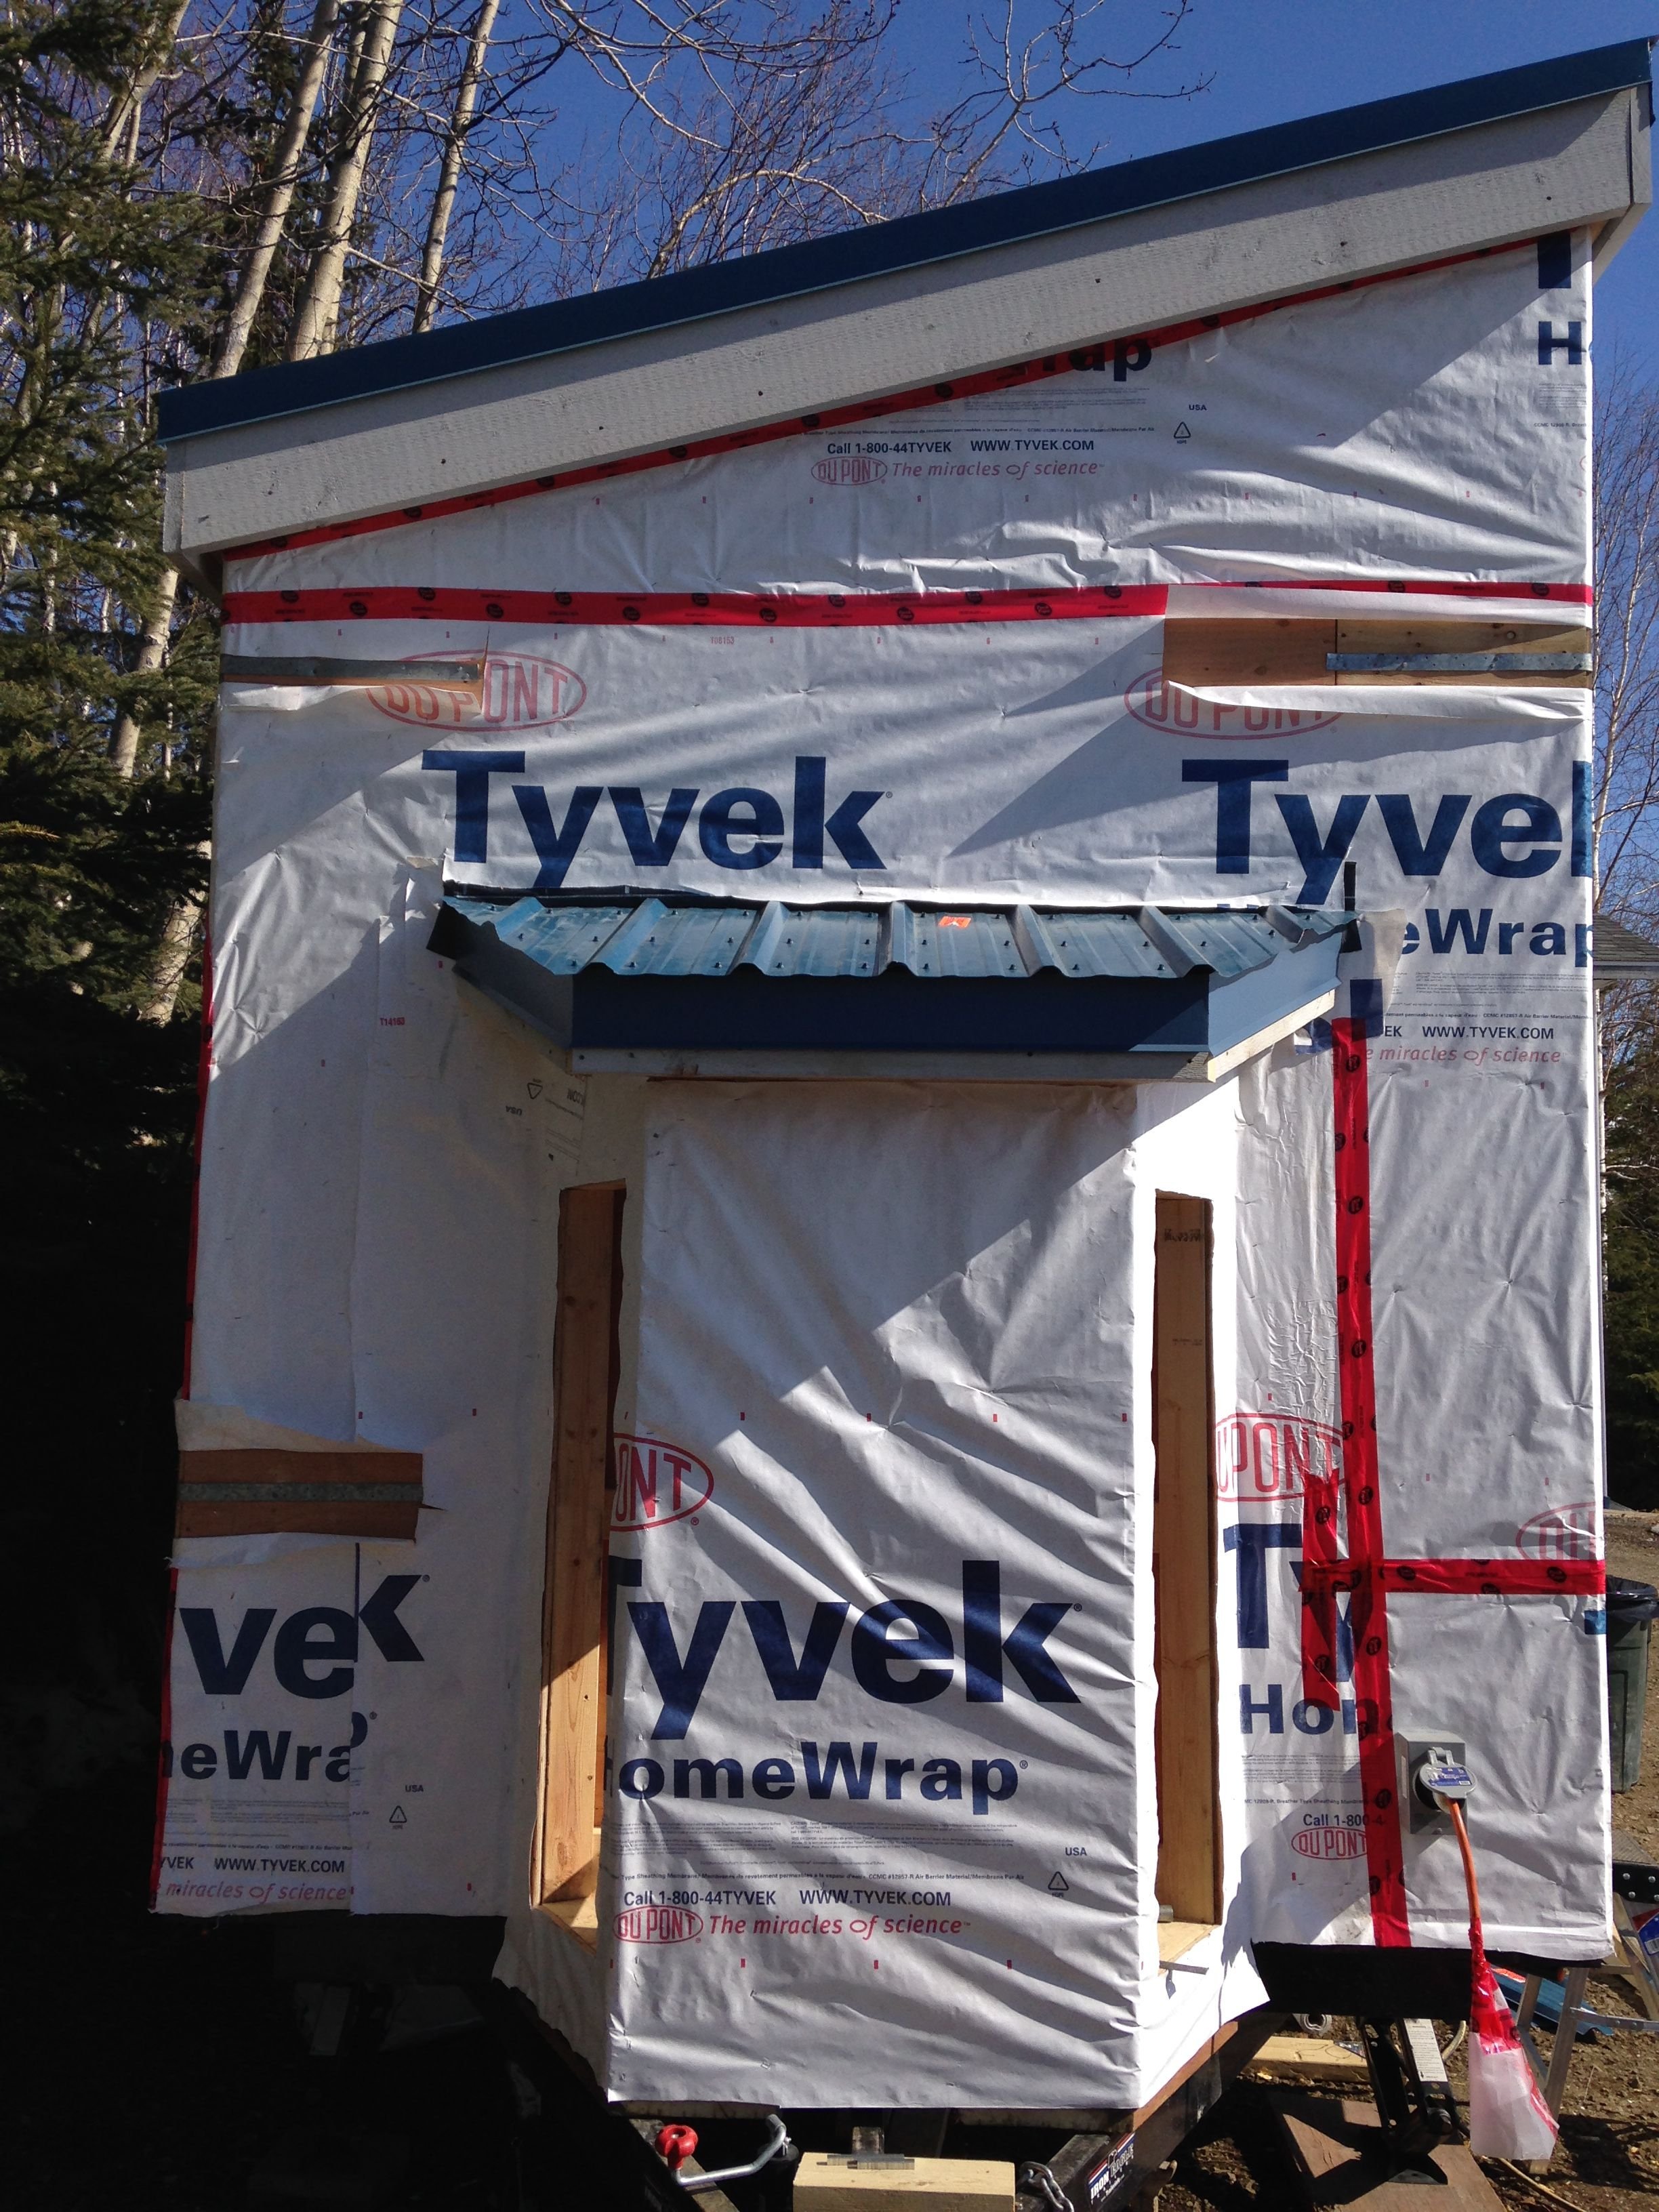
When the time came for siding I was on my own. I turned to the internet to teach myself how to trim out the windows with J trim and more drip edge. (see below)
- J trim is metal trim that when put around the window creates a channel for water so it doesn't get behind the siding.
- Drip edge for the window, serves the same purpose that drip edge for the roof does, its just shaped differently.
Yes, that is my beautiful wife Lindsey in the picture below. Obviously she was in the army...now she is a civilian looking to homestead.
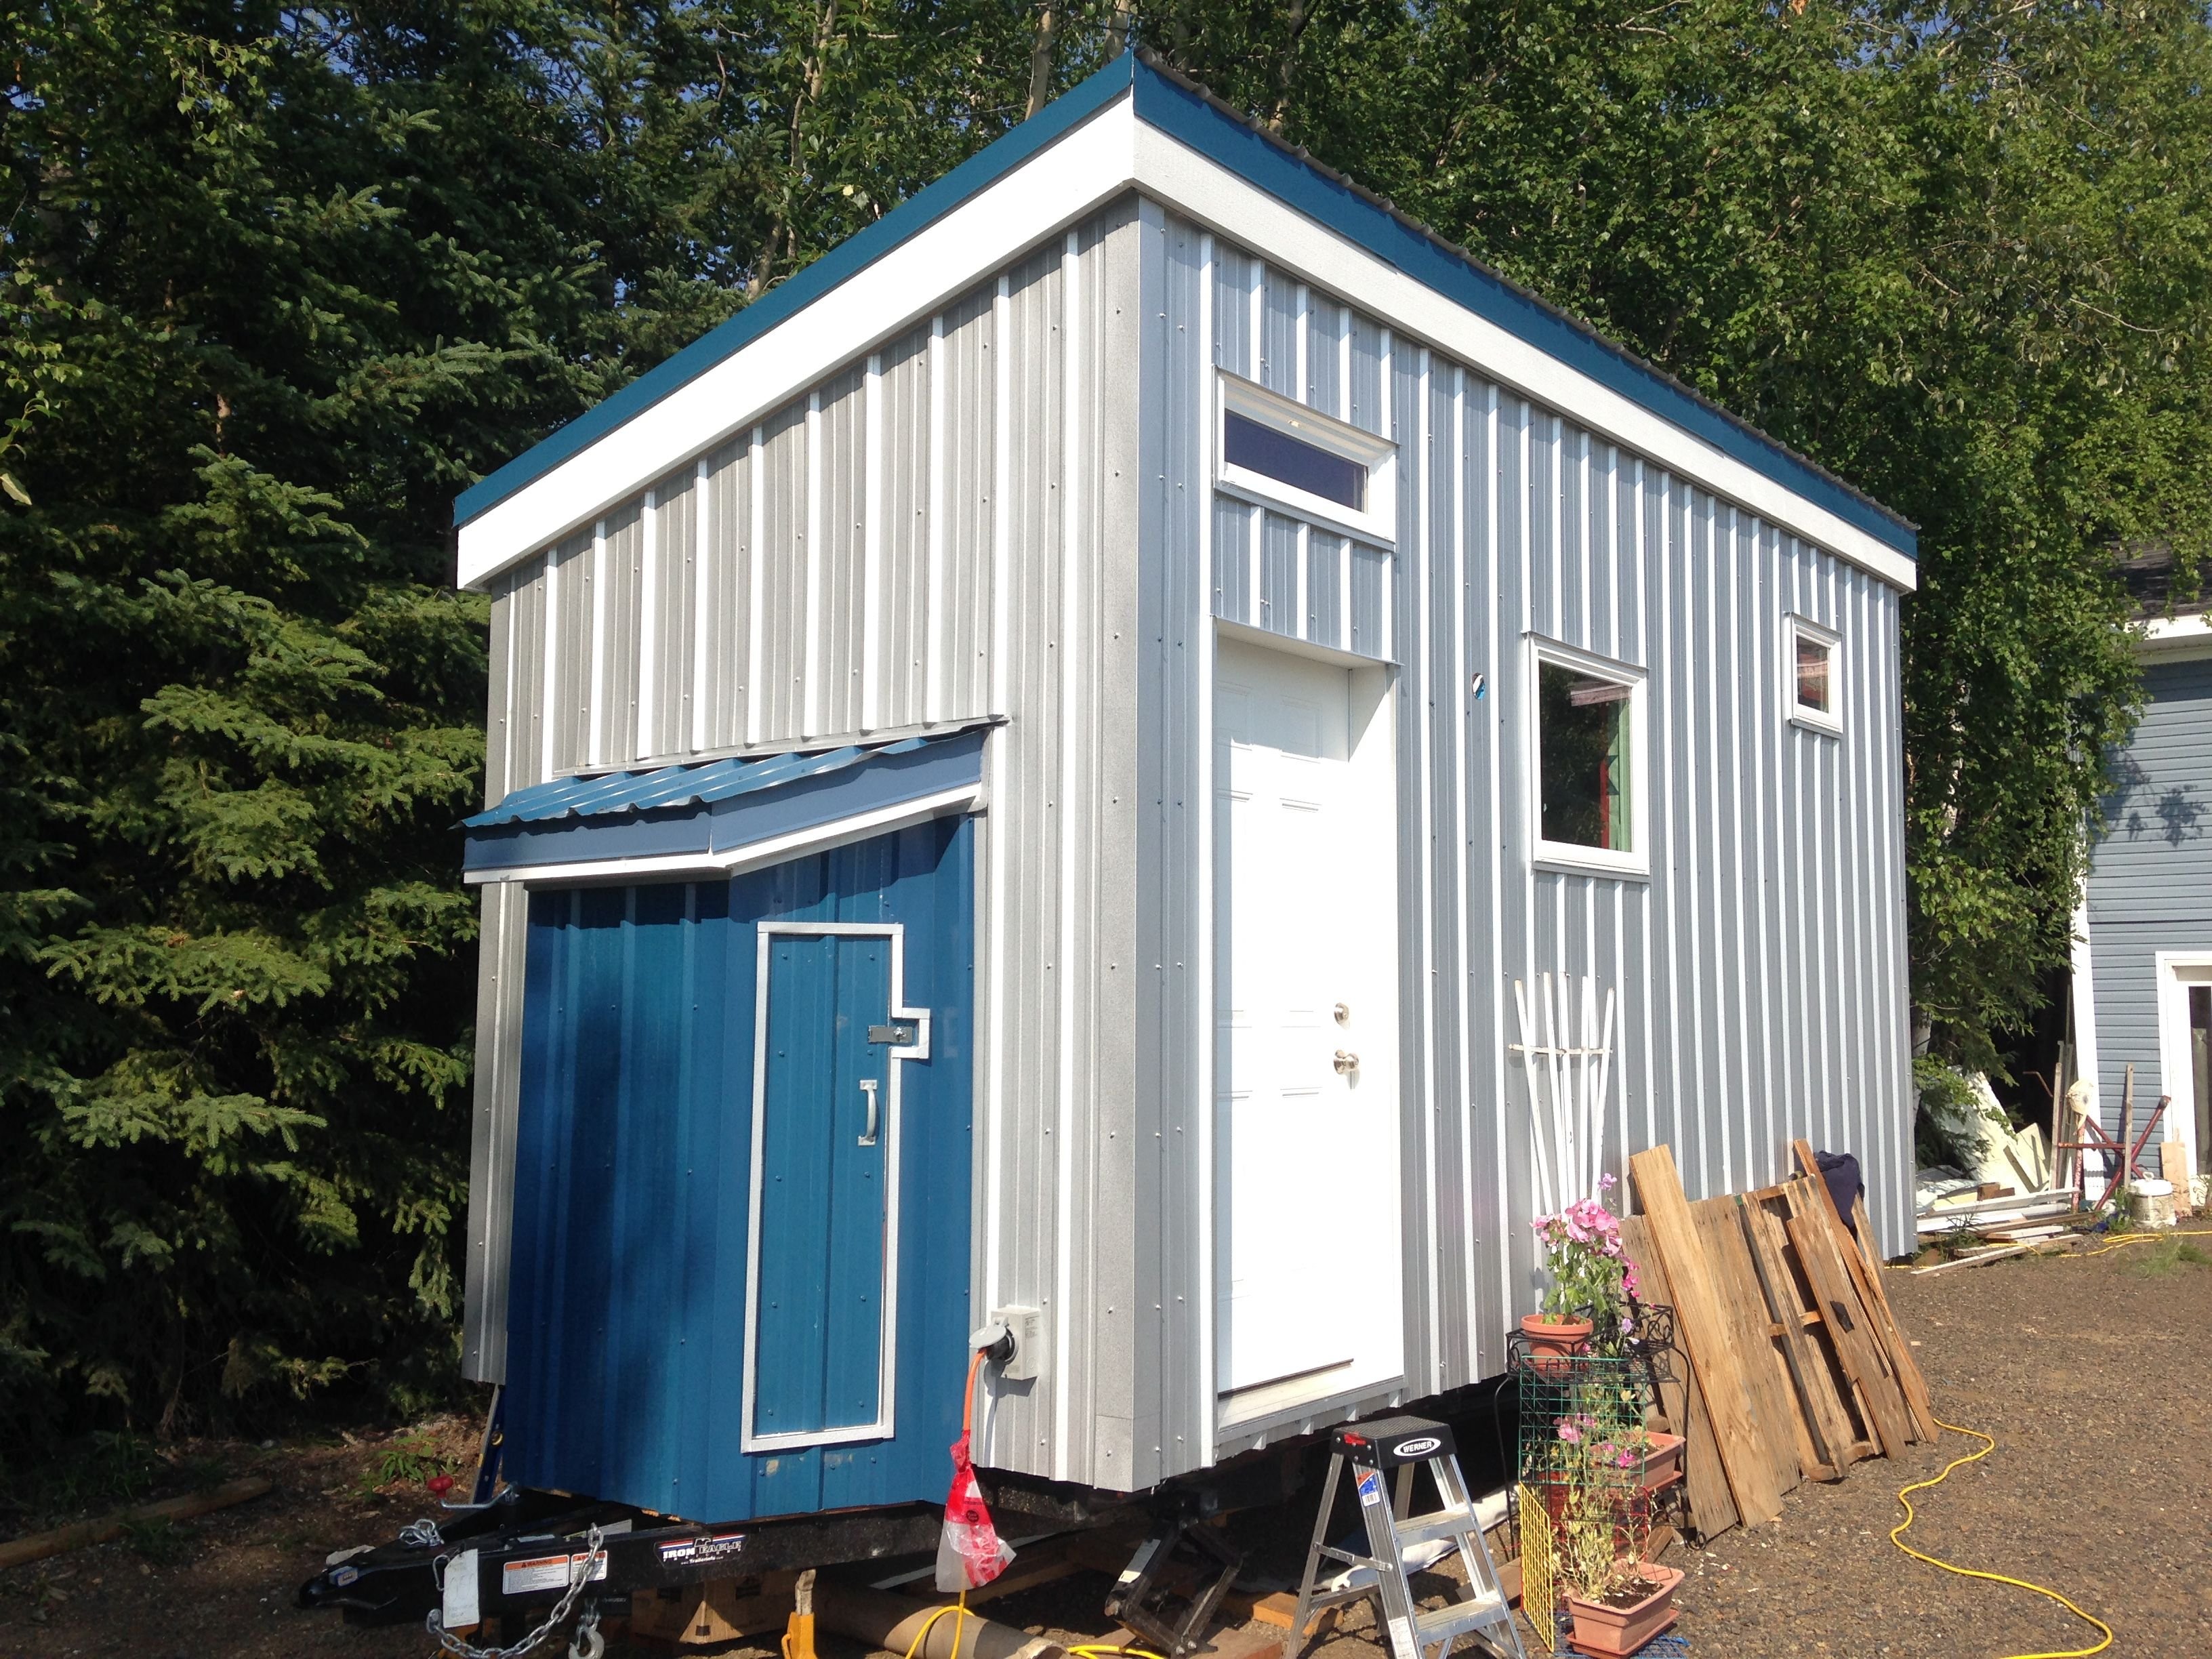
Back to siding... Since I went over putting on the roof you should have a good idea how the siding goes on. On the drivers side of the tiny tank, thats what I started calling the tiny home in part 4, I started with my first piece at the back. I did this so the wind wouldn't be able to catch the seams of the overlapping pieces while the tiny tank is going down the road.

When I had to cut out around the windows I always tried to give myself a 1/4 inch of play. The worst is, especially when you are by yourself, trying to slide a 10 foot piece of metal around a window and it is too tight. Then you have to take it back down and trim. Trimming is no fun after the original cut.

The front and back took less than 7 pieces.

The back took less than 3 pieces.

For the storage box I used the 1 inch galvanized J trim around the doors and left over blue roofing metal. I had to go to the store only twice for the whole roofing and siding project. Once for tin snips and a metal cutting blade for my skilsaw. The other time to get blue corner pieces for the box.
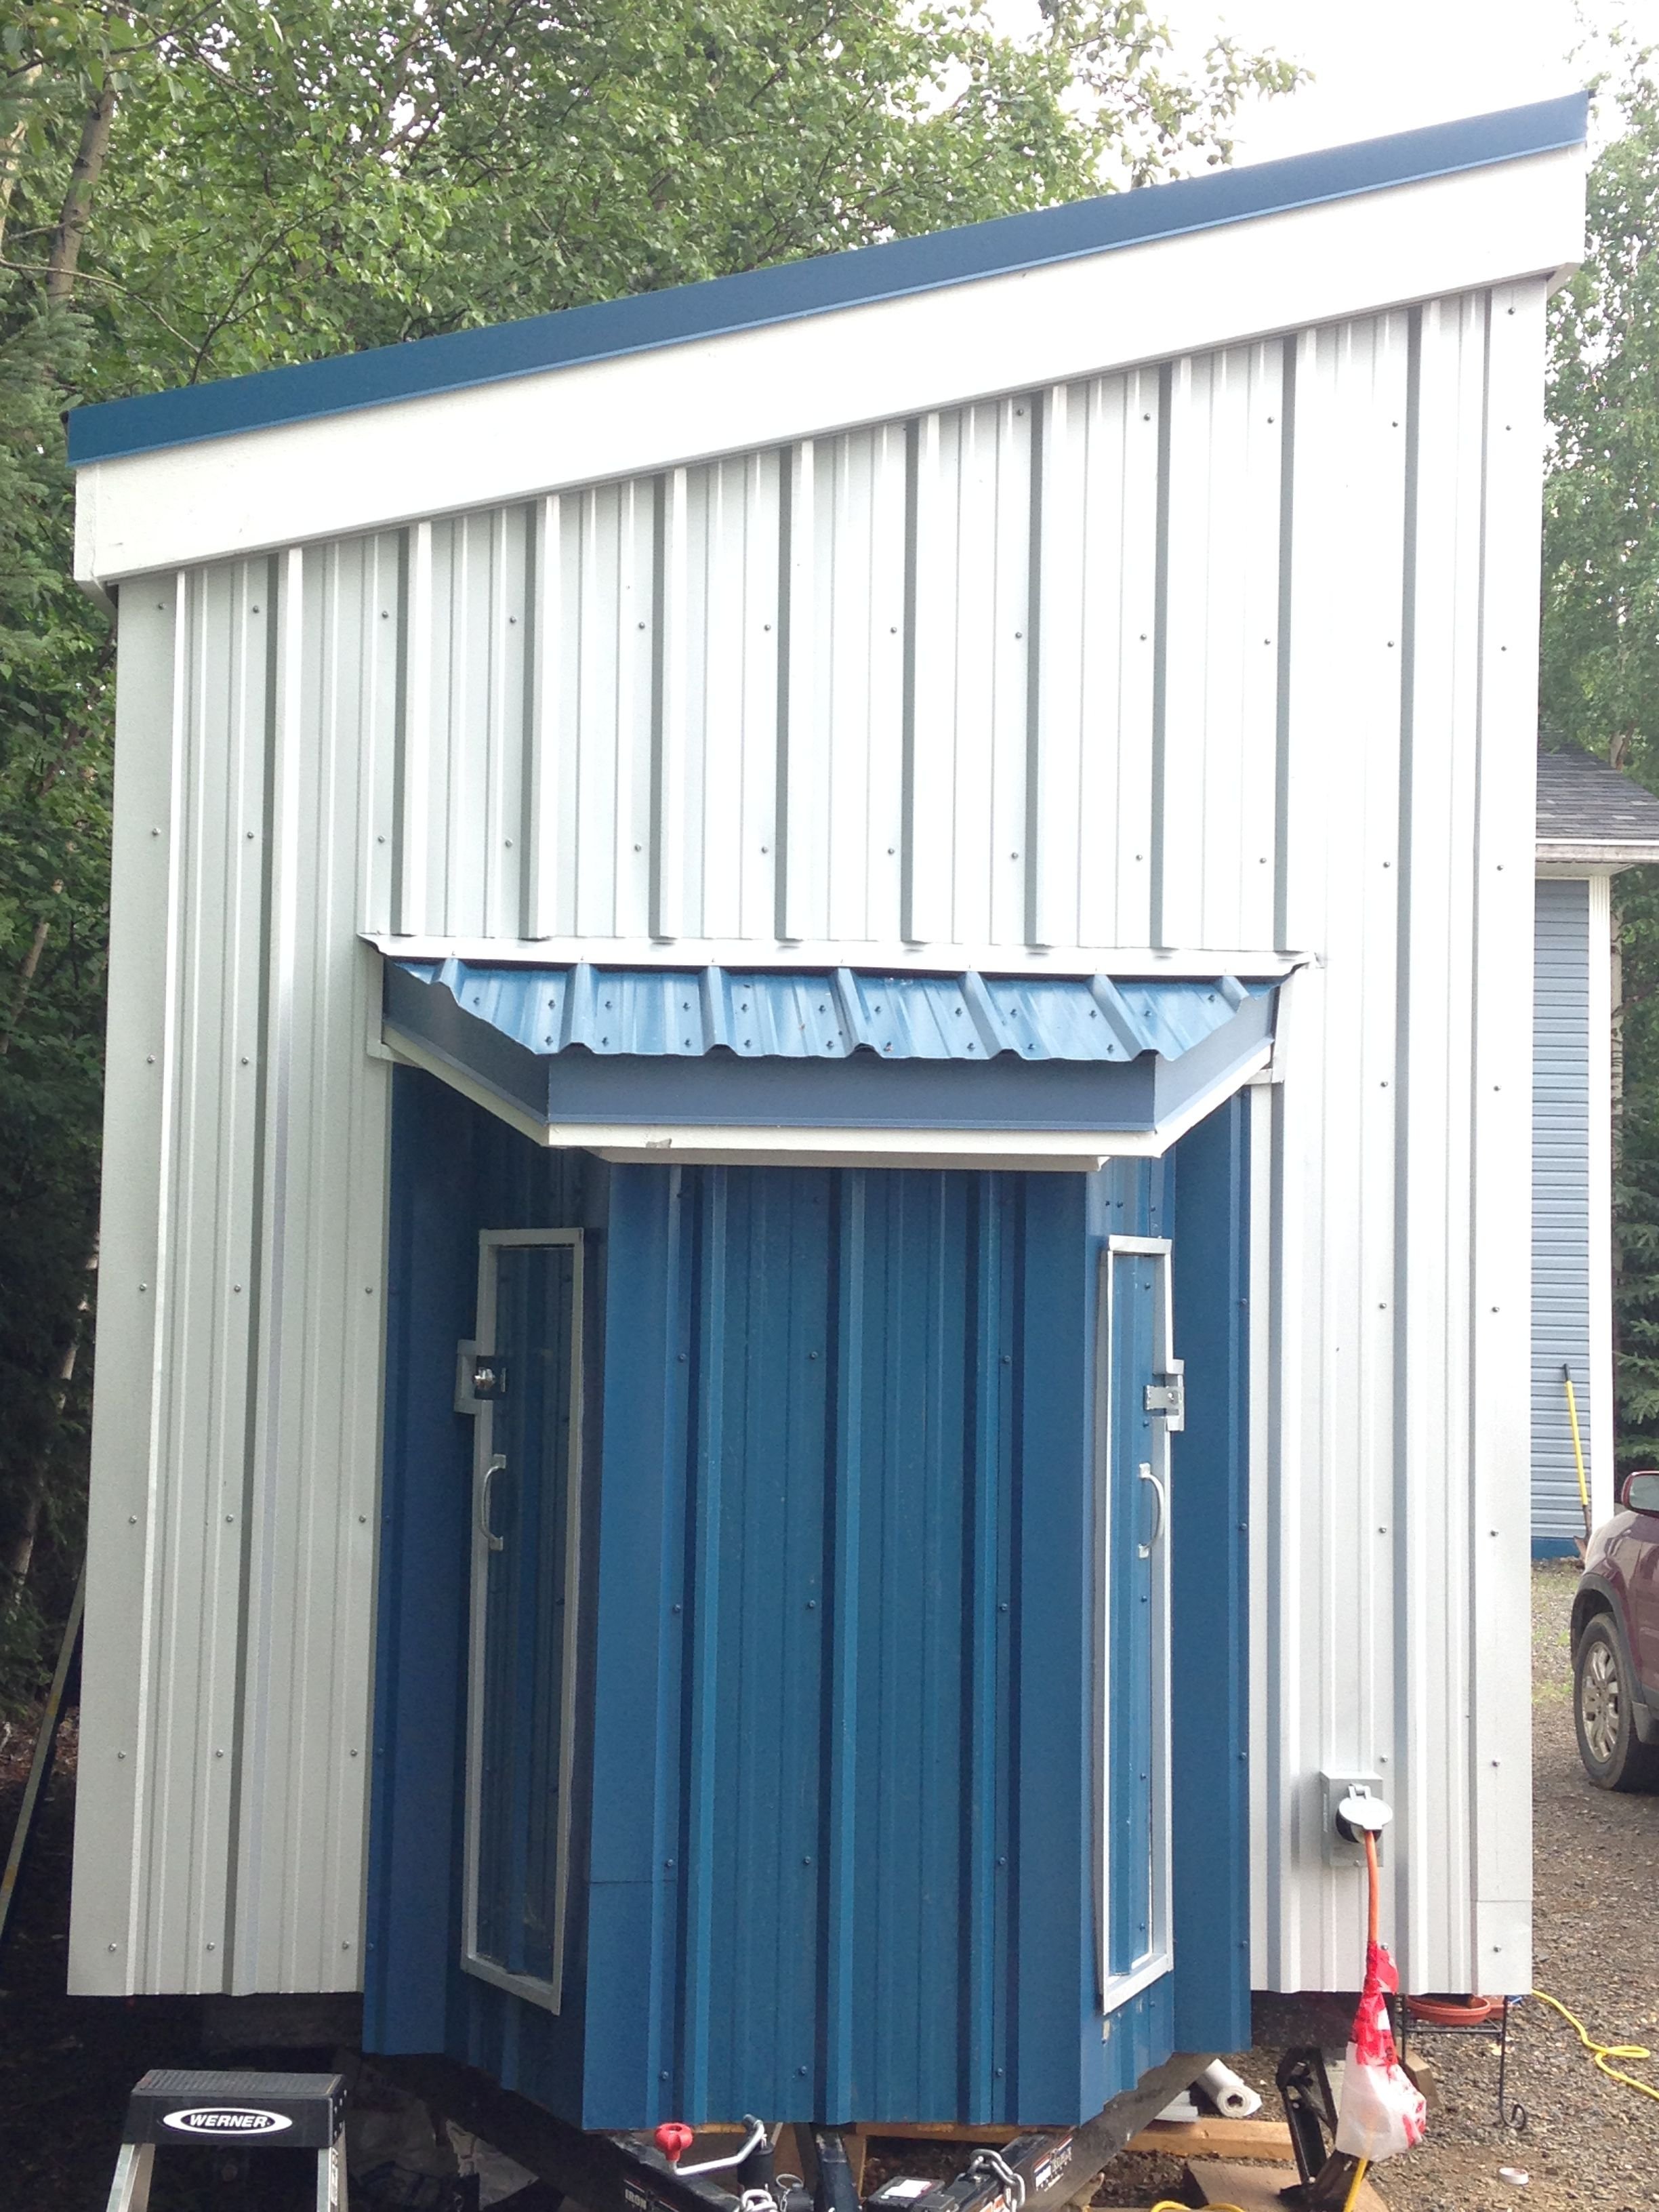
As you can see the corners are on! woo-hoo!
Thanks again to all who made to the end!
If you have any questions or if I missed something please let me know. I will try to answer all questions.
If you missed the first 4 parts here they are: (part 1) (part 2) (part 3) (part 4)
Thanks again Brandon and Lindsey
This is the first post I saw but now im gonna find all parts! Great content.
Get some @gogreenbuddy... get some more parts! Thank you. Just you wait till I get to the indside. We used a lot of pallet and reclaimed wood.
Great built I noticed you don't have part 1/2/3/4 on the other articles just this one. That can improve the content even more! Awesome read, I thought about tiny homes allot but in Poland its not cheaper or better than just a small house&cabin. :)
You are seeing the evolution of my blogging skills here. In lots of places in the US it is illegal to build tiny on a foundation. You need permits and blah blah blah.... Im not one for rules. That is why we are eventually going to move out closer to nature where natural is the only law.
I understand very little of USA. Canada sounds like a way more progressive modern place to life as an European.
My only questions are:
Don't mind me, that's some great job out there, I love the way you opt out to describe people and jerk back to the deal. It's beautiful.
And wait, do you know this can provide comfortable shelter to the homeless too?
Nice one bro
Thank you so much!
@awesomeabasiono I'm all booked up for awhile funny man! Thanks for the nice comment. You made me laugh first thing in the morning.....