How To: Homemade, Sustainable Seed Starting Medium (aka Potting Soil)
With our wooden seed flats built it was time to fill them with some potting soil! The thing is @idyllwild and I don't have any and we don't want to buy any either if we can help it! We want to save money and prefer not to rely on industry when appropriate.
Lucky for us there are a lot of resources around here for us to scrounge, as is the case on most farms/homesteads!

Our goal was to create a quality potting soil that is light and fluffy, has good water retention and good drainage.
Our first thought was to mix some garden soil, compost, forest humus and sand. We started exploring the property to see what resources we had at hand.
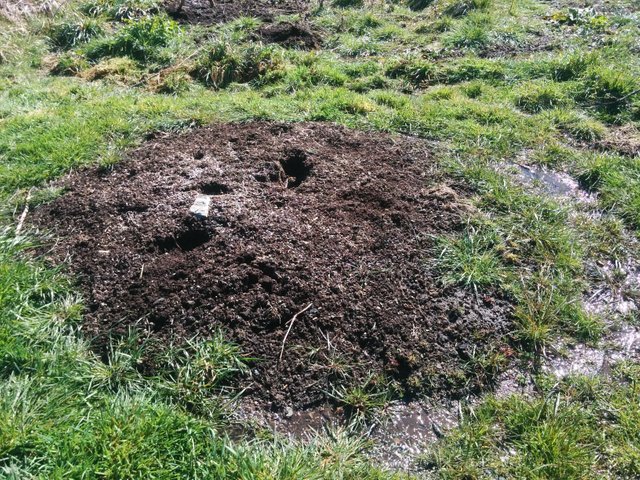
First stop: Compost pile.
An old compost pile we discovered looked like it would be nicely broken down. But we stuck a fork in it and opened it up a bit to discover it was smelly, soggy and anaerobic. So that idea was out!
Next Stop: The garden.
There are several beds in the garden that have been worked for several years with nice fluffy, rich in organic matter, clay based soil.
The clay under the grass has some nice tilth to it but the clay in the garden beds is even crumblier. It looks like a lot of compost had been added to it.
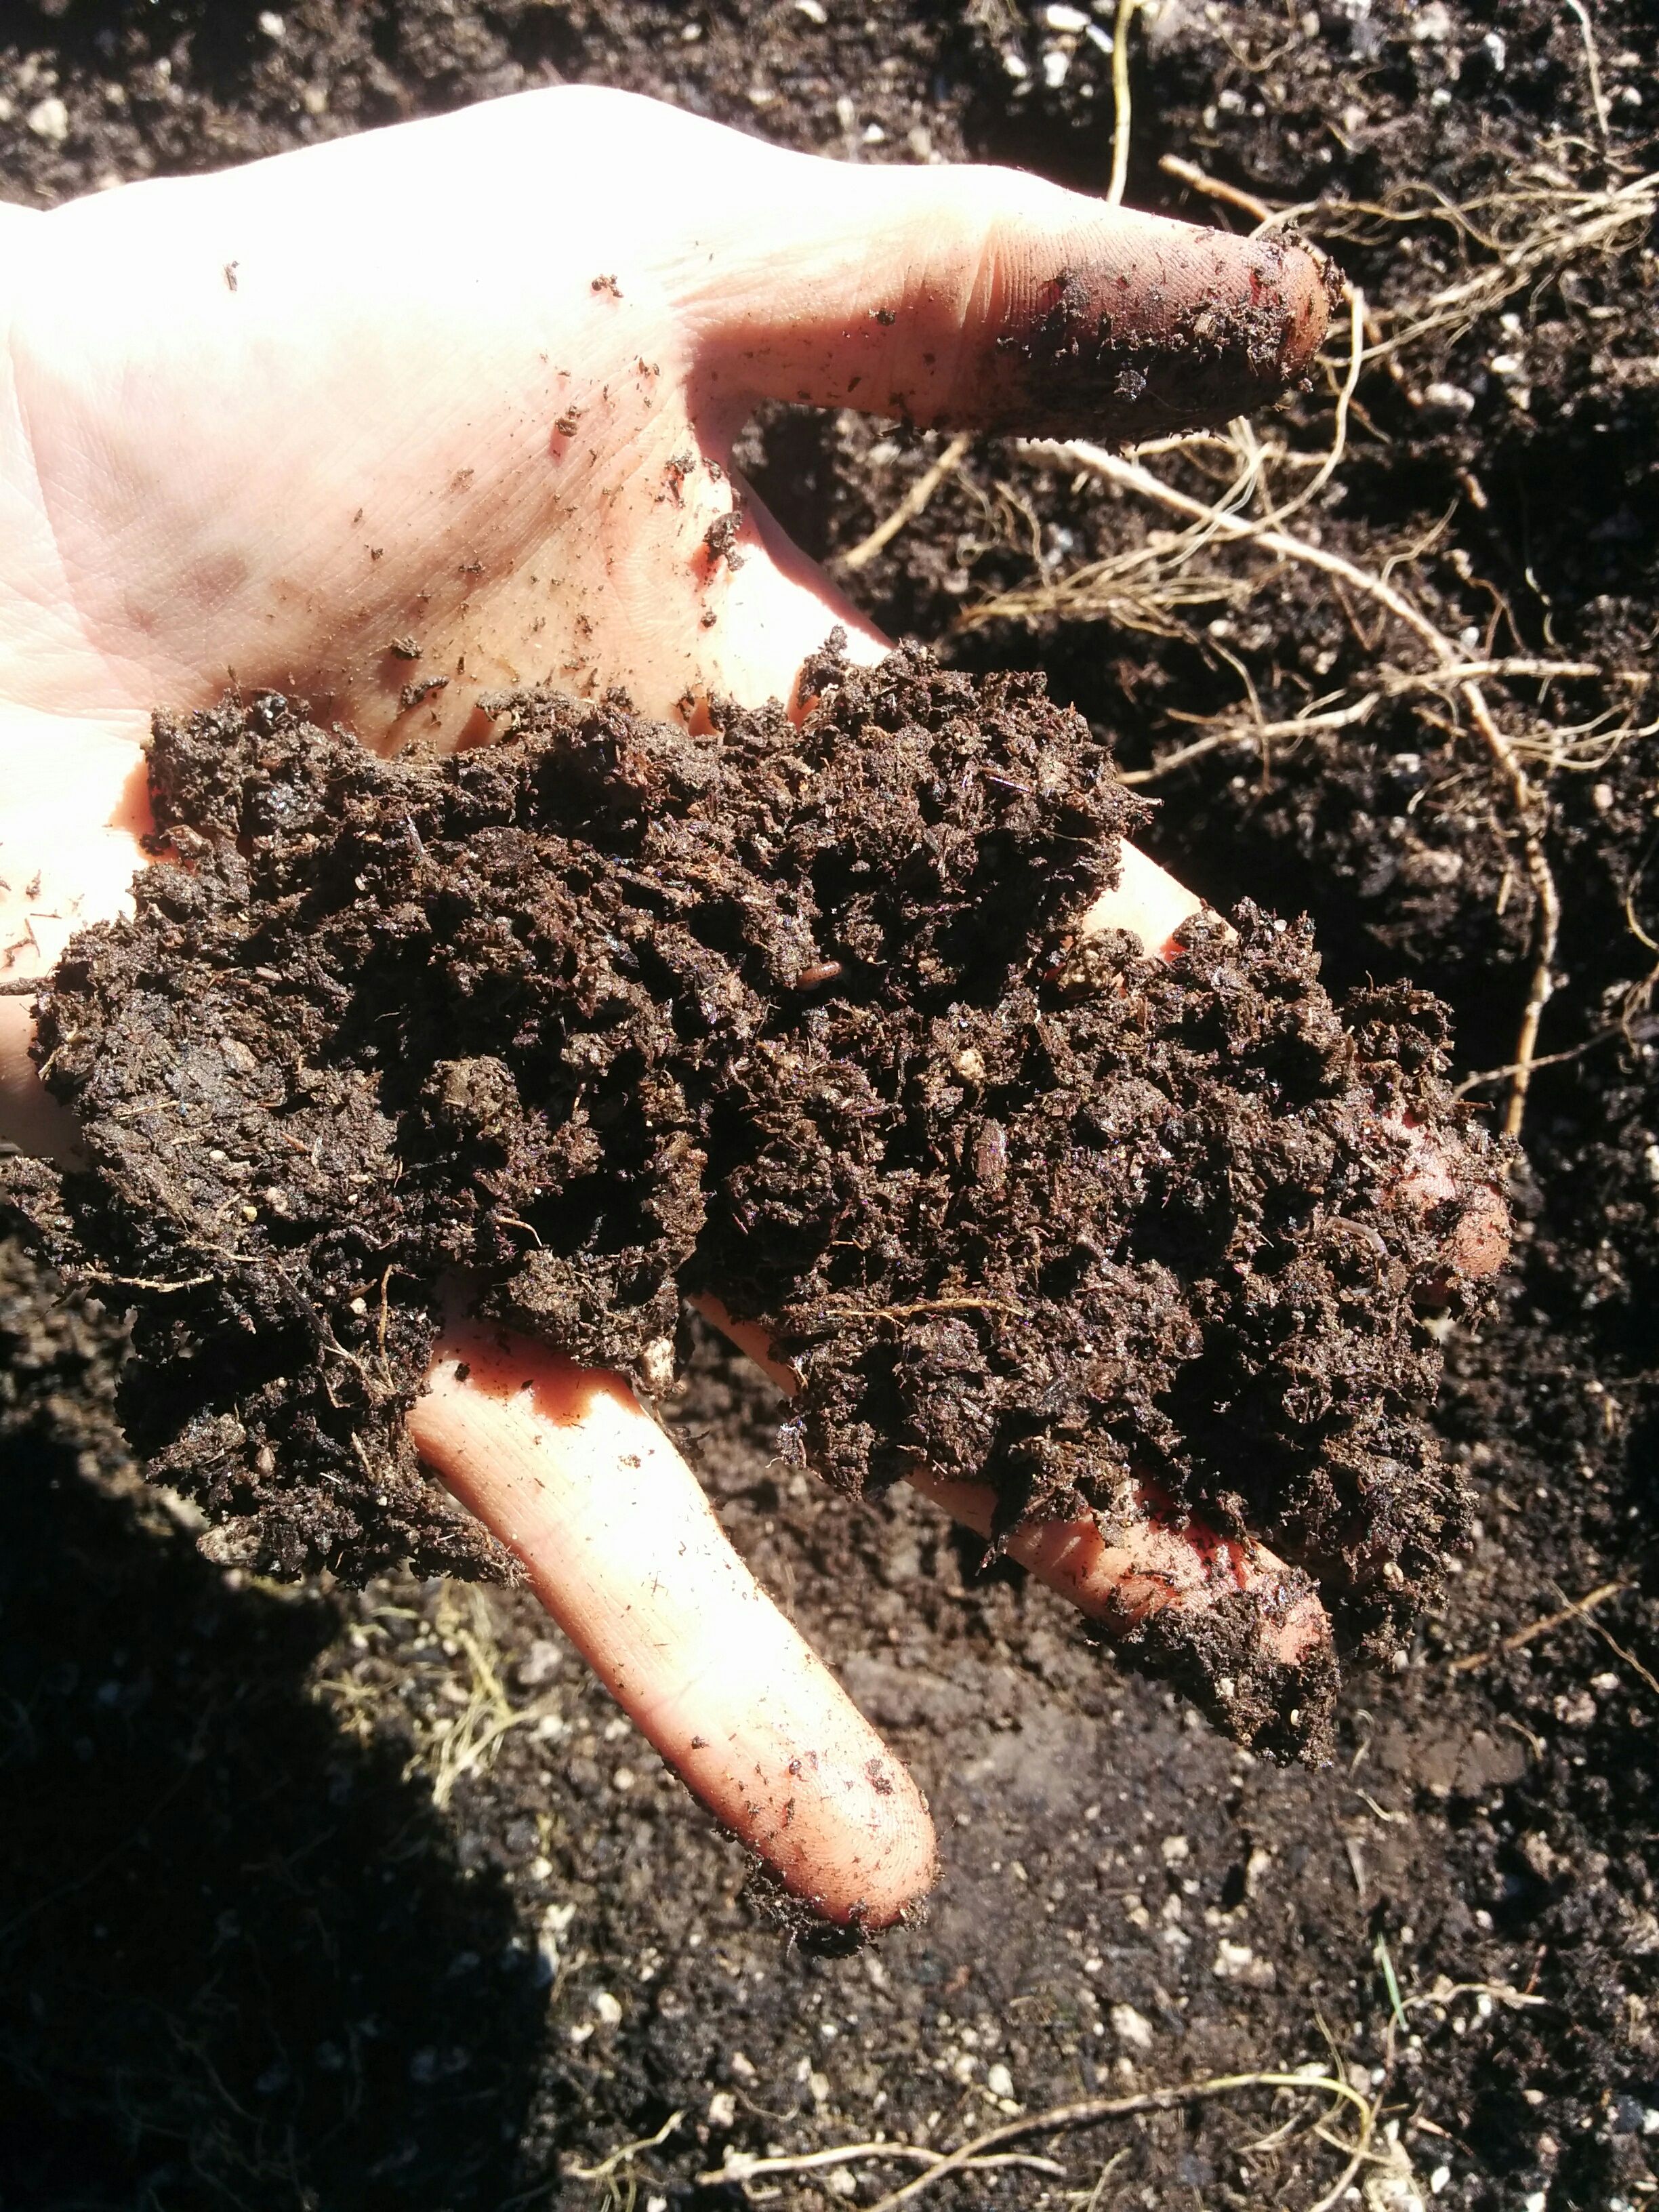
This clay garden soil with lots of organic matter would be a good component for the potting mix. It has a lot of nutrients, healthy soil life (we saw a lot of worms) and good water retention qualities. Gathered a little here and there, scraping the tops of some of the garden beds.
Next Stop: Sand Pile
Walking around a bit more we discovered a sandy area that turned out to be an old horse ring. There is a pile of sand off to the side, unused.
Happily the sand is a mixture of course an medium grain sand which is what we are looking for with good drainage quality.
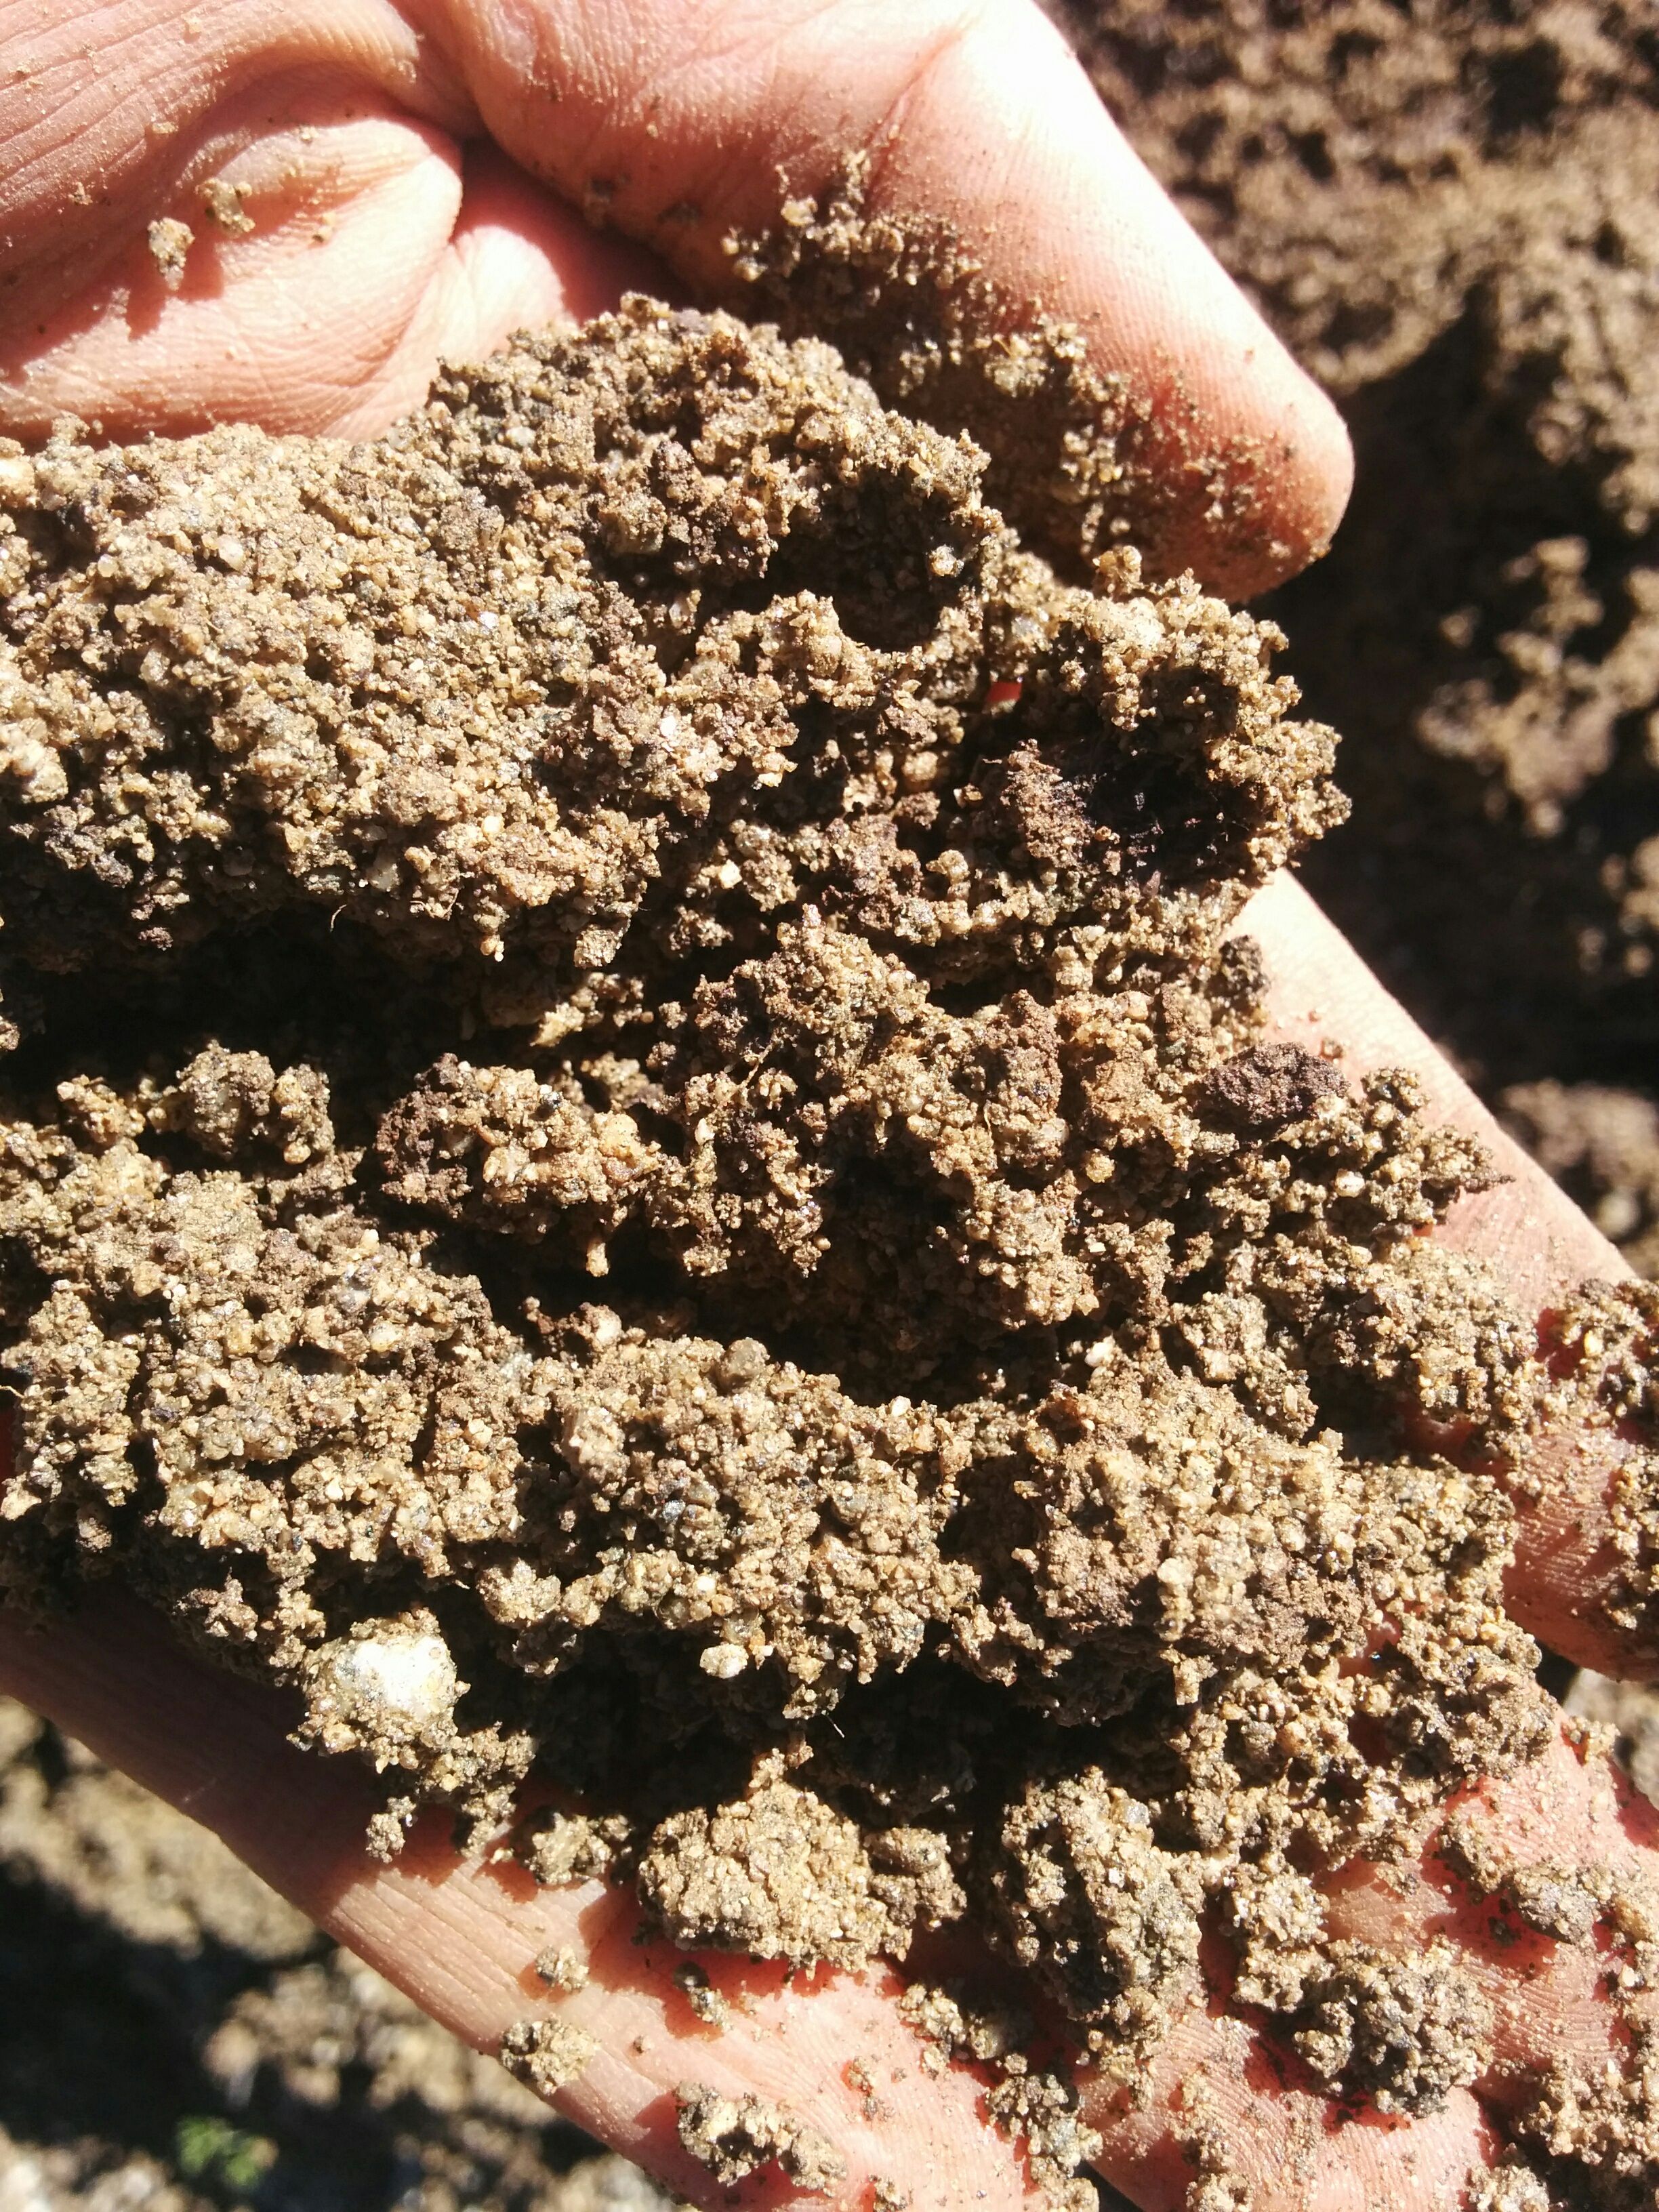
We toted some sand back to the garden in a wheelbarrow. It was wet and boy was it heavy!
Next Stop: The Forest!
Exploring the forest was by far the most fun part of this project. We are neighboring quite a bit of old growth forest and state land, but there is some forest on this property as well which we can easily access.
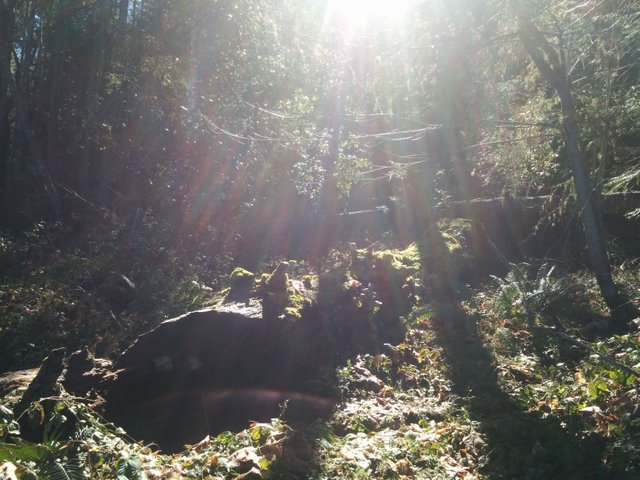
This forest is dominated by oak, mixed conifer and Madrone.
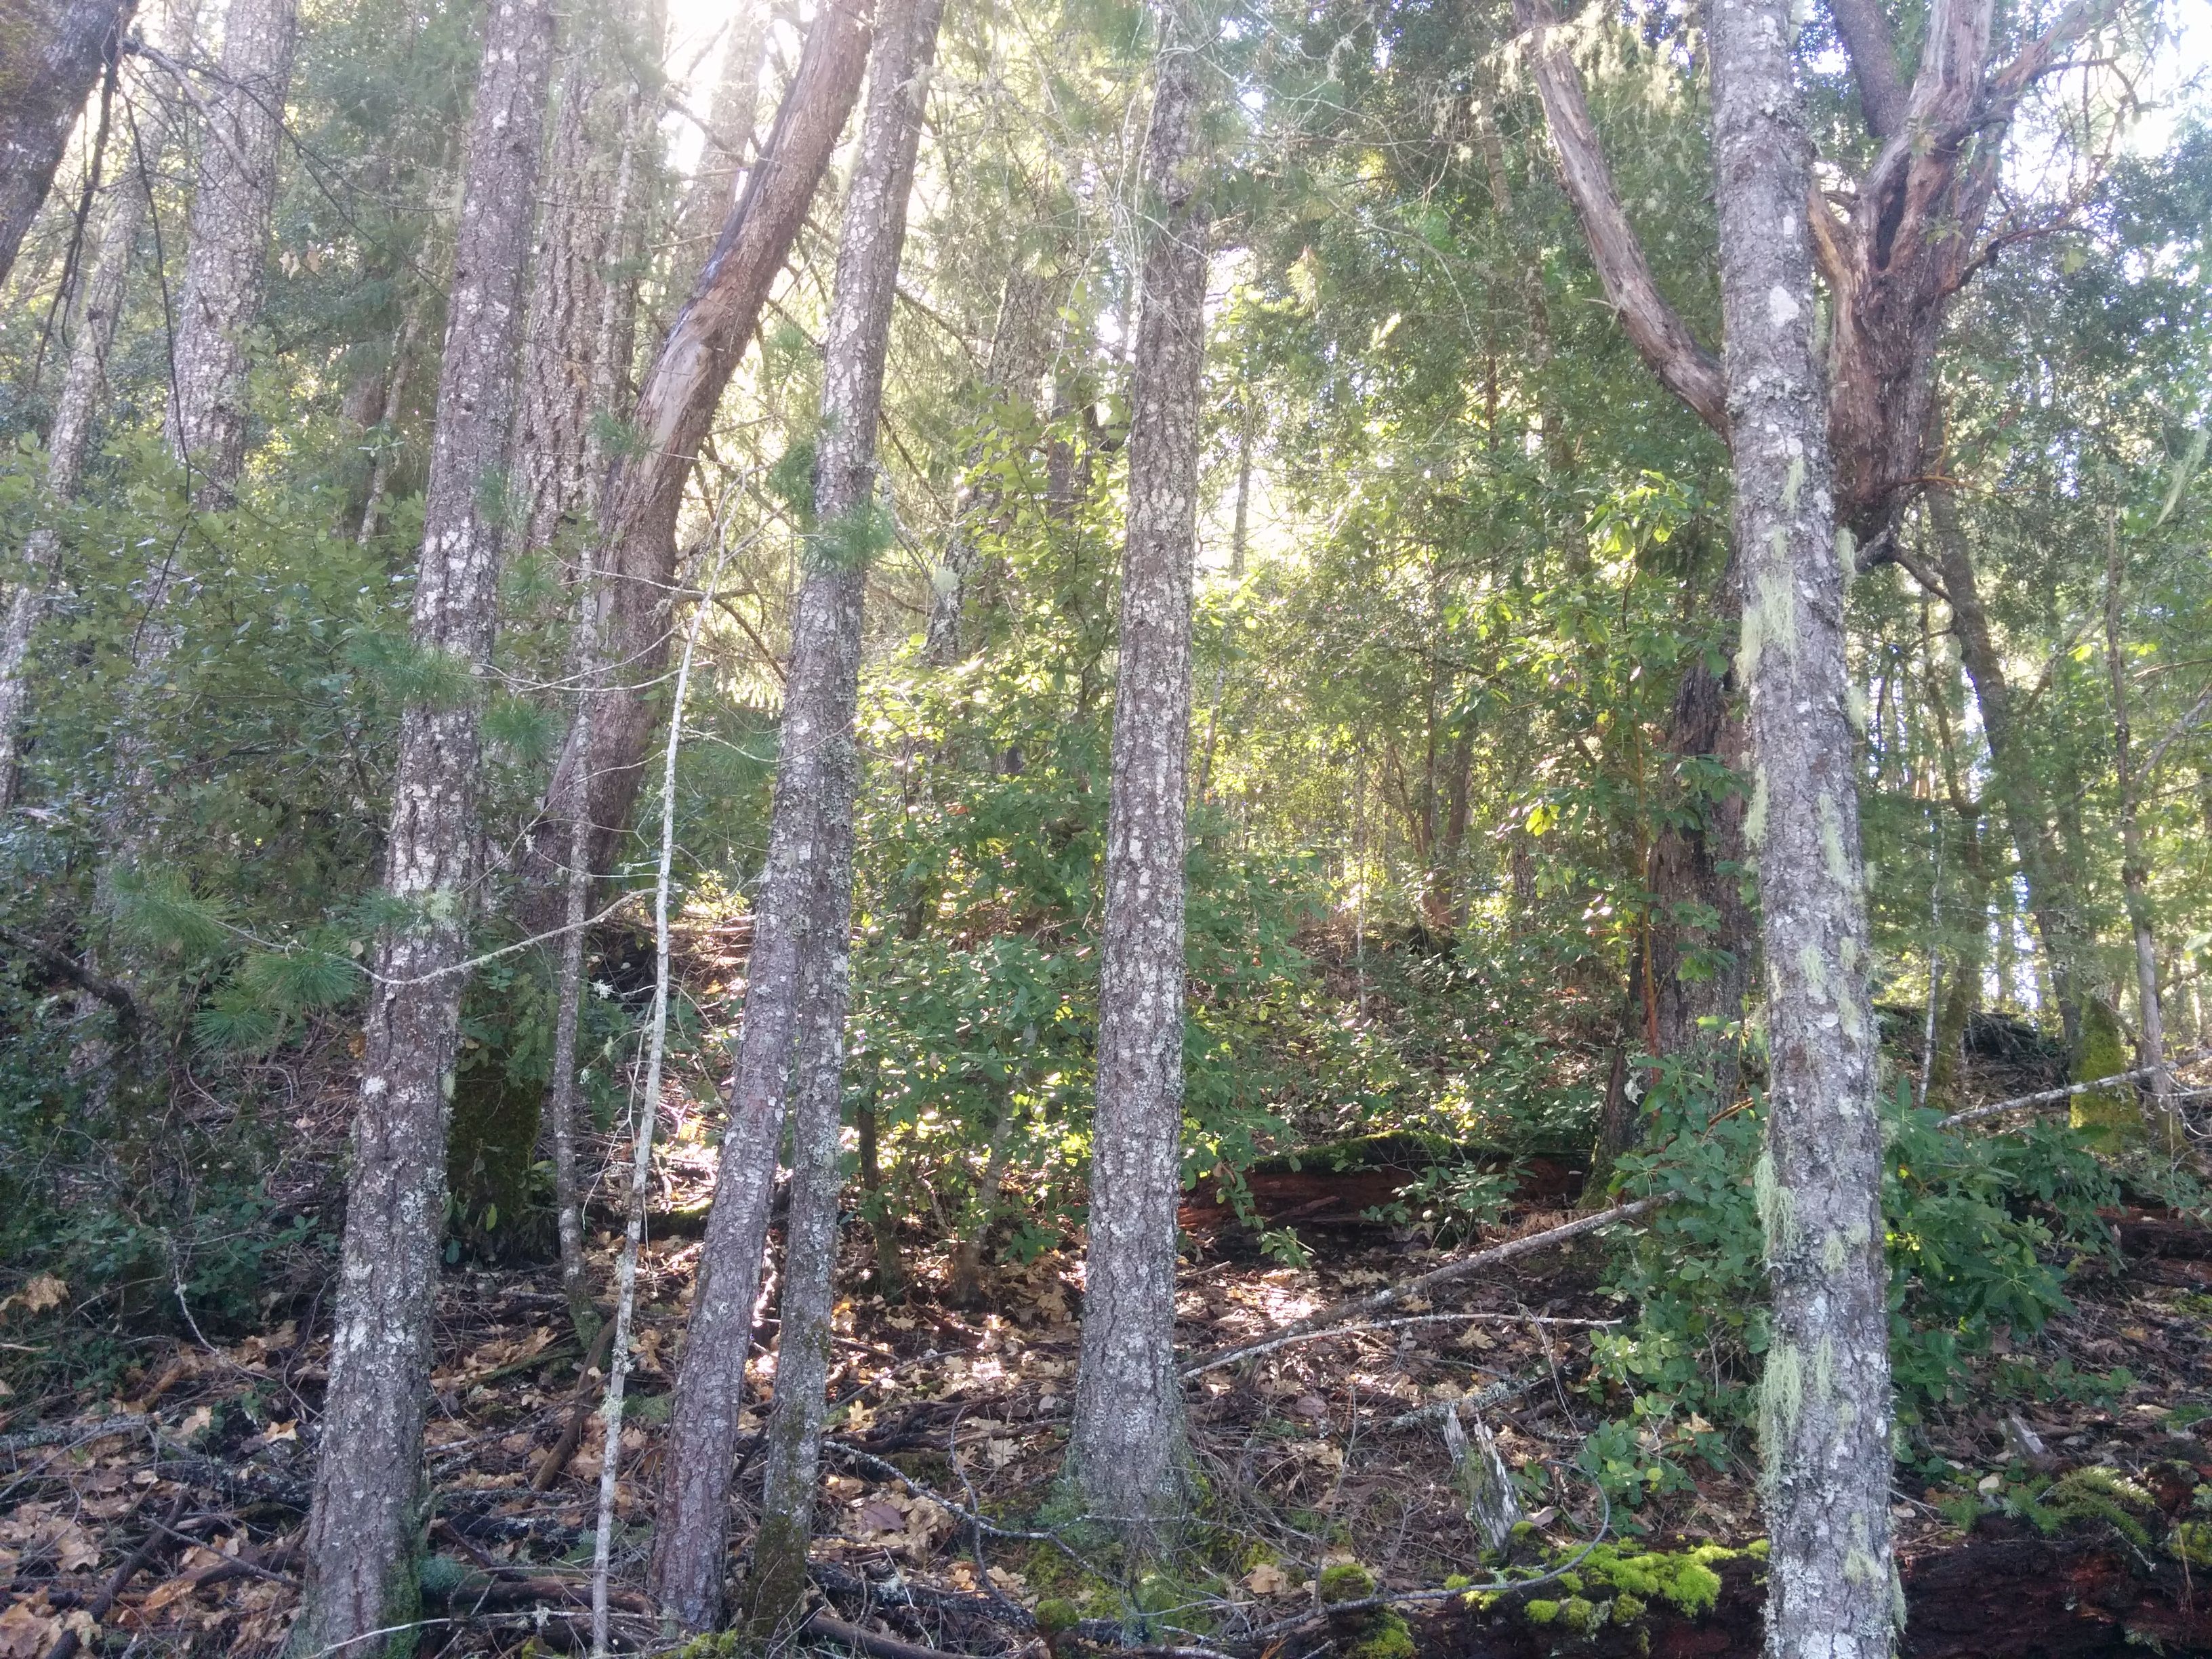
The forest floor is littered with branches, oak leaves, pine needles and madrone leaves.
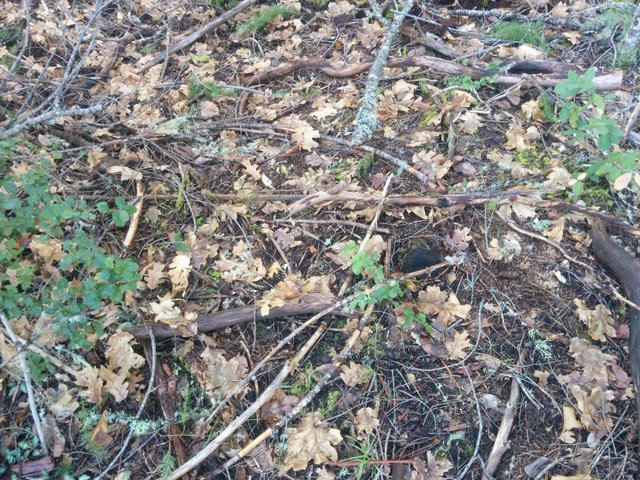
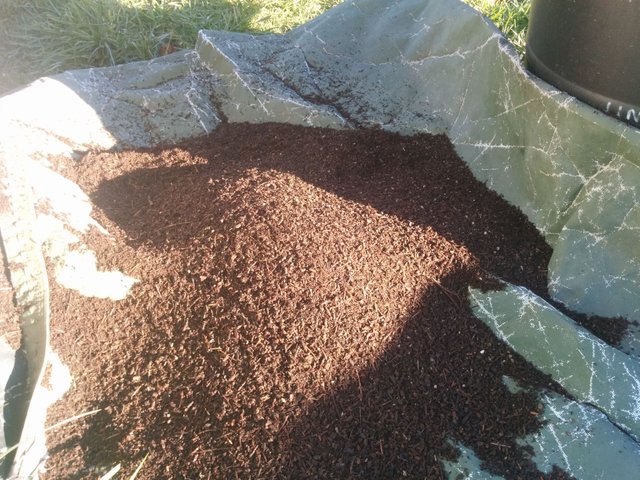
Which is exactly what makes up the humus directly below the layer of leaf litter. Brushing the leaves aside we find this rich, fluffy organic matter that is mostly partially broken down leaves and branches.
This would be perfect to add to our soil mix to give it more water retention, fluffiness and some diversity in soil life.
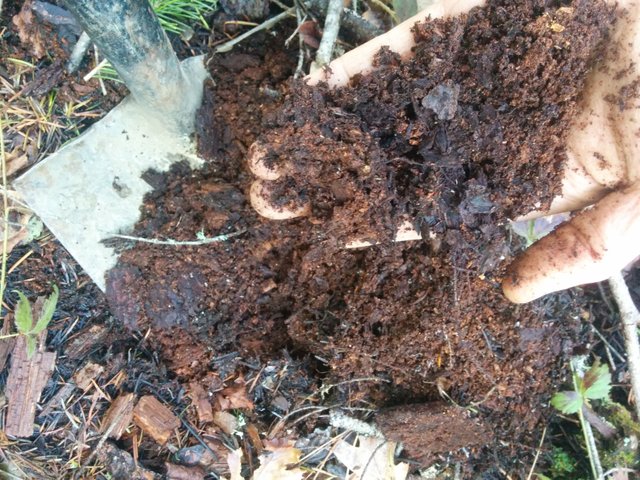
We gathered up some forest humus being careful not to take too much from any one place and to brush back leaves and branches over the places we disturbed. Thank you forest for sharing your abundance!
Back to the garden to process the materials
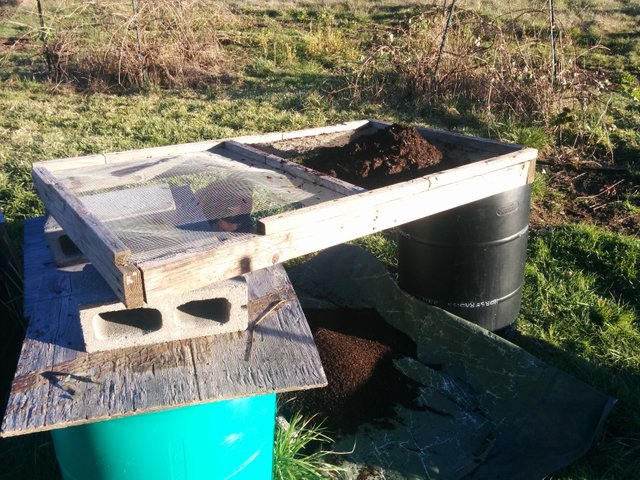
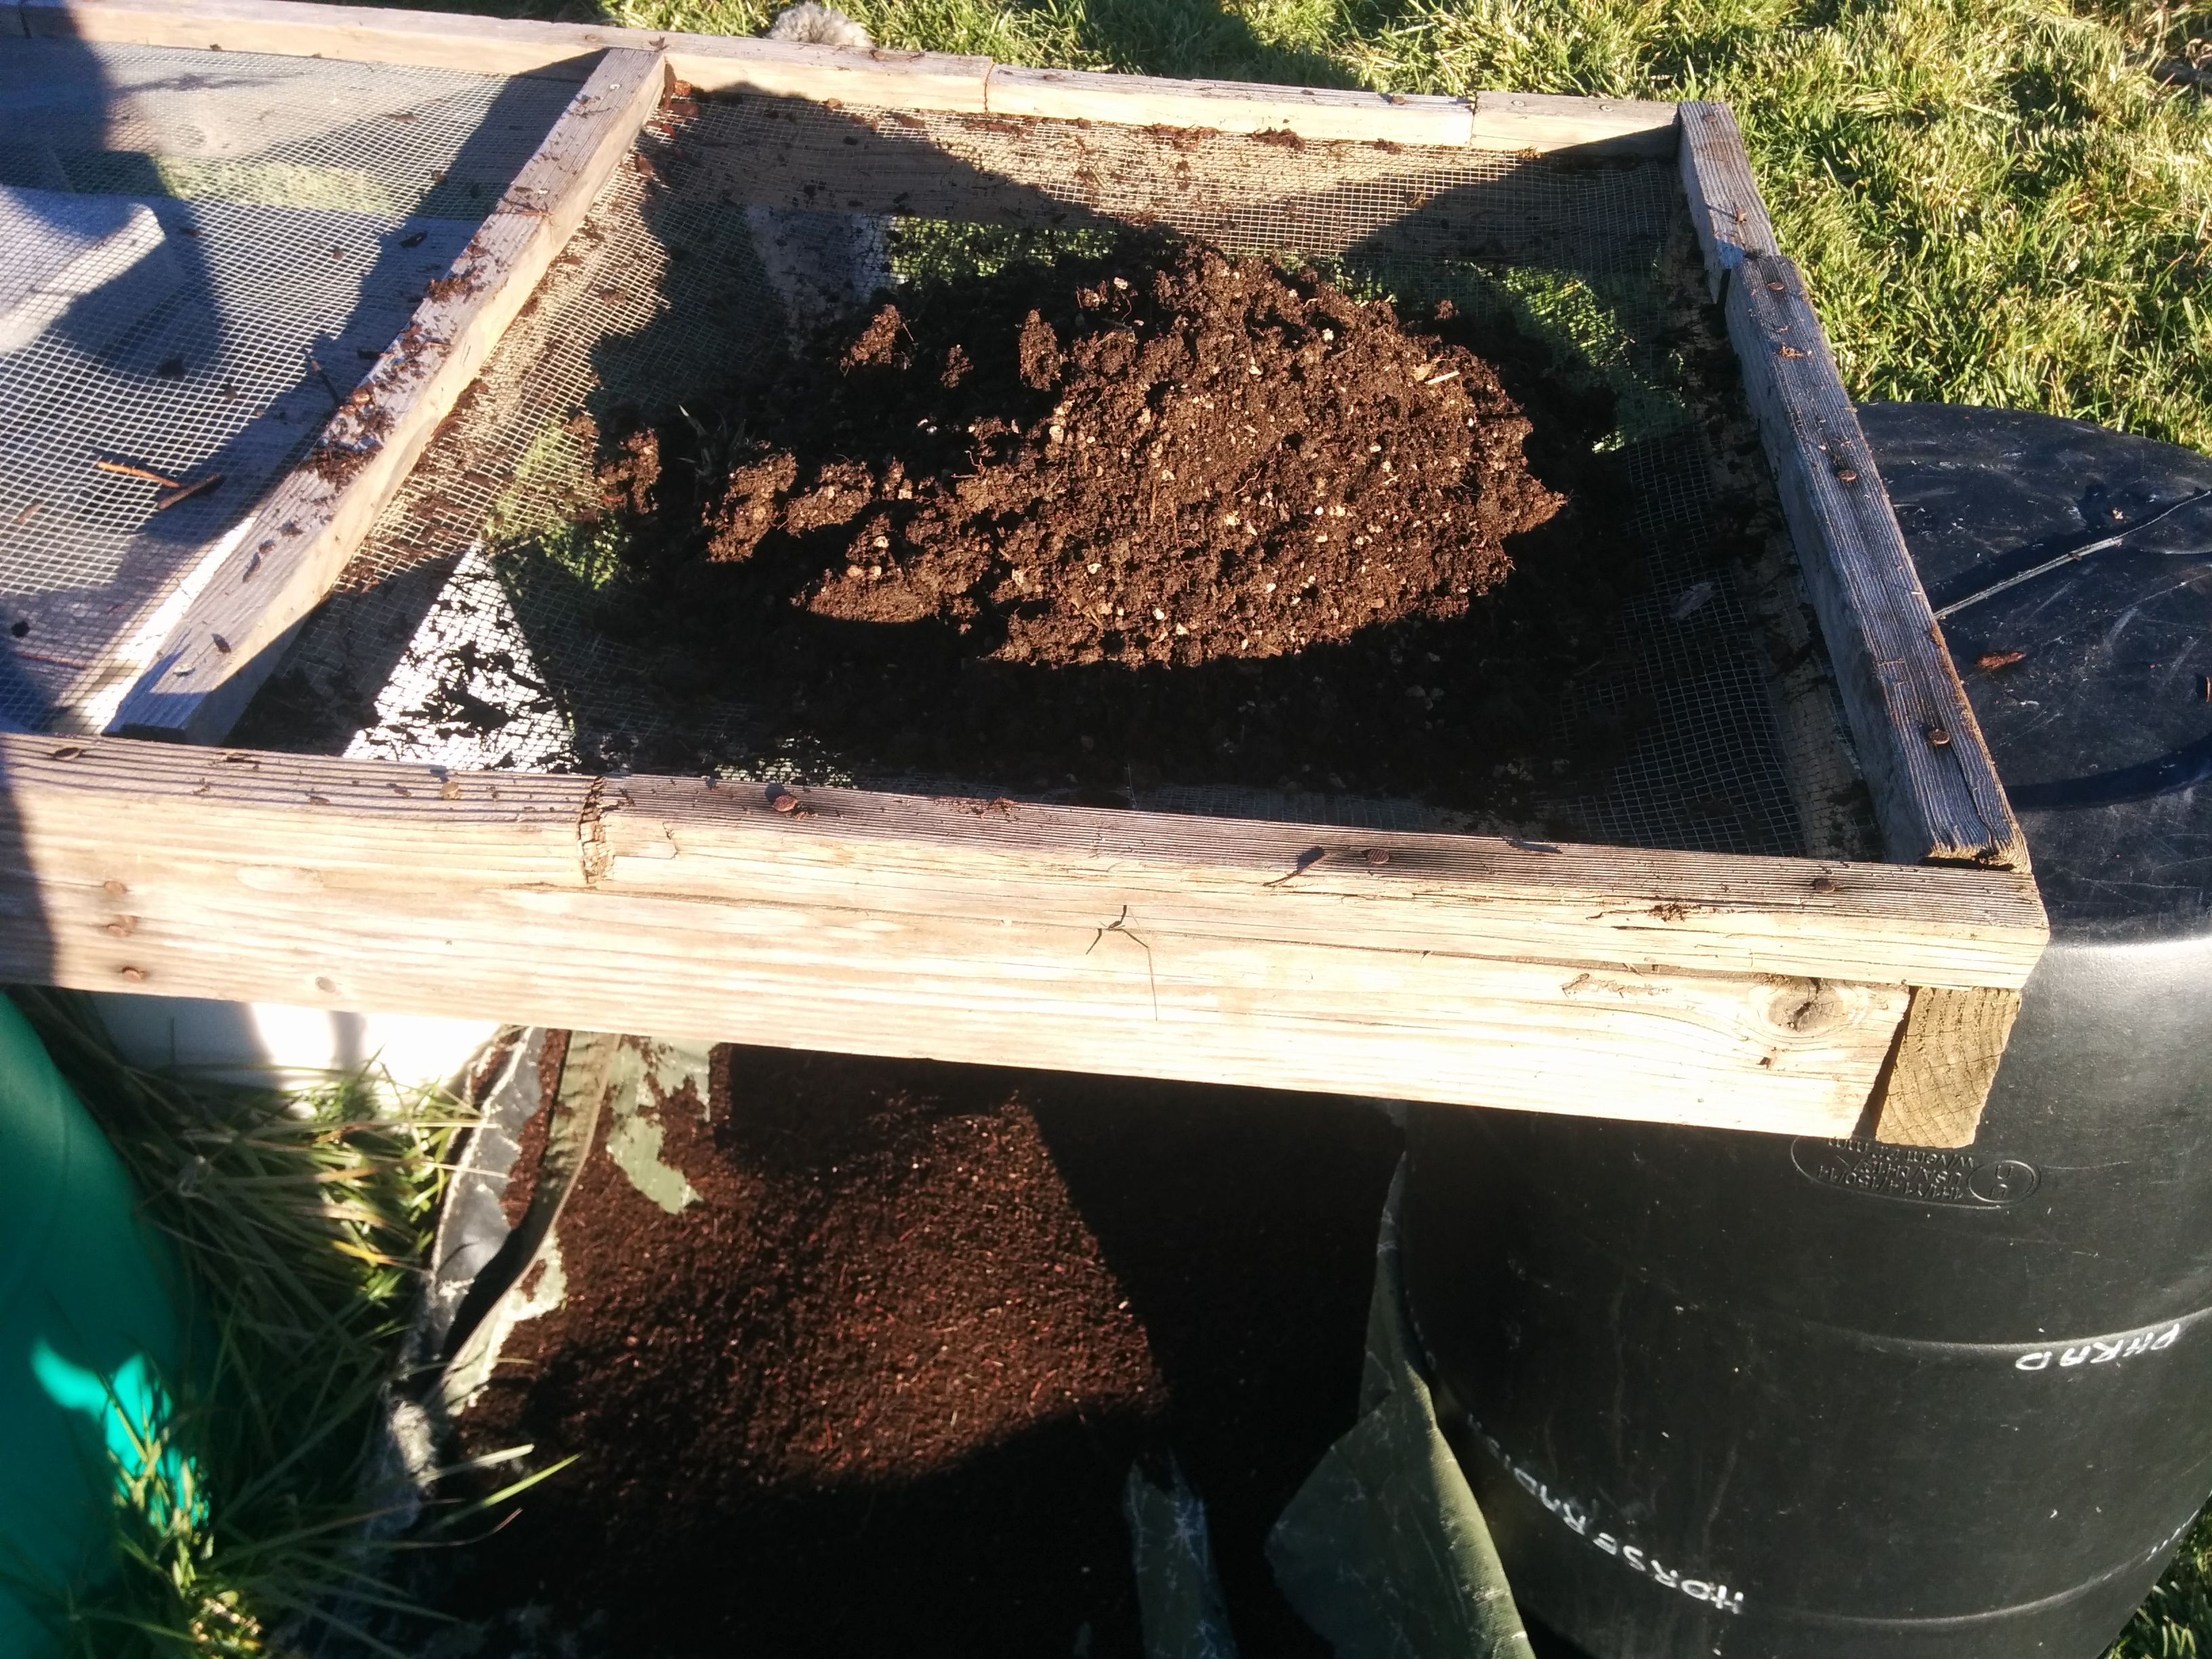
We set up a station to screen the materials using an old garden cart and a screen made from 1/4" hardware cloth framed by 2x4's.
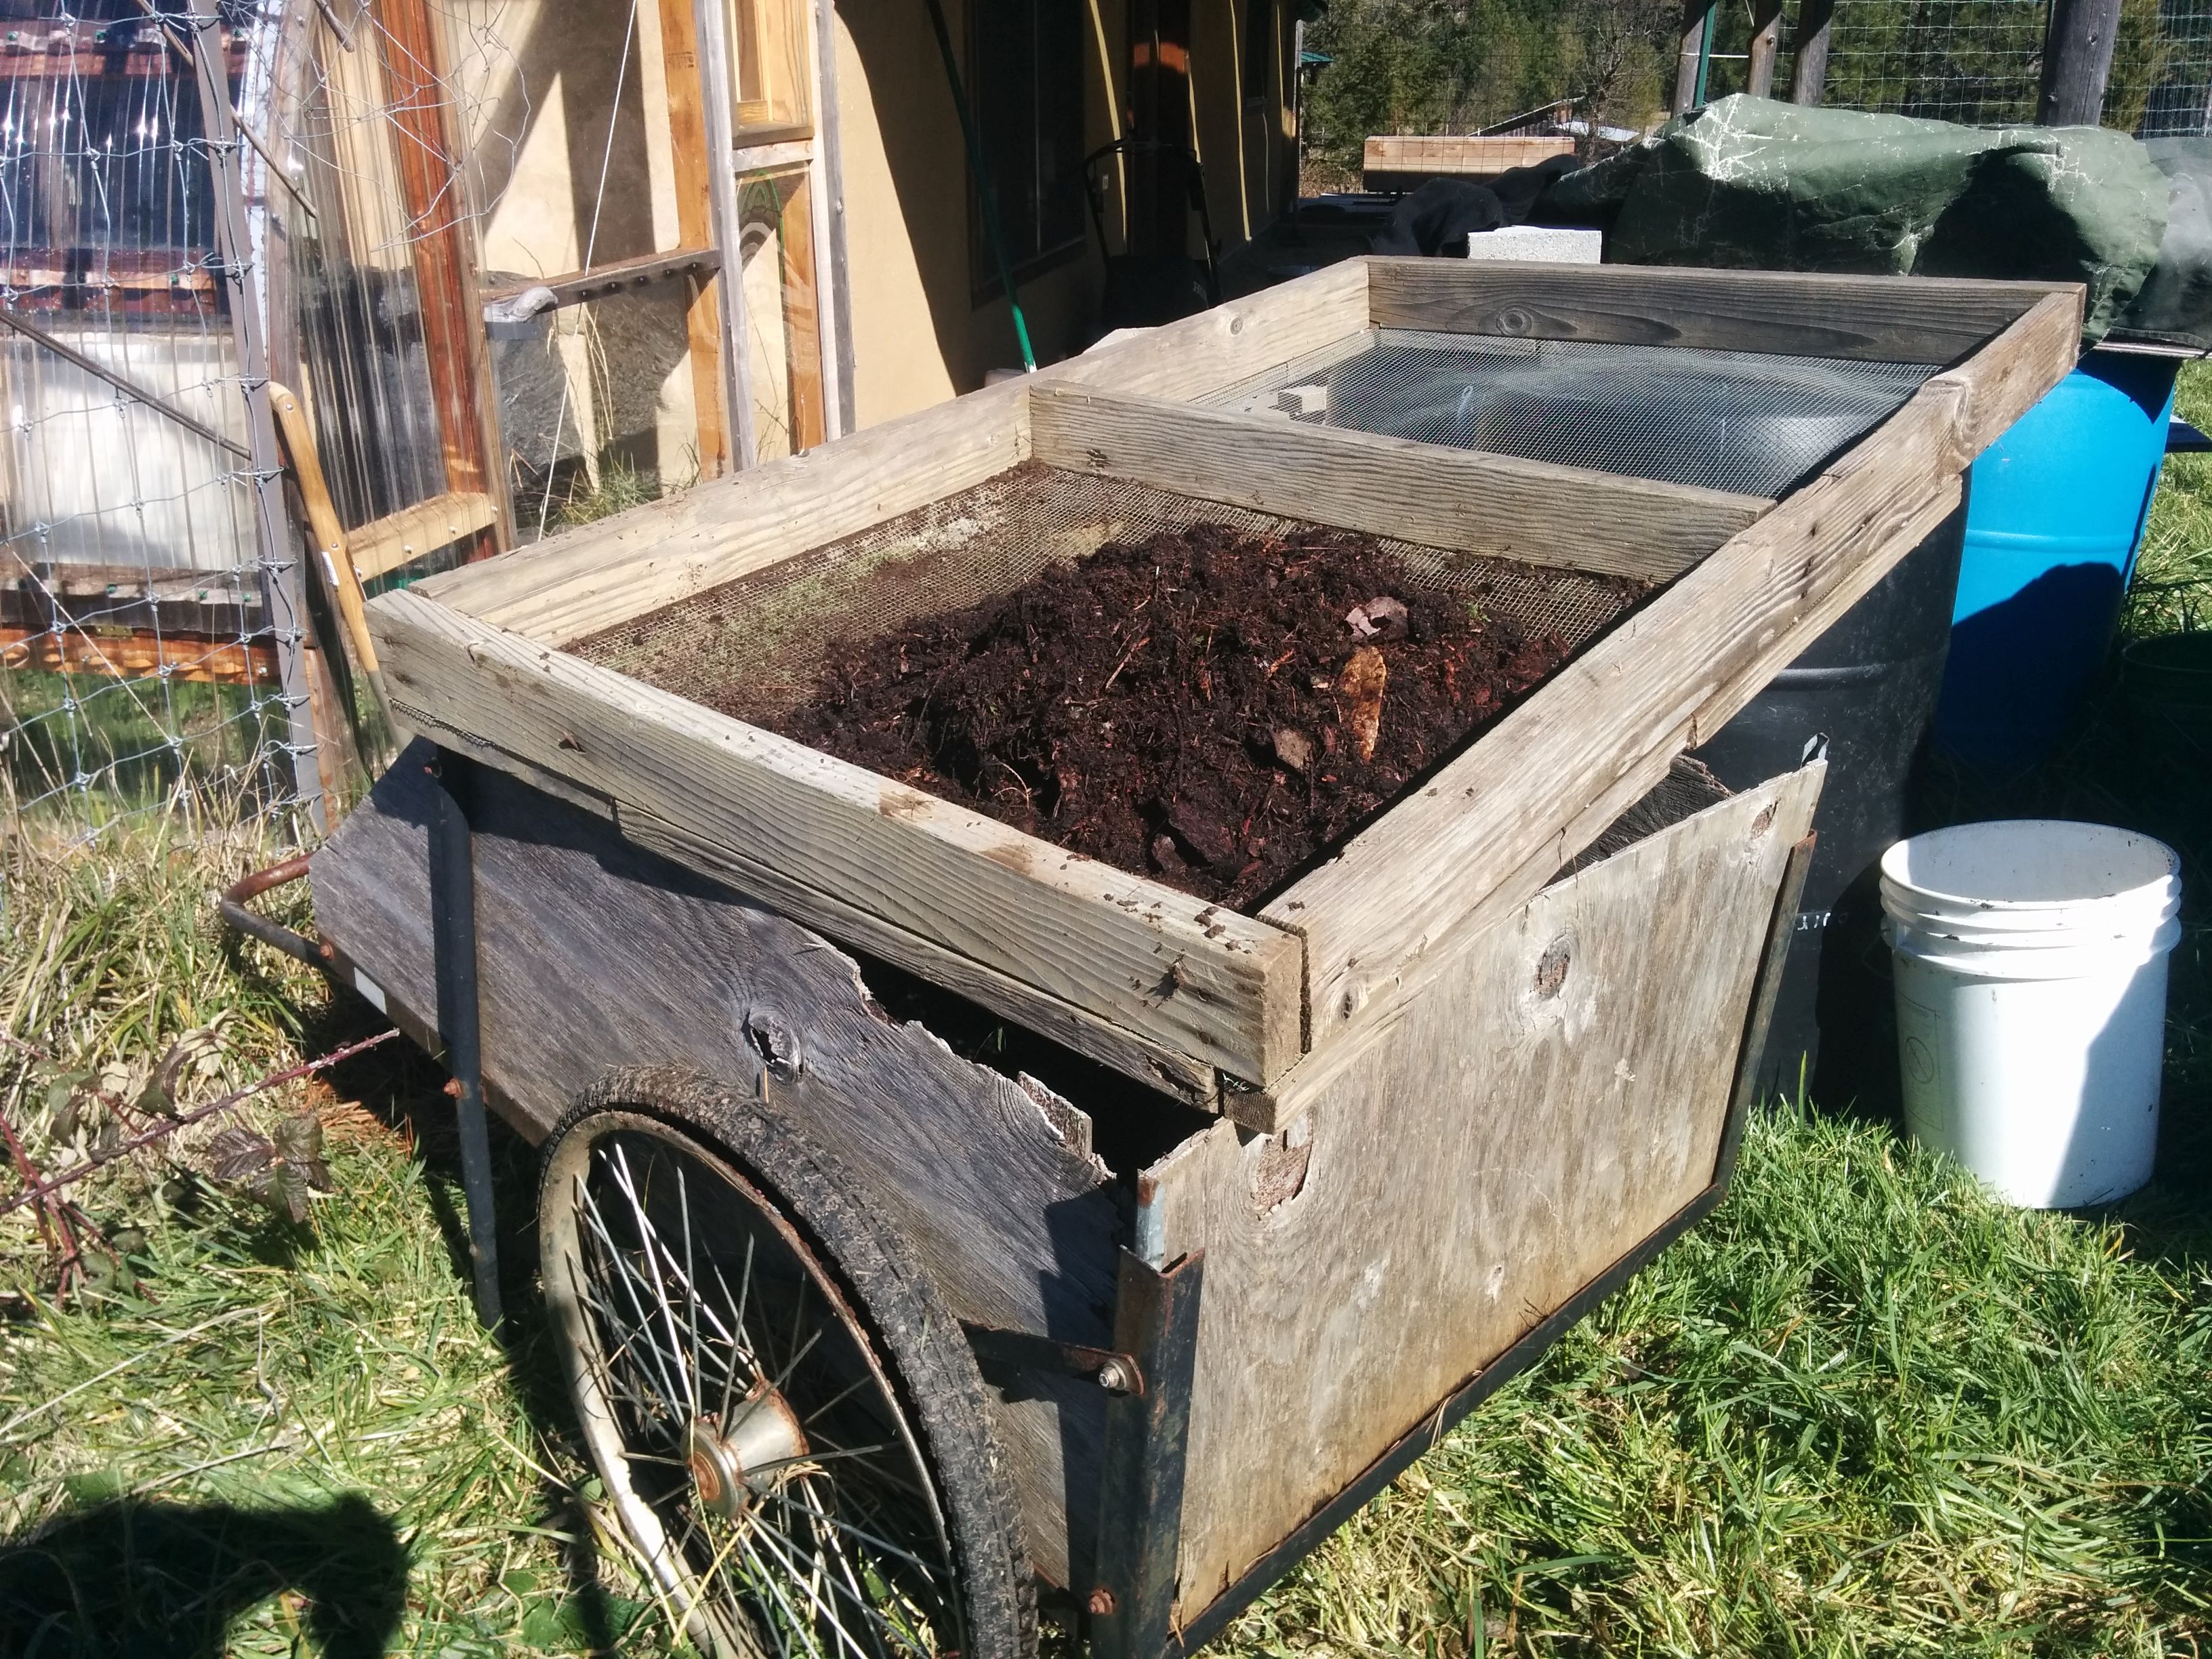
Sifting the material by hand, we rubbed it back and forth over the top of the screen to separate the fines from the bulkies. We put the bulky woody material from the forest humus aside to use later for mulching trees or something else that may come to mind. We set the pebbles that came out of the garden soil aside to possibly use for drainage in planters.
You could also design a smaller framed screen with handles that you can shake back and forth over a wheel barrow or other container to prevent the need for rubbing the soil over the screen as much
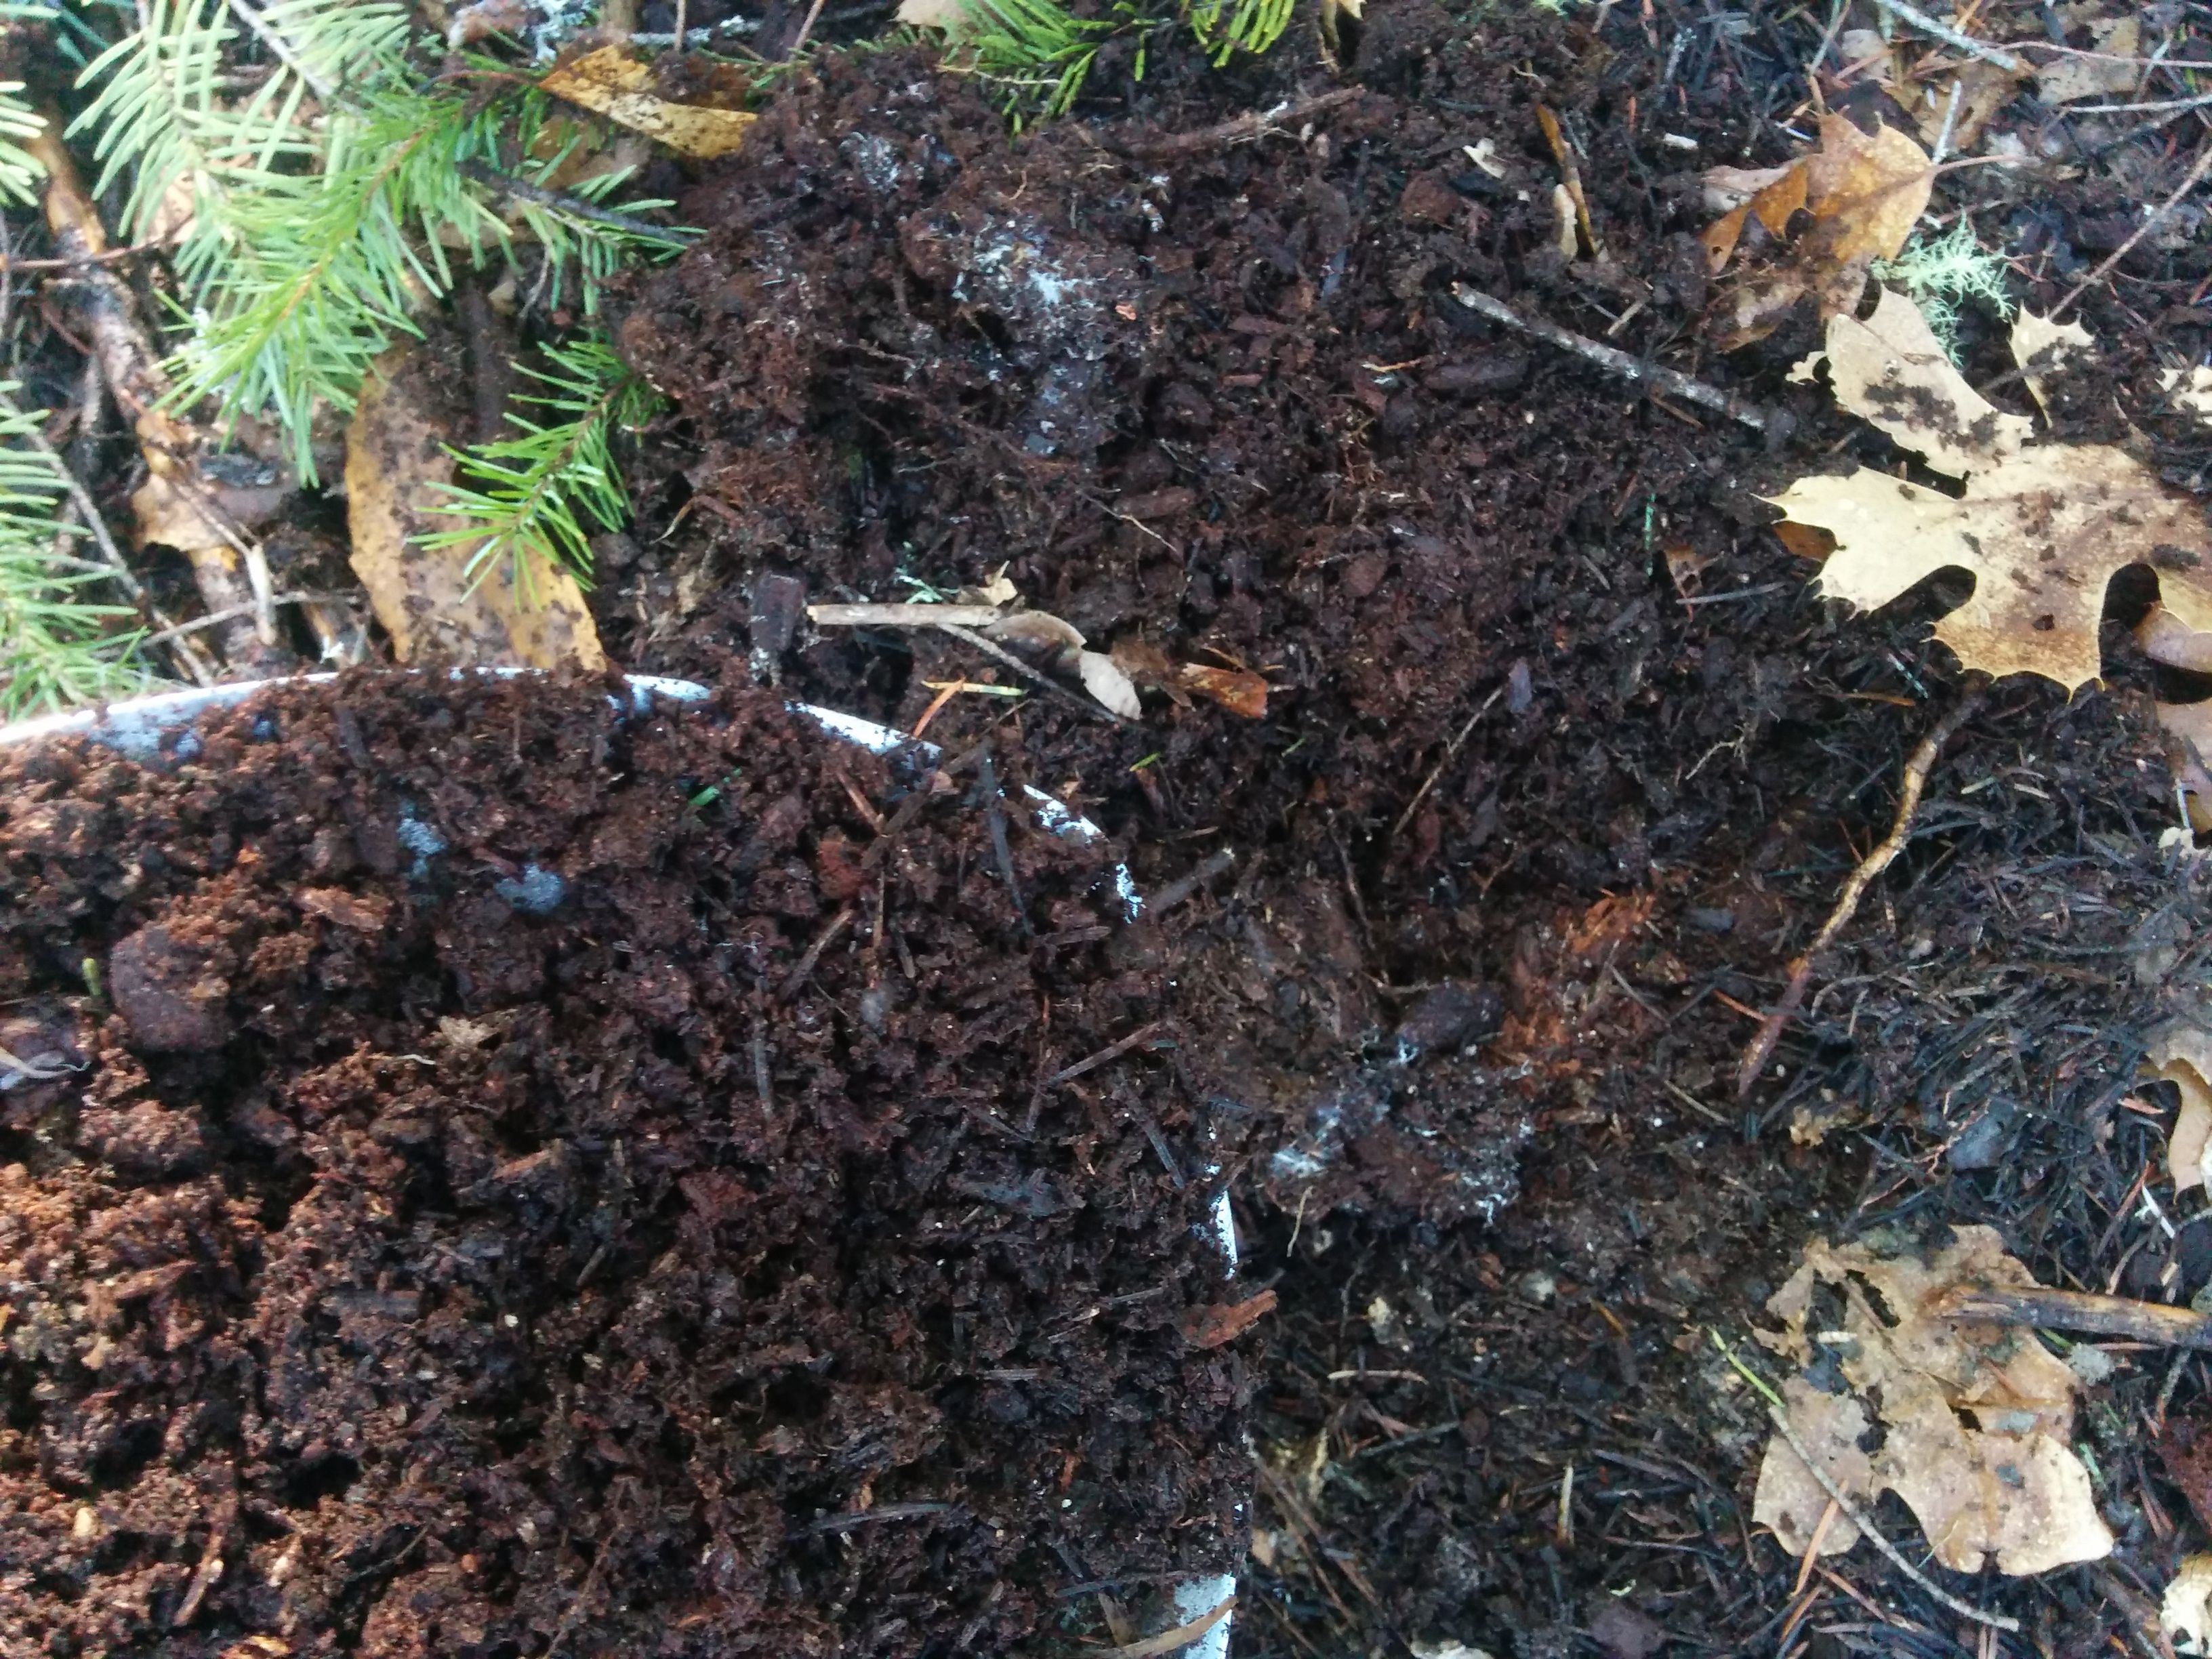
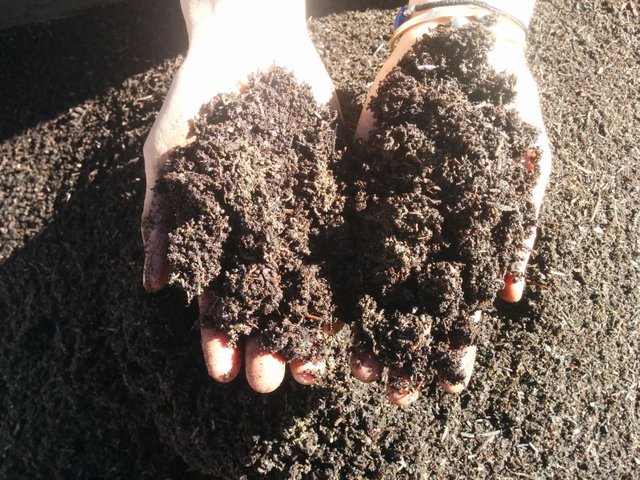
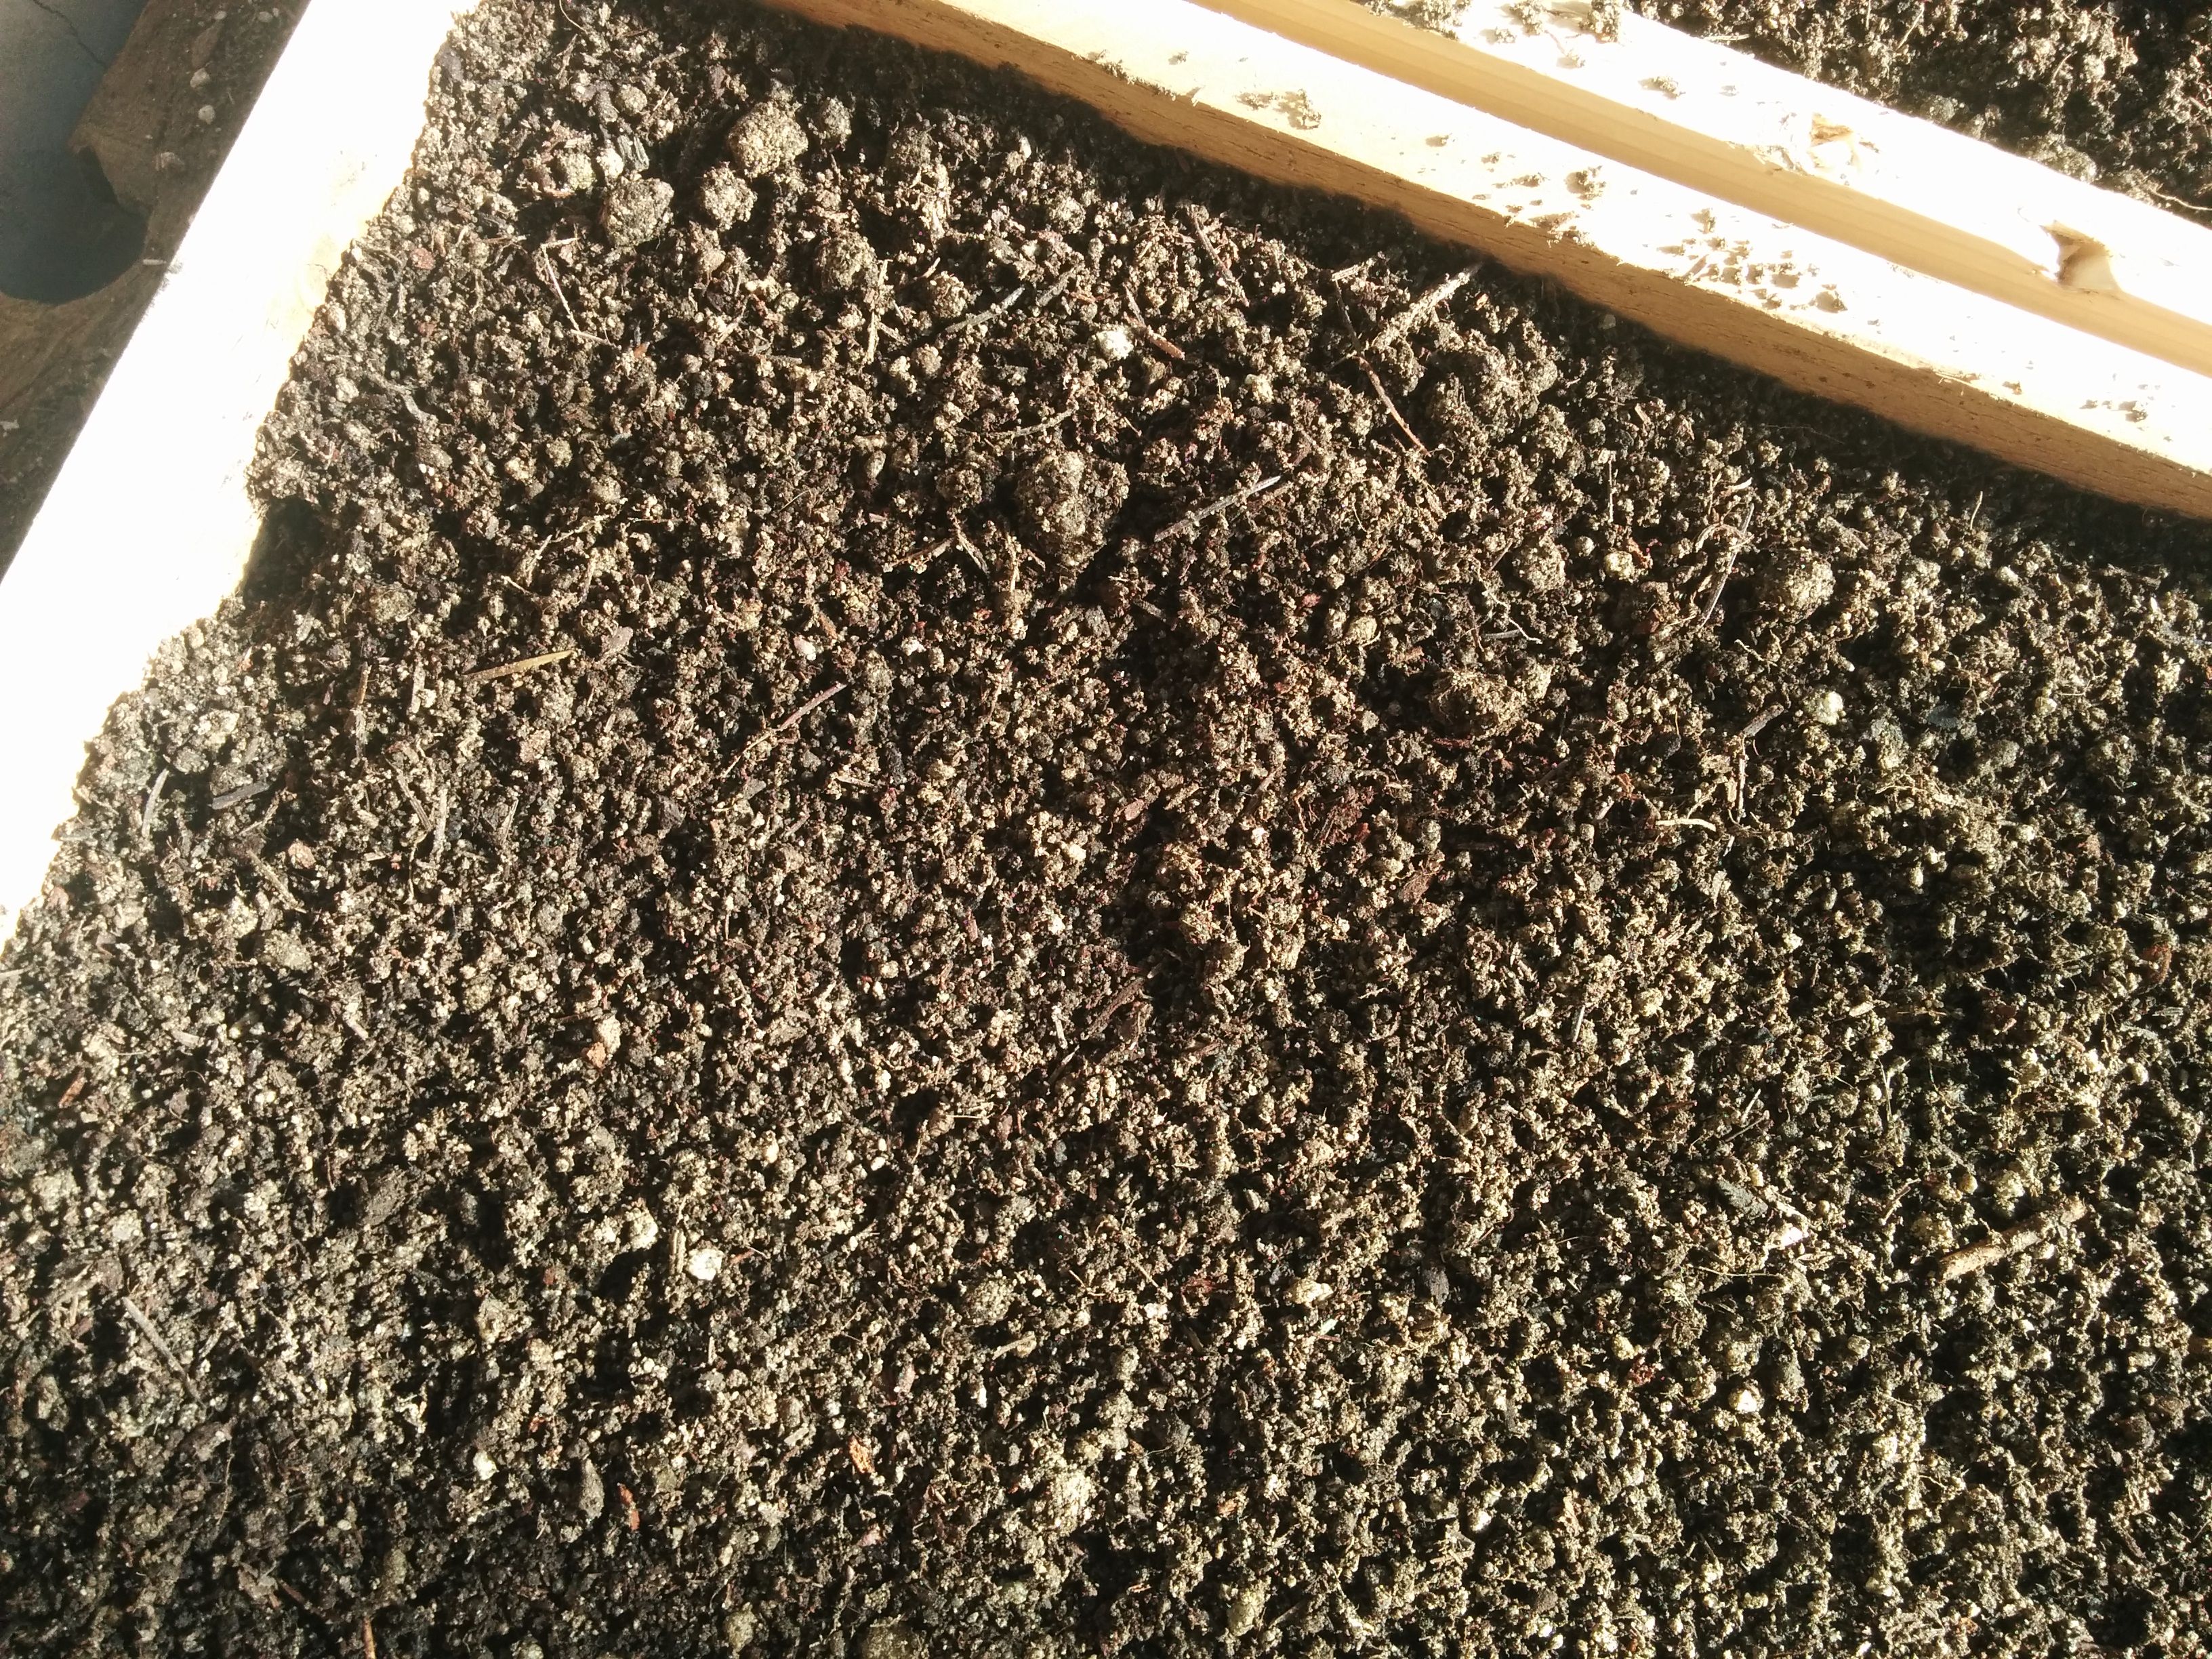
The resulting material is so ridiculously fluffy!
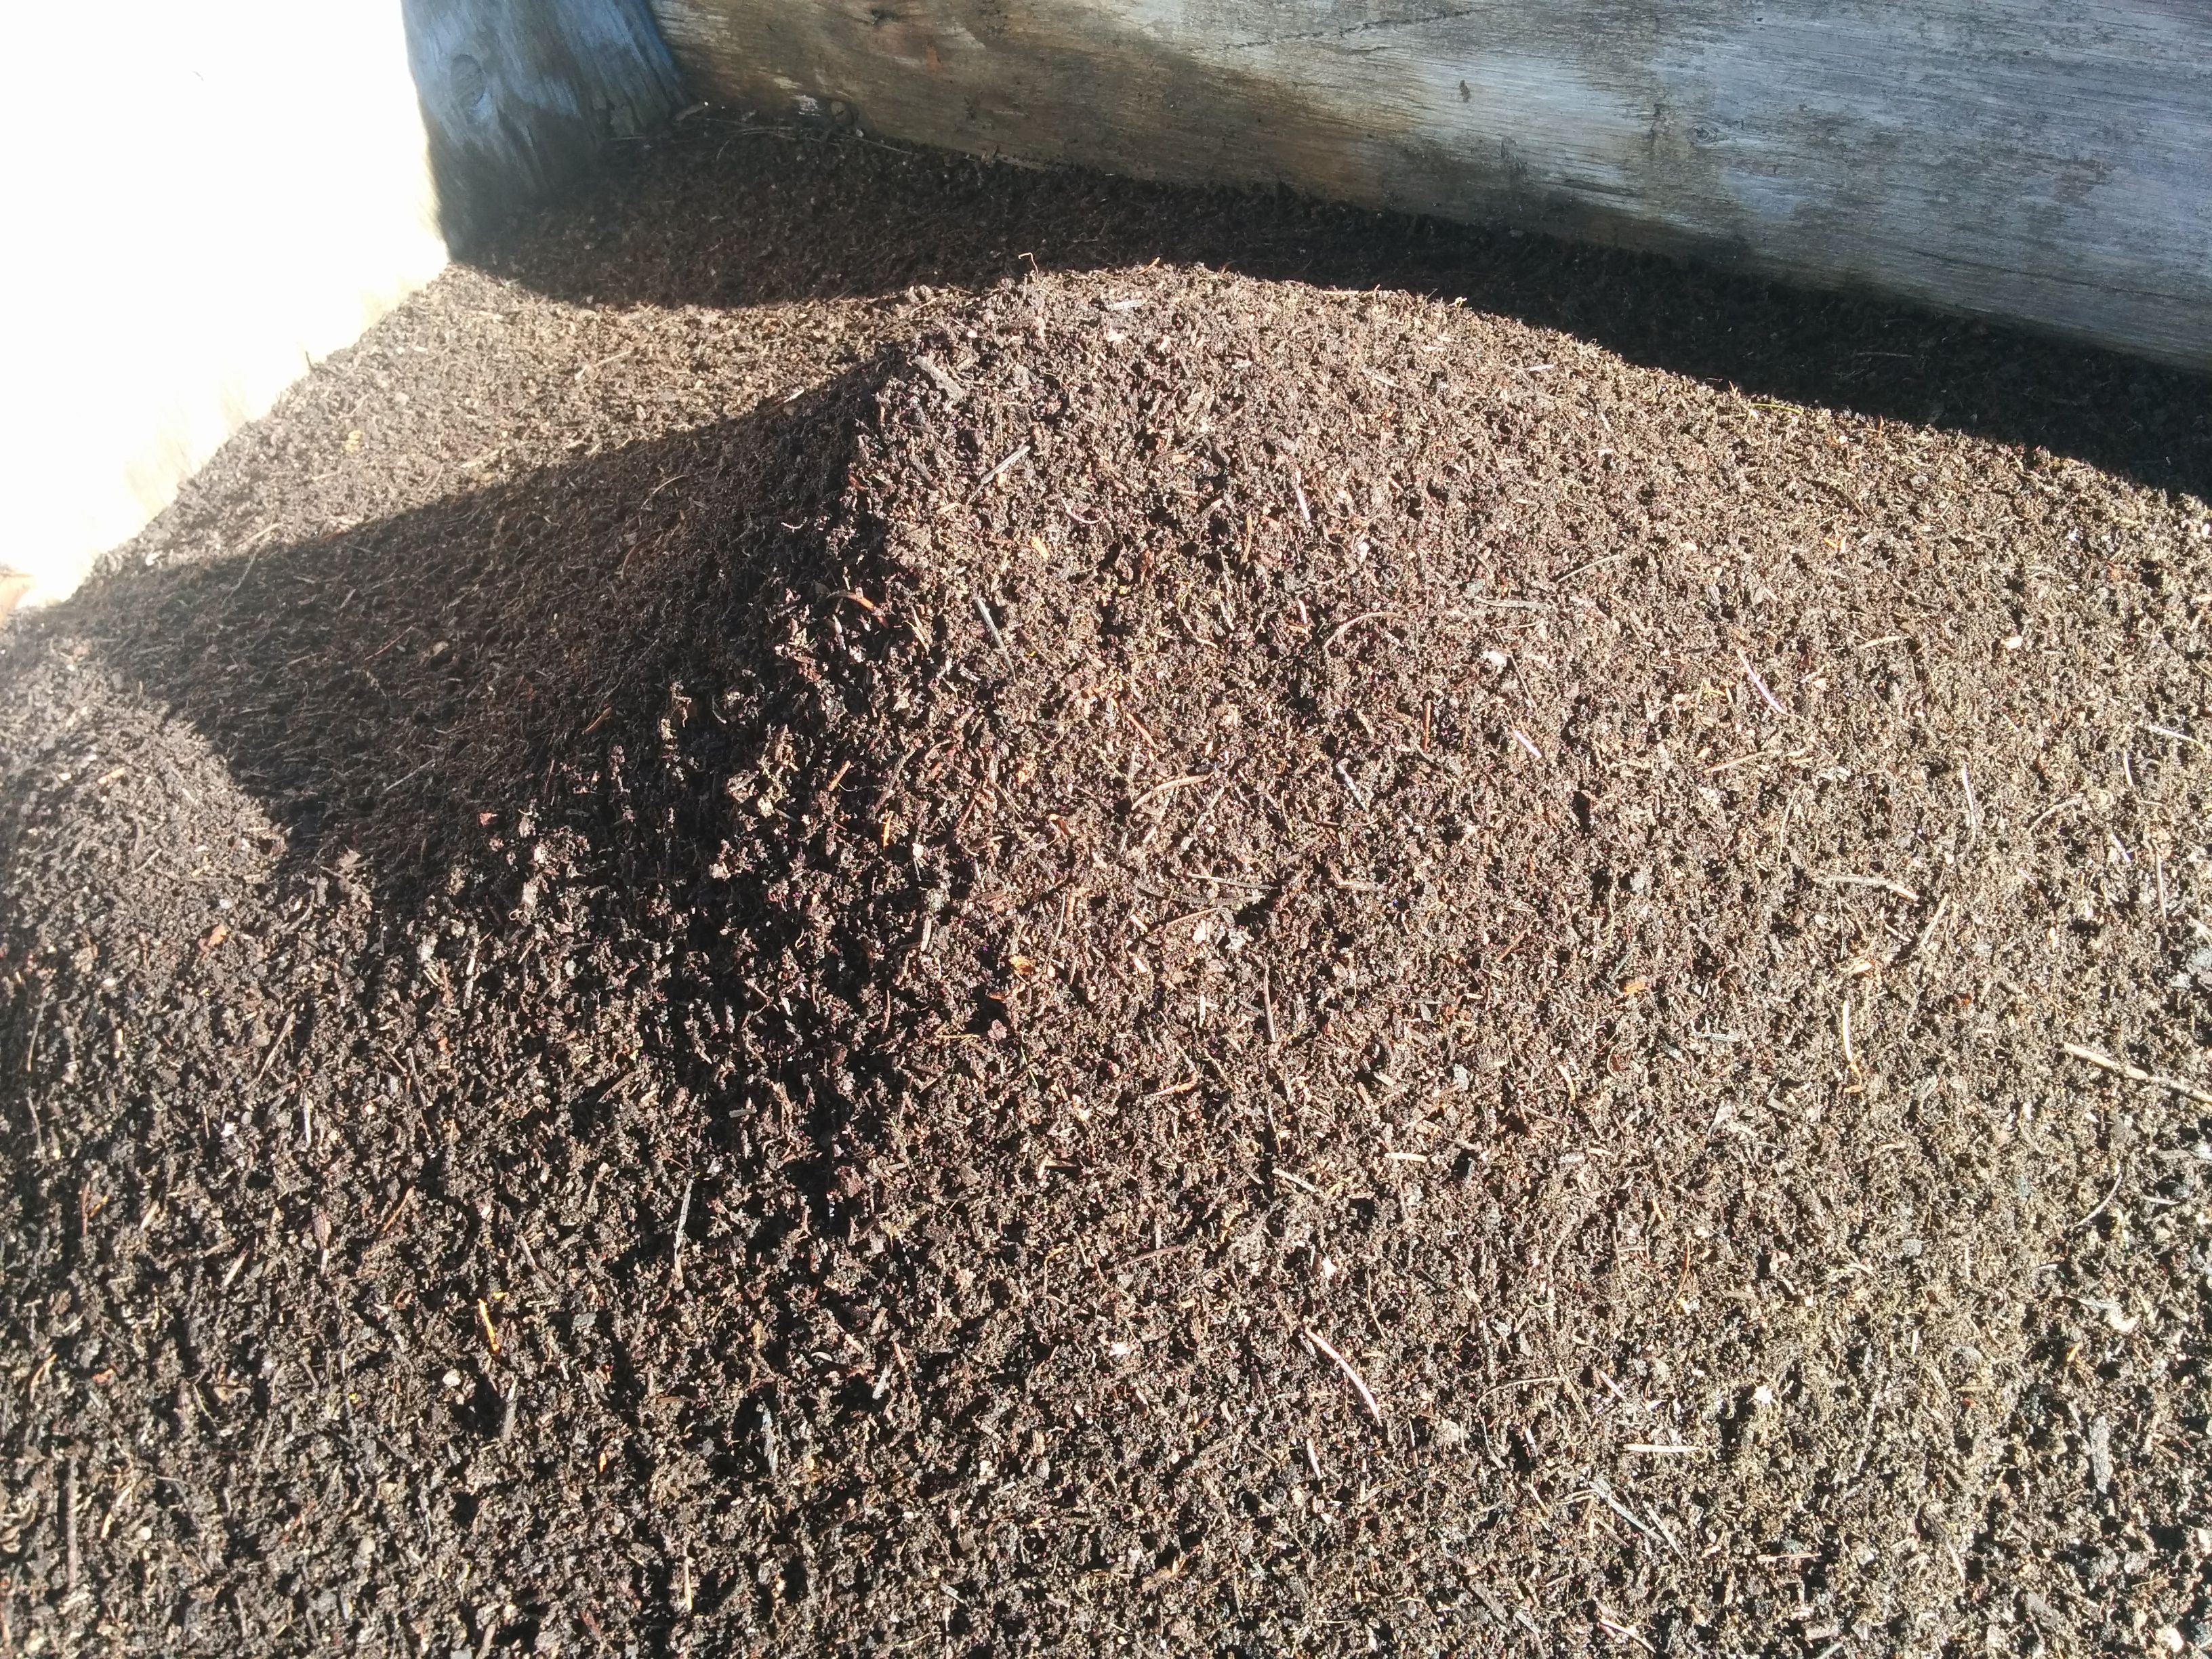
We couldn't help but plunge our hands in with delight :)
We didn't bother to sift the sand because it wasn't too clumpy. Turns out there were a few clumps of clay and small rocks that came through but it wasn't enough to make much difference for our mix.
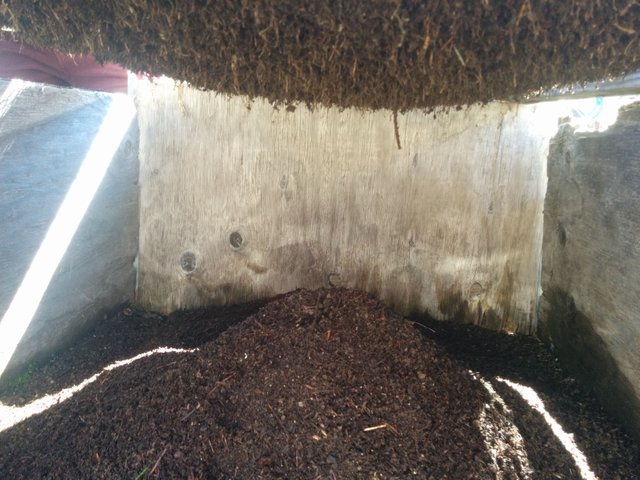
Halfway through the first batch of sifting we realized the garden cart was on its last legs and being very rickety it looked like it was about to fall apart on us so we modified our station and used two barrels to hold the frame over a tarp.
This worked even better.
It was easy to pour the sifted materials from the tarp into a wheelbarrow, where we stirred it with a shovel to get it all mixed together.
The Recipe
We were using an Alan Chadwick recipe as a model for inspiration. It called for 1/3 sifted turf loam, 1/3 sifted oak leaf mold and 1/3 sharp sand.
Our first design looks like this:
- 2 parts sifted garden soil
- 1 part sifted forest humus
- 1 part medium/course sand
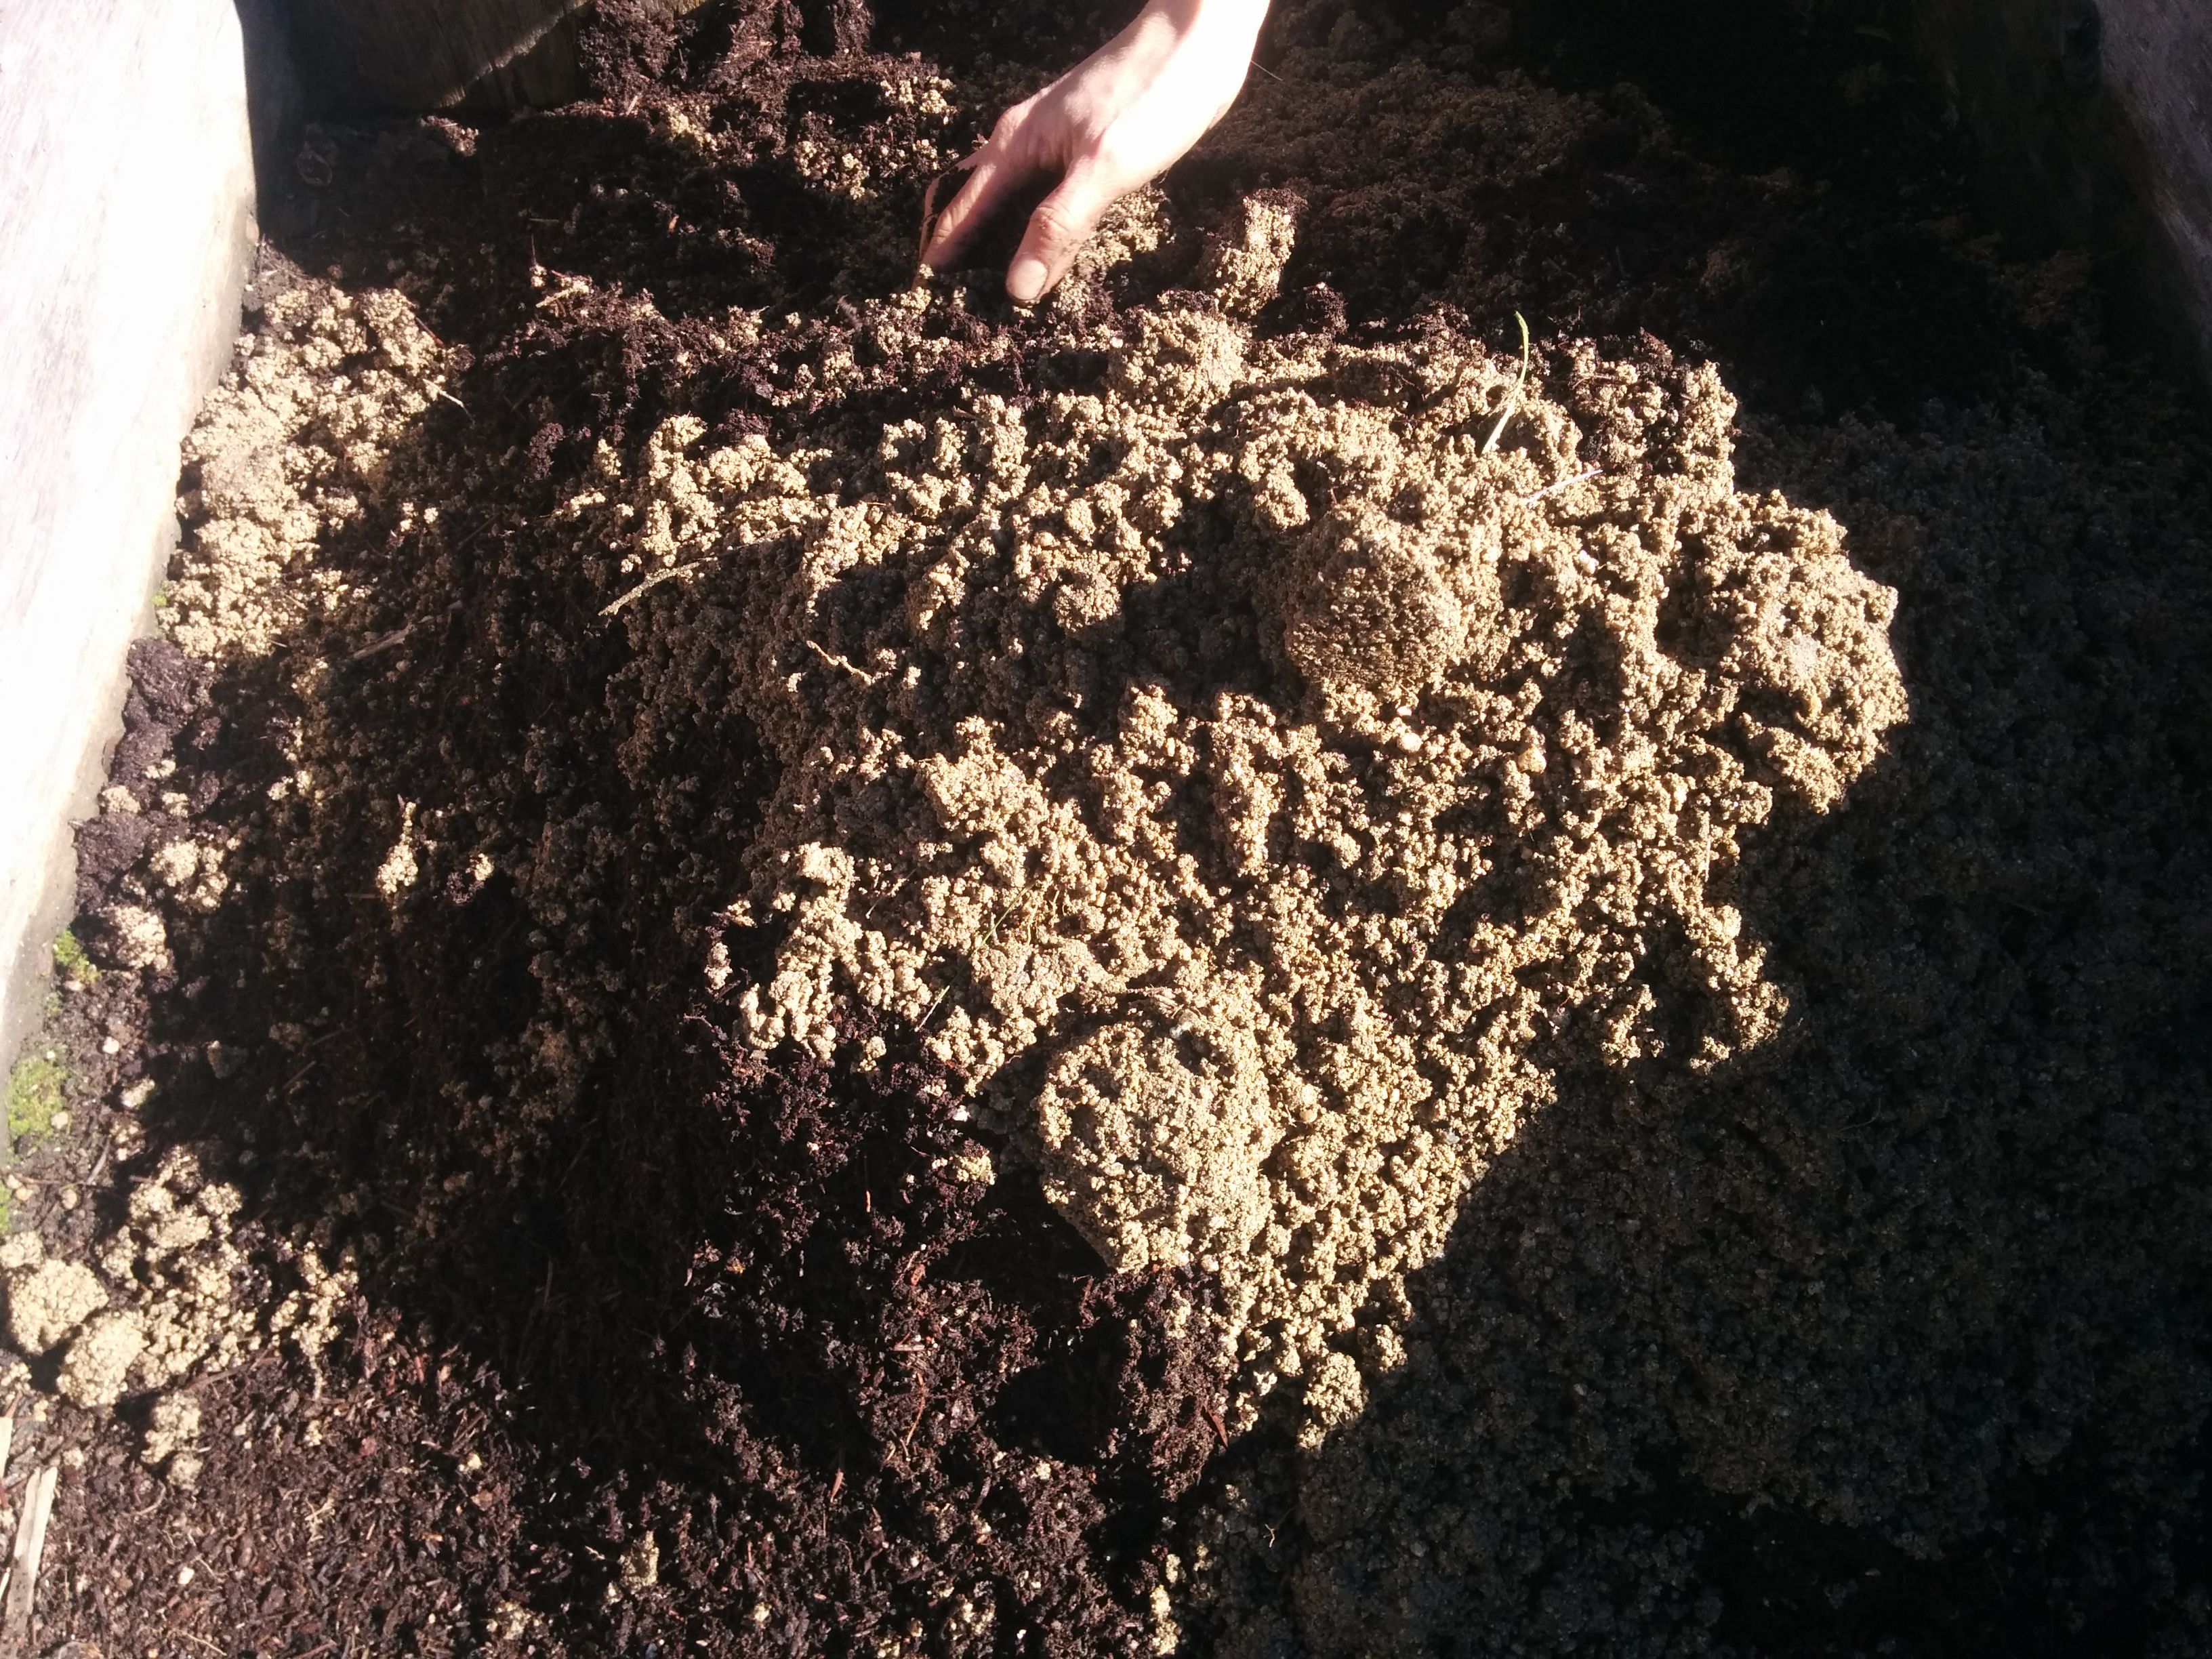
It had all of the characteristics that we were looking for. Water retention, drainage, fluffiness and crumbliness. As we squeezed and crumbled the mixture, we felt that the only improvement we would make would be to have it slightly more crumbly.
So our second design made the following change:
- 1 part sifted garden soil
- 2 parts sifted forest humus
- 1 part medium/course sand
It was definitely more crumbly and fluffy and exactly what we wanted! We were very happy with this mix. We ended up making one batch of the first mix and two batches of the 2nd mix, keeping track of which is which so that we can monitor each and see how they compare during the propagation season.
Of course your results may vary depending on the composition of your soil, etc. and you may need to adjust accordingly.
When we were collecting and sifting materials we used 5 gallon buckets as measuring device. We used the buckets to measure the material before we sifted it. We realized halfway through that the results would turn out slightly different if we measured after the material was sifted.
In the future we'd probably want to have a propagation station with large bins of presifted material that we can tap into for easily putting together soil mixes. For our current purposes, this "roughing" it is just fine.
Before filling our seed flats we lined the bottom with a thin layer of oak leaves for two reasons. It helps prevent soil from slipping through the cracks. The second is I heard that oak leaves in general have a chemical that help with seed germination. I have no clue if this is actually true and can't find info to back it up online but it doesn't hurt!

And finally the trays are filled! You'll want to tap your trays and tamp down the dry soil to make sure it is pressed firmly to get rid of excess air pockets that would settle later when it is weighed down by water. In our case we were already working with moist soil so tamping it down was not as critical - it's not as fluffy as dry potting soil.
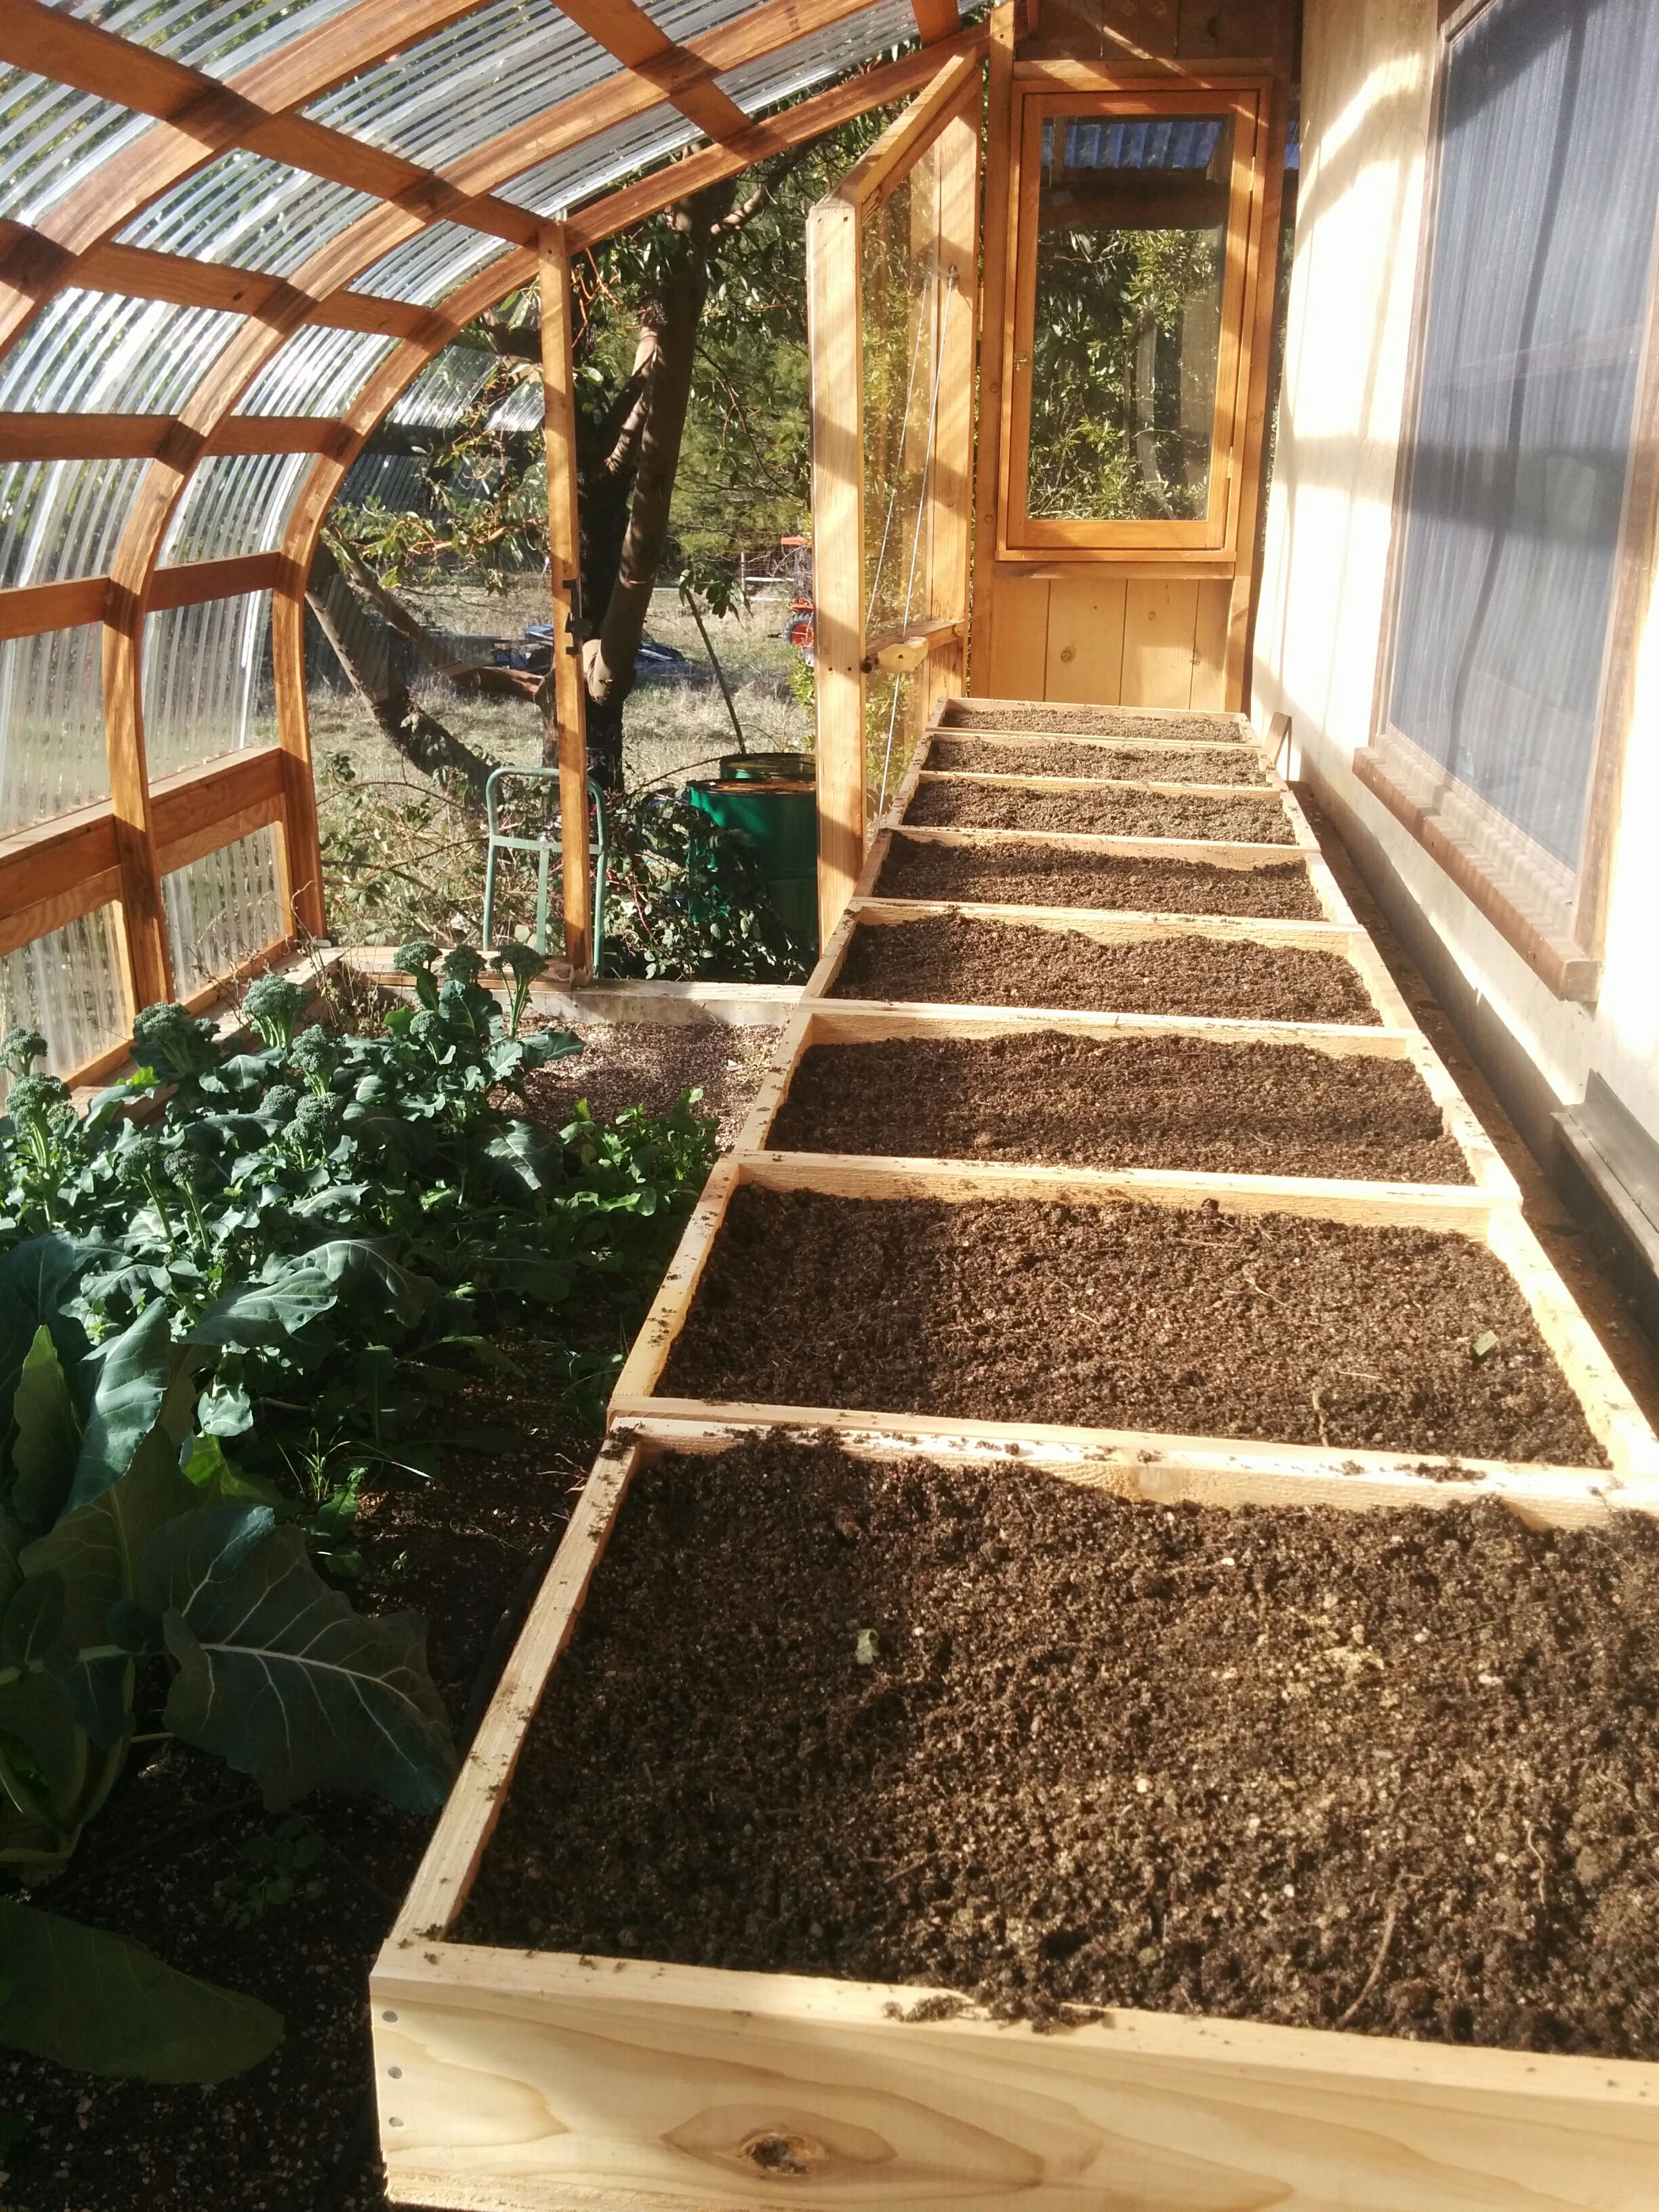
We filled 13 of our 19 wooden flats with 3 batches of this soil mix. Not bad! And now they are ready for sowing seeds!
One final note I should mention is the use of non-sterile medium for potting soil.
Commercial potting soil is marketed as sterile which is handy in helping prevent fungus, mold, disease or pathogens from harming your delicate seedlings. You also wont find any harmful insects in the potting soil. I learned that potting soils are sterilized with chemicals, or in some cases steam.
In our case we are willing to forgo the sterility because:
- Sterile is not a word we are fond of
- We are confident in healthy soil life in the materials we tapped into and
- If damping off due to excess moisture or some other unfavorable event happens we can take action with homemade anti fungal sprays or a remedy for whatever the case may be, take note and make appropriate changes to our future soil mixes.
Thanks for reading this post! I had made my own soil mixes before in previous gardens but they were less than ideal and less informed with sub par results. Nevertheless I learned from experimenting and this time around I feel like it is the best soil that I've had a hand in making. I'm proud of the soil mix and am confident we will get good results out of it.
I am especially glad to have worked with @idyllwild to make this soil mix. We both learned from eachother and had fun concocting this batch of soil!
Soon I will share how we sowed our seeds in this homemade potting soil!
It's really great that you were able to scrounge up all the materials you needed for that mix. There is something satisfying about not needing outside inputs.
One of the resources I discovered on our property is that we have at least one area that was an old peat bog and it is filled with peat moss!
How convenient for our future nursery operation Mwahahaha!...
Wow that is a great find and amazing resource to have available! What kind of nursery are you going to be starting?
We are starting a small nursery so we can grow the thousands of trees we will need for the property. I will probably be looking to sell some of the trees and shrubs too, to recoup some of the cost and time put into the project. I won't be getting it set up until next year though.
That's so cool! I am about to start a very small tree nursery as well mostly from seed and nurse them up until landing a homestead :) Growing thousands sounds exciting!
Ahhh! Good soil 💜💙 And, awesome seeding flats 💚💛 here's to hoping you're off to a great start! I bet the forest was one of the funner parts. 😊 there's noting like the energy of the microbes in the soil!! It's awesome to see full on spring happening for you! Such a contrast to our winter wonderland here. While soil should be sterile from the store, we got a bag from one store that birthed these tiny little flies/ bugs that sadly infested the house!! It was nuts. Lucky winter came the soil all went out. We might have done better to collect some garden soil for the pots! Won't buy that soil again. It was not fun. Looking forward to seeing progress 🌱
Hey @yogajill :) what a bummer to find all those flies in your soil mix! Or maybe a more favorable brand next time anyway.. I like the foxxfarm brand, although it is pricier than the cheaper ones. Do you make your own compost? If you mixed that with some garden soil it would probably be a winner!
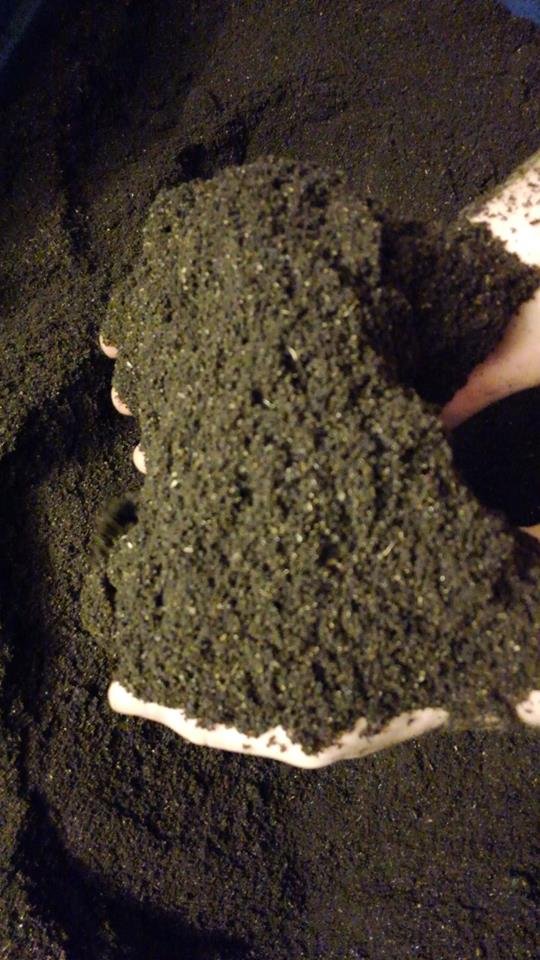
I enjoyed the article so thank you. Have you looking into worms for producing a large portion of you soil mix? I'm not sure where you are located so that will have a lot to do with it but we turn a large portion of our waste into quality castings. I do some composting on the side also but I get better production and quality from the worms not to mention they breed very quickly which gives me something to bring in an income. Just something I think you would appreciate for your garden. This is a picture of my finished castings.
Brilliant @liberyworms! I have not made vermicompost for a while since I have been traveling farm to farm for 2 years.. so I don't have access to it right now. Also it was not at top of my mind and I am glad you brought it up because that would be AMAZING in any soil mix! It looks like you have an impressive operation going on there... thank you for sharing :) Also you are inspiring me to perhaps get back into vermicomposting in the near future ;)
Oh wow I have not got into enough of your articles to see you have been traveling farm to farm for 2 years. That would make it a little more difficult. How is moving from different farms seeing how different people do different things going? Sounds interesting. I will have to read the rests of your post when I get time. Looking forward to the next one!
Yeah it is really helpful to see different styles, perspectives, etc. It helps my brain see similiarities and differences in approaches and it gets me curious as to why. But the downside of traveling to different farms is it breaks up the season and I don't see specific projects through to the end of the year.. anyway I am a little more settled for this year at least and digging into my own garden now ;)
Thank you for sharing your knowledge. I am preparing for planting seeds too. What if your garden soil does not look as fantastic as yours does and might not hold as much nutrition anymore as it's last years veg garden soil? Would that be a problem for the mix?
Hi @clara-andriessen, thank you for your comment! Your question is really good! I think every gardener may give you a different answer and the more perspective you get the better! My thoughts are that soil building is a long term process. I most likely not be concerned about using soil to start seeds if it hasn't been amended in a season. My main concern would be working on the garden soil to build up the fertility for the future, every year, every season or more often if possible... I like to think of soil fertility in investing in future years more than looking at adding fertility for this season. So every time I add organic matter to the garden it's investing in the future health of the soil. That can be in the form of leaf and/or straw mulch, compost, manure, food scraps, coffee grounds, etc. The more diversity of materials the better, and the more material the better. I like to put more in than I take out, in a new garden especially.
Going back to your question .. no I don't think it would be a problem for making your own soil mix with a few caveats:
If you have any reason to believe your soil has disease or pests in it (you know your plants in that area of soil have diseases or suffer from pest infestations), take more care in judgement if it should be used or not.
If the soil is so deplete of life or organic matter that things don't grow well at all yet, then you would definitely need to mix a rich compost in with that soil to cover the nutrition for the seedlings.
I have in the past used only soil for seedling propagation without mixing anything. It's quick, easy and gets the job done. Depending on the soil the results will vary. But my philosophy was if seeds can grow in the ground why not bring the ground to my seedling trays? It works! But it is also likely to have too much moisture with a soil that is not sandy. Too much moisture can make fungus or damping off a problem which you have to stay on top of with an antifungal spray and not over watering the seedlings. That's where the drainage component of the soil mix is really helpful.
Ah, thanks! That was helpful. <3
Please reply to this comment if you accept or decline.
Thank you @goldendawne! Yes that would be amazing... thanks for letting me know and thanks to you and @muxxybot for the effort and curation!
Good soil composition. But I think for each plant a certain soil is required and it is necessary to know the agrotechnics of growing plants. I wish you good luck in the future of your occupation!
Thanks @inna-yatsuk! Good point about different plants requiring different soil. I am still learning about all the needs of different plants... but I am also a generalist and a lazy gardener. If you have any tips or rules of thumb I would love to hear it!
Before you start planting plants, you need to ask what kind of soil suits them. I am engaged in roses, but my rules will fit all plants. This mulching of soil with grass or horse manure with sawdust, only sawdust should be at least 4 years old, but manure is overripe! If I wanted to know exactly what you would grow in boxes, I would give advice on what to apply better).
Thank you @inna-yatsuk.. I have a new abundant source of horse manure and am excited to start using it! I have not mulched with sawdust before, have been wary. But the 4 years aged rule of thumb makes sense.. thanks for that!
Fresh manure can not be used! I hope you know this without me))).
Totally! Thanks for the warning ;)
I have a really bad case of soil envy right now. That is some nice Soil!
Resteeming for later because... awesome tutorial! Your potting mix looks so fluffy and rich!! Seedlings Should be happy hopefully. Haha excited to see your trays full of green soon. Btw, that little green house is nice!!!
Not sure why I keep forgetting half our property is native Forrest spring fed creek land. Maybe because it's heavily poison ivyd. After reading this I'm almost Willing to brave it!!! Soil envy here, too. We have an old pile of local truck delivered compost as well as garden soil mix, two cold compost piles we started, and coarse sand. We also got compressed peat moss, worm castings, vermiculite, coconut coir, perilite, old decomposing hay bales and straw bales. We have only about an inch of topsoil over clay. I'd like to use our own compost but I'm concerned it's not old enough since it's a cold compost. Do you think it'd be a bad idea to sterilize it with steam myself since I'll be adding back other ingredients with soil life?
Wow amazing! Totally! put on the long pants and sleeves and get in there :P I bet poison ivy leaf makes good forest humus hehe :) Wow you have a lot of great soil resources and compost going on!! That is great! I think cold compost is amazing. Regarding your question I wouldn't sterilize it myself, unless there is reason to suspect diseased items are in there breaking down. If it were me I would dig in and smell it, if it smells good and sweet I would use it, if it smells at all rotten or stinky I wouldn't. You could sift out the fines and throw the chunks back on the pile. You'll probably get weed seeds coming up but as long as you don't mind weeding your trays from time to time, no biggie.
Oh soil is something any gardener cant have enough of. I will give this a try when the snow is gone! Thanks for the recipe
You're welcome! If you do end up doing it please let me know how it turns out!
Absolutley! Just have to wait for spring tho
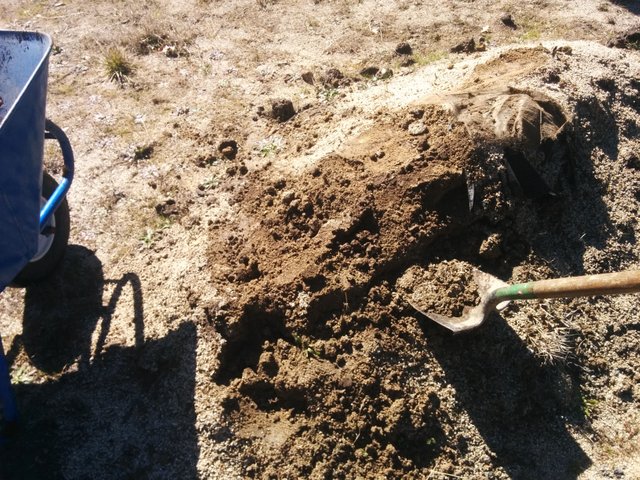
This is what this morning looked like hehe
Nice job shoveling :)
Interesting mix, especially the forest humus. I must add that to ours this year.
Great! I hope it helps you :))