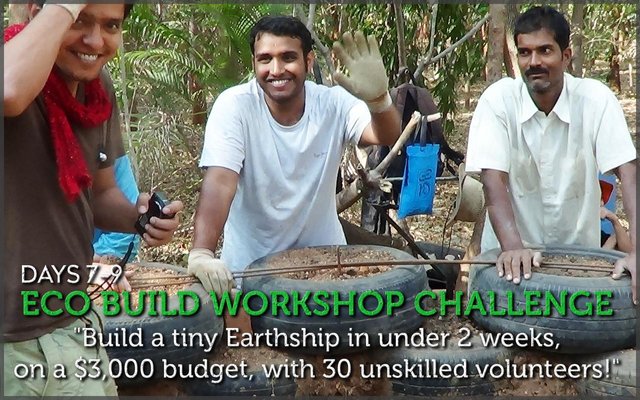
Eco-Build Workshop Challenge Days 7-9: "Build a tiny Earthship in under 2 weeks on a $3,000 budget with 30 unskilled volunteers!"
Wow, its the end of Week 1 already! Even though every day was so full of activity and progress, the first week went very quickly. The group really jelled, and it was the last day for around 12 volunteers who left with a wealth of experience and valuable eco building knowledge. At the same time, 12 new volunteers arrived for the second week of the build. It was sad to see some faces go, and also very nice to have some fresh blood! This happened on a Sunday, and I gave the day off to those that were staying for the whole two weeks. On that day off I gave the new volunteers their full day lecture so that they would have the same grounding and important knowledge given to them. It was easier to do this a second time, and also nice to spend a day teaching and taking it easy physically after a full week in the sun and dirt.
Please watch a short highlights movie to see our progress!
3:30 minDay 8
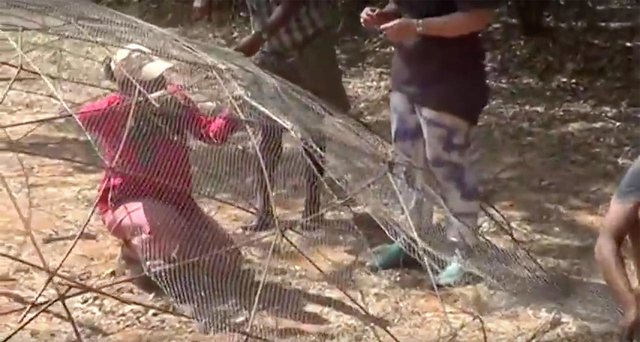
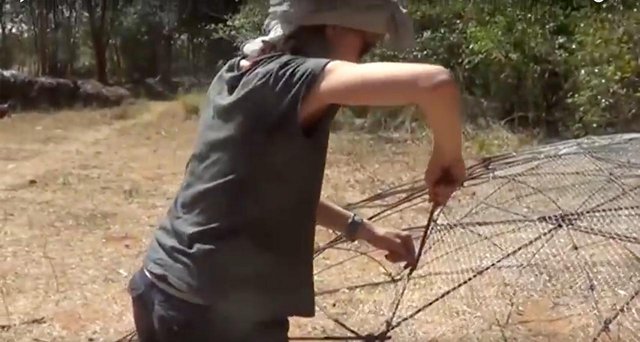
We restarted the build on day 8 which was a Monday, and after so much talking I was eager to get back to the roof structure we had been making. There were still plenty of tyres left to pound, but we were nearly at the stage where we would begin with the glass bottle work to finish the final few feet of the main walls. That would take about 2 days and then we should have time to get that roof on before day 14! The metal re-bar framing for the roof was coming along nicely, and I had managed to retain a nice looking dome like curve on it. It took about 2 days of work to get it this far, and we were ready to cover the entire metal frame with a chicken mesh. This mesh would provide a good grip for the cement plaster that would be put on once the roof frame was in place. Wrapping the frame with chicken mesh is easy work for volunteers, and just needs a few minutes of demonstration to show someone how to do it. The most important thing is to ensure that the chicken mesh is tightly pulled before you bind it to the frame. If the mesh sags, so will the shape of the roof! Since the plaster would be at least an inch or more thick, it is OK if it sags a little bit as it will be smoothed out when it is plastered.


It took the entire day to finish it and and I was really happy with it. The frame had only taken about 2 days of work with just me working on it half the time, and it looked and felt strong. The materials used are basic building materials that are available just about anywhere in the world. We spent around $100USD on these materials that would soon become the whole roof structure. That is great value for money so far! The finishing of the roof would be more expensive since we would need quite some amount of sand and cement, as well as skilled maisoners to do the work. In theory we could pull it off with volunteers, but I was not confident enough with cement to do that. I had never made this kind of roof before, and was curious to see how the maisoners would tackle the job of plastering it.!

Check out this video to find out an easy way to level and finish a tyre using leverage
6:46 min
If you would like to watch a fantastic short movie about building tyre walls please watch this. It is full of great information!
14:16 min
Since we had so many hands on tyres, some of the Week 1 volunteers wanted to do something arty again. There were many creative people in the group and so we decided to make a few small coloured tile murals on the mud walls. Tiling is one of the most enjoyable and easy things to do, and the results are often very beautiful, as you may have seen in Earthship Karuna. We grabbed some old tiles that had not been used from other projects at Ananda Farm, and we broke them into random pieces. Then i explained the basics, and let them be creative and have some fun. There are many ways to do tiling, but the easiest and most natural is to just embed the pieces of tile directly onto the wall that has been recently plastered. You need to leave small gaps between the pieces of tile, that will later be filled with more mud plaster. Finally you will have a smooth finish with a nice tiled image! They chose to make a butterfly, and for a first attempt I think they did a lovely job!
This was my second workshop on Earthship Building, and it was very interesting to see the balance between men and women. On both occasions I had a very large percentage of Women attend, and far less men. I think we had around 70% women on this build, and more or less the same the time before. It seems to me for one reason or another, that it is the women who are most keen and ready to help build our new world. That is VERY nice to see, and I believe we need much more feminine input in these areas to ensure that the world we do create for ourselves is one that we all want to be a part of! It's those little touches here and there that make the difference!
Please join me next time as we finish the tyre pounding, and finish the main walls using glass bottles and cement. We had around 5 days left, which was definitely cutting it a bit fine, but I was hoping for the bottle work to go quickly so that we would get the all important roof frame on before day 12. That would leave 2 days for the maisoners to put a rough plaster on it whilst the volunteers did other work.
Be Inspired!
2:29 min
Thanks for being here with me and the ecoTrain!
We are a small community that support each other because we love what we write.

check our our ecoTrain magazine at @ecotrain
If you love to write, and would like to join the ecoTrain community as an official passenger please email me on [email protected]
** Click Here For More Information on the ecoTrain **


I resteemed this because I really want people to become more aware of this method of building.
thanks.. thats the spirit! ;-) hope you are well @stillwatersart!
Amazing I would love to build my own earth house. looking forward to seeing the finished product :0
img credz: pixabay.com
Nice, you got a 31.0% @trafalgar upgoat, thanks to @eco-alex
It consists of $10.66 vote and $3.55 curation
Want a boost? Minnowbooster's got your back!
The @OriginalWorks bot has determined this post by @eco-alex to be original material and upvoted(1.5%) it!
To call @OriginalWorks, simply reply to any post with @originalworks or !originalworks in your message!