Battlefield 5 - Underground Breakthrough Gameplay! Rare Map nowadays!
Please Read the Note below!
Note: If the post loads slower please wait, it contains more GIFs than my usual posts, it might take a couple of seconds for it to fully load!
🗒️ - GIF used as a thumbnail for this post -
For the first time in my Battlefield V series we play the Underground map on a Breakthrough mode.
Game Details
Game Mode: Breakthrough
Breakthrough is a game mode that first appeared in Battlefield 1 if I remember correctly, and it was also featured in Battlefield 5 and Battlefield 2042. The main idea of this game is for the attacking team to push forward the defending team's points, with a limited number of ticket/spawns while the defending team has infinite tickets. Because the maps in Battlefield are mostly big some even huge the action takes part in Sectors, meaning the map is split multiple pieces and the attacking team needs to push only the points in a certain sector, after that sector has been taken they are rewarded with more spawning tickets and they need to attack the next sector, and so on until the whole map has been captured. Also if the sector has been conquered by the attacking team and there are some defenders left in that sector, they need to retreat as fast as possible, because each kill of a defender left in the lost sector will grant the attacking forces more tickets, I think it's 3 tickets/kill, and while they are moving in a lost sector the attacking forces can see them on the map, they are spotted all the time. If the attacking team loses all the tickets the defending team wins.
Map: Underground
One of the most played maps in the Battlefield 5 series, back in the day, in the first years of the game's release this map was the paradise of cheaters, you couldn't find a match on this map that didn't have a full raging hacker that was teleporting and hitting headshots left and right. Luckily this time it didn't have any, or at least not an obvious one.
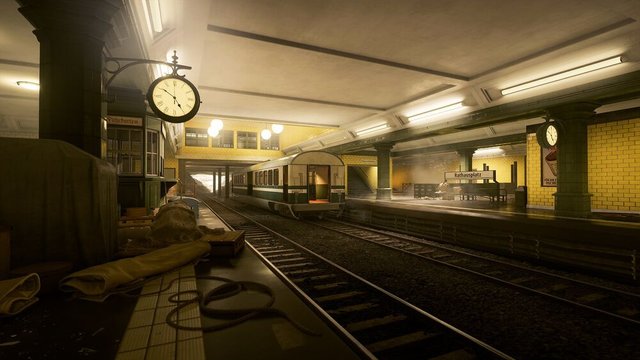
The map presenting image is not mine, it was taken from Battlefield Wiki Page
Loadout used during this gameplay!
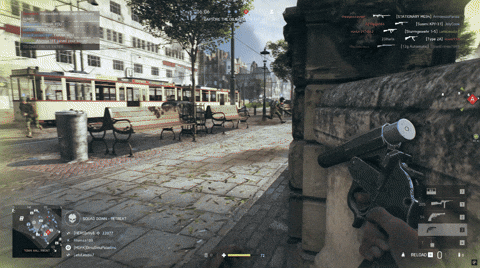
Well I can't really define a loadout for this gameplay as I switched the classes multiple times, it's been a long time since I last played this mode on this map and I wasn't sure what fits best for it. So you'll se me switching through multiple classes and weapons. I started the game as a Support class with an Automatic Rifle, in hopes of spamming the Grenade Launcher gadget, after a while I was killed by shotgun a couple of times so I also switched to Shotgun, did my best to get kills with it, later on when the space between the attacking/defending forces increased I moved to Recon class.
Classes used : Support and Recon
Gameplay
The full gameplay can be watched on my Youtube channel down below. I will also show and describe the important parts in the following section.
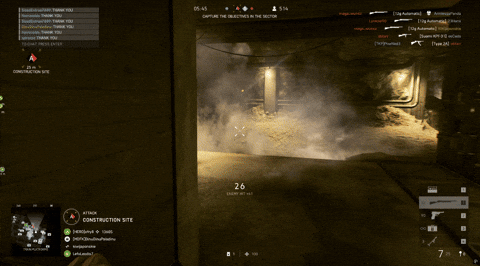
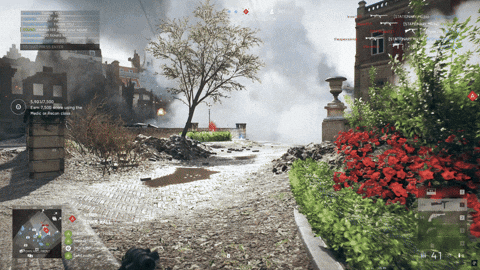
The game starts with us forcing our way into the first sector, half of this sector we fight inside buildings, only the middle road between the buildings is outside but people avoid that since you are in open space.
🗒️ - The Bar weapon in action, it's on low fire rate mode that's why the crosshair doesn't bounce that much. -
At one point in the second sector I was able to flank one side where the enemy was holding the zone, but this Bar Weapon has only 20 bullets, only if I had something with more bullets, an LMG or at least something with 30 bullets.
🗒️ - Me flanking but with not enough ammo in this Bar I die after getting only two of them. Great opportunity missed. -
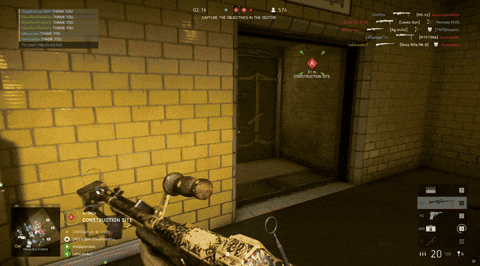
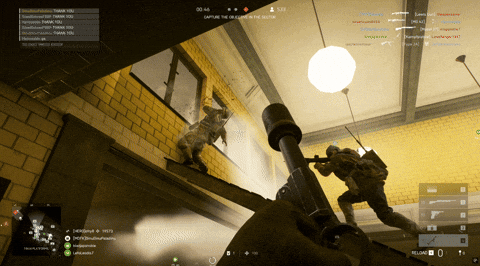
The best moment with the shotgun, getting right behind them and pushing when they didn't expect, the guy that was reviving at the entrance surely had a moment of "It was at this moment he knew, he f'ed up"
🗒️ - Automatic Shotgun push behind the enemy, a beautiful moment. The guy in the corner didn't even react at the first shot to him. -
Below you'll see the Grenade Launcher in action or the Kampfpistole how it's named in the game, I shoot it with the window frame, a few seconds later I get the kill. You'll see this during the Support class gameplay, I keep spamming it and getting kills from time to time.
🗒️ - Kampfpistole 3 points shot. Kobe! -
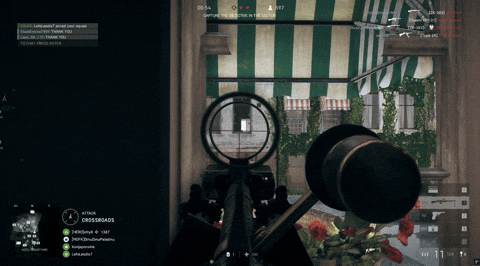
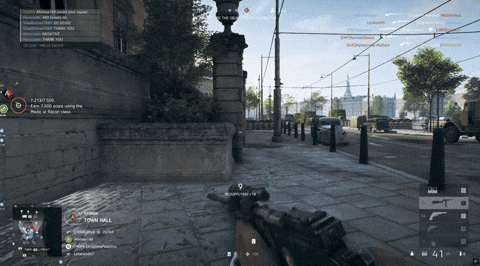
Now for the Recon class, I have this pistol with scope, semi-automatic, that is nice to spam and can get kills pretty easily. It needs a couple of hits to get the job done, but I like it.
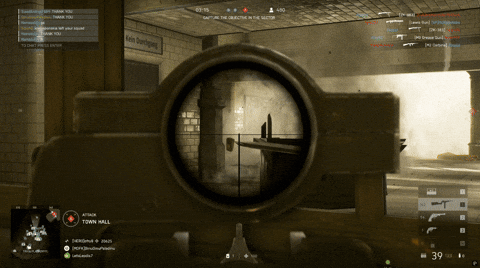
🗒️ - You can see it needs some hits to get a kill, but feels nice with that small zoom, enough to hit the target. -
When I switched from Support to Recon we were already pushing the last Sector, the fight was mostly outside, we had to push their last building and capture the point. Here's the map from above.

🗒️ - On the left side we have our two spawning points, the right side has their building and the wide space between those two, was the front we had to push, I kept spamming smokes to help people push -
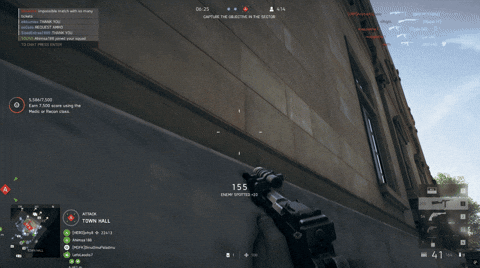
A cool feature of the Recon class in Battlefield 5 is that you can shoot flares up in the sky and everything below it gets spotted, I kept shooting flares above their building to spot people inside, the enemy can shoot them down but since they were inside they couldn't really see the flare. Each spot grants you some points and it increases if the enemy you spotted gets killed.
🗒️ - Shooting the flare over the enemy's building -

🗒️ - The circles on the map are all friendly flares that spot enemies, the big one is mine, you can see it spots enemies and even mines inside, that building is packed! -
We kept getting closer and closer to capturing the last sector/point, I was jumping on windows already trying to peek inside, the windows have sand bags that protect the entrance, without explosives you can't jump inside, but who said you can't deal some damage if you see someone.
🗒️ - Spiderman during World war 2 using his net to crawl on the wall and get the enemy inside -
Their last resistance forces, enemies doing their best to hold it, using odd positions, watch that guy on prone near the stairs. Desperate times require desperate measures, don't know who said it but it fits the sittuation.
🗒️ - Sneaking a couple of kills and a flare -
🗒️ - Sneaking part 2 -
And in the end we won, the match was finally over. A fast and fun match, the "Party" lasted about 19minutes. The attacking force was victorious.

The final score was 32 kills and 10 deaths, more then decent, you can see full scoreboard of the game down below, some people really dominated the game, the first guy with 51 kills and 10 deaths really smashed the enemies.

I hope you enjoyed this gameplay, again, if you got to the end of my post I'd like to thank you, I am wishing you a great day (or weekend if you read this right after being posted). If you have any questions or remarks feel free to write them down below, I will answer as fast as possible.
If you want to see more content like this, please check my other posts as well, or you can drop a follow to be updated with my next posts.
Final Note: Besides the image used to show the map we have in this gameplay, all the other images and GIFs are taken from my gameplay
Thank you, friend!


I'm @steem.history, who is steem witness.
Thank you for witnessvoting for me.
please click it!
(Go to https://steemit.com/~witnesses and type fbslo at the bottom of the page)
The weight is reduced because of the lack of Voting Power. If you vote for me as a witness, you can get my little vote.
Upvoted! Thank you for supporting witness @jswit.