Online store on Steemit blockchain| Step eleven | Profile display in the view and admin panel.
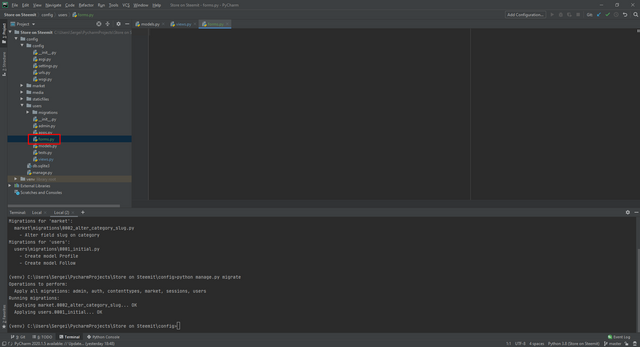
Hello, friends!

Today we will create a view for our profile, and also display data in our admin panel. We will also create the forms.py file for further work with this file. There will be created forms for registration and authorization, as well as for password recovery.
I propose to create this file. But we will return to it in the next post. But for now, we need it to simulate data import.
Now let's move on to the views file. Where we will create views for registration and our profile.
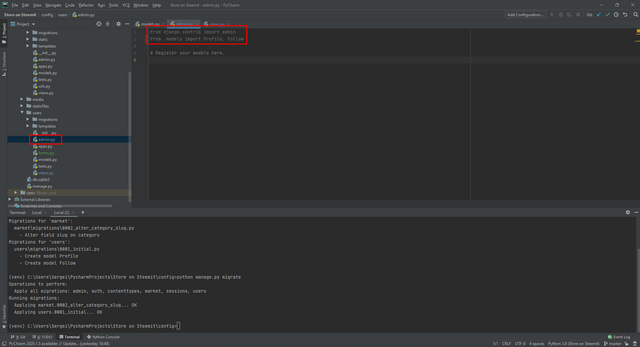
Let's start with the imports we need. Including the forms file that was recently created.
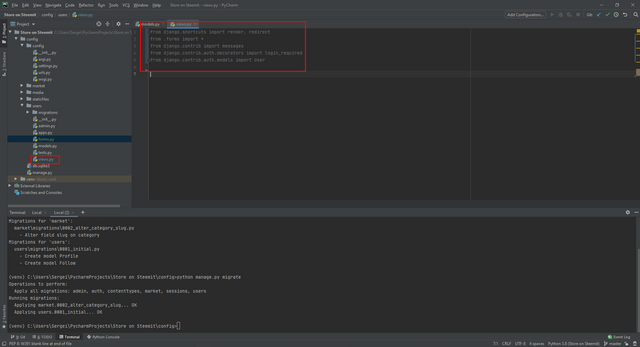
Today we will not create classes, but we will create functions. It seems to me that this option is optimal for this task.
And the first function we have is registration.
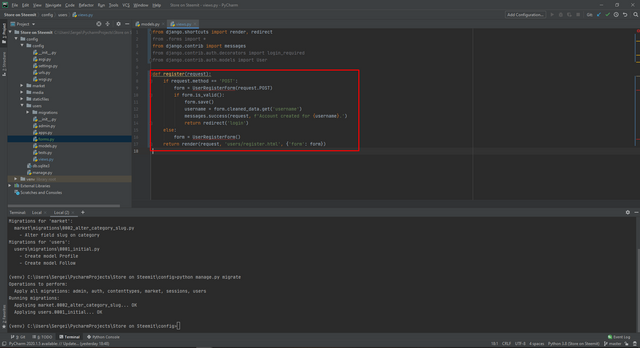
We create our functionality through a post request. Since it will allow us to create a record about the user in the database and create a record about him with all the data that he will give us.
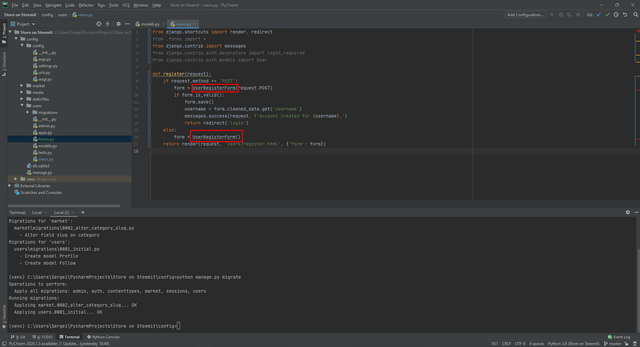
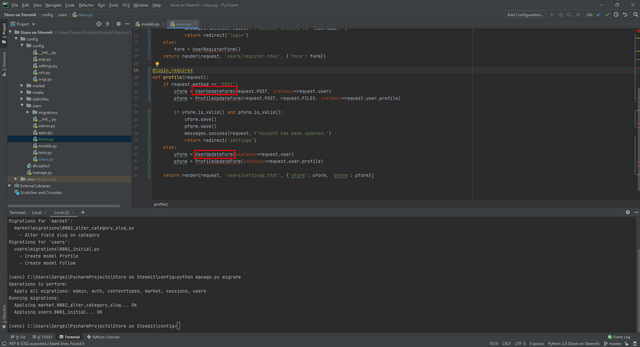
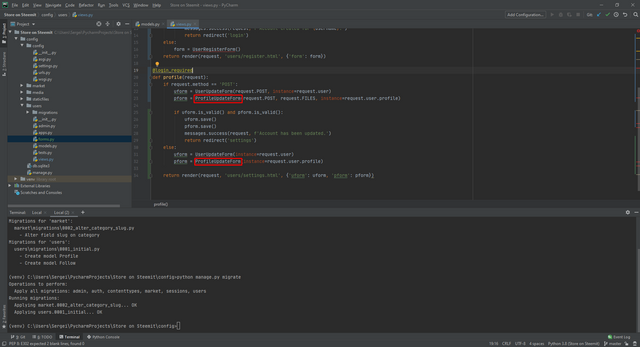
You can also observe that there are objects that are underlined with a red line, this tells us that the form data was not created in the forms file. I have now given the names to the forms, and in the future we will create them and the red underlines will disappear.
Now I propose to create a view of our profile. Which will be displayed only after authorization. That is, we now have two representations. The first view is the user view and will be used to display data. And the second view is already a profile display where each user of his profile will be able to change the information there, depending on the need.
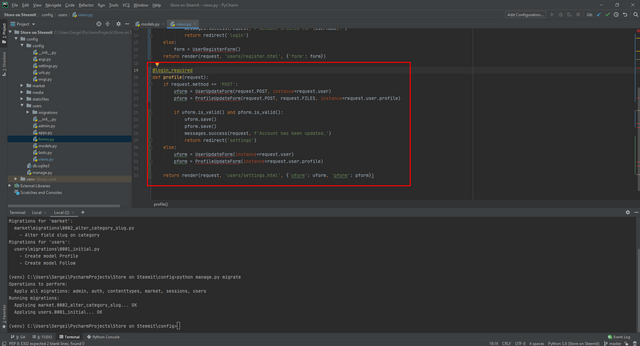
We also use the post method in order to be able to change the data in the database.
You can also notice that our function is divided into two parts. That is, there is a user form and there is a profile form.
We also need to create two templates. This is a registration and settings template.
Following the same example as in the market folder, we create the templates folder, and already in the templates folder we create the users folder where our html files will be stored.
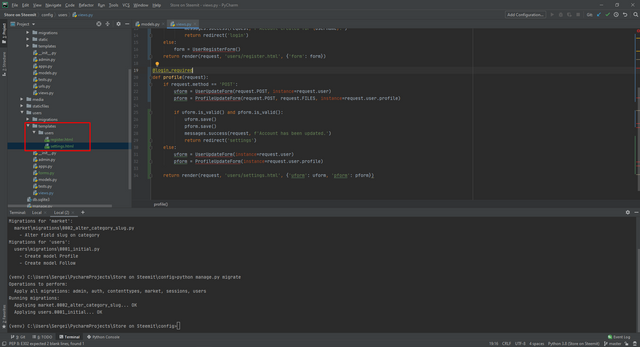
In the next post, we will create an html form for settings and registration. And now let's go to the administration panel where we will register our models.
As usual, we import our models.
After we have carried out the imports we need, we need to register them. But the truth is not how we did it in the market app. Everything will be much easier here.
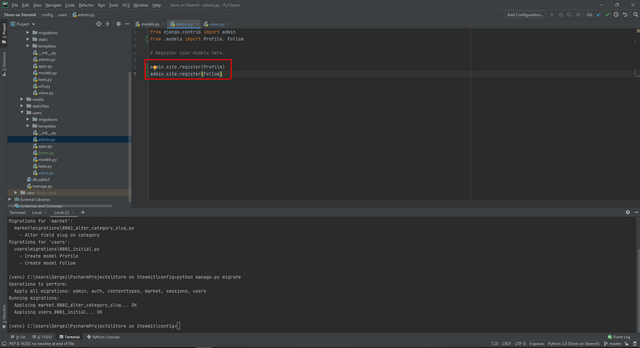
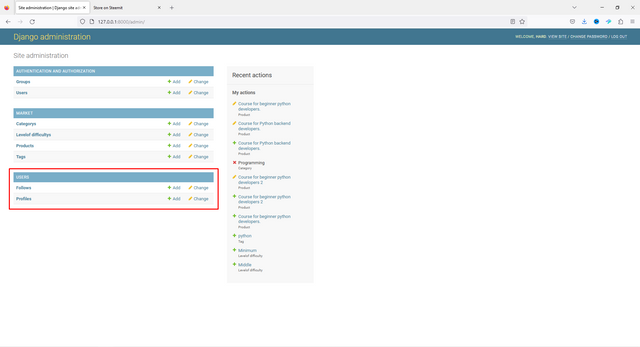
As you can see, we have registered a profile model, as well as a subscription model that will help us in the future with tracking who subscribed to whom.
Great!
Now we can see our models and we can edit them. And in the next post, we will create html forms so that not only administrators but also users themselves can change them. And set the minimum profile display.
Thanks for supporting the project.
@rme , @rex-sumon , @shy-fox , @hungry-griffin, @pennsif
The project is being created in partnership with @steemit-market.
Above may be wrong. Since I wrote the code from memory and then corrected it. But git will have no errors.
Link to the git.
You can get acquainted with the project here.
You can find all parts of the projects by the tag: #storeonsteemit
To be continued...
Sincerely, your HardPhotographer
Thank you, friend!


I'm @steem.history, who is steem witness.
Thank you for witnessvoting for me.
please click it!
(Go to https://steemit.com/~witnesses and type fbslo at the bottom of the page)
The weight is reduced because of the lack of Voting Power. If you vote for me as a witness, you can get my little vote.
Upvoted! Thank you for supporting witness @jswit.