Wednesday-Educational Theme - Easy DIY handmade card | 20% to @steemit-pak
Today in this Wednesday educational theme I'll be educating you all with a very easy handmade greeting card. It feels love whenever you give someone a card with handwritten notes and moreover when you have made it yourself then it is best of best.

At First I am listing down the material you need.
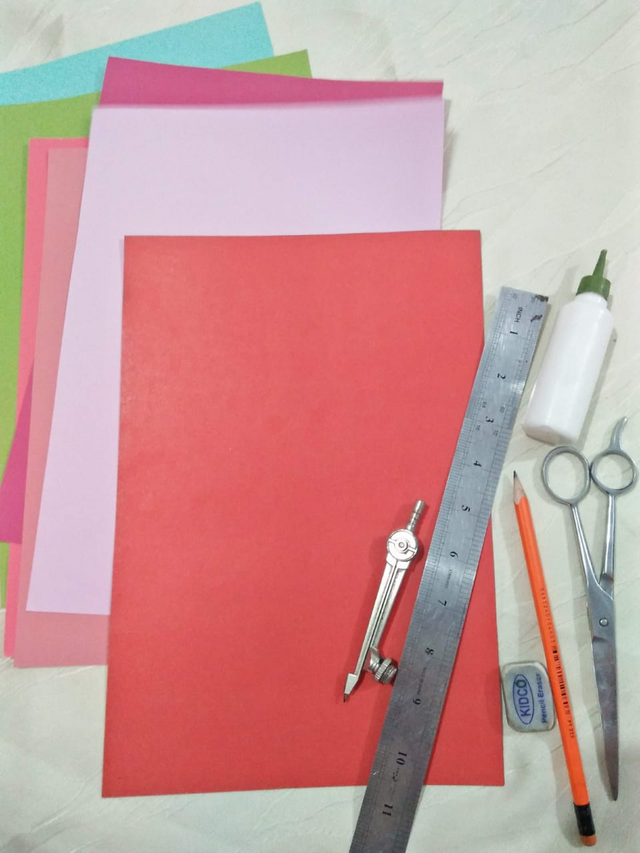
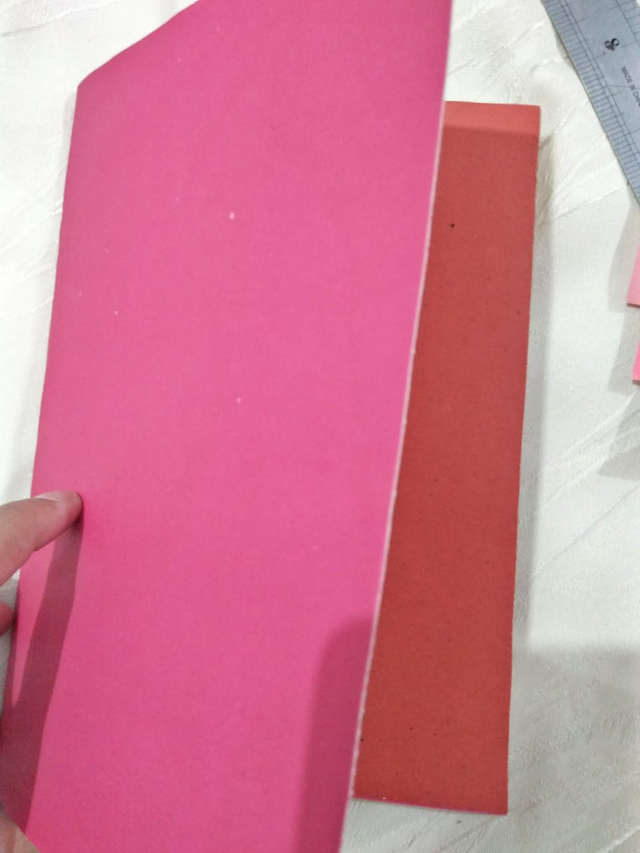
A rectangular card sheet according to the size you want to keep
Color papers 2 to 3 in contrast
Scissors
Compass
Pencil
Eraser
Glue
Beads
Big Size Ruler


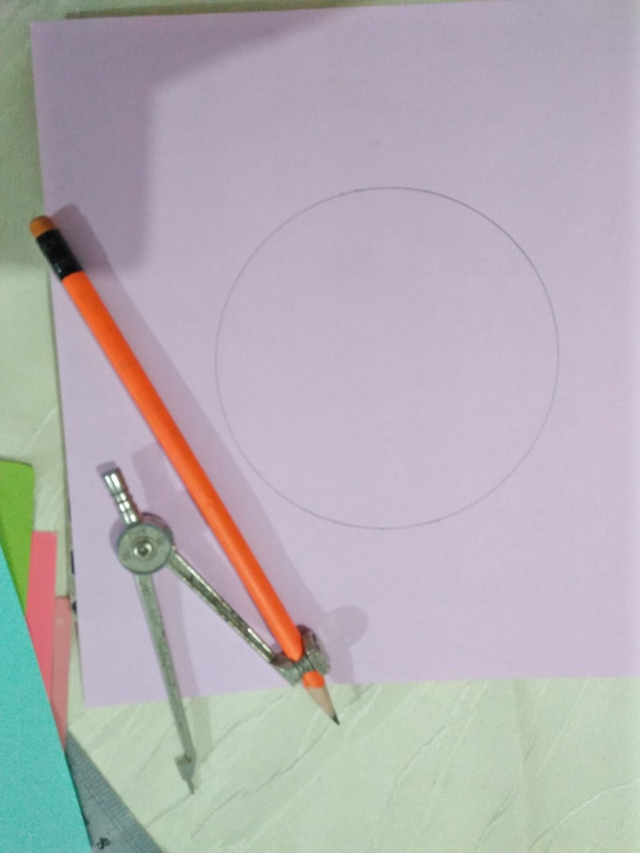
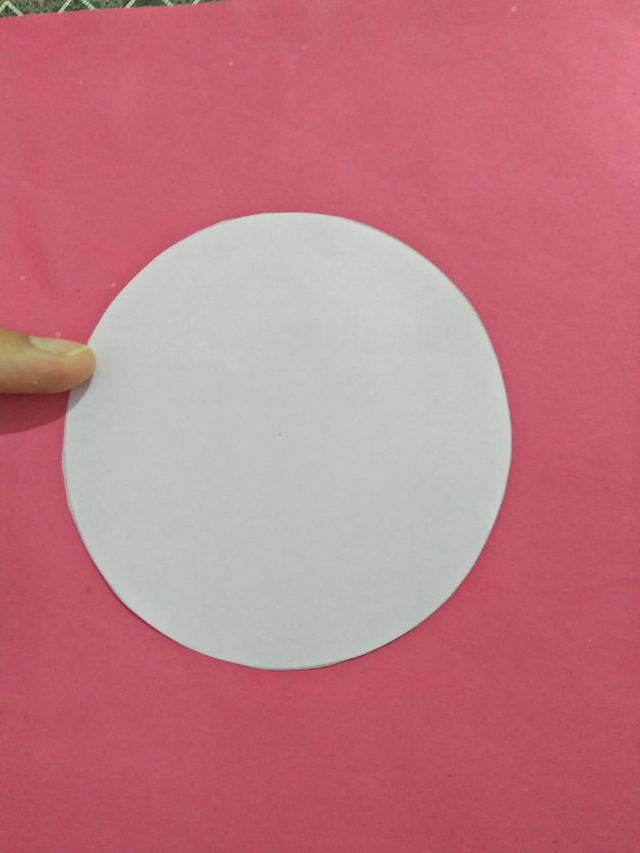
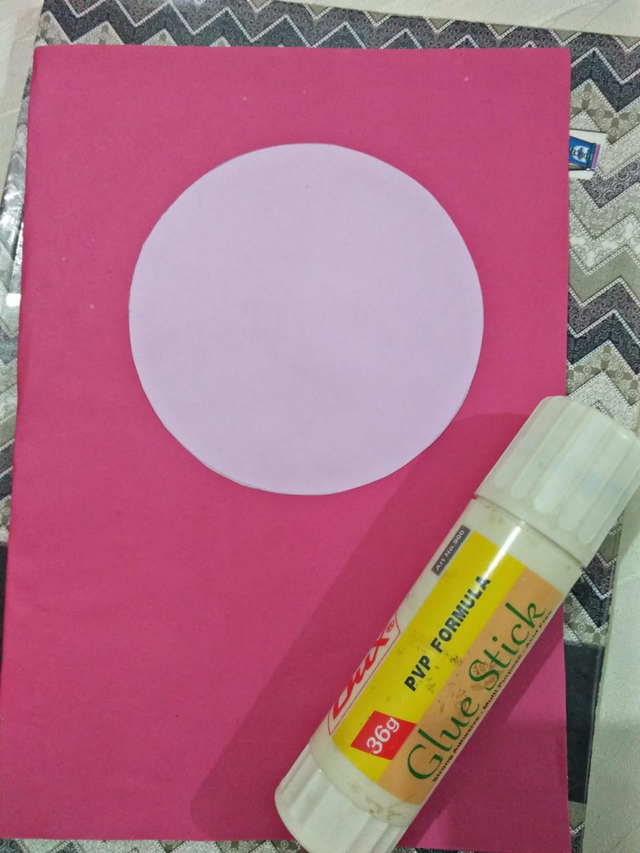
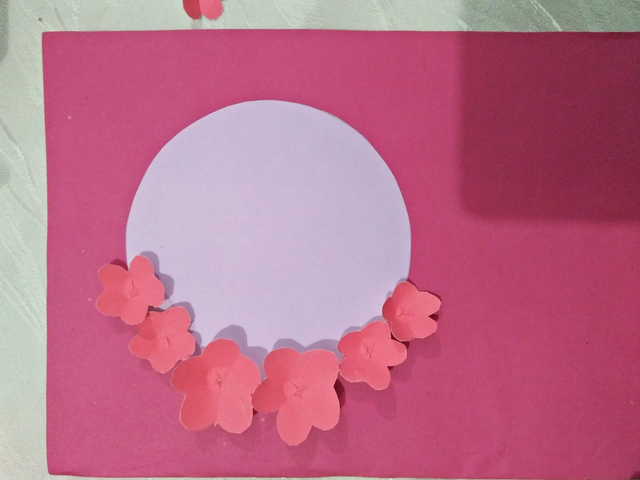
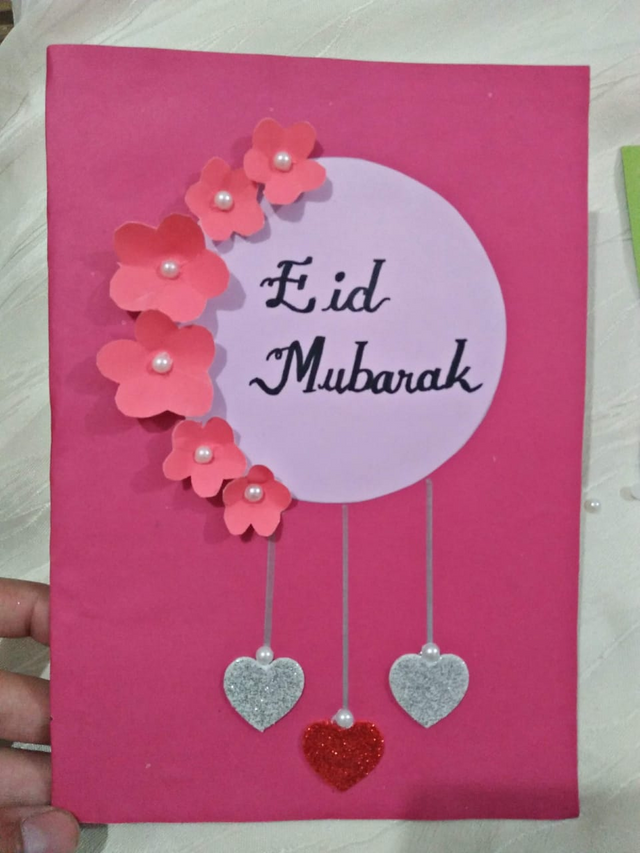
Then to place a circle in the center. I used a compass to draw a perfect circle. You have to make sure that it should not be too big that it come out of your card sheet. Draw a medium circle and cut it. Then paste this in the center of your front.
|
|
|
|---|
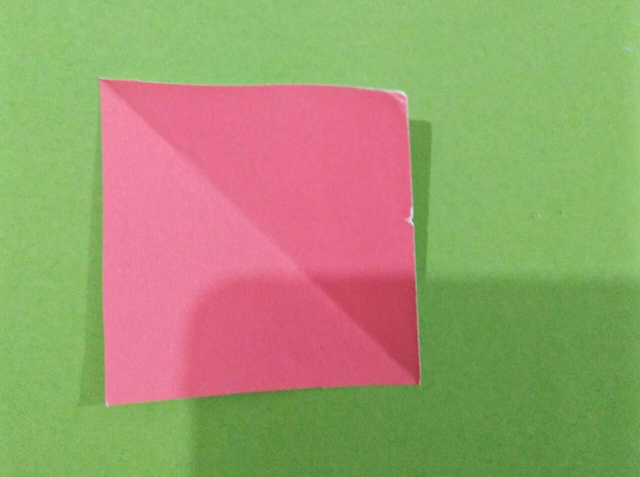
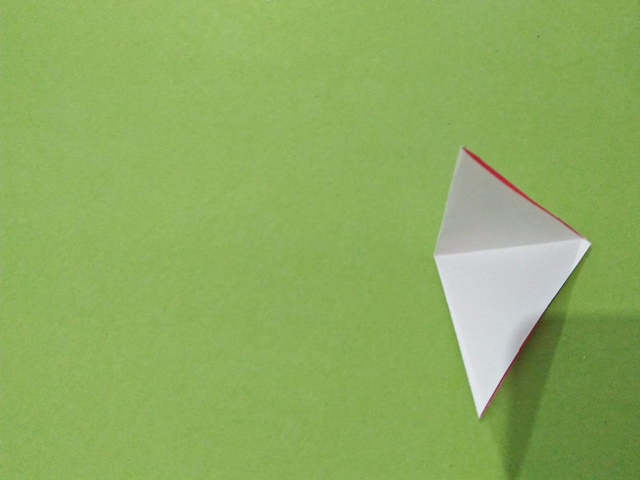
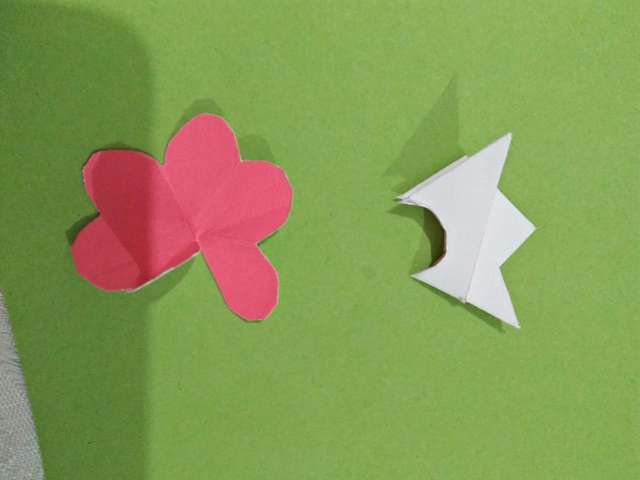
Now it's time to cut flowers. For this, I took a different shade of pink. Like I said take in contrast. At first, you have to cut a proper square piece of paper and small in size. All Sizes won't be the same because we need flowers in different sizes.
- Fold it in diagonal.
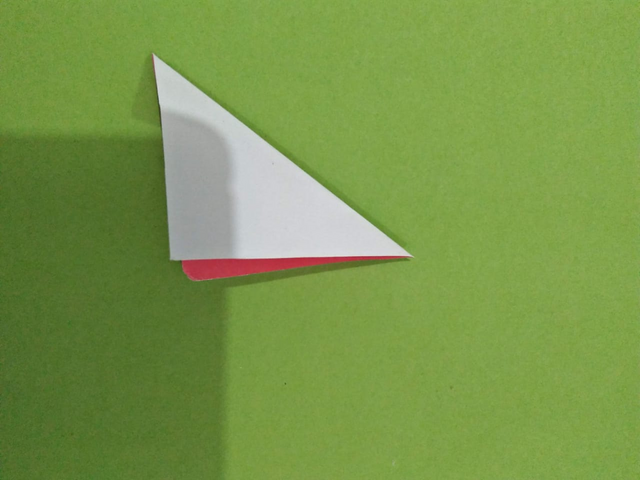
- Then again fold it from the center.
|
|
|
|---|
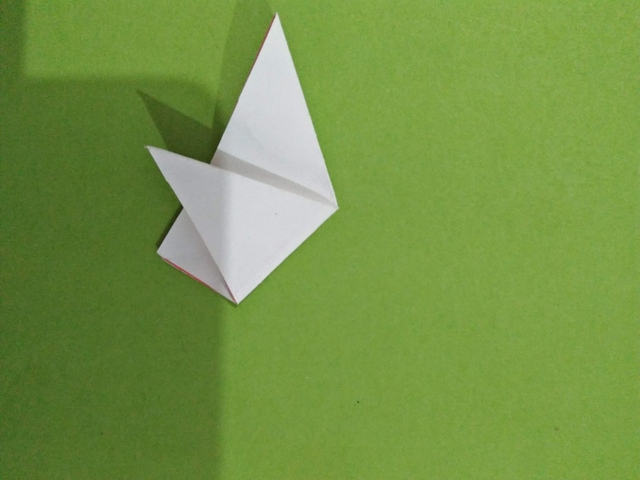
- Then we have to fold in this pattern that one-pointed corner must come upward.
- Then set all the crease and pointed points together and draw the shape of the petal.
- Cut it with the help of scissors.
I know it does not look that good :p but it's okay :D
|
|
|
|---|
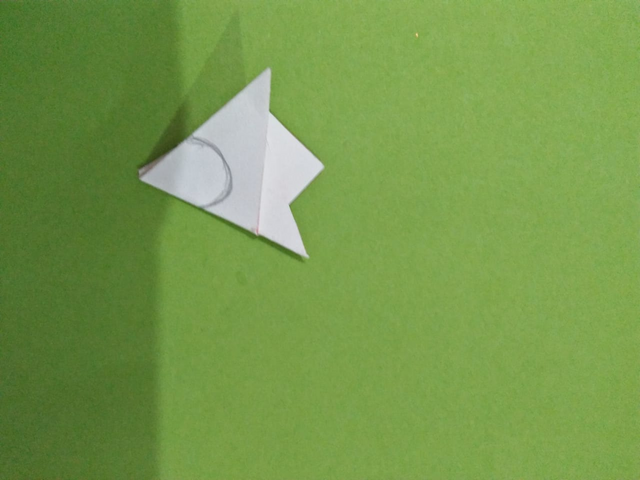
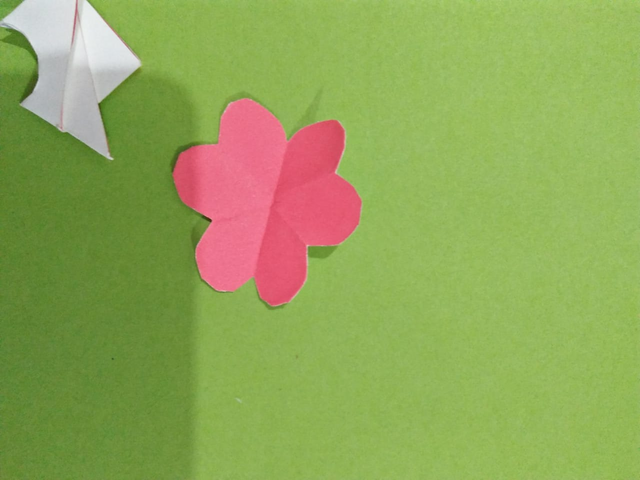
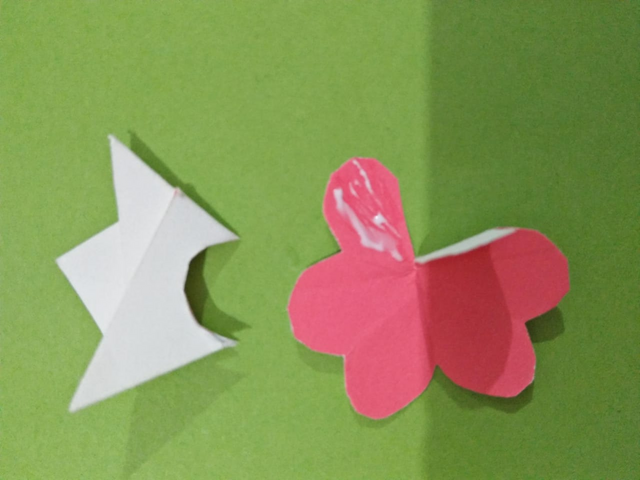
- Open the flower and it will look like this.
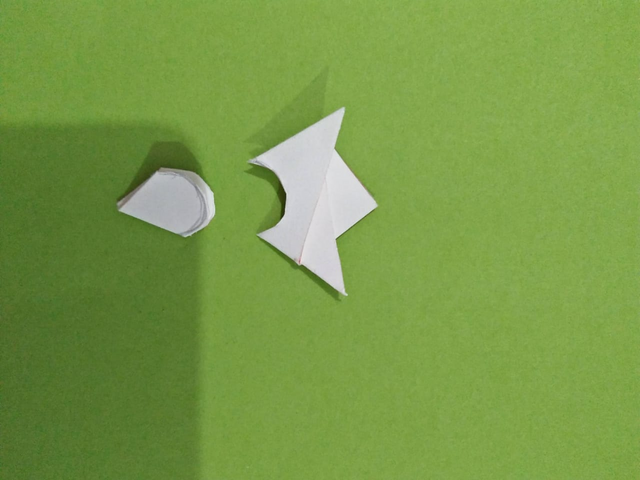
- Now what you have to do is just cut it from anyone side in a vertical direction.
- Use the glue and paste both sides together to give it a curve texture.
|
|
|
|---|
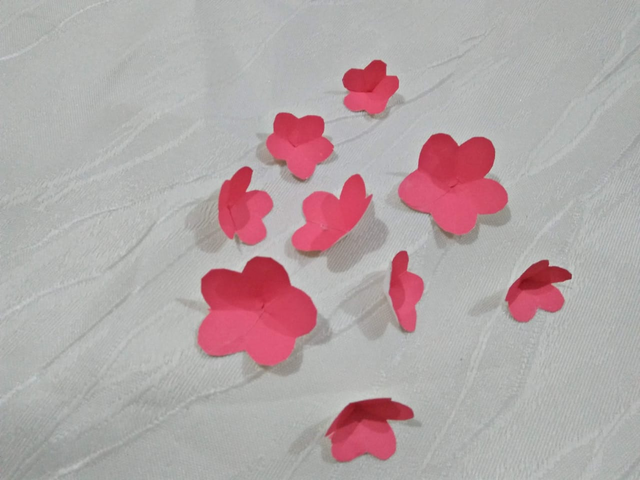
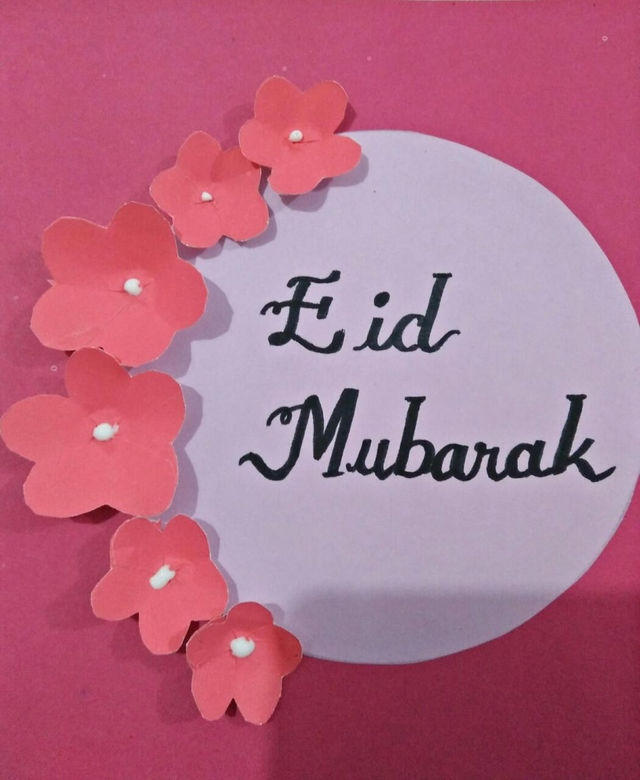
Now arrange these flowers on the edge of the circle. You can use both similar sizes flowers and different ones too. Just stick them with the help of glue.
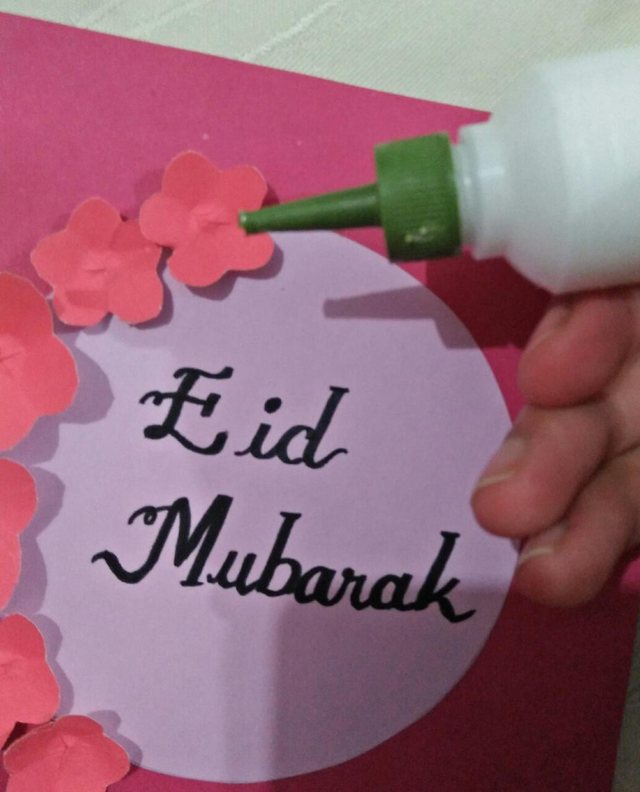
I have used pointed liquid glue to place the beads in between the flowers to add beauty to flowers. Any kind of disco, glitter, or anything can be used.
|
|
|---|
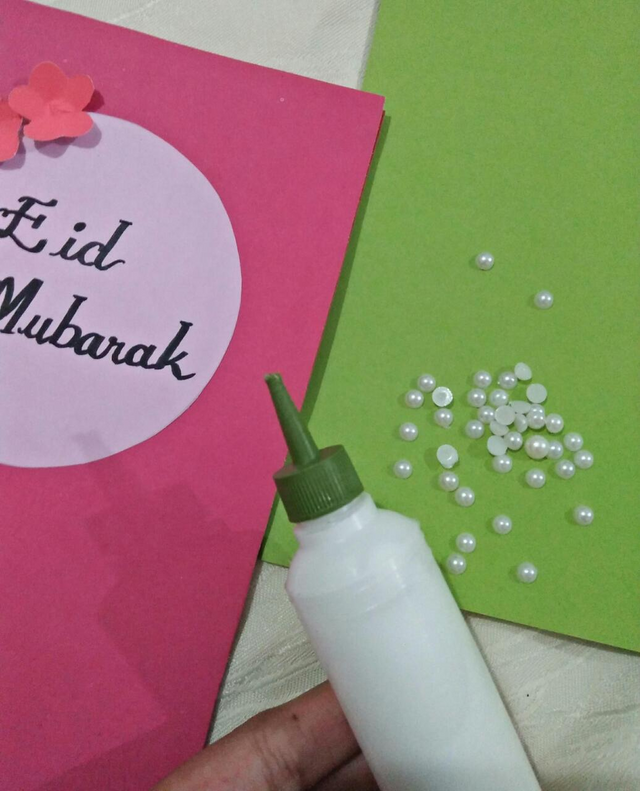
I used multicolor glittered hearts and white beads to give the final touches. Placed the beads in the center of the flower and sketch a straight line and placed hearts at their end.
|
|
|---|
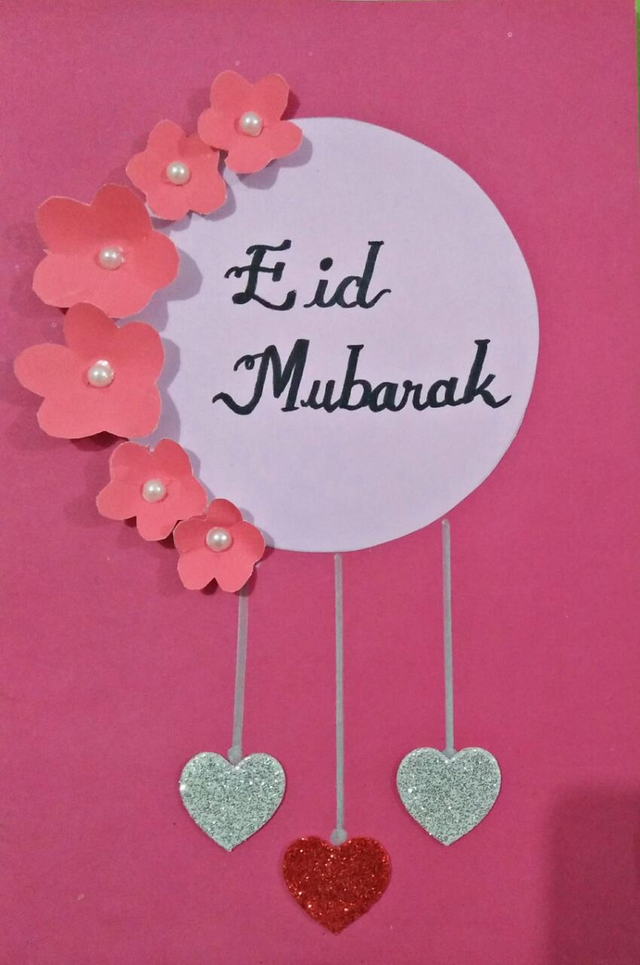
you can write anything like happy birthday, Happy Mother's day, or anything you wish.

from @aniqamashkoor

| 50 SP | 100 SP | 200 SP | 300 SP | 400 SP | 500 SP |
|---|
| 1000 SP | 1500 SP | 2000 SP | 3000 SP | 4000 SP | 5000 SP |
|---|
Steem On.
Very good effort, flower is looking just like original, creative work dear
Thank you so much for appreciating 😊
It is easy craft and nice
Please Verify my Achievement 1, so that I can continue on the next assignment
https://steemit.com/hive-172186/@robbeert/achievement-1-introduce-my-self
https://steemit.com/hive-172186/@dani303/2ytgc7-my-achievement-i-introduction-myself-dani303
Please verify my achievement
https://steemit.com/hive-172186/@superman0/achievement-1-introduction-to-myself-superman0
Please kindly request you mam verify my
achievement
@aniqamashkoor
Mashallah that's beautiful