Games Workshop Warhammer 40,000 Space Ork Raiders (part 2)
Building a Big Mek!
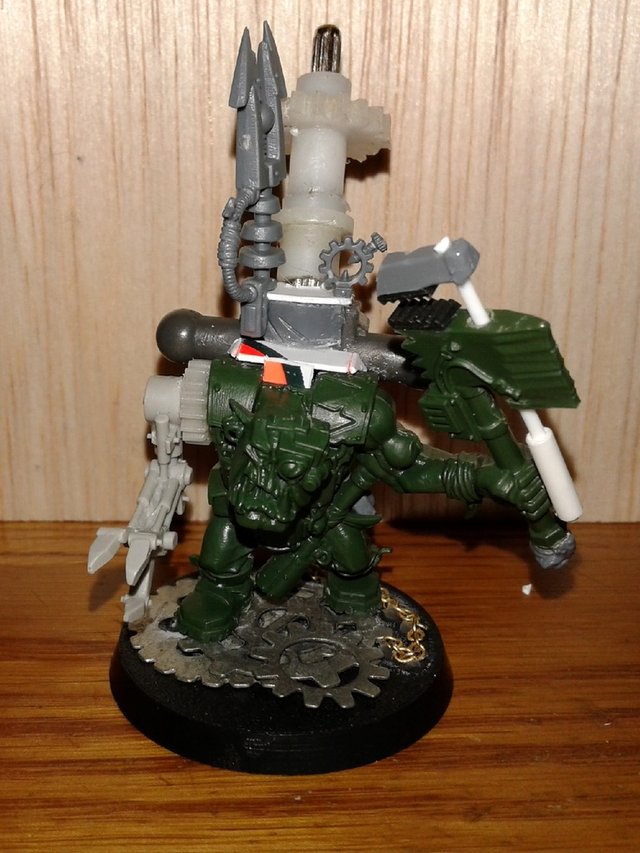
One model I have wanted to have in my Warhammer 40,000 Ork army for some time now is a Big Mek with a Kustom Force Field (KFF). To my mind, he should be closer to a Nob than a Warboss in size, so the Nobz in the Space Ork Raiders box from part 1 might be a good foundation for creating my own.
A Big Mek with KFF doesn't carry a gun, but he can be equipped with a Choppa or Big Choppa. This strikes me as the perfect opportunity to create a giant pipe wrench weapon. I also have a Kromlech mechanical arm, a spare 40mm base, and enough odds and ends to kludge something together.
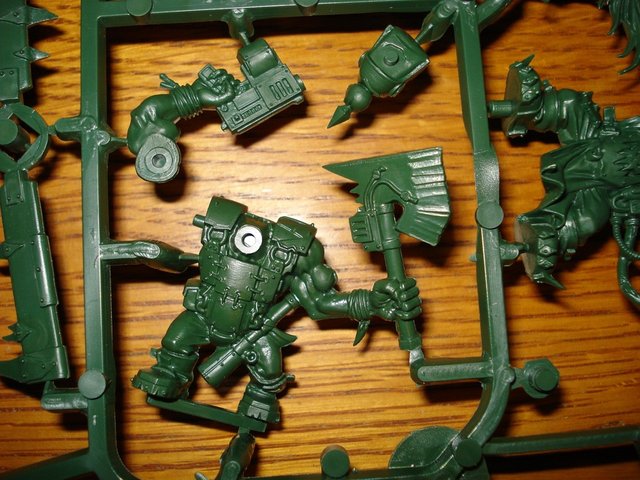
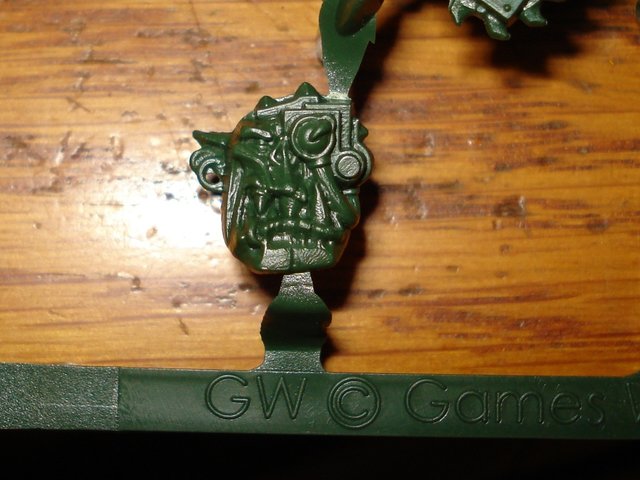
I chose a body and head from the sprue, and started channeling my inner Oddboy to start making something interesting. See my old Miniature Painting Guide for more information about the tools I used for these steps.
Step 1
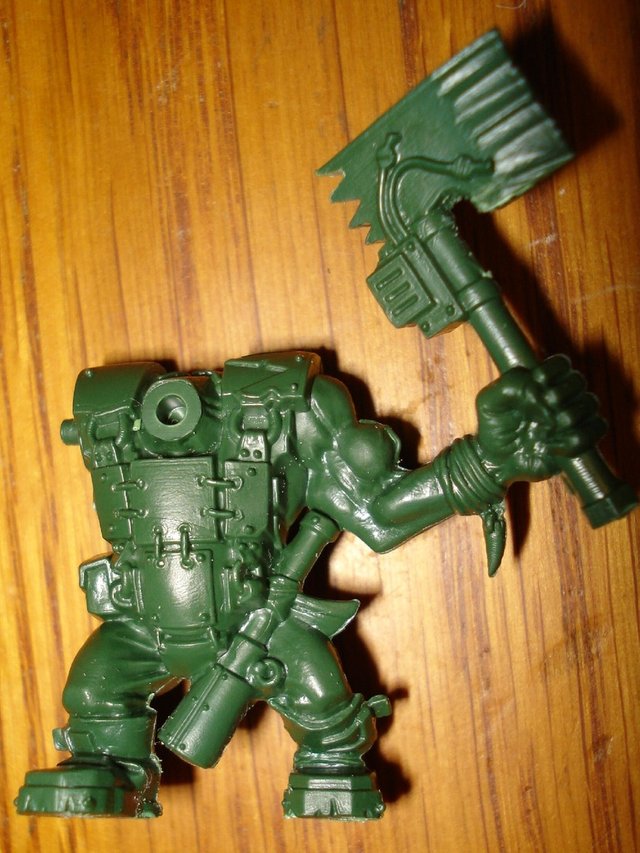
Trim off the tab on the foot and reshape the axe.
I used flush cutters to remove the tab, and then a hobby knife and files to clean up the feet. A rough file will also help create a better mating surface when the feet are eventually glued to the base.
I also began trimming the flash from the mold lines along the model after taking this photo. Mold lines are the bane of the model painter, but this green plastic seems to be as easy to clean up as the standard GW grey, so it's not a problem so far.
Step 2
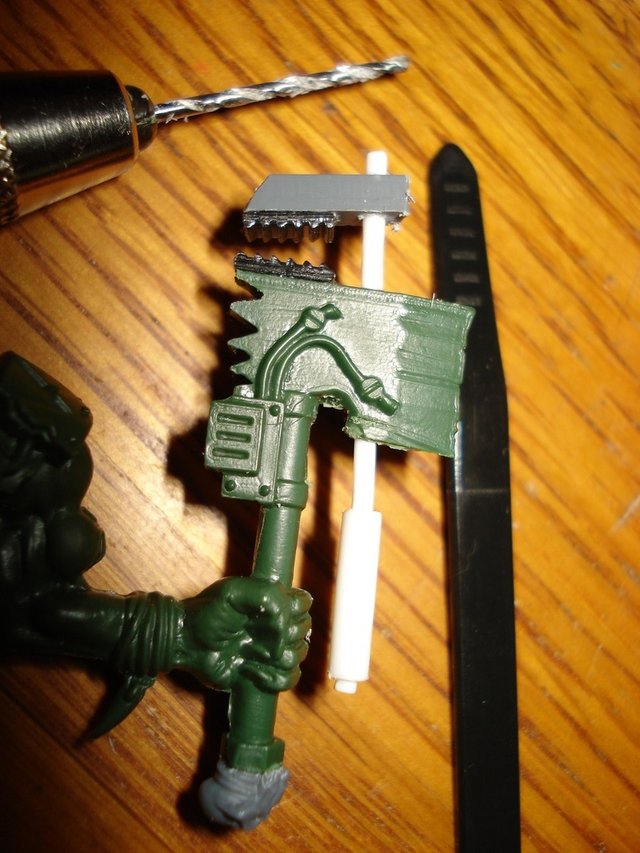
Drill a hole with the pin vise and build up the wrench.
I used polystyrene tubing, available at many game and hobby shops, for the adjustment mechanism. A piece of Games Workshop sprue forms the top jaw. Some leftover pieces of zip tie were cut to length and width for the face of each jaw. There's also a skull trimmed from another axe and glued onto the bottom of the handle.
Hobby Tip: Save portions of Games Workshop plastic sprues, zip tie ends, leftover portions of other modified models, and other interesting shapes/textures of discarded plastic in your bitz box! It's handy stuff for converting and scratch-building all sorts of new things later!
Step 3
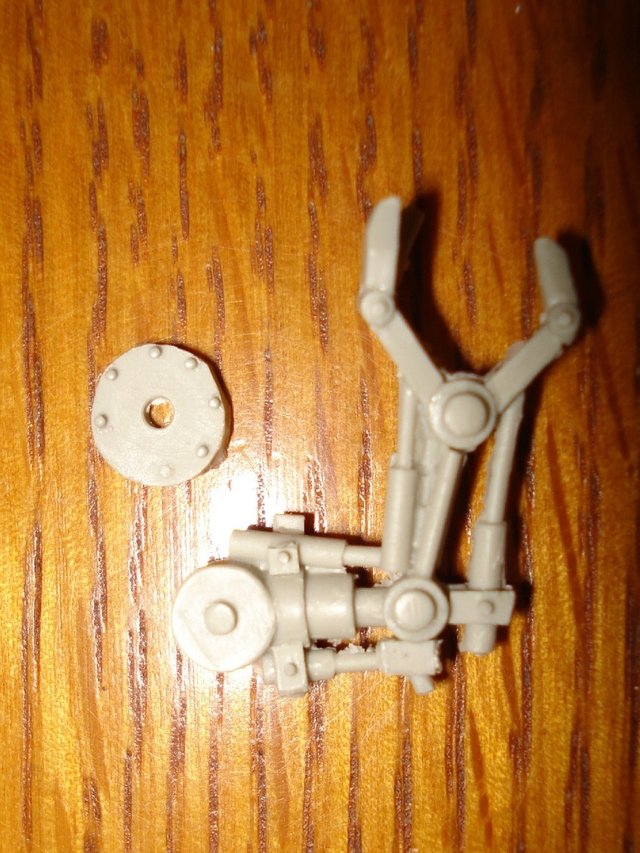
Attach the mechanical arm.
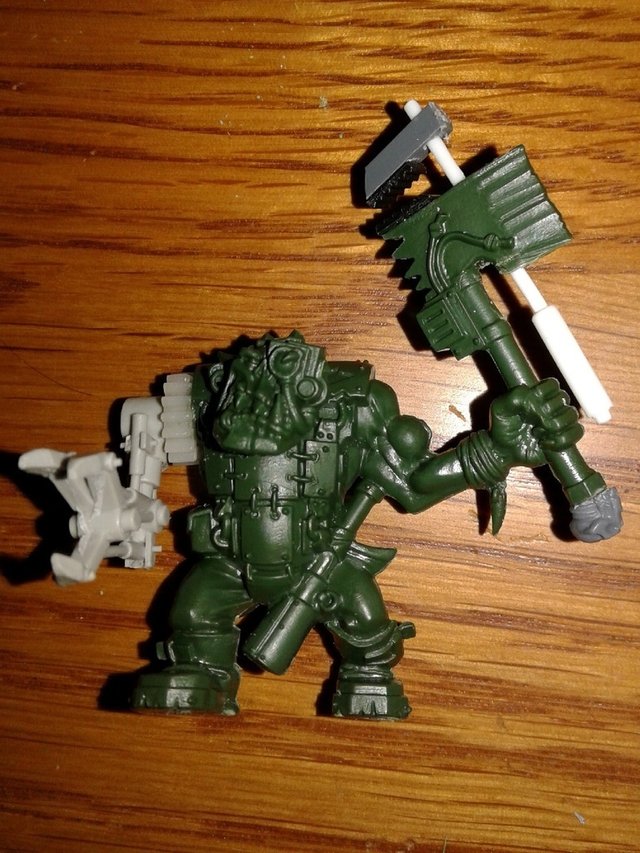
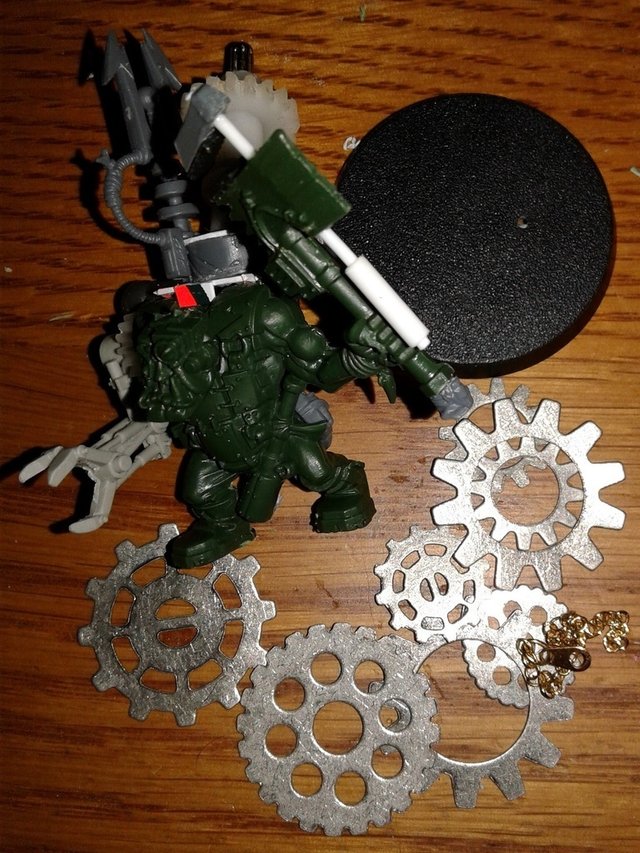
The Kromlech arm includes a shoulder plate, but I decided a Big Mek needed a bulkier look, so I dug through my box of plastic gears until I found one sized right for my vision. I trimmed and filed the shoulder of the model, glued on the gear, and then glued on the arm.
The photo above shows how severely misaligned the top jaw is, and at this point I held the wrench a couple inches above a cigarette lighter just long enough to soften the white styrene. I then twisted it into place and let it set again. Easy fix!
Step 4
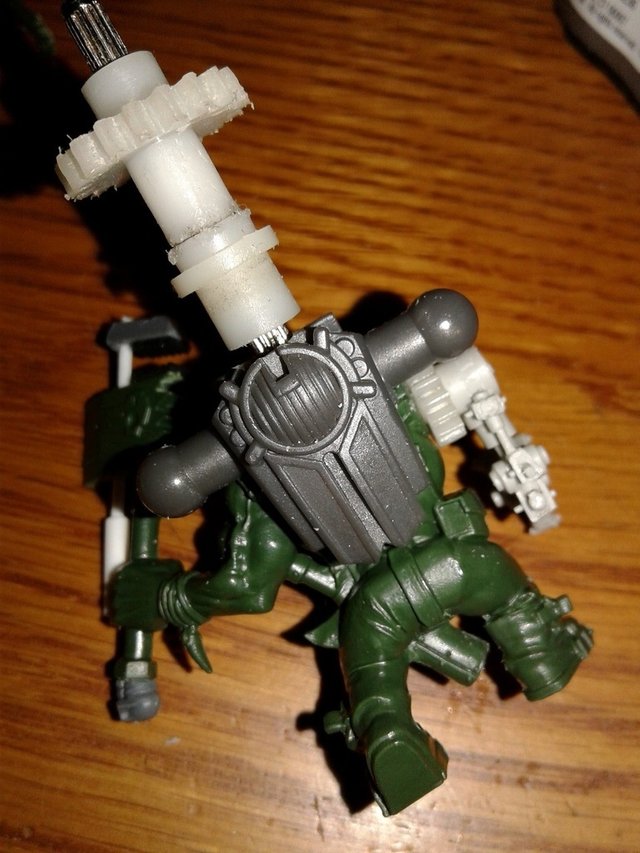
Building the Backpack.
I used a piece from a broken Transformers toy and a gear/axle piece of unknown origin as the core for the backpack. It looks like repurposed alien technology suitable to be modified in an Orky fashion, and the start of crazy mechanical modification for the Kustom Force Field.
From this point on, backpack detailing will continue among all other steps, but plastic sheeting from discarded real estate signs and assorted bitz box treasures will be added bit-by-bit.
Step 5
Basing the model.
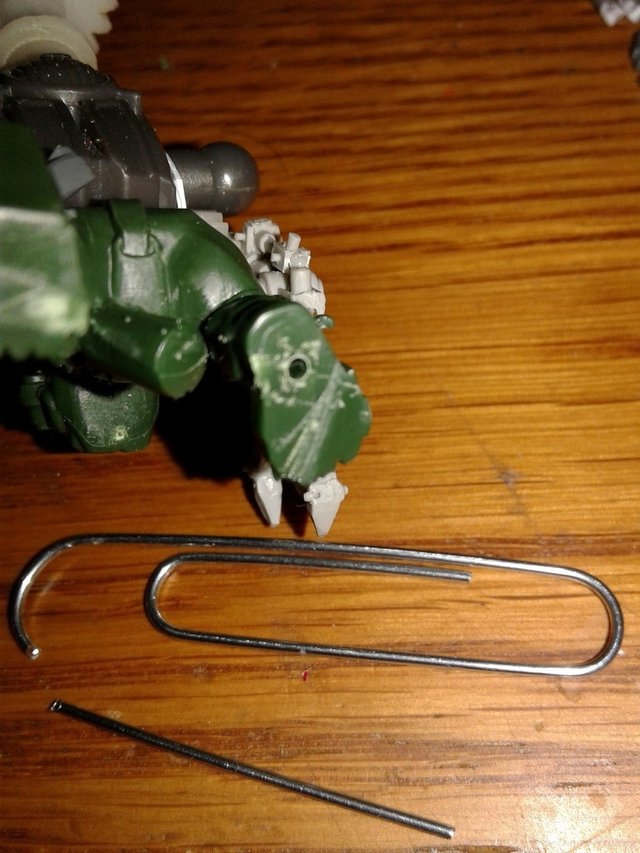
I had a spare 40mm Games Workshop Citadel base, and I drilled a hole with the pin vise for later attachment of the model. I also drilled a hole in the foot of the model, and chose a heavy paper clip as a source for my pinning wire.
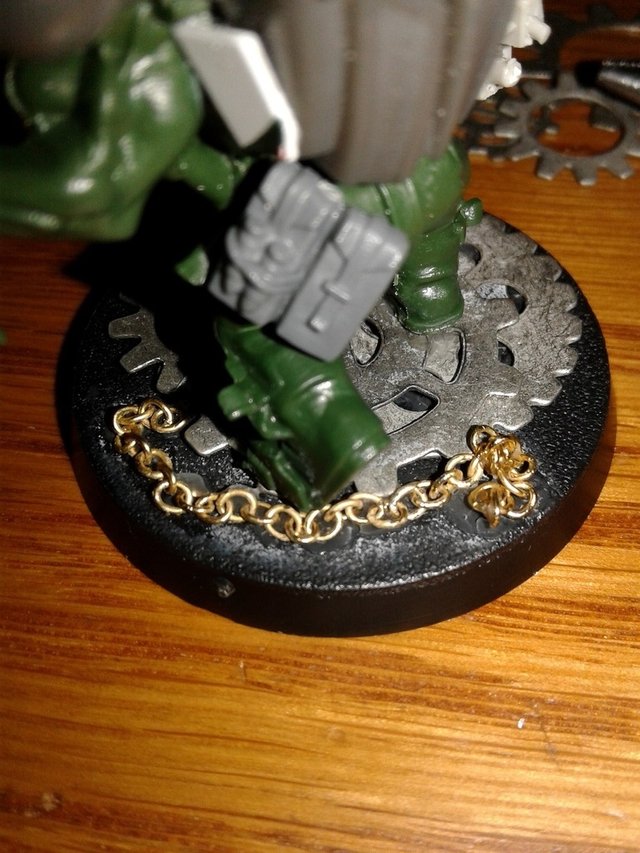
Then I added some tin gears from my Steampunk Jewelry kit, taking care to not cover the hole I had drilled.
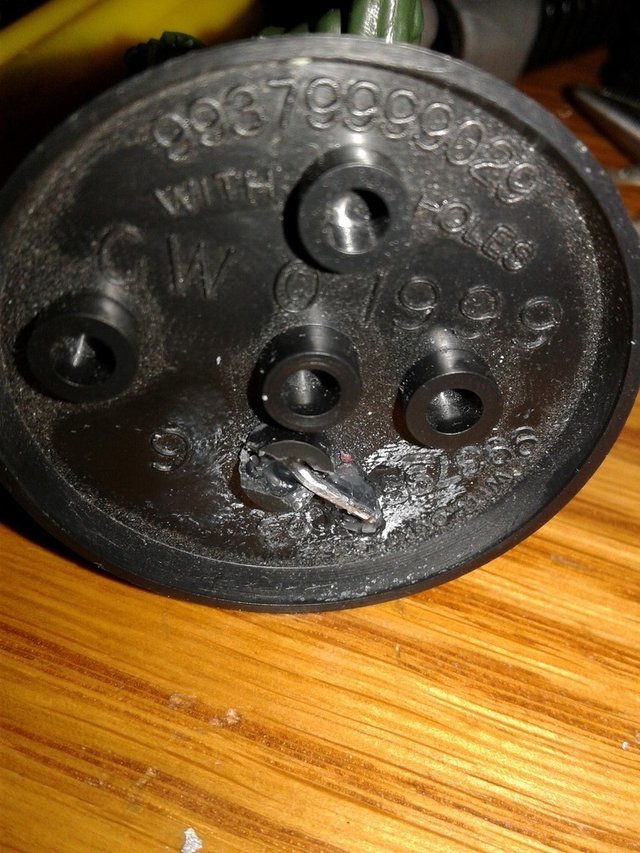
The gears and a piece of broken necklace (not real gold, obviously) add to the mechanical impressions of the base. I trimmed the pre-molded supports in the base to allow the wire to bend horizontal, since I am using wire rather than pre-molded GW model pins. The paper clip was glued into the ork foot, threaded through the gears and hole in the base, and bent flat along the bottom of the base, then liberally coated with super glue gel to help further affix it in place.
At this point, you can clearly see that I was beginning to leave skin behind. Super glue is evil stuff.
Complete?
No, but he's looking pretty good to me so far! There's more cleanup to do, more gubbinz to add, I need to glue sand to the base, and of course he need to eventually be painted. That can wait until after I am ready to finish the rest of the crew though.
All photos were taken with either my super-glue-encrusted Android phone or an old Sony Cybershot camera.

If you like this post, please comment, upvote, and resteem!

If you like this post, please comment, upvote, and resteem!
Someone promoted your post. Promotions help every steemians.
Your reward is an upvote and 0.309 SBD extra promotion.
Good job, see you next time in
Promoted! ;)Shaping up to be proper orky. Can't wait to see the final look.
WAAAGH!!!