Unity : Making Sprite Sheets - Using Photoshop, Daz Studio, and Unity[Game Development / Art] - Part 3
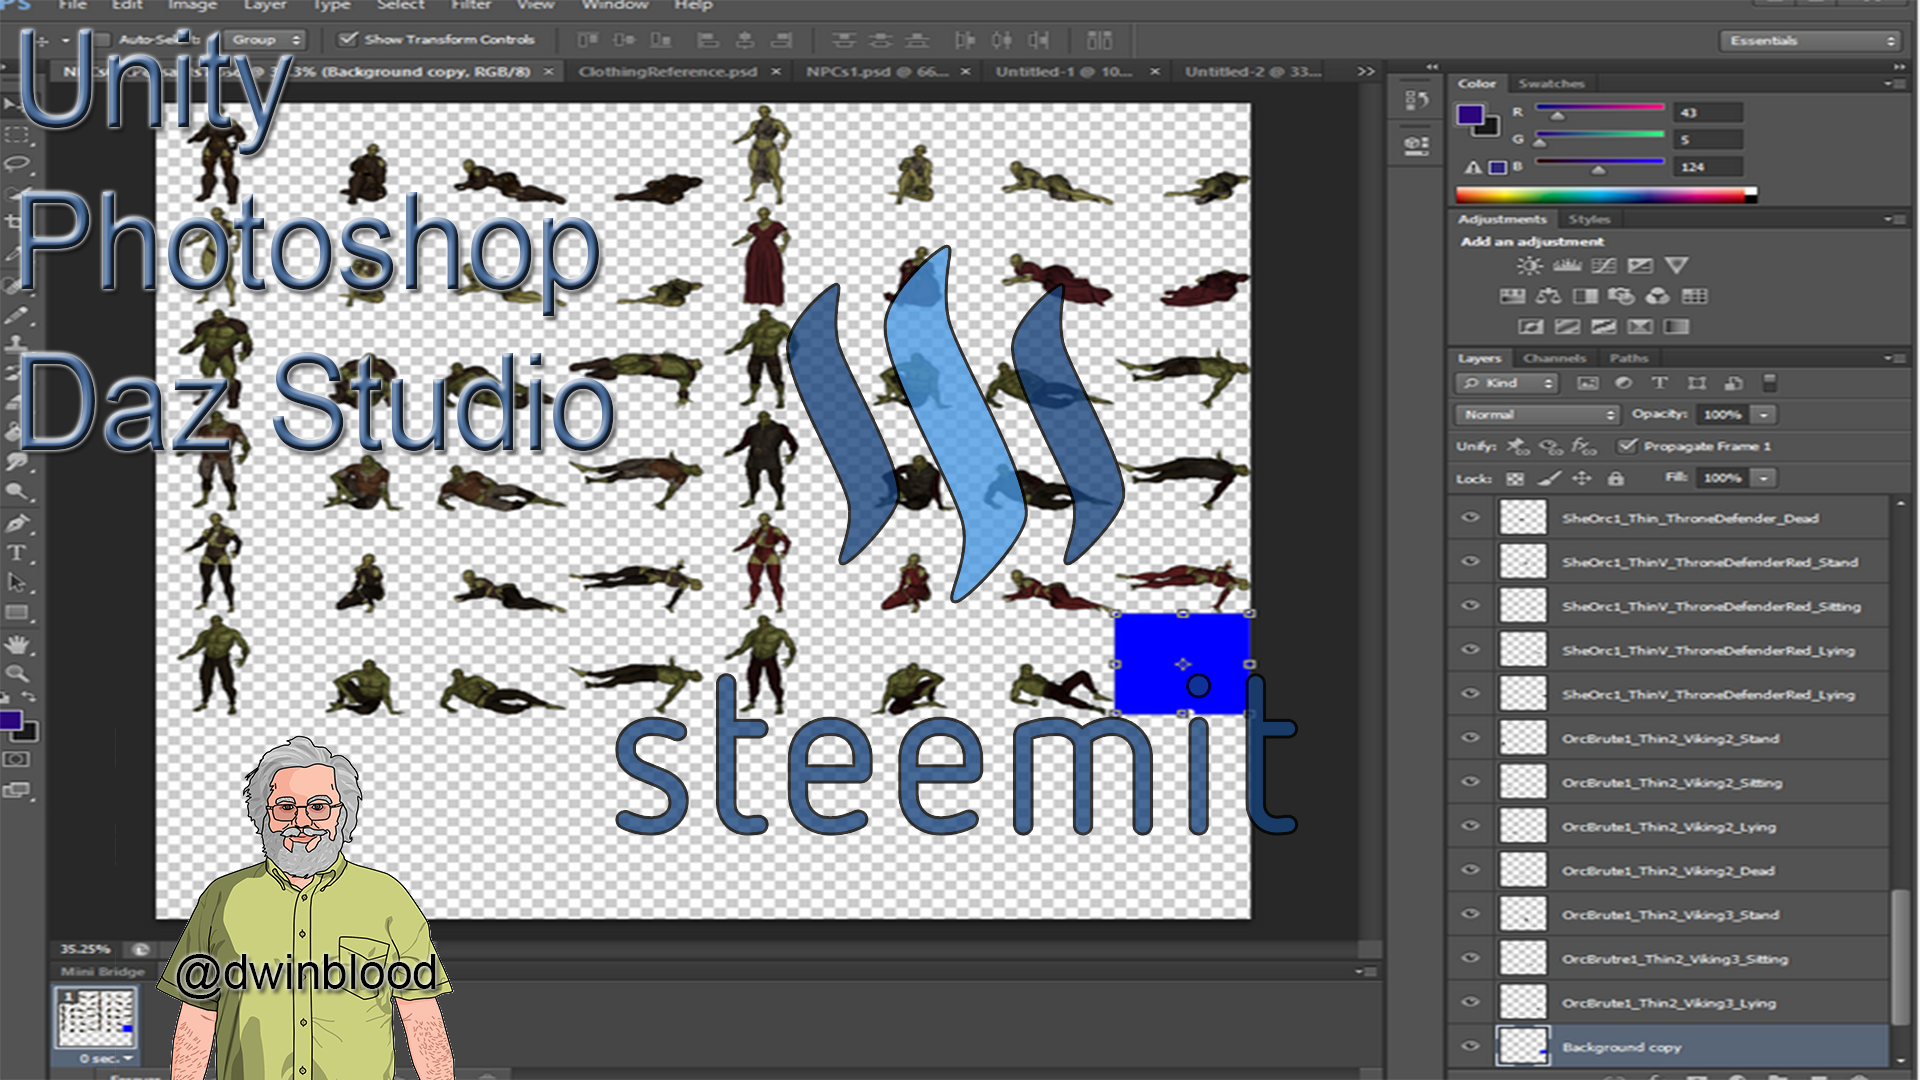
This is the third part of a tutorial on sprite sheets. In the first part I covered making sprites using camera angle and how to setup to capture pretty much any object as a sprite using Unity. I also explained the tricks I have learned for making sprite sheets in Adobe Photoshop. In the second part I go over how to use Daz Studio to create sprites for Photoshop and how to handle multiple different poses and make certain they scale properly between poses.
In this part I will cover some different things about how to use these sprites within Unity. This will be an initial primer on the sprite system inside of Unity. I will not be focusing on Animation, but I may look for some tutorials at the end to help with that.
Unity approaches sprites in two main forms. This is as a Single Sprite, or a Multiple Sprite. Essentially the difference between those is that a Single Sprite views the entire image as a single sprite. This is useful for backgrounds and other things that you do not want to atlas. A Multiple Sprite packs more than one sprite on a single texture. This is good for reducing draw calls and thus can improve the performance of your game. That is the reason someone would be interested in these tutorials at all.
You will note that these two options are under what is labeled SPRITE MODE in Unity.


There are two other fields in that area that are important to understand as well.
The Pixels Per Unit is how many pixels you expect to be treated as taking up the same space as a 1x1x1 cube would take up. A single Unity unit. A lot of people that speak about pixel perfect graphics recommend setting this to resolution of your sprites. So if you are going to do 256 x 256 pixel sprites like I did in this tutorial series then you would want to set this Pixels Per Unit to 256.
Then the next really important field here is Mesh Type. Unity defaults to Tight. Tight will use multiple triangles (it varies per sprite) to make a flat mesh that follows the actual edge and parts of the sprite. It will almost always be more than 2 triangles and depending on the sprite complexity it can be rather substantial. There are times this is really important if physics and such requires correctly interacting with the sprite.
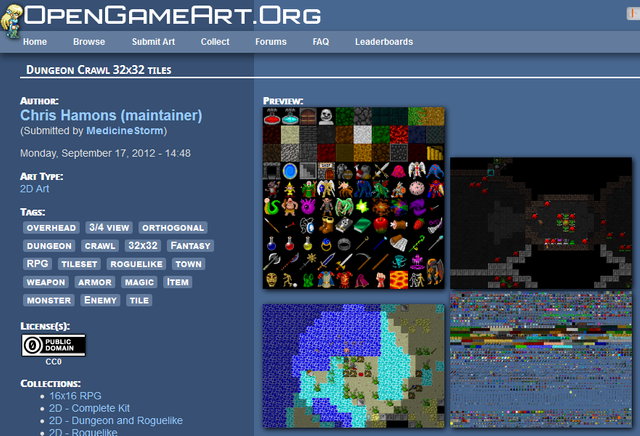
I learned about this the hard way. Early on I was of the opinion I could make a Rogue Like using something like the Free Crawl tiles. In fact I am going to put those free Crawl Tiles here and I will use these for the rest of the tutorial. You can use them as well if you like.
So I made a Rogue Like and created a world map. The performance in Frames Per Second was higher than my voxel world I'd created using Unity Lighting and all kinds of other things. This was unexpected. It made using Sprites not advantageous.
It turns out the problem was that Tight setting as each sprite is more than two triangles.

The second setting for that Mesh Type is Full Rect. When you select this each and every sprite on the sheet only uses 2 triangles. This is what I was expecting when I was trying to make a Rogue Like and it does change the performance quite a bit.
There are times it might be worth using Tight depending upon what you are trying to achieve, but it is very important to know this setting is there as you can optimize your game quite a bit if it is heavily sprite based just by using Full Rect where it will work for you.
ProjectUtumno-Full.png - 2048x3040 Tile Sheet of 32x32 sprites
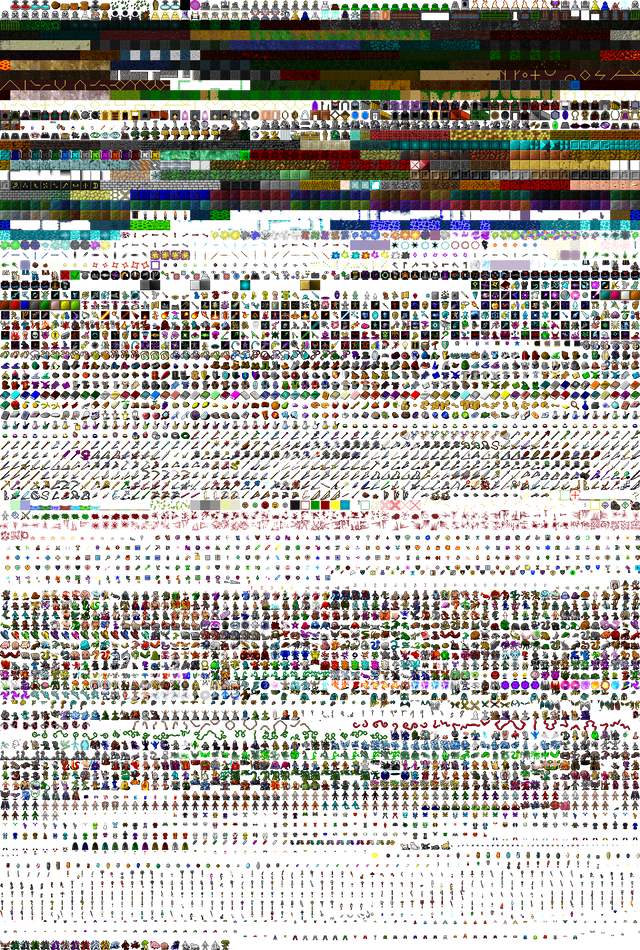
Now I am going to put the DungeonCrawl Project Utumno Tileset here as well, but there is an opportunity to show you another important thing in Unity.
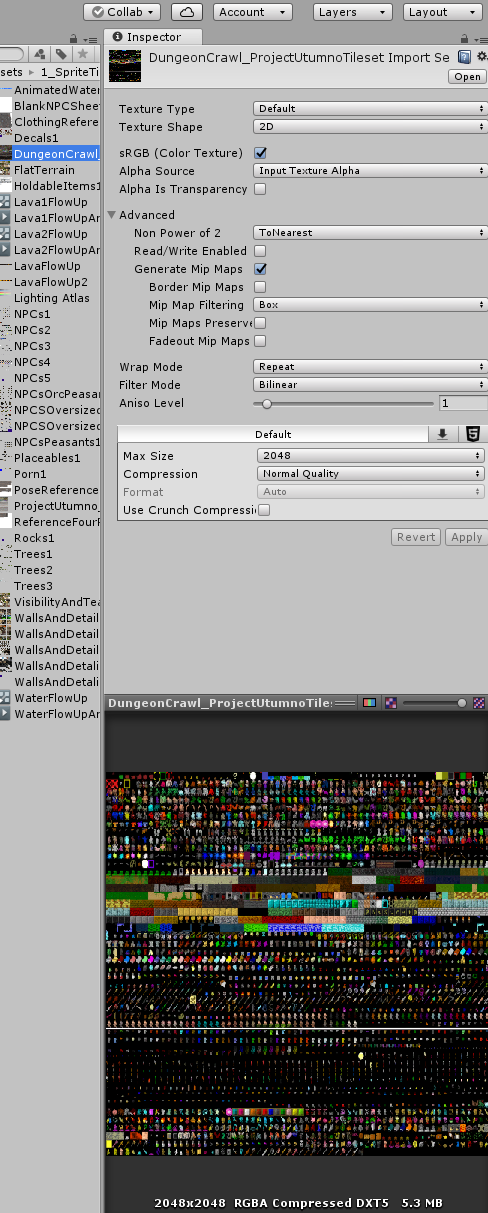
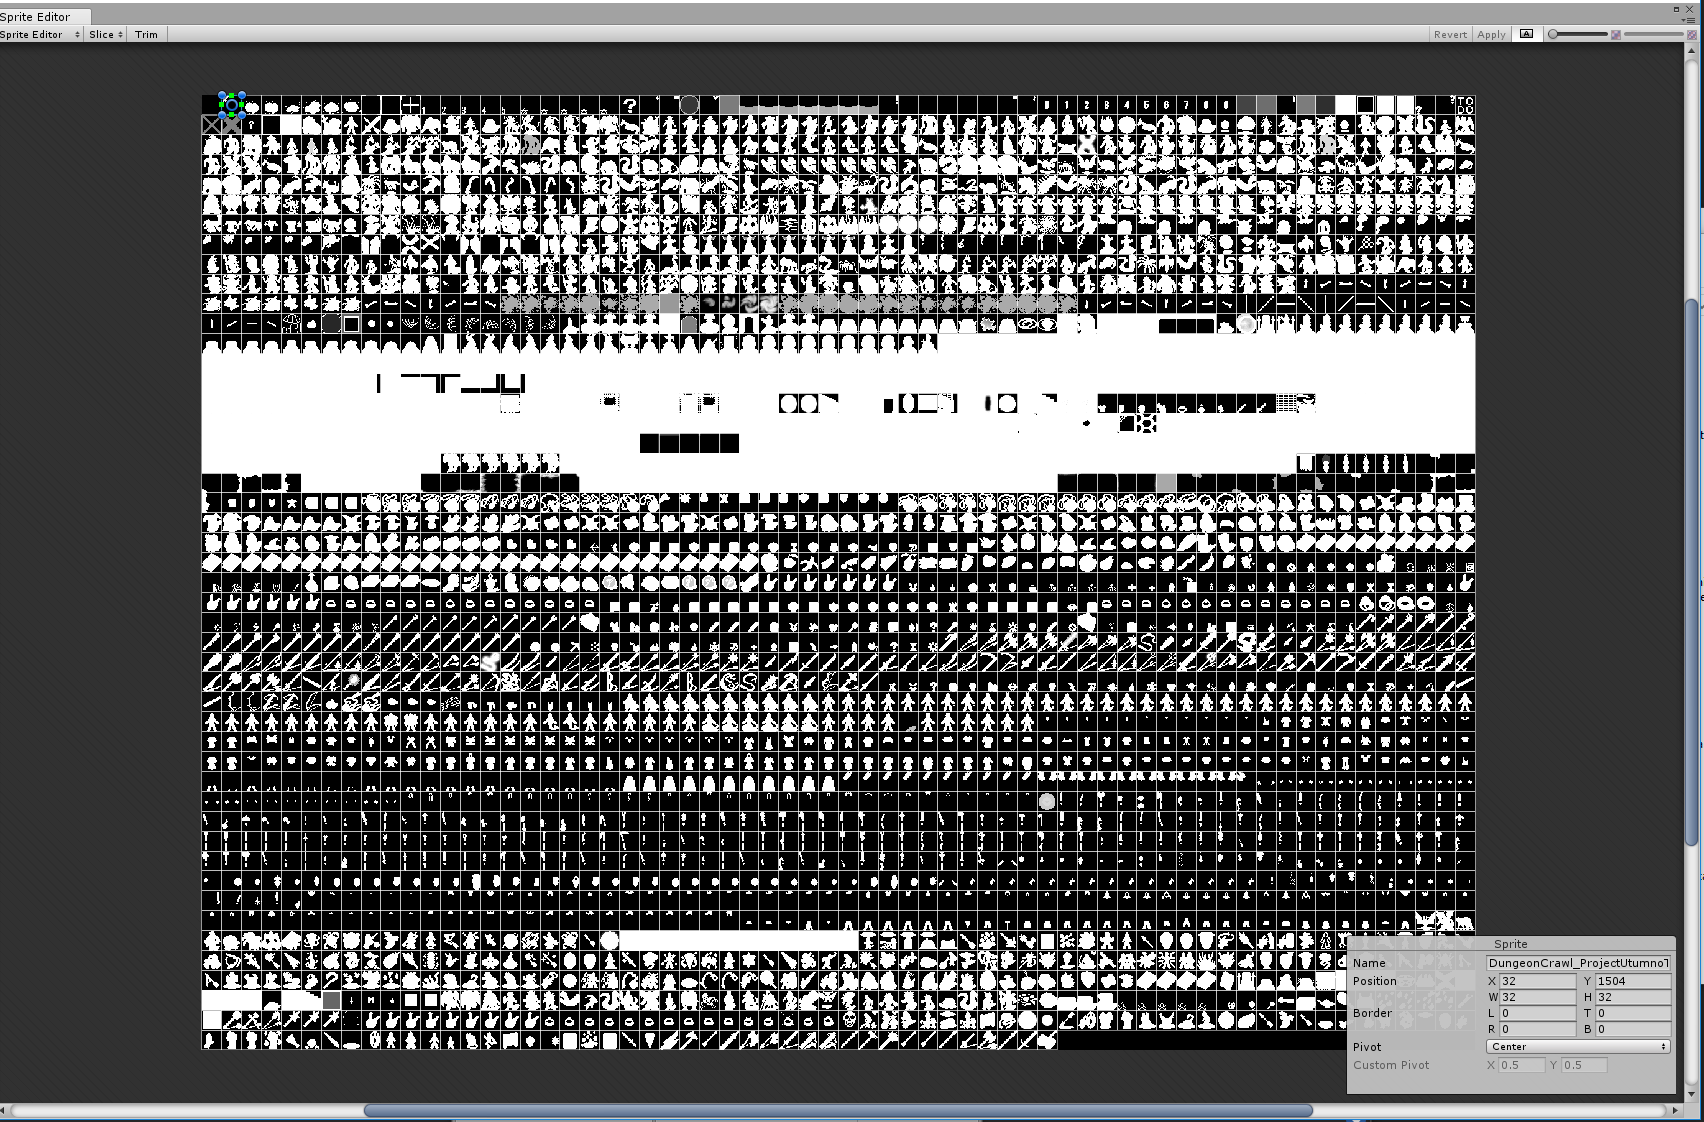
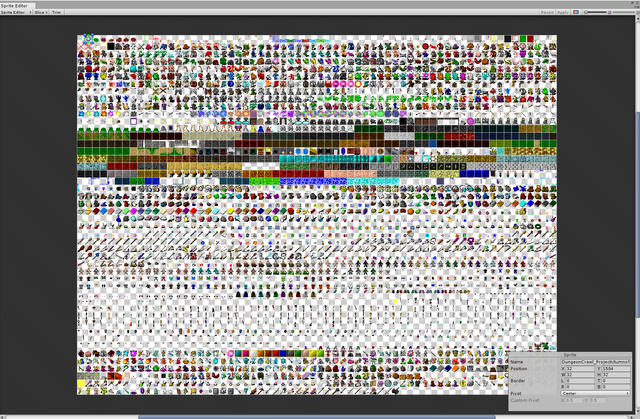
Do you notice all the black background behind the sprite sheet? That isn't going to work for us. We need to check the box Alpha is Transparency on that texture and click Apply.

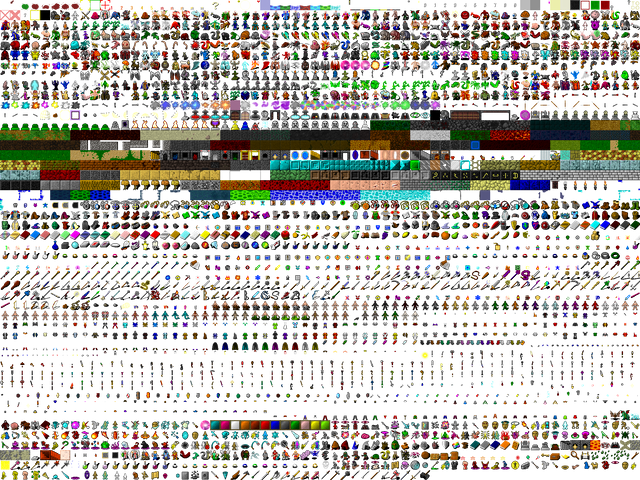
Now the transparent background looks the way we want.
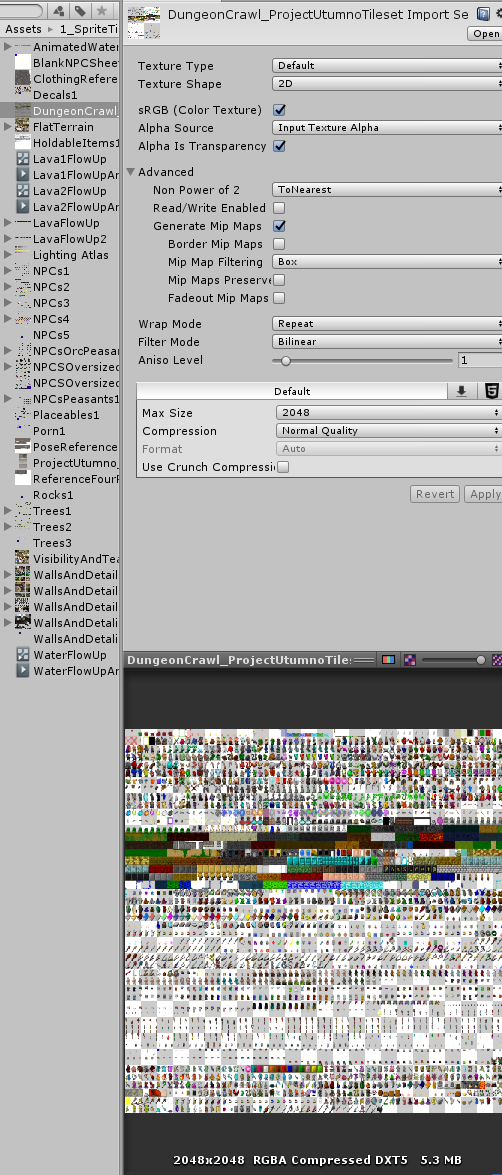
DungeonCrawl_ProjectUtumnoTileset - 2048x2048 sheet of 32x32 tiles.
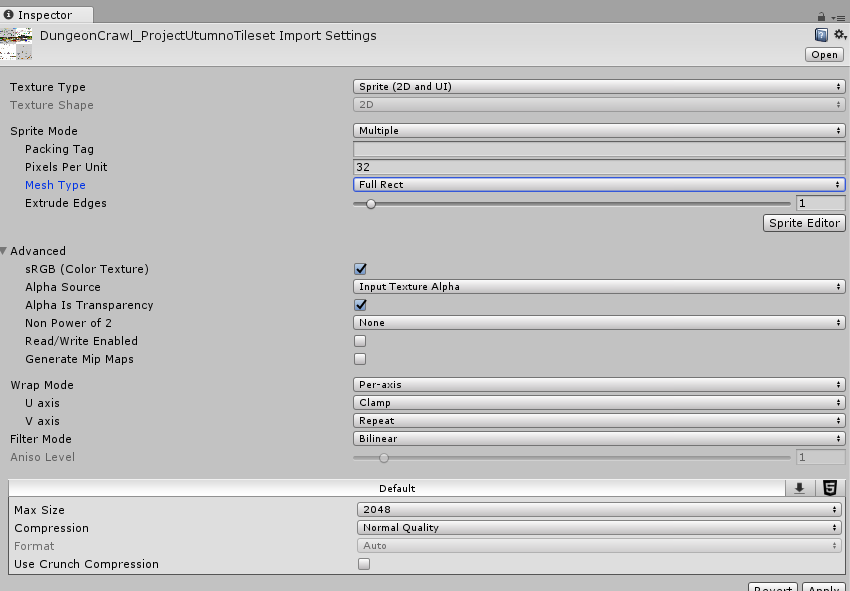
We are going to work with that one. Let's set that sprite sheet up as a Multiple Sprite sheet, Full Rect Mesh Type, and Pixel Per Unit of 32.
Now Let's get down to making this sprite useable in interesting ways. Click on the Sprite Editor button.

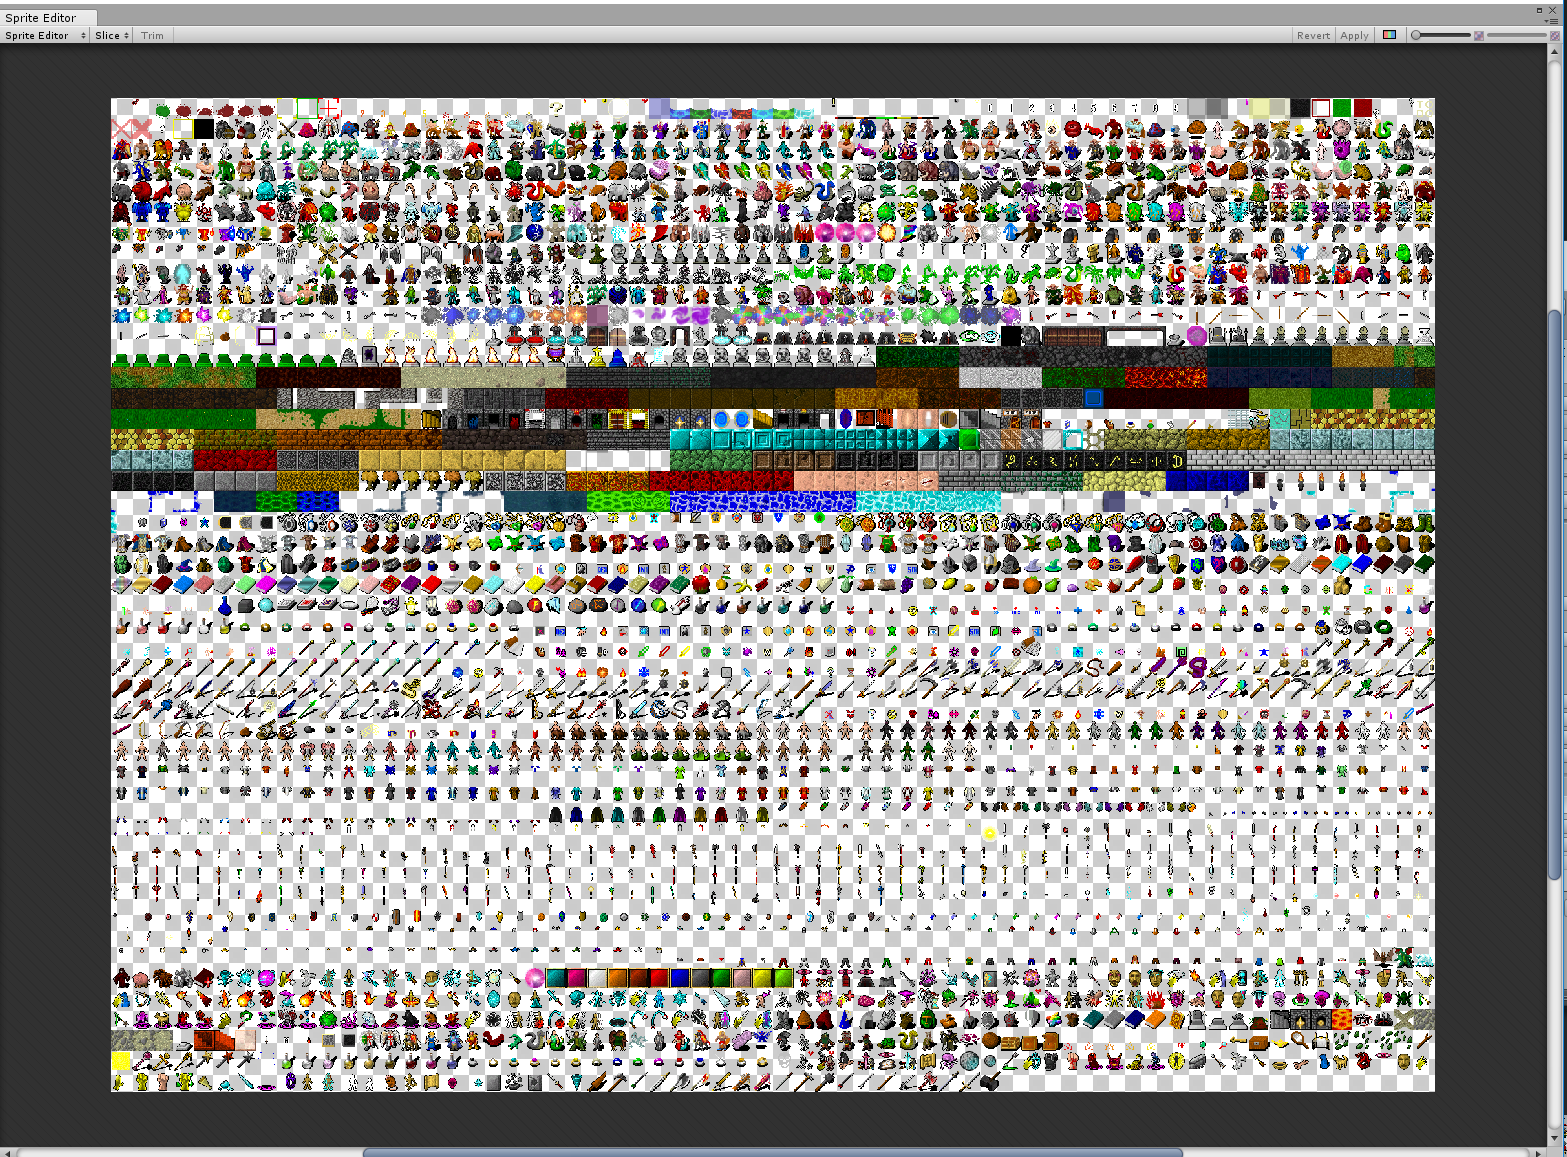
Here is the default initial view:
Now just so you familiarize yourself with some important things click the Rainbow looking button in the upper right.
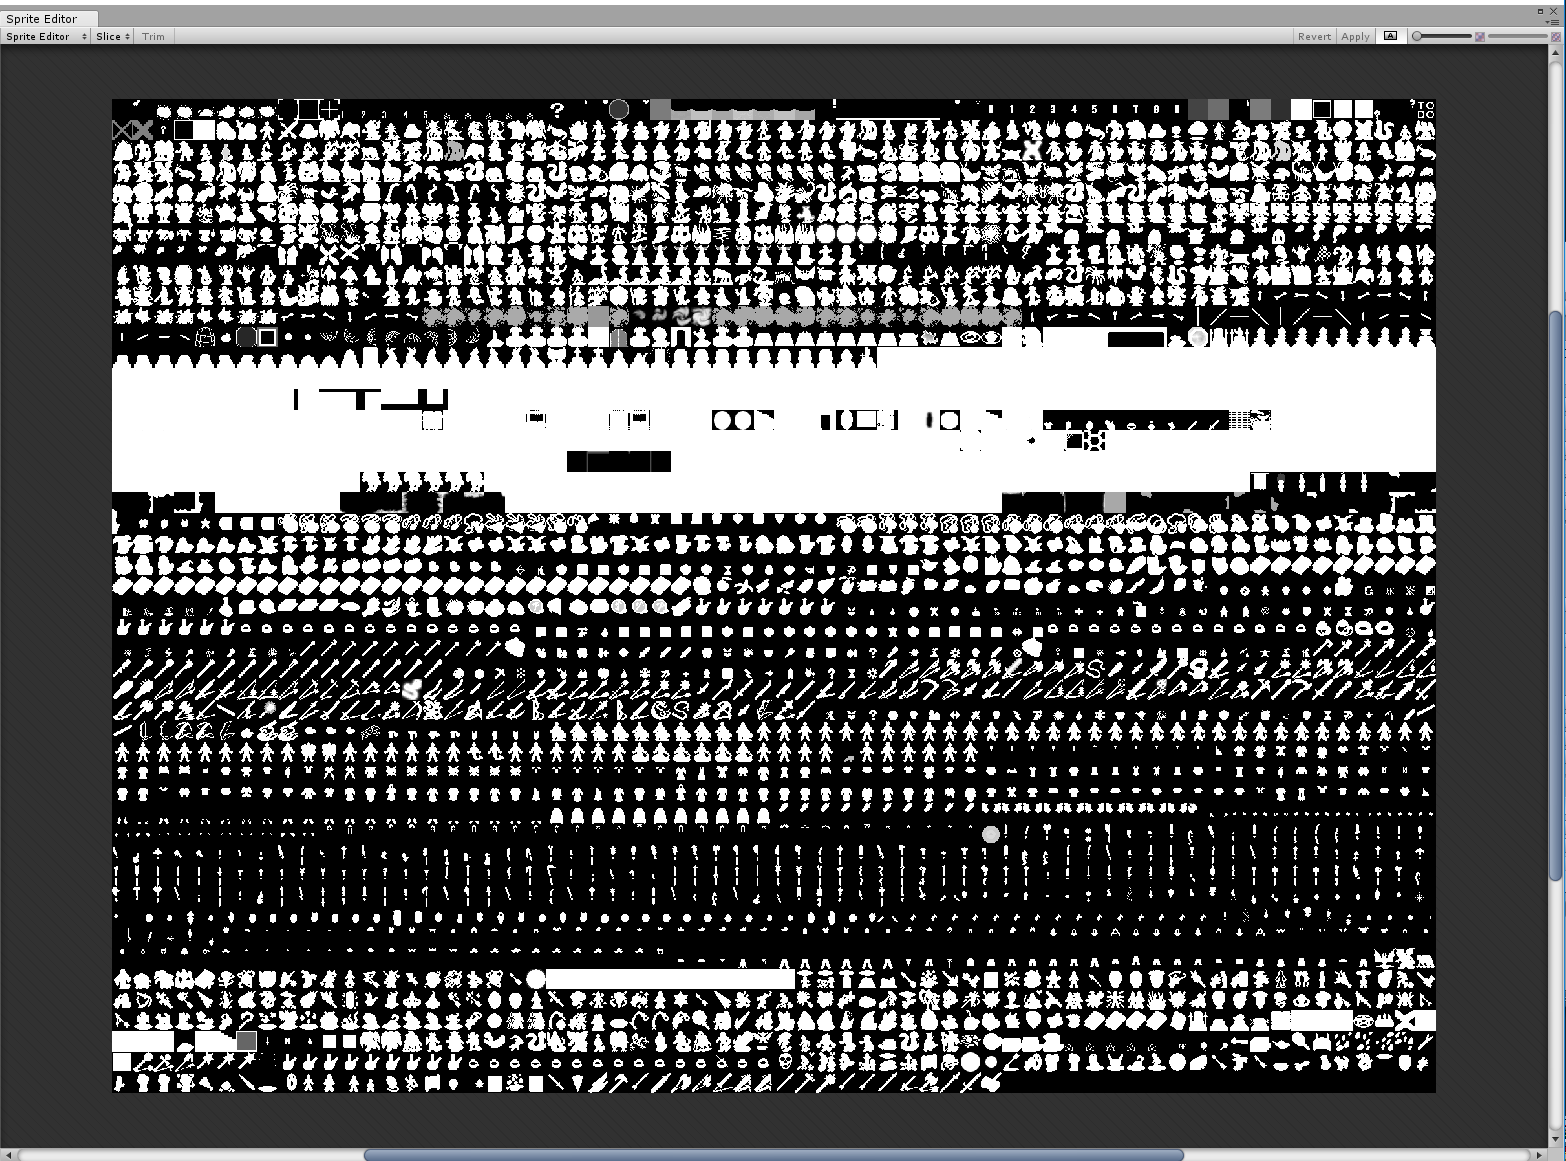
This mode shows all the sprites purely in term of alpha. So it will be black and white or shades of gray. It is very useful for seeing without a doubt where the edges of a sprite are at.
You can click the Rainbow button to revert back to the non-alpha view.
In the sprite editor you can drag boxes over whatever you want to turn into an individual sprite. This is the manual method. You can do this multiple times. This is particularly useful for when you are working with sprite sheets that has many different sized sprites packed in different ways.
In this case we are working with a sprite sheet where all the tiles are the same size. For such cases there is a far easier way to do this.
On the upper left side click on SLICE.
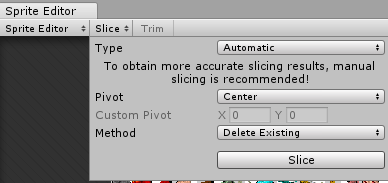
It defaults to Automatic which CAN find all sprites for you as long as there is a lot of empty padding between sprites. This is how some of my older sprite sheets are setup.
However, if all your sprites are a uniform size then we don't need to do it automatic, and in fact automatic will not work properly.
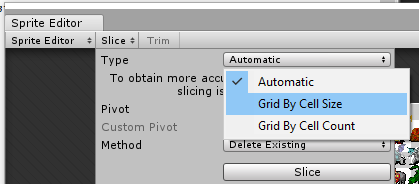
Instead we are going to choose Grid By Cell Size.
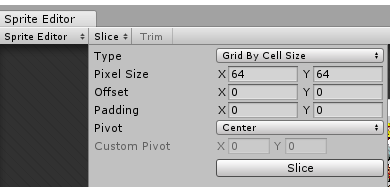
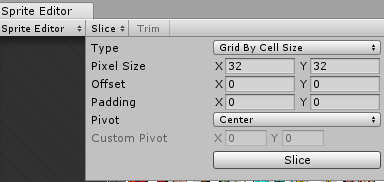
The sprites on this DungeonCrawl Sheet are 32x32 and it defaulted to 64x64 so we need to change that to 32x32 and then click *Slice.
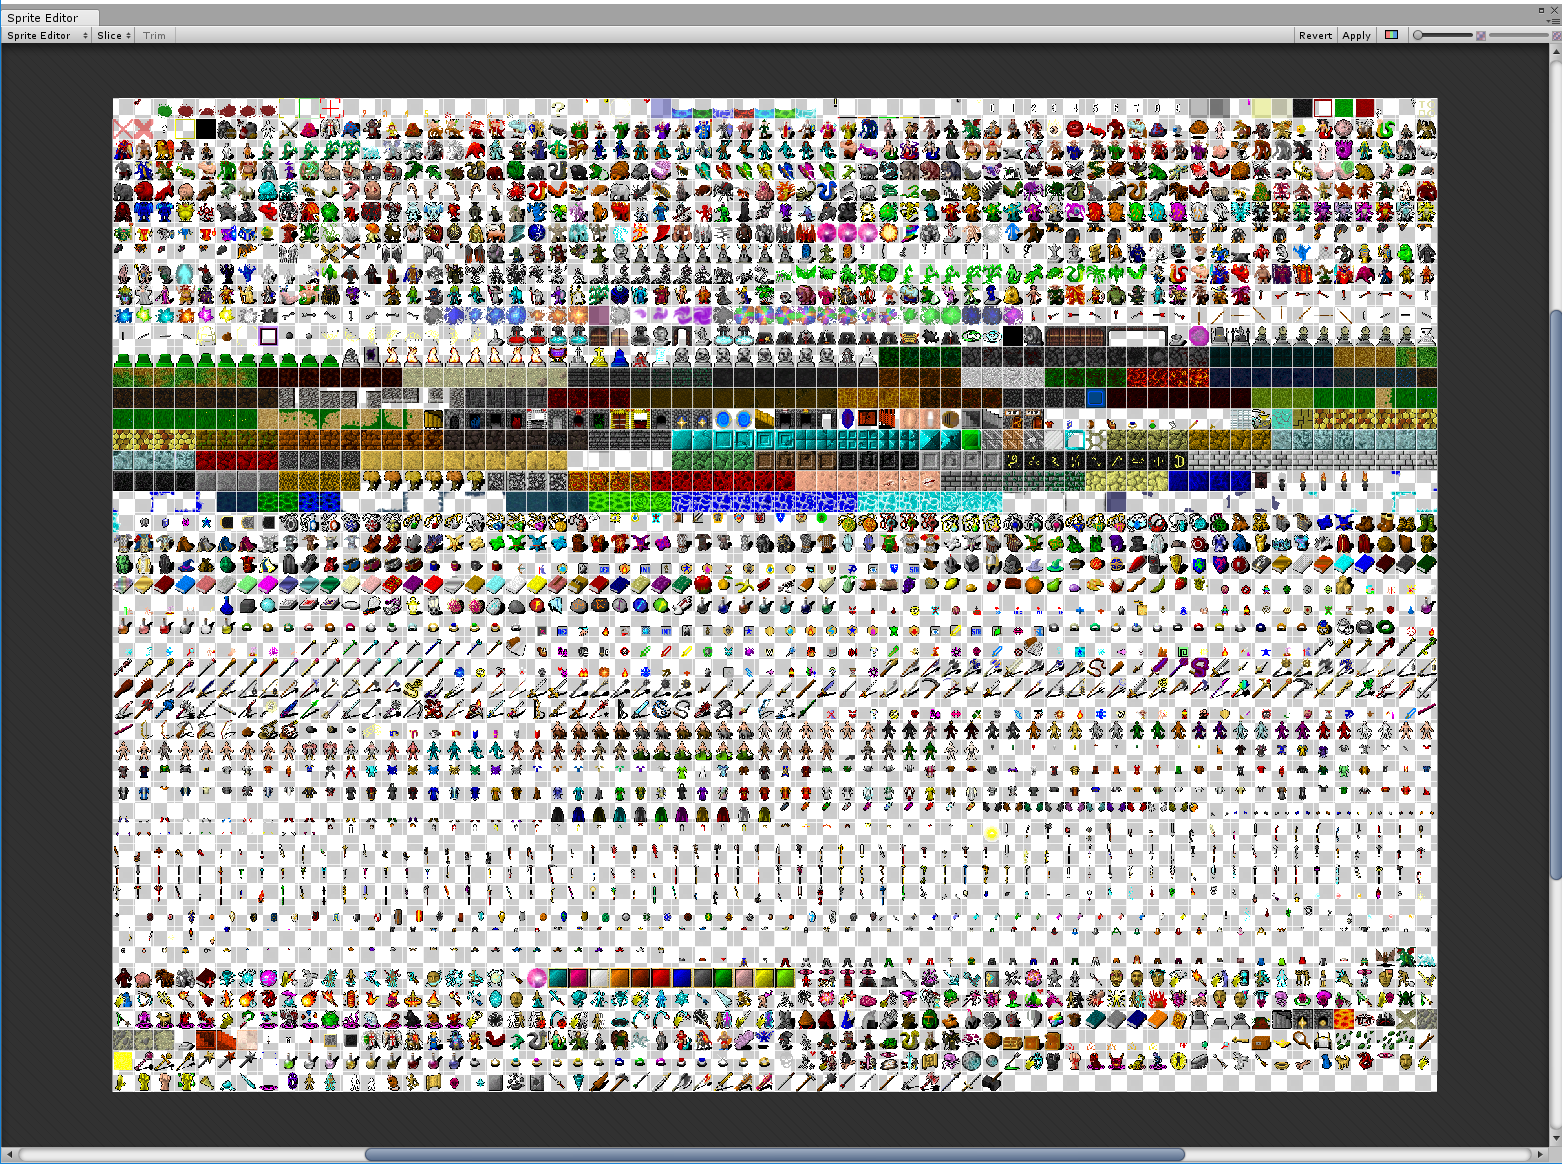
Click the Apply Button in the Upper Right. This will bring up a progress bar and in this case it will create 3050 sprites. Not bad for a few minutes worth of work.

Click the Rainbow Button briefly so we can see the borders of the sprite tiles more clearly.
You can see where the white border rectangle is now around each and every tile.
Click the Rainbow again to go back to non-alpha view. I simply wanted you to see what the cells now looked like in a more obvious view.
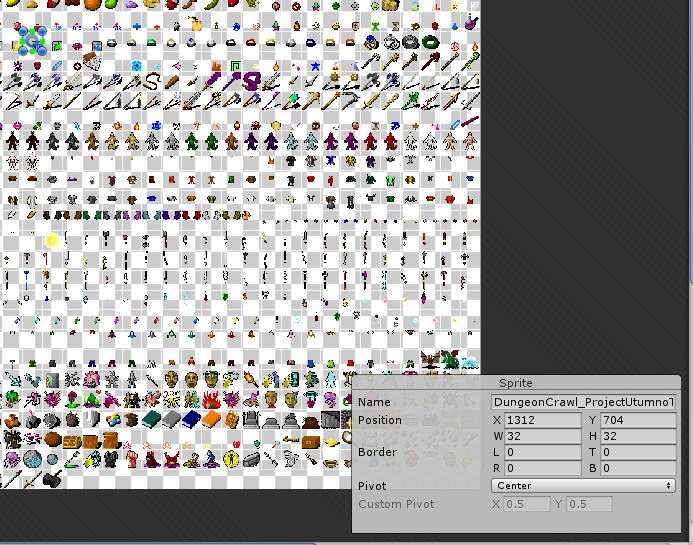
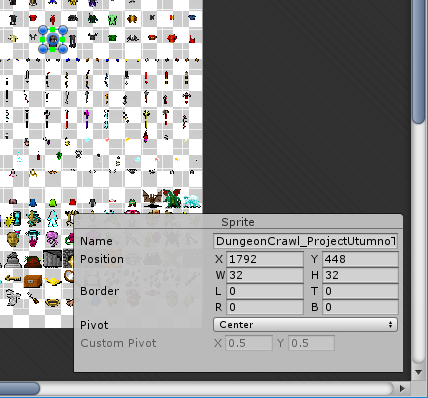
Click on any sprite you want to and the number, position, and name will change in the box down in the lower right corner.
You can close out of the sprite editor now. These sprites are now useable.
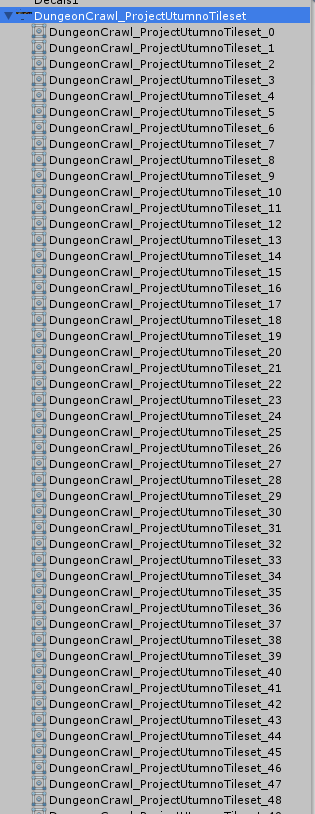
If you toggle the triangle view to the left of the DungeonCrawl_ProjectUtumnoTileset graphic it will expand and have a list of 3050 sprites under it now. They were auto named by the tile slicer. You can go rename any of these in the sprite editor if you want by selecting them, naming them, and clicking Apply.
We will not do that here, but it can be helpful to have more descriptive tile names rather than having to familiarize yourself with the numbers.
Now grab ANY one of those sprites and drag them into the hierarchy for the scene.
I dragged 107 into my demo.
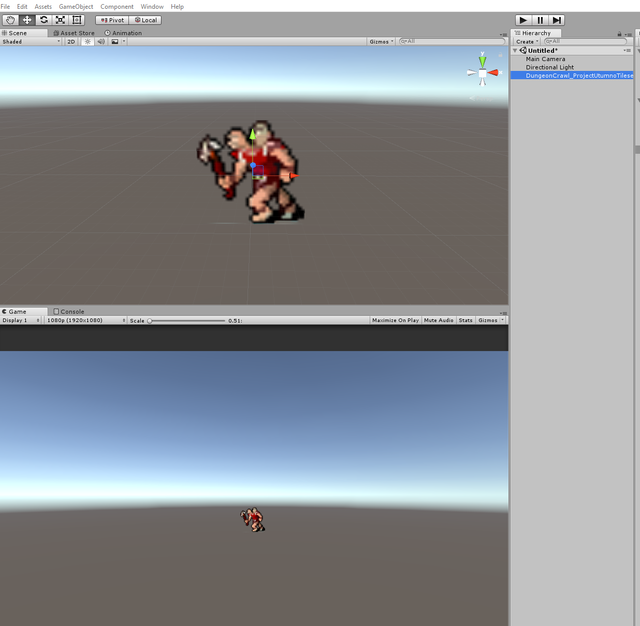
What this did was create a Unity Game Object with a Sprite Renderer Component attached to it with this particular sprite set to that sprite number.
Those sprites under the image can be dragged into any field that simply says Sprite. They can be use on Canvas object, UI buttons, and all manner of sprite fields.
You can also swap these out via code or perhaps if you don't code using something like Playmaker.
I've also written code myself that will create an empty object, add a sprite renderer component, and then assign the sprite I want to the appropriate sprite field on the sprite renderer.
If you have an object already spawned then it is faster to just swap the sprite value on the sprite renderer anytime you need to make a change.
Using the sprites from this point is up to you.
I'm going to do a quick search for some current Unity Sprite Tutorials. Those will help you put these sprites you've made to use.
The Sprite Editor - Unity Official Tutorials - 2014: 6 minutes 45 seconds
Unity part 1 - Importing sprites & using the sprite editor - 2015: 10 minutes and 30 seconds
Unity 5 2D Platformer Tutorial - Part 1 - Setup, Animations - 2015: 10 minutes 53 seconds.
Unity 5 - 2D W, A, S, D Basic Sprite Movement Tutorial - 2016: 8 minutes and 47 seconds.
Wizardry part 3 :-)
@dwinblood such a cool work you have done. Nice sharing & very informative !
You make a great post and also these video..
☺☺☺
Thanks😊
You are able to post faster then I'm able to manage the earlier details you gave.. but wow, Thanks for the consultancy lessons. Even more then that; complete with maunual and pictures. Thank you!
nice tutorial video
thank you for sharing my special story, I love him so much, I pray that your income will increase, good luck