Unity : Making Sprite Sheets - Using Photoshop, Daz Studio, and Unity[Game Development / Art] - Part 1
I tend to have a lot of different projects going on at various stages and MANY that never will be finished. I learn from each of them and it is kind of something I've always done. I'll have hundreds of partially completed projects and from that occasionally will come something beautiful and actually worth putting out there for people.
I've often had a thing for games like Dungeon Keeper, Dwarf Fortress, Gnomoria, etc. I've had many false starts towards making my own. In fact it is the pursuit of something like this that first lead me into my own experiments in voxel terrain. I learned quite a bit from that and I have zero doubt that information will come in handy.
I've taken a stab at getting Unity to where I might be able to simply do something like this with sprites, but I wanted to be able to expand it a lot. In the past I've run into issues that I stopped at and scrapped the idea. Recently, I had a breakthrough and the sprites are doing what I want.
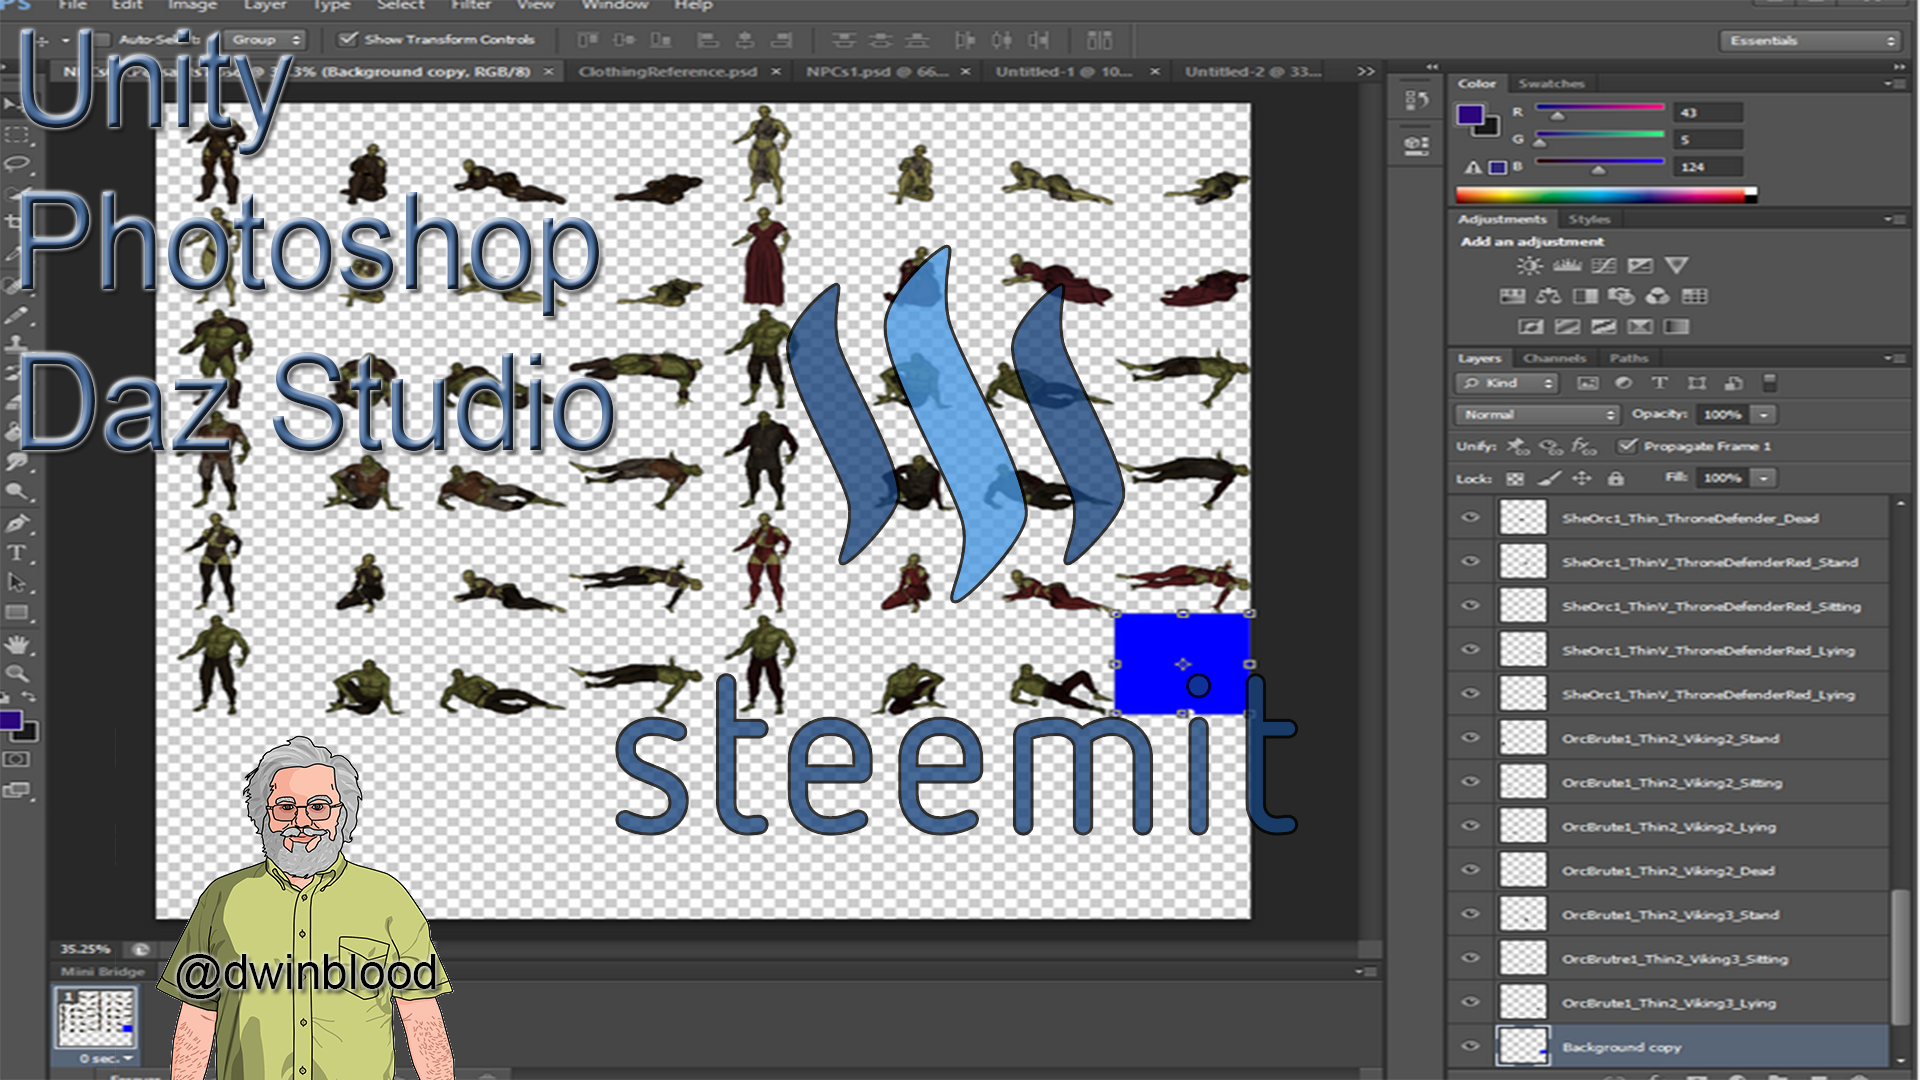
I have something sprite driven that looks like this...

Each of those are different sprites properly positioned that can be swapped out, turned off, etc. I did one better though I wrote the code so that none of those exist at locations. I create them as needed with the proper orientation.
Now there are some disadvantages to using sprites in Unity. They tend to use an unlit shader so they don't respond to lighting. This is not a horrible thing as we can use some old school tricks as needed to make up for this. I also could revisit my old voxel technique and code my own version of the sprites with normal maps, occlusion maps, emission maps, etc. (aka PBR) and I may do that later, but that is a visual improvement I thought was not worth pursuing until later.
I can have massive ever expanding sprite sheets I link into a library that tie into this system. As such I've been making a lot of sprites. :) I thought maybe some of you would like to learn from my current experiments.
That skeleton comes from an earlier sprite sheet where I had some padding between the sprites with the idea of being able to use them with dithering and such later if I got my own 3D route. I've scrapped that in later versions...
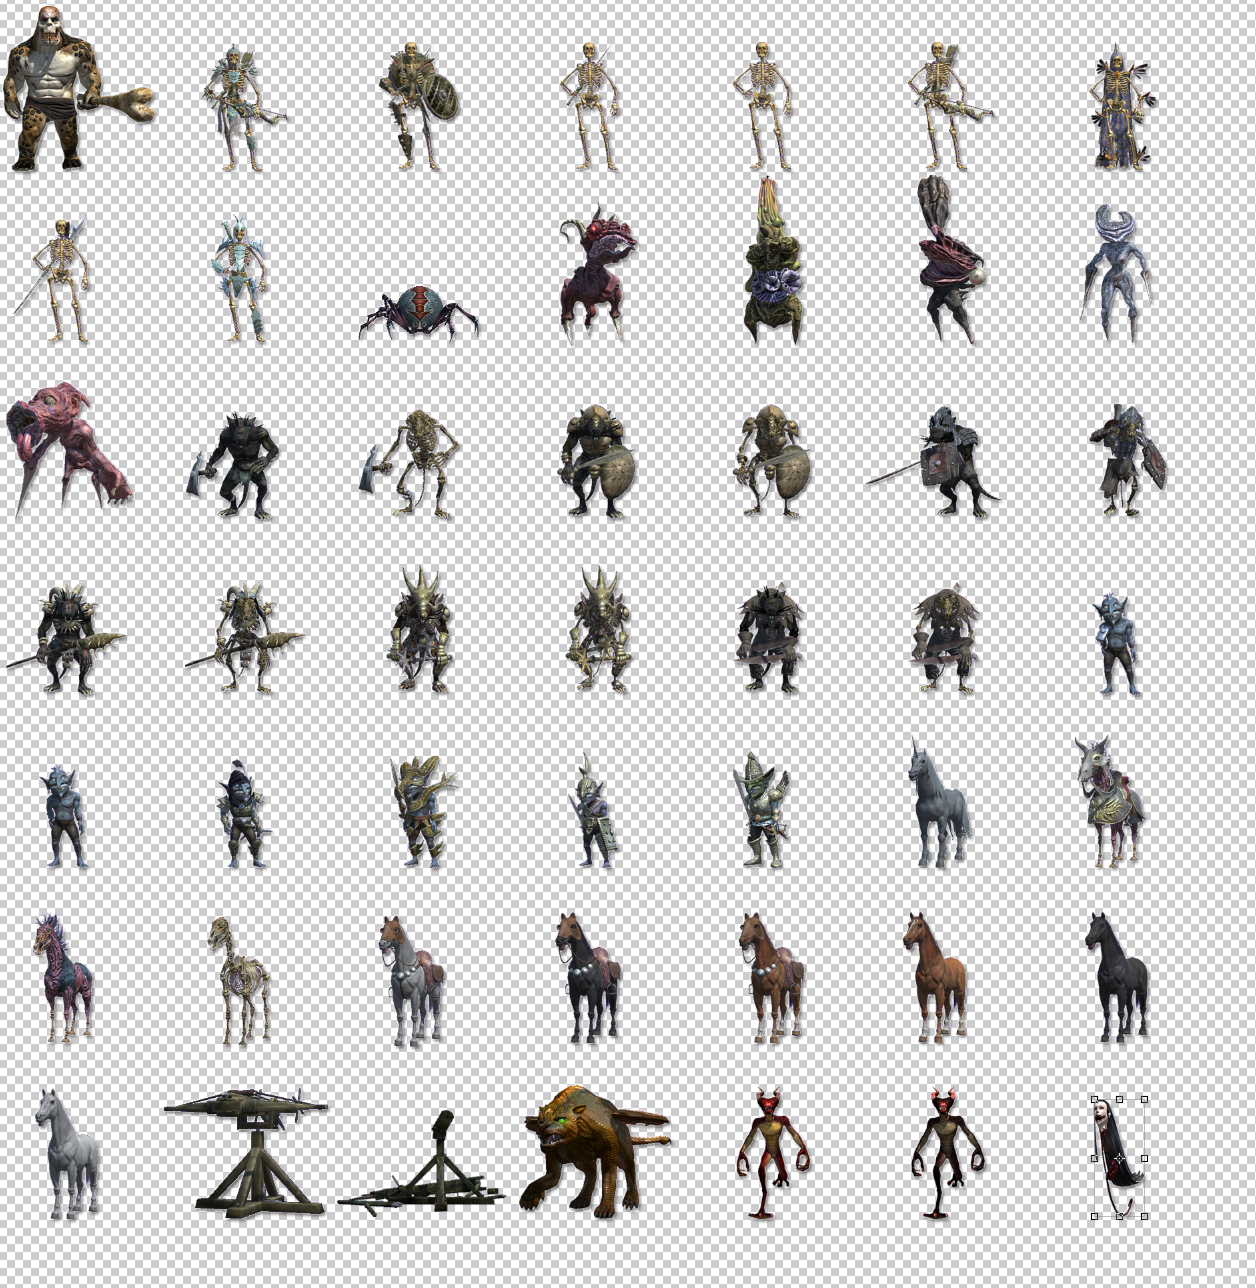
Those creatures on that screen are all assets from the Unity Asset store from either Mr. Necturus or 3dFoin.
Let me show you how I made those in Unity. It is also how I created a lot of the cool sprites for terrain.
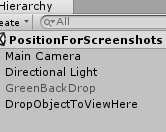
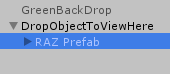
I have a simple scene I named PositionForScreenshots and it has an extremely simply Hierarchy.
Here are my camera settings...
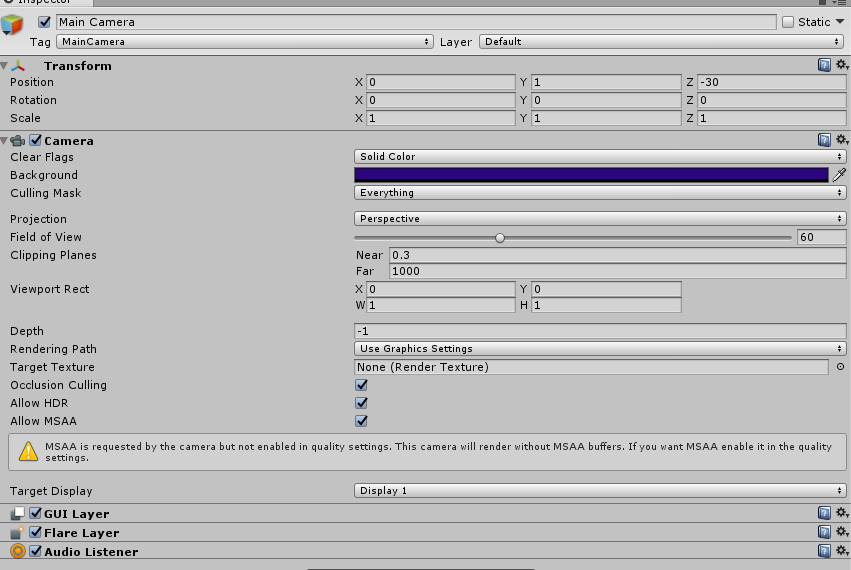
I will tweak the Z position as needed to zoom in and out...
So I end up with a rather boring screen area when nothing is dropped into a scene...

There is also a DropObjectToViewHere empty game object that is just zeroed out. Whatever I want to create a sprite from I drop as a child of it and I manipulate their transforms so they are at 0,0,0 for that object.
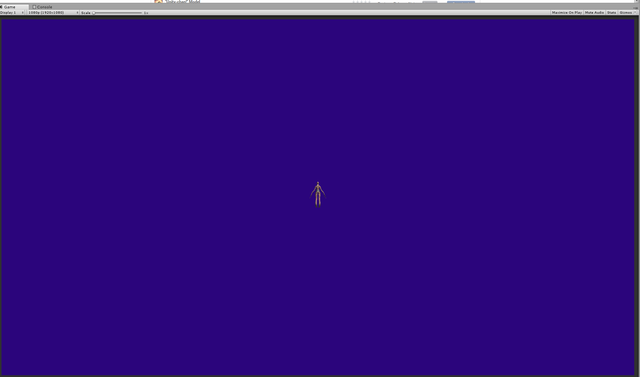
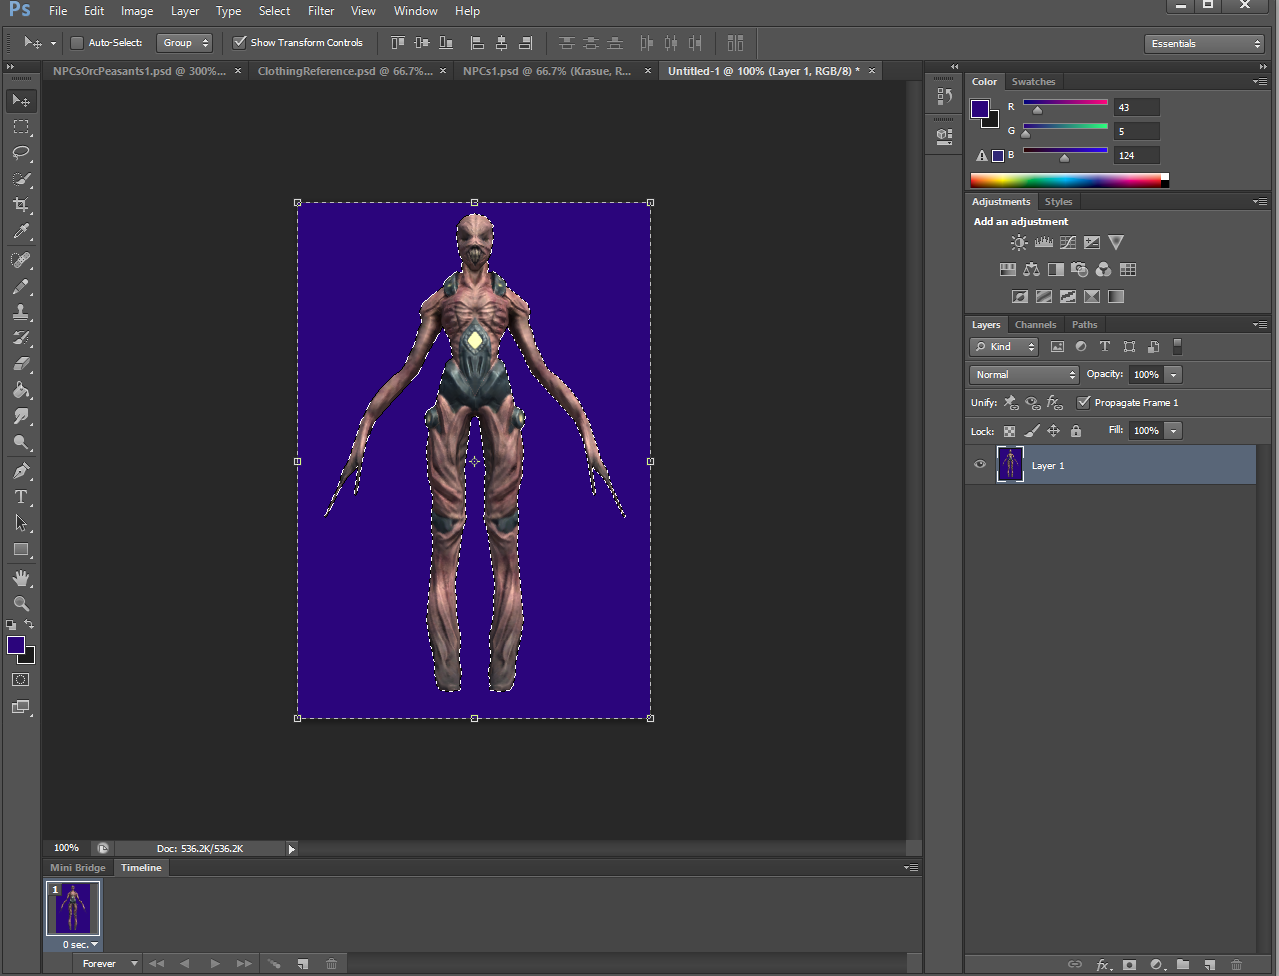
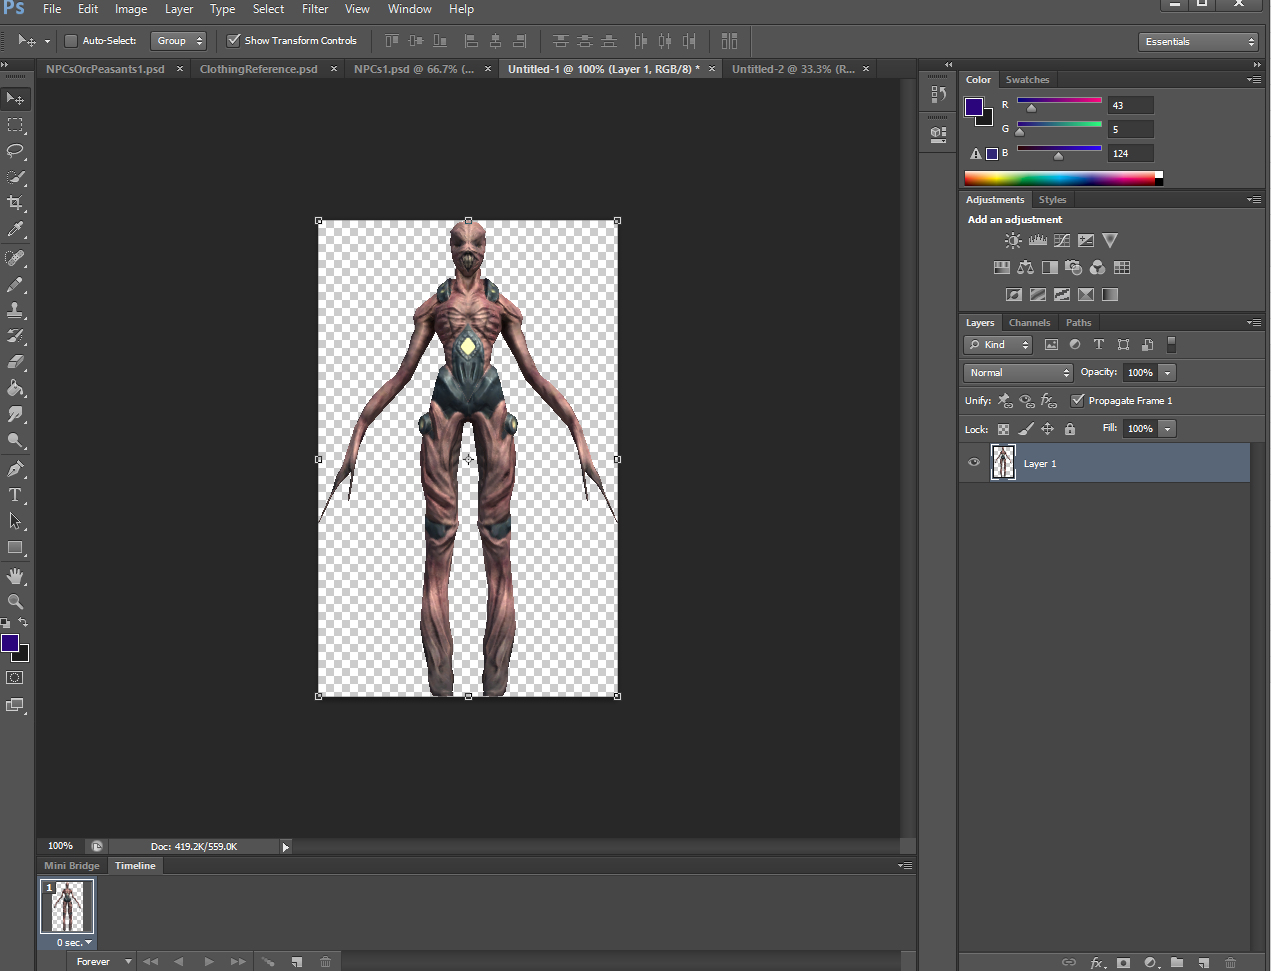
To Show you what I mean I've imported the RAZ-Alien by Will B which is free from the Unity Asset Store and I've dropped it on that object as a child.
It is way too small and it is facing the wrong direction.
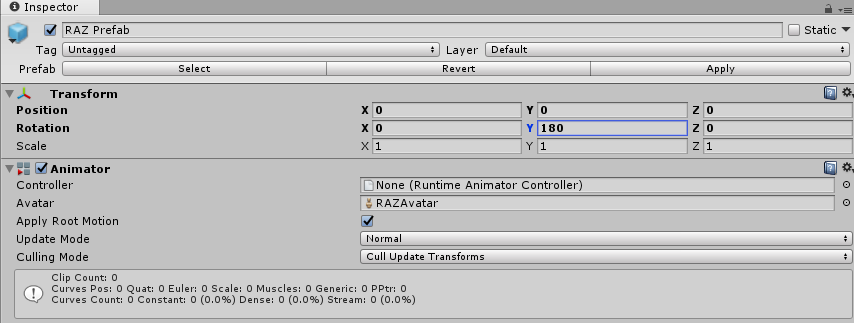
So I click on Raz Prefab and rotate it on the Y axis 180 degrees.
It is still way too small. Though for some games depending on what you are making it might actually be big enough.
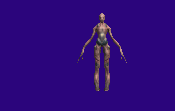
I am going to click on the Main Camera and play with its Z position until I am satisfied with the size of the Raz Alien.
In this case I dropped it to -5. Which made the alien big enough for me.
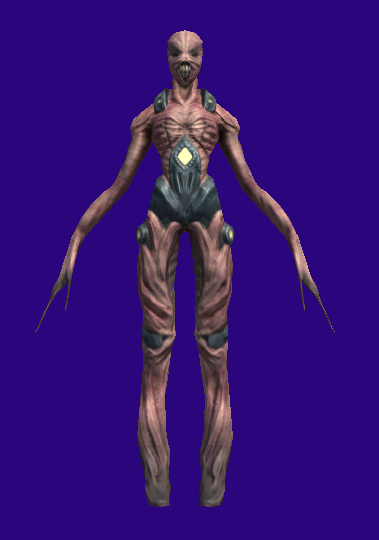
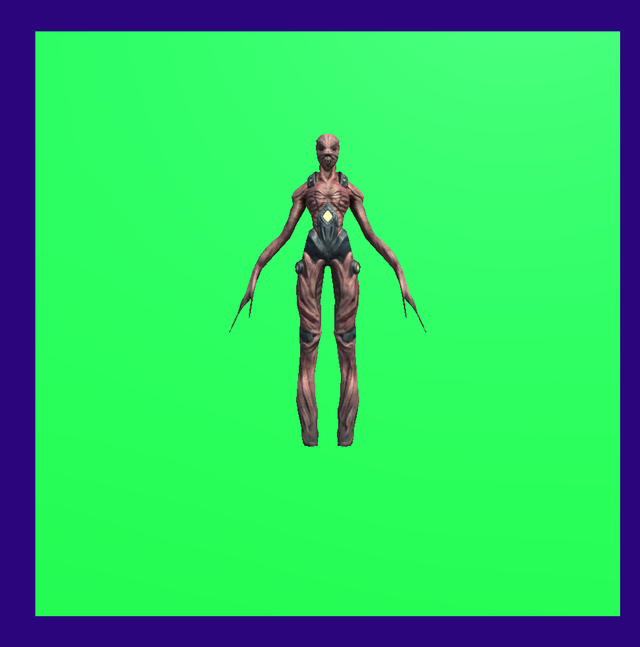
Now is a good time to talk about that blue background... I am using that color as it is not super common on most models. We need an uncommon color for the background so we can do a chroma key type effect and delete all of that leaving a transparent background. Yet if you notice there is a disabled object called GreenBackDrop in the Hierarchy. That is there for cases where the blue will not work. That is simply a quad rotated to be a backdrop with a green like you might see on a green screen. So it is there for when the blue is not a good choice. NOTE: The color background can tint some edge cells so picking a color that the potential tint is not really alien to what you are looking for is a good idea. I used to use a Hot Pink color and that often was a bad idea.
Here is with my Green object turned on just for completeness in this tutorial.
So now that you have the object you want use a screen snipping tool like the snipping tool built into windows or something like Greenshot (which is free) to grab the image. It is okay if you have lots of extra background.
Once you have grabbed that so it is on your clipboard go to photoshop (you can use another art program but I can't tell you how to use it).
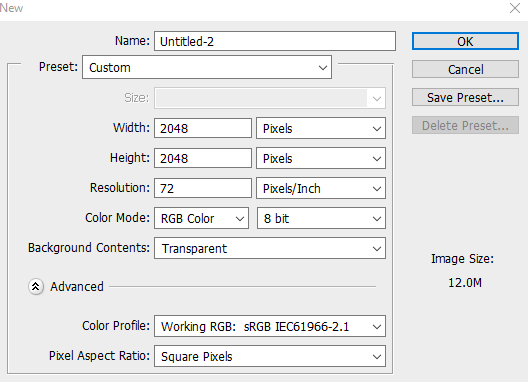
Go to FILE and NEW and it should default to the size of the image that is on the clipboard.
Go ahead and click that.
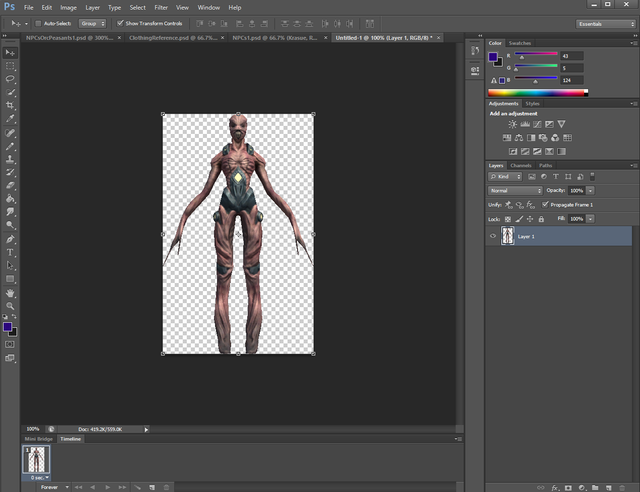
Then go to the EDIT and PASTE. Your image should appear in Photoshop. (NOTE: The methods I use I taught myself. Some people may know better ways than mine.)

Go to the SELECT menu and choose COLOR RANGE.
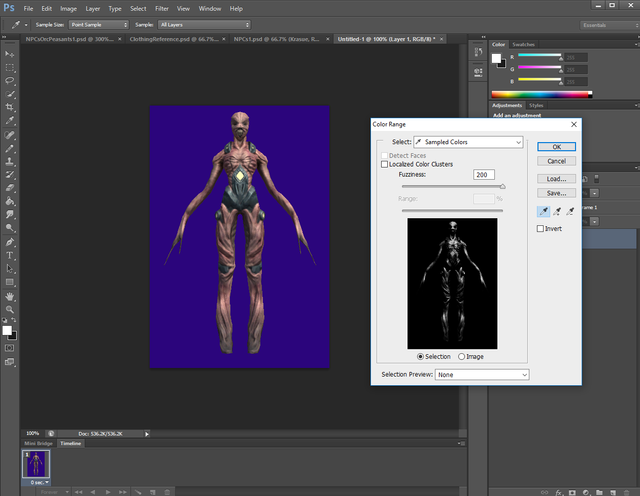
Something like that should pop up. Click with the EYE DROPPER mouse pointer on the blue background and it should change to something like this.
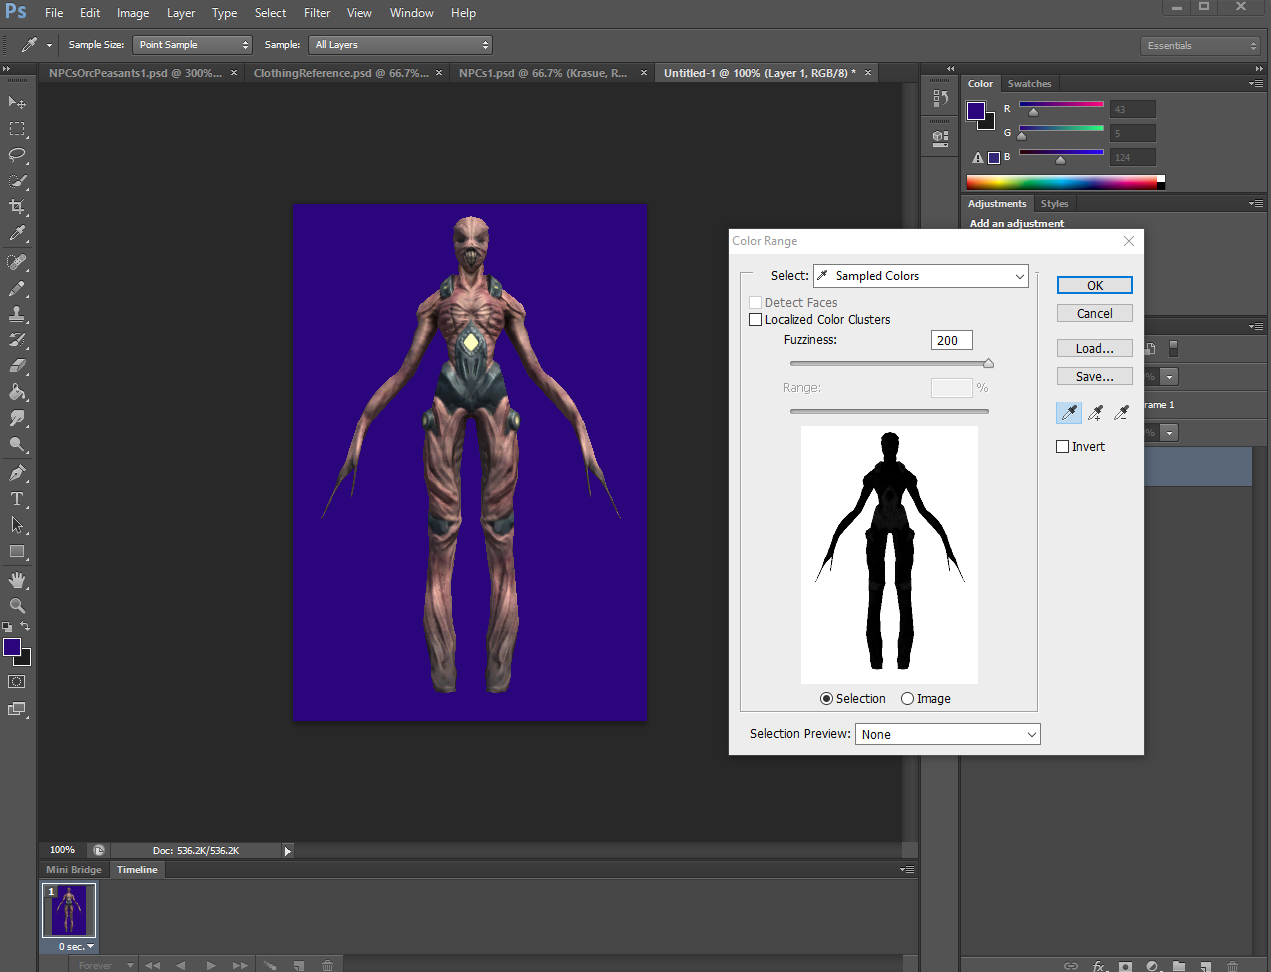
I usually set the Fuzziness to 75 when doing these sprites but, you can play around with that for the best fit for your particular image. You will need to change it sometimes, especially if the image has some shades of blue (or whatever your background is).
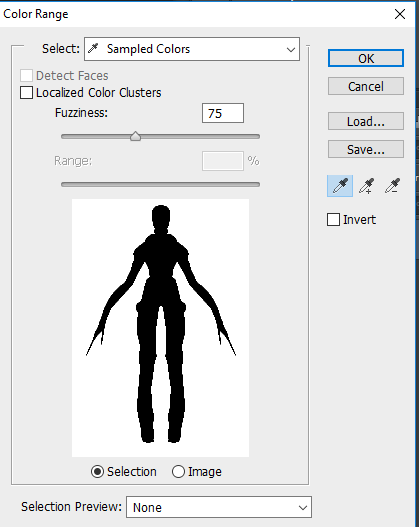
The higher fuzziness can give you smoother edges, but it can also make parts of it slightly transparent (alpha) due to the closeness in color.
Click OK and you should now have a selected range.
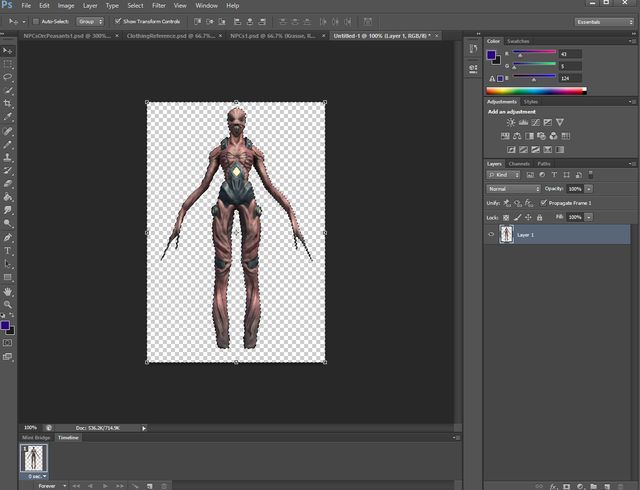
Hit the DELETE key. The blue background should disappear.
Go to the SELECT menu and click ALL.
Go to the EDIT menu and click COPY.
Then go ahead and close the tab with that image and don't worry about saving it when it asks you if you want to save it. You have a copy on the clipboard.
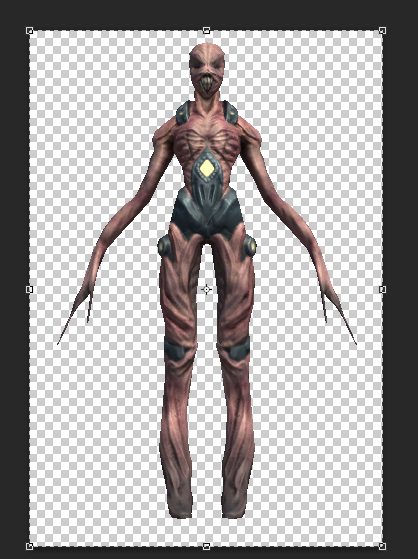
Go to FILE and NEW again and create a new image the size of just your SPRITE based on what is on the clipboard.
Go to EDIT and PASTE. It will clean away all the background space that was not needed.
You may want to go ahead and save this somewhere you can use it. This is the image you'll want to add to a sprite sheet.
Now is a good time to talk about sprite sheets. You will want to do them in powers of 2.
So your sheet is likely going to be 512x512, 1024x1024, 2048x2048, 4096x4096, 8192x8192, etc. It should be noted that the larger your atlas the fewer devices will be able to play your game. Some devices cannot handle very high res textures YET. This is changing rapidly.
Then think about that sprite sheet. (also think of it as a texture atlas) How are you going to want to lay out your sheet? If you manually pack it by squeezing sprites there you can actually put a lot of different sized sprites on the same sheet. If you do that then you have to manually define the borders of where that sprite is within Unity. There are times this is very useful.
Sometimes you may want to view it as a GRID. In my case I am currently making 2048x2048 sheets and I've decided each sprite will fit into a cell 256x256. This is important to know. This means each sheet is 8 sprites wide by 8 sprites high.
I've got a couple tricks to help out when working with something like this. I learned them by a lot of trial and error.
Let's create blank sheet to use in Photoshop and I'll give you my tricks... :)
A lot of game development is about illusion and making magic happen and learning TRICKS.
Go to FILE and NEW and in the dialog that pops up make it 2048 x 2048.
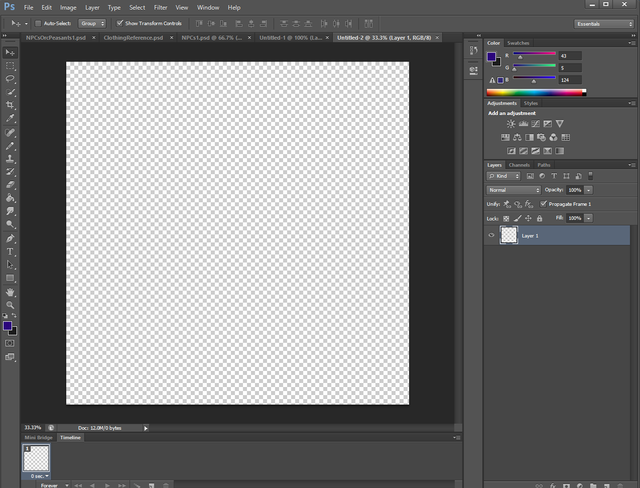
Here is my latest trick and it has helped a lot compared to the pain I went through before.
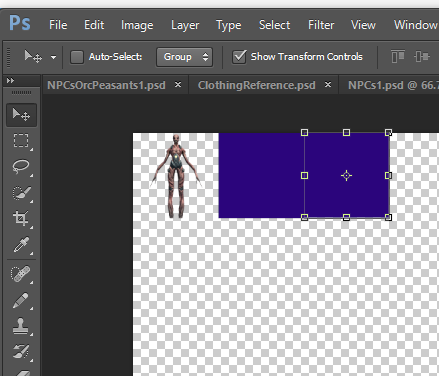
Click on the Rectangle Tool and set it's color to BLUE or some good Chroma Key type color.
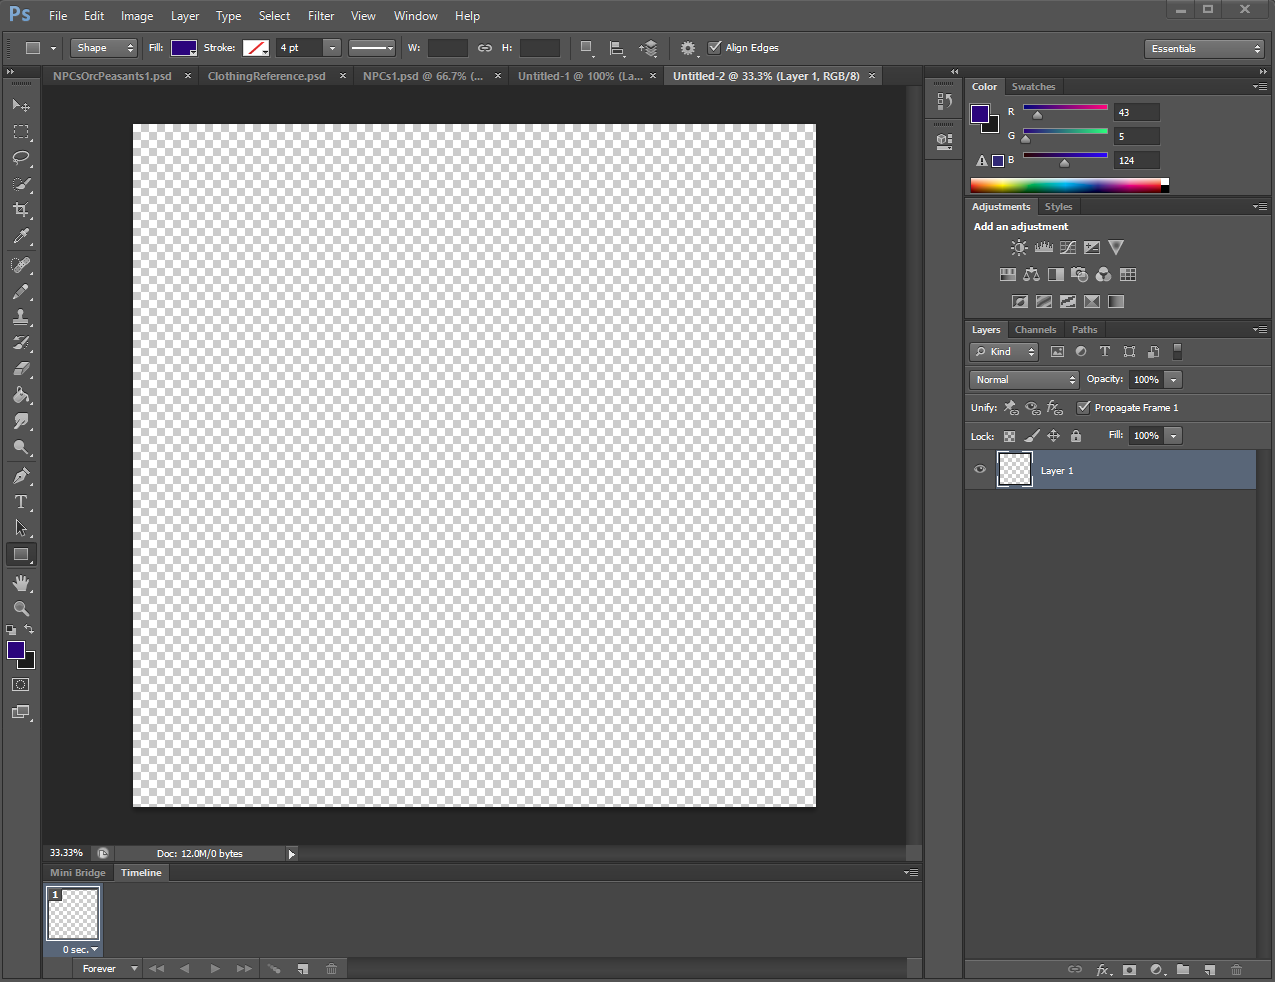
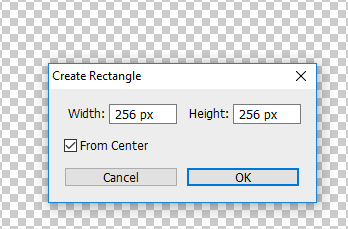
Now click ONCE in the empty area of your image. Do not drag a rectangle. A dialog will pop up telling you to pick a size. Simply plug in the grid size you want to use. In my case I am using 256x256 so that is what I do.
Switch back to the MOVE tool.
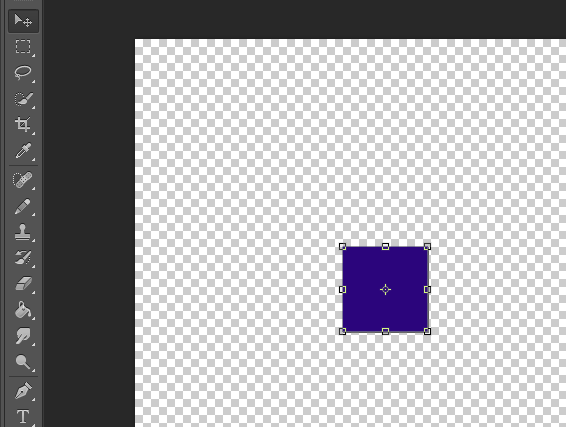
You can now drag that rectangle around and use the arrow keys. I position it in the absolute upper left corner.
I always use the arrows to make sure I have it perfectly positioned.

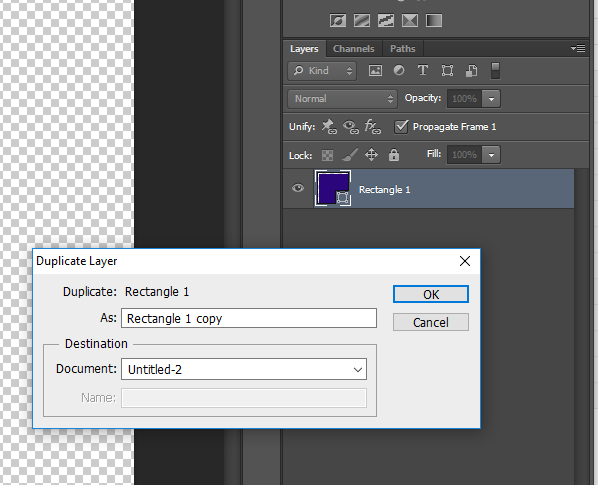
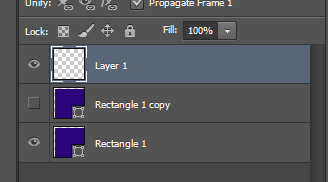
Now go into the Layers section and RIGHT click on that Rectangle and choose DUPLICATE LAYER.
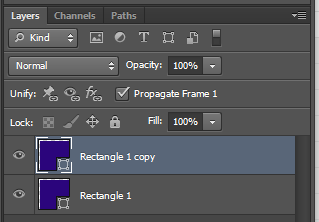
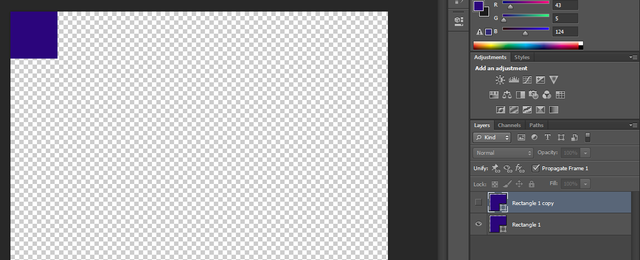
The idea is you now have two rectangles of the maximum grid size for your sprite sheet and you can play leap frog with them to position them. I also tend to turn off the one I don't want to see by toggling the eyeball icon in the layers. I only turn them both on when I am moving them.
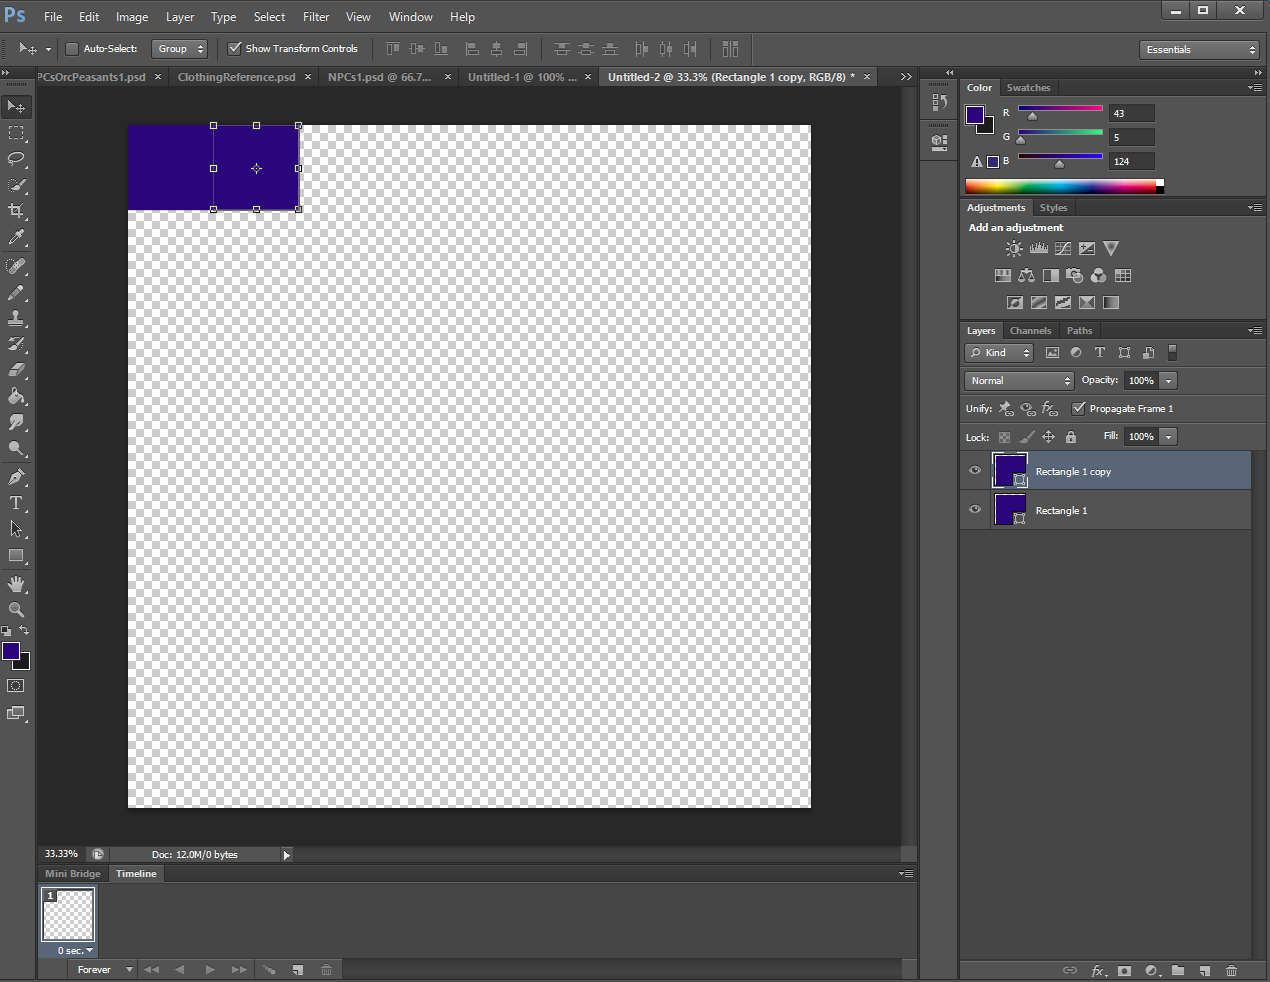
In this case Rectangle 1 copy is positioned where the 2nd sprite will go but doesn't need to be visible so I toggle the eyeball in the Layers.
So what these rectangles can be used for is to act as a guide for you as you place sprites. Let's revisit or alien we made. I still have that tab in photoshop. If you don't and you saved your sprite you can open that sprite.
Go to the IMAGE menu and click IMAGE SIZE. You need to make sure your sprite fits in your cell.
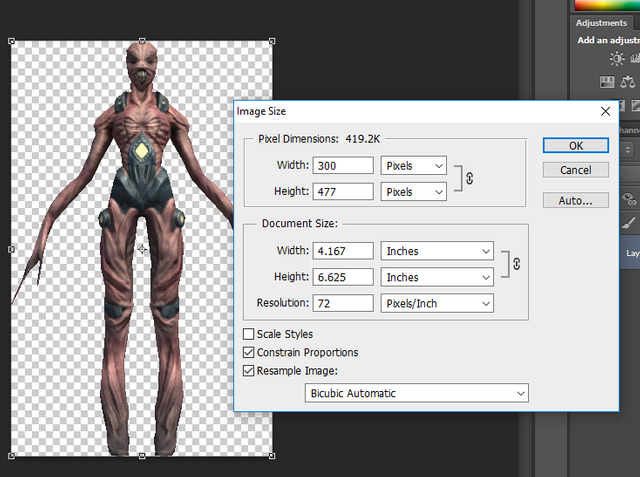
If you need to change the image size then it is a good idea to leave CONSTRAIN PROPORTIONS checked so you don't stretch or distort the image. I typically change the largest size to fit within my grid. I also will think about sizes. I'll come up with a maximum size for a human, a dwarf, an alien, an ogre, etc so I have an idea of what to scale it. Another option is to always make it as big as will fit in the cell for highest detail and then scale the sprite with code at runtime.
I tend to always use a value less than the maximum cell size so there is some padding unless I'm making like a texture tile that is supposed to cover the entire sprite (floors, walls, etc). In this case here is what I did.
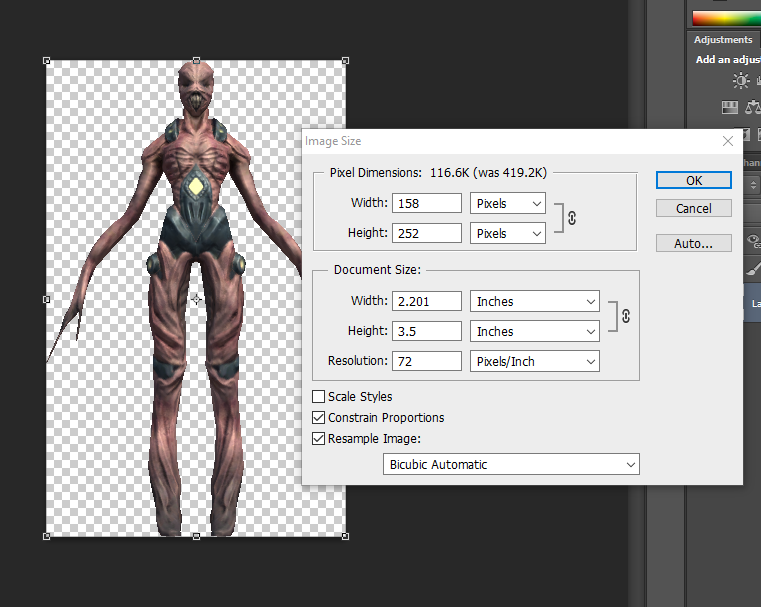
I went 4 pixels less than the 256 maximum.
Now I am going to do SELECT and then ALL, and then EDIT and COPY. I will then flip over to my sprite sheet tab and click EDIT and PASTE.
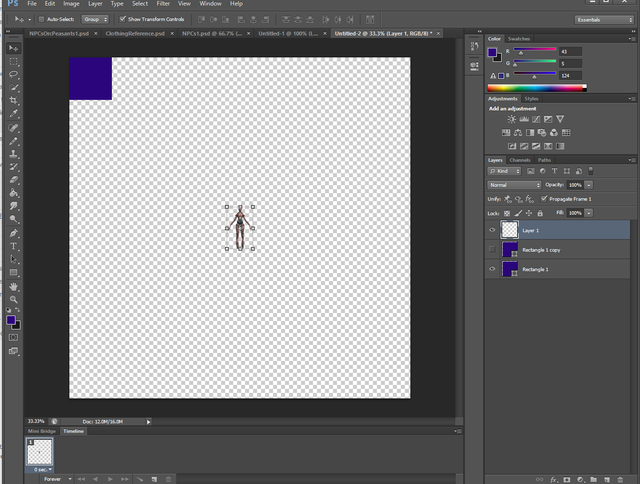
Now hopefully you get why I created the blue rectangles... that tells you where to position your sprite.
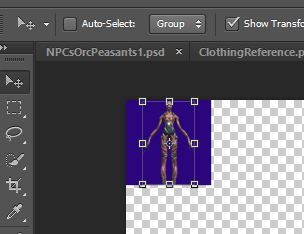
Turn the eyeballs on for your rectangles and move the one you just used to leap frog the other leaving the space behind the alien sprite empty. You know that is properly positioned.
Save your sheet. I like to keep mine as PSD files for ease of editing and adding to them, plus Unity is more than happy to use those.
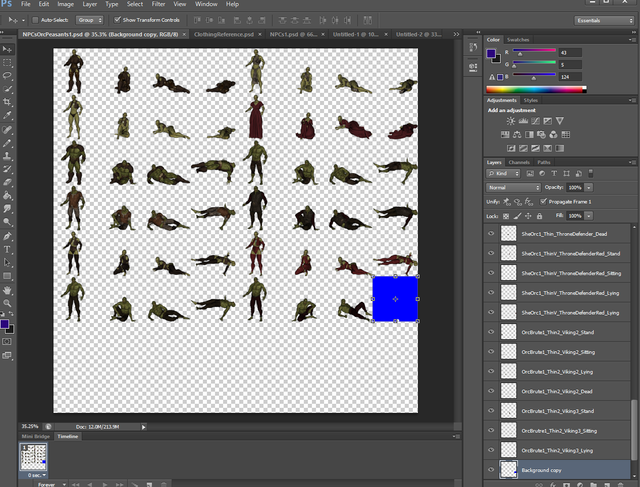
Also you can do more than a rectangle. I am making my own sprites in Daz 3D for characters. Currently I am doing a Standing Pose, Sitting Pose, Sleeping Pose, and Dead Pose for each sprite.
I put a hole in the base of the rectangles on my sprite atlas for a marker of where to place their right foot.
Here is my current work in progress for a bunch of different Male and Female Orcs. I did the human one the other day. :)
I was going to do this all as one tutorial but I realized I have a lot of material to publish on this. So this will be a minimum of two posts, and possibly three.
I will post the next parts tomorrow.
I hope you find this useful.
I just had to post that :D
You are pretty advanced with Photoshop and all the other software. But I know that the more you know the more you realize that you know nothing (and I think that you realize that the more you learn about game development).
I got decent with Photoshop because I have to use it every day for a year now to create content online. I have never thought that I would be able to work with Photoshop but now I am able to!
Amazing Art @dwinblood. Bravo Zulu !
Its awesome and beautiful art...up&resteemed
Good keep it up