Let's talk about " COMPRESSION "
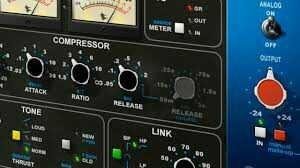
A compressor is simply an automatic volume controller.
It has controls to program the manner of volume control
When compress is done well, you actually shouldn't be able to hear it.
Unless it's being used as an effect
To hear a heavily compressed vocal mix, google 'sax' by Fleur East
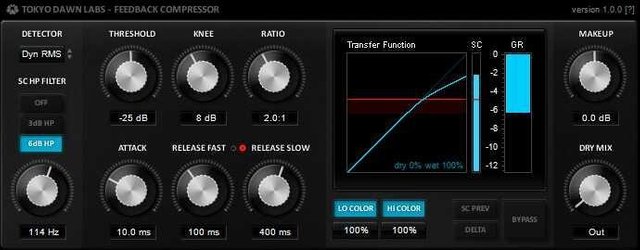
It takes some training to be able to hear compression or when a track has been compressed
The basic way a compressor works is that you set a level beyond which the loudness of the track will be affected if it crosses that level. If the tracks loudness doesn't cross that level, it's volume will not be affected
This level that you set is called THRESHOLD
the other controls (attack, release, knee) are to manipulate the behavior of the compressor once the loudness of the track crosses that THRESHOLD.
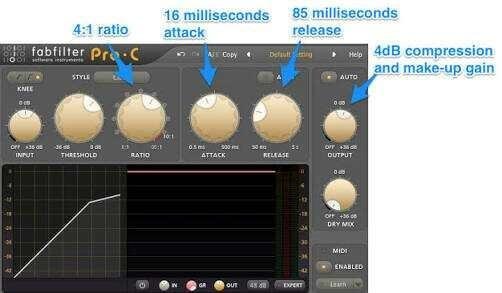
Ratio is the amount of volume control you want.
High ratio- plenty of volume control
Low ratio-small volume control
The gain or make up gain is to ensure that the volume you hear before and after compression is kept constant.
How to actually apply the compressor in practice
Study the waveform of the sound you want to compress. This gives you a rough idea of how much compression you may need to apply to get the track sounding more consistent
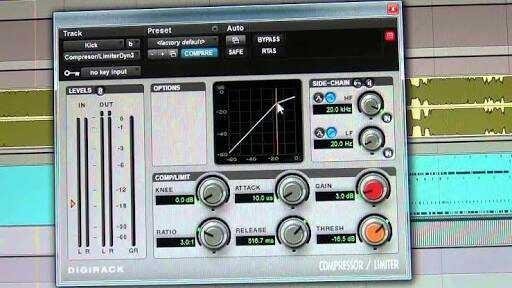
Set your ratio. Do you want heavy compression or medium level compression? Vocals usually do well with ratios of between 3:1 and 5:1
set your attack time and release time as desired, depending on if you want to take care of sharp spiky peaks in the audio or if you want to go for the body of the audio and leave the peaks untouched
Lower the the threshold gradually, keeping your eye on the gain reduction meter till you begin to see compression happening on the audio. Lower the threshold till you are satisfied with the level of compression you are getting
If you are doing it right, you will hear the overall volume of the audio drop. Adjust the 'make up gain' (or just 'gain') knob to bring back the audio to Its overall original level prior to compression
But you could also try this method in real sense..
Congratulations, your post had been chosen by curators of eSteem Encouragement program. Feel free to join and reach us via Discord channel if you have any questions or would like to contribute.
Thank you for using eSteem
CREATING YOUR PROFILE IS EASY! JUST FOLLOW THE STEPS HERE ☜(ˆ▿ˆc)
You can trade your earned credstars for SBD!