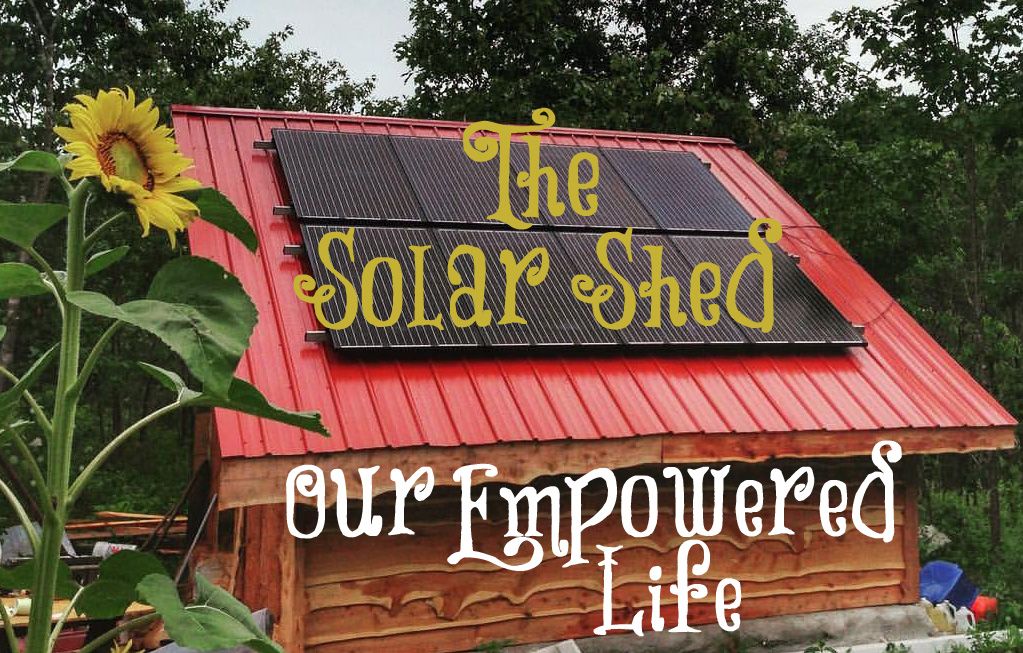
Be Empowered! How We Built a Storage & Solar Shed for Under $6/sq Foot | Natural Building on the Homestead
Not only is building your own buildings possible, it is an empowering process of taking control of your life and needs while flexing your creativity muscles. This is how our lives further become art.
The Art of Freedom
Most of us have been taught to leave building in the hands of the professionals. What follows is the Step by Step account of how we built a building on our homestead for under $6/sq foot. We want to detail the process so you too can get inspiration and empowerment to build you own buildings.
Last winter we had serious need for a building. We had budgeted for purchasing a PV array and all the components for our offgrid solar system. Prior to this we had no electricity and we knew we needed it to help us actualize our dreams more quickly. We had a small amount of building experience, but nothing of this scale. We’ve written about our other builds Gazebo, here, and Composting Toilet, here.
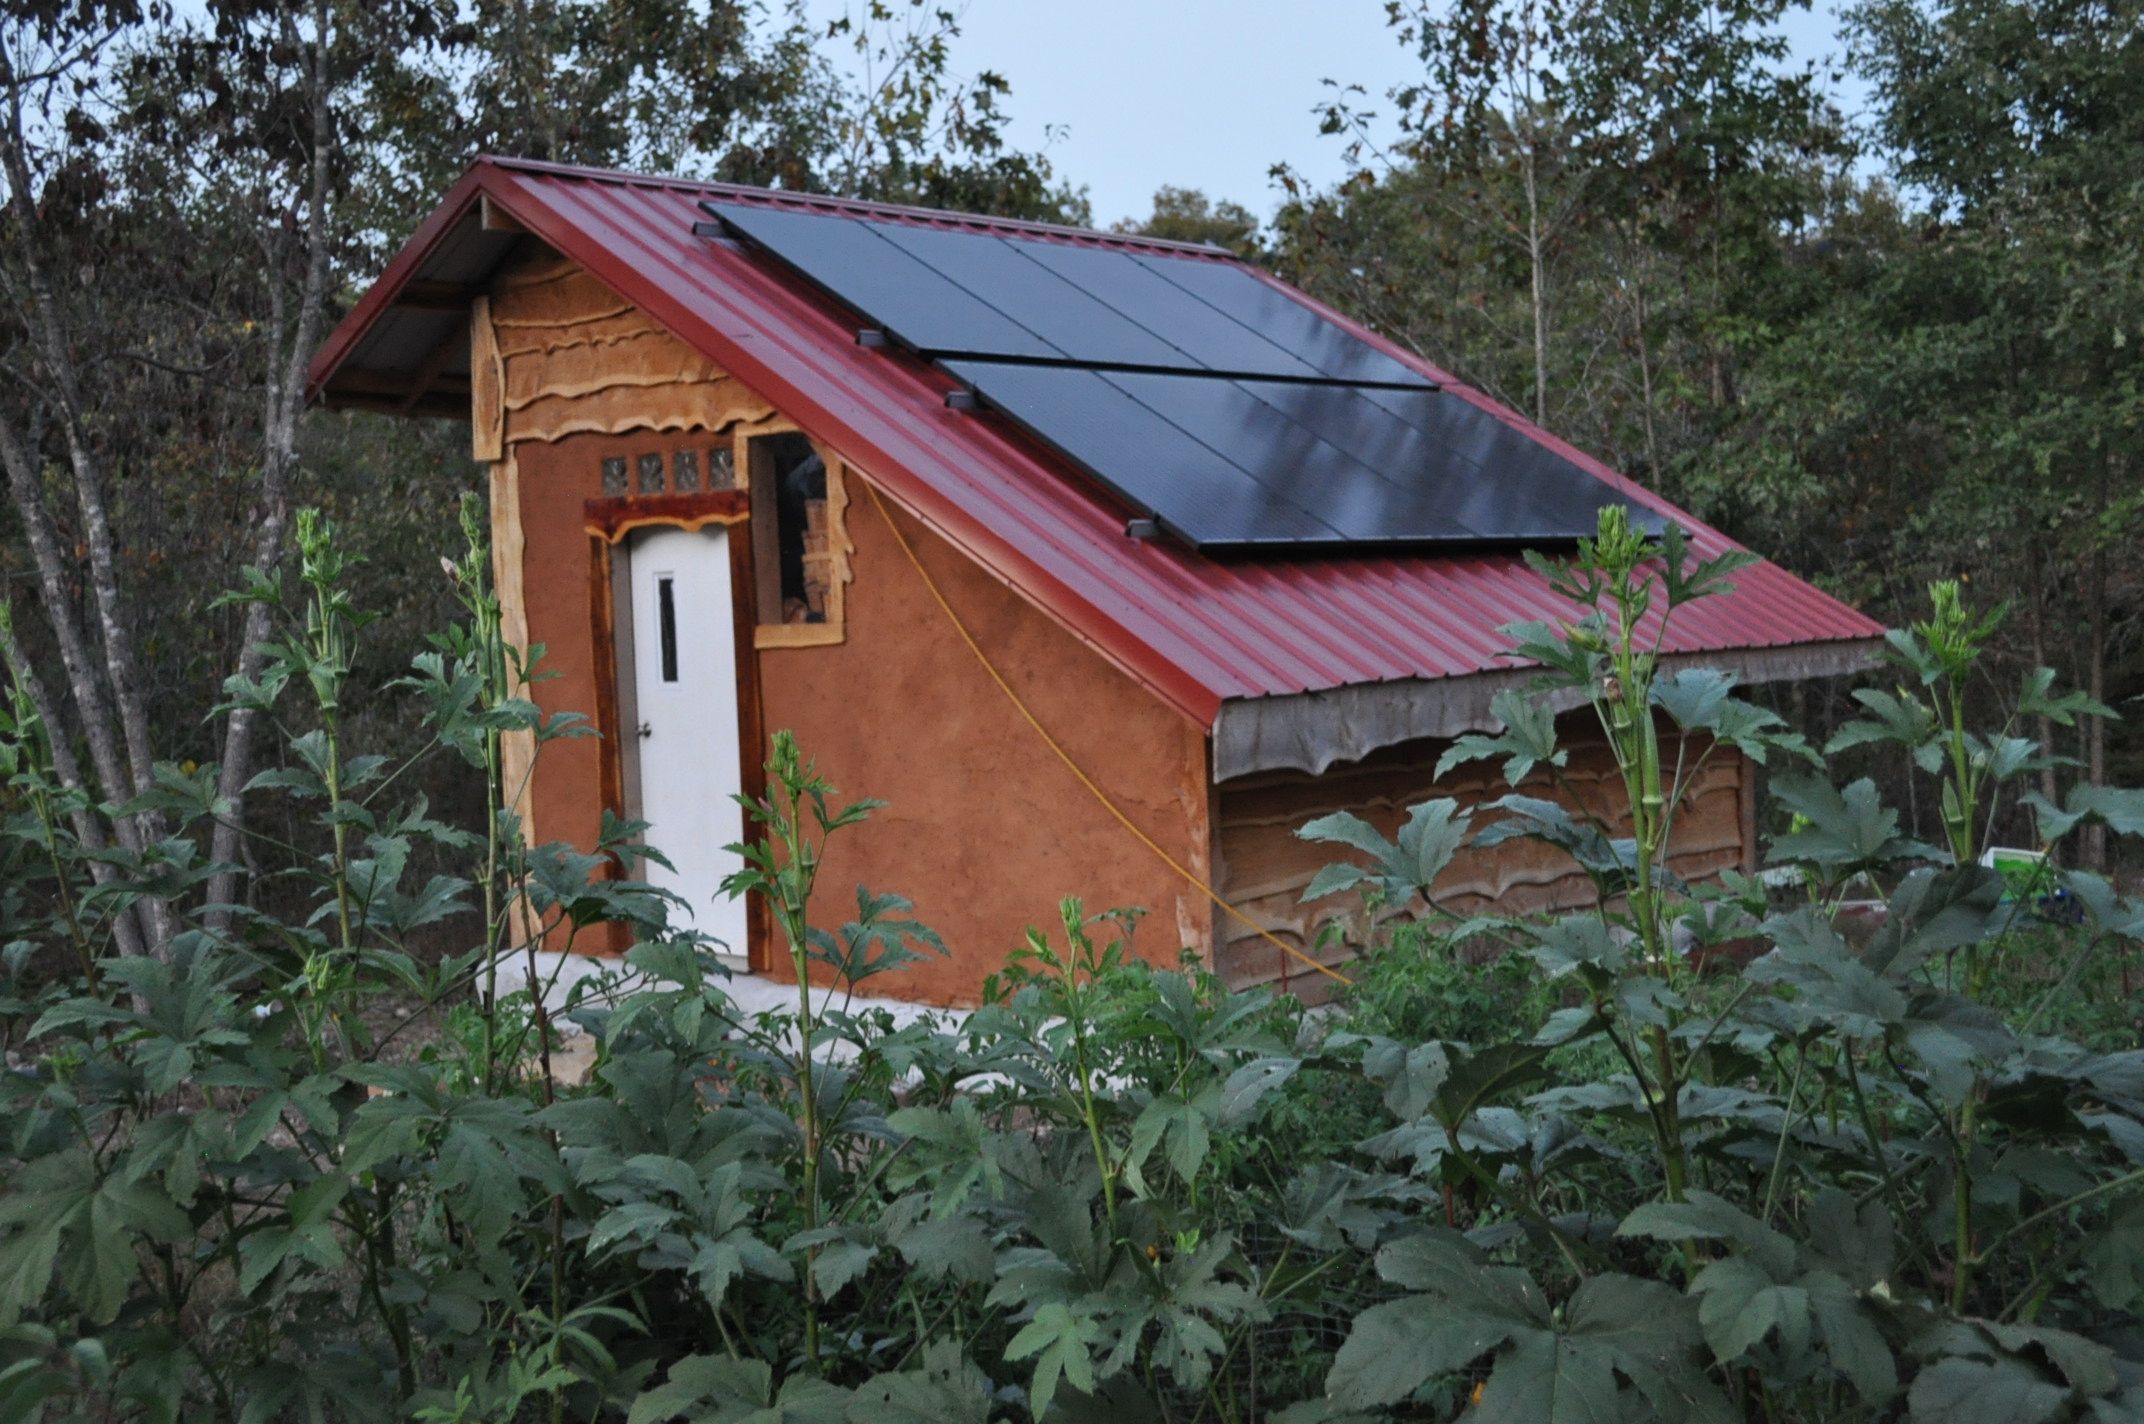
Here’s a taste of how we built a beautiful and functional building using local and natural materials for under $6 a square foot.
Design
We went through 3 versions of the building before finalizing and committing to a design plan. At first we were going to build a much smaller building and have the solar panels mounted to an external structure. Wren had the great idea to go for a bigger building and mount all 8 panels to the roof, affording us more storage space than we initially planned on and keeping things streamlined. This revising and refining process is essential to good design. The layout also gave us room to put in a loft that is a great guest sleeping space (perfect for future interns).
We sketched, discussed, planned, researched and visioned until we had a solid design to work with. The size of the roof was based on our 8 panel array and the rest evolved from there. We knew for our latitude that 31.5 degrees was a good average angle to capture the sun’s rays, so we opted for a 7/12 pitch (close enough at 30 degrees). Once we had the design dialed in, we went on to select the site.
The site
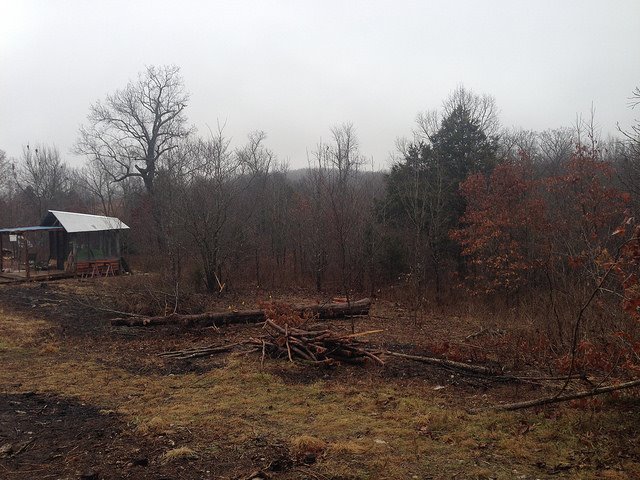
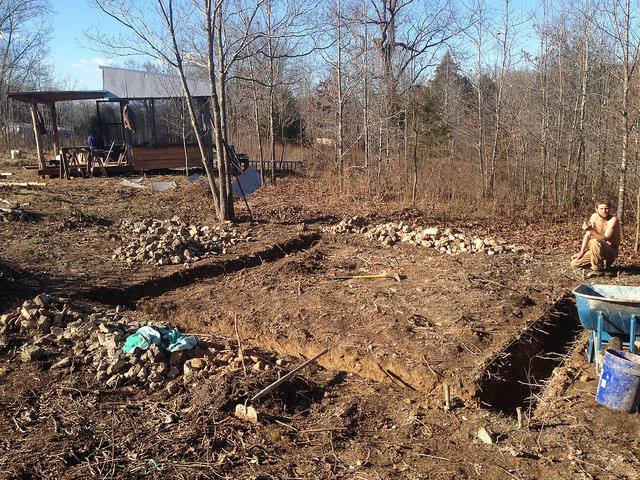
We had to select a building site that not only had full Southern exposure, but also made sense for our future development. We wanted it to be fairly centralized and to fit within the landscape. We thought long and hard about different locations. We spent time walking the land at different times of day, seeing how different spots felt and taking stock of the solar access. Once we settled on a spot, we knew for certain it was the right place to put a building.
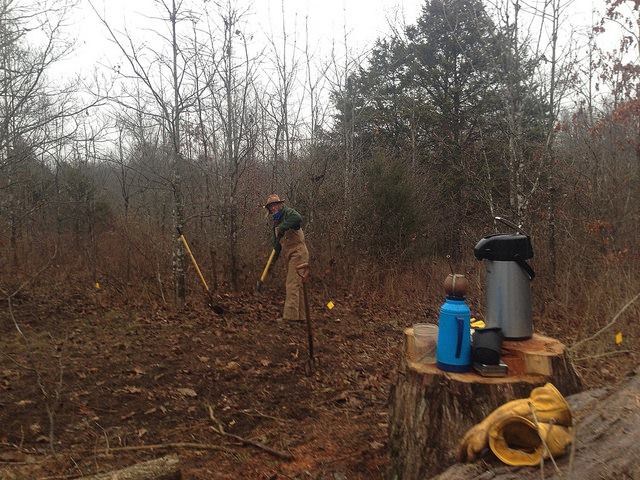
Next steps involved clearing the land. There was plenty of brush to remove, topsoil to relocate and even a couple of small trees to dig up. We set to it and had it done in day or so of work. We started this in January of 2017. It was good to move and work to stay warm and we always had a mate gourd to keep us energized.
Layout and foundation
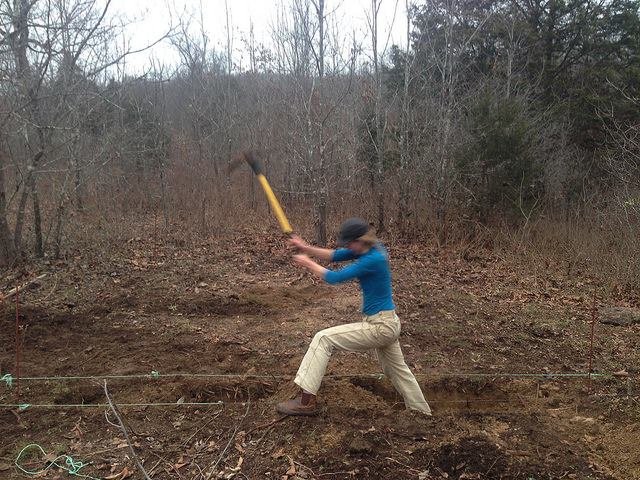
The building footprint is a 15 foot square facing directly South. We laid out the 4 corners and ran strings to guide us in digging the foundation trench. We chose a rubble trench foundation, which we wrote in depth about here. Our frost line is said to be 12 inches here, but we went down 2 feet just to be sure.
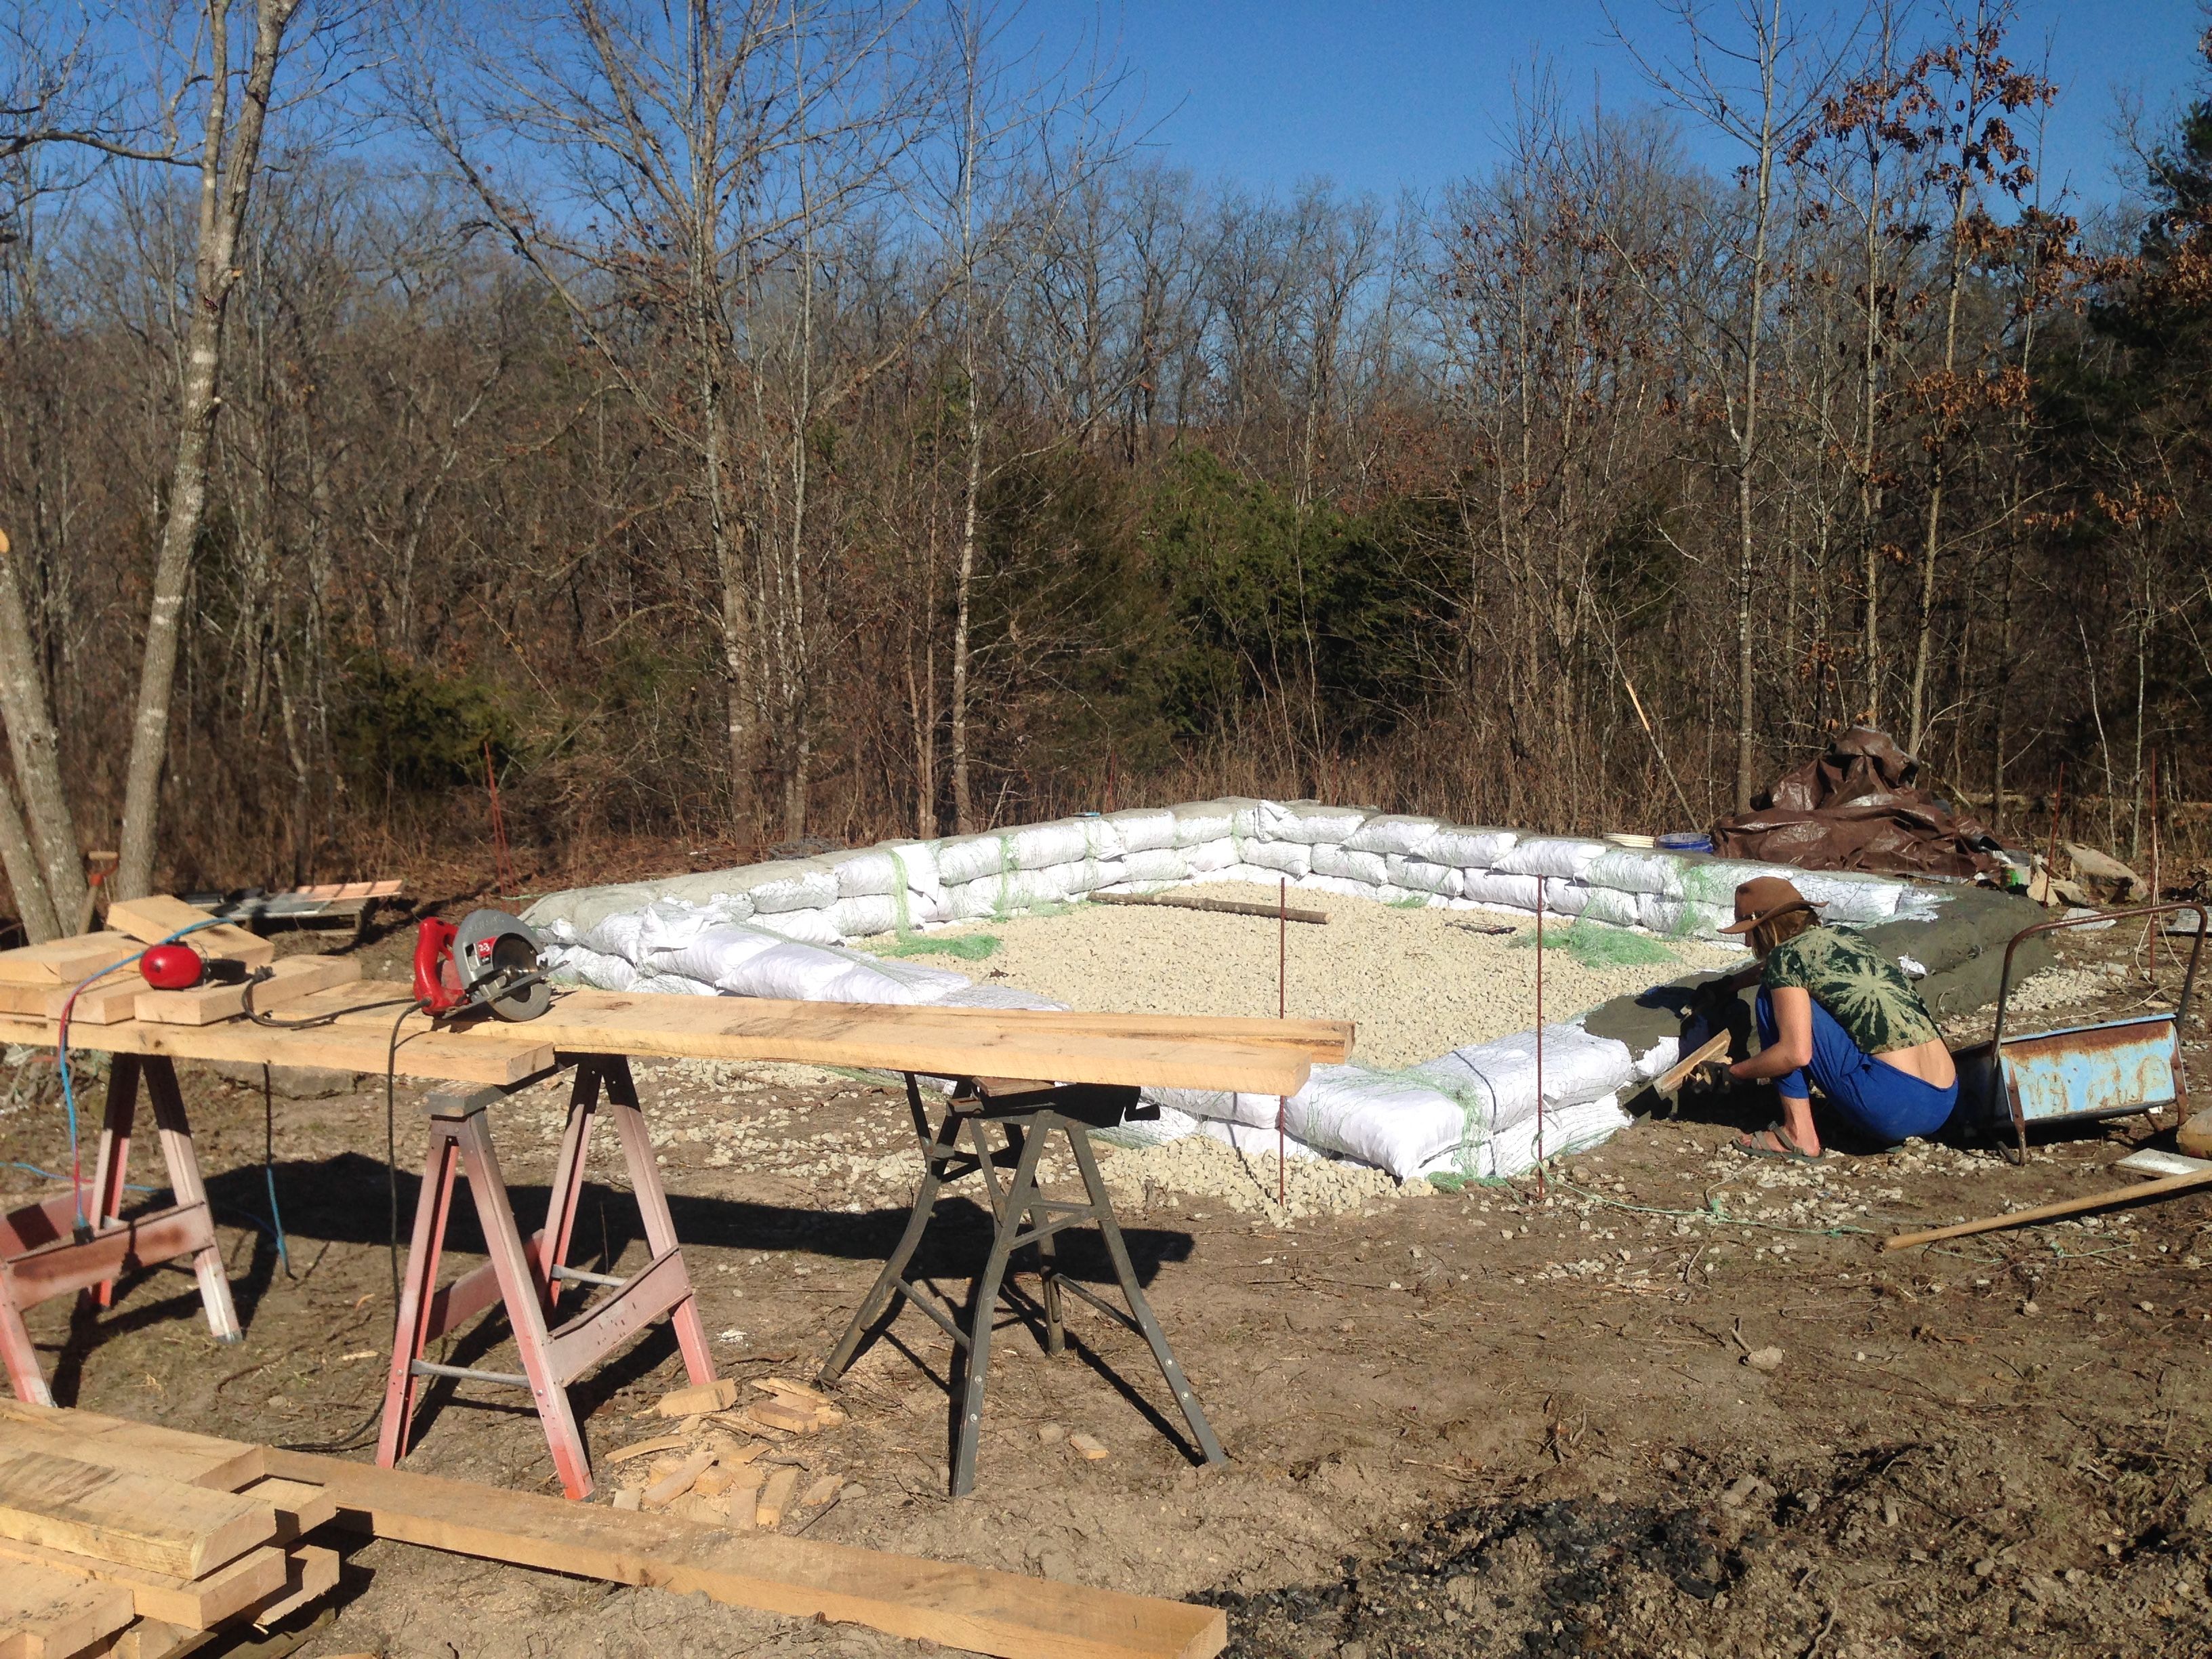
Stemwall
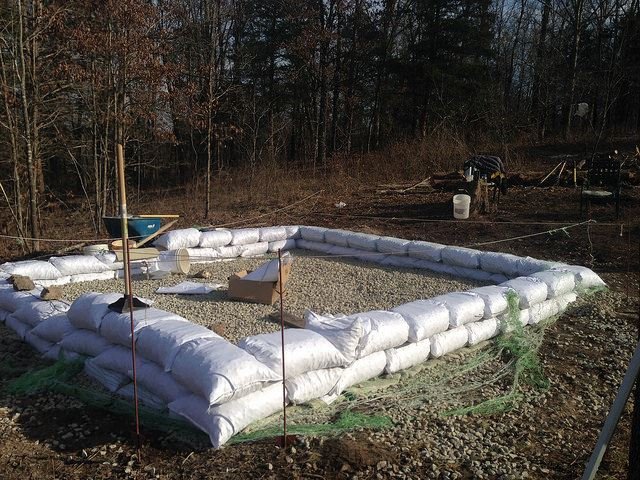
To raise the building off the ground, we laid out a gravel bag stemwall for the wooden frame to rest on. This technique of using woven polypropylene filled with earth and used as bricks was pioneered by Nader Khalili, an architect seeking appropriate and accessible building methods for a variety of locations and applications (see more at CalEarth). Often known as earth bags, these bricks are filled on site with local soil. We filled ours with gravel to resist moisture wicking.
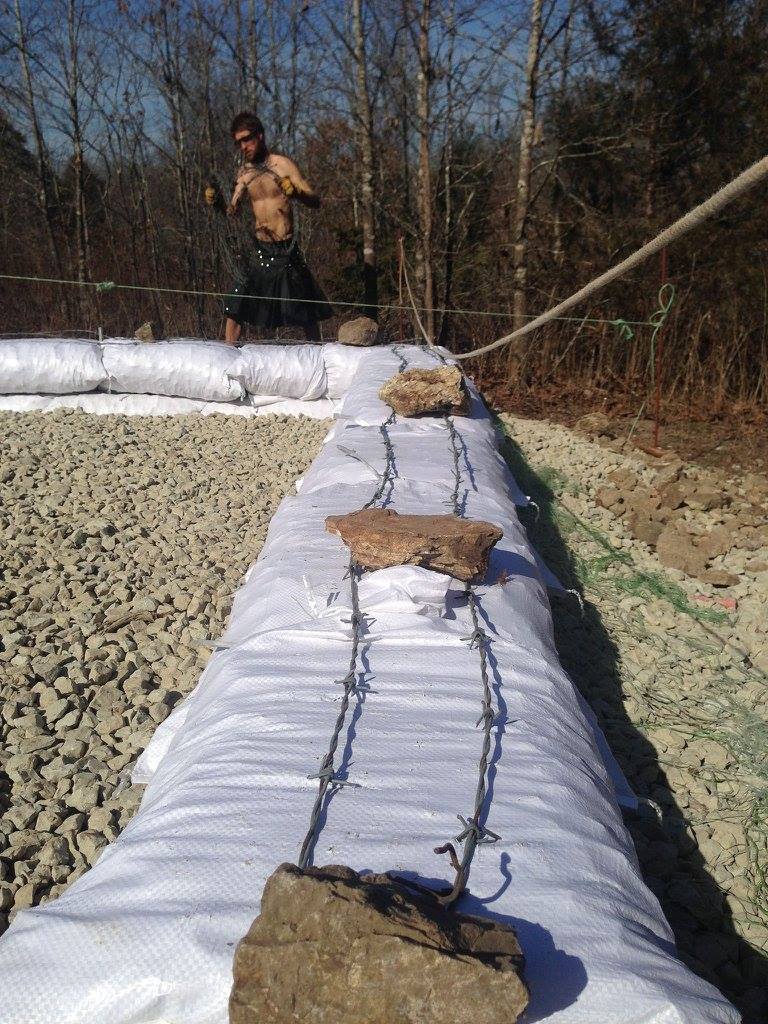
We started laying the bags 2 inches below grade to key them in, so as not to have any shifting. We measured the amount of gravel going into each bag and pounded them flat after each bag was laid. Each course was keyed into the course below using 2 strands of barbed wire we picked up from the recycling center. We laid 3 courses to make sure no moisture would creep up through the stemwall into the frame.
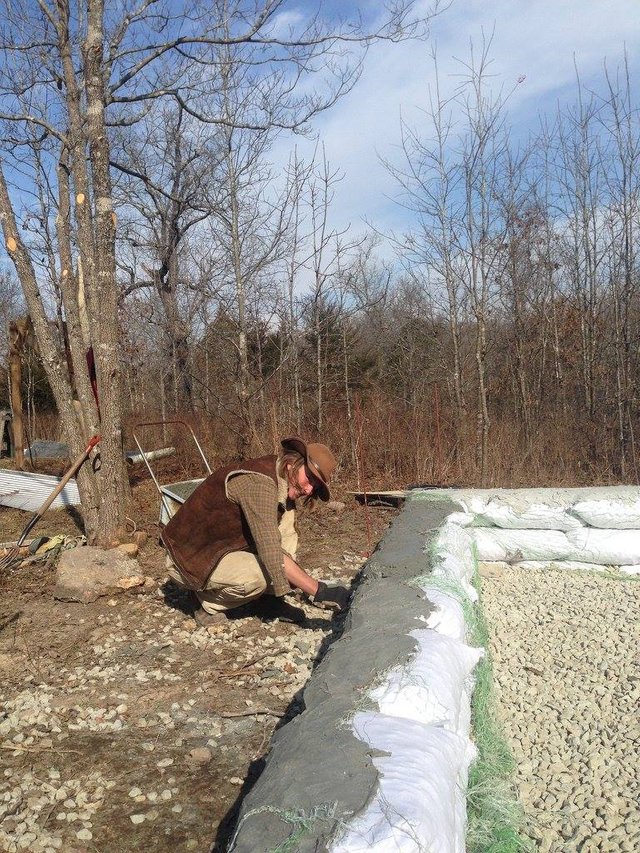
After erecting the frame we plastered the bag with a mix of sand, lime and cement (3:1:1) to protect bags from UV degradation.
The Floor
We had a load of 1” gravel dropped off and used it to fill in gaps in the rubble trench, fill bags for stemwall and also for the floor. Once we had removed the topsoil and roughly leveled the interior of the building, we compacted the subsoil and laid 4” of gravel down for the floor. We have designed a great deal of passive ventilation, so the small amount of moisture from the floor has not been an issue yet. Looking back, a moisture barrier would be a good idea (although we thought the gravel would simply tear it up), but realistically the gravel is serving the purpose of floor quite well. If rising moisture is an issue in the future, we’ve talked about different solutions for the floor- perhaps concrete, but hopefully a more eco-friendly solution which we haven’t thought of yet.
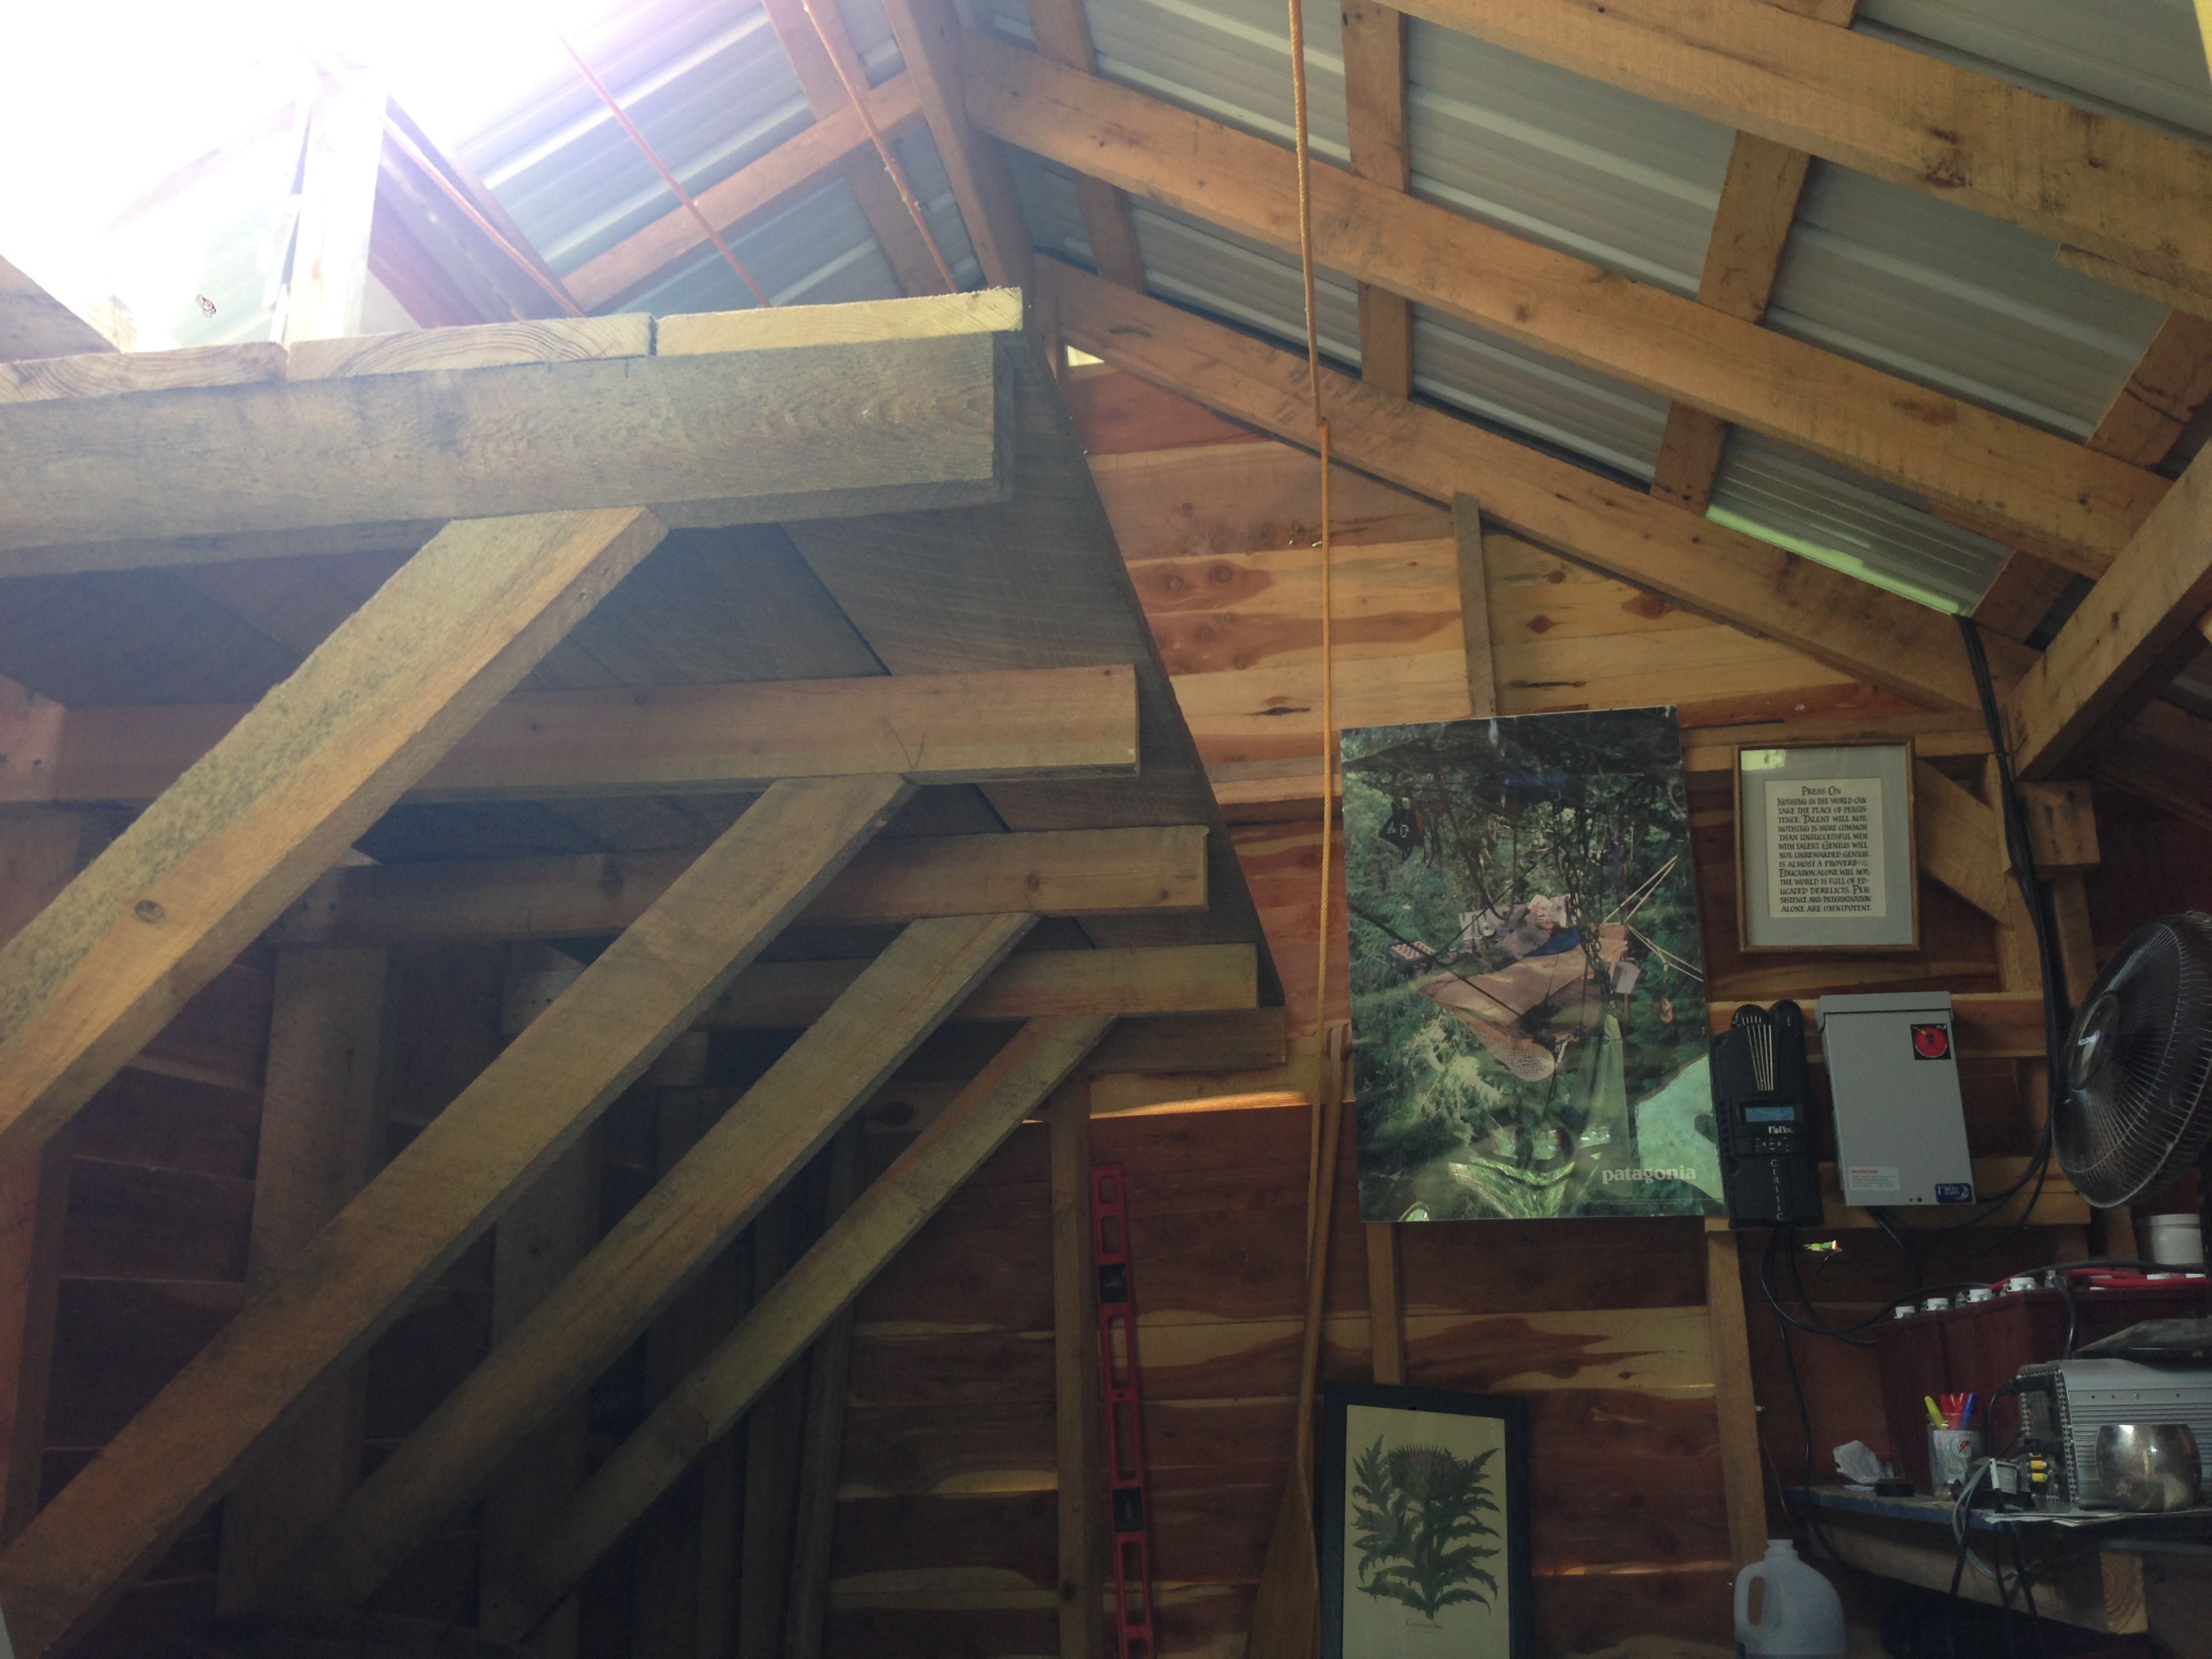
Framing
For the bones of the building, we chose to stick frame using 2x6 rough cut wood from a local sawmill. This would provide an easy way to get the walls up quickly. One drawback to using such a renewable and local resource is that the mill cuts green wood so the oak lumber is very heavy indeed.
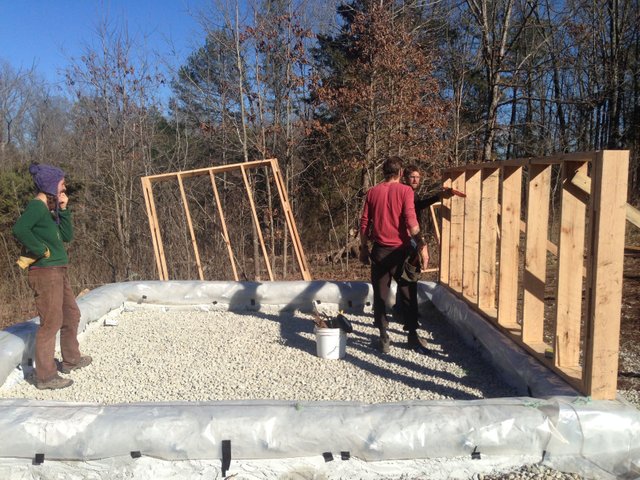
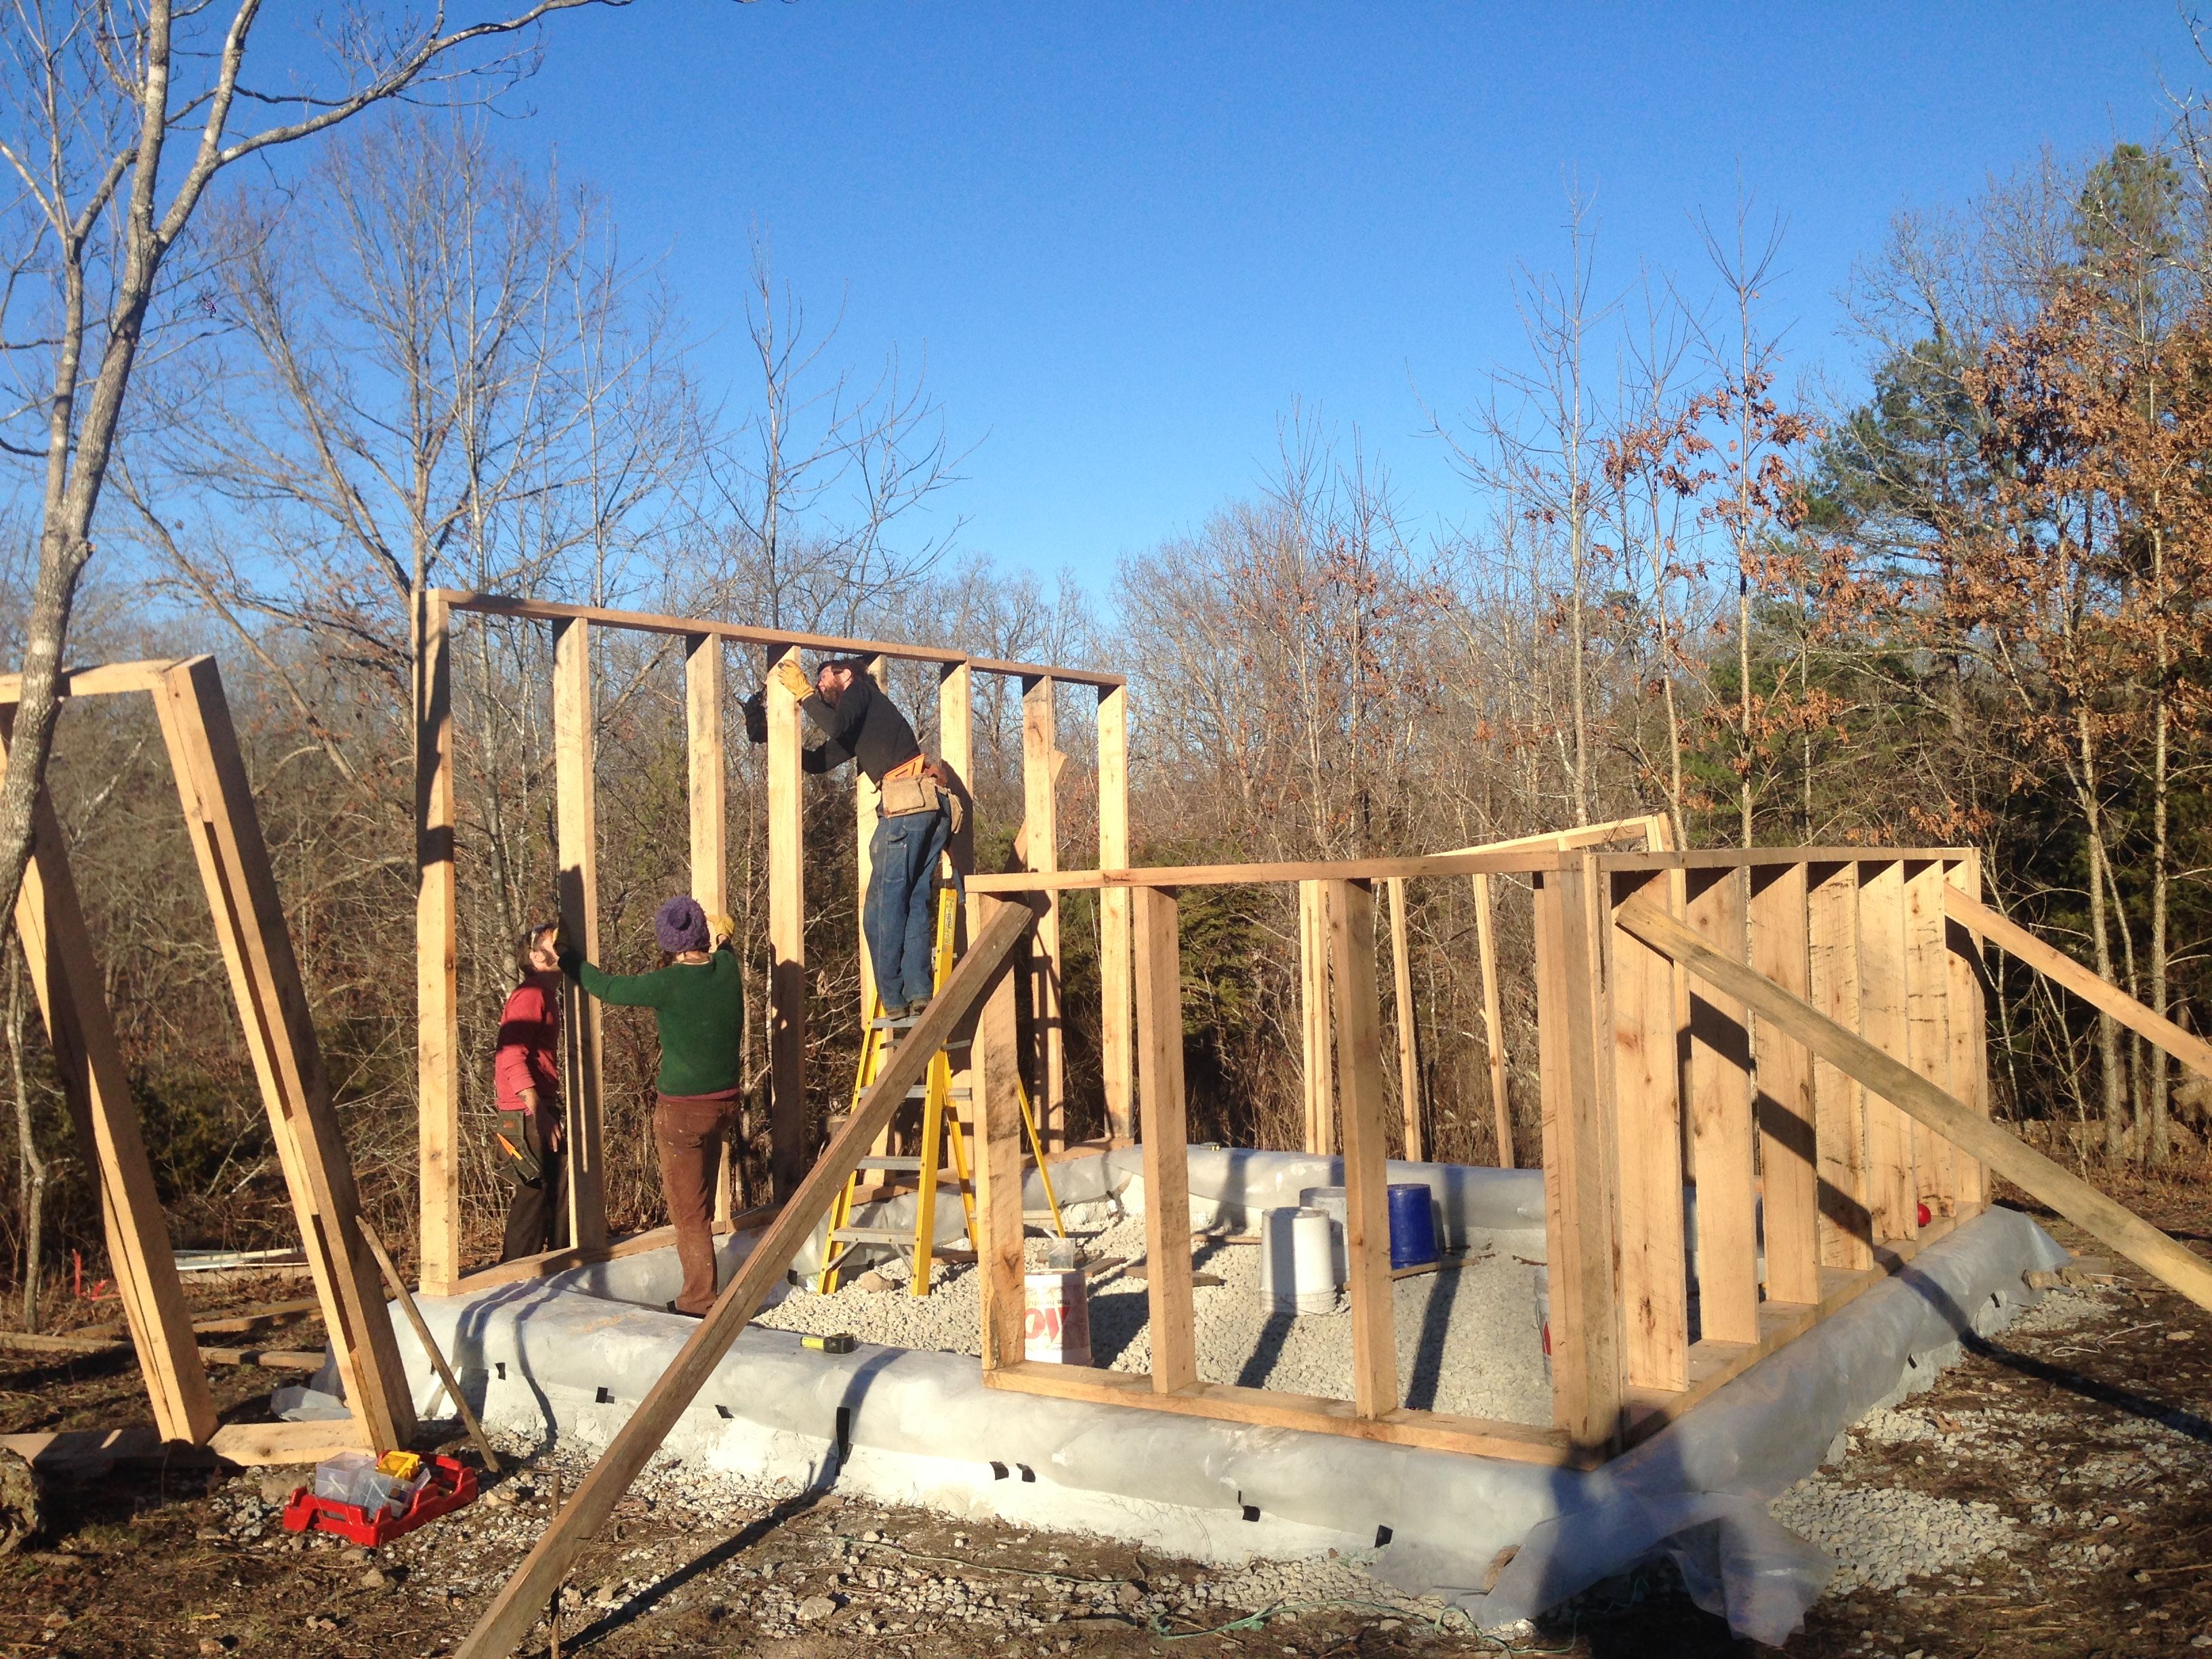
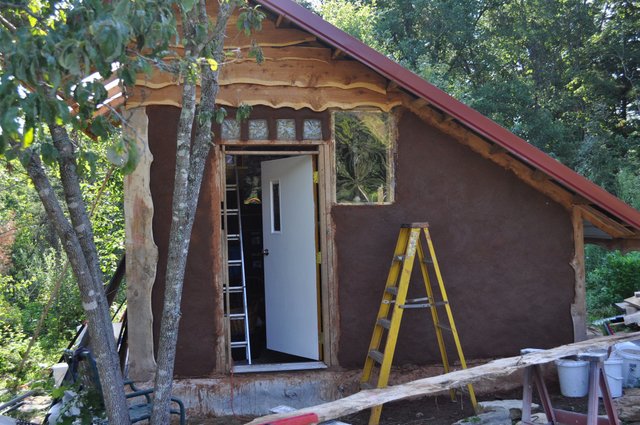
I built the wall section and we had a couple of our friends over to raise them up. That day I realized a big mistake I had made. I made each section 6” too short! We went to set the sills on the stemwall and found out the hard way how important thoughtful consideration and careful measuring is! We scabbed on 3” on either end and moved ahead. I added knee braces in each corner for stability as we weren’t planning on sheathing the building with plywood, the conventional method of preventing the frame from racking or gong out of plumb.
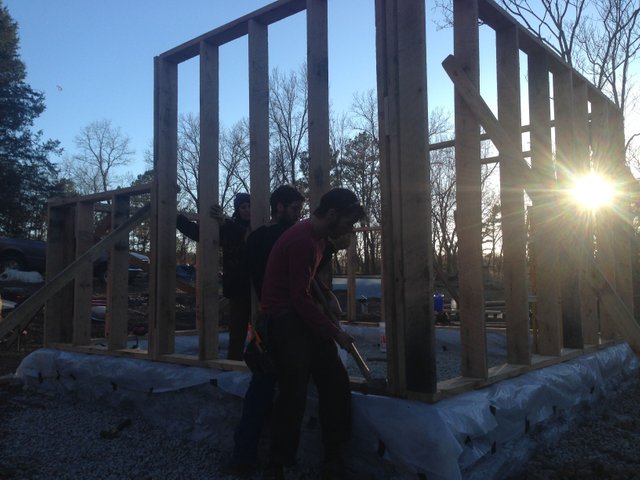
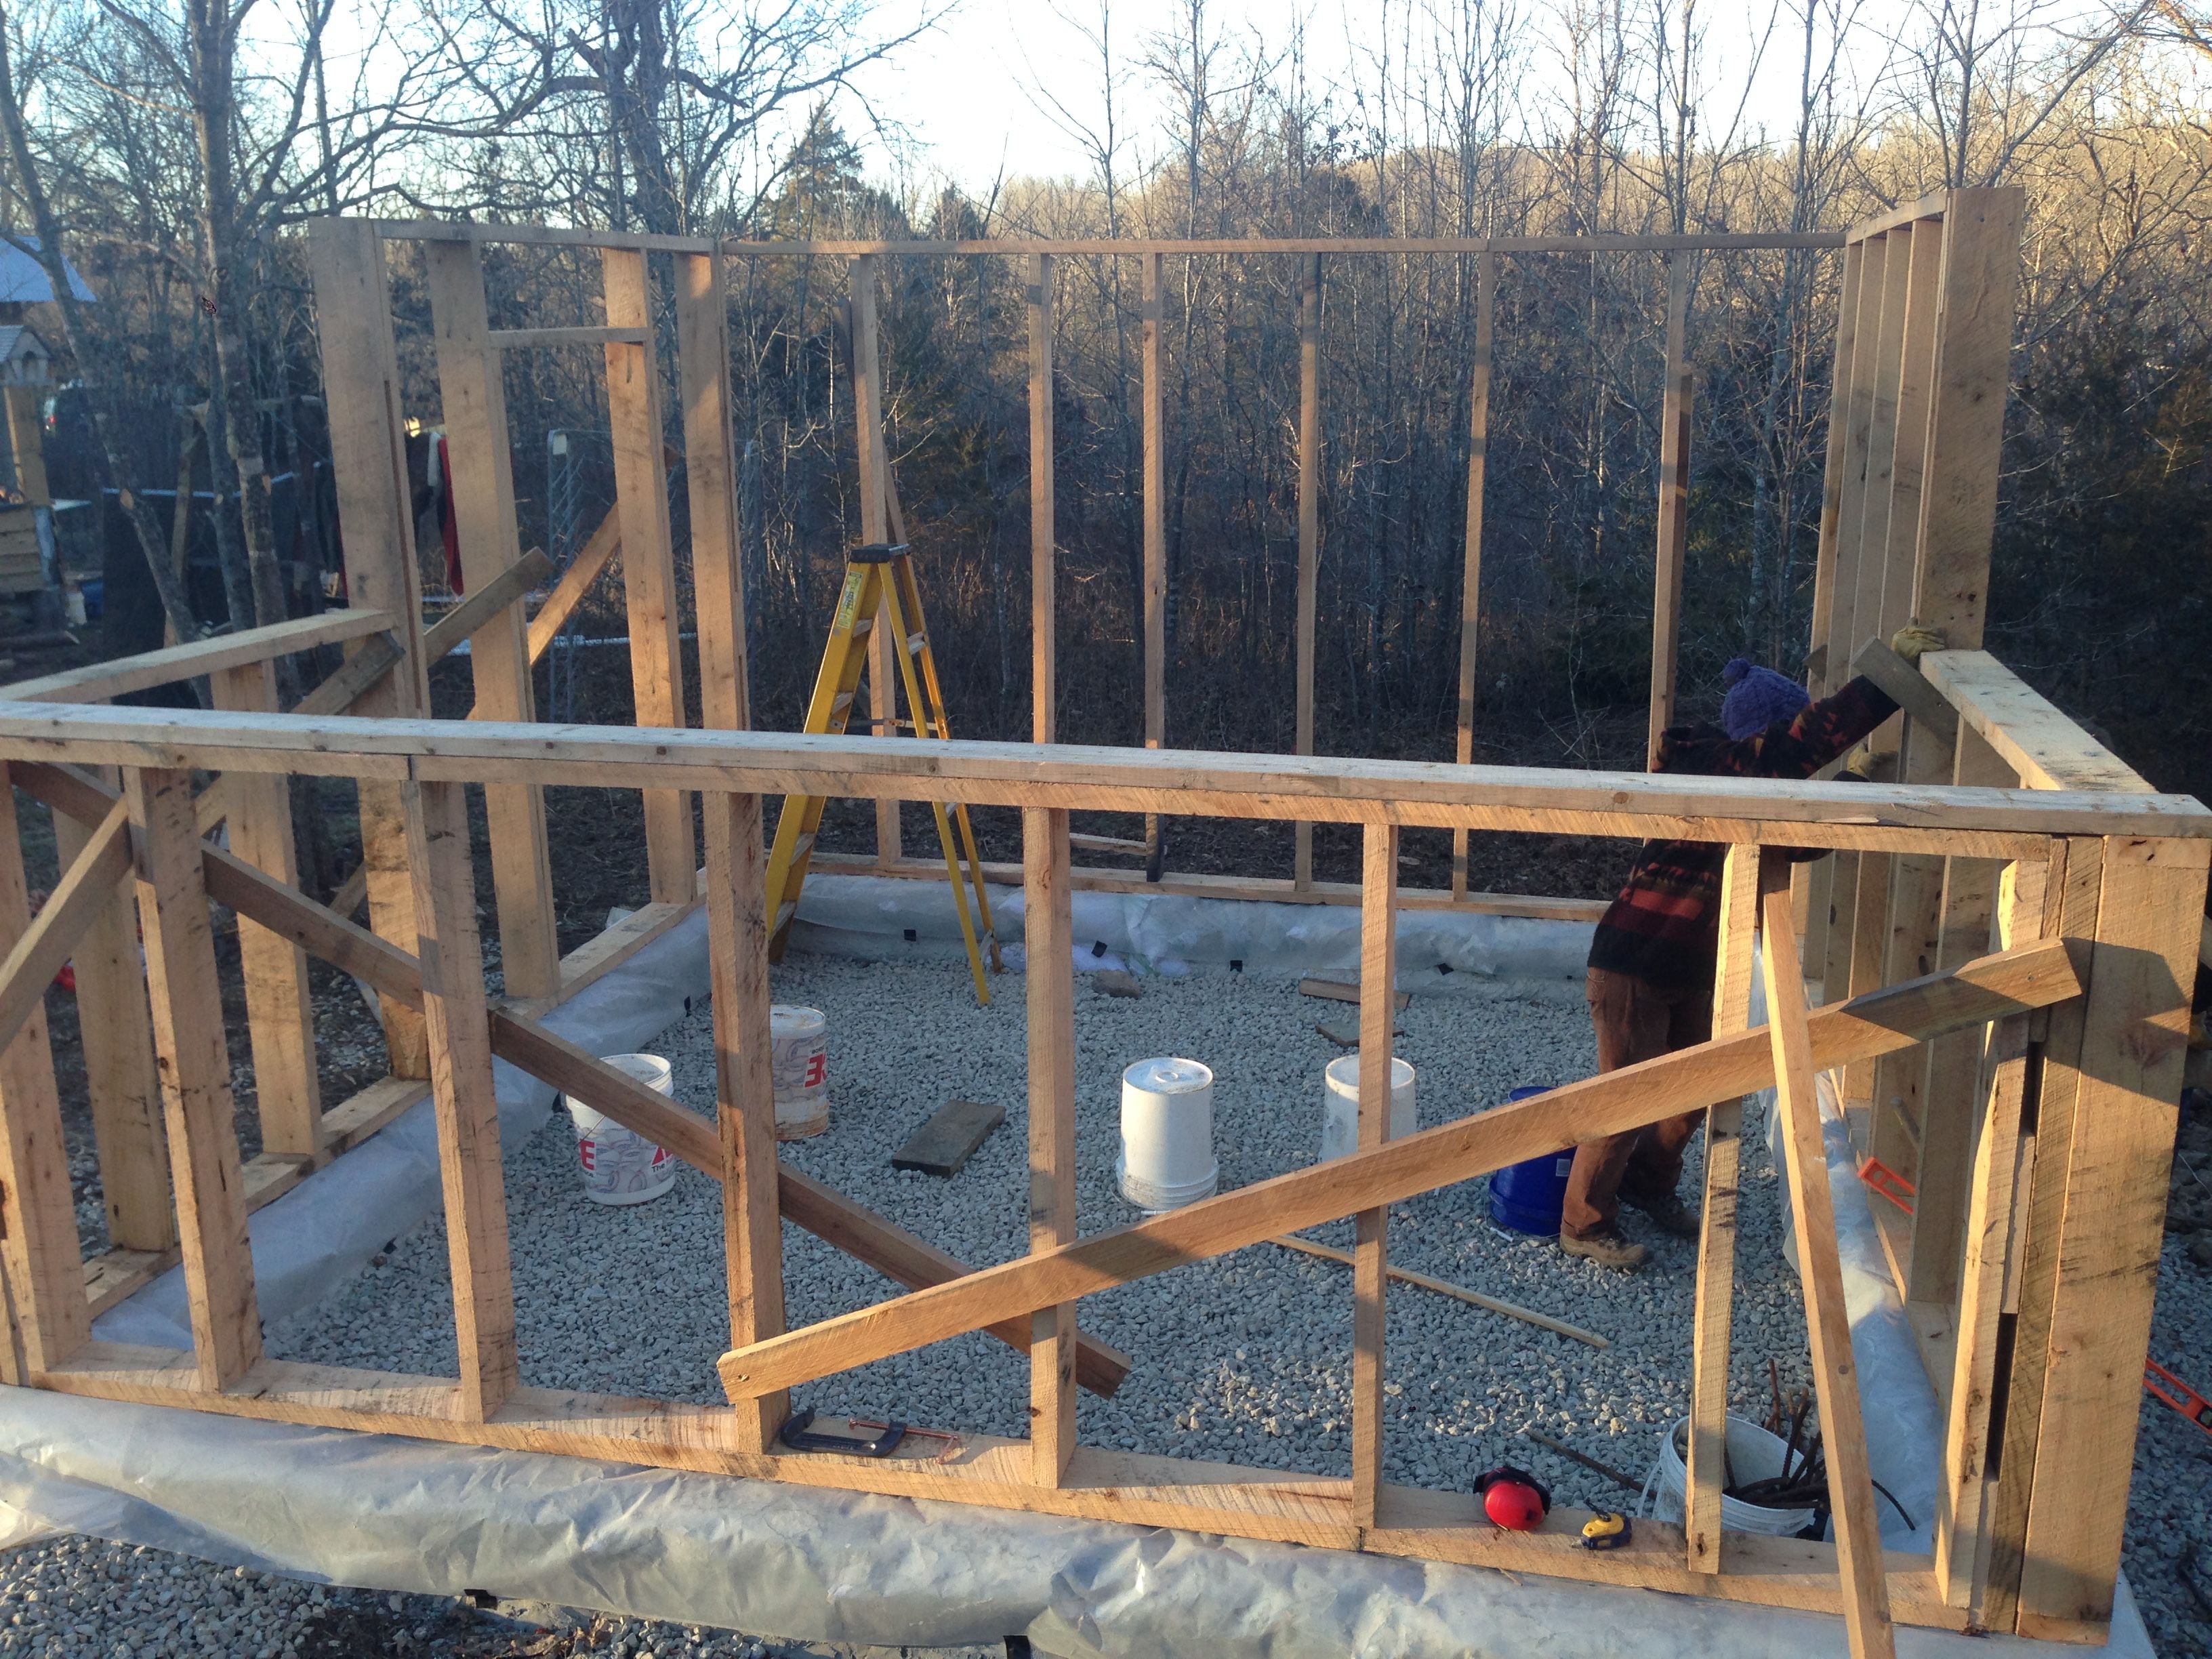
The walls really made the building seem real. Our ideas and design were coming to life and it was incredibly exciting to see it unfold!!
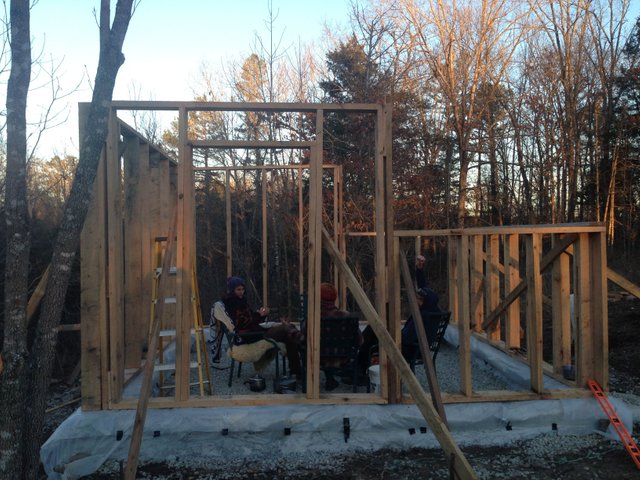
Eating dinner in the shed after a hard day's work
After that, we drilled holes through the bottom of the stud frame and hammered rebar through the stuccoed poly bags to attach them. This was a big question for us and we had trouble finding good information about it. Ultimately we decided to "get some purchase" in that way, although some people do just "float" the building on top. We've had no issues with our method.
The roof
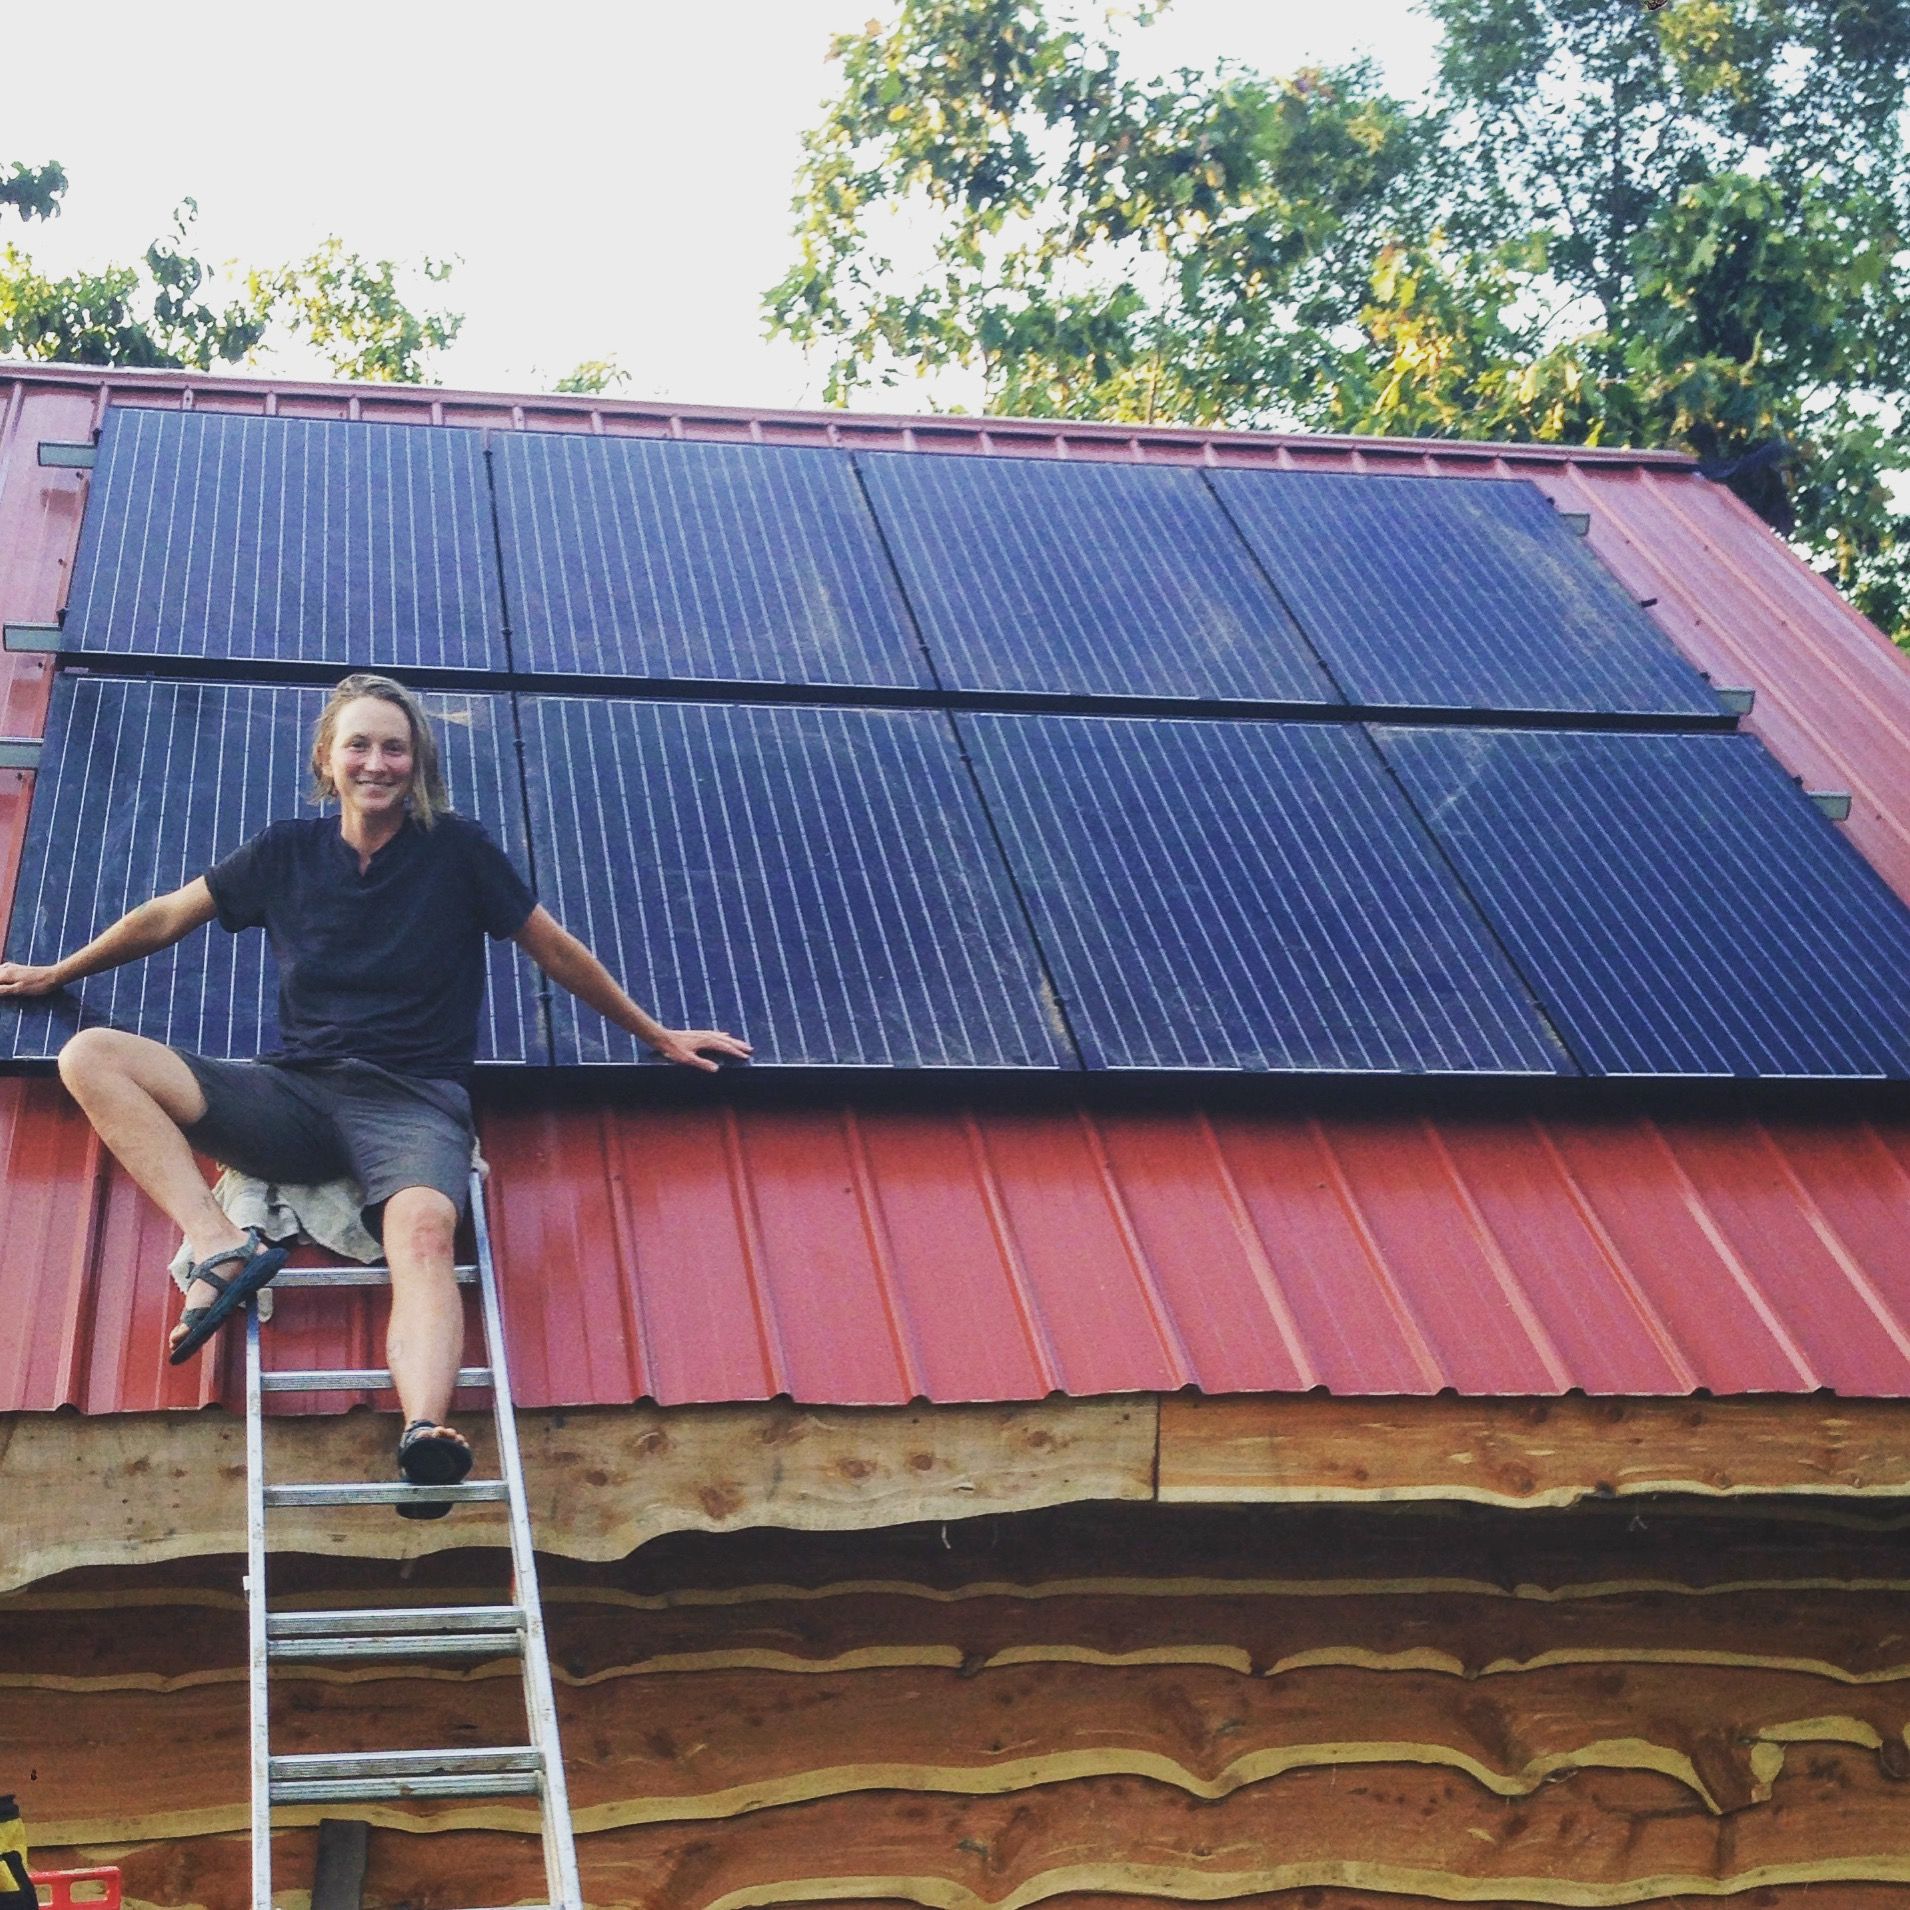
The roof design came from the need to place our solar panels in an optimum position for maximum efficiency. This meant a gable roof with one long span facing south and a shorter span to the north.
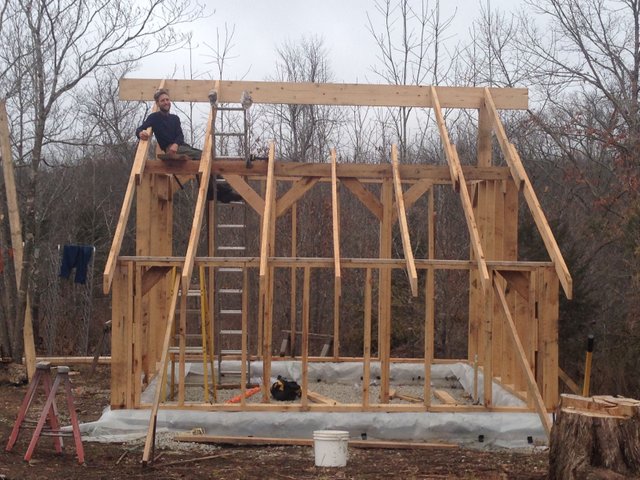
We looked up span tables to figure safe loads for rafters. To make things easy, we laid an internal support beam (essentially a 4x6 made from two 2x6s) to reduce the roof span. This meant we could use 8 foot long 2x6s as rafters. I cut bird’s mouths into the rafters so they could sit flush on the sill and support beam.
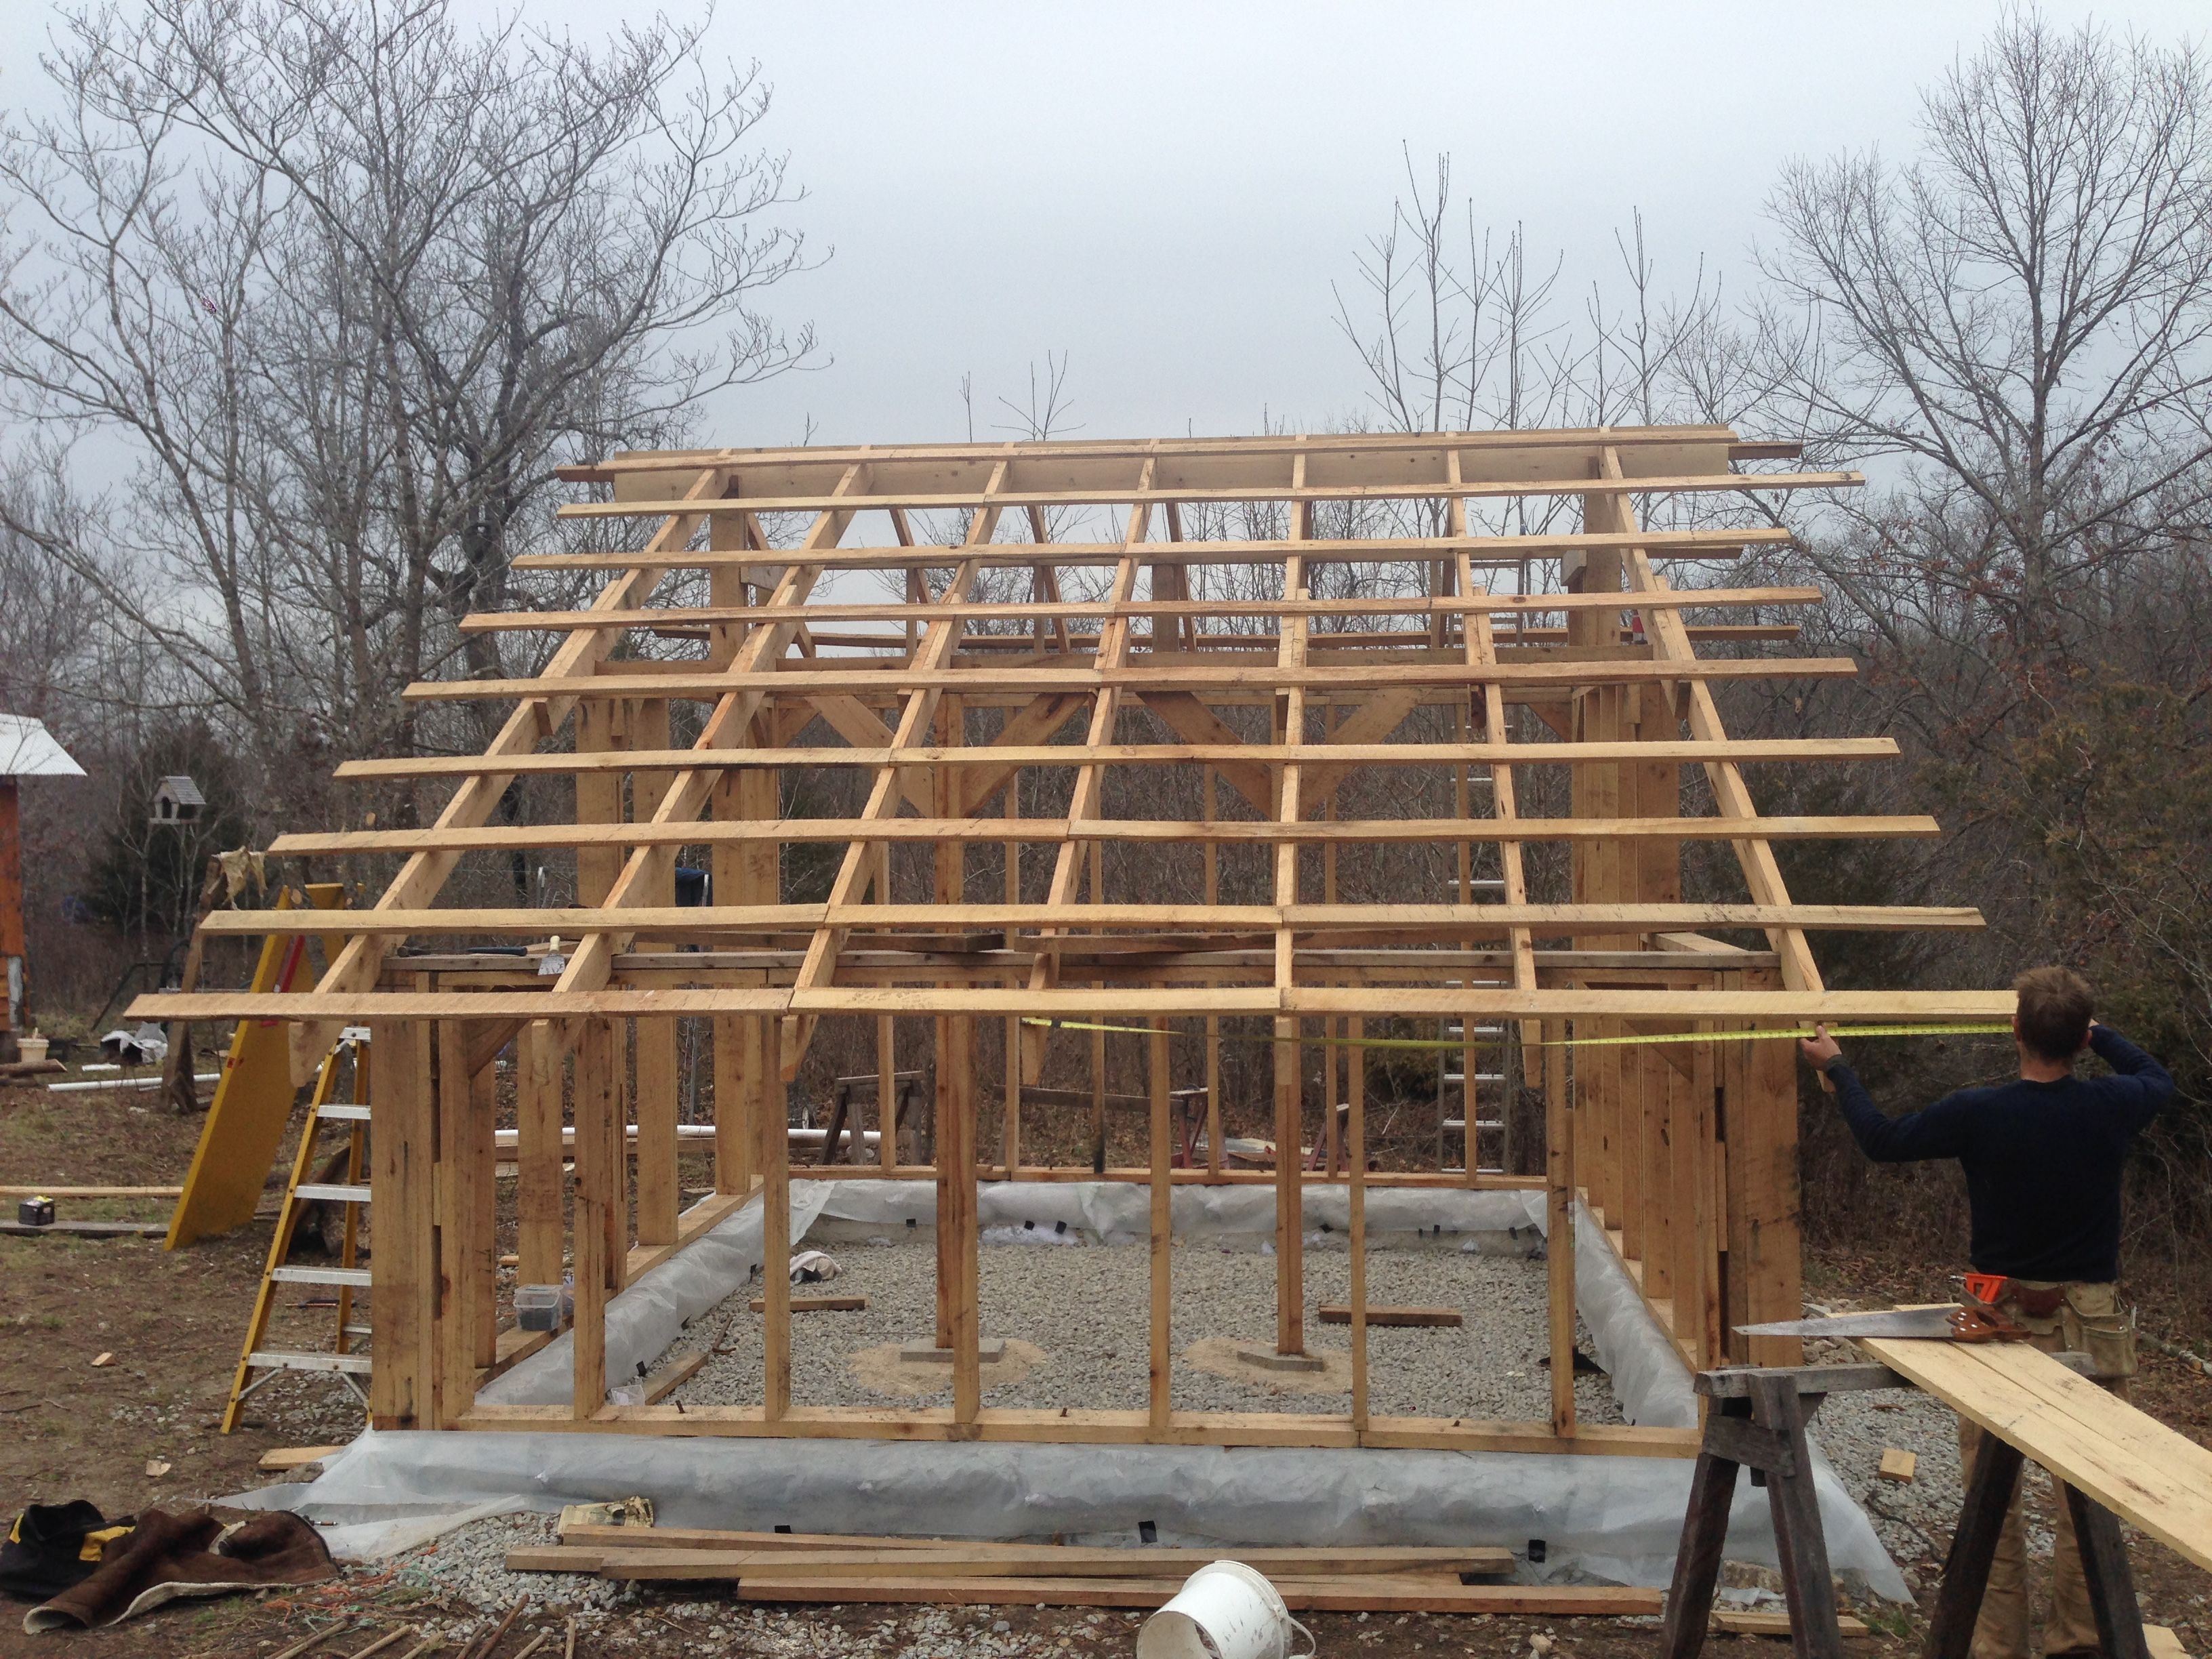
The only store bought lumber we used was a 2x12 ridge board. This board spans the whole building and supports the rafters. We need 18.5’ to allow for a 2 foot overhang on both ends.
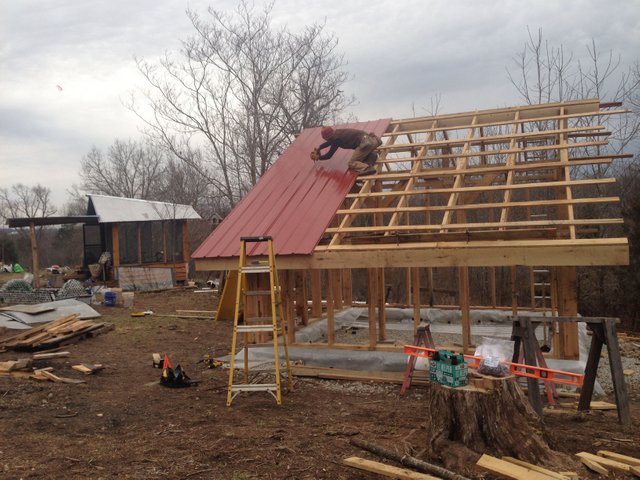
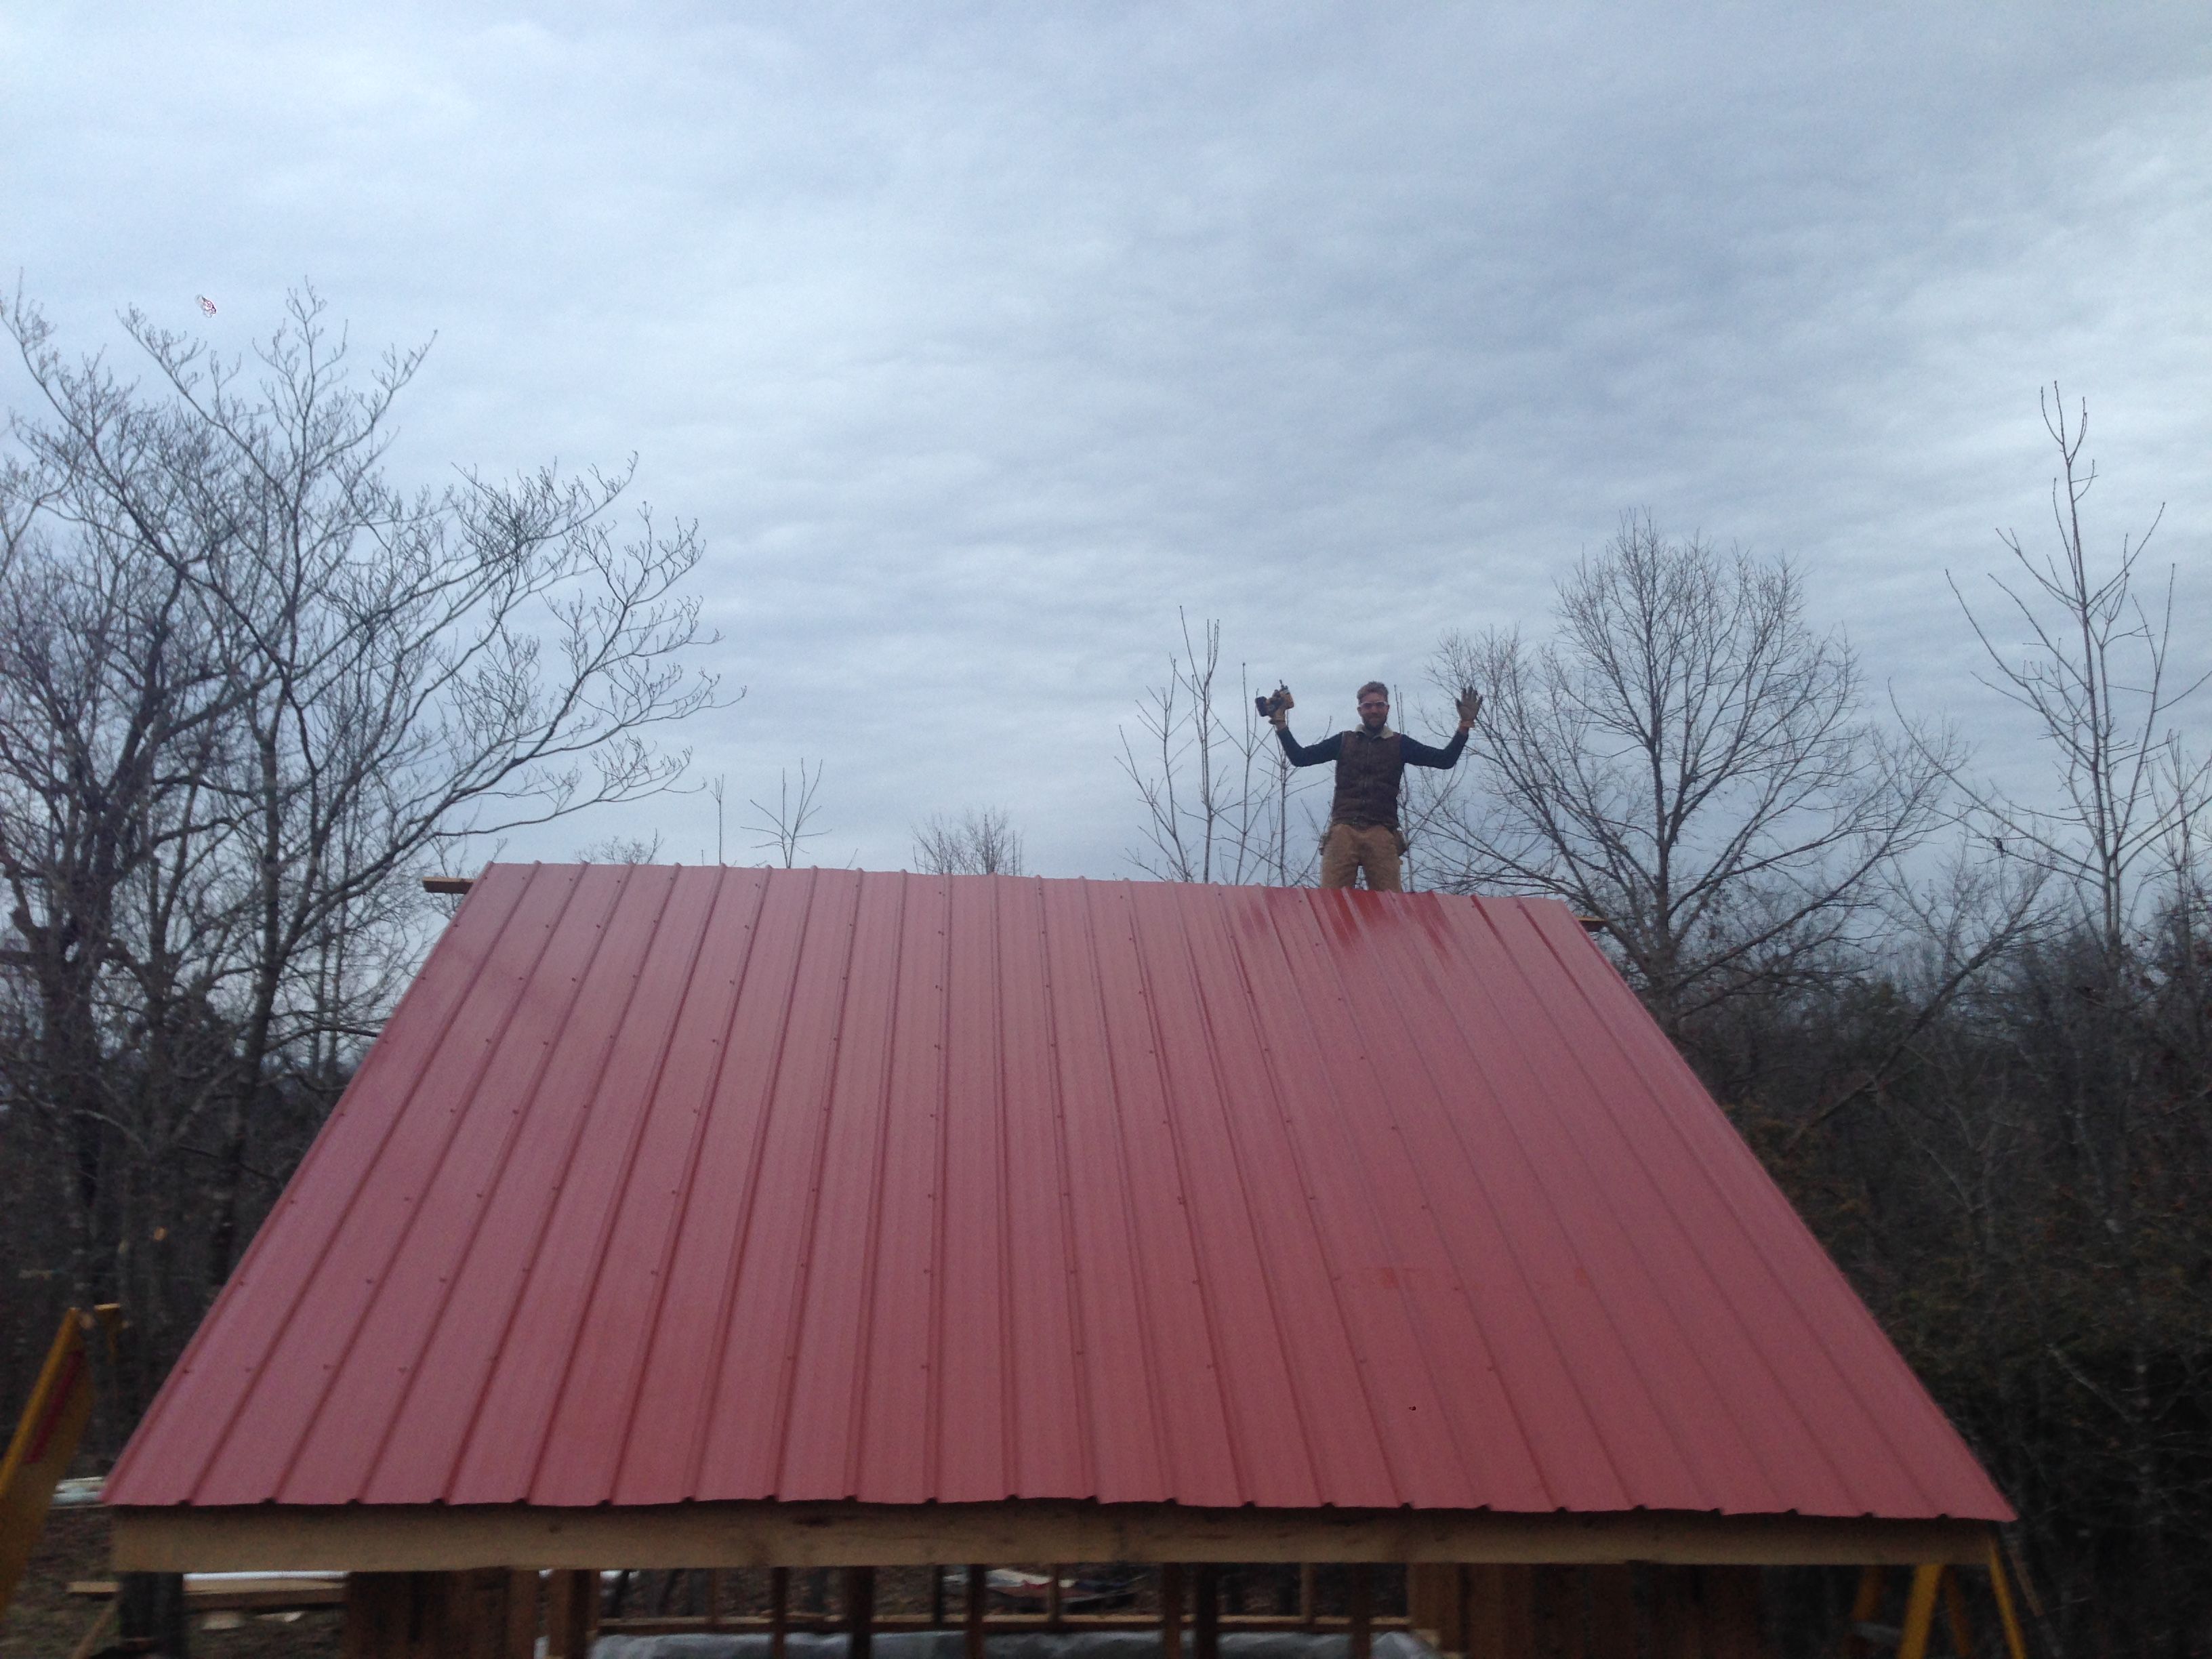
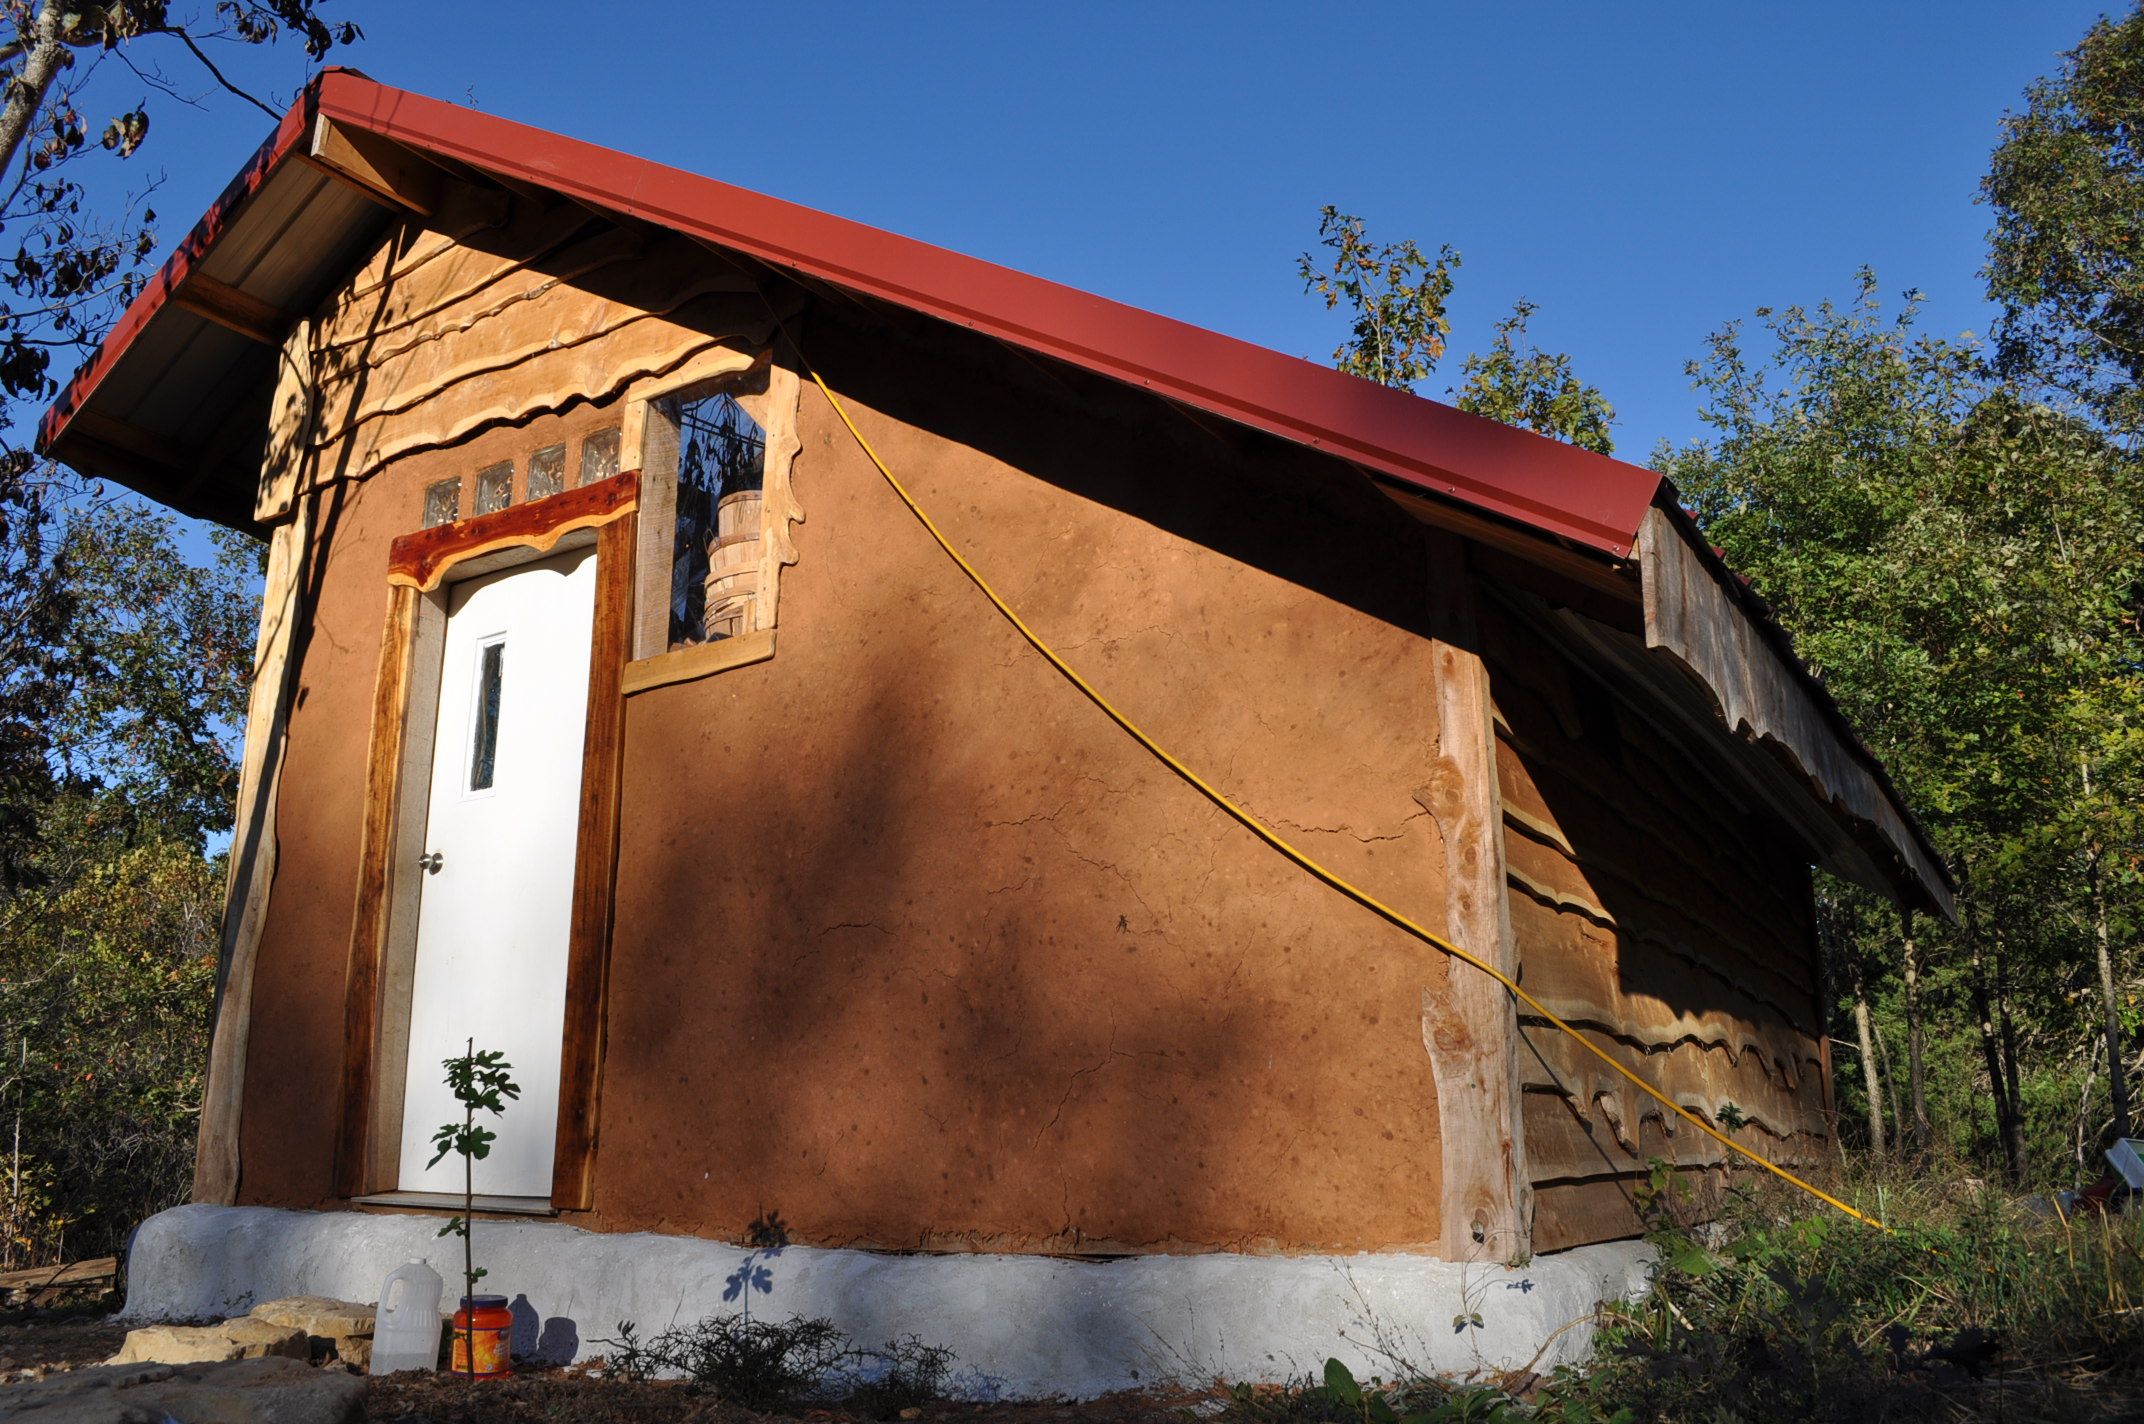
We ordered baked-on enamel metal roofing from the local hardware store and had it delivered for $10. This was by far the most expensive part of the build. The benefits of this sheet metal roofing is that it is installed quickly and easily, the water collected is safe to use for drinking water and watering the gardens (not so with asphalt shingles or galvanized metal roofing) and the paint is guaranteed for 40 years. It is not a truly natural product in that it is produced with chemicals in a factory, but it should last a lifetime and we feel it is the best option. We also included a polycarbonate panel that acts as a skylight on the north side.
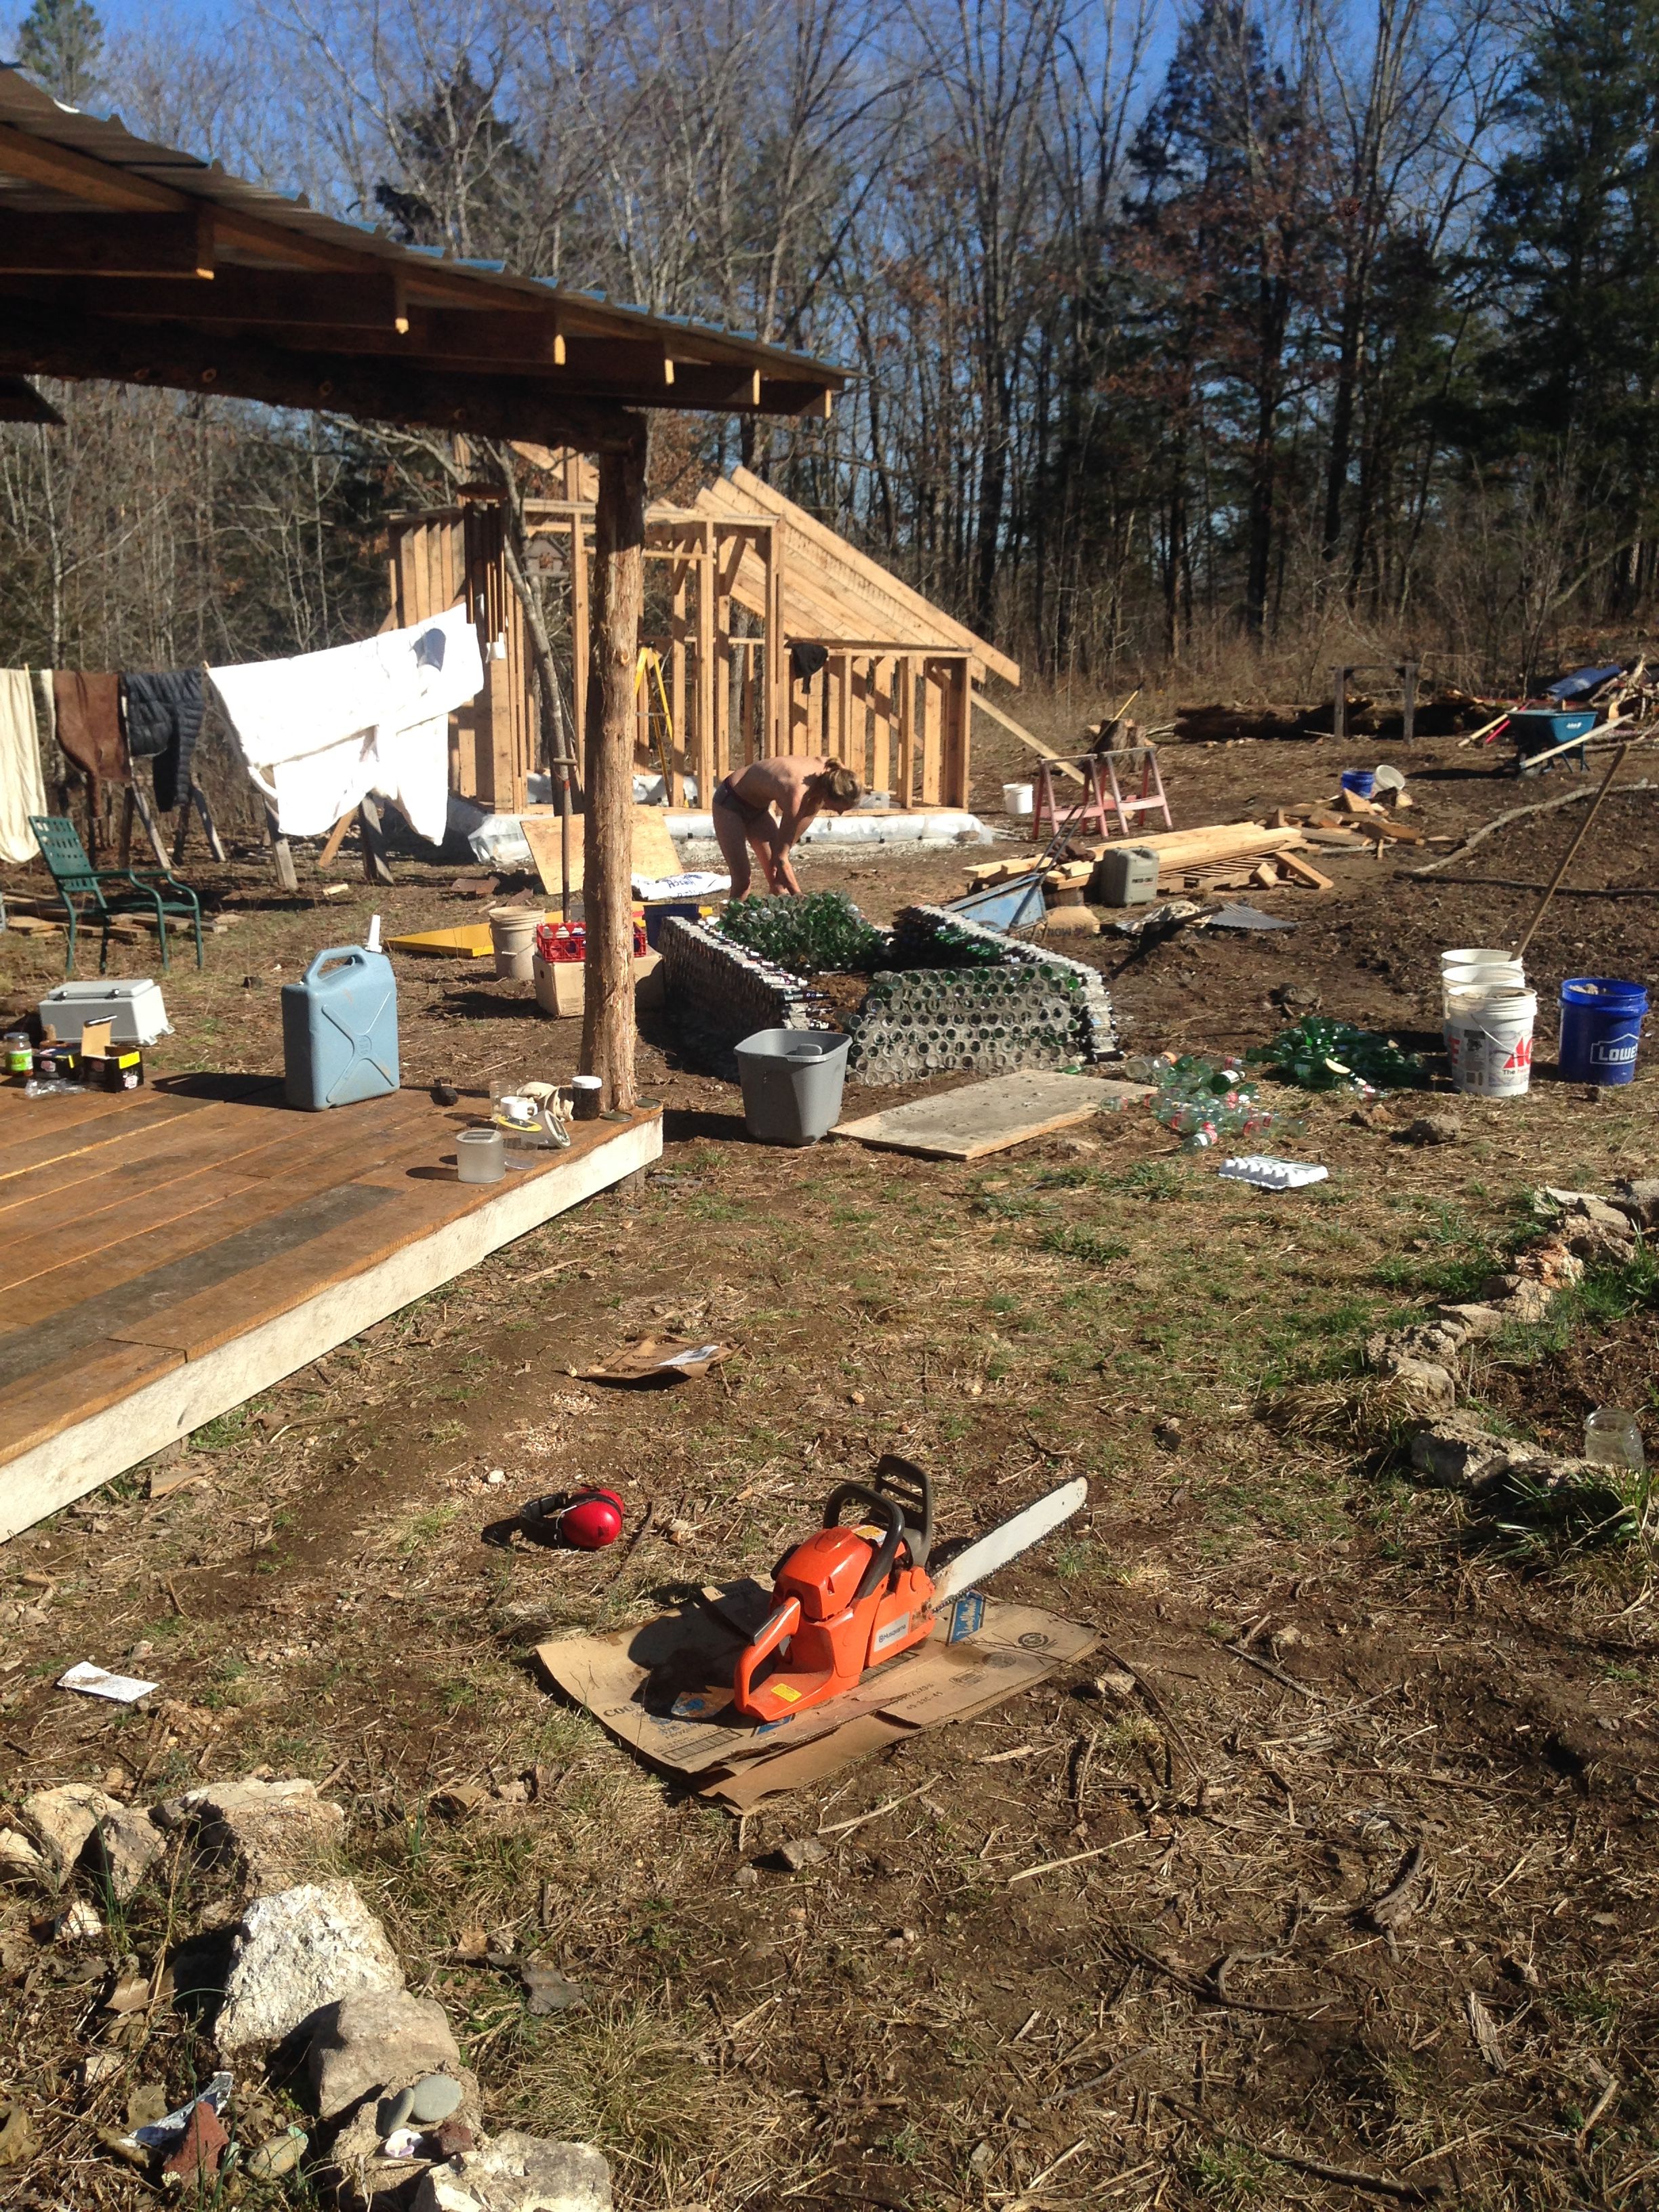
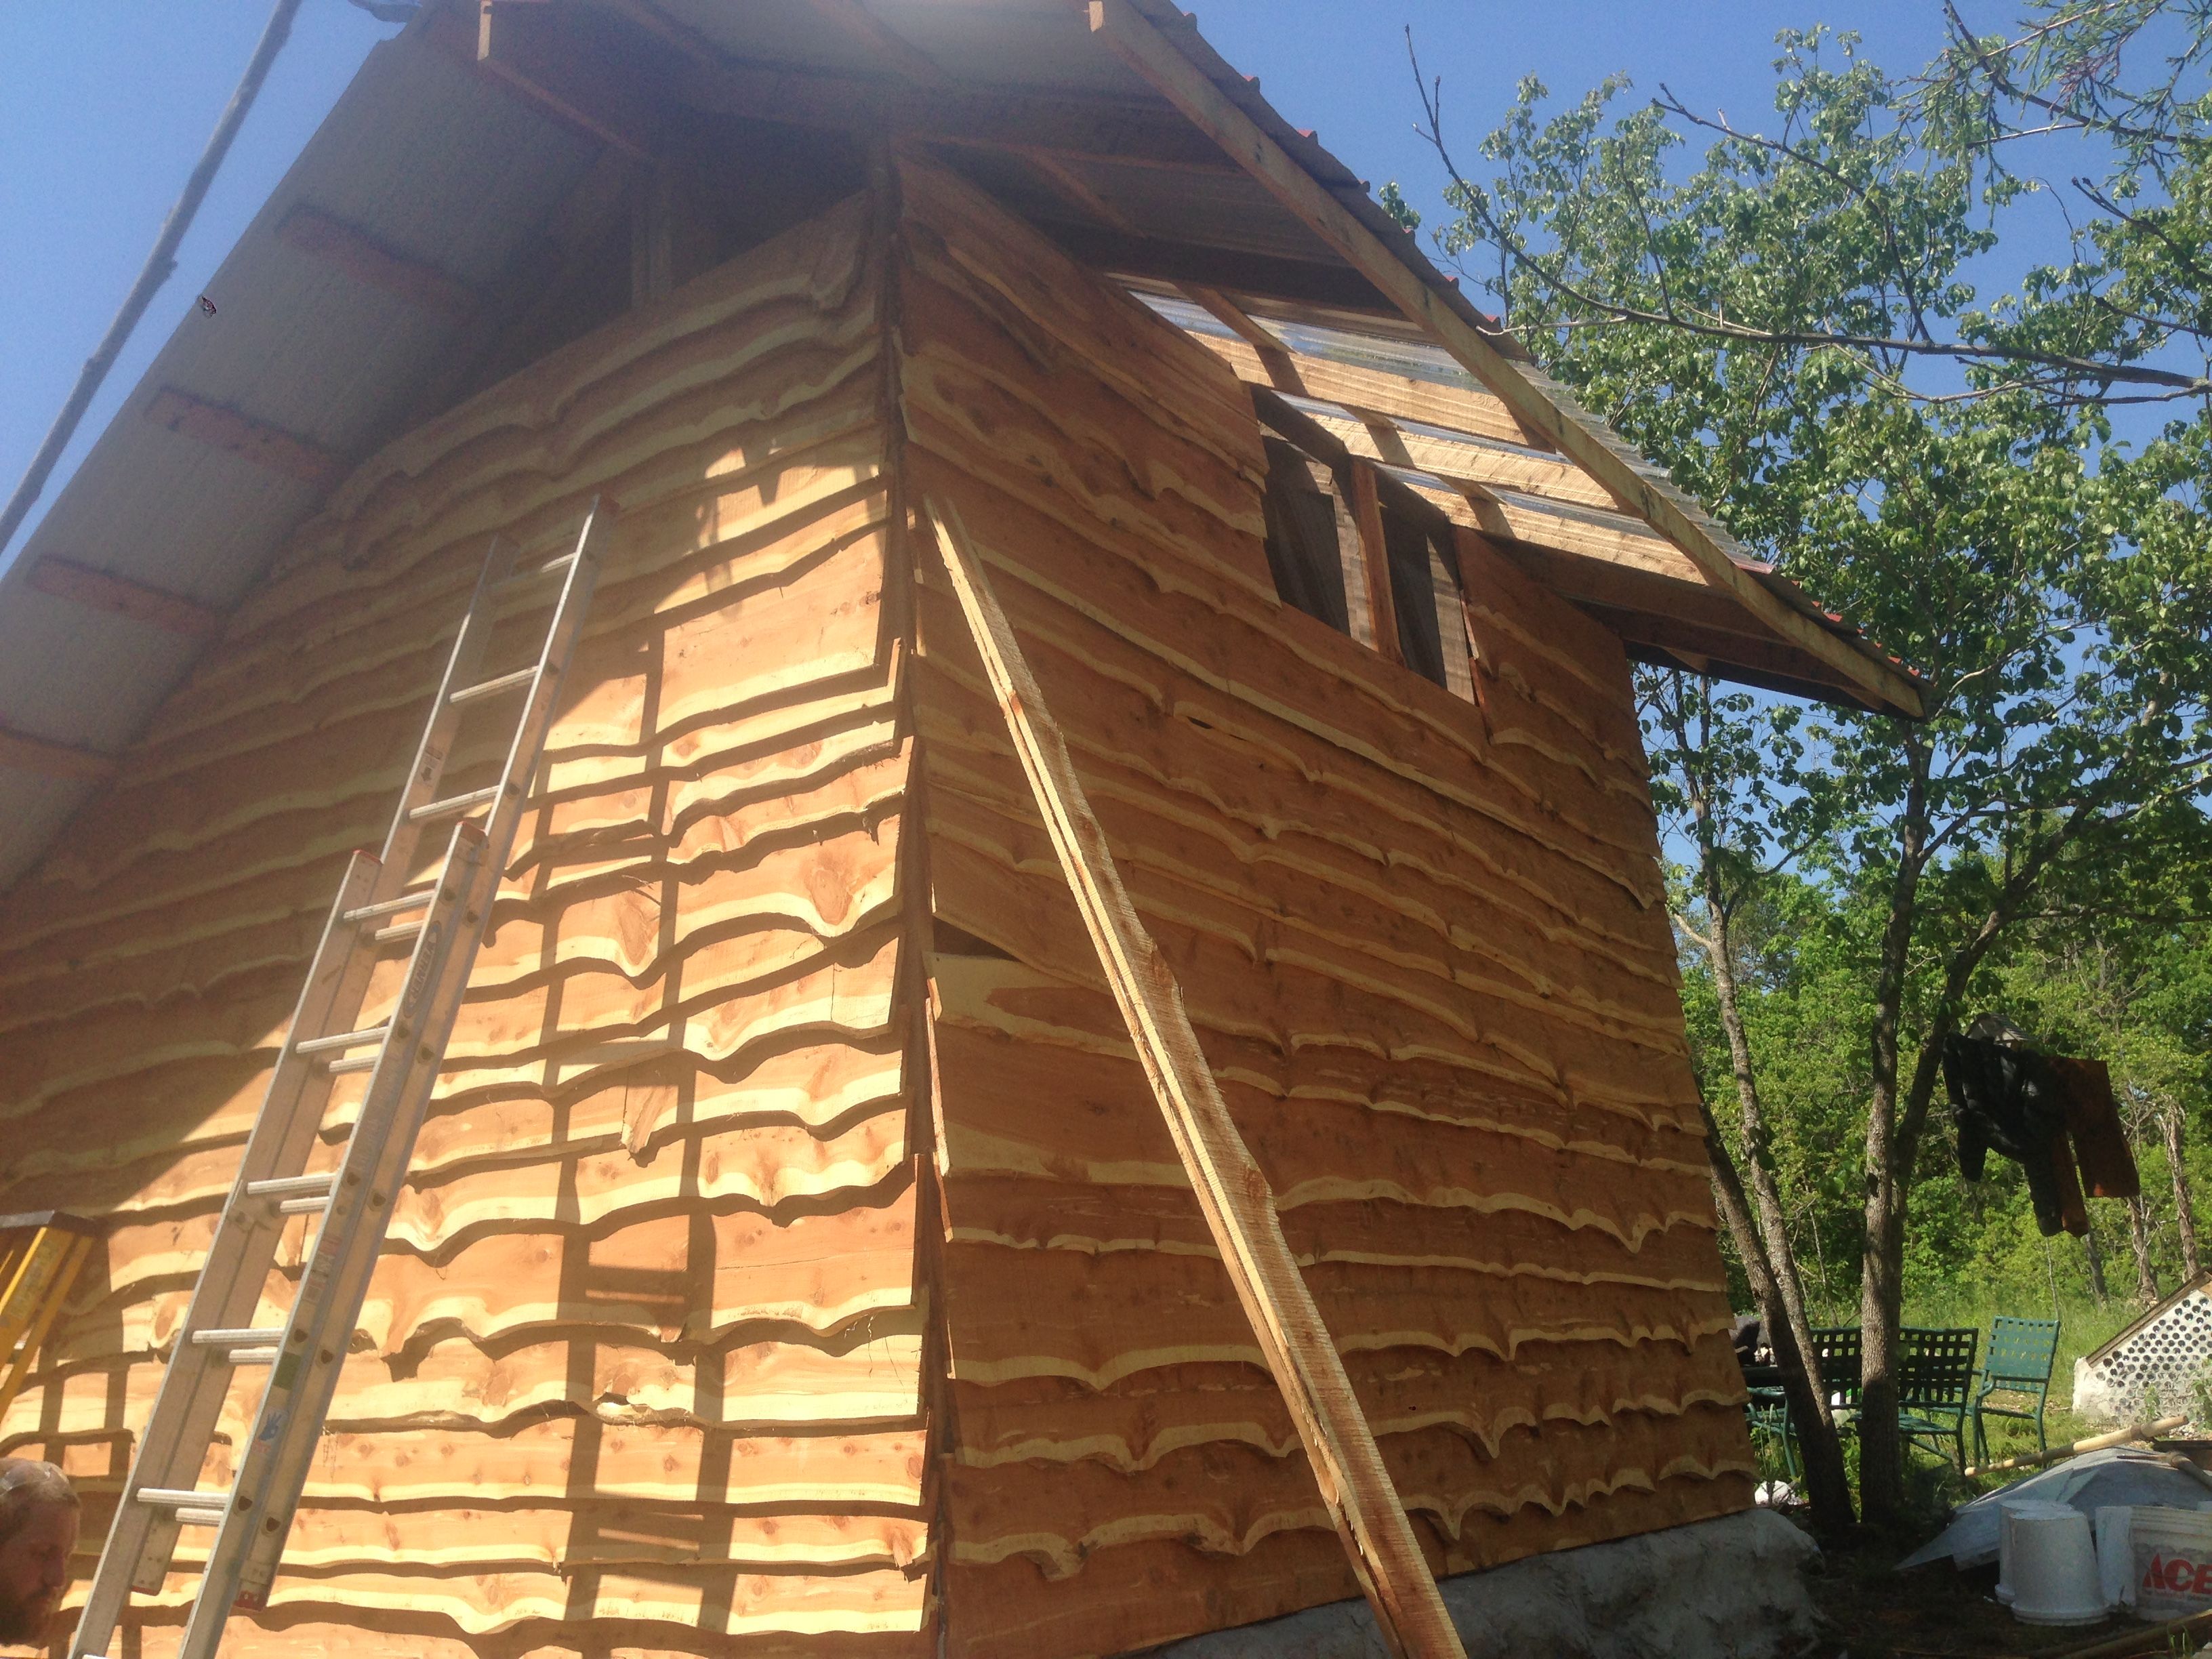
Walls
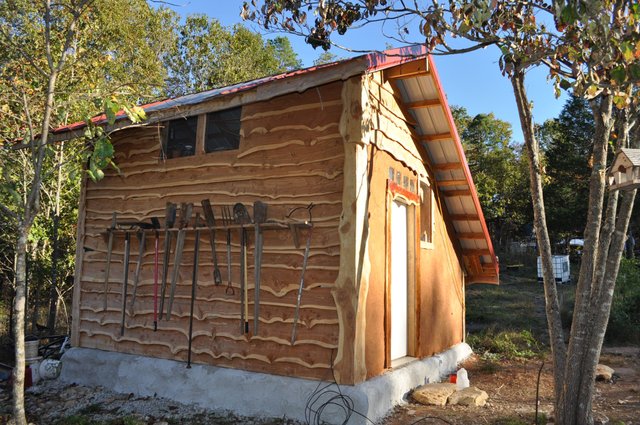
We wouldn’t be insulating the walls, but still needed a way to close the building off. We chose to use live edge cedar siding cut from our land. We wrote a post about it here. All of the siding was grown within 200 feet of the building- now that’s a local resource! I started off cutting the cedar into ¾” slabs using a chainsaw mill. I quickly realized how long that would take. Blessedly, during the filming of Homestead Rescue on our land, a saw mill was brought in and we were able to have the siding made in short order!!

The Western wall was infilled with slip straw and plastered with clay in an effort to reduce the heat transferred from the western sun into the building and for aesthetic appeal (we may do a painting or mural on it with natural pigments in the future!). We put up temporary forms (plywood screwed to studs) and loosely packed straw that had been tossed in a clay slip. This technique was traditionally used in European timber frames, but also fits well in stud framed buildings. The clay binds the straw together and once plastered creates a very strong wall.
The first step to plastering was a slip coat. Using a clay slip we covered all the straw. This prepares the wall for future plaster. We mixed sand, clay, rice hulls and turkey manure and applied it to the wall be hand (we'll do a post detailing how to do Slip Straw in the future).
Details
We included more than twice the vent surface area recommended for a building of this size. We installed 2 vents on the low southern wall and a large screened area high on the north side. This creates a nice upward flow of air and keeps the building fresh.
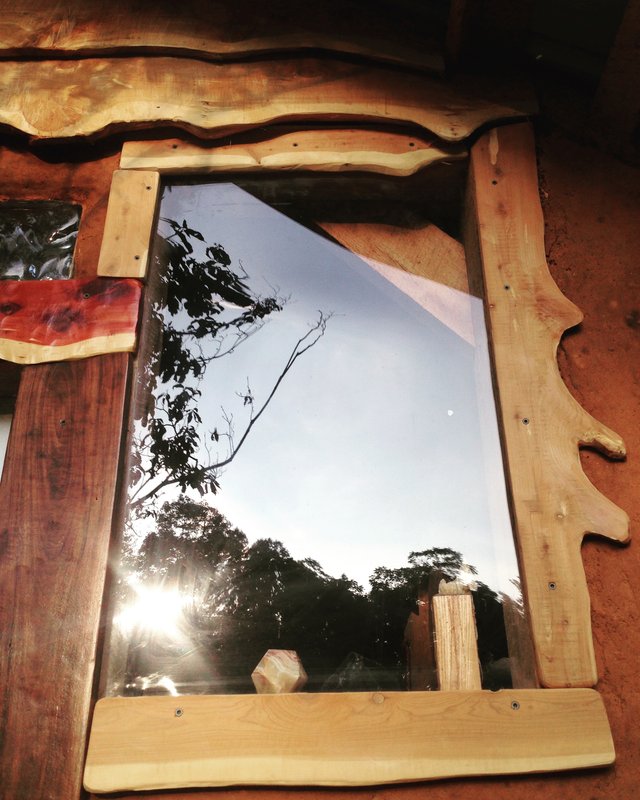
We had some extra plexiglass and used it as a window on the western side. We framed the window with off cuts from the live edge siding. The door came from Habitat for Humanity’s ReStore for 5 dollars. We framed the door with walnut and cedar cut from our land as well. Everything was coming together beautifully!
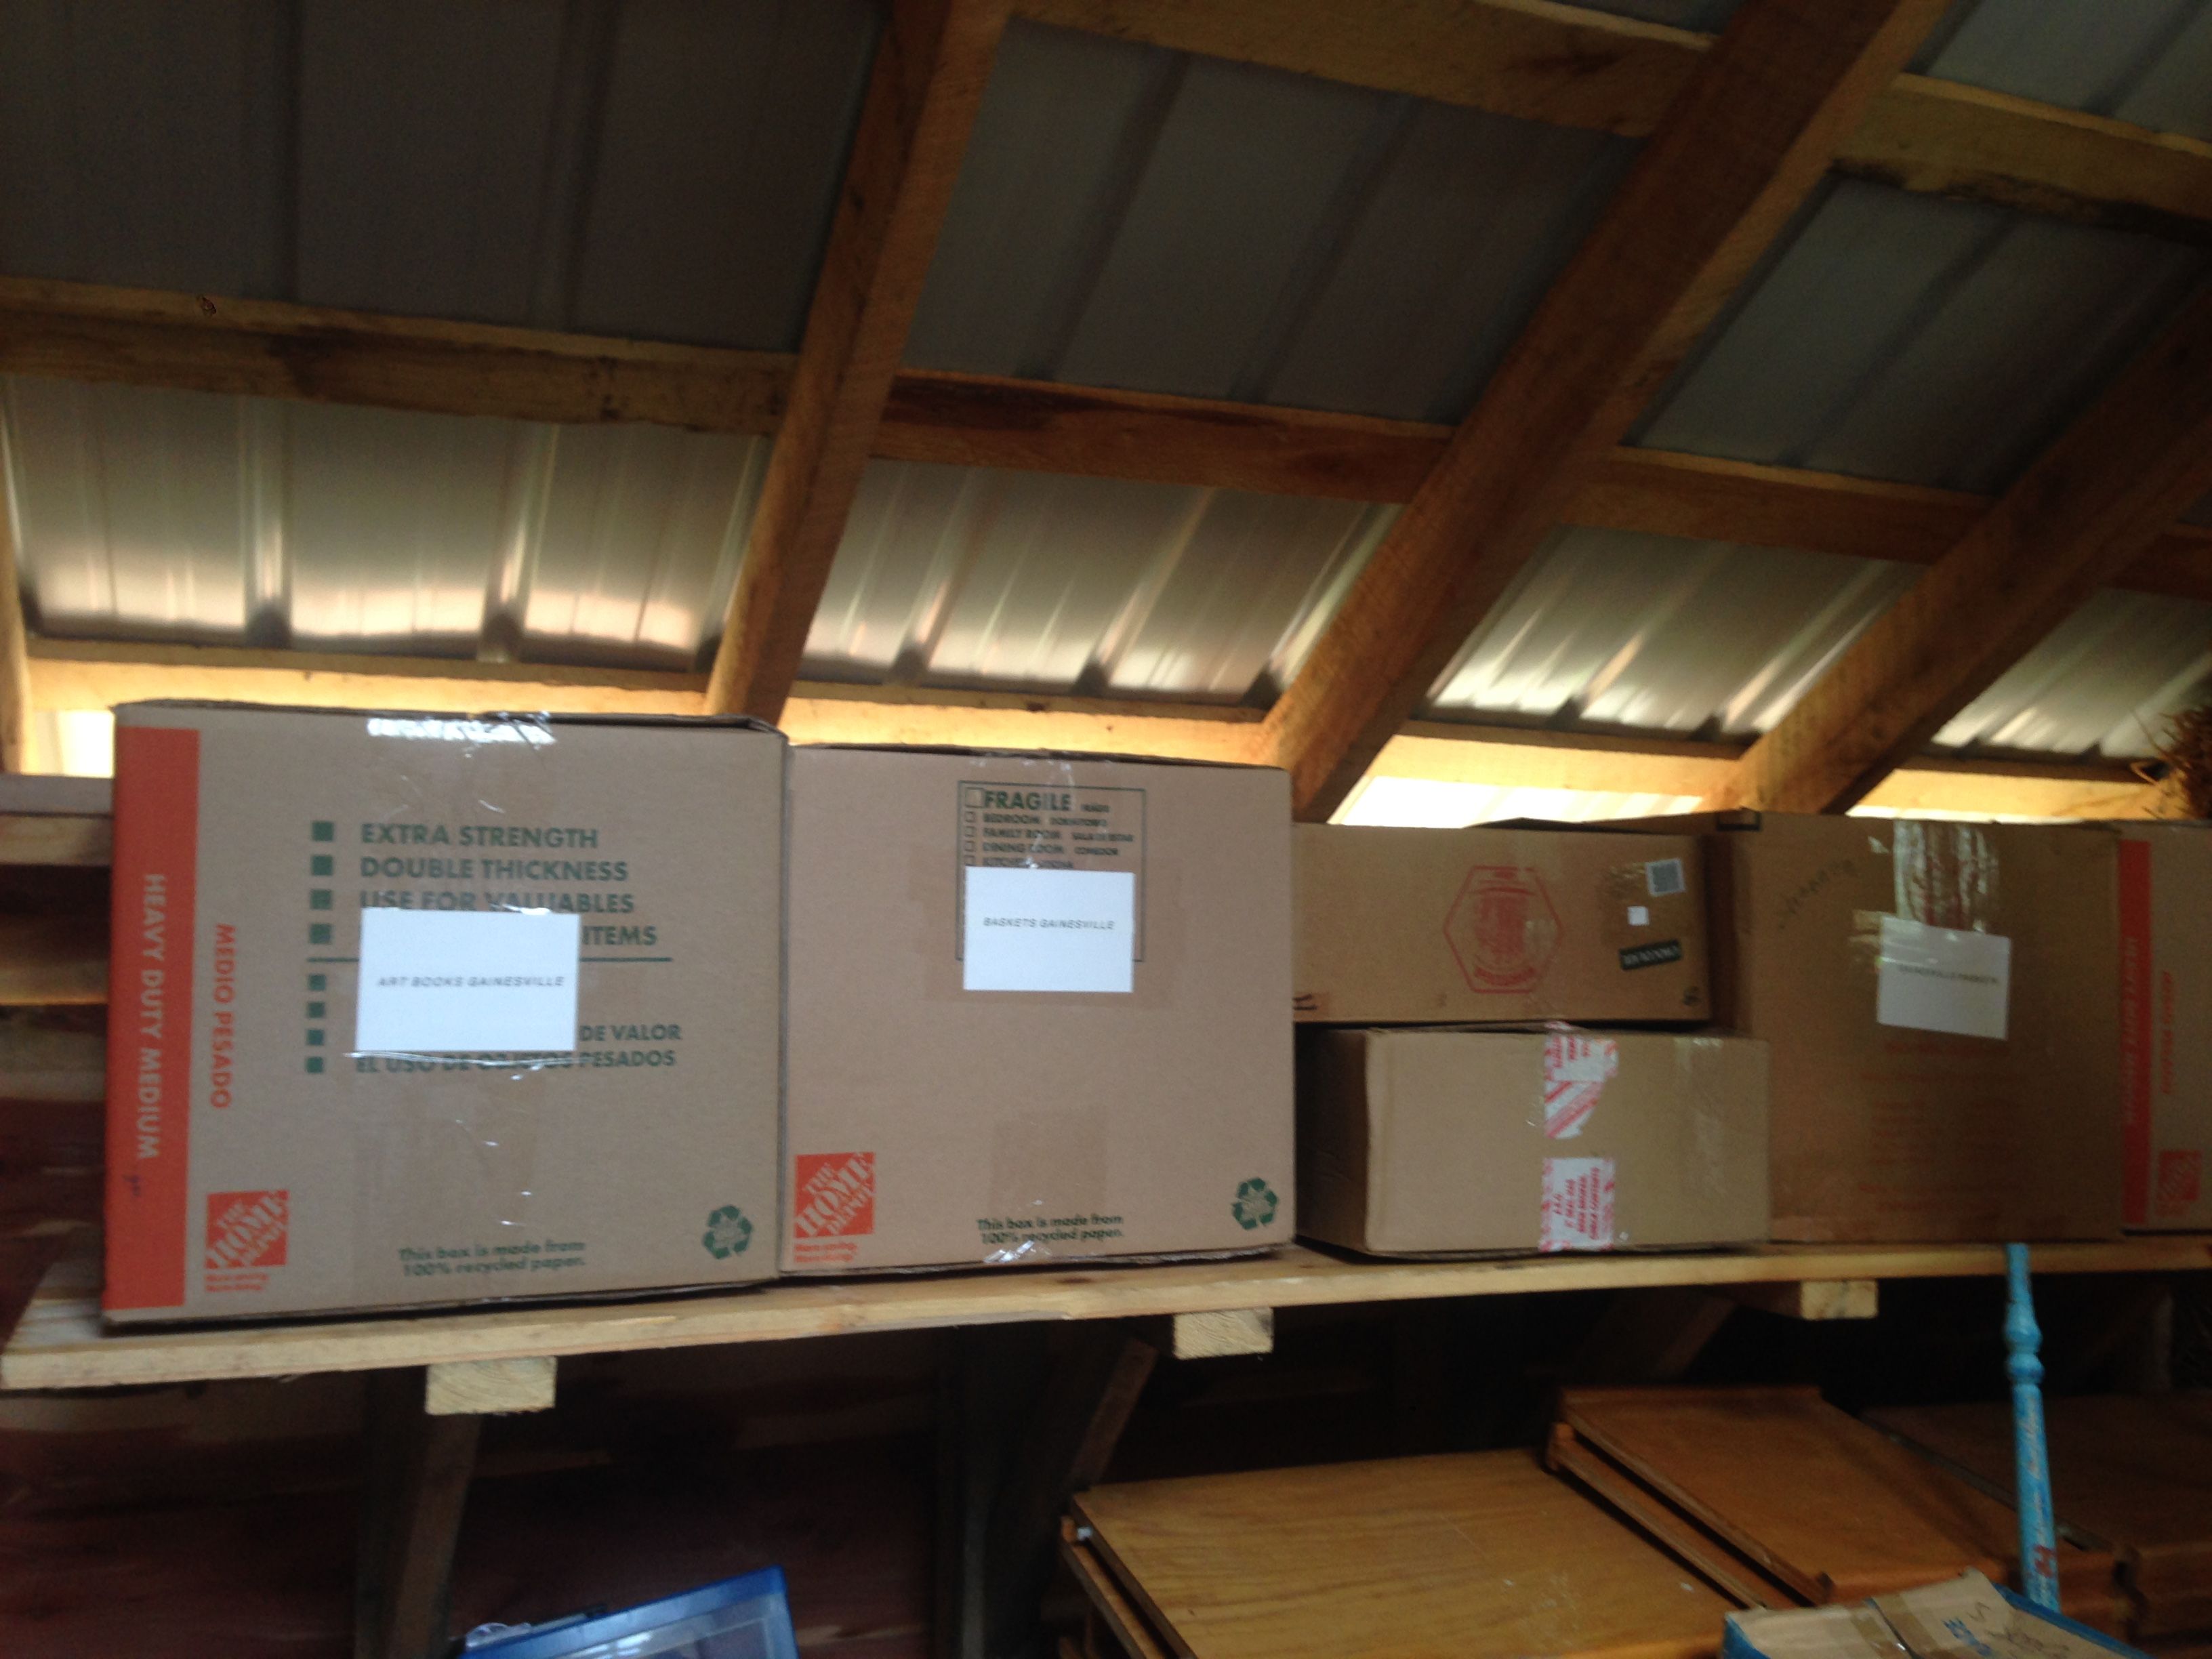
Shelving was added around the entire building a few months later and made a huge difference in efficient space usage and organization.
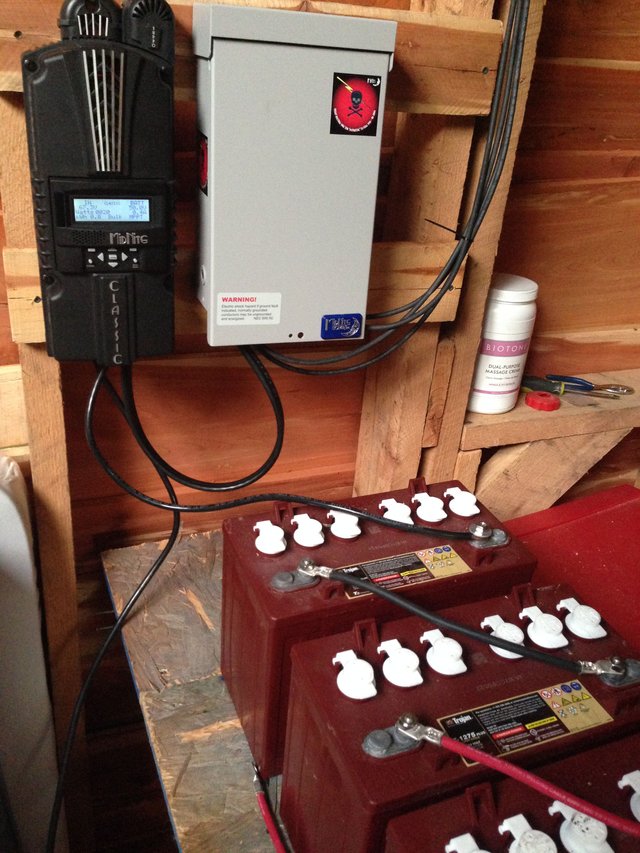
We installed a solar system ourselves, built the loft space and put a bed in it.
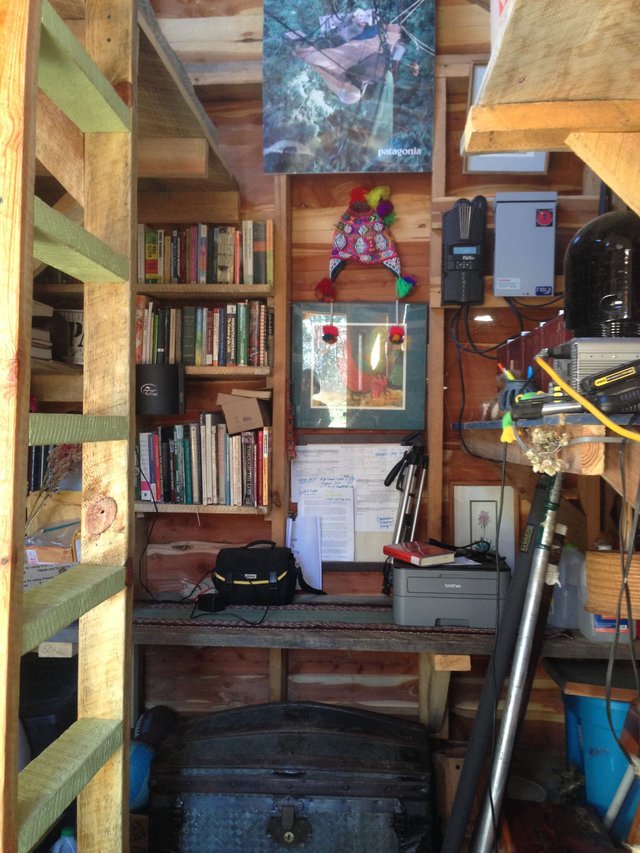
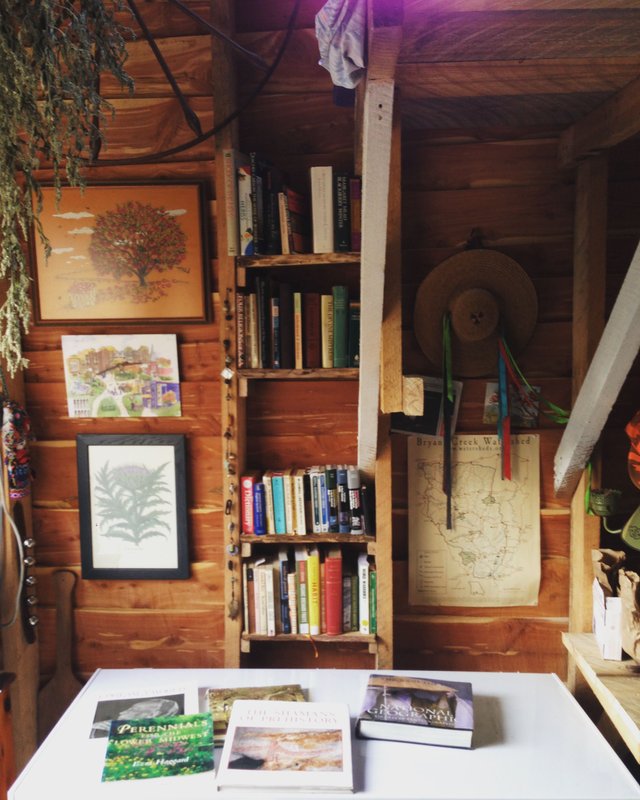
To this day, this is where we do the majority of our Steemit-ing- sitting in the loft. Our freezer is in this building, too, and holds the majority of the food we put away over the summer and deer that I hunted.
We give thanks for this building every day.
It is true empowerment to be able to build your own building at such low cost from mainly locally sourced materials!!

That live edge cedar siding is beautiful! I don't know if I have ever seen it used as siding before. Now I want to do it!!! Soon I will be building a roof for a solar grid and decided to double over the used structure as a carport for my tractor. After seeing this, I might take it a step further and close it in for other uses as well. Great work!
Thanks @jonpetrich! It's a fantastic, economical (especially if you own the wood to make it), and absolutely beautiful way to side a building! Awesome!! Glad to inspire and catalyze your thought stream :D look forward to seeing what you build.
This is a major operation @mountainjewel. I'm inspired by your passion. The absence of fear that you exude in the rural area is quite rare. You're bring the cool back into decentralized living and giving the nomadic sphere of influence props. Shoutout for the creativity. I'm rooting for you guys..
best comment ever @kofibeatz <3 !!!
goals for sure. thanks for your encouragement and support <3 all the best to you
OOOOOOWEEEEEE!!!!!
Wow, such a marvelous comment. We're both really touched by this. Thanks for witnessing, naming and appreciating us and our work we're called to
Do. I didn't think the cool ever left decentralized living though, lol.. just to be clear just cause we're living our dreams in a rural setting, doesn't mean we're completely rid of fear, although we're working on it.
deep gratitude from our hearts for this beautiful message. <3
Its a pleasure @mountainjewel. I'm so inspired, because you've given me the hope to believe that its ok to live rural. I grew up in a village and all the elders decided to abandon my grandfather's homestead when he died. I understand the pressure that they were under to pursue active income, but you've shown me that the blockchain can help people produce passive income and have time left over to enjoy peace and harmony. I love it..
Amazing build guys. I am impressed. I may want to use some of your concepts/ideas when i do a similar build.
That is with your permission of course.
For sure!! Let us know, we'll enjoy following along and can help with any questions! :) Thank you <3
What a fabulous, in-depth article. Thank you for all the detail and photos! You've inspired me to plan our well house with the solar panels on the roof instead of a separate frame to house them.
Thank you <3 ! Ahh I'm happy to hear that :D I love cross-pollinating ideas and how that energizes and informs us all. Thanks for stopping by and for your kind comment. Look forward to seeing your project.
Cute turned house!
Love, love, love the shed! I am so jealous. :D
Does the shed frame simply sit on the bags of gravel, or did you pin it to them somehow?
THank you ! :) You could build one yourself you know ;) ;)
Ah thank you! I should amend the article to include that bit. We actually drilled holes through the wood and hammered rebar through the stuccoed poly bags to attach them. This was a big question for us and we had trouble finding good information about it. Ultimately we decided to "get some purchase" in that way, although some people do just "float" the building on top. We've had no issues with our method. Thanks for asking- that's an important point!
WOW! That's really amazing! It's starting to look like a fairy tale home, and I really love those solar panels. I have often dreamed about building my own house, but you guys are actually doing it. Very awesome!
Thank you @pandorasbox! for the enthusiasm and kind words! If you believe it, you can achieve it :D OX
I like your ingenuity in designing and building this shed. It looks really sturdy and does the job it was intended to perfectly. Kudos!
Thank you! Yes truly a stout building with all that local oak lumber. A true blessing! Thank you! Sitting in it right now ;)
This is Awesome! I happened to notice the green agricultural net-wrap that you are wrapping your earth-bag foundation. I've attempted to find a re-use for this stuff, as it's often seen littering the roadsides around here in cattle country, as it blows off or out of pickup trucks going down the highway. I am glad to see some of it going to a good use for a change.
Yes! We got it off the side of the road, as you mention! At certain times of year it's littered all over! We needed something to hold the plaster well and it did do the trick! THank you <3
It was good to sequester that into the building as well as carpet for the rubble trench foundation.
I have attempted to use some as wall insulation while renovating a room, but I'm not convinced that it works all that well for that. Have you found any other uses for it?
Haven't found any other uses for it! But as I mentioned with the carpet, we were really tempted to put "trash" like that into the foundation. It would compress under the rocks and then just sequester into the pit. One thing you could do is fill plastic bottles with it to make plastic "bottle bricks" for building. I've seen people put trash into the bottles then stack them using them as bricks then put a cement or clay plaster on them. It's a great way to sequester trash while also getting a building material. I keep thinking I want to start saving our trash, but I guess I have a block to doing that cuz I never end up doing it...
That's a really awesome idea there. I may try something with that and do a write-up. That could make a really good article.
yes! would love to see it ;D
Oh I get so inspired by your pictures! I love the idea of builing my own house. Thank you!
That's great to hear the inspiration you feel. I hope you do get to build your home one day, It's really fun, engaging and satisfying.
I can imagine! Thank you again and enjoy your Sunday!💓
ooooh so happy to be a source of inspiration, <3 keep germinating that idea and see it to the light of day :) Blessings
I will do that! Thank you!💓