TUTORIAL - HOW TO MAKE TYPOGRAPHY DESIGN - PAINT TEXT EFFECT (TUTORIAL - BAGAIMANA CARA MEMBUAT TYPOGRAPHY DESAIN - EFEK CAT)
Hello Steemians
Today I want to share with you all a tutorial on how to create design-Paint Typography text effect that I often create and share in steemit, following the tutorial for you
Hello Steemian
Hari ini saya mau membagikan sebuah tutorial kepada anda semua tentang cara membuat Typography desain-Paint text effect yang sering saya buat dan bagikan di steemit, berikut tutorialnya untuk anda
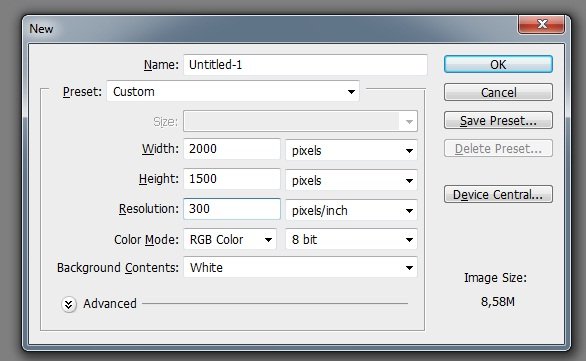
1. The first step is Click CTRL + N to make the right size for its cover
1.Langkah pertama adalah Click CRTL+N untuk membuat ukuran yang pas untuk sampulnya
2. The second step is to enter the text you want, for example your name or whatever
For Fonts I use, I use the Pen Rusty cola font
If you do not have that Font, you can download it at the following link "Font"
2.Langkah yang kedua adalah masukkan text yang anda inginkan, misalnya nama anda atau apapun Untuk Font yang saya gunakan, saya memakai font Rusty cola PenJikalau anda belum mempunyai Font itu, anda bisa download di link berikut "Font"

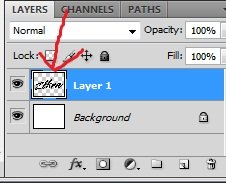
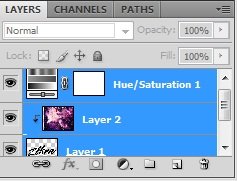
3. The third step is we have to create a new Layer
3.Langkah yang ketiga adalah kita harus membuat Layer baru
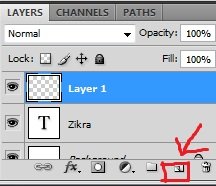
and merge them into one, how to click on a new layer and press CTRL and click again in the text you created
dan menggabungkannya menjadi satu, caranya klik di layer baru dan tekan CTRL dan klik lagi di text yang anda buat
4. The fourth step is to insert galaxy image into text Image
4.Langkah keempat adalah masukkan gambar galaxy kedalam text Image
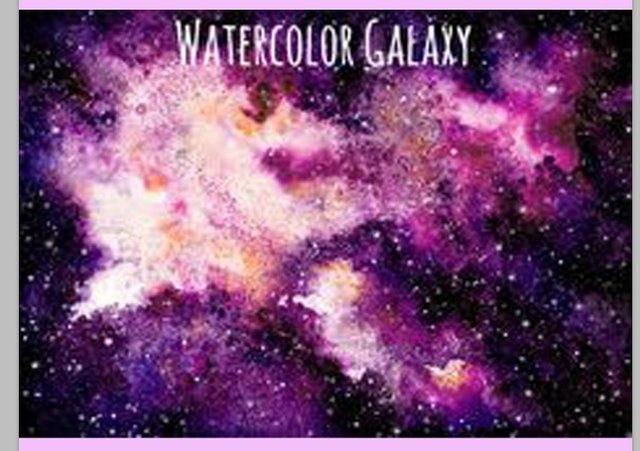
After you enter it you go to the layer settings and click on Create Clipping Mask,and the result will be like this
Setelah anda memasukkannya anda menuju ke pengaturan layer dan klik Create Clipping Mask, dan hasilnya akan seperti ini
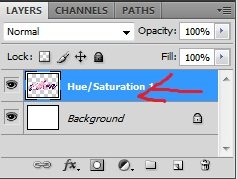
and combine them all together
dan gabungkan semuanya menjadi satu
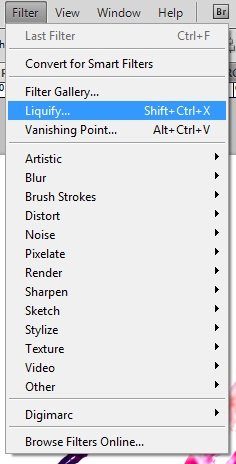
5. The fifth step is to go to the filter menu and select Liquify
5.Langkah yang kelima adalah masuk ke menu filter dan pilih Liquify
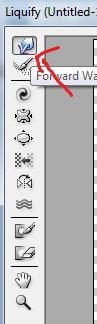
After entering the Liquify menu the next step is to select Forward Warp Tool
Setelah masuk ke menu Liquify langkah selanjutnya adalah pilih Forward Warp Tool
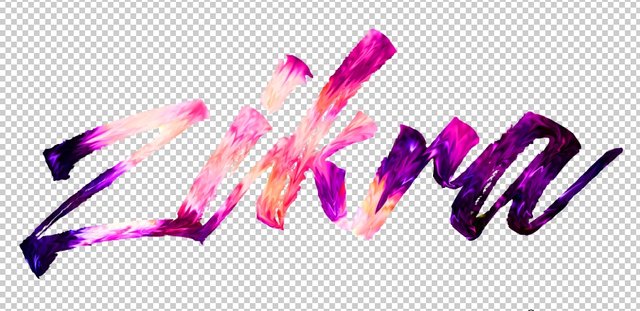
6. And the last sequence of the text you created earlier with Forward Waarp Tool until the result becomes like this
6.Dan yang terakhir urut-urut text yang anda buat tadi dengan Forward Waarp Tool hingga hasilnya menjadi seperti ini

Good luck and hopefully useful
Selamat Mencoba dan semoga bermanfaat
Join Adsactly with us on Discord.
https://discordapp.com/invite/6jAXNuu

Awesome post. I'm gonna try this someday.
:D its very easy to try it
thanks for you commenting :)
@zikra got you a $7.52 (4.0%) @minnowbooster upgoat, nice! (Image: pixabay.com)
Want a boost? Click here to read more about @minnowbooster!
The @OriginalWorks bot has determined this post by @zikra to be original material and upvoted it!
To call @OriginalWorks, simply reply to any post with @originalworks or !originalworks in your message!
To enter this post into the daily RESTEEM contest, upvote this comment! The user with the most upvotes on their @OriginalWorks comment will win!
For more information, Click Here! || Click here to participate in the @OriginalWorks writing contest!
Special thanks to @reggaemuffin for being a supporter! Vote him as a witness to help make Steemit a better place!
postingan yang sangat bermanfaat,terima kasih sudah berbagi
Oke terima kasih atas komentarnya
Nice one~ adds to ref list
will attempt mine in the future XD