DIY: Washing machine drain pump replacement (front load washer)
Hi fellow Steemians / DIY enthusiasts!
My next segment was unexpected but that tends to happen when you have to fix things around the house, they never break when it's convenient!
Our clothes washing machine decided that the drain pump was going to break, after only 2 years of me installing it. The planned obsolescence of items nowadays is frustrating but at least I've done it before so I knew just what to do.
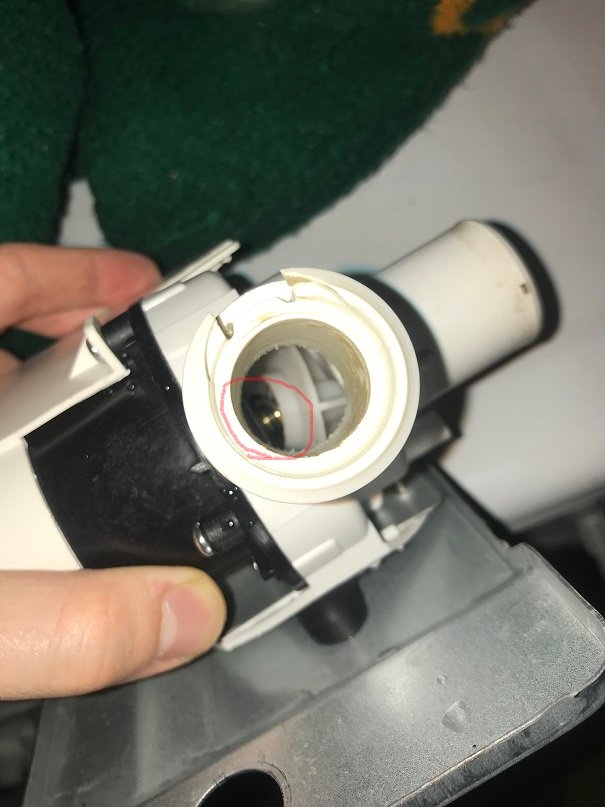
In the picture above, you can see that the pump broke off from the motor, preventing it from functioning to suction the water out of the washing machine. It was making an awful grinding noise when the wash was running so we knew that it completely broke. I attempted to re-seat the pump blade on the motor and try it again but that didn't work unfortunately, doesn't hurt to try!
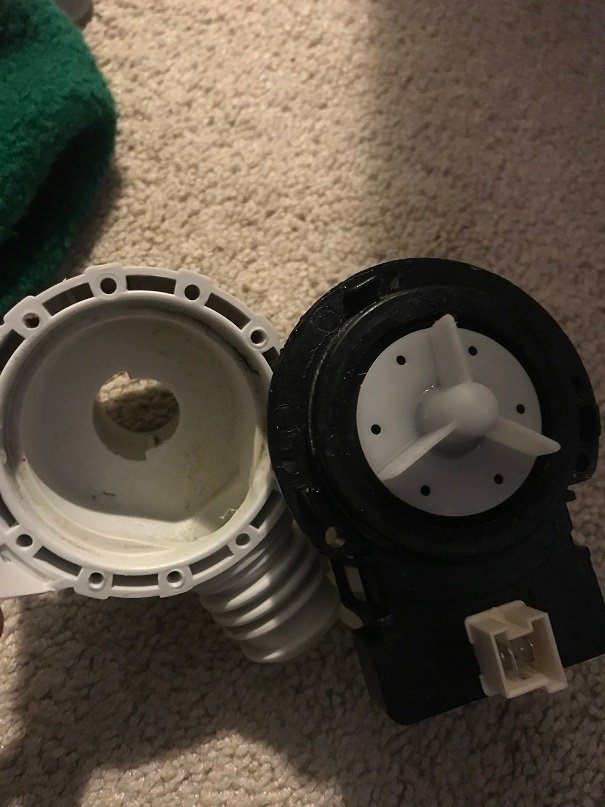
Perhaps the pump was not meant for the level of use we put it through; we cloth diaper our child so we are washing our diapers for 2-3 cycles a day; whereas most people do laundry every 2 or 3 days a week, we were doing sometimes 6 loads of laundry a day if you include our other regular laundry.
First things first! You are going to need a few simple tools to do the job.
You are going to need a multi-use screwdriver such as the one below, as well as a pair of large mouth pliers (we call them pump pliers, not sure if that's an official term for them though).

You will also need some sort of container that is relatively smaller in order to fit into the space so you can drain the water out of the pump and hose into it. I used a sand-castle container because of its smaller size.
Shut off the water!
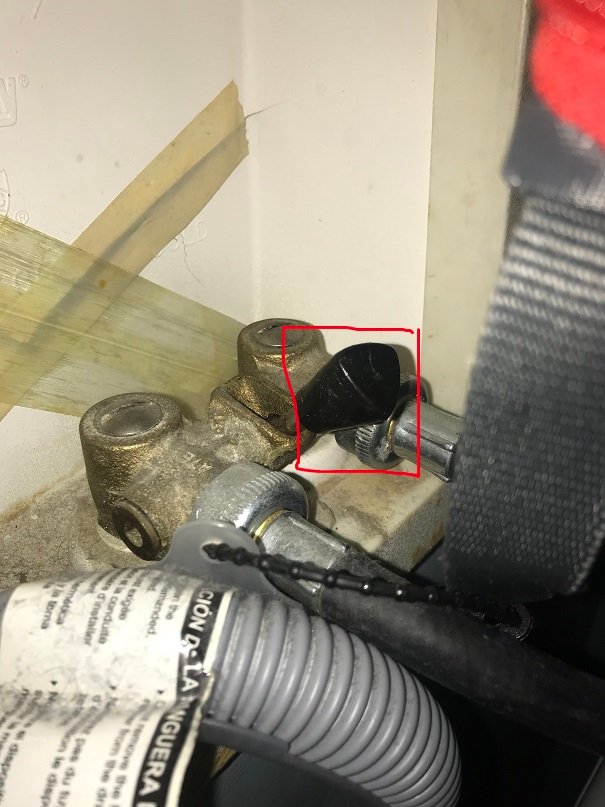
You have to first do some proper dismantling of the unit to do the job with as little mess and health hazard as possible. First step is to shut the water off. Most places will have a setup similar to the image above, simply push that black handle towards the wall to shut off the water flow before you remove the hoses from the washing machine. If you don't, you will have high pressure water everywhere and it will be a disaster!
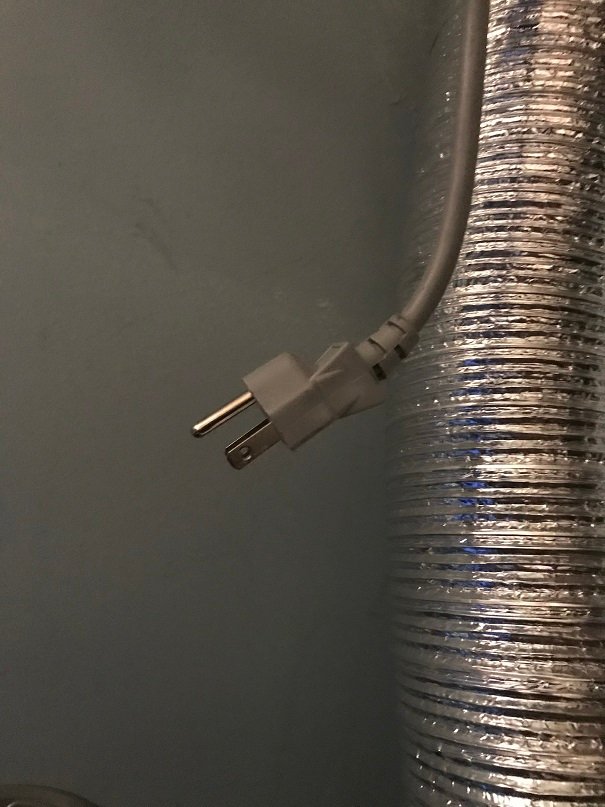
Next you should unplug the washing machine from the electrical outlet to ensure that you don't get shocked.
Once the washer is unplugged, you are going to want to unscrew the water hoses. This is where the large pliers come into play because hopefully, the hoses should be very well snugged onto the spicket to prevent leaking.
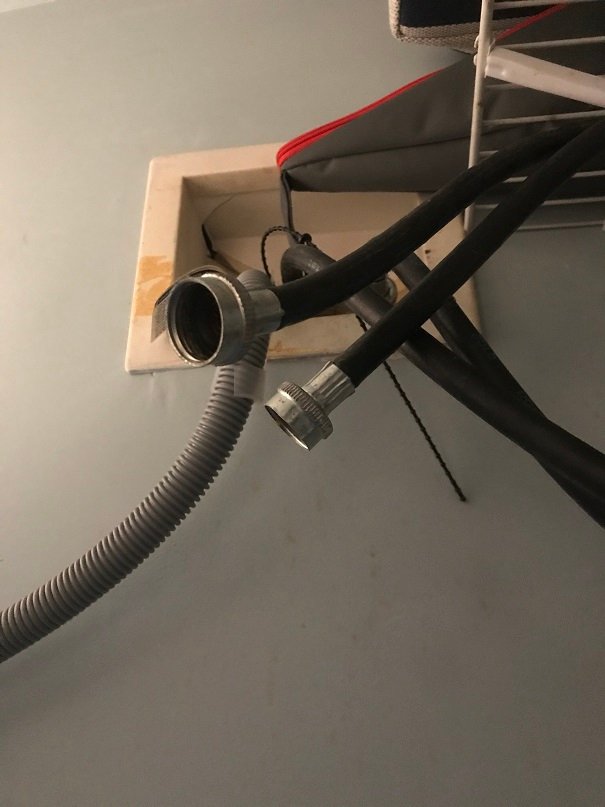
I recommend hanging the hoses from something above it if possible in order for the water to not drain out. If you don't have that option then just drain them into a small container as they shouldn't contain that much liquid.
Now you are going to want to move the washer away from the wall as far as you can because you're going to be behind it for the rest of the repair job if the access panel is behind the machine which most are, however there are some that the access panel is underneath in front.
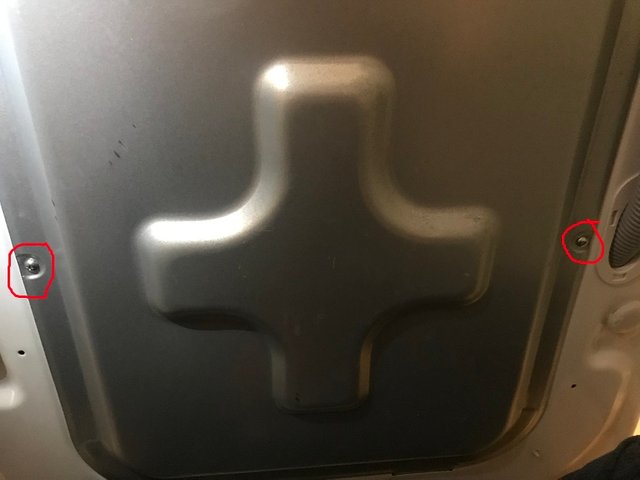
You're going to remove the screws on either side and the panel comes off. From here you will now see the rear of the washing machine and drum.
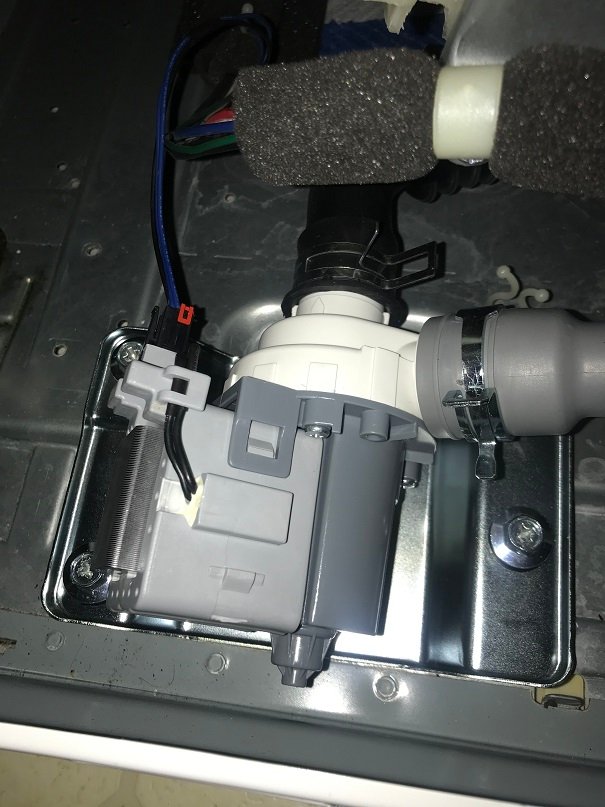
Once you take the panel off, it's recommended to unplug the pump itself so that the electrical components of it don't get water on them and potentially short out when you plug the machine back in to try it out. There is a small lever that secures the electrical components, push the end to remove it.
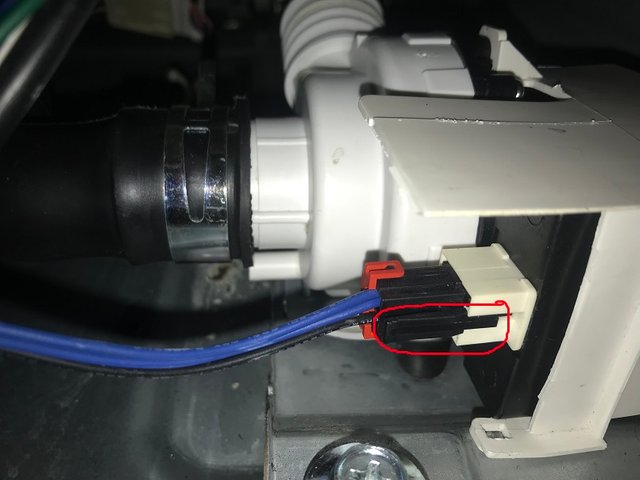
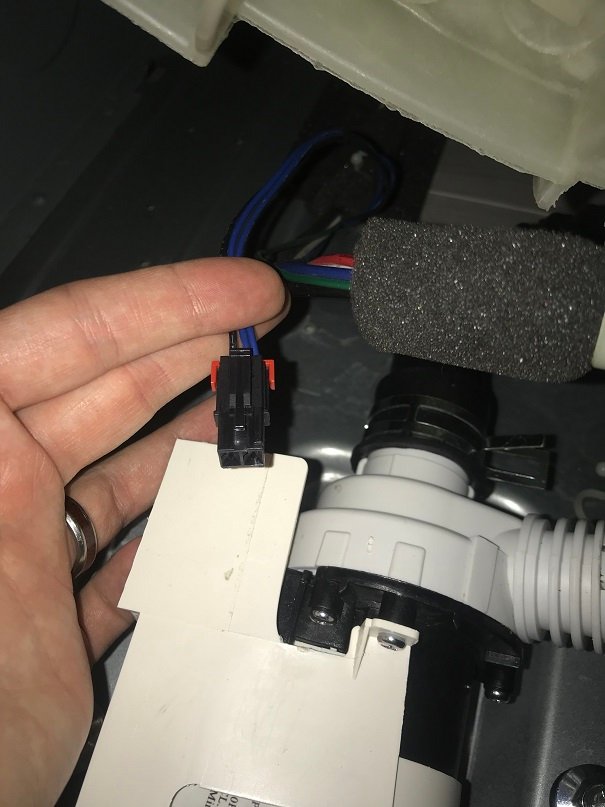
What I did is tuck the plug to the right, next to the black foam so it's going to stay up above anywhere the water can go to if it spills out.
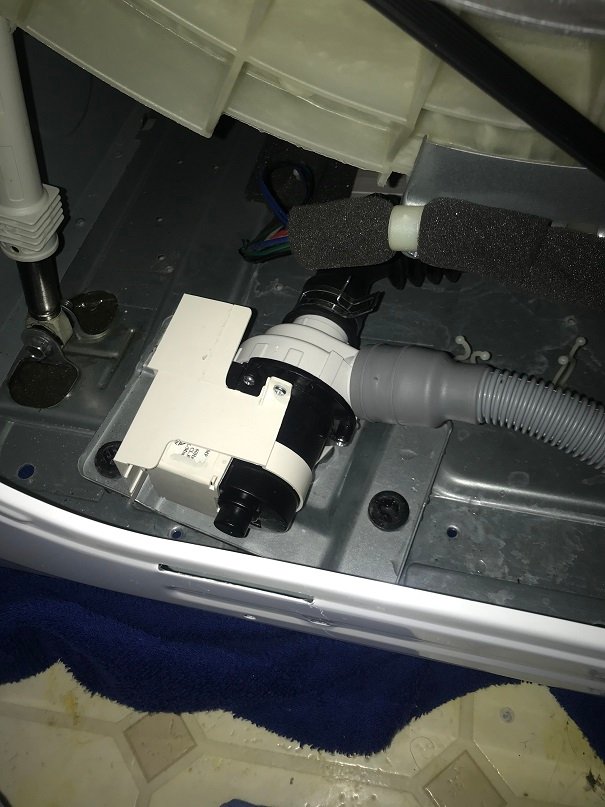
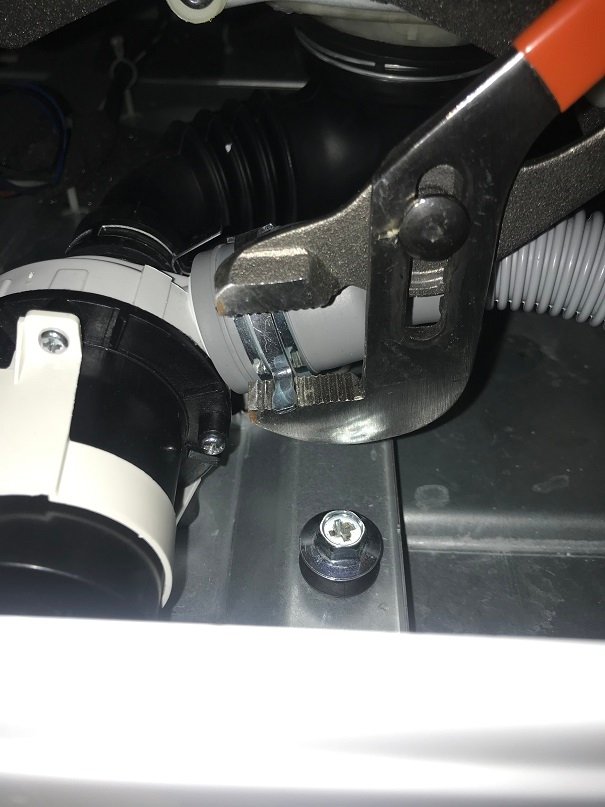
You can see the black hose in the front of the unit (rear in the picture but that's because we are in the back of the machine) and the gray hose that leaves it on the side. The black hose is the drain that comes from the drum and the gray hose is the one that the water travels in to leave via the drain pipe it flows into. Both of these hoses have clamps on them that can be difficult to remove without the pliers so those are useful but not required in this situation as well.
The pump tends to be full of water, particularly when the thing dies in the middle of a load of laundry so the little container is key here so you don't get water everywhere or waste a million towels trying to soak it up.
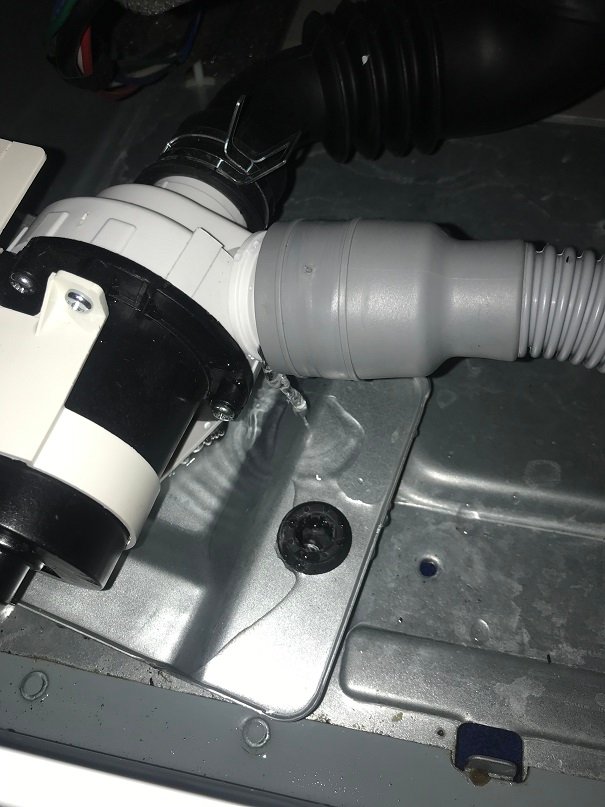
It gets everywhere easily! It's also because the drain hose has water left over in it for me since it travels up about 3 feet so the pump does a lot of work to get it to the drain and out.
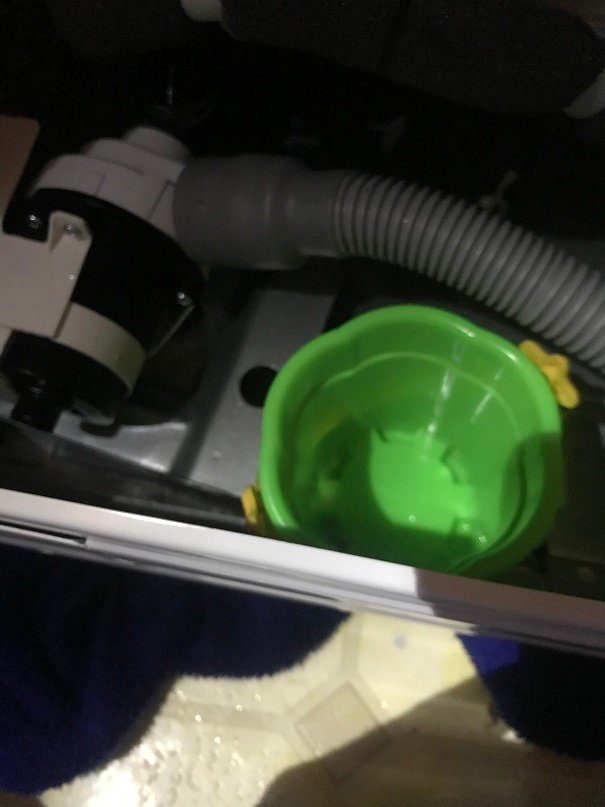
Multi-purpose kids sand castle maker and water catch-basin!
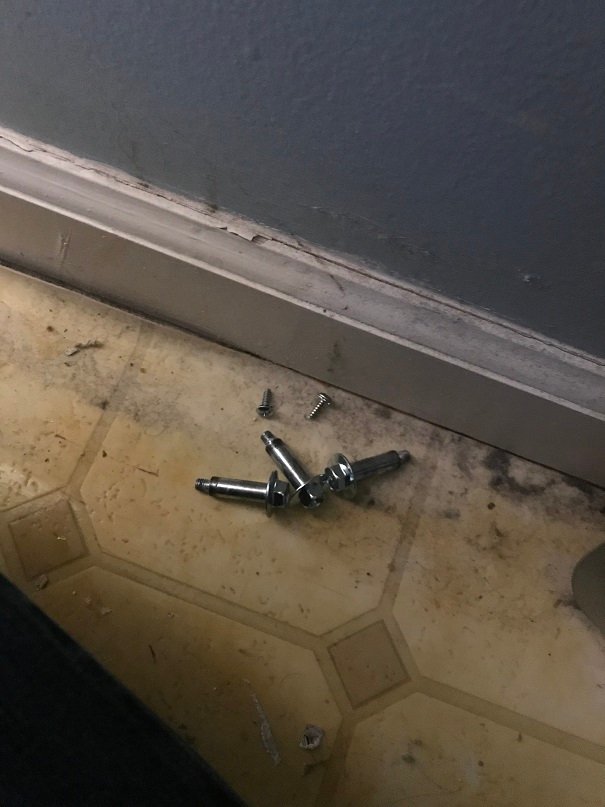
Once all the water is drained, you are going to want to remove the pump. Remove the screws on the bottom of the unit that attaches it to the frame of the washer. One thing I can't stress enough is to keep your screws you remove in one place! Losing one of these specialized screws is going to really ruin the functionality of your washer.
Once you remove the screws you can now take the pump out. There will probably be a little bit of water left in it since you won't be able to 100% drain it. Once the pump is out, the best thing you can do is compare the old pump with the new one to make sure it looks relatively the same. If there's one thing that sucks the most doing this type of work, it's buying the wrong part!
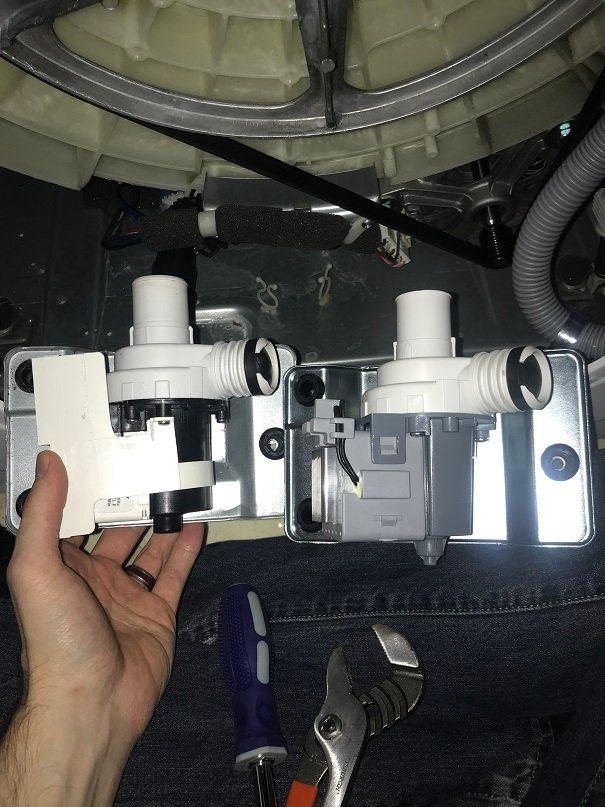
The pump on the left is the old one and the one on the right is the new one. You can see that they look very similar; the input and output ports are in the same position; the screws attach in the same spots.
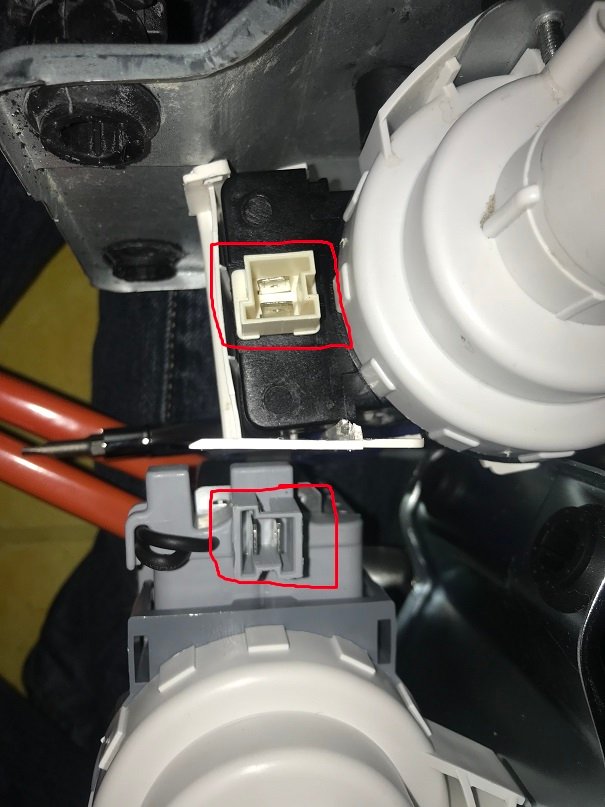
The next incredibly important part is to make sure that the electrical plugs are the same. I was doing work on my car last year and the part looked the exact same, but the electrical plug for it was different so I was pretty pissed trying to work it out to only find that the plug was different. The plugs here look the same so you should be good to secure it into place!
The new one is secured in place with the screws, the hoses are attached and the clamps are put back into their proper position to ensure that no water leaks, the pump doesn't shake loose, and of course the electrical plug is hooked back up. Next, just reverse the process of hooking the hoses back to the washer but one thing to remember is which one is cold and which one is hot.
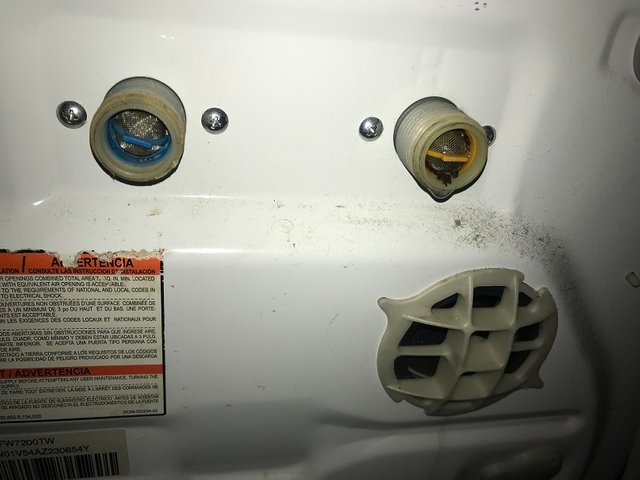
The blue one is cold and the orange-ish one is for hot. If you mix these up you might damage the internal components of the washer.
Plug the washer back into the electrical outlet and finally turn the water back on coming from the wall and you should be good to go!
Bubble wrap insulation on a wall
Finish work in the bathroom
Bubble wrap on windows
Laminate floors in a bathroom
Ball joints on a car
Did you enjoy this post or my other posts? Please consider following me for more! @cmplxty
Do you want to get paid, in crypto, for searching the internet? Try using and signing up for Presearch to earn some great crypto! I've currently got 118 PRE tokens, with a market value of $6.84. It doesn't sound like a lot but when you search using sites like Google you get paid $0! Join Presearch to break Google's stranglehold on the internet searches. If you'd like to sign up, use my referral link below and spread the word!
https://www.presearch.org/signup?rid=513043

Hi cmplxty,
Visit curiesteem.com or join the Curie Discord community to learn more.
Awesome thanks!