HOW TO PAINT ANIME CHARACTER LIKE A BOSS
After a brief conversation with conversation with @jan23com, he suggested that steemit might be a greener pasture for me if i make tutorial posts...
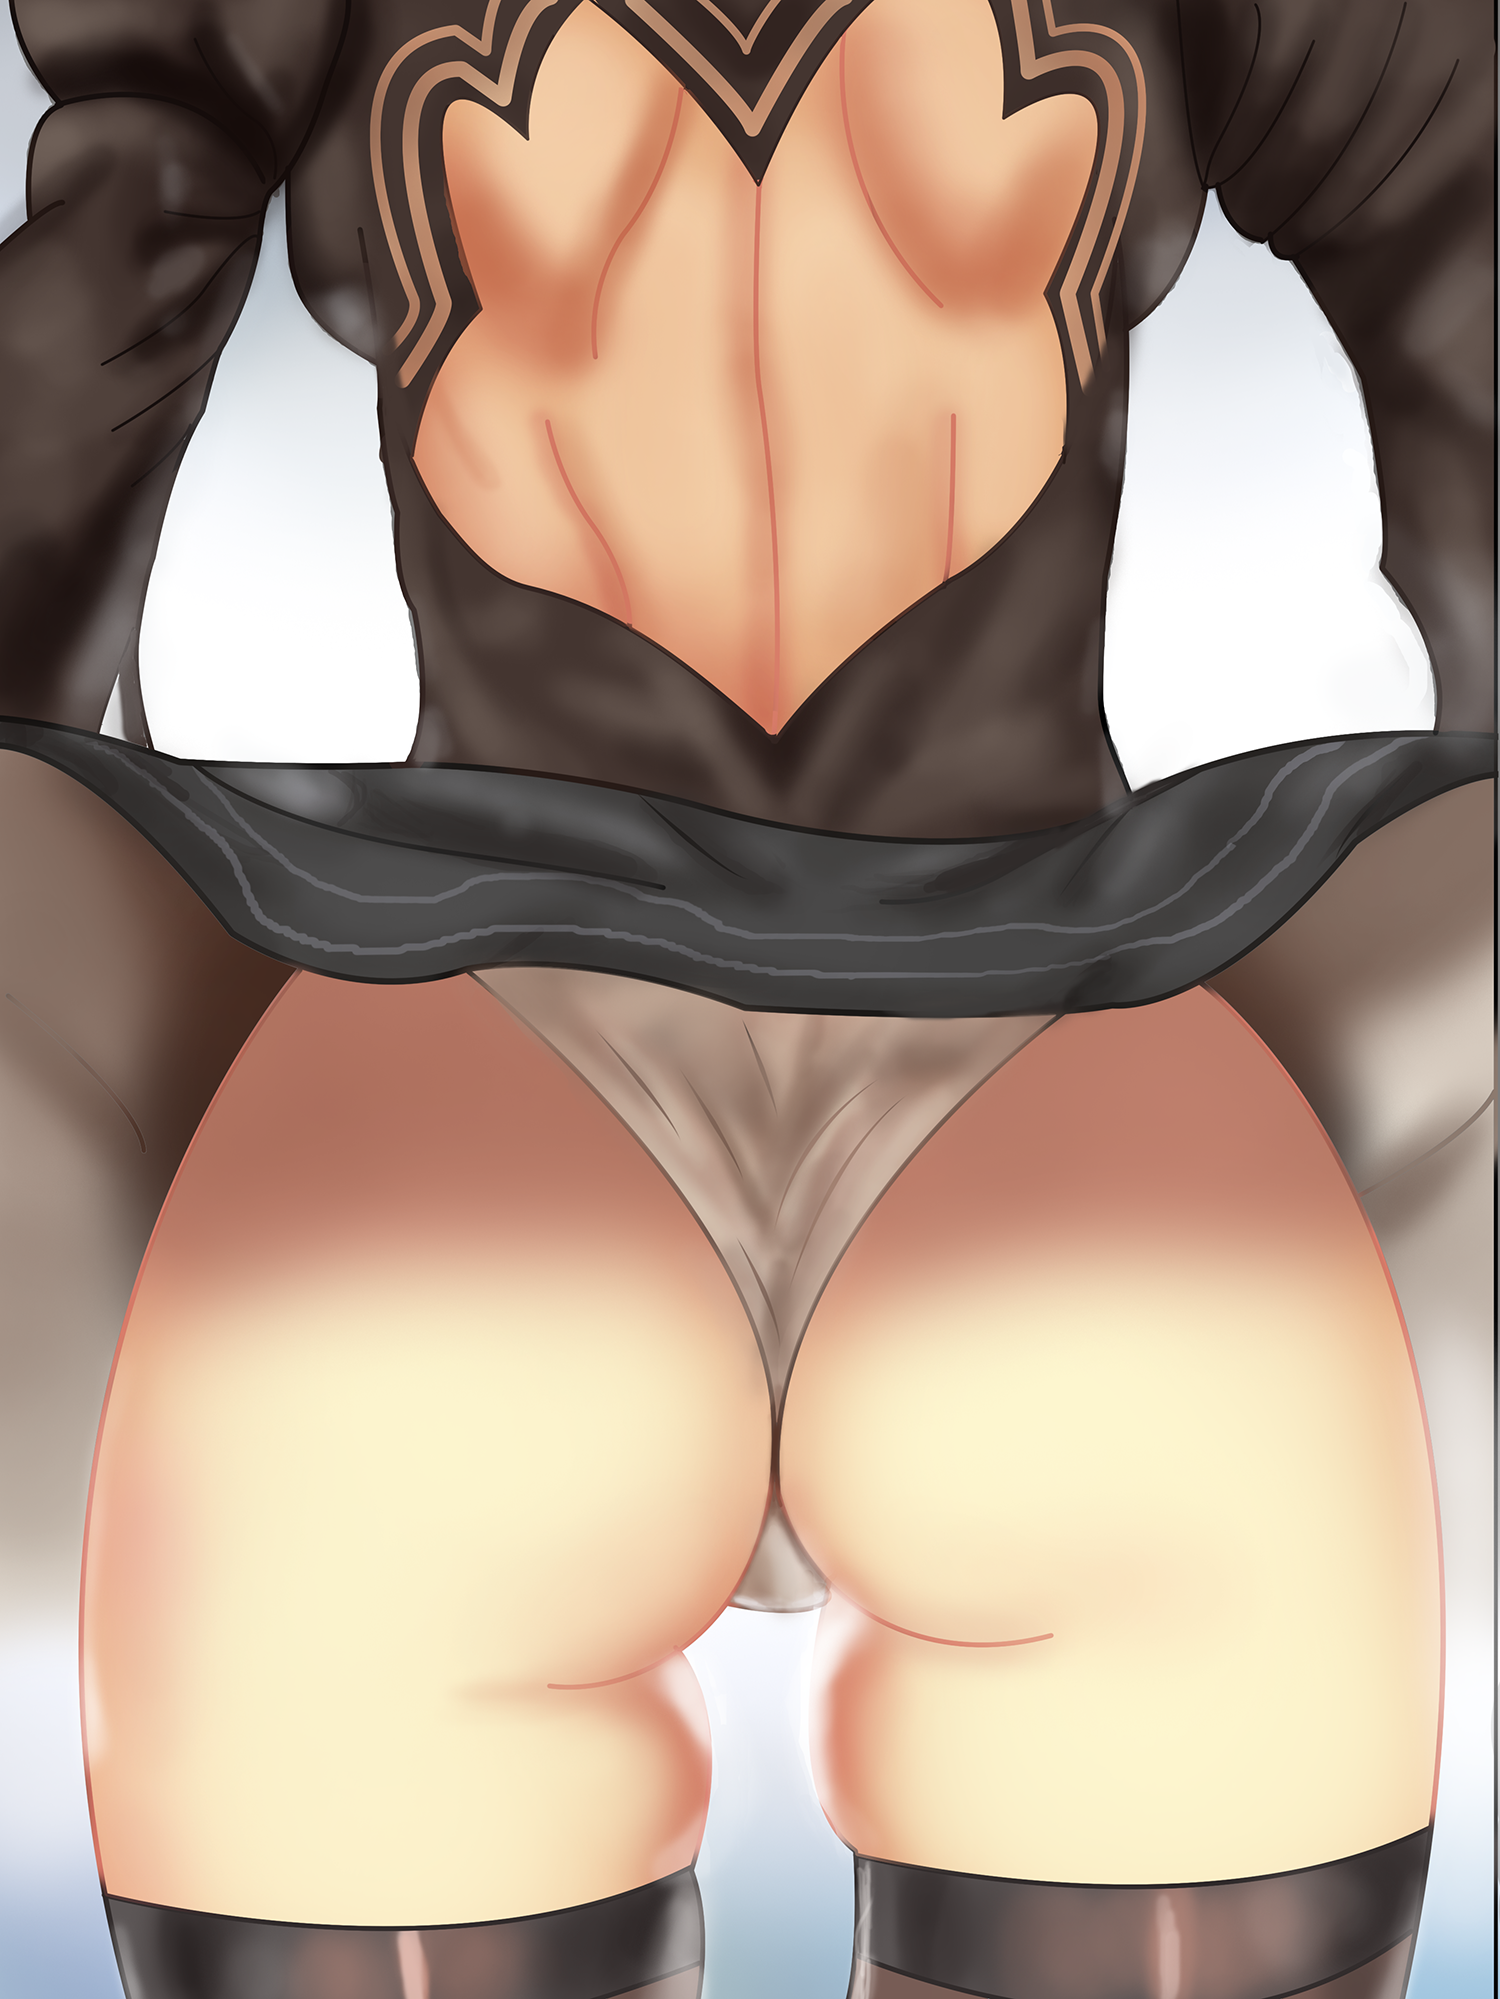
Today I'm going to teach you guys how to draw and paint anime characters like a professional. For today's tutorial we will this HD artwork
Here is the last process.

Lets paint this character from NIeR Automata :-) soon as you stop admiring her nice ass hehe
STEP 1

make a rough sketch of the character to get a feel of how she will look. here's where you correct proportions. Btw, this is just me painting someone's artwork for fun and practice. I start most of my artworks on 3000px X 4000px 300dpi Resolution (i can choose to expand it or make it smaller with the crop tool). the resolution allows us to zoom in and detail the piece later on. If you plan on using the work as a wallpaper, you set the ratio to match your screen. example, my screen is 16:9
STEP 2

This part you make a new layer on top and then you reduce the opacity of the rough sketch. Its really painful to clean the rough sketch as you draw a new line on the layer. Besides the new layer will make correction of mistakes easier. so a new layer before a new step is very important.
Once you are done hide the rough sketch layer and it should be left with a clean line work... Simple right?
STEP 3
Firstly, you make a new layer for each different part of the work(skin, panties, skirt, socks, blouse, inside of the skirt, background) then you select your magic wand tool and click each part on the line art, go to "select" menu, expand the selection by 2-4px then fill it with a base color on the layer you made above, be careful not fill the color on the line art layer.
(If you do not expand your selection, you will get this very annoying "blank"space between your fill color and the line art. This can take ages to clean up if you discover it much later in the artwork. same with little spills of colors.)
Once you have the base color on each layer, make a new layer above it and clip it to the base color layer. (Shortcut is, hold alt, go between the base color layer and the layer above it and click. Clipping mask allows you to only paint within the boarders of the base color. HUGE TIME SAVER). Now, pick a shade color and use a soft brush to shade in.
STEP 4

You don't have to select the best colors at start, you can let photoshop bring the colors closer to what you like. use adjustments like Curves or Hue/Saturation to bring the colors together. make sure you clip the adjustment or use masking or just use Ctrl + U for hue/saturation. Makes life easier. As for Skin, make sure you hue shift and saturate the colors you lay on it. (if you're a beginner to digital painting, you must have heard that for you to shade a skin, you just have to go 'darker'on the color. this will give you a plastic look. to add more life to it, we go darker, more saturated, and shift the hue slider a bit)
Now, I add the line detail on the skirt. I did a soft blue on the background
STEP 5

Make a layer above the line art and clip it. We're going to do a magic trick. Color the lines to soften it. Pick a good color for each area of the artwork. the color should "hint" the line and not make it stand out.
pick a highlight color and deeper shade and go over the areas of the artwork as shown.
Add the slit on the blouse with the skin color (Eyedrop the color)
This is the step that most people skip, if you want your artworks to look more "professional", you need to consider the background light and its effect on the model. Another point to check is your clean edges and clean masking.
At this point, I group everything, duplicate (to have a copy of the individual layers) and then merge the duplicate group. hide the other group. This is necessary for Liquify tool. we need to put everything in one layer to use Liquify tool to do final fixes.
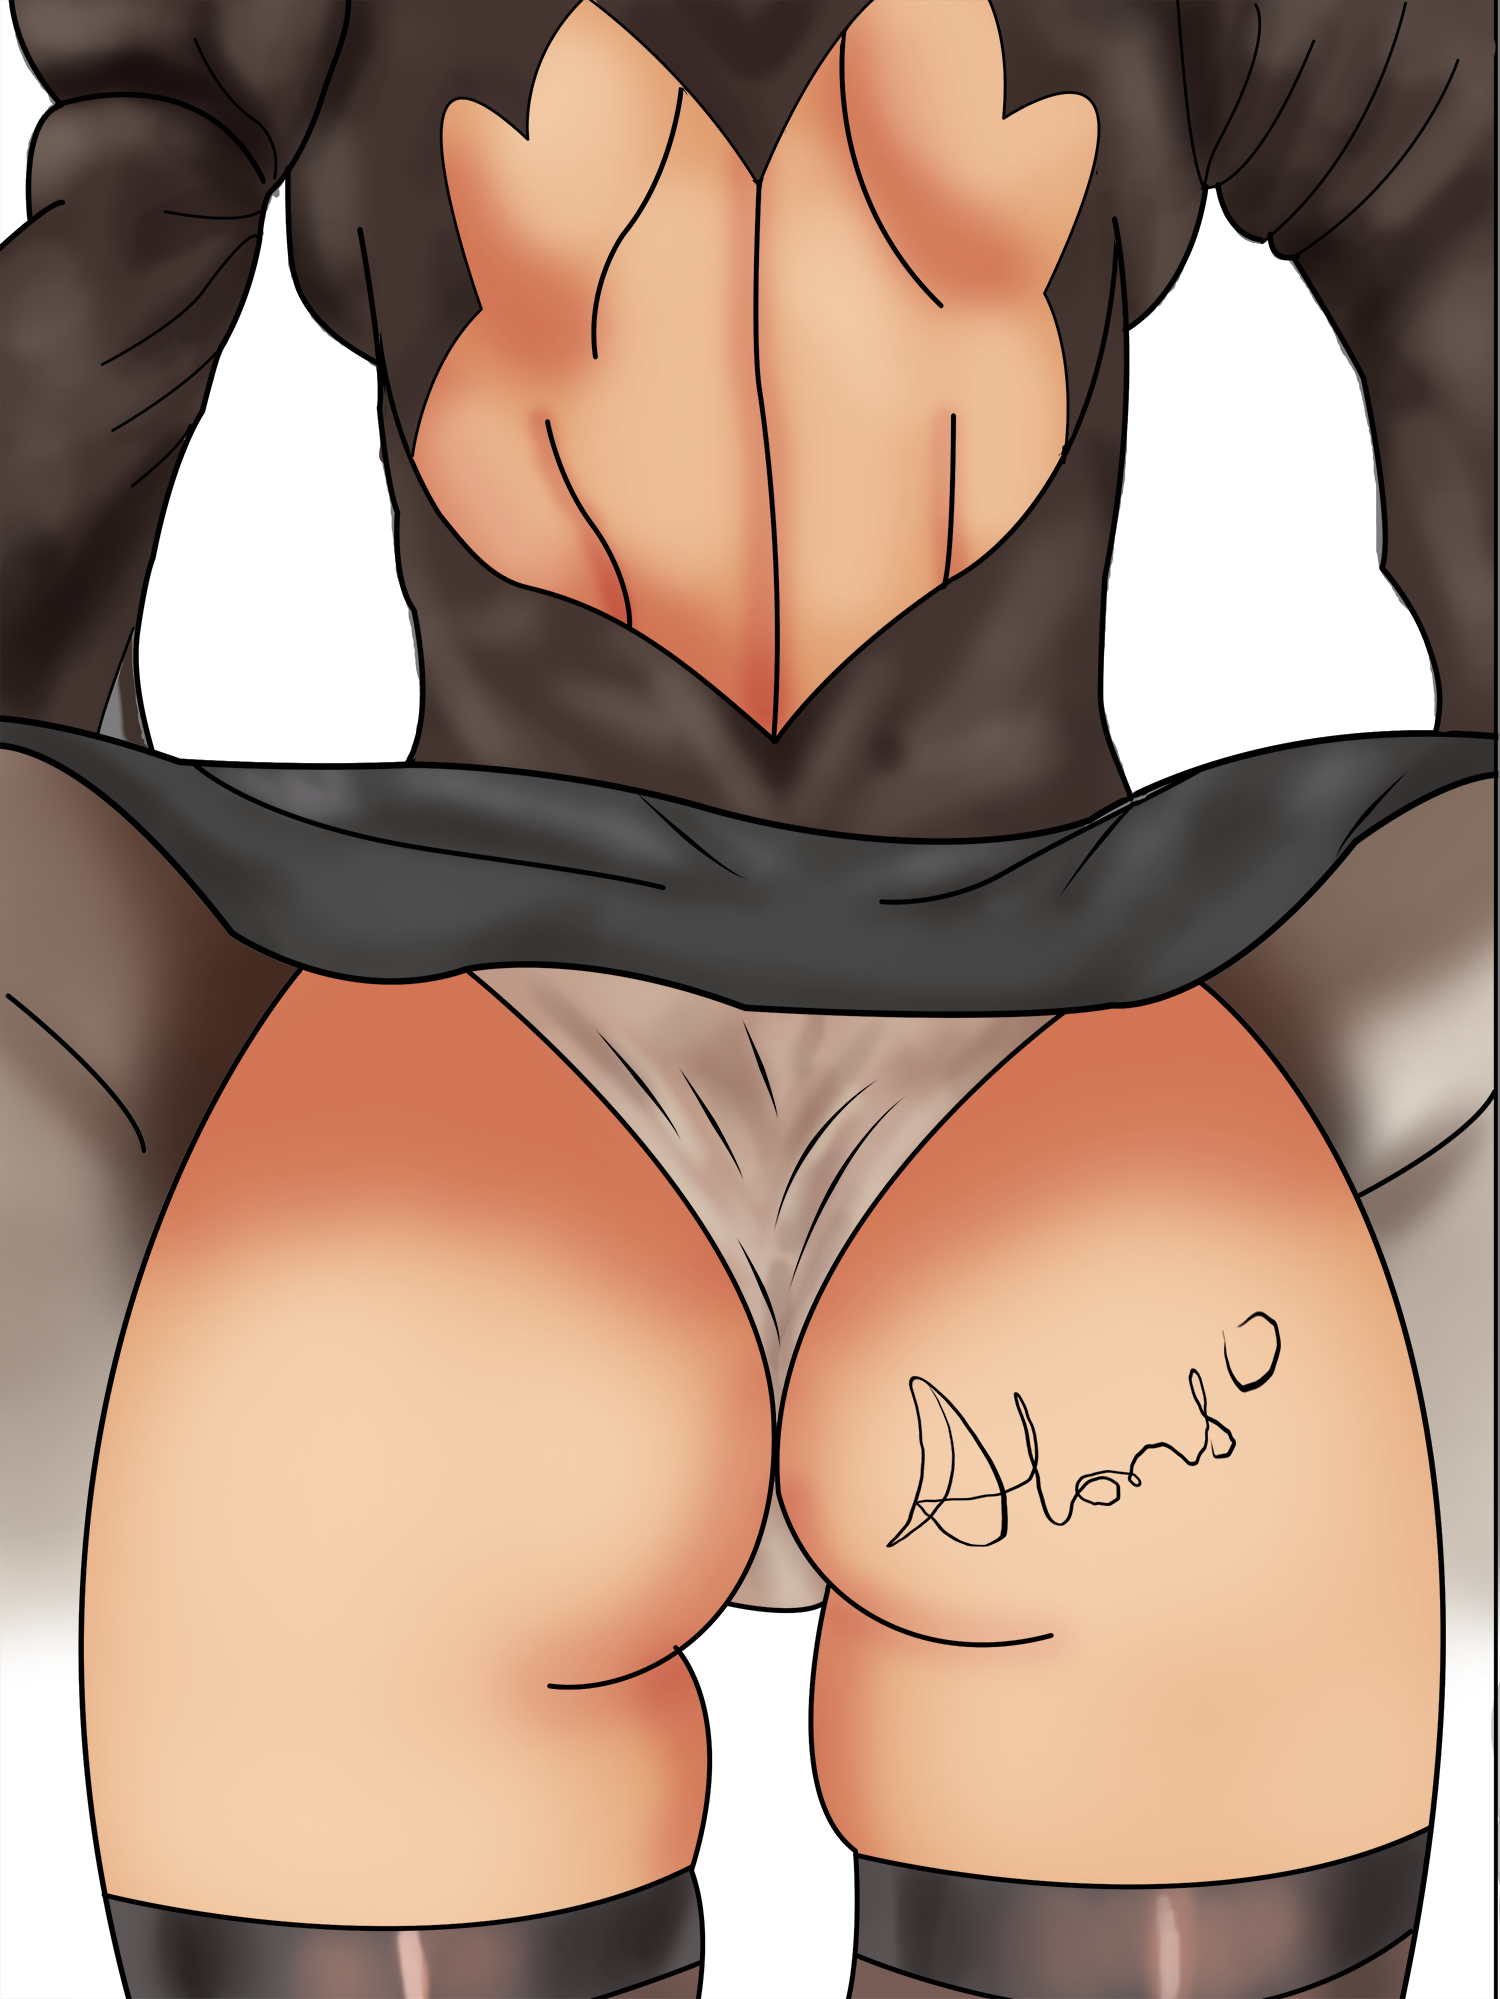
Notice, We shifted the skirt a bit to further exaggerate the wind effect etc. we then added a bit of dripping water. Dont worry about the water for now. I added my name with softlight layer with lower opacity.
I hope you had ass much fun ass I had making this. I really enjoy NieR Automata Character design.
You love what you saw? Show some supports with your upvotes
-KingAlonso
This post has been upvoted for free by @microbot with 0.1%!
Get better upvotes by bidding on me.
More profits? 100% Payout! Delegate some SteemPower to @microbot: 1 SP, 5 SP, 10 SP, custom amount
You like to bet and win 20x your bid? Have a look at @gtw and this description!
Awesome tutorial post! Now a tutorial on how to have an actual ass like that! ;)
Lol... go to the gym or go do surgery.... To get one like that
Well she's a bit saucy isn't she, well done on making such a perfect arse :) That would take me years at the gym :D
Lol... Really? You dont really need one. Make more crypto, even if you are shapeless or round, In the eyes of men, money will make you look like the sexiest woman on earth.
Haha I thought that worked on women but I guess the same would go for men lol. My hubby thinks my arse is pretty alright now but thats no reason to slack. As for crypto more would be good on all fronts. Lol.
Hahaha... What were you expecting your hubby to tell you? he can't think otherwise, for his own safety...
Slack? you work your ass too much... Have some rest, enjoy life and feel free to let it slack. Since you're married, I see nothing wrong wtih it slacking.
If am married, i will love my wife's ass to slack like flat tire... So stupid boys and wife snatchers will stop looking at her.
Haha love it. Whats the chancez of you making an anime person out of me for my hubby if I gave you an image? So he can remember what my arse looks like pre slacking lol.
Lol... I will think about it... Emm... I would have charged you 1000000sbd but since you are doing it for the sake of love... Hit me up with the picture on discord.
Winning!!!!! 1,000,000 SBD is a bit steep but your work does look quality. Ill flick an image through today. Excited!!! Its his birthday on the 30th of Juneand it would be a great gift as he hates me buying him stuff hut an image of me might be a welcome surprise.
Lol... Anime of yourself? nice idea... On your birthday, your husband gets you a gift.... and on your husband's birthday, you get yourself a gift too...
Congratulations! this post got an upvote by @steemrepo and was manually picked by the curator @yanosh01 to be added on STEEM REPOSITORY, simply comment "YES" and we upload it on STEEM REPO Website.
Want to know more about the Steem Repo project? Contact us on Discord
You've received an upvote from @slothicorn! Click Here to Read our New Curation Policy And Updated Rules
(@ghulammujtaba)