Loch Ness Cardigan
Loch Ness Cardigan
Storm is rising, leaves float through the air, rare sunbeams are warming the earth - autumn is arriving and with it, the perfect wooly #crochet cardigan for you.

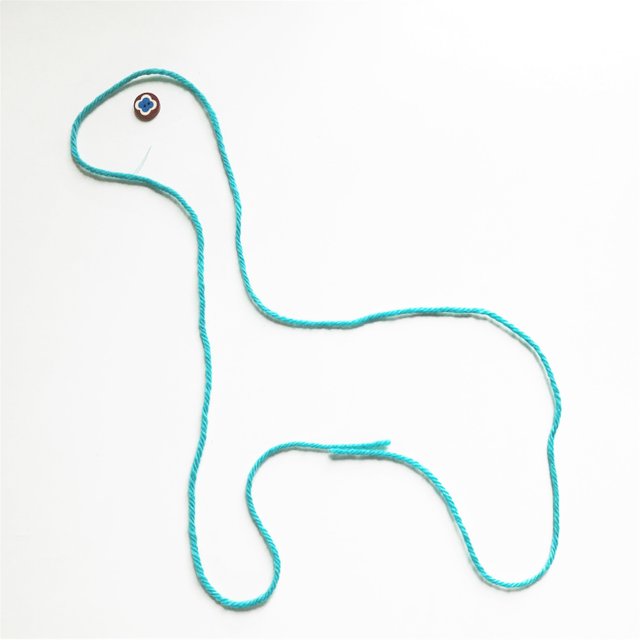
When I was a small child I very often drew a cute creature with very short legs and a big round head: a mixture between a dinosaur and a sea monster. Mostly I went for violet with pink dots but sometimes I coloured the creature in a bold teal. The creature was very jumpy and shy and lived in a secluded pond. Seldom it wandered into the city to buy guitar sheets. I have no idea how it played with its very big feet guitar. But I do not know everything.
So here we are! Ever wanted to look like sea monster? Your answer is yes? Then you should crochet this cardigan ….and probably take drugs or bash your head against a hard surface many times, but after this, you will look like a sea monster – believe me :-D
Construction
The jacket is made in five pieces: Two front parts, the back and two sleeves. Sadly, you must sew everything together (or blackmail someone into doing it for you). Shoulder and side seams are sewn together and the sleeves which are worked in rows, must also be closed by a seam.
All parts are crocheted from the bottom up. The cuffs of body and sleeves are worked sideways, by alternating rows of slip stitches and single crochet. And to proceed you will work lengthwise over the cuff. To achieve a good fit at the shoulders you will decrease continually over the whole height of the armhole. The buttonband is made after everything is finished.
Because of the bold colour and thick wool, I have chosen a very simple stitch pattern: half double crochet. If you like you can work the cuffs and buttonband in a contrasting colour to make it even bolder. But beware if you walk alongside a great lake, maybe a sea monster falls in love with you and swoops you away.
Fit
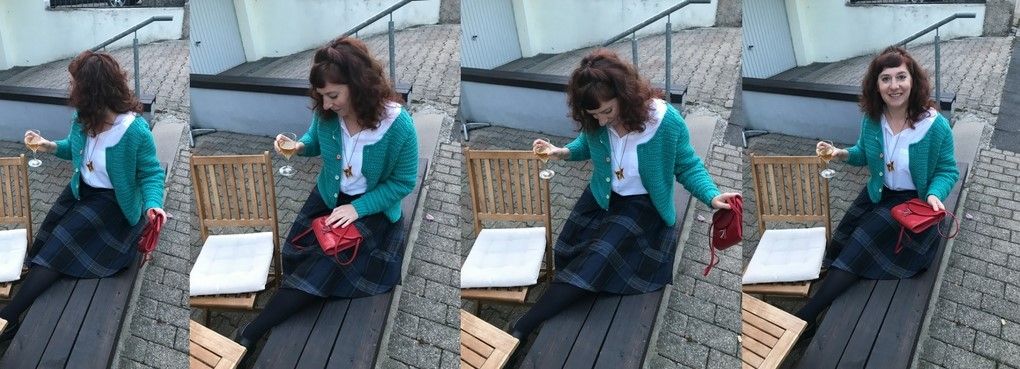
The jacket has only a little bit of positive ease: So, if it’s closed it pretends to be tailored, but actually it has no waist decreases or bust increases (but if you want to make some – feel free) This impression is furthered by the larger fronts compared to the back. The fronts have a slightly wider hemline and body.
Because the cardigan is worked in pieces it has very neat and good fitting shoulders without much bulk beneath the armpits. The sleeves are at full length and tapered. They end in cuffs, which are close fitting. The neckline is wide and rounded, but because of the twisted single crochet very sturdy. The jacket is cropped and ends above the hip, so it showcases a waisted skirt particularly well, which probably delights every sea monster. Since I start every design with my body dimensions in mind, the cardigan may be short for someone else (you can see the measures later in a chart), but it is easy to make it longer – just fit in the desired rows directly over the hem of back and front parts.
Material
The cardigan weights 600 g
6 skeins of Wolle Traub Kammgarn 100 g = 150 m in teal
5 Buttons 20 mm
Hook 6 mm
Scissors
Tapestry needle
Stitch markers
Tension
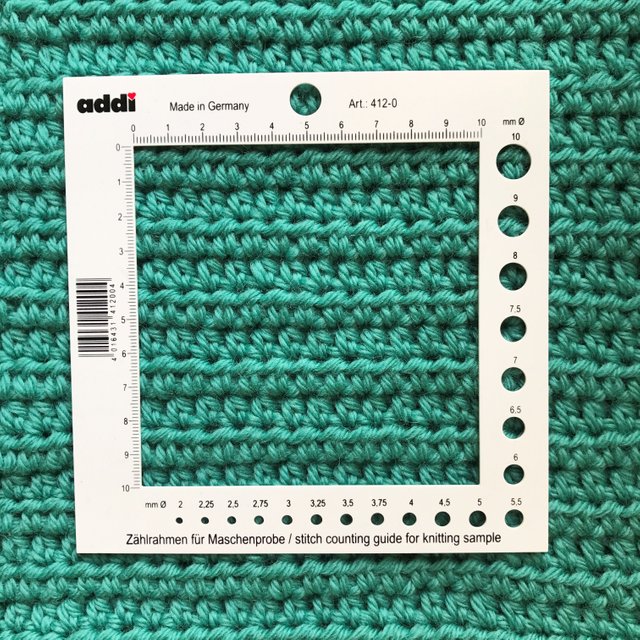
Hdc crocheted in rows with 6 mm hook
12 hdc and 9,5 rows = 10 x 10 cm
Please keep in mind, that I crochet very loose. Maybe you need to go up or down with your hook size to attain the same tension.
Size and numbers
Width
Back hem 52 cm / 20,5 inch
Front hem (with closed buttons) 57 cm/ 22,4 inch
One front with open buttons 30 cm / 11,8 inch
Shoulder (back) 35 cm / 13,8 inch
Neckline 23 cm / 9,1 inch
Sleeve (widest part) 17 cm / 6,7 inch
Sleeve cuff 9 cm / 3,5 inch
Heigth
Hem 5,5 cm / 2,7 inch
Armhole to hem 32 cm / 12,6 inch
Armhole 19cm / 7,5 inch
Total heigth 51 cm/ 20,1 inch
Sleeve (with cuff and shoulder) 55 cm / 21,7 inch
Sleeve cuff 5,5 cm / 2,7 inch
Skills used / Abbreviation
ch = Chain
sl st = Slip stitch
sc = Single crochet (UK double crochet)
hdc = Half double crochet (UK half treble crochet)
hdc2tog = decreasing, two half double crochet worked together (UK decreasing, two treble crochet worked together)
tw sc = twisted single crochet
Sewing or crocheting the cardigan parts together
One thing after another….
Back
Hem
Row 1: 9 ch
Rwo 2: 8 sc
Row 3: 8 sl st
Row 4: 1 ch, 8 sc
Row 5: 8 sl st
Rwo 6-86: repeat row 4 and 5
Cuff has 43 ridges
Body
Row 1: 1 ch, crochet 58 hdc evenly lengthwise over the 43 ridges of the cuff (58 hdc)
Row 2: 1 ch, hdc in every stitch across (58 hdc)
Row 3-25: repeat row 2
Armhole
Row 26: 6 sl st, 1 ch, 1 hdc, hdc2tog, xhdc, hdc2tog, 1 hdc, leave 6 st unworked (44 stitches, decreased 14 st)
Row 27: 1 ch, hdc in every stitch across (44 st)
Row 28: 1 ch, 1 hdc, hdc2tog, 36 hdc, hdc2tog, 1 hdc (42 st, decreased 2 st)
Row 29: 1 ch, hdc in every stitch across (42 st)
Row 30: 1 ch, 1 hdc, hdc2tog, 34 hdc, hdc2tog, 1 hdc (40 st, decreased 2 st)
Row 31: 1 ch, hdc in every stitch across (40 st)
Row 32: 1 ch, 1 hdc, hdc2tog, 32 hdc, hdc2tog, 1 hdc (38 st, decreased 2 st)
Row 33: 1 ch, hdc in every stitch across (38 st)
Row 34: 1 ch, 1 hdc, hdc2tog, 30 hdc, hdc2tog, 1 hdc (36 st, decreased 2 st)
Row 35: 1 ch, hdc in every stitch across (36 st)
Row 36-38: 1 ch, hdc in every stitch across (36 st)
Left shoulder
Row 39: 10sl st, 1 ch, 10 hdc
Row 40: 1 ch, 10 hdc
Row 41: 5 sl st, 5 hdc
Row 42: 1 ch, 5 hdc
Right Shoulder
Row 39: 1 ch, 10 hdc
Row 40: 1 ch, 10 hdc
Row 41: 1 ch, 5 hdc
Row 42: 1 ch, 5 hdc
Front (make two)
Cuff
Row 1: 9 ch
Rwo 2: 8 sc
Row 3: 8 sl st
Row 4: 1 ch, 8 sc
Row 5: 8 sl st
Rwo 6-48s: repeat row 4 and 5
Cuff has 24 ridges
Body
Row 1: 1 ch, crochet 30 hdc evenly lengthwise over the 24 ridges of the cuff (30 st)
Row 2: 1 ch, hdc in each stitch across (30 st)
Row 3-25: repeat row 2
Armhole
Row 26: (wrong side) 1 ch, hdc, hdc2tog, 21 hdc (leave 6 hdc unworked)
Row 27: 1 ch, hdc in each stitch across (23 st)
Row 28: 1 ch, 20 hdc, hdc2tog, 1 hdc (22 st, decreased 1 st)
Row 29: 1 ch, hdc in each stitch across (22 st)
Row 30: 1 ch, 19 hdc, hdc2tog, 1 hdc (21 st, decreased 1 st)
Row 31: 1 ch, hdc in each stitch across (21 st)
Row 32: 1 ch, 18 hdc, hdc2tog, 1 hdc (20 st, decreased 1 st)
Row 33: 1 ch, hdc in each stitch across (20 st)
Neckline
Row 34: 3 sl st, 1 ch, 1 hdc, hdc2tog, 11 hdc, hdc2tog, 1 hdc (15 st, decreased 5 st)
Row 35: 1 ch, 12 hdc, hdc2tog, 1 hdc (14 st, decreased 1 st)
Row 36: 1 ch, 1 hdc, hdc2tog, 11 hdc (13 st, decreased 1 st)
Row 37: 1 ch, 10 hdc, hdc2tog, 1 hdc (12 st, decreased 1 st)
Row 38: 1 ch, 1 hdc, hdc2tog, 9 hdc (11 st, decreased 1 st)
Shoulder
Row 39: 1 sl st, 1 ch, 10 hdc (10 st, decreased 1 st)
Row 40: 1 ch, hdc in each stitch across (10 st)
Row 41: 5 sl st, 1 ch, 5 hdc (5 hdc, decreased 5 st)
Row 42: 1 ch, hdc in each stitch across
Fasten off
For the second front work the rows up to the armhole identically. From there on the decreases must be mirrored.
Sleeves (make two)
Cuff
Row 1: 9 ch
Rwo 2: 8 sc
Row 3: 8 sl st
Row 4: 1 ch, 8 sc
Row 5: 8 sl st
Rwo 6-32: repeat row 4 and 5
Cuff has 16 ridges
Row 1: crochet evenly lengthwise over the 16 ridges of the cuff. 1 ch, 30 hdc
Row 2-3: 1 ch, hdc in each stitch across (30 hdc)
Row 4: 1 ch, 1 hdc, 2 hdc in second st, hdc in each st across, 2 hdc in next to last st, 1 hdc (32 st, increased 2 st)
Row 5-6: 1 ch, hdc in each stitch across (32 st)
Row 7: 1 ch, 1 hdc, 2 hdc in second st, hdc in each st across, 2 hdc in next to last st, 1 hdc (34 st, increased 2 st)
Row 8-9: 1 ch, hdc in each stitch across (34 st)
Row 10: 1 ch, 1 hdc, 2 hdc in second st, hdc in each st across, 2 hdc in next to last st, 1 hdc (36 st, increased 2 st)
Row 11-12: 1 ch, hdc in each stitch across (36 st)
Row 13: 1 ch, 1 hdc, 2 hdc in second st, hdc in each st across, 2 hdc in next to last st, 1 hdc (38 st, increased 2 st)
Row 13-15: 1 ch, hdc in each stitch across (38 st)
Row 16: 1 ch, 1 hdc, 2 hdc in second st, hdc in each st across, 2 hdc in next to last st, 1 hdc (40 st, increased 2 st)
Row 17-22: 1 ch, hdc in each stitch across (40 st)
Row 23: 1 ch, 1 hdc, 2 hdc in second st, hdc in each st across, 2 hdc in next to last st, 1 hdc (42 st, increased 2 st)
Row 24-36: 1 ch, hdc in each stitch across (42 st)
Shoulder
Rwo 37: 4 sl st, 1 ch, 1 hdc, hdc2tog, x hdc, hdc2tog, 1 hdc, (leave 4 stitches unworked, decreased 10 st)
Row 38: 1 ch, hdc in each stitch across (32 st)
Row 39: 1 ch, 1 hdc, hdc2tog, x hdc, hdc2tog, 1 hdc (30 st, decreased 2 st)
Row 40-51: repeat row 39
Row 52: 1 ch, hdc in each stitch across (6 st)
Row 53: 1 ch, 2 hdc, hdc2tog, 2 hdc (5, decreased 1 st)
Armhole to top of shoulder are 17 rows (on back, fronts and sleeves) If you like a wider sleeve, you should also make the armhole higher.
Finishing instructions
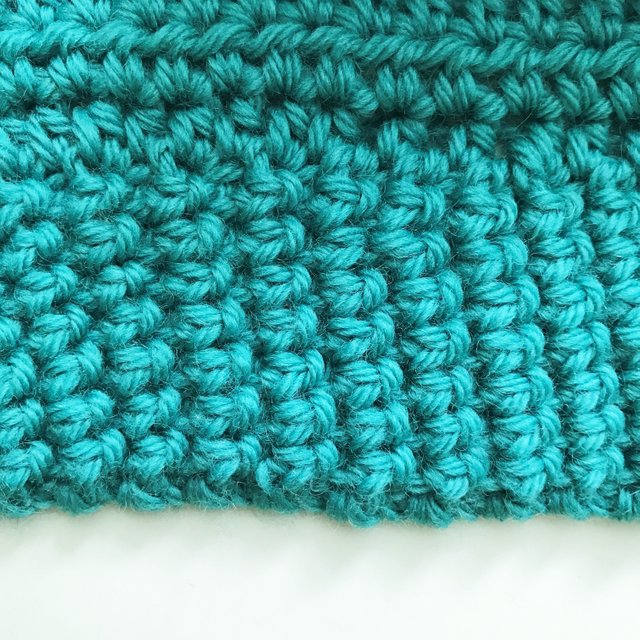
Place the right sides of the cardigan together, so that you can see the wrong side (easily to recognize by the hem: the right side looks a little bit like knitting). Close the shoulder seams. These seams are very short, because you only must sew over the top 5 hdc. Now close the side seams, from the cuff upwards to the armhole opening. The next step is to sew in the sleeves. Therefore, attach the middle of the sleeve top to the middle of the shoulder opening with stitch markers. Then fold the sleeve lengthwise in half and attach the beginning of the shoulder decreases (row 37 with the slip stitches) with the beginning of the armhole opening. Now match the rest of the shoulder into the armhole on front and back. Now sew the shoulder into the armhole. Afterwards close the seam of the sleeve. Now you can put on the cardigan and decide how wide the buttonband should be, and how many buttons you need. I made a wide buttonband and used five 20 mm buttons.
Right side

Wrong side
Buttonband
Row 1: Work 50 sc evenly across the front
Row 2: 1 ch, 50 sc
Row 3-6: repeat row 2
Fasten off
Buttonholes
Start on the neckline and work downwards
Row 1: Work 50 sc evenly across the front
Row 2: 1 ch, 50 sc
Row 3: 1 ch, 50 sc
Row 4: 1 ch, 2 sc, 1 ch, 11 sc, 1 ch, 10 sc, 1ch, 10 sc, 1 ch, 10 sc, 2 sc
Row 5: 1 ch, sc in each stitch across (50 sc)
Row 6: 1 ch, sc in each stitch across (50 sc)
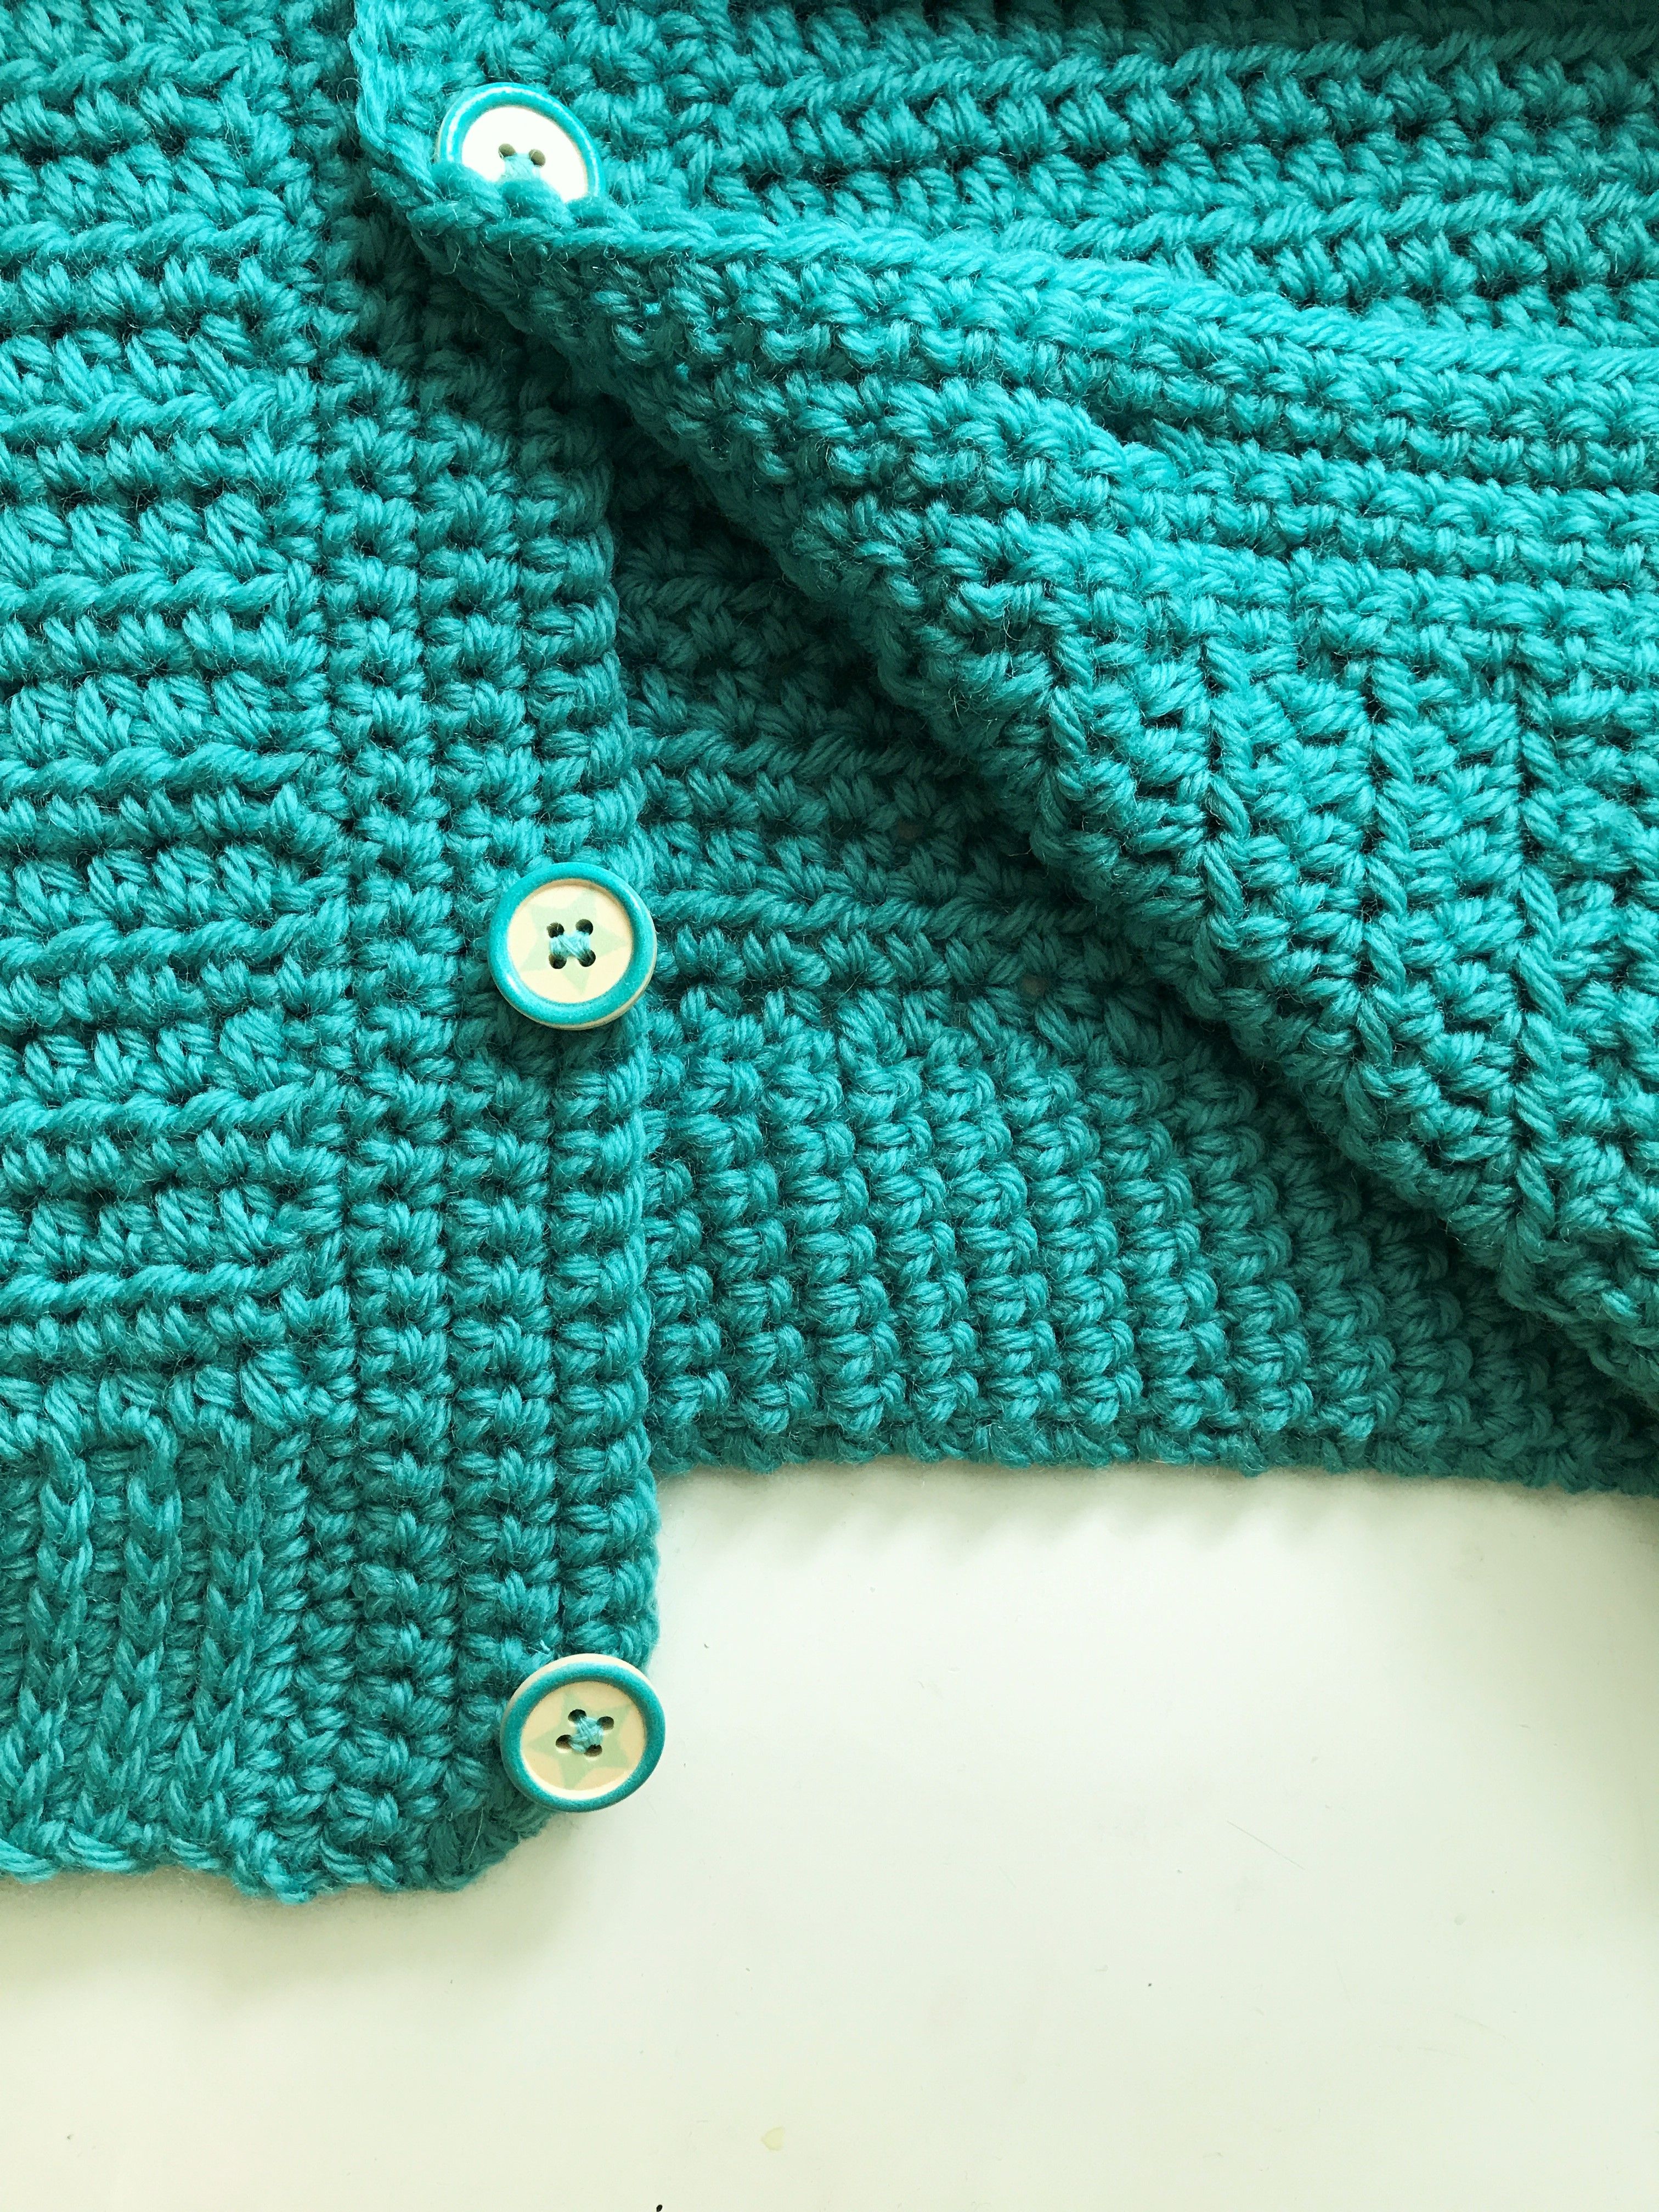
Do not fasten off, but proceed to work one row of twisted single crochet around the neckline. Fasten off.
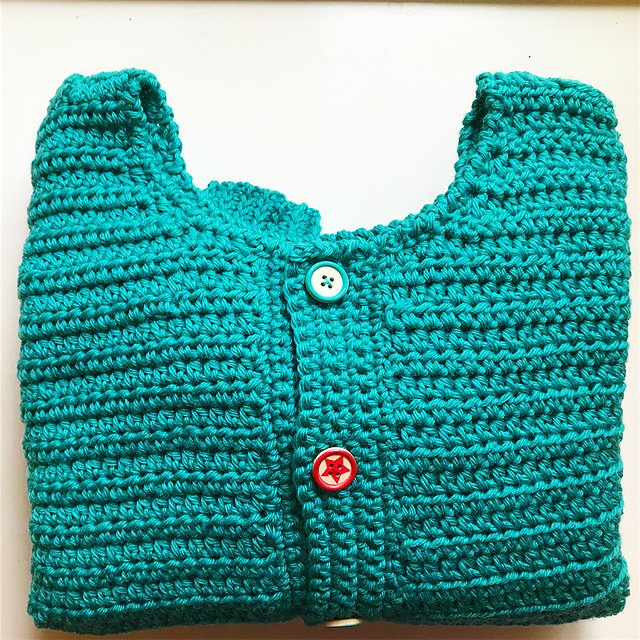
Final touches
Turn the cardigan on the left side and weave in all ends. Turn the cardigan on the right side and sew on the buttons. When the cardigan is finished take it in your arms and cuddle it. Then put in on and run to the sea, lake, or river (or if necessary find a little puddle) and present your beautiful self to the next sea monster you can find.
I hope you enjoy the pattern, if you have questions, just write a comment, I will try my best to help. If you find a mistake, please be lenient with me, perhaps a cute sea monster distracted me....
Thank you for posting your cardigan pattern. It is very beautiful and it must have taken you a long time to design and write out. I really like the Loch Nessie colour too! I have been wanting to make myself a sweater but I know I would have to modify the size to fit and I'm not sure I could figure it out. If I was going to attempt it, I think your pattern would be a great help!
So happy you like it and I am also a great teal fan :-D I don't know how experienced you are in crochet, but you are right it is always a little bit tiring to change the size of a pattern, but maybe I can help? What do you have to change (length, width, fit etc.) This pattern is worked flat, so it is in my opinion harder to change the fit while working on the pattern, this would be easier with a top down pattern, you can try on while crocheting it (I will publish a top down cardigan in some weeks - or so I hope)
The easiest way to change the fit of a flat worked cardigan, is to go down or up with yarn thickness... (but naturally this changes the appearance of the crochet fabric) Width and length are also easy to change, just add on all parts rows to get more length or ad more stitches per row to get a wider cardigan. Harder is the shoulder/ sleeve part. If you made the cardigan wider (more stitches per row) you must count how many more stitches you have to decrease for the shoulder.
I hope I did not bored you :-D
If you have a specific question, feel free to ask, I will try to help and thanks for reading my pattern :-D
Thank you for yr offer to help! I think I would be inclined to attempt a top down cardigan for my first one. I had heard before that it is easier to work, so I shall watch for your next pattern. You sound like you are a good teacher, as well as pattern writer and designer! I'm looking forward to your next creation. 😀
Thank you for the praise, and I try to give my best :-)
I am not sure, when my pattern will be ready, but you can already see the cardigan in this post and decide if it appeals to you.
https://steemit.com/art/@neumannsalva/how-to-develope-a-cardigan-crochet-is-art
If not maybe you should visit http://www.ravelry.com There you can find many free or payed crochet and knitting patterns with reviews. You can sign up for free (maybe you already know this platform)
I did check out your post. It is a big job writing a pattern, testing, and retesting it again. I love the multi-coloured yarn you used too! I do have a ravelry account. Soooo many patterns to choose from that it can be overwhelming at times. I am definitely going to make a cardigan this year. I'm just waiting for the end of gardening season so I will have more time to devote to it.
wonderful cardigan !!! bright beautiful color
Thank you very much. I am also a big fan of this colour!
@neumannsalva THESE ARE THE KIND OF POSTS I LOVE TO SEE! Care and attention to detail. Nicely written. Actual talent. Well done! Following :)
Thank you so much!!!
And I followed you rigth back, because I saw you make animation films!!!! With wooly little creatures. So great - I love this. And I can imagine how much work is behind such films ( I made choreography and dance for stop motion films some times...if you are interested i will write a post about making one of the films in the next weeks) Really great to get to know you. Hope to hear more of your filming work :-D
Oh my what a lovely cardigan and wonderful post!! I love your back story about sea monsters and I love the name of your cardigan! It is so neat and well stitched together. You did awesome on the detailed instructions. Thank you so much for sharing your pattern with us! Cute photos with it on too!!! 😃 I will definitely be saving this pattern!
Uiiii thank you so much for your praise, this means really much for me :-) I hope all is well in the pattern and I did not myke mistakes... If you find something, please let me know.
Sadly I do not have the old drawings of the sea creature, this would have been fun to publish them with the pattern.
You are very welcome! 😊 I will let you know.
Wow! What a fantastic post. Love the sweater! #Needleworkmonday is the best!
Thank youuuuu and yes: crafts should rule the world :-D I just won a sewing machine and now I am learning to sew (the skirt on the foto in the post is my third attempt on a half circle skirt - very proud I am :-D)
I really love to make something with my hands