How to make a Gingerbread House for Christmas
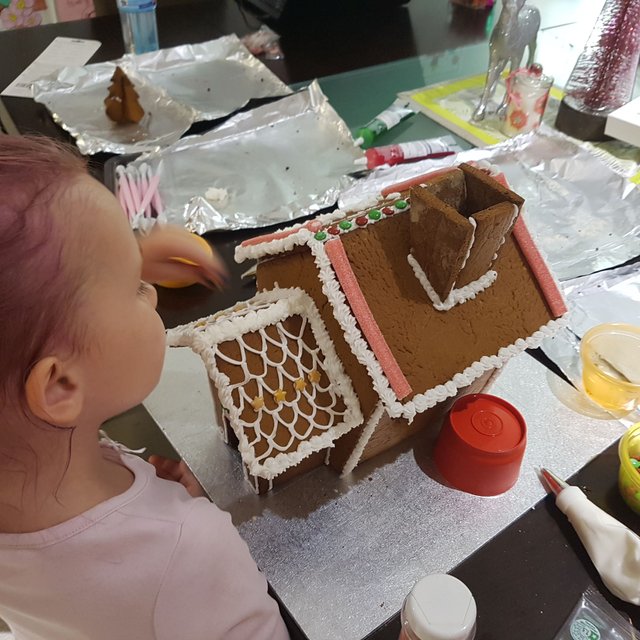
Hi guys, this 'How To Make a Ginger Bread House' is brought to you by my wife, 7 yr old and 4 yr olds daughters. I helped a little bit but could never make a magnificent work of art like this. It is going to be a shame to have to eat it, but I'm sure we'll manage ;)
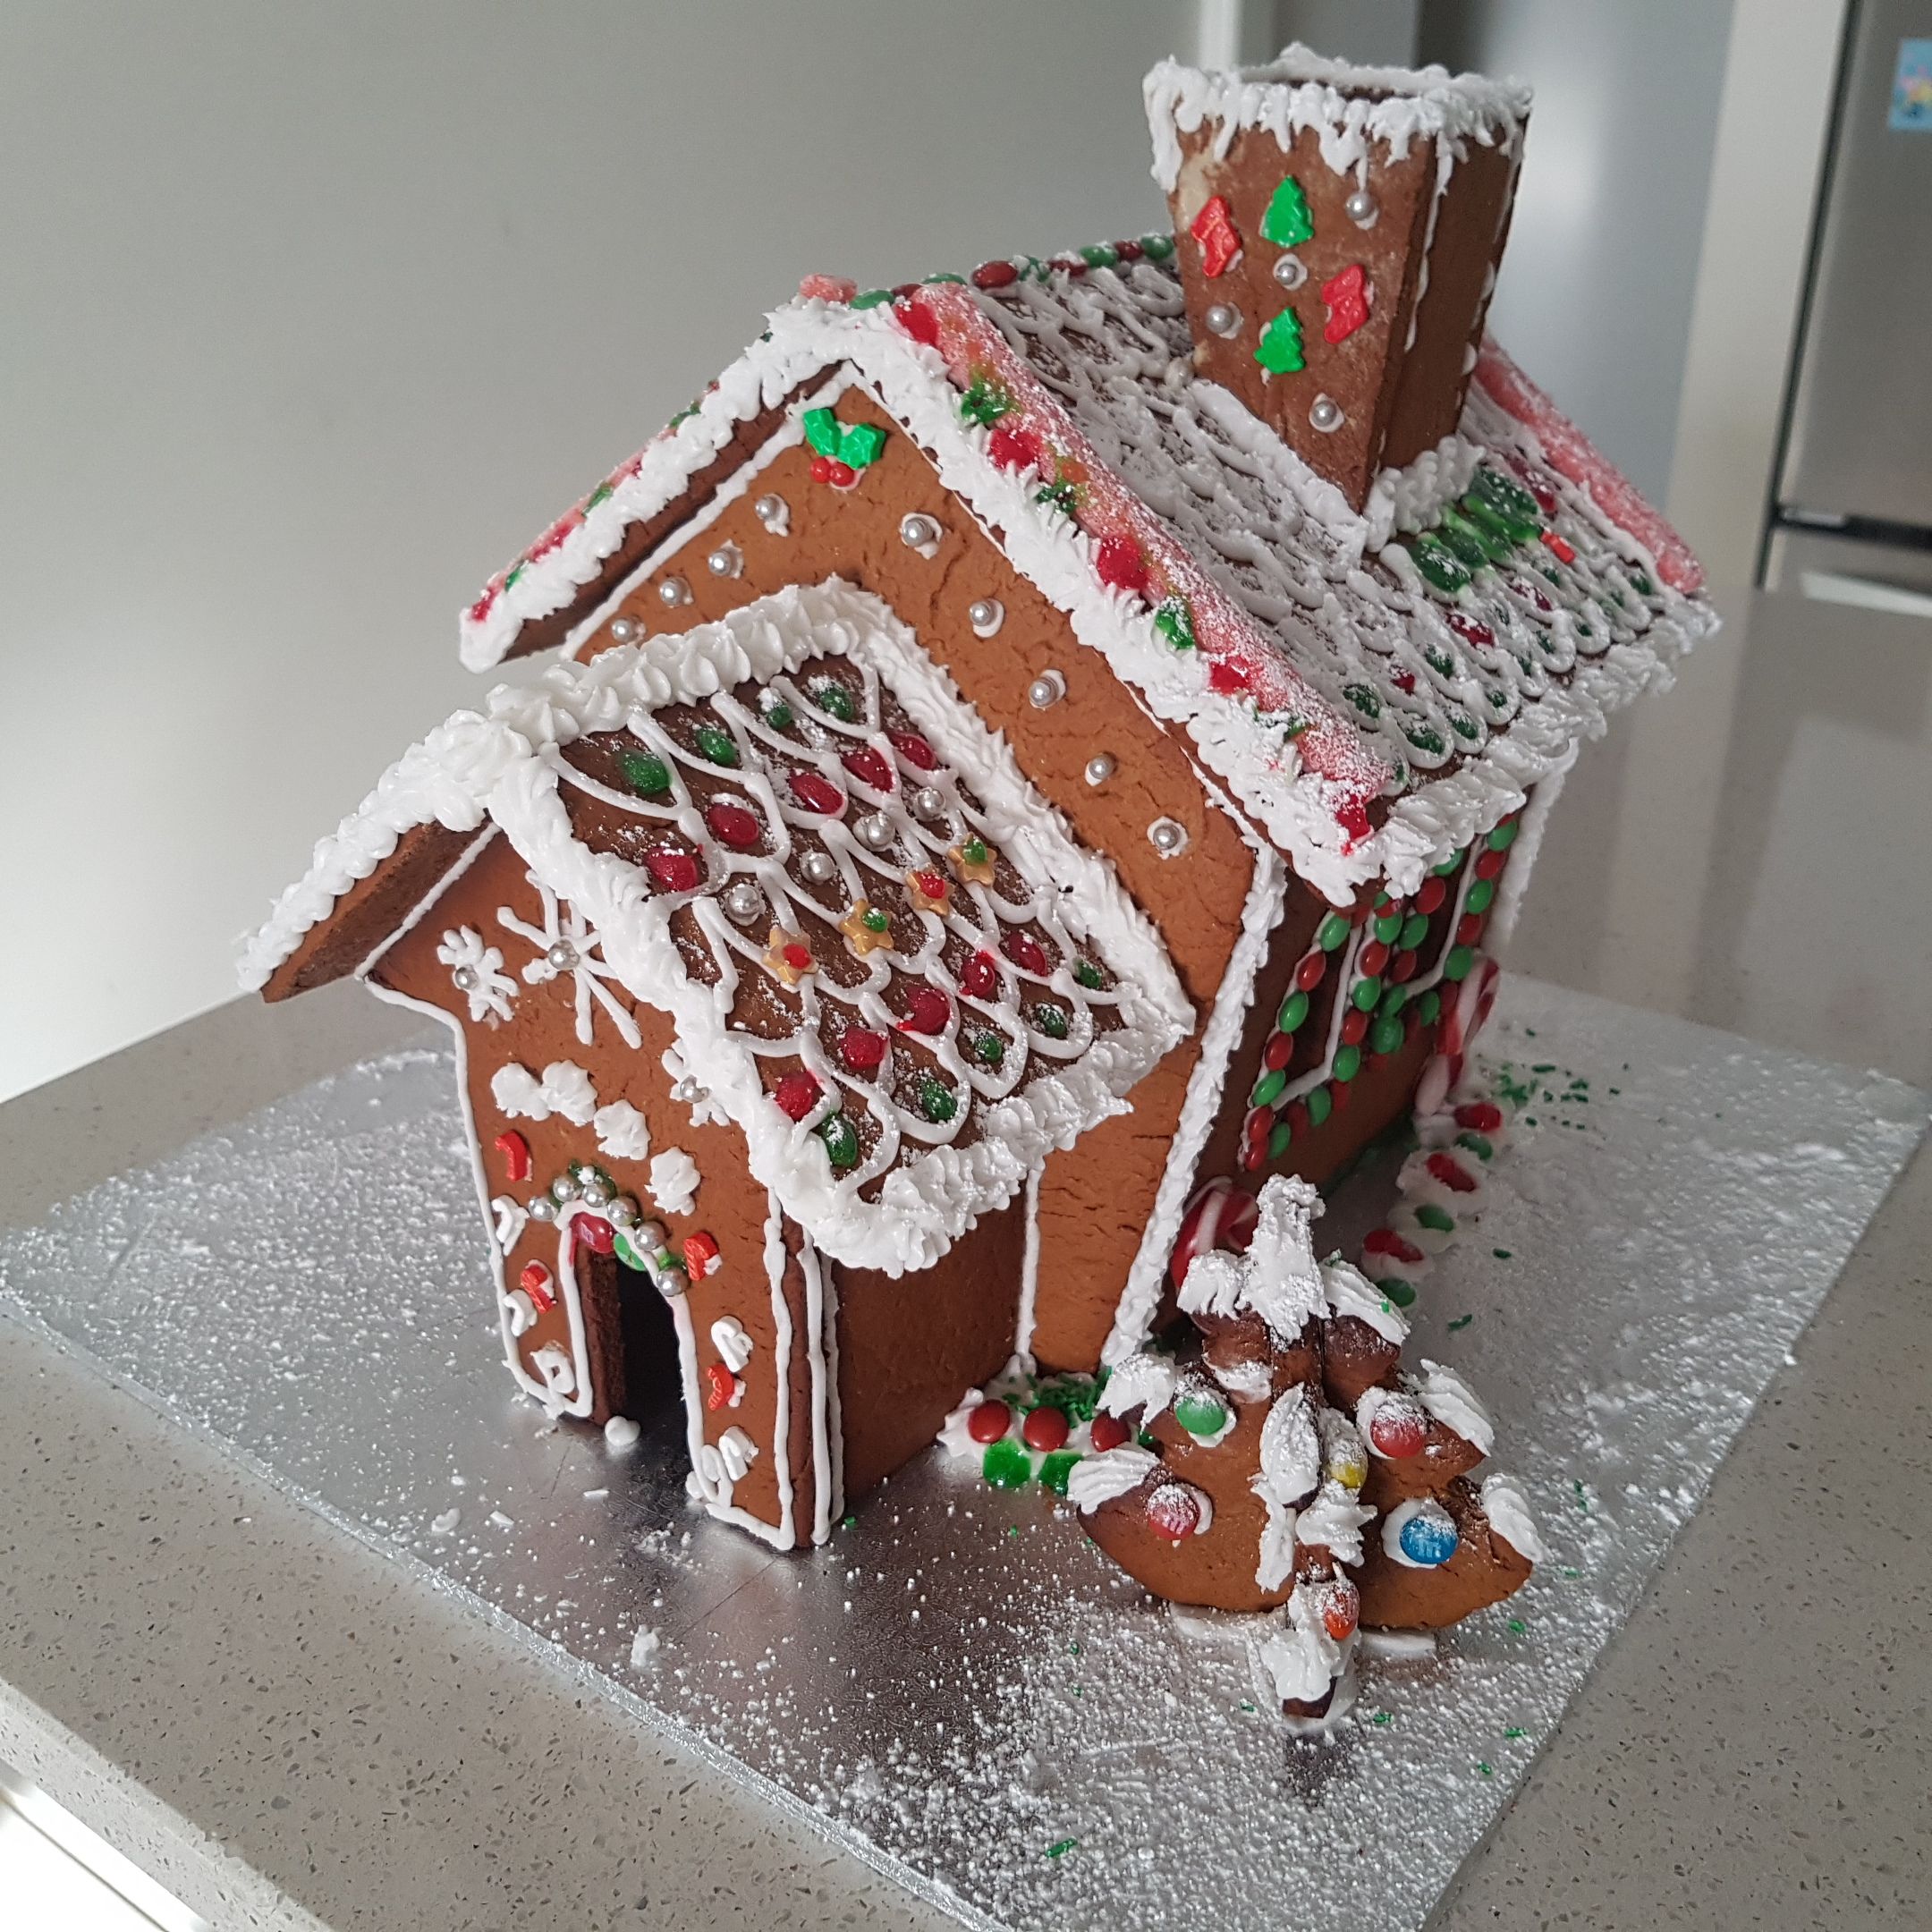
Making the Gingerbread
Be sure to allow plenty of time to create your gingerbread house. This recipe requires an additional 4 hours of cooling time, plus allowing your creation to dry overnight
250g unsalted butter, chopped
2/3 cup brown sugar
2/3 cup golden syrup
5 cups plain flour
2 tablespoons ground ginger
1 tablespoon cinnamon
1/2 teaspoon ground cloves
2 teaspoons bicarbonate of soda
2 eggs
Melt butter, sugar and golden syrup together in a saucepan over low heat, stirring occasionally, until the sugar has dissolved. Cool slightly.
Sift flour, spices and bicarbonate of soda into a large bowl. Whisk eggs into cooled butter mixture and then pour into the flour and mix until combined. Turn dough onto a floured surface and knead lightly until smooth. Flatten into a disc shape, cover with cling wrap and refrigerate for 30 minutes or until just firm.
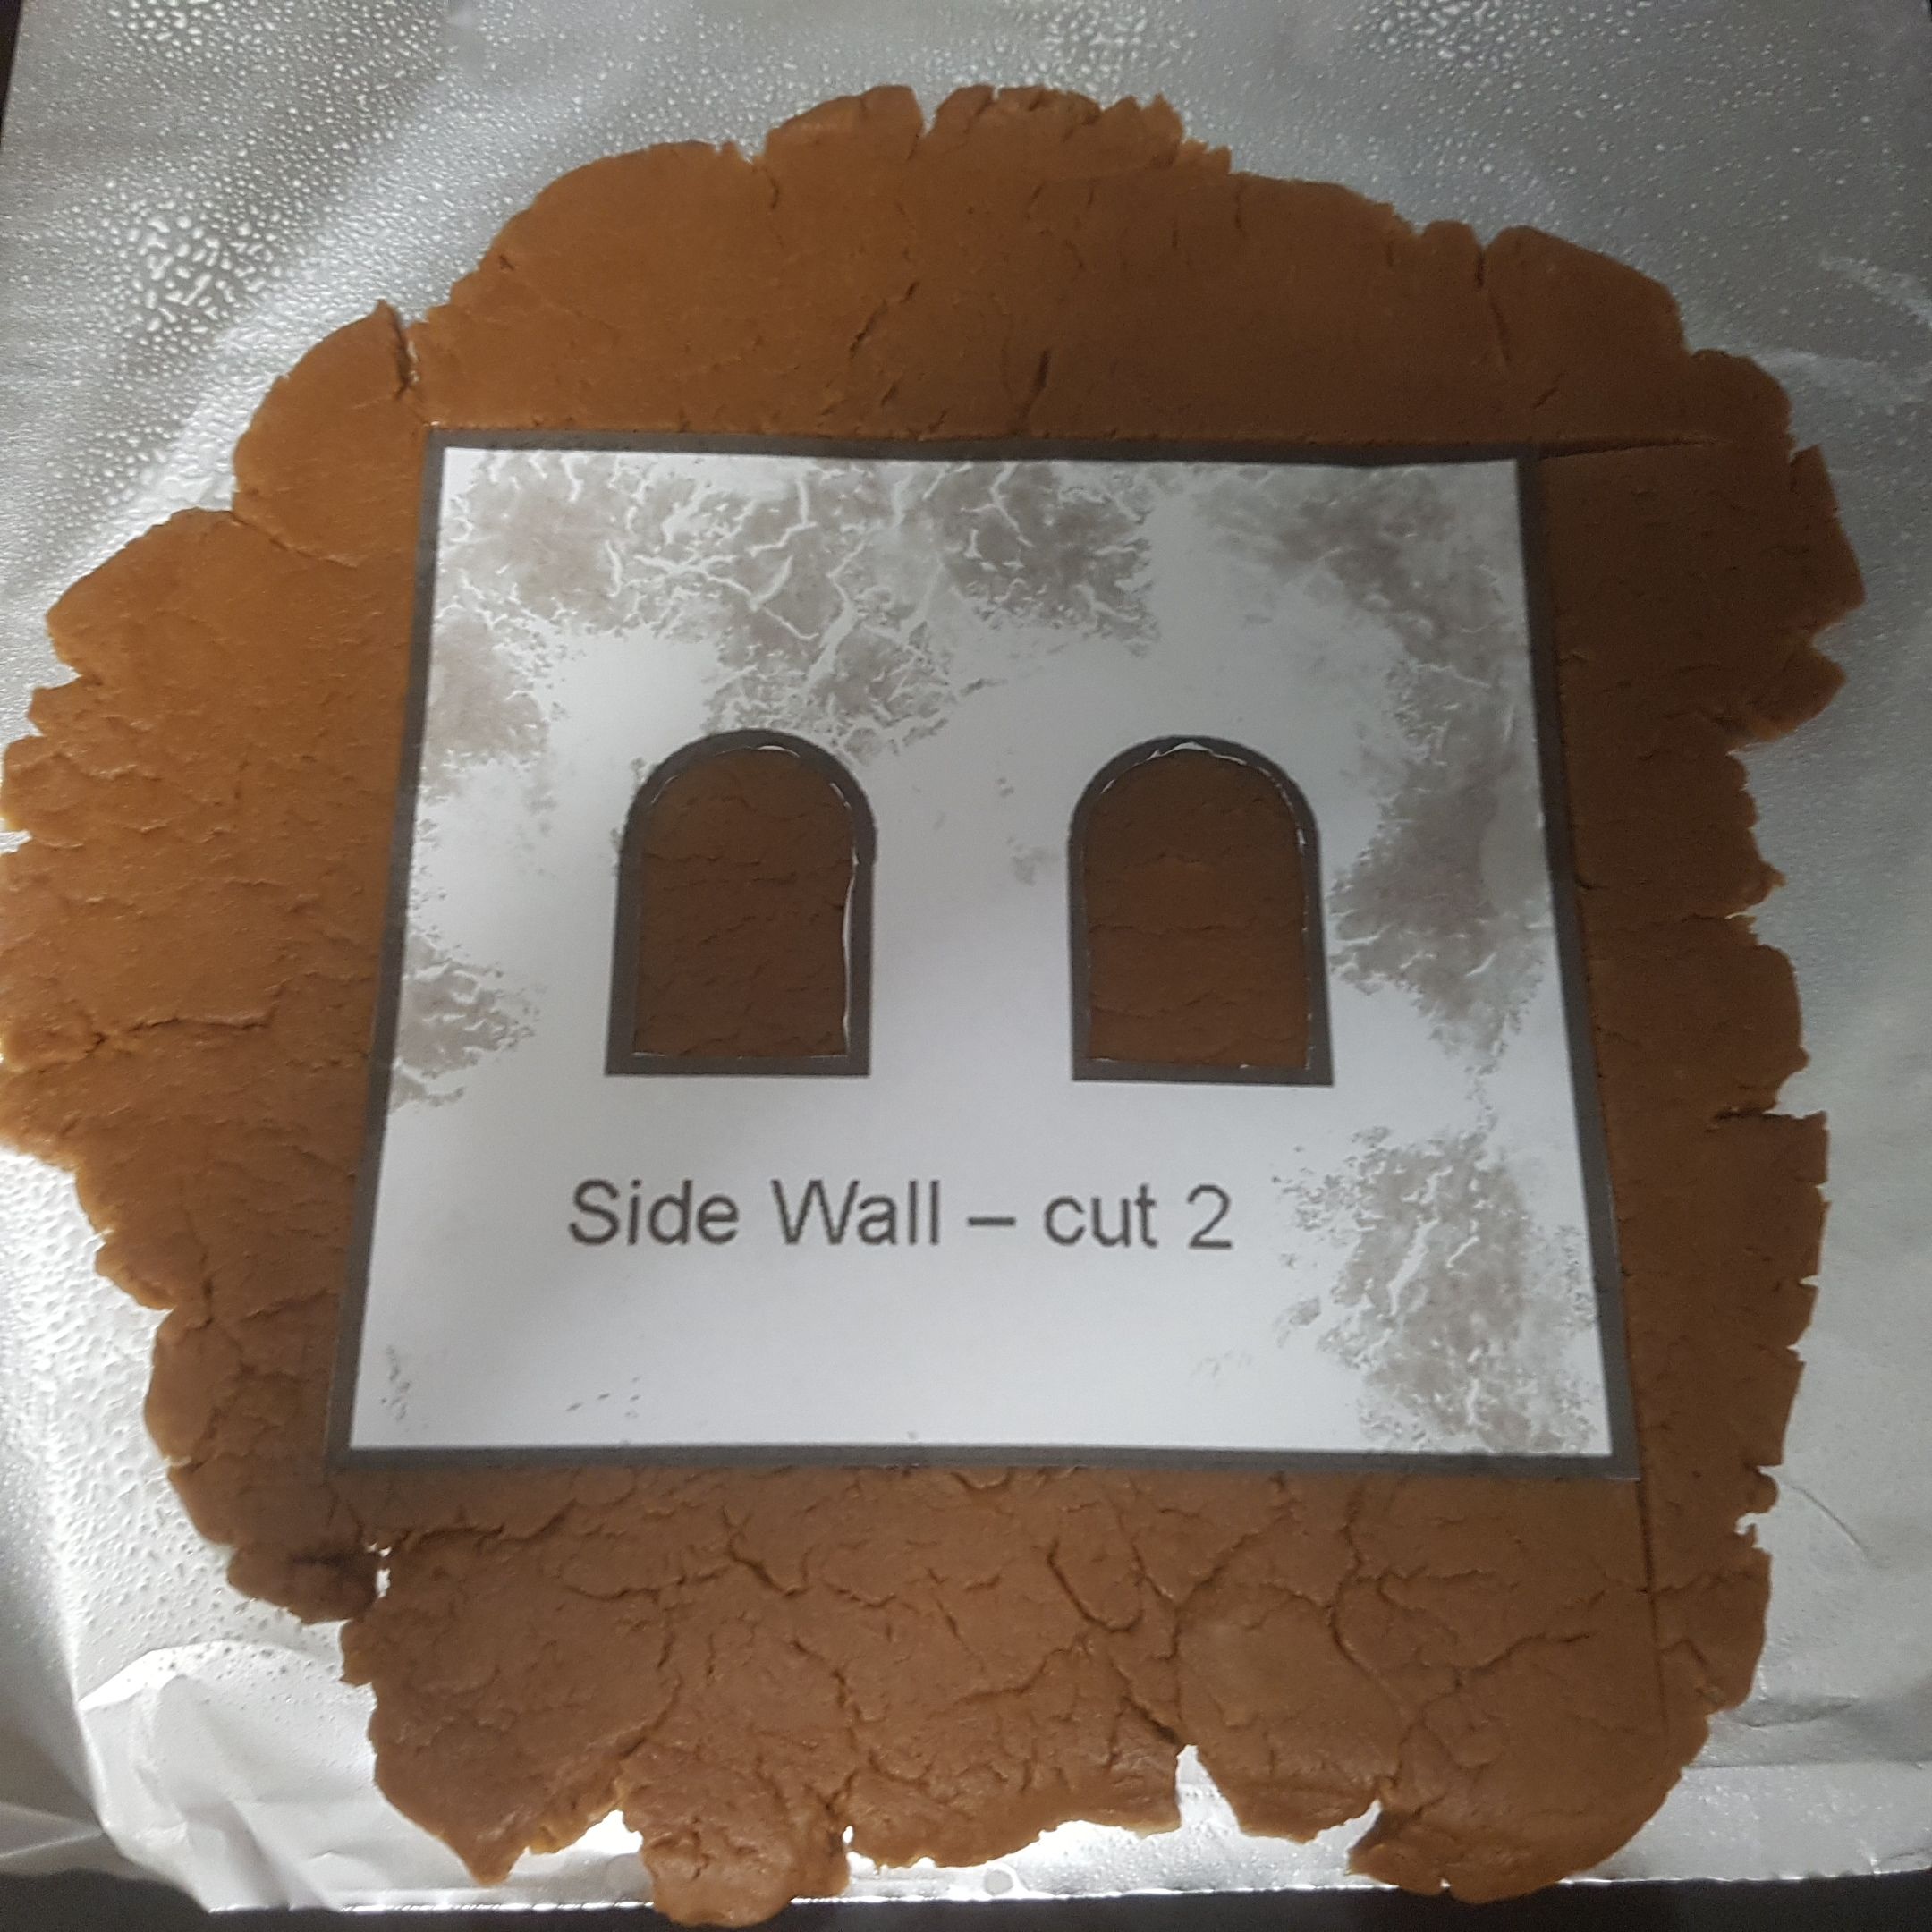
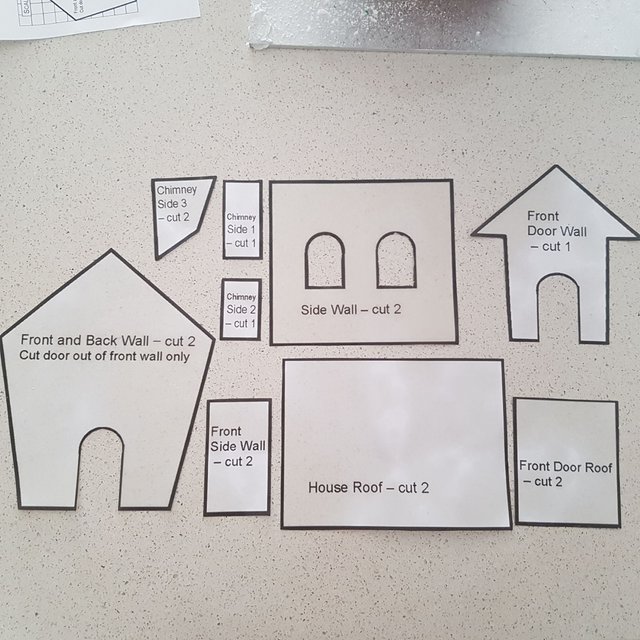
Roll out dough on a lightly floured surface to 1/2 cm thickness. Using a sharp knife, cut the dough into a total of 7 shapes, (4 sides, 2 roof panels and the door) using the templates as a guide. Carefully transfer gingerbread onto lightly buttered baking trays, allowing one tray for each piece of gingerbread (you will need to do this in stages).
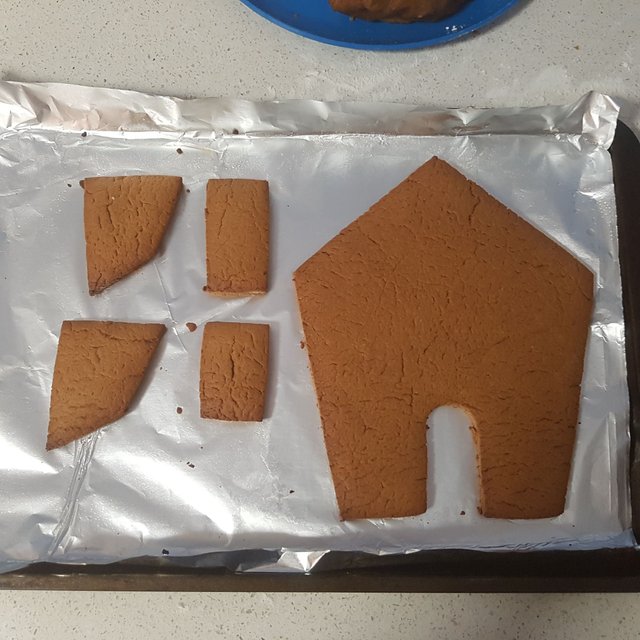
Bake at 180°C for 10-12 minutes or until cooked and lightly browned. Remove from oven and while still hot, use the templates to trim the gingerbread evenly to size (gingerbread will spread slightly during baking). Cool completely on trays before lifting pieces onto a wire rack to cool completely.
Royal icing
3 egg whites
6 cups (approximately) pure icing sugar, sifted
Beat egg whites until foamy.
Gradually beat in icing sugar until piping consistency. Transfer to a bowl and press cling wrap over the surface of the icing then cover with a double thickness of damp paper towel to prevent it from drying out. Spoon as required, into a piping bag and use to decorate cooled gingerbread.
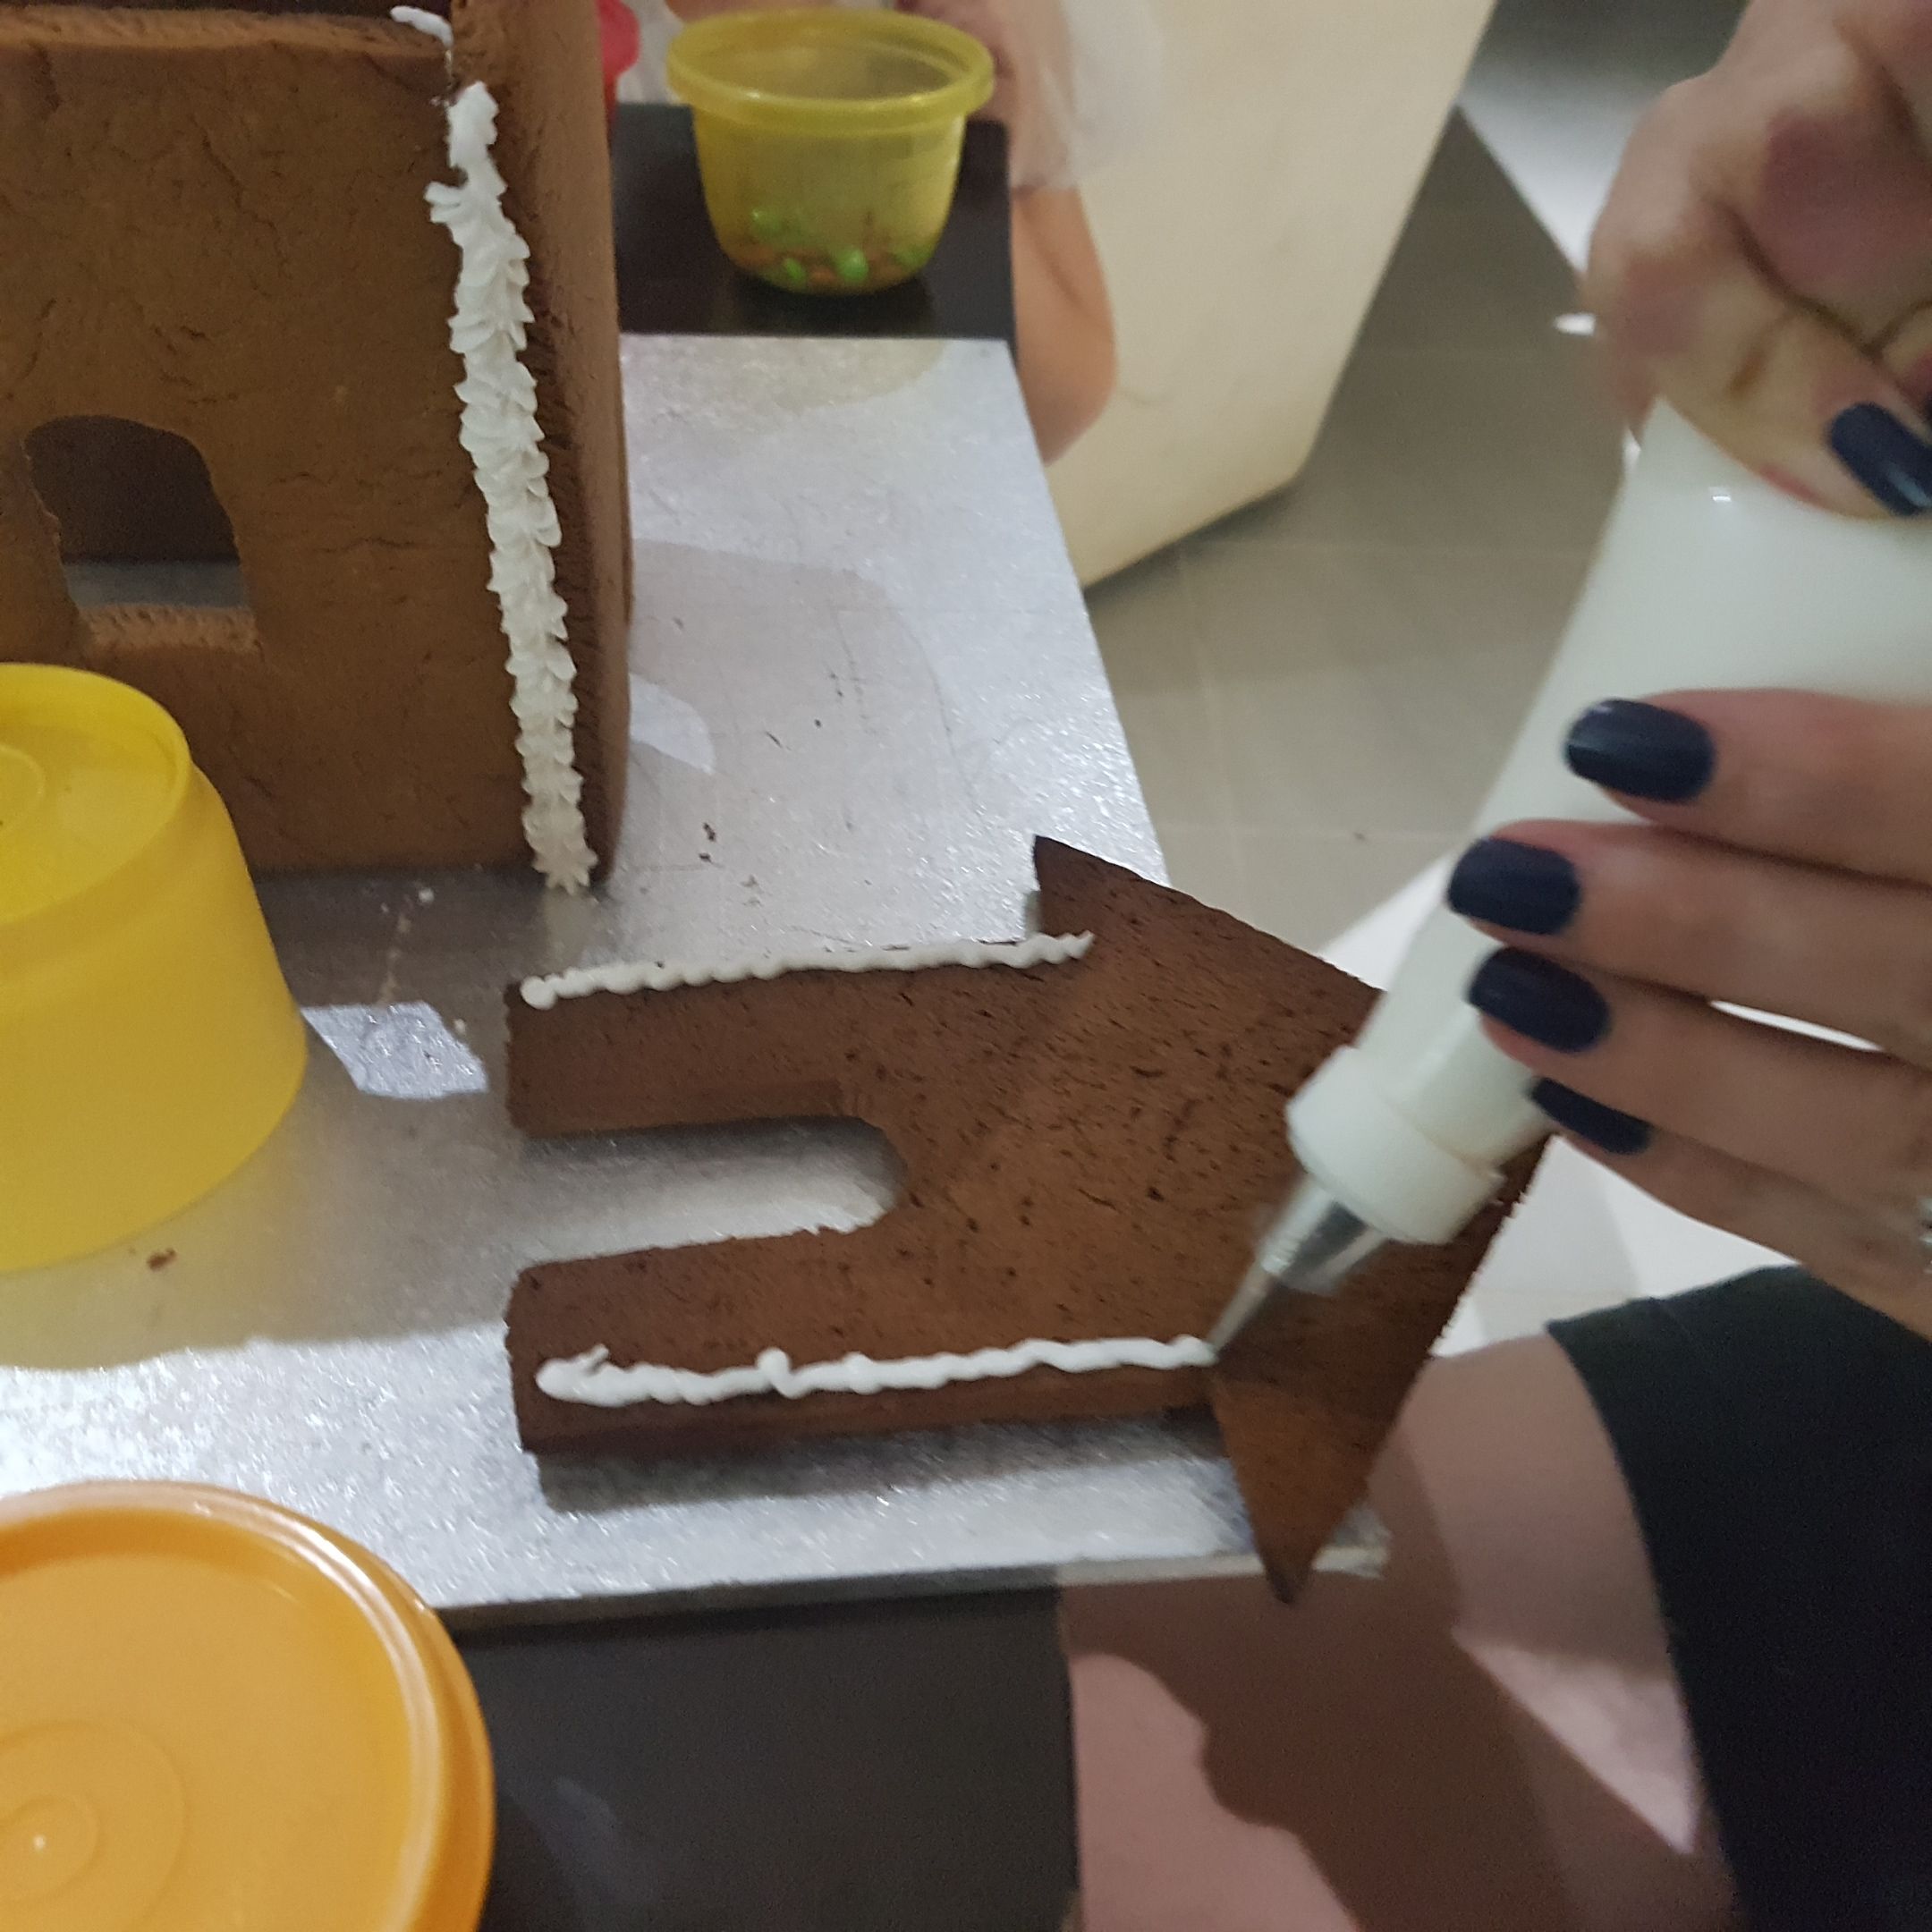
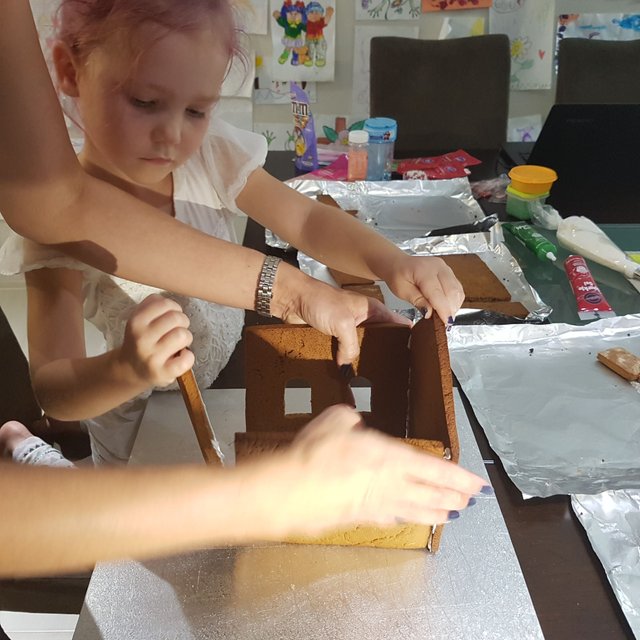
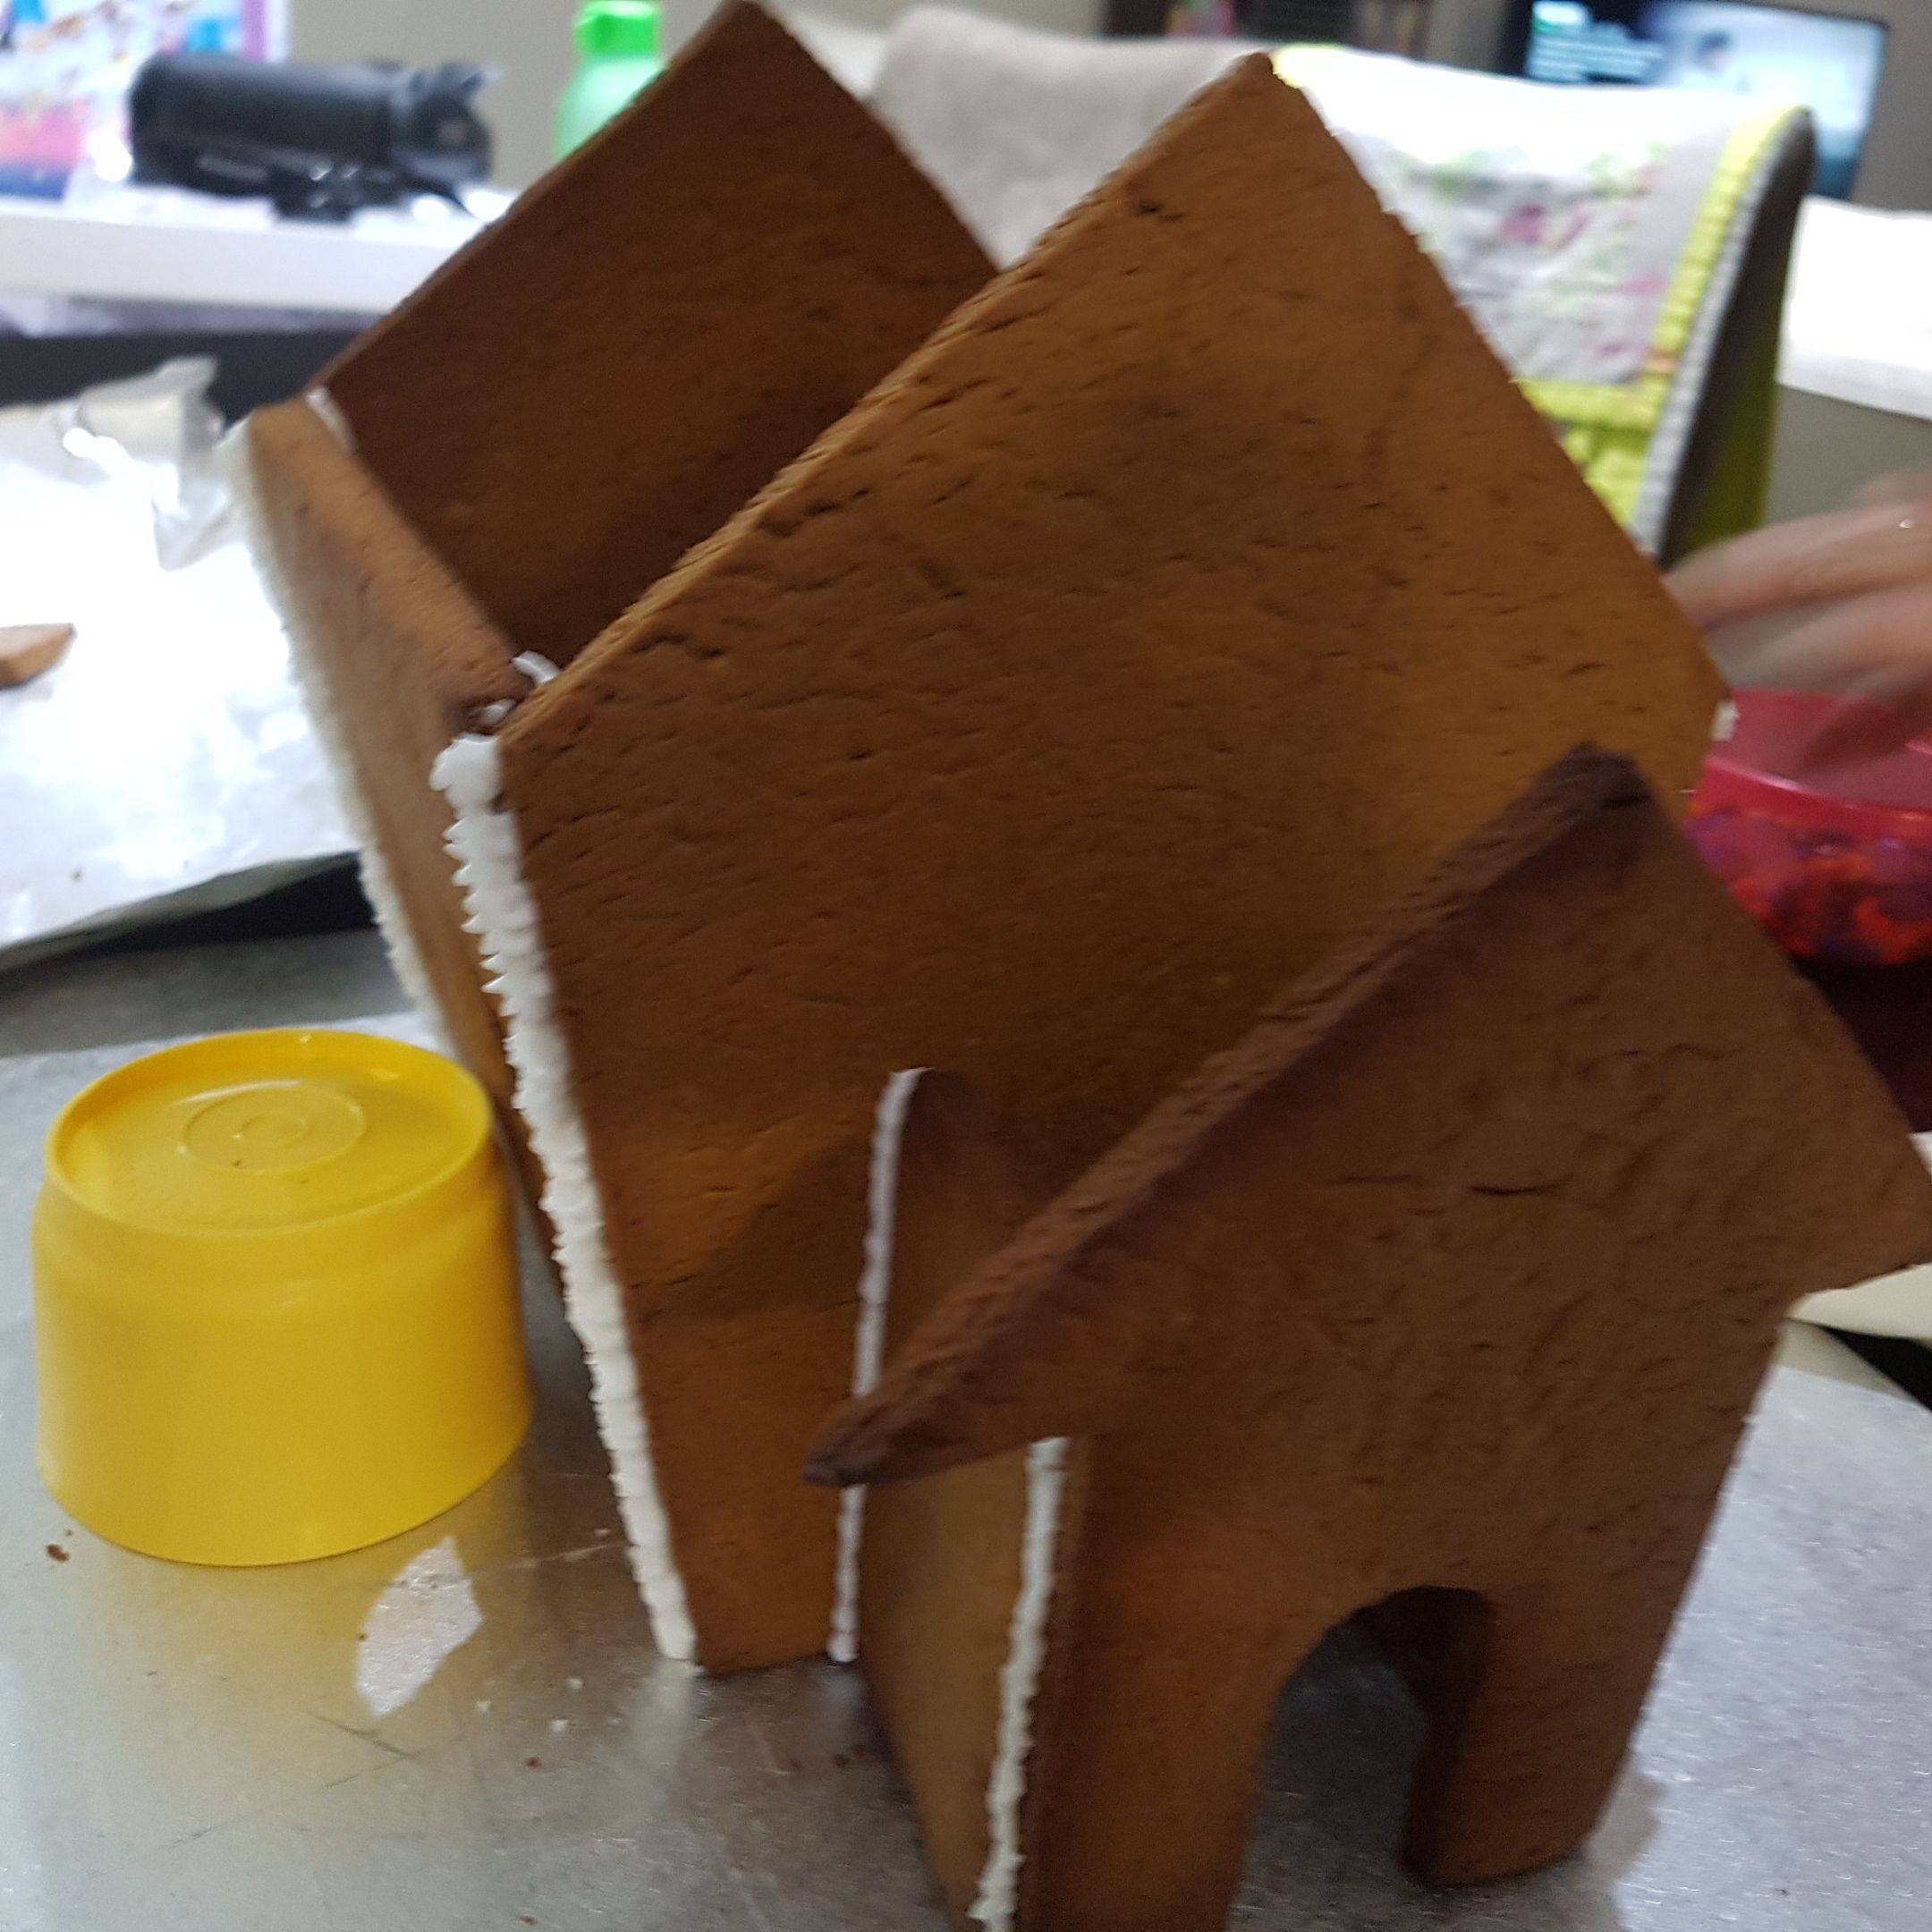
To decorate and assemble
Pipe a thin outline of icing on each piece of gingerbread and allow to dry. Pipe 2 windows on each side panel using royal icing.
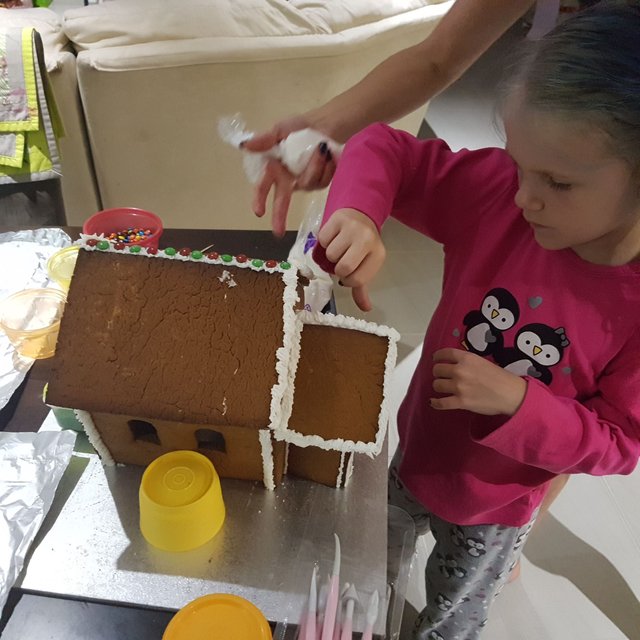
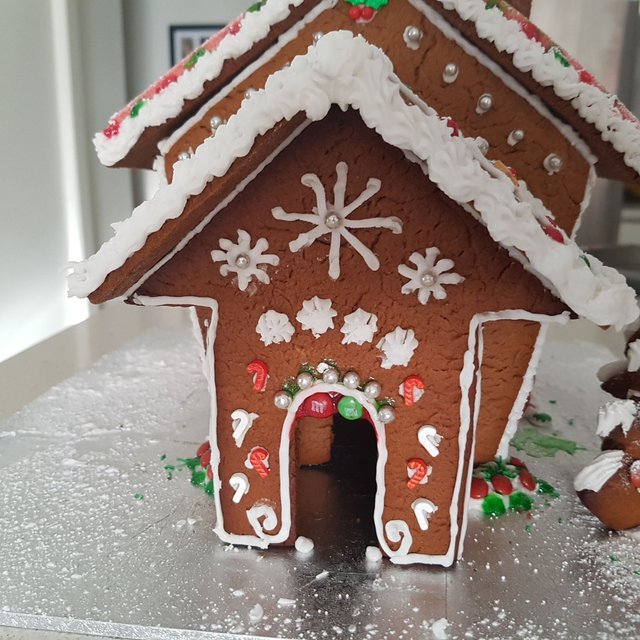
Decorate each individual panel (except the roof) with red and green lollies, using the royal icing as 'glue'. Fill in any gaps with silver cachous.
On a cake board, use the icing to 'glue' the 4 side panels together and onto the board, using cans of food as props to position and hold the four panels upright. Allow to dry for 2-3 hours.
Position both roof panels in place with royal icing, placing cans underneath the roof overhang, so roof stays in place. Allow to dry overnight, then remove cans.
To decorate roof, turn chocolate melts flat side up and adhere to the roof with icing, starting from the bottom and working up in rows, overlapping slightly to resemble roof tiles. Pipe dabs of remaining icing along edges of the roof and walls to decorate. To finish, pipe icing along one side of the door and adhere so that it appears open. Dust the entire house with icing sugar to resemble snow.


More Tips
- It's important to trim the gingerbread while it's still hot from the oven, so measurements are precise, making assembly easy.
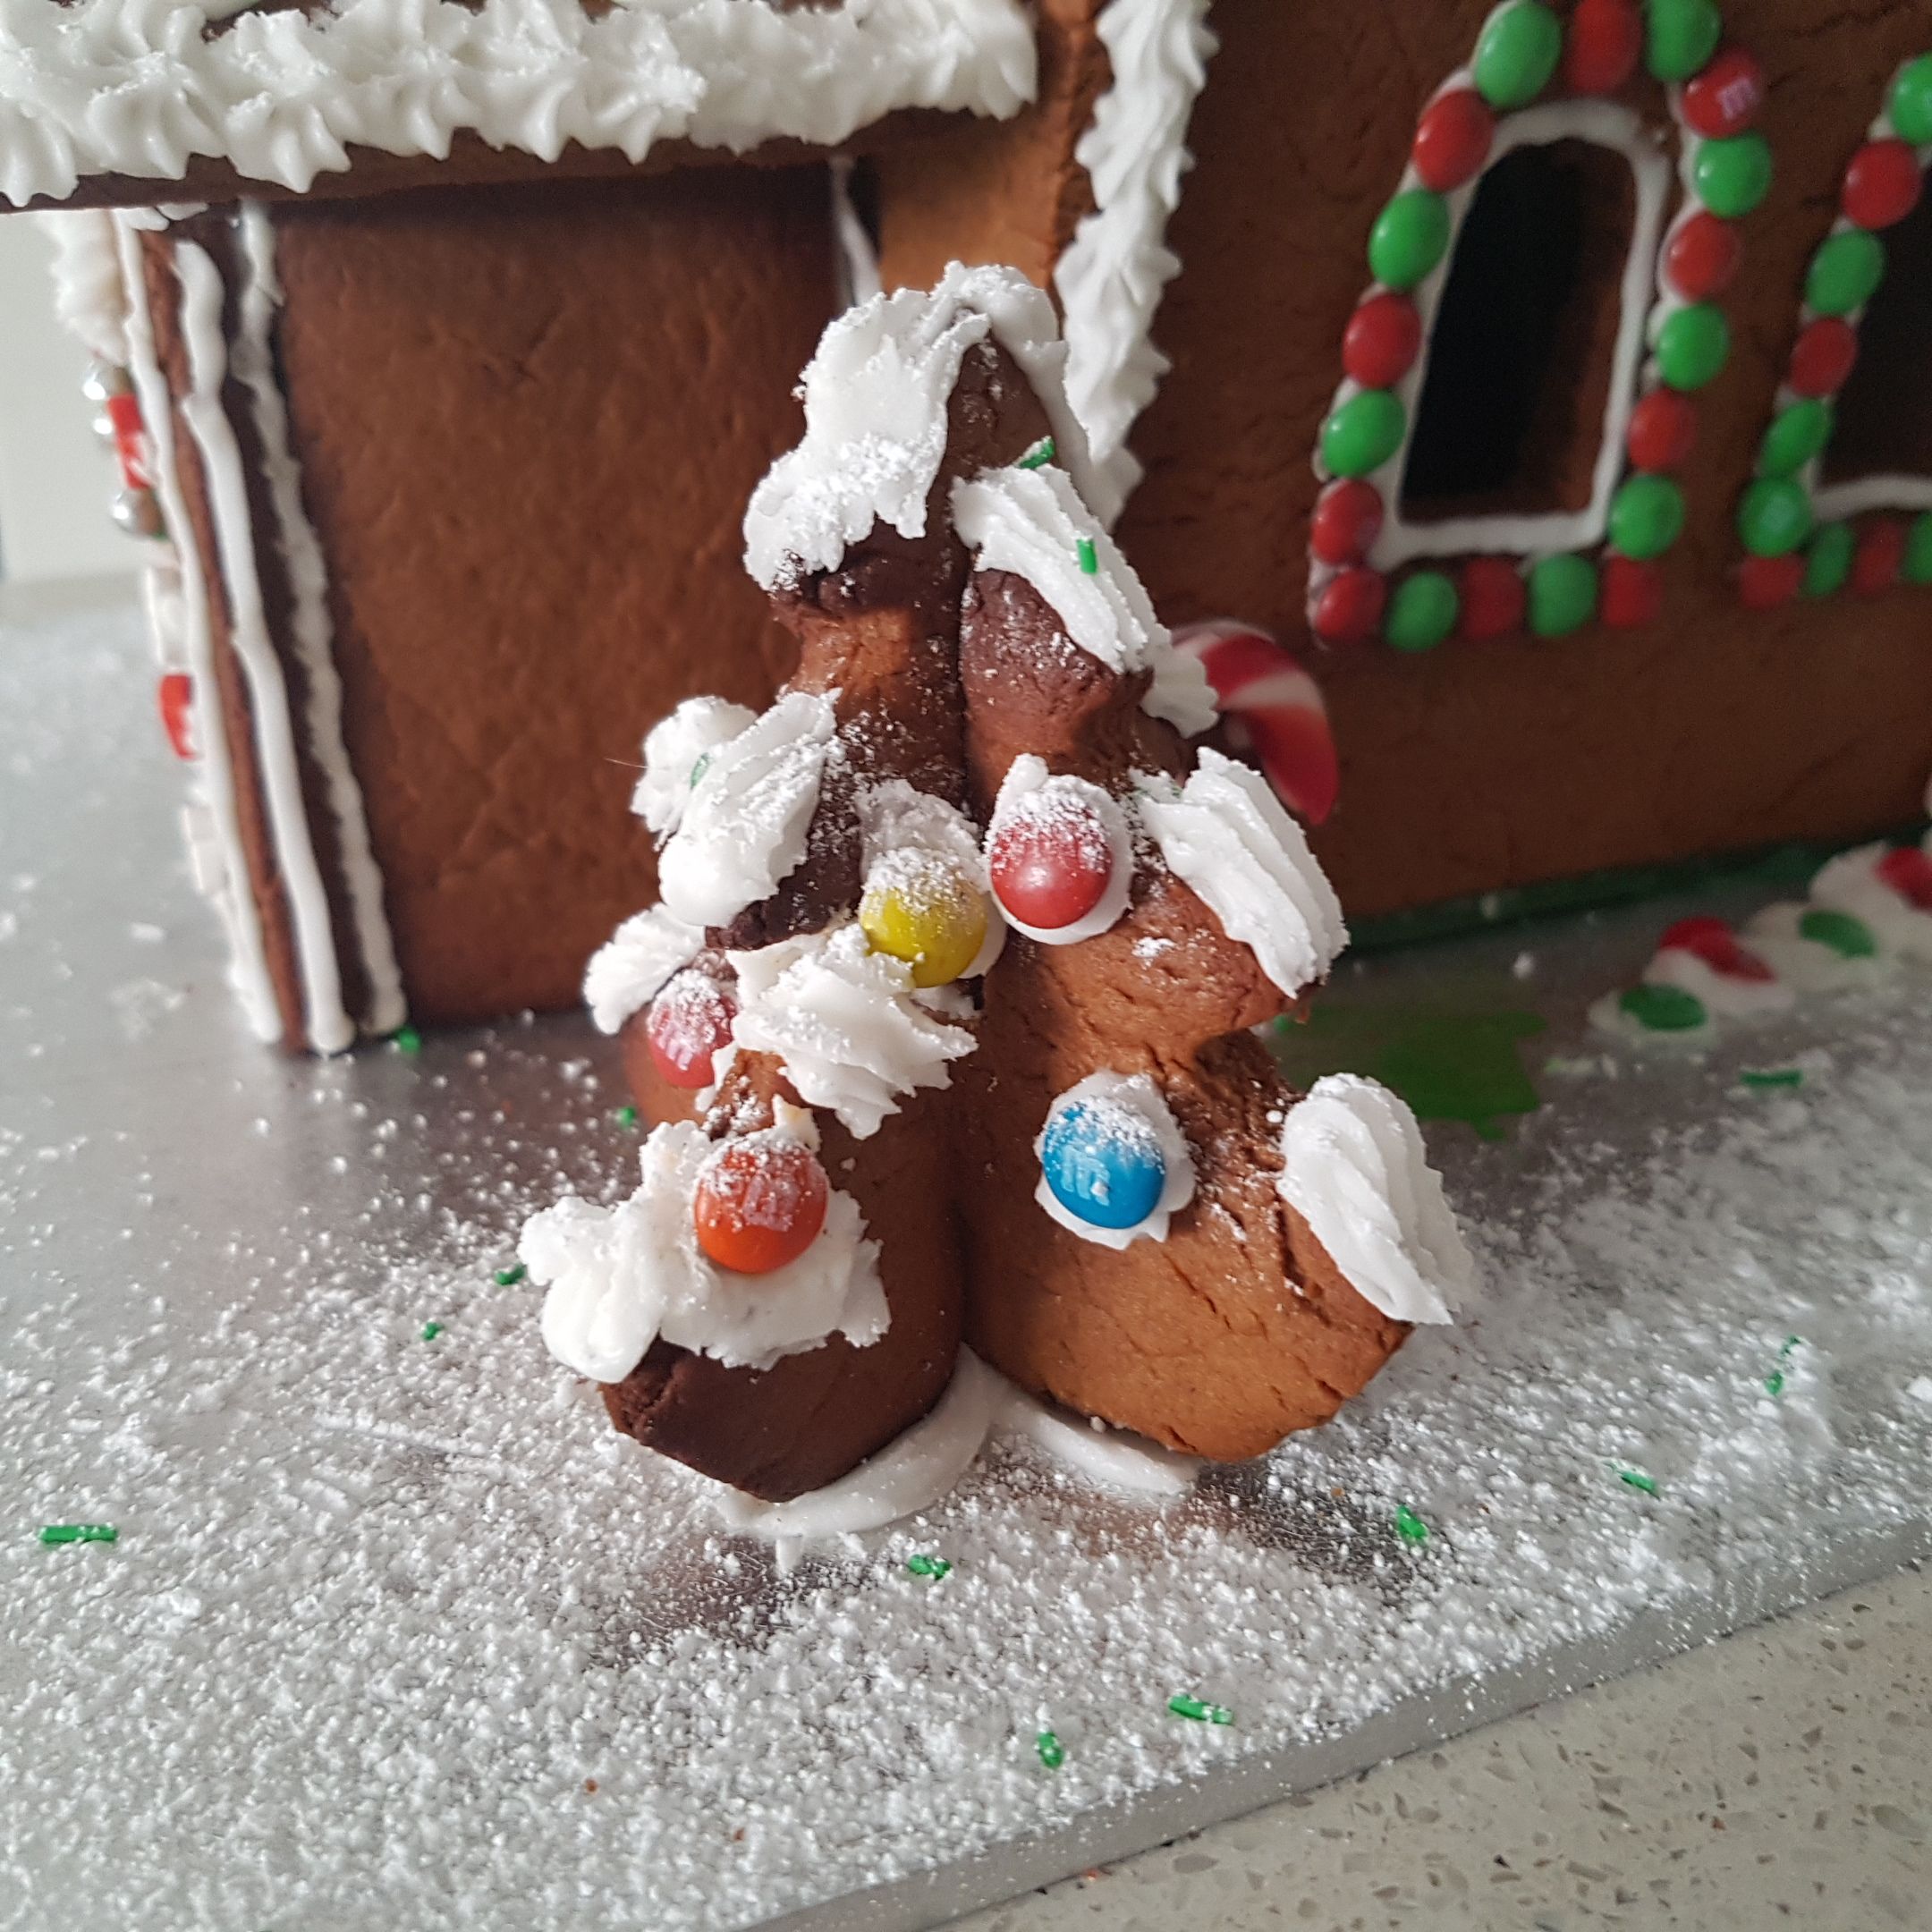
- Using leftover dough, cut out stars of varying sizes and bake until golden. When cool, assemble with royal icing and decorate with silver cachous and flaked almonds to resemble Christmas trees for the front garden!
- Use tweezers to help position lollies and cachous onto the gingerbread.
- If you don't have a piping bag, try filling a thick plastic snaplock bag with icing and snip off the bottom corner.
- It is easier to make the house in stages, so allow plenty of time. Bake the gingerbread at least a day before assembling and then assemble in stages, allowing to dry for several hours before completing the next step.
- Gingerbread house will keep for up to a month, in a cool, dry cupboard, covered to protect from dust.
- You can find the recipe we used here


Very impressive, looks like lots of fun too!
Thanks @robertchr it was a lot of fun! I generally don't enjoy cooking but this was awesome :)
Wow @spaceginger. You guys were committed! Gingerbread house looks great. Its embarrassing to admit but the only gingerbread house Ive built is from ikea :P. Great to actually see one being built from scratch.
Hahaha @strongerbeings that gave me a laugh. If gingerbread houses came flat pack this would've taken us 5 hours less than it did lol. Worth it though :D
Highly educative..
And delicious
Thankyou! Not sure if it's delicious yet but I reckon it will be.
This post has received a 0.56 % upvote from @buildawhale thanks to: @spaceginger. Send at least 1 SBD to @buildawhale with a post link in the memo field for a portion of the next vote.
To support our daily curation initiative, please vote on my owner, @themarkymark, as a Steem Witness
Love it:)
Thanks mate!
love it,
Thanks :)
Resteemed by @resteembot! Good Luck!
Curious?
The @resteembot's introduction post
Get more from @resteembot with the #resteembotsentme initiative
Check out the great posts I already resteemed.
Great post!!! The one thing I'm having a little trouble with...the directions are meticulous, the photos are beautiful (along with the children!) and the tips are great, but there are no ingredient amounts. Maybe post the short form of the recipe for the gingerbread and icing in the comment section?
Thanks @lturner! Big oversight there, thankyou for pointing that out. This is my first ever recipe blog so I was sure to miss something obvious lol. Please find it now updated with ingredients. If I get a chance I will create a shorter version for the comments.
Thanks! Great job! No problem on fitting it into the comments - having it in the post joins it to the directions nicely.
Your post had been curated by the @buildawhale team and mentioned here:
https://steemit.com/buildawhale/@buildawhale/buildawhale-curation-digest-12-26-17
Keep up the good work and original content, everyone appreciates it!
🍭 This is an incredible tutorial, we usually make one from a kit. Thanks for sharing this with everyone.