❄❄ A Steemit Snowflake for you 送給大家Steemit 雪花 ❄❄
Hi everyone! Christmas is coming soon, let's start the festive season by making some snowflakes!
大家好! 聖誕節快到啦,今天教大家做一個應節的手工勞作。

They are very simple to make, great for having some fun with the kids. Here's what you need.
做法很簡單,家裡有小孩子可以來個親子活動。首先要預備這些工具。
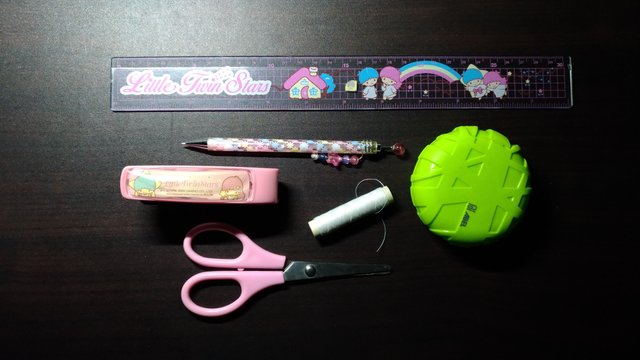
You also need six pieces of square paper, I've used 15 x 15cm. I think plain white paper actually looks best for a snowflake, or you can use red, gold or green ones to add a bit of colour to the festive season. I have used a blue whale pattern one today as I want to make a Steemit snowflake for you.
另外你需要六張正方形紙,我用了 15 x 15cm。其實我覺得雪花應該是白色最好看,另外紅、綠或金色都很有聖誕氣氛。但今天我選用了藍色加小鯨魚圖案的,因為我想做一個 Steemit 雪花送給大家。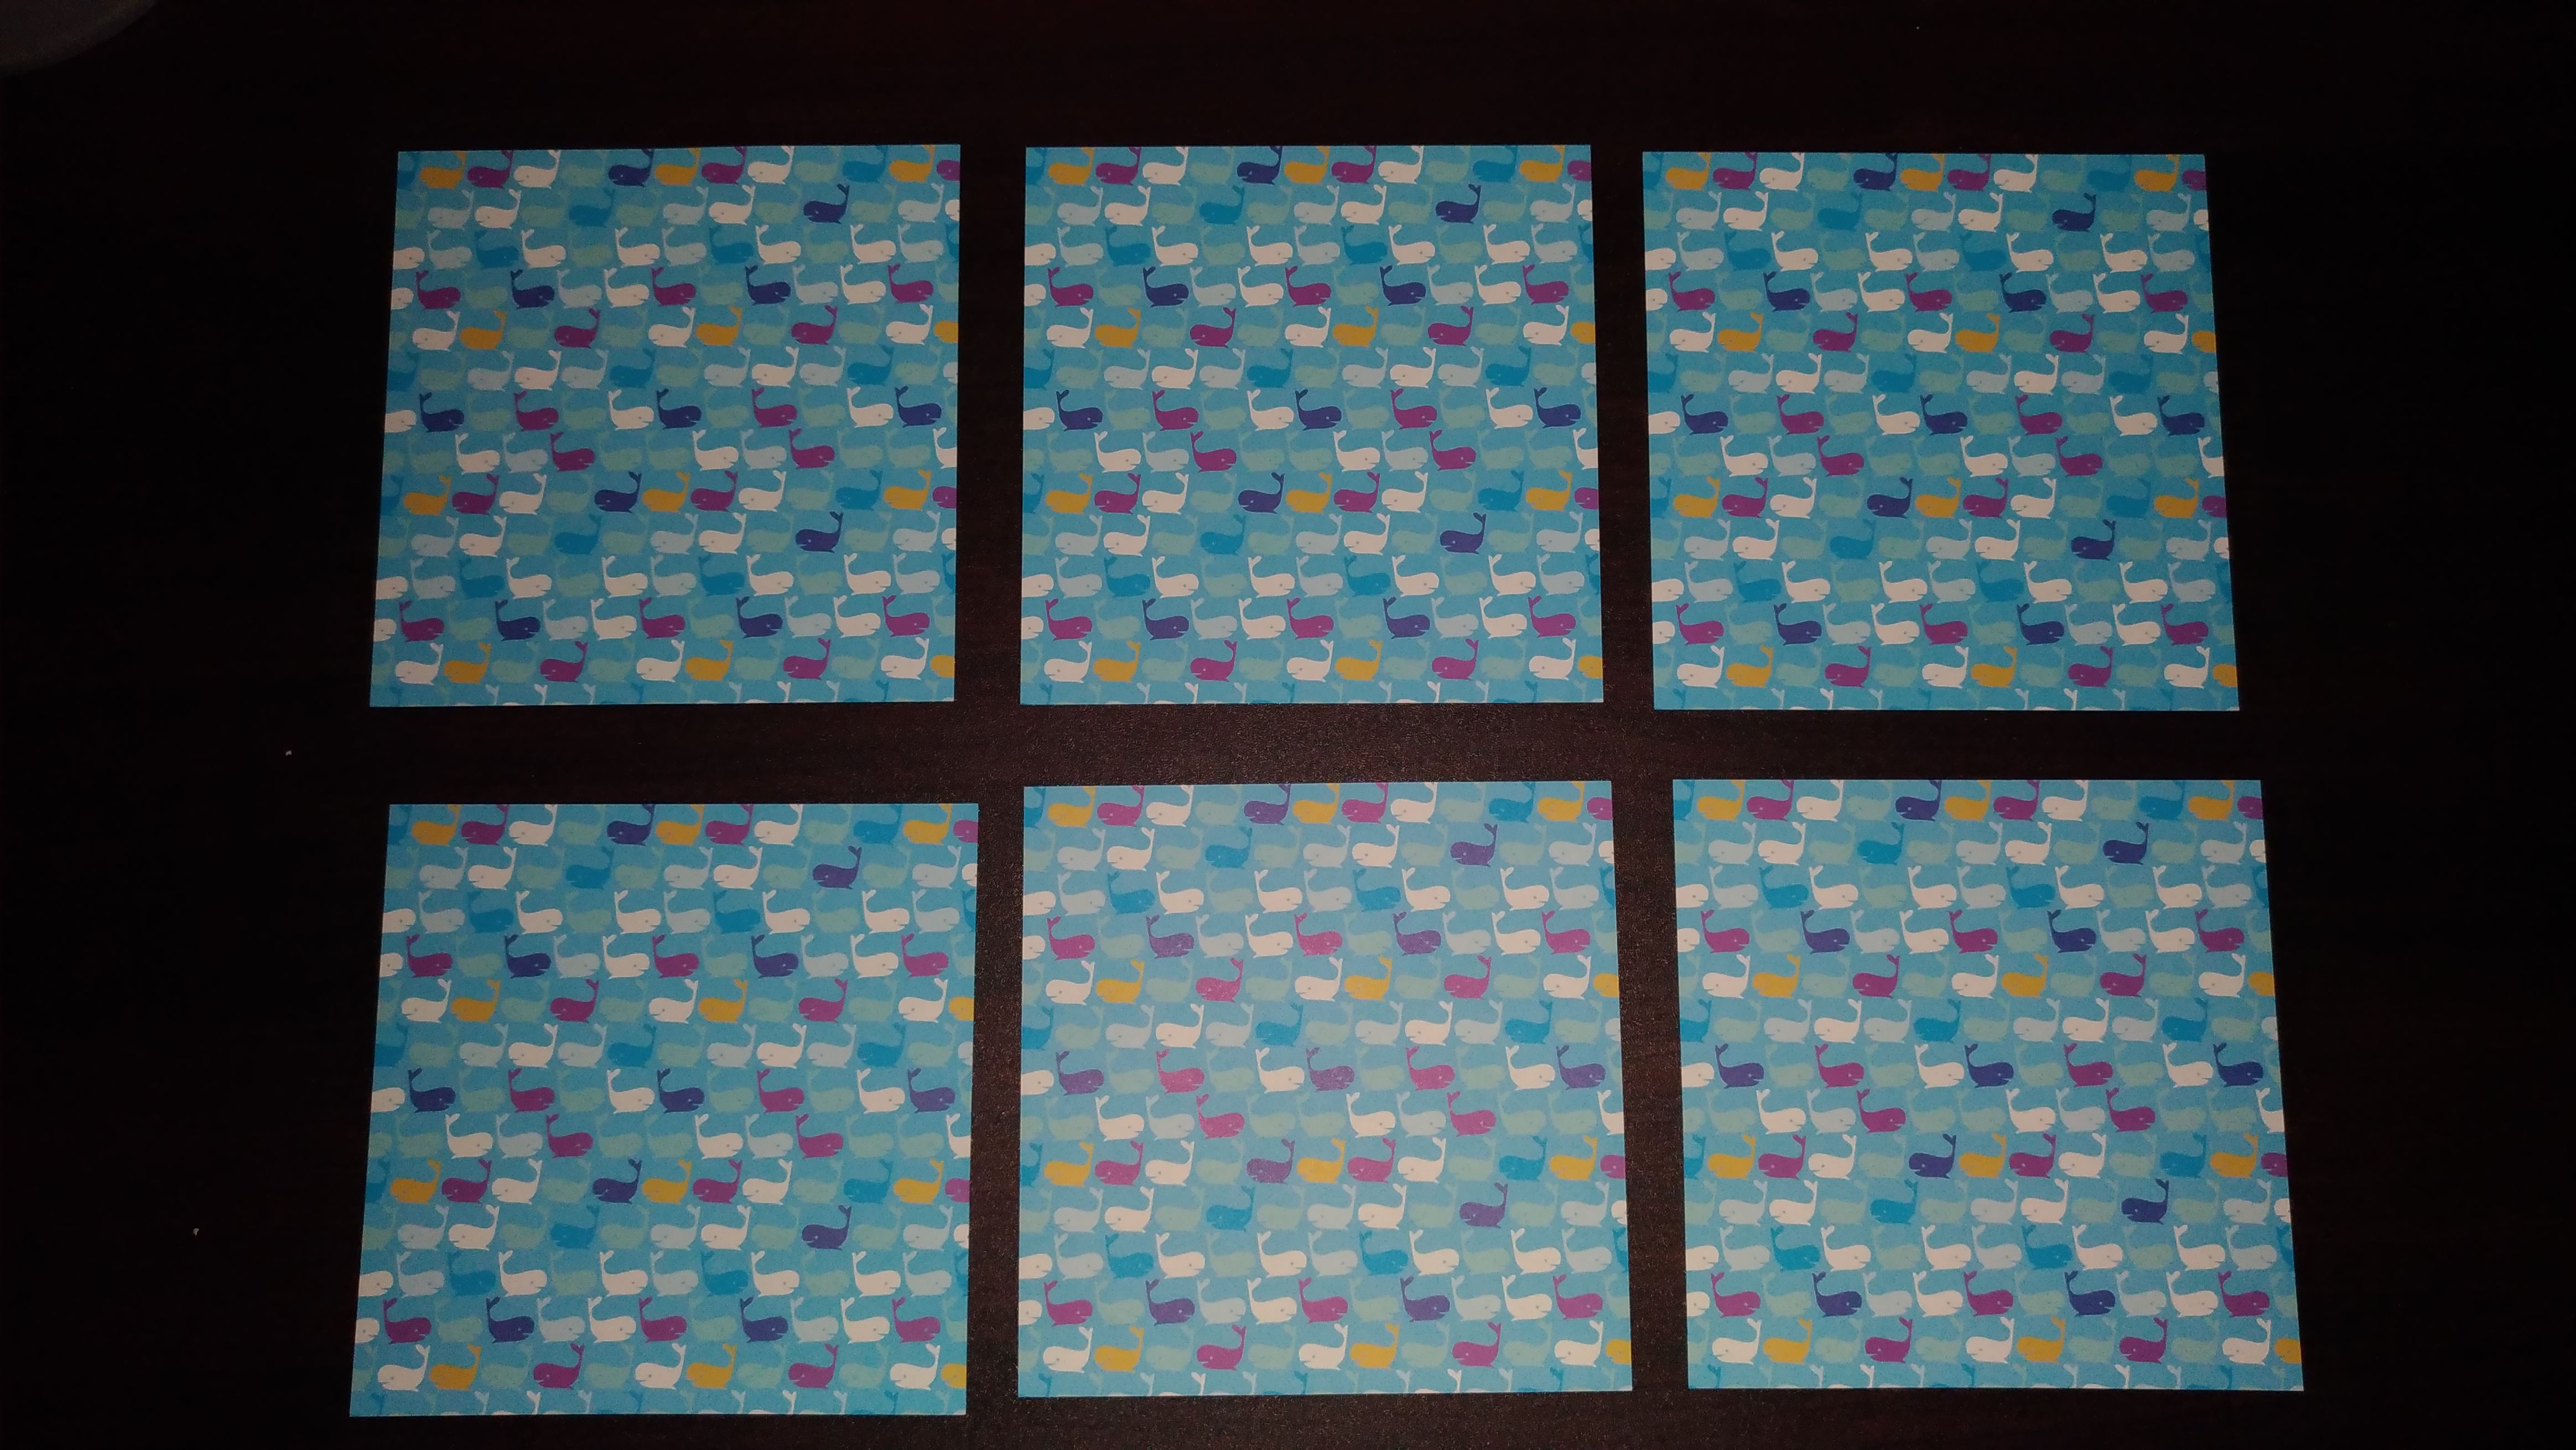
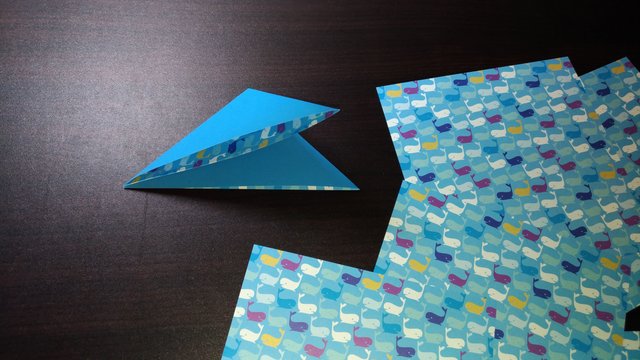
First of all, fold a piece of paper diagonally into a triangle like this.
首先把一張紙對角摺兩次,變成一個三角形。
Then I'm going to draw some lines on it. You have to be very careful and make sure you draw on the correct side. The first line is about 1cm from the edge, but if you're using a bigger piece of paper you can draw it a bit wider. Next draw three lines the other way, it is best to make the spacing as even as possible. Your can check how I've drawn it in the photo below.
然後在上面劃幾條線。要小心一定要在正確的方向劃,否則就會泡湯啊!第一條線要離開紙邊大概1cm,如果你用的紙比較大張可以劃寬一點。在另外方向劃三條線,距離要平均。不清楚的話,可以看我的照片。

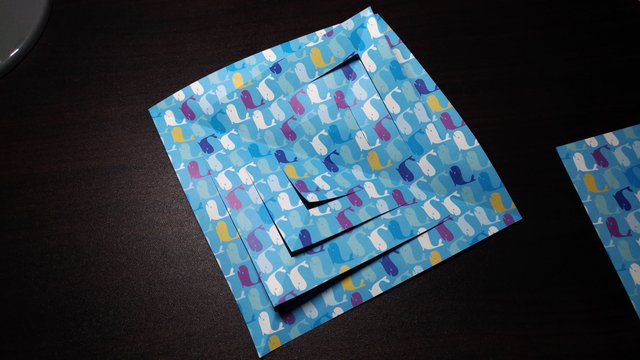
Now cut along those three lines up to the first line. When you open up the piece of paper it should look like this.
現在把這三條線剪開,剪到第一條橫線就好了。打看紙張應該是這樣的。
Next get a small bit of sellotape and tape the two triangles in the middle together.
剪一小段膠帶把中間兩個小角黏在一起。

Turn the piece of paper over and do the same with the next two corners. Continue till all four corners are done. It should look like this.
把紙反轉,然後同樣把第二對角黏在一起。繼續同樣步驟直到四對角都黏在一起,像這樣。
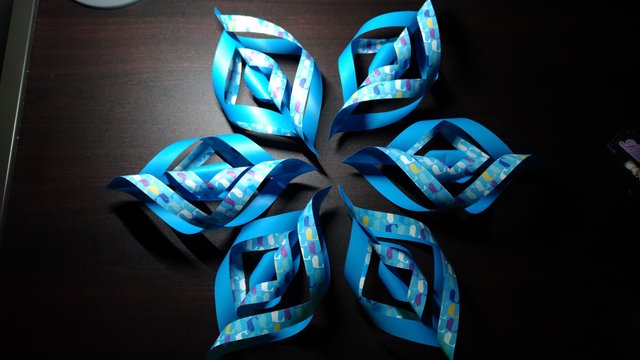
Repeat the same with the other five pieces of paper, and you should end up with something like this. It's starting to look like a snowflake.
另外五張紙做法也是一樣的摺、剪和黏。完成後應該是這樣,已開始有點像雪花。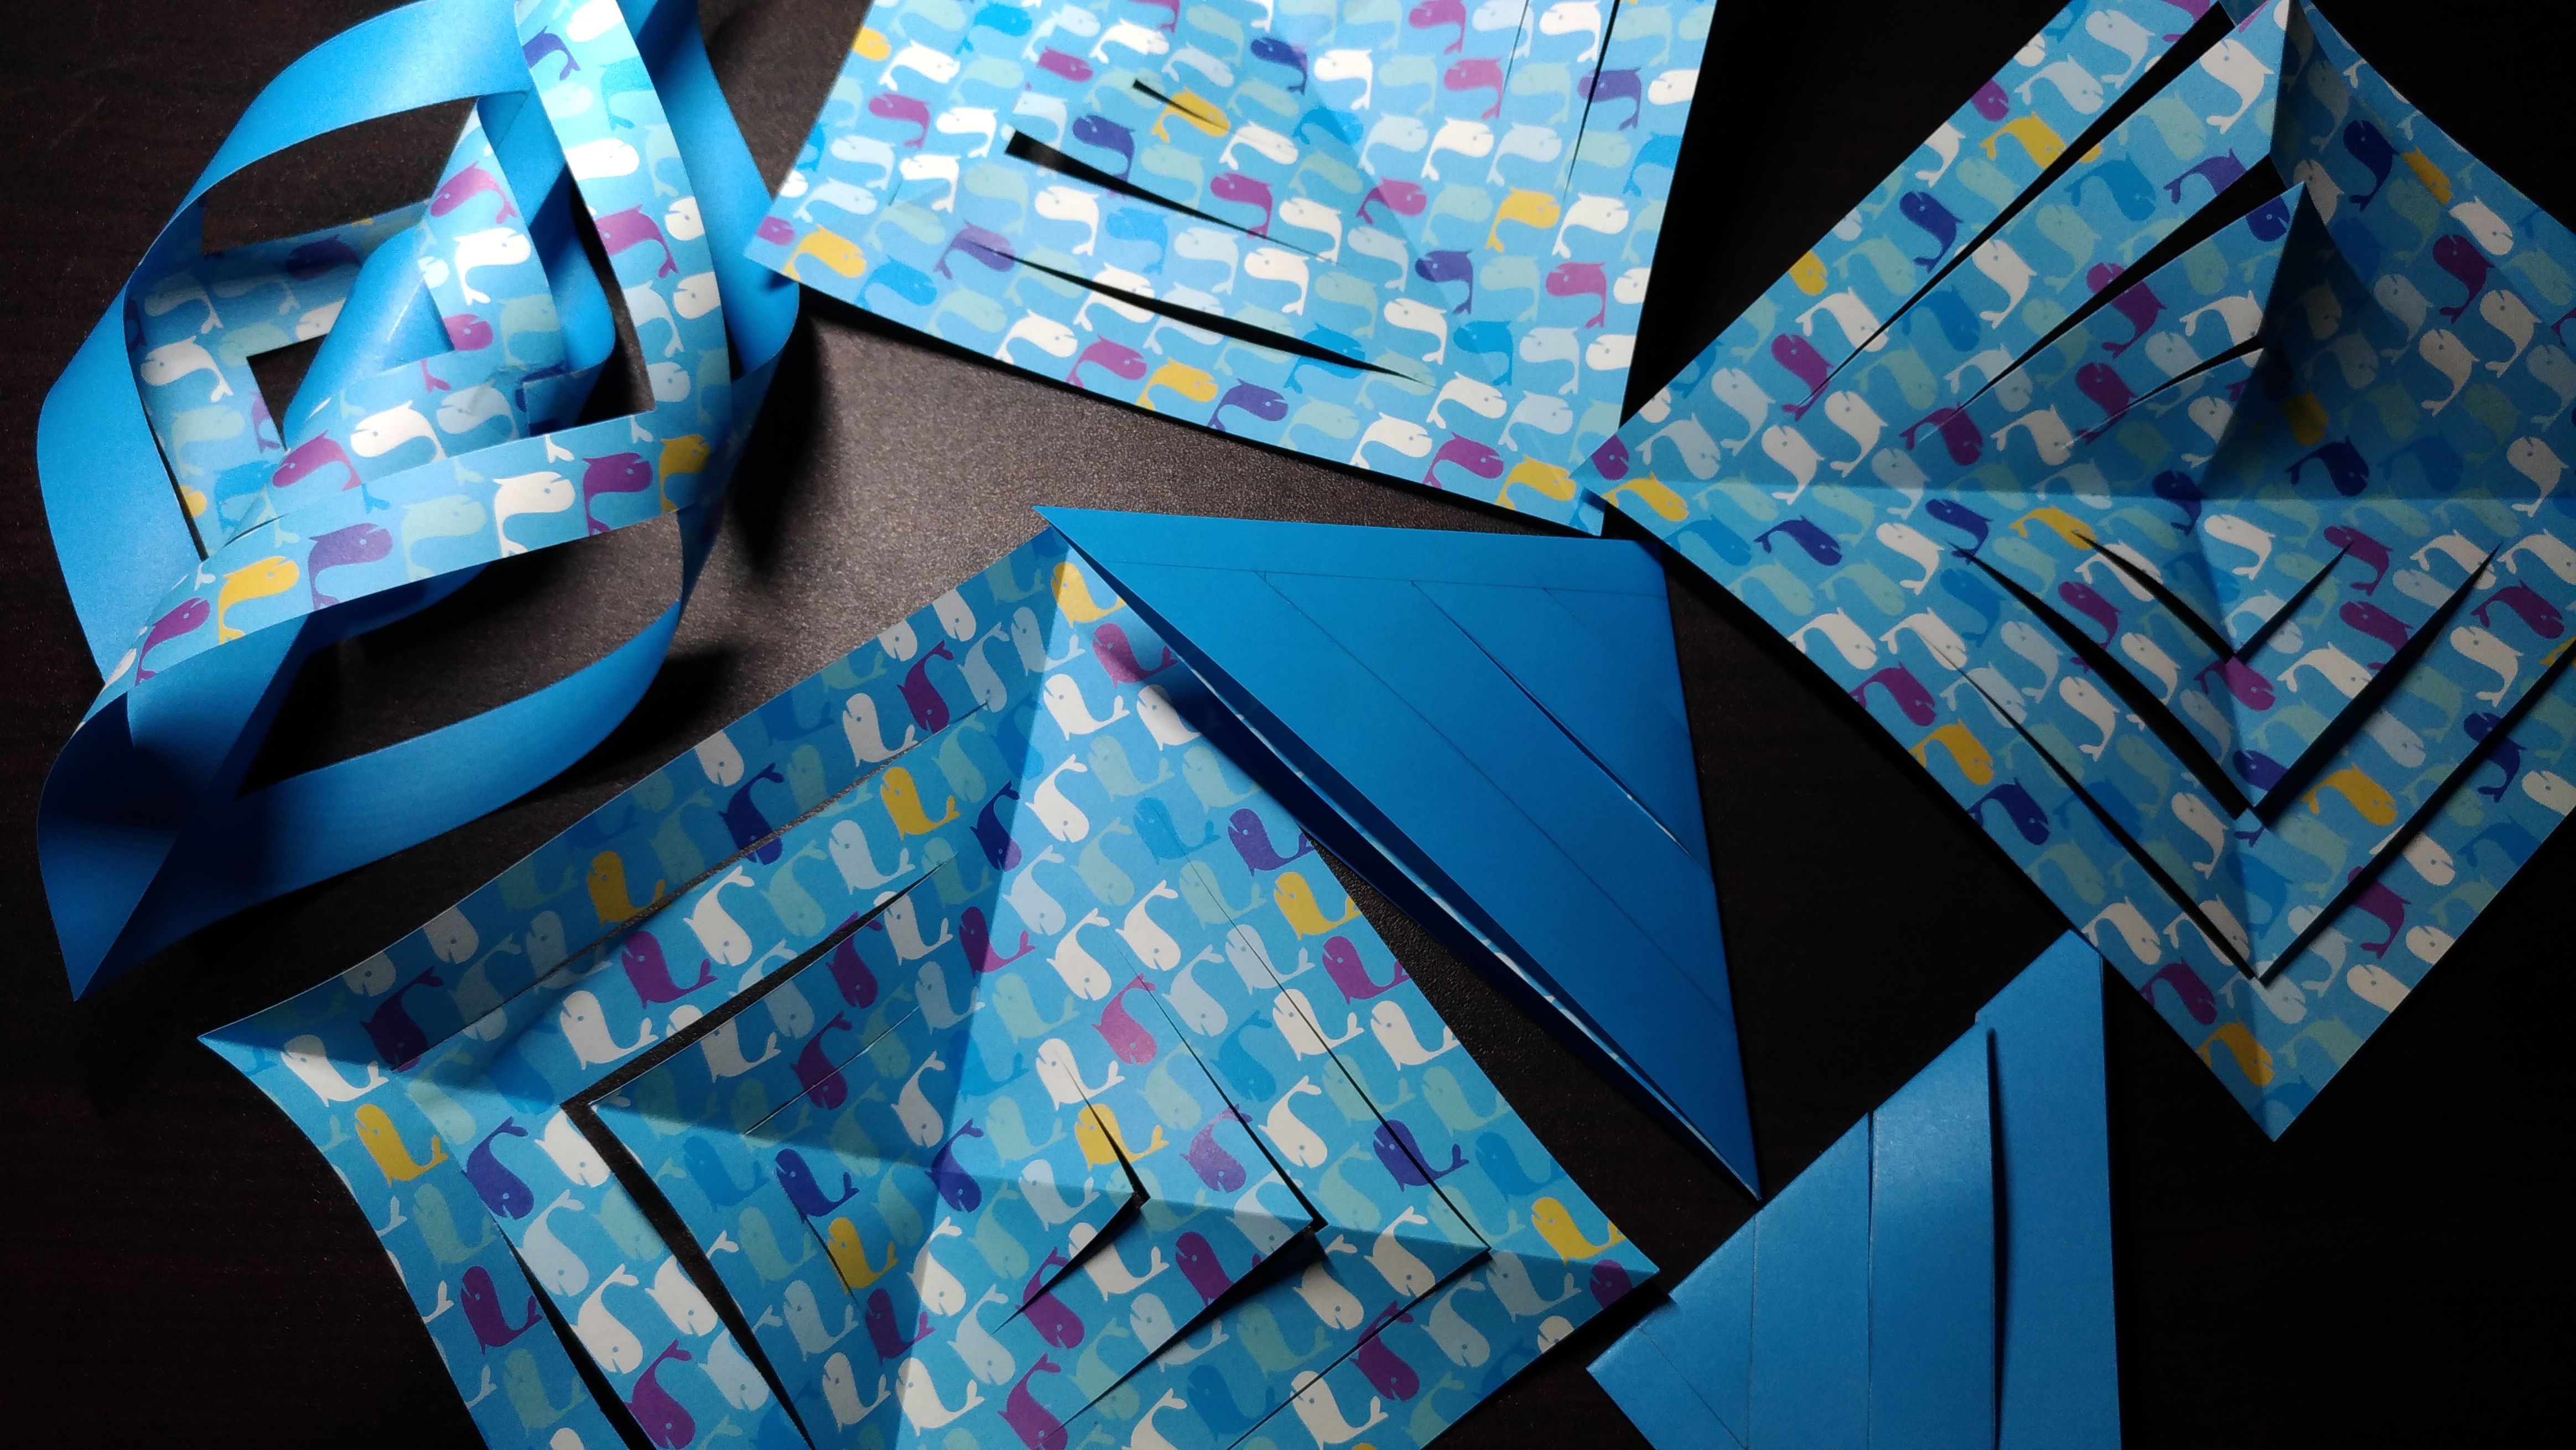
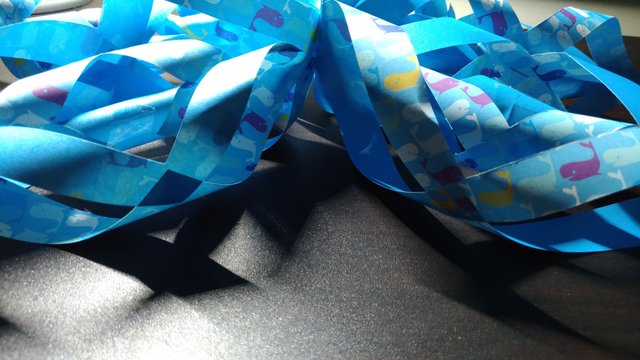
Now we will start to assemble it. Grab three of them together at one end and staple them together. Do the same with the other three.
現在把其中三片雪花用釘書機把一端釘在一起,另外三片也一樣做法。
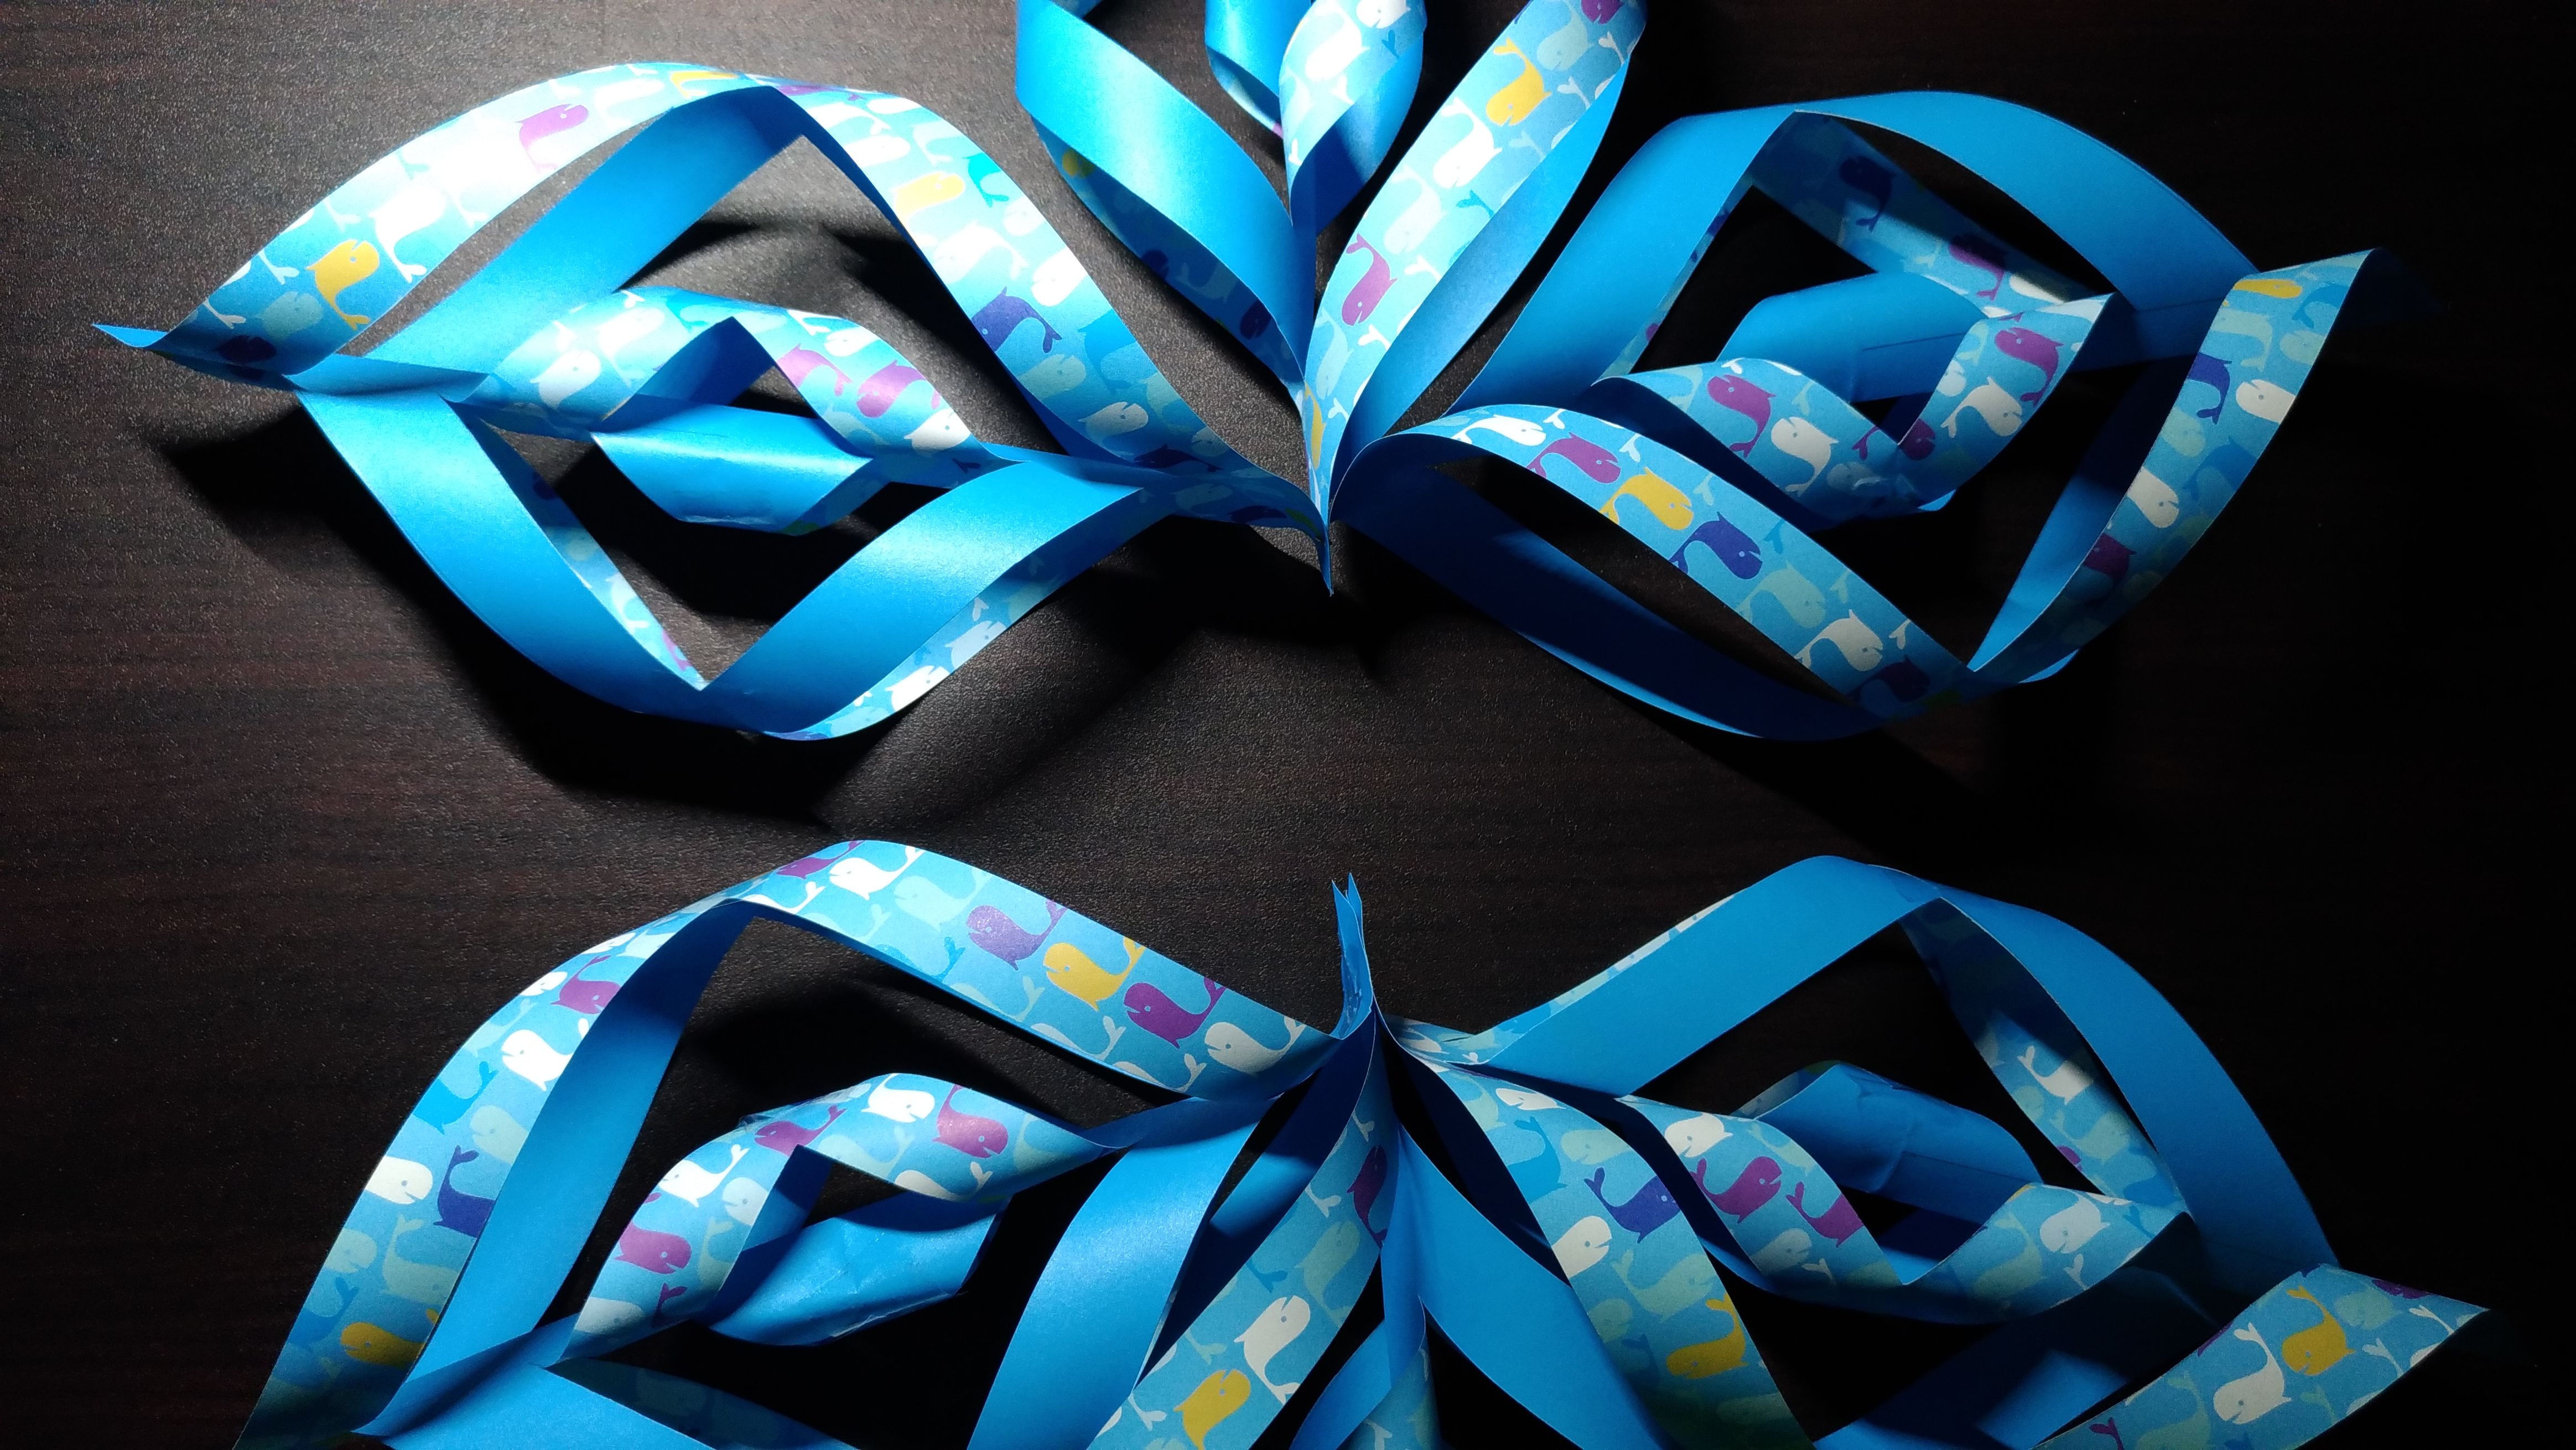
Staple both batches together, then staple the outer criss cross of each pair together, ie these two points.
把兩束雪花再釘在一起,然後把每一片雪花中間的交接位跟旁邊一片也釘在一起。
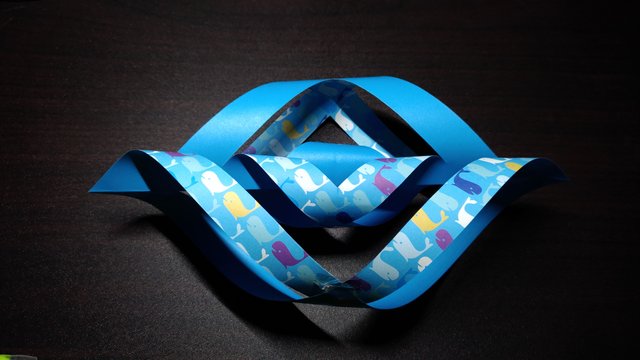
Once that's done, the Steemit Snowflake is finished. What do you think?
釘好後,Steemit 雪花就完成了。美嗎?
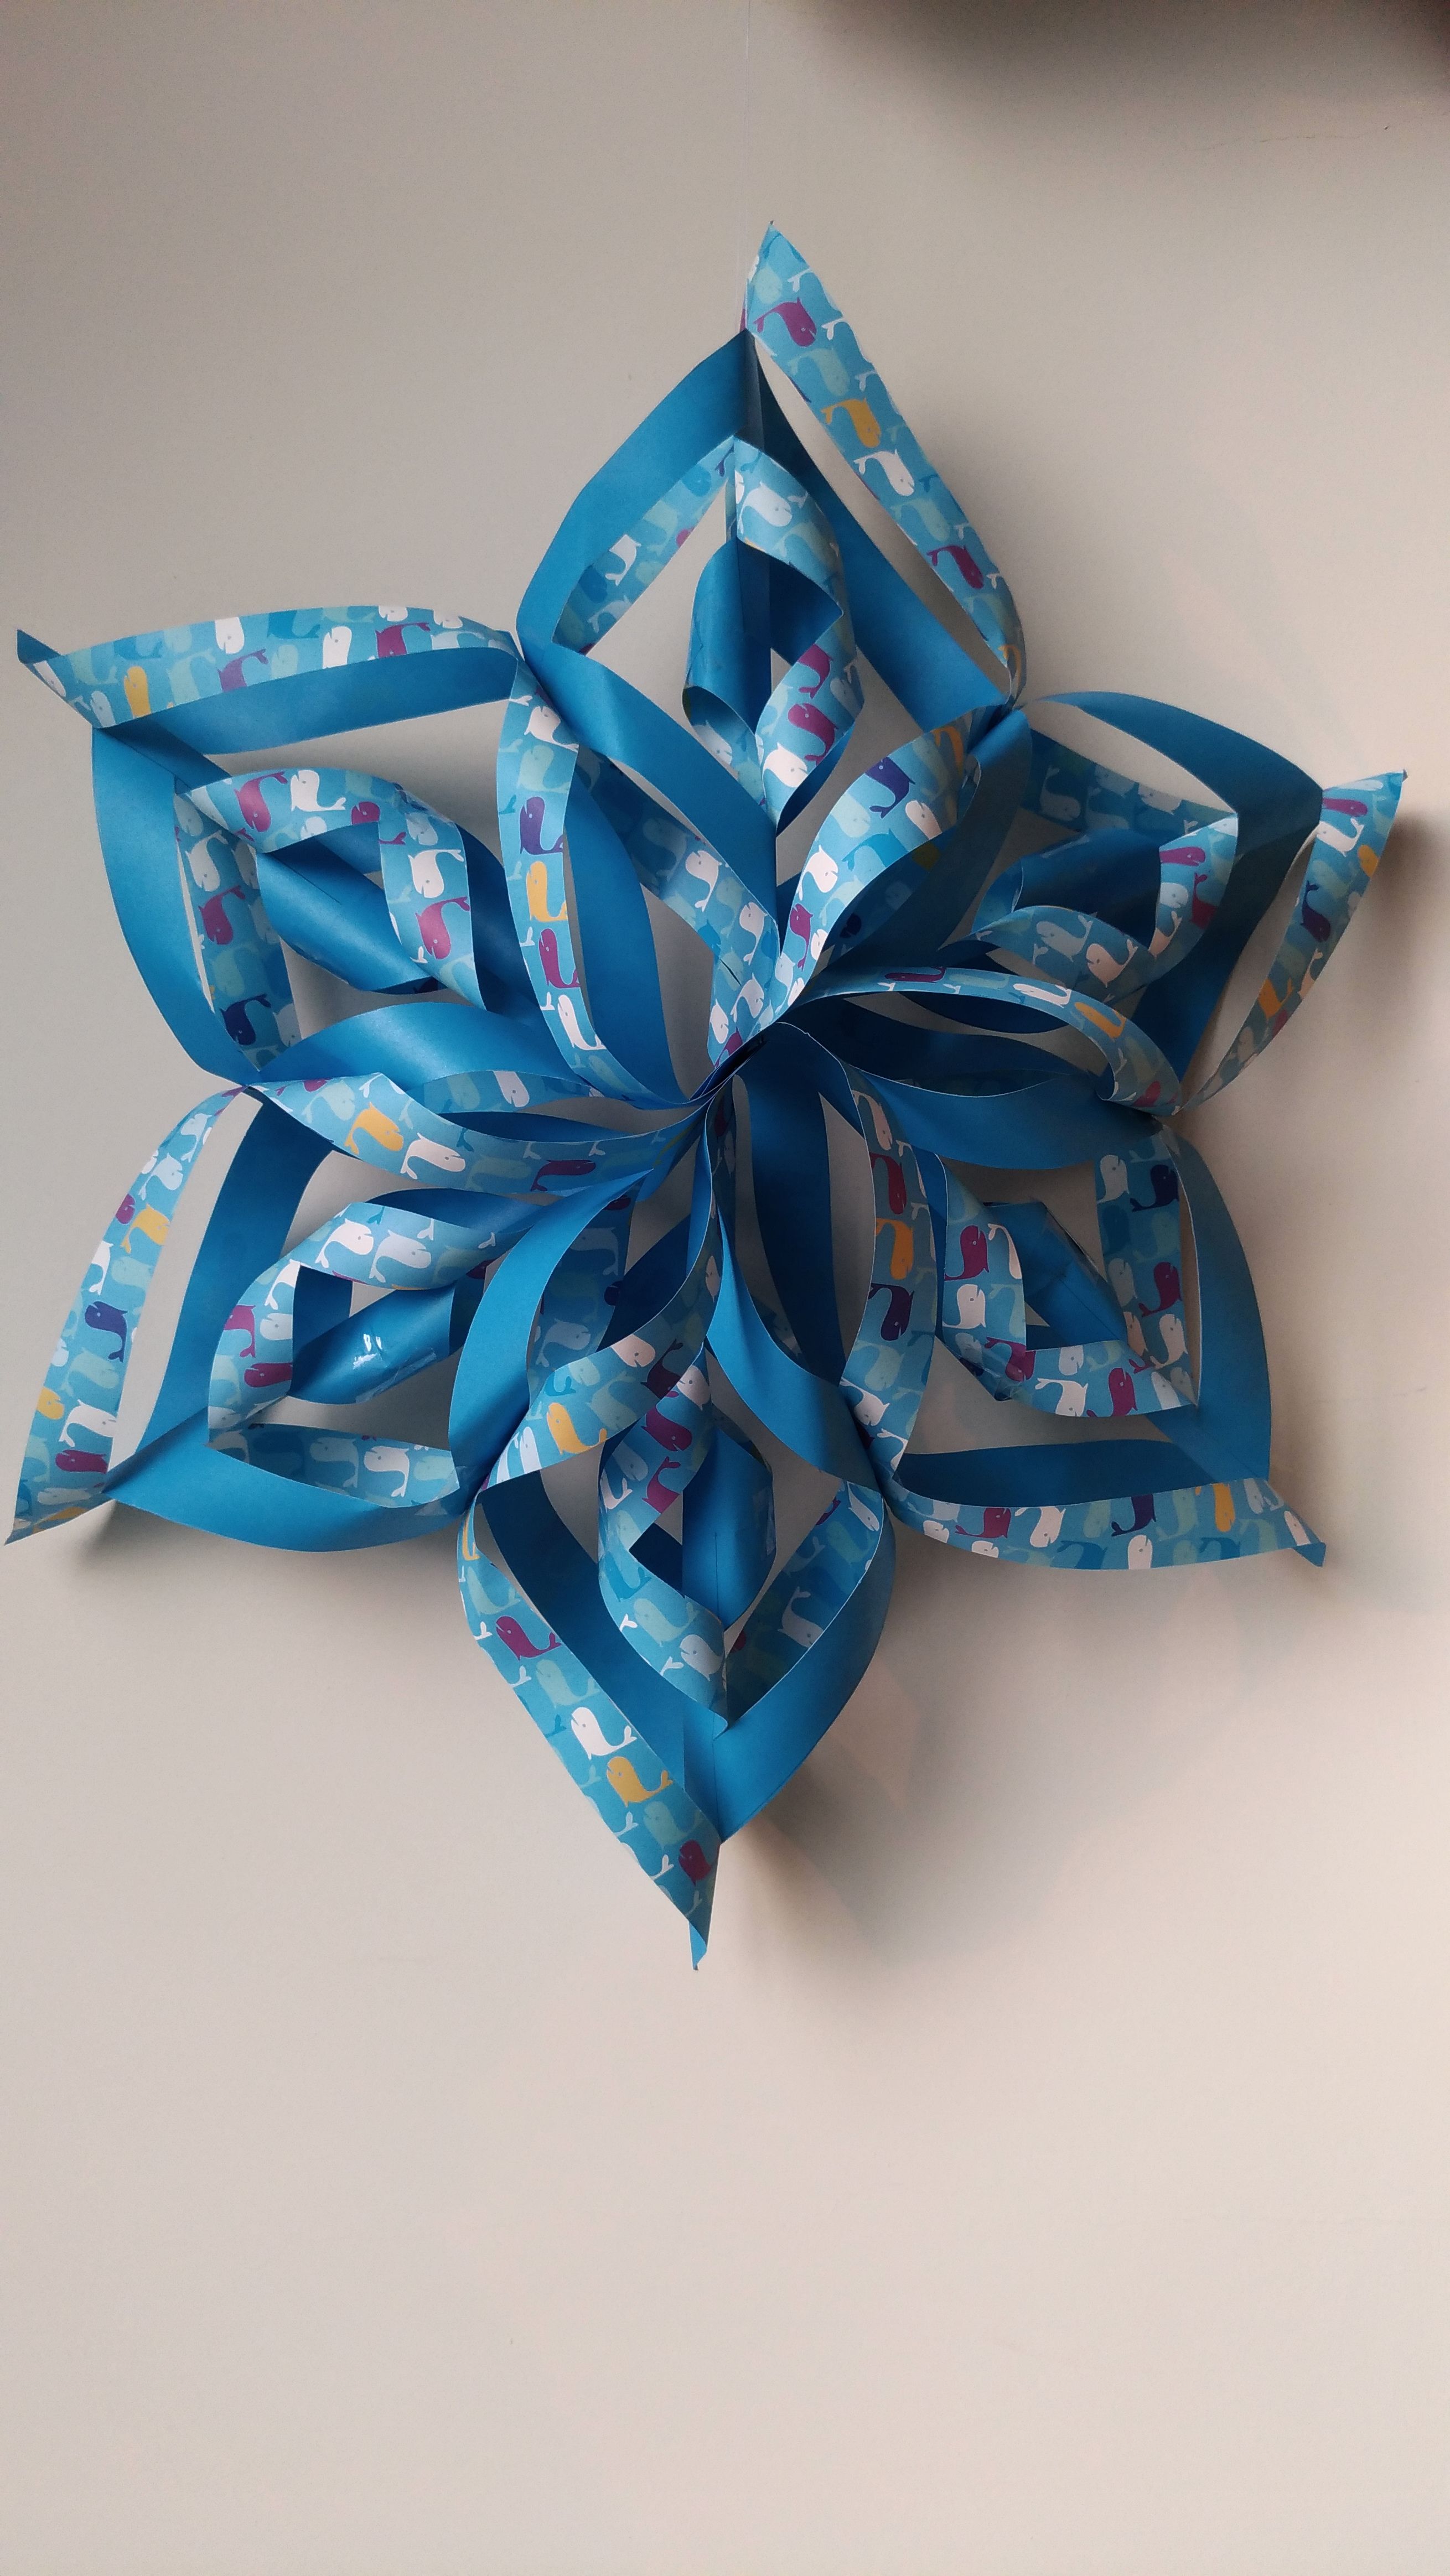
Hope you enjoy this and will make one of your own.
希望你喜歡這個小手工作品,有時間自己也來做一個。

我最懷念的就是雪花。
:(
I miss snowflake T-T
same here
Expected comment, lmao
Don't we all miss snowflake??
all i want for christmas is....
same feeling.
I have never own him!
Lol - don’t we all
好美喔!來佈置聖誕樹🎄!😉
懷念英國的聖誕氣氛。。。
Merry Christmas! 🎄🎁
nice....好像並不太難。。又到聖誕~
又到聖誕... 又到聖誕... 🎶🎶🎼
I like it, very nice!
Thanks!
好漂亮呀,动手能力好强,羡慕ing
謝! 很容易做啊!
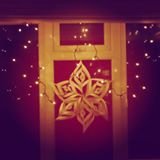
this is perfect for decorating the house for Christmas!
Yes, they look very enchanting when you hang it up by the window
Very nice!
Fun to make with kids as well!