Project: Casemod - Hardware@Wall - Plexiglass and "My Mod-Highlight"
Habedere,
today I show you some work and experiments with plexiglass.
If you missed the 5th part (Overlay); here it is:
Project: Casemod - Hardware@Wall - Overlay
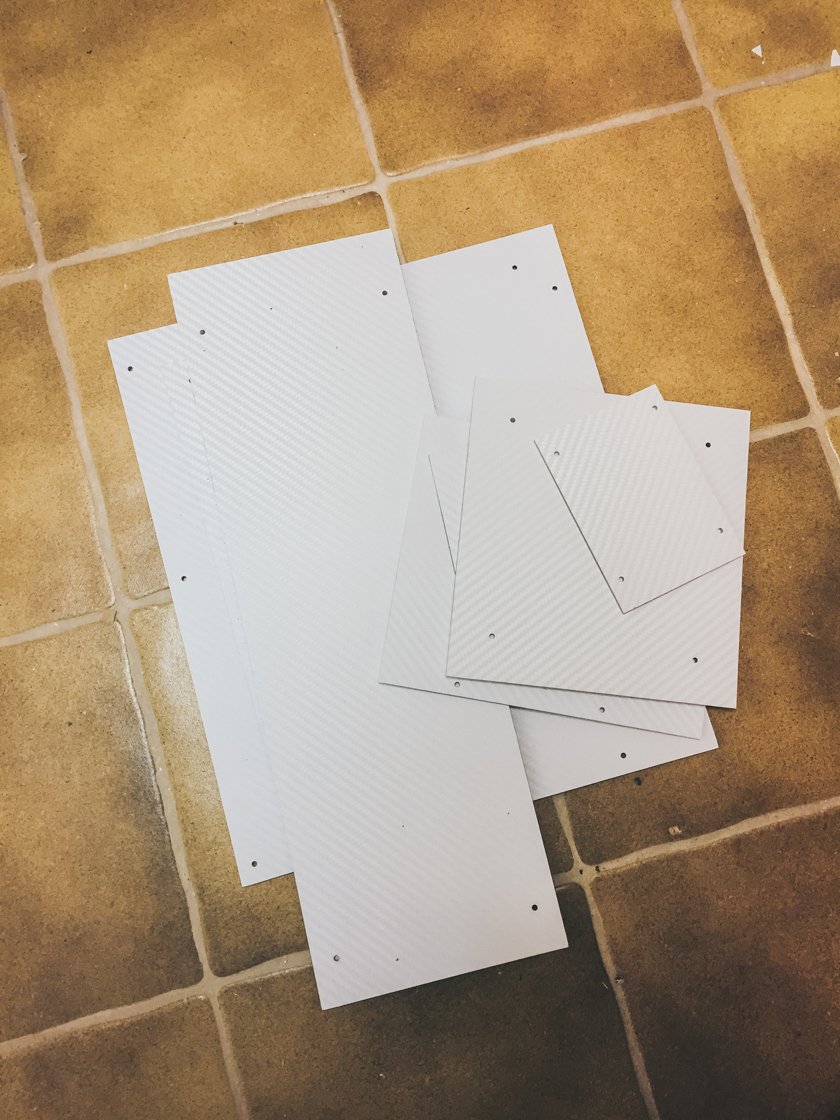
The plexiglass base (Type: 3mm WH17) will be illuminated by LED Strips.
I started with the basics and measured and cut the different pieces.


I used my CAD document and transferred the holes to the plexiglass.

I will only screw down the hardware itself. The plexiglass is in between, so I will not need additional holes or screws.
I only want light on the edges.
So I fixed this problem (light shining through the plexiglass) with a breakout foil.
Another advantage, one side of the foil is white which reflects the light perfectly.

A short test.
If you know the flashlight, you can see the "power" of the breakout foil.


At the end I glued on top of the breakout foil a white carbon foil.

After the pedestals were finished, I started with my personal highlight of the mod.
I want something unique.
Since the beginning of this mod this idea was in my head
But the "how can I do that" was unclear for a long time.
Maybe you asked yourself about the area in my mod?
What the hell is this for, what are you doing with this big hole?
This is the place for my idea.

How can I transport water from one place to another and not use soft- or hard tubes.
I'm searching for solutions with a uncoordinated trip to the local hardware store.
And there I found something interesting

Multi-Skin sheet which you normally use for terrace canopy
Would it work?
Acryl, transparent, 16mm height (the same as my MDF)
Great.
What if I would close the top and the bottom?
Would this be a squared tube?
On eBay I found a shop with some example pieces.
With some glue und 2 fillports I started to experiment.


After everything was prepared I started with a test.

And … yeah what should I say.
It works.
Now I need more of them and a lot bigger.
Sadly these sheets are expensive and only available in huge dimensions.
So I phoned every company around me.
Luckily I found a company with some scrap pieces, big enough for my needings.
Now I can start with a more specific test.
What's next?
To move on with my test, I'm going to start with some piping.
Servus and cu next time.
Awesome waiting for the next one...
A weekly update works best for me.
So next status on monday.
Congratulations! This post has been upvoted by SteemMakers. We are a community based project that aims to support makers and DIYers on the blockchain in every way possible. Find out more about us on our website: www.steemmakers.com.
If you like our work, please consider upvoting this comment to support the growth of our community. Thank you.