The Clones! Mazar & Critical Cure CBD
Just got back home and had to give them a spray anyway so check em out!
The first ones I did are in the bigger red cups, for outdoors. I actually went to get things for trying my first hydro grow, and got the pump for water and the holders for clay pellets and actually just as I got home on this day, that was when the neighbor said they would be moving out, so that was an abortion to try hydro because the chance of having no electric again soon is quite high! I had already took clones and set them in rockwool, I didnt get the proper cubes as I have rockwall left over from the renovationand just put in on its side in the small plastic cups. I know , I know, its not good to have see-through pots etc because of the lights on the roots, but I took a gamble and had nothing else to use. I can always put tape around the cups anyway to black out the light from hitting the roots or even better just set them in new cups.
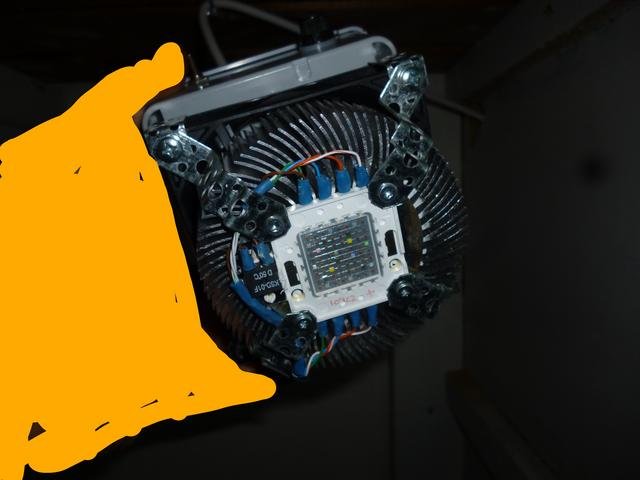
They are made in an ordinary 10cm x 10cm junction box. Its really quite insane considering my old LEDs were 600w and 80cm x 60cm in size. If I used the same amount of space in a cupboard as 1 of my old LEDs, I could fit 16 at least of these in that same space and have 1600w+ !!

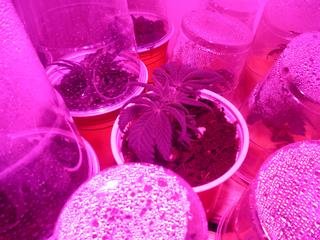
Little Micro Climates
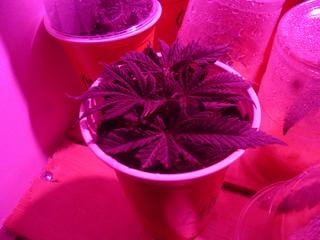
These (in the red cups) are a clone of each of the plants apart from the Acupoloco Gold as at the time she didnt have any decent sections to get a good clone from. Its best to take big clones with at least a couple of other stems on it and this is why its great to learn how to top your plants and the tops are the biggest clone possible a the beginning stages of growth - you have a free try each time to get a clone to stay alive and then to grow roots and its not bad if it dies, because you'd have most likely just thrown the head away anyway so theres nothing to loose in trying. I hope the ones in the red cups should actually get some light green patches of new growth within 10 days - I havent used any root hormones here so it could take even 20 days at most before they root good.
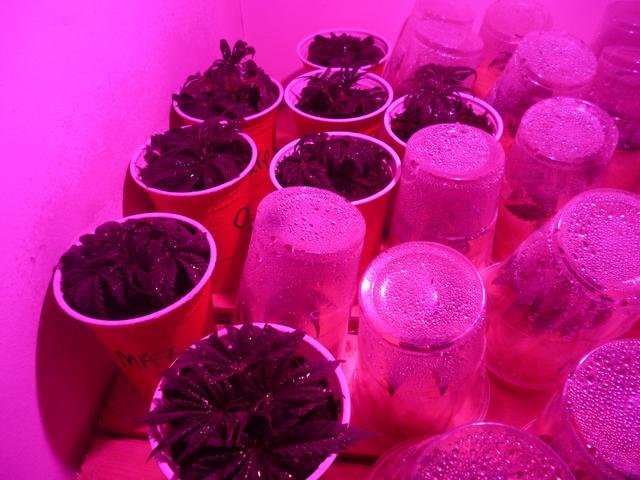
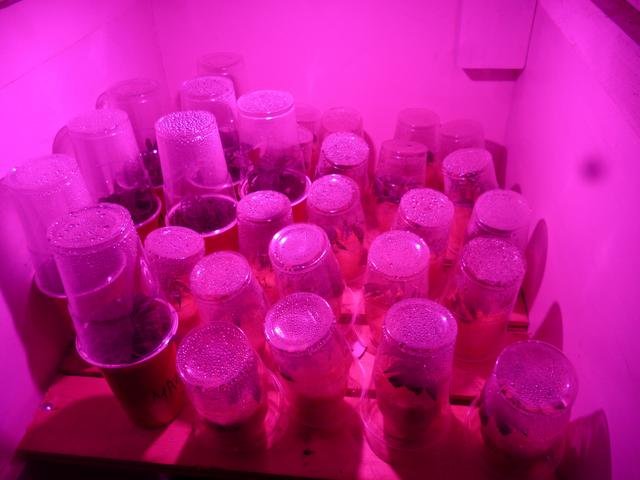
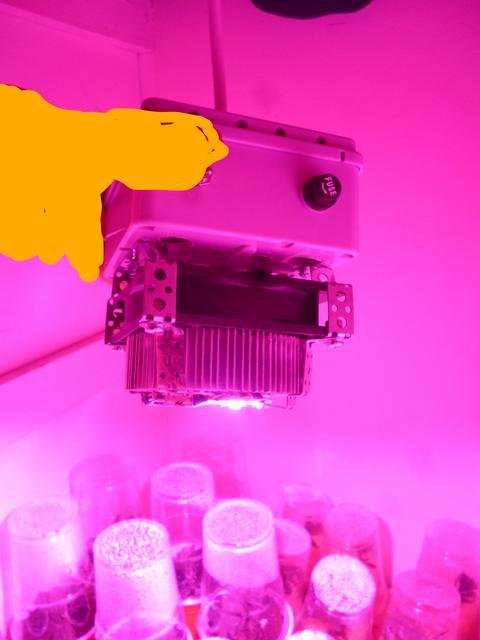
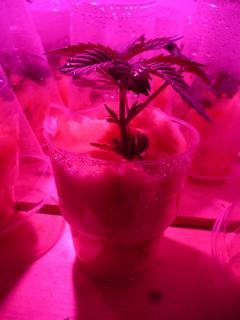
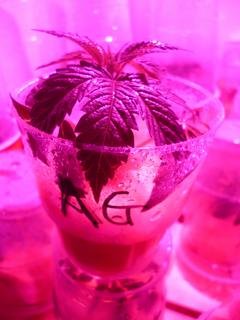
You see I dont have a fancy propagator or heat mat, which is by far the quickest way to get clones to grow. Clones love to be in a moist and warm surroundings and can only be fed by "Foliar Feeding" as obviously it has no roots yet to take up water and so a plant can take in water that it needs to stay alive (not really enough to grow though) in through its leaves. This is achieved by using a normal spray bottle and spraying the leaves. Later in a plants life, if it needs a quick shot of something, this method is the quickest way of the plant absorbing it. There Above Ive just put new plastic cups as lids and with the heat from the lamp its staying a nice temp inside and creating a mini greenhouse for each clone keeping the leaves moist all the time. If I left the lids off they would dry out and die, unless I was there to spray them every 20 mins or so and even if I leave the lid off for 10 minutes they all flop down and look bad. This is proberbly the most common reason on how its possible to fail alot with clones, that they arnt wet enough. Sadly I didnt do any documenting of taking the clones, but it was pritty savage anyway with kitchen scissors as I had no razor blades around or sharp knives and would have had to have the nsfw tag involved.

Heres some shots of a few..
The girls are on a 5am to 5pm just because they are under my bed and I like to sleep in silence!
When I wake up i'll feel what ones needs just plain water by the weight of the pot, I know a few will if not nearly all. I haven't seen them since the flowering times started a few days back with the 36hr darkout and im happy to wake up with them and say Hi in the morning, they should be thirsty it was 6 days ago they had the last water and feed.
No problems to report so far! Touch wood. Snows melting, the stream is loud and I noticed today I should make use of the Silver Birches here and collect some Birch Water! Springs slowly here and I can start doing some more project posts, its not like im going out of my way to do the small projects, it because this is what I would be doing anyway as part of an alternative lifestyle with all the free time that comes with it.
Someone taught me this last spring and I hope im not too late already to collect some because that is a real healthy drink right there, its found at high prices for a mouthful at organic food shops. Ill do it tomorrow morning and take photos and do a post about it.. Oh yeah!
Thank you all! Big love!
Last part to this post is found here 🙄
Looking great! What kind of light is that you have?
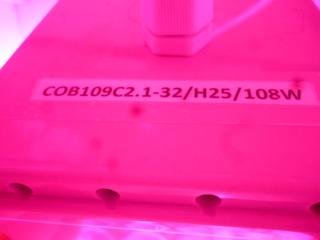
The one is this post is a self made (not by me, i am a wood guy not electrics!) The small picture on the right has the specs of the light, I only understand the watts lol.. oh and COB means something lol.. they guy has made it with 7 different light bands including uv and ir.. his a genious! And a fan with a thermosate, or 2 speed manual switch.. You wont find these in a shop :)
It looks cool! and i think cob is like a dome around the led to make it shine more, kind of like a mini reflector.