Winter Pruning Strategies for Pussywillow [Bonsai]
This post is a continuation of my bonsai winter pruning and clean-up series, in which I feature a different potted tree in each post, and show what it looks like before and after it gets pruned. Some people also appreciate the information provided about the trees featured in these posts, and the pruning and bonsai growing tips I include through-out.
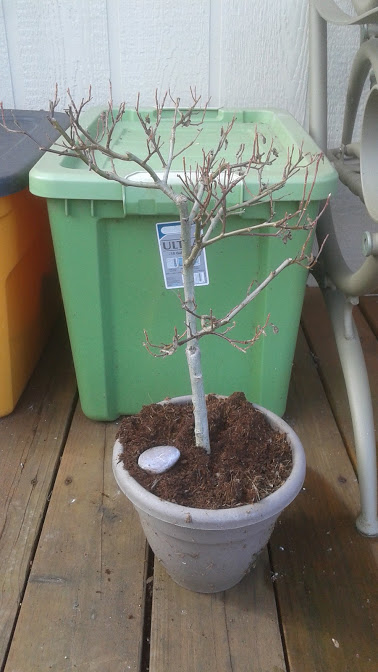
Today I am showing one of my older pussywillows.
You can learn more about the way I have grown this tree in the past by reading my detailed post Break me off a piece of that Kitkat branch.
This tree has a very upright shape to it, and already forming excellent ramification of the branches. If the roots are looking as good as the branch tips are, then I'll have very small bonsai leaves in the future.
One of my favorite things about pussywillows is the early spring catkins it forms. They are soft like a kitten's fur. Usually pussywillow only forms a catkin if the roots are long and deep, and the shoots are likewise long and fat. On a young bonsai tree, it is less likely to form catkins. However, I did find some small ones forming.
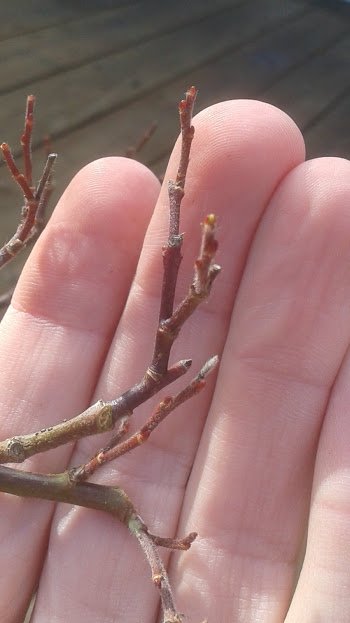
So small it looks like a paintbrush. Most of the buds on these branches are so small and fine. This is great for producing many smaller bonsai branches and leaves, but very bad for producing any catkins. Anyone who wants to grow pussywillow, I recommend that they decide initially whether they want it to be for producing catkins or for being pruned into a beautiful tree shape.
This tree is just like me. We don't multitask very well.

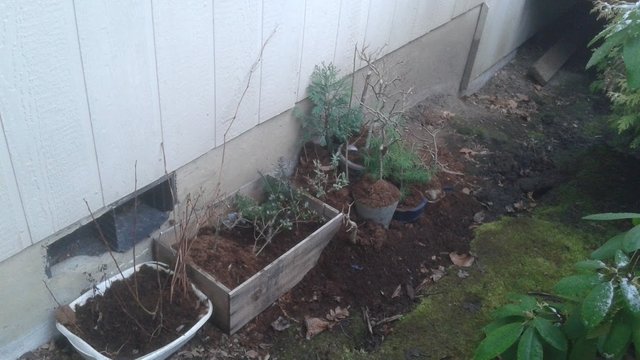
Look between the conifers growing in the back, and you'll see one long upright stem with no branches on it. That's my boring pussywillow, and I'm growing that one for the sole purpose of producing catkins. In a week or so I'm going to chop the entire trunk off to harvest the decorative branch full of catkins (hopefully), and allow new straight stems to form from the coppiced stump for next year's catkin branch harvest.

Upon closer inspection, we can see more clearly which branches are living, and which ones are likely dead. The living branches look more swollen, and the dead branches look shriveled, brittle, broken, or unusually thin.
Sorry, my unsmartphone doesn't have a manual focus, so it tends to focus on the surface behind the branches.
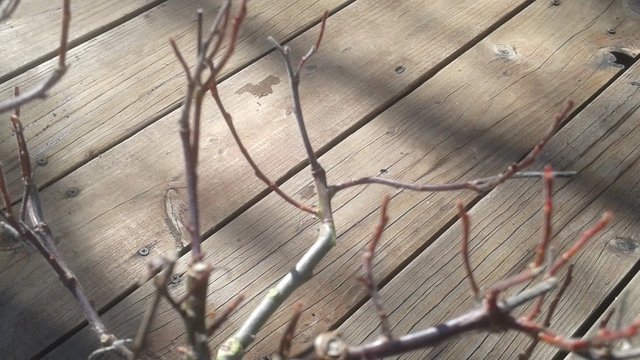
Gaa! See what I mean?
I made a design decision and performed an angled cut in the photo above. It is the same same branch, just shorter now. The reason I cut off that nice looking branch end is because I wanted the curving branches to have growth to fill all those buds. The removed branch had few buds, and would have likely absorbed all the growth from the main branch into a single bud to make an even longer branch (too distant from the trunk).
A technique I am still developing is how to create a good fan shape of branches that will form a nice looking pad. This has to be managed carefully every time the tree is pruned, to develop nice looking leaf clusters at the end of branches.
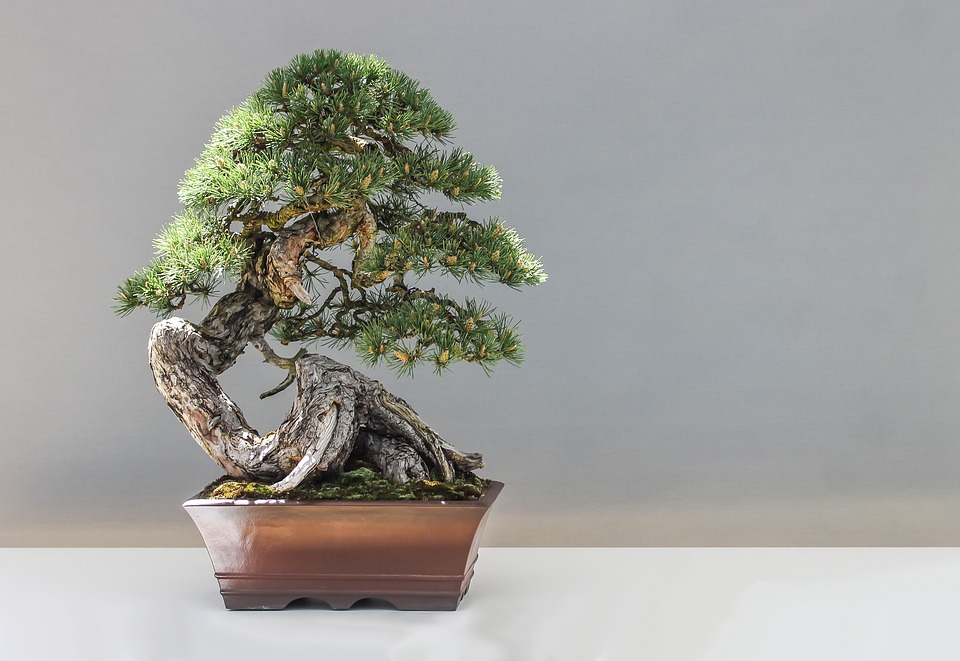
This is not my tree, but it shows nice round-top pads and cloud pruning style.
Image from Pixabay.
Generally we want small branches facing upward from the main branch direction, and fanning out to fill a curved semi-circle around the trunk. This is the basic style of cloud pruned shapes, which resemble mushroom caps, but we don't want them too perfectly shaped. It should look natural, and even though we manicure the tree to precision details, we don't want it to look like it has been pruned into a fake shape for a tree.

This is not my garden. The hedges are an example of European style formal garden whimsical topiary shapes. Topiary is an artform, but not anything like bonsai. These hedges are obviously pruned into unnatural tree shapes.
Image from Pixabay.
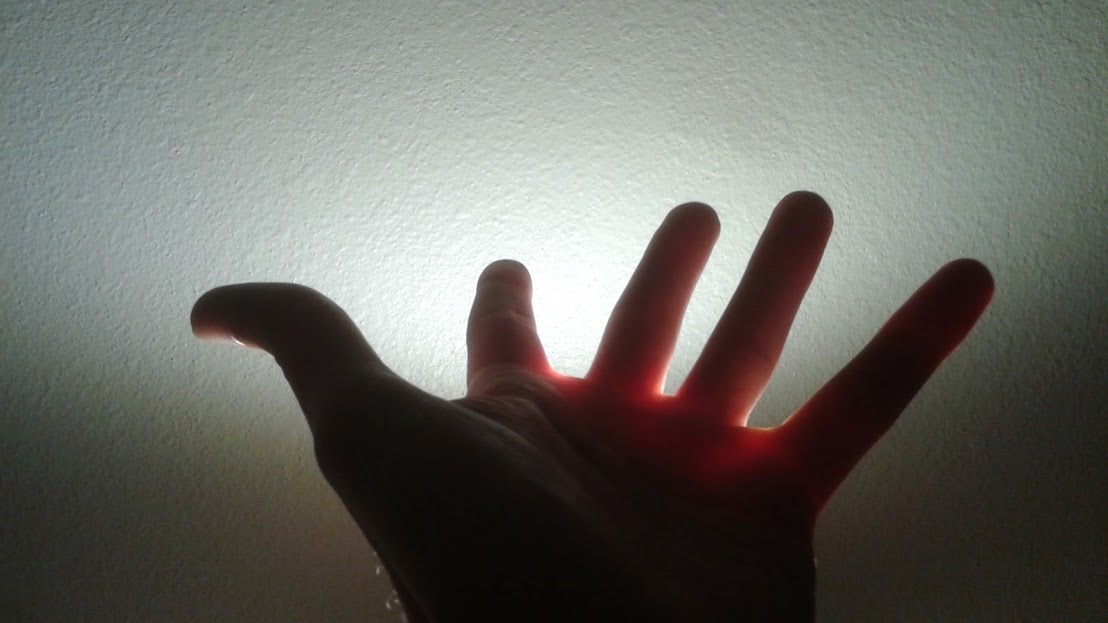
The five cosmic fingers of @creativetruth, demonstrating the ultimate nature of reality.
Think of your fingers opening out from the palm of your hand. It is not a perfect circle, and each finger has a different thickness and length, with the pinky on the end being the smallest, and nothing beyond it. That is an ideal semi-circle fan shape I am trying to learn how to develop into my bonsai branches.

This is what my tree, pictured in my cover image, looks like after I cleaned it up. All the dead branches are pruned off, which makes some branch angles look more curvaceous. Some of the long upright branches were reduced in length, to allow more growth to happen on the buds that clustered closer together.
Removing all the dead branches and long branch ends opened up a lot more negative space between the branches. This is actually a good thing, as the trunk and primary branches look less busy, and become more definitive. However, it will take many more years before the smaller branches start to fill out and define the thick pad clusters I am striving for...
...but that is another story.

Hope everyone enjoyed viewing my photos and possibly gained some inner knowledge from my article.
All photos are always original and all natural, unless otherwise stated.
Until we meet again. Dream on.

You did it perfectly pruned Thanks for your great knowledge but one thing I asked That in pruning only damage branches are pruned or Any one that i like??? because I read it about this That Only side and extra branches are romoved but How can we judge In winter that which branch is extra and damage branche because in this season plants have no leaves
Thanks for your infomation
Good question. That gives me an idea for a future post to help people to determine if a branch is dead or not when there are no leaves. It can be very hard to know. Recently I made a mistake on a tree by trimming off a branch I thought was dead, and it was actually still green wood inside the cut. Oops! Sometimes I find out after I made the cut, I guessed wrong. If I studied the tree better, I probably would not have made that mistake.
Here is a discussion I had recently in the comments that might answer your question a bit more in depth...
Question Answered: How do you decide which branches to prune?
Thanks for providing such a beautiful link I learn more new things And I also observe on your post that You give a huge reply that is easy to understand I appereciate it and say once again thanks
Thank you so much for daily posting about your plants, sir. It keeps us informed that how your gardening hobby is going on. Lots of love and keep it up. You should also grow some grass and it is so fun to walk on it especially during morning.
Ah nature. You can poke and prod it but it does not always do as you will!
Man that willow has an “interesting” name. I guess we know what that person had on the mind when they were trying create a name for that one!
Thanks for sharing your wonderful journey in this I hope things short the self out shortly.
Enjoyed this. Your cosmic fingers are divine : )
Use those cosmic fingers to improve your macro shots! Place your hand just behind the closeup branches you're trying to focus on. Focus should remain on the branches when you remove your cosmic fingers from the shot.
Happy spring!
Excellent tip. Thanks.
Nice post.I respect you very much because you contribute to steemit.I will do activities like you.I would like to extend the steemit.
Really great information nice post thanks for sharing boss @creativetruth
i am always your post resteemed+upvote please upvote back boss.@jhonysins
HAVE A GREAT DAY BOSS @creativetruth
I have upvote y @creativetruth
The size of bonsai is an ancient art that requires a lot of experience and patience.
Your will be splendid when the buds have hatched.
This is a very detailed description of winter pruning. Well done.